

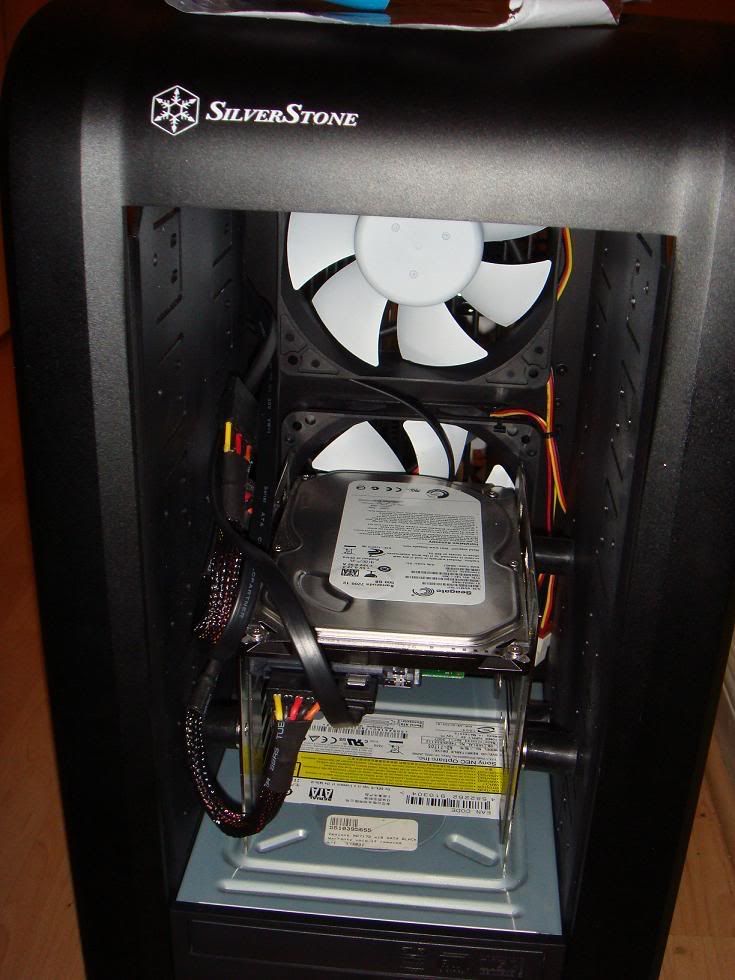
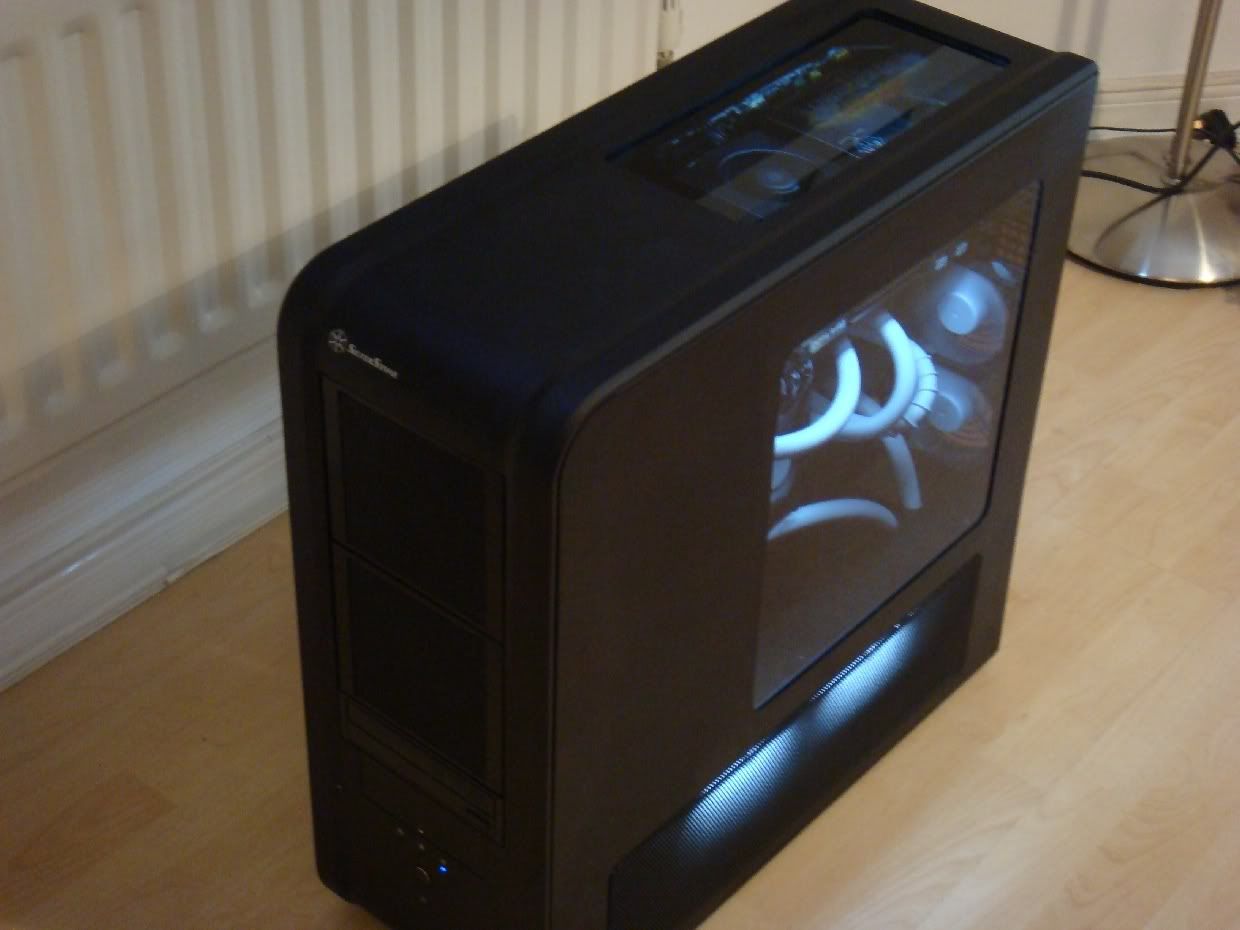
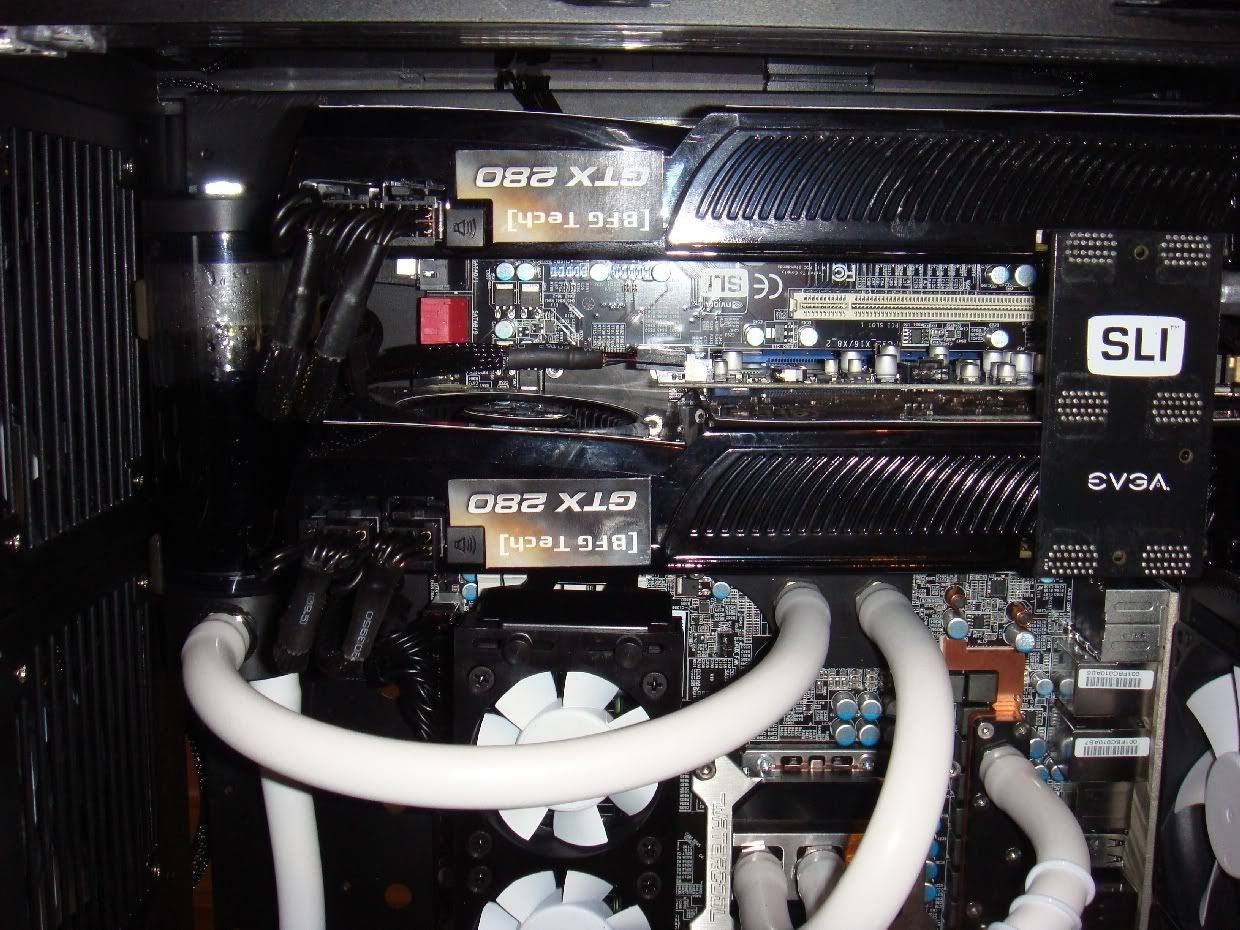
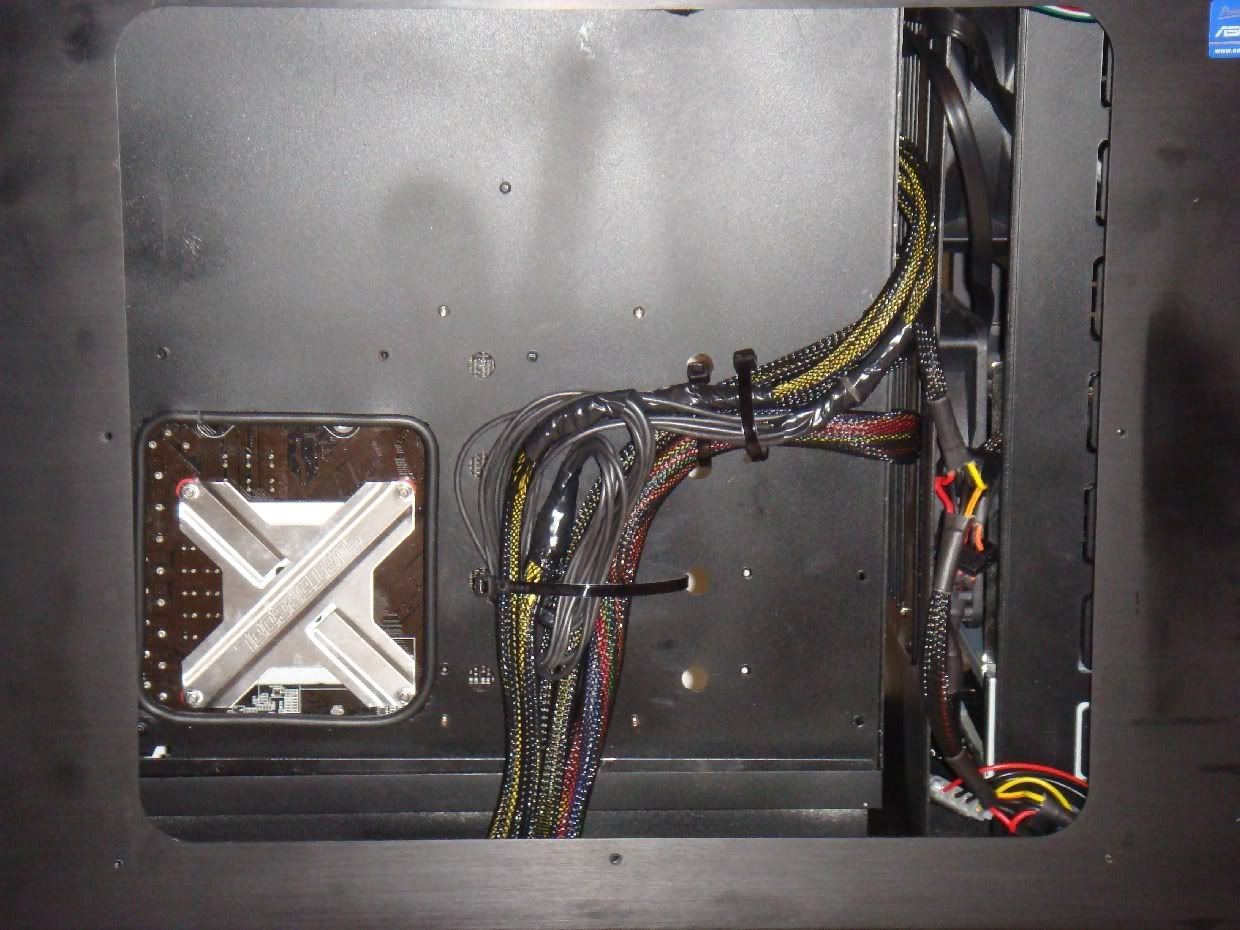
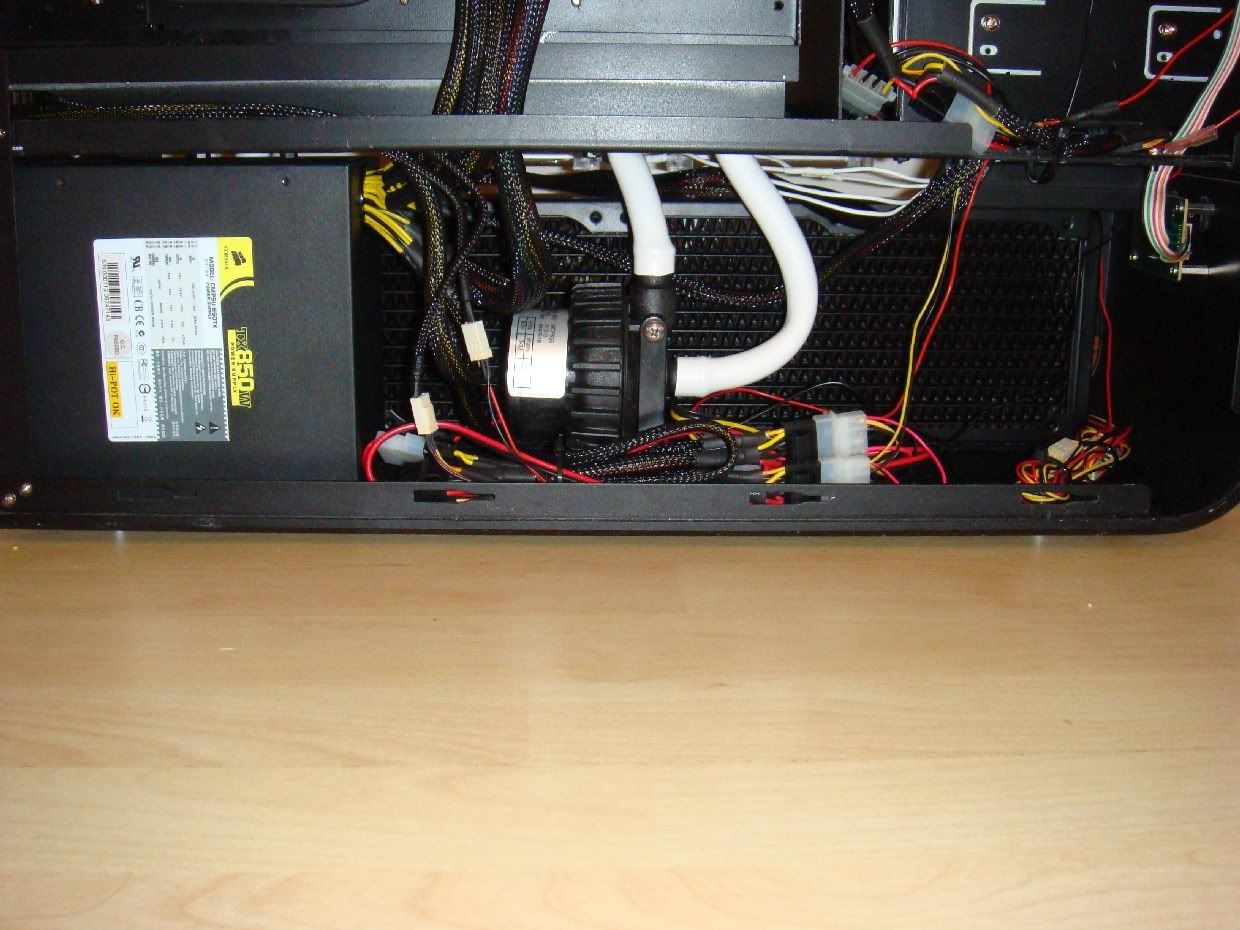
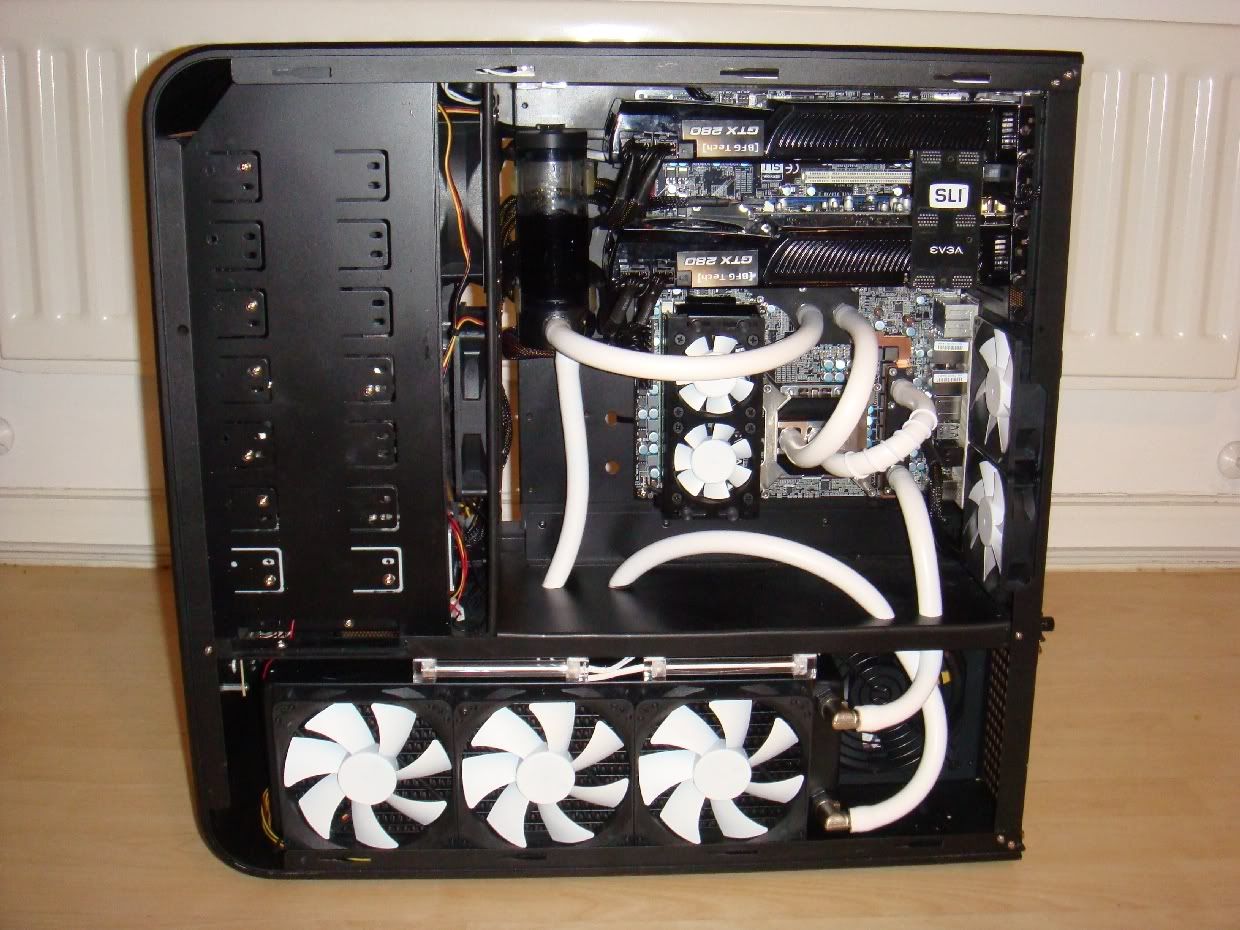
I got sent the wrong mesh so haven't been able to measure the holes, the right ones are on order. I am still waiting on components to finish off the build, but in the mean time heres somemore pics. I have the hard disks turned around 180 degress to aid fitting the cables. I have brought some extra power and SATA cables thorugh for future storage.
Kama Bays fitted. There a fan controller under the flap.
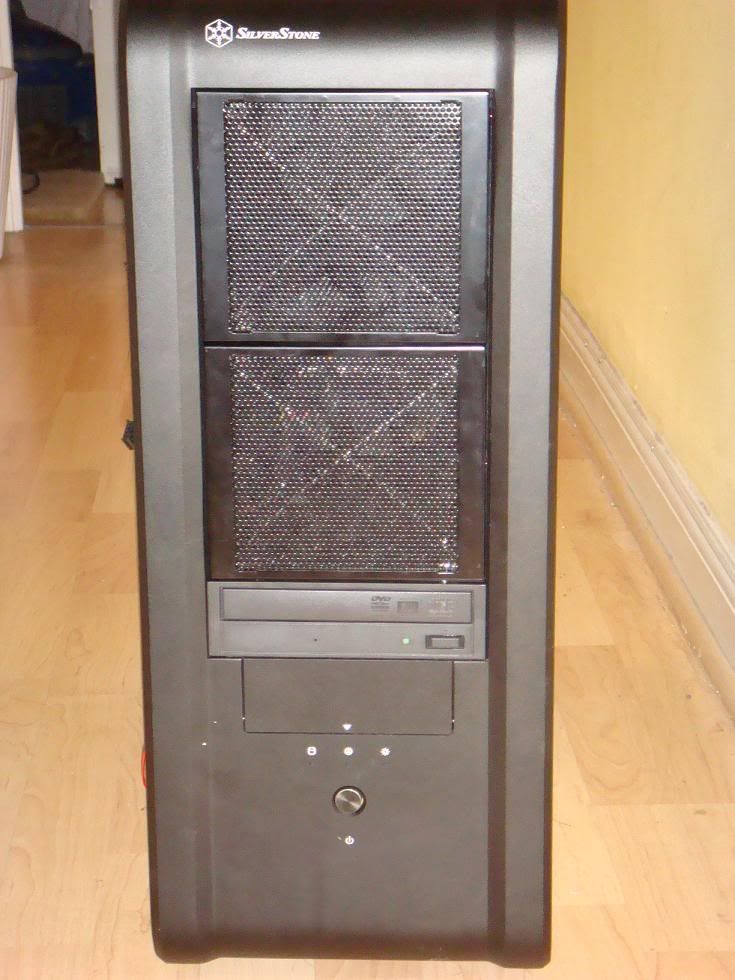
Kama Bays fitted. There a fan controller under the flap.

")

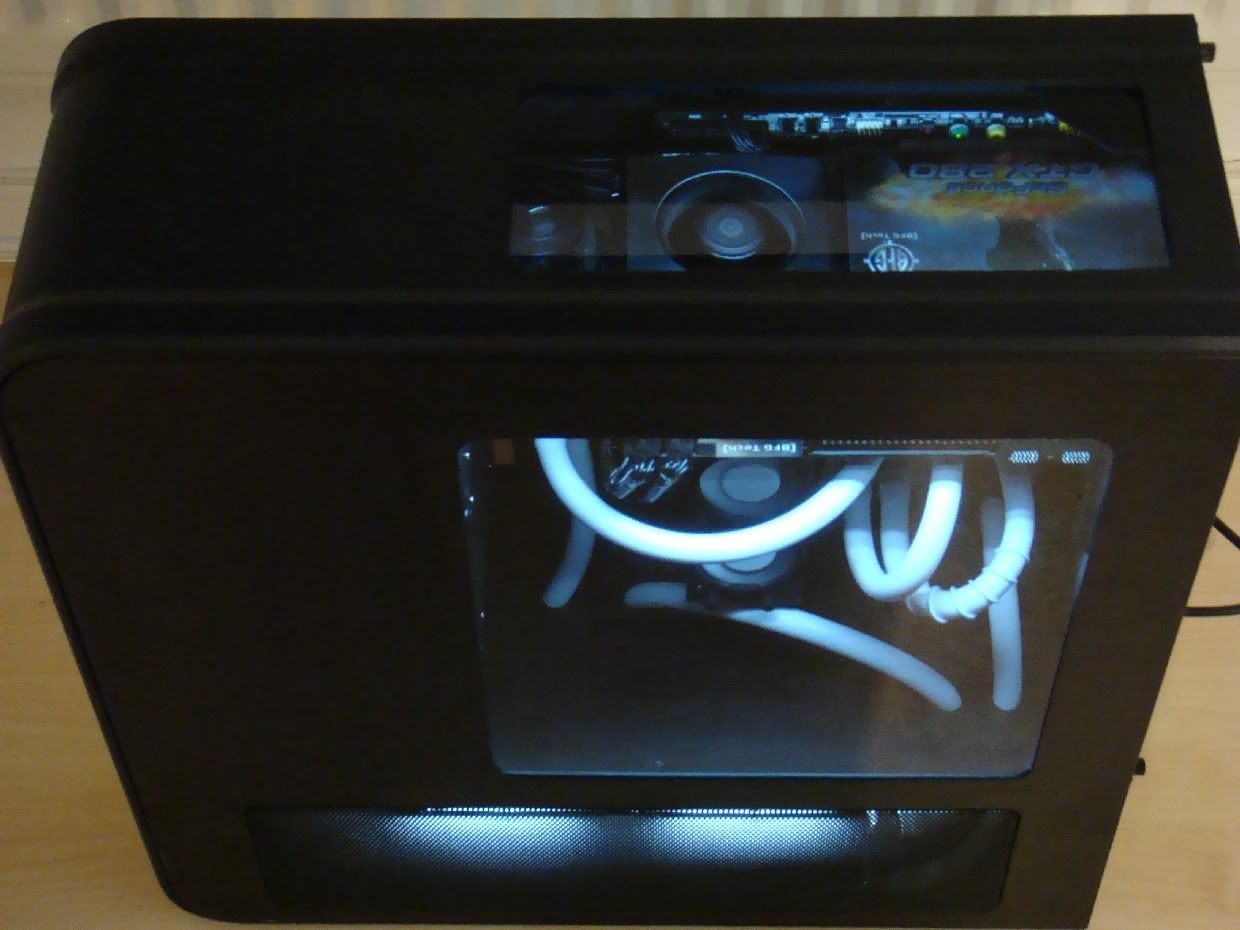

") I need to sort out lighting on mine but well cant be bothered wiring them all together to 1 switch! You just got that 1 switch on the back for the CCFL's or another somewhere else? I can only connect 2 at a time to mine
I need to sort out lighting on mine but well cant be bothered wiring them all together to 1 switch! You just got that 1 switch on the back for the CCFL's or another somewhere else? I can only connect 2 at a time to mine