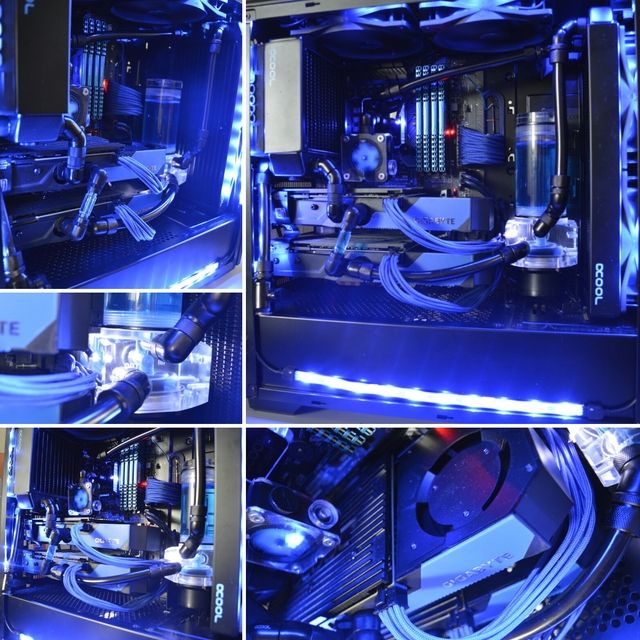
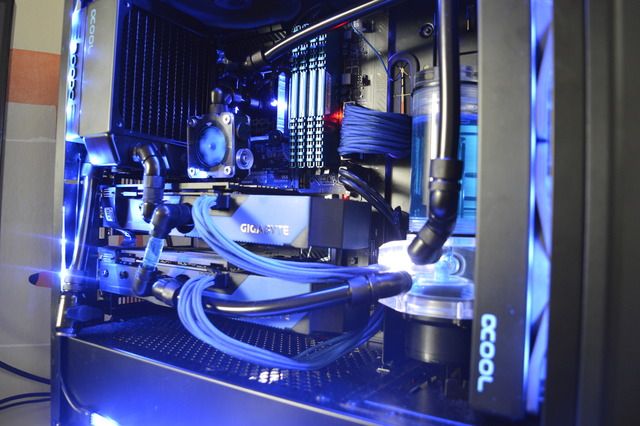
Twin Turbo "Black Edition"

Poor pics are the meat and veg of my build so I can hardly criticise! :D
It's looking good to me. If you can't move the rad back to get a right angle, you could always go the other way (extender if necessary) and make it parallel with the card to card link. Or leave it, it doesn't notice.
 
Poor pics are the meat and veg of my build so I can hardly criticise! :D
It's looking good to me. If you can't move the rad back to get a right angle, you could always go the other way (extender if necessary) and make it parallel with the card to card link. Or leave it, it doesn't notice.

Taken just before bed , then my sun work up, 4 hours later at 3am ihe crashes . haven't got the engery to fill the PC today :(

I did try putting the last screw in the bottom corner of the rad an pulls it in a bit so angle closer to 90 so shouldn't be a problem. Will look at the routing of the pcie cables a bit, might have the top cable tuck under the bottom card
 
Oh I know how that goes. I'm regularly battling my 4yo as he starts sorting through the parts I've carefully put in dishes so they don't get lost and I can put things back together. Parenthood is a bizarre mix of love and hate frustration! ;)
 
On the last build he watched the Hue+ and Ducky shine for an hour straight :)

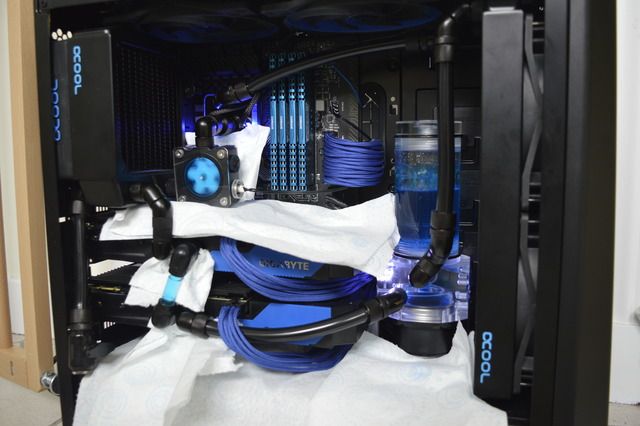
Managed to summon super human flu strength to get the case back on a desk with some light to snap shots on my phone. Think I'll record the filling of the system hopefully tomorrow


Talked with alpha about using hard tubing but since it was going to go in a s340 it would have been to tight. Looking at this now, think the only place I would have used it would if been between the GPU and Rad- if the GPX bridge was out, would if just been a 90 and straight pipe
 
Last edited:
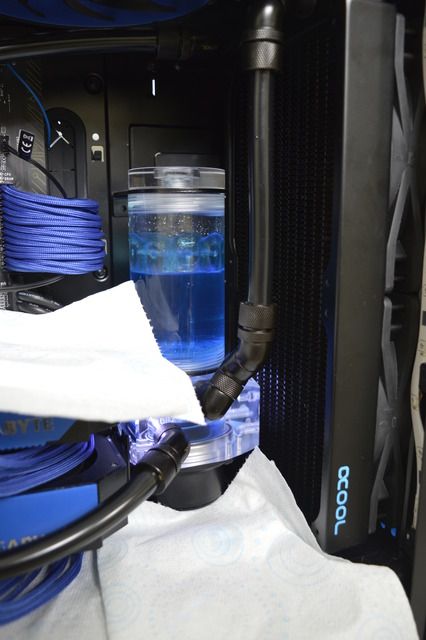
Clearly the actions of a man expecting it to leak! :p
....just because you're paranoid....:D

I did at the CPU inlet, just because I'd forgotten to tighten up the compression fitting, just just screwed in as a place holder . installing win10 now . looks prettttttttty in the dark. LED lights and mobo not over powering. Just got to sort out Hue+ later
 
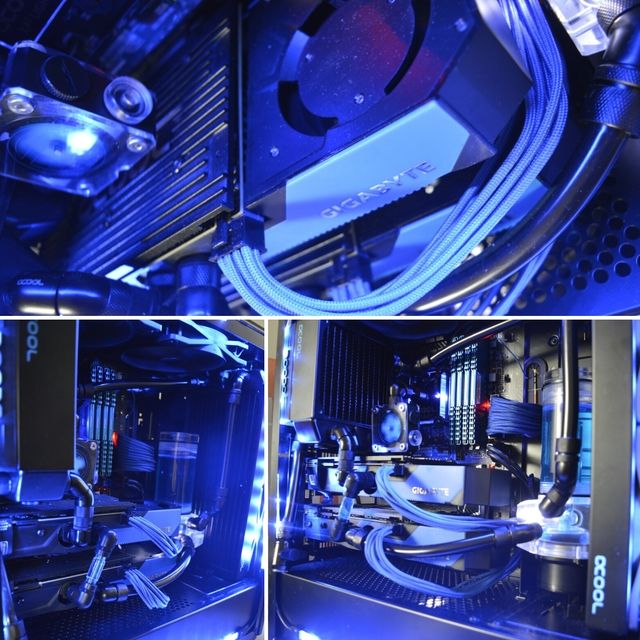
better pics and some vids up of the fill up.

was a slight leak at the outlet port not inlet. Tightened that a bit- seems to be ok now but still waiting to see. not sure if the leak was due to not being 100% tightened (was about 95%) , o-ring or weight of the twin 45/tubing.


Last edited:
PC fired up, Basic drivers and apps installed.
Few issues with Hue and then one of the strips to start with- also now defaults to a blue lighting from white
Also MSI boards LEDs just wont carry out the orders I give it...

will have to set up lighting and cables for final shots and get stress testing for Heat but at Room Temp of 21c, Both GPUs idea at 22c with CPU at 25c.


Last edited:
And so begins the over clocking
ASIC is 70% & 76% for the cards and f### a duck the backblack must hit of 60c, very hot to touch! Unlike Asus version theirs ram chips on the back but seems its just doing a better job this time around of drawing heat from the back of the card.


Room to go yet, hoping not to touch the voltage ! And so glad I but a 45mm thick rad on the back instead of standard 30. Really taking the brunt of the heat out.

Still have a leak on the inlet port. Will will have to drain, trim down tube so the vortex sits 100% upright and replace the compression fitting. Shouldn't be the weight of the vortex and worst case just poor machining of the inlet hole :/
 
Nice stuff. Not checked in on this build for a while and great to see the progress made. Seems like you're down to the final tweaks and sorting with the loop. Good job fella.

thanks :)

spent a bit of time on the weekend sorting the b*****d leak.
Firstly sorted out the length of tubing to the vortex sits perfectly vertical , was at a slight angle. Looks a lot better now, the spin wheel moves a lot quicker then before and less tube stress on the fitting- yet the leak still happened but very slowly this time.

Managed to spot the leak visually and when to change the fitting, turns out the default o-ring was the worst excuse i've ever seen for an o-ring !
Was going to use another default black o-ring but used one of the 3 coloured ones the Alphacool supply, and the quality is so much better!
The rubber is harder, thicker and made of better quality! The stock one wasn't able to make a tight snug enough seal =/

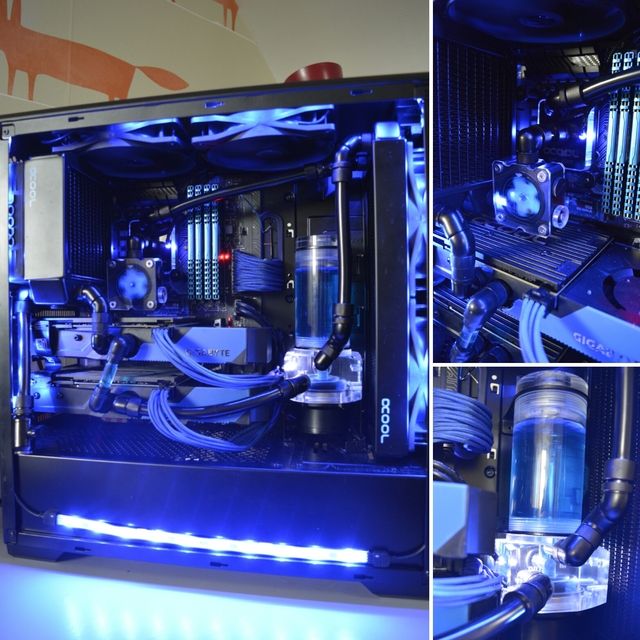
Not sure if the picture really show it but my cat loves the case , more fans up top in this one for her :D


The drain port location works, able to empty a good amount with case in normal position , seal- then turn on its back and reopen, seal-once more moved to to its feet and back again on its back and re-open and gets most of it out :D
 
and just as i start the leak set, the in-let port is fine, the outlet port leaks... might of over tightened ? Alphacool said could be a crack or another weak o-ring, which im guessing maybe the case if its tightened 100%.

:(
 
And so begins the dilemma: to drain or not to drain? Can you get it unscrewed, o-ring swapped and re-tightened before it pees everywhere; that is the question!
I managed to swap an in-line temp sensor like this with kitchen towel around the area....but it probably has to come under the heading of 'not recommended' :D

drain is not to bad, take about a mine and i can drain the top half of the system with just tilting the case 45 degrees. im hoping it just over tightened it as it wasnt leaking from there before. But to be safe will check block and replace o-ring
 
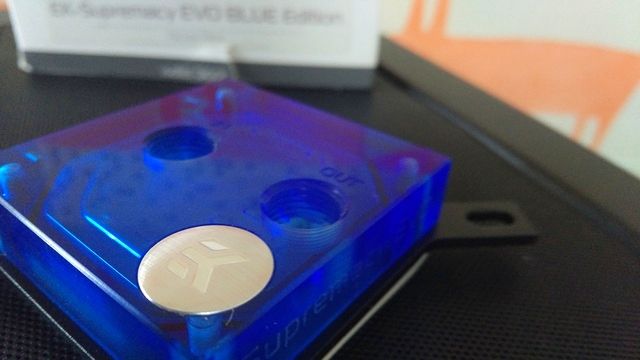
been a while but had to order an EKWB EVO Blue edition block.

Redid the system without the vortex and was fine when filling and bleeding for 24 hours. Plus everything back in and stress test and the slow leak happened again!
very odd, Alphacool said they havent had this before but said to ditch the block as they have a NEW DESIGN in 2/3 months time :D

Unfortunately wasnt able to snap DSLR pics of the block before going into the system so phone will have to do.


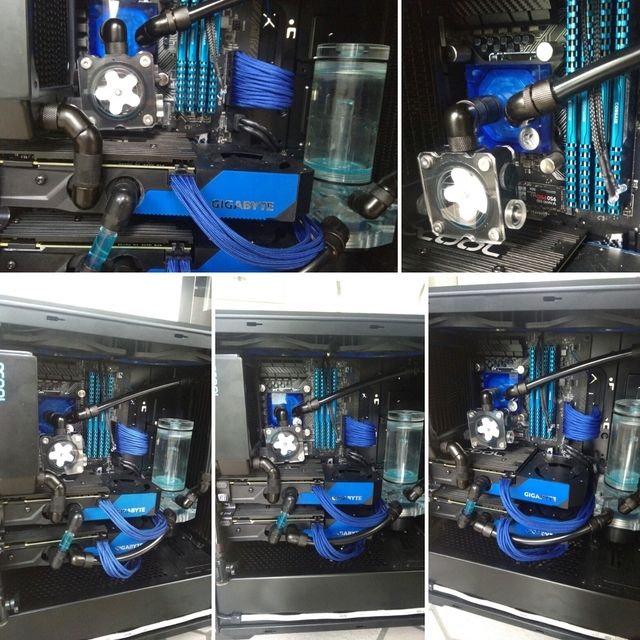
in the system


was in a bit of a rush last night at 11pm, so i'll think i'll re-do the connection between the Vortex and the CPU. hoping a little bit longer length tube will cut some of the angle rise of the Vortex. cant do to much length as the tubing will kink in.

Block matches nicely . Dont have white or blue 3mm LEDs so will leave it unlit - dont really see the point as its blue anyways. The 2 LEDs that went into the Alpha block will go into the Vortex and top of Res.

Ive also got a bit of Black EK fluid left over which i may just add a few ml to darken up the blue a bit
 
Will black make it darker blue or will it just go muddy?
Would a shorter connection from rad to vortex straighten it up?
I thought it was the vortex leaking rather than the CPU block. I suppose at least you found it now rather than later!
 
Back
Top Bottom