

You are using an out of date browser. It may not display this or other websites correctly.
You should upgrade or use an alternative browser.
You should upgrade or use an alternative browser.
Watercooled Antec Skeleton
- Thread starter maduser
- Start date
More options
Thread starter's posts


Soldato
- Joined
- 30 Dec 2004
- Posts
- 4,681
- Location
- Bromley, Kent
Looks pretty cool. Chuck out the blue LED fans for some red ones to give it that WARNING feel though ")
- Pea0n
- Pea0n
Associate
- Joined
- 25 Mar 2008
- Posts
- 784
- Location
- Northern Ireland
Good job working with that case ")
like this?

i changed the top fan color mode and turned of the blue & uv c cathodes. the rest of the blue leds are from the water block and the ballistix tracer mem. top fan has some nice color mixes tho green/red or blue/red etc or off
also a pic of my old raptor viewable thro the mb floor. excuse the dust tho (cough)
Soldato
- Joined
- 30 Dec 2004
- Posts
- 4,681
- Location
- Bromley, Kent
Legend Red suits it well
- Pea0n
Red suits it well- Pea0n
it can do if you get lazy like i have lately. been about 2 months since i cleaned it. then again at least if i can see the dust it reminds me to clean it so it doesnt get out of control. quick blow over with an air duster now & then sorts it out I'm not a great fan of those cases but it looks pretty decent ... doesn't it catch a lot of dust?
Sorry for being off thread, would you mind posting your bios settings and temps for your 4.2 OC
Associate
- Joined
- 11 Aug 2009
- Posts
- 318
- Location
- Cambridge
looks really kool man, good job!
As i mentioned before, dust is no problem an airduster and a fine brush cant fix. Besides imo if you spend long enough time creating a masterpeice then your hardly going to neglect to clean it regularly. Building it means i know how to dismantle it so most of it i can whip out in seconds like the gfx card, psu drives etc to clean the under tray. easier than my old lanfire case
just about completed a skeleton i7 mod/build will be posting build log soon.
Loving the water cooling, might look to adding it in at a later date.
Out of interrest, as a fellow skeleton modder, how do you detach the water loop when you slide out the lower section? and how did you attach the rad to the side hex panel?
Loving the water cooling, might look to adding it in at a later date.
Out of interrest, as a fellow skeleton modder, how do you detach the water loop when you slide out the lower section? and how did you attach the rad to the side hex panel?
Hmm yea hehe 6 months ago iwas using my am2 board with a custom bracket and it was easy then. Bit trickier now tho but i never need to slide the tray out much so it would depend on why. So when i do i unclip the mesh section and move it back as i slide the tray. The alternative is to unplug the front panel cables unscrew the rear bar drop off the side panels then unscrew the 4 screws on the legs and remove the whole top off the chassis this is how i installed the watercooling on my new cpu & mb as it was already filled. The rad i used the existing screws the came with it, posted thro the mesh. As its my 1st modded rig tbh it all fit together like it was ment to be xD spooky!
<3 your skeleton btw looks cool nice to see a few more of them
this is how i installed the watercooling on my new cpu & mb as it was already filled. The rad i used the existing screws the came with it, posted thro the mesh. As its my 1st modded rig tbh it all fit together like it was ment to be xD spooky!<3 your skeleton btw looks cool nice to see a few more of them
I've often though the best access to this much under rated case is by lifting the top frame off. Like the idea of water cooling, and love the way you've hung it off the side. One of the things I like about this case is the way everything is on show, there's no point trying to hide the cabling, you've got to make a feature of it and celebrate it in all it's braided glory.
My project 's nearly done, just a few tweaks, a bit of spraying and final assembly. It's taken over a month what with work and having "other ideas" along the way. I even started a thread a while back but realised it would be so long before I was able to add to it that I abandoned it.
here's an idea of the sort of theme for the build.
(actually my very first new systam build and mod all rolled into one)
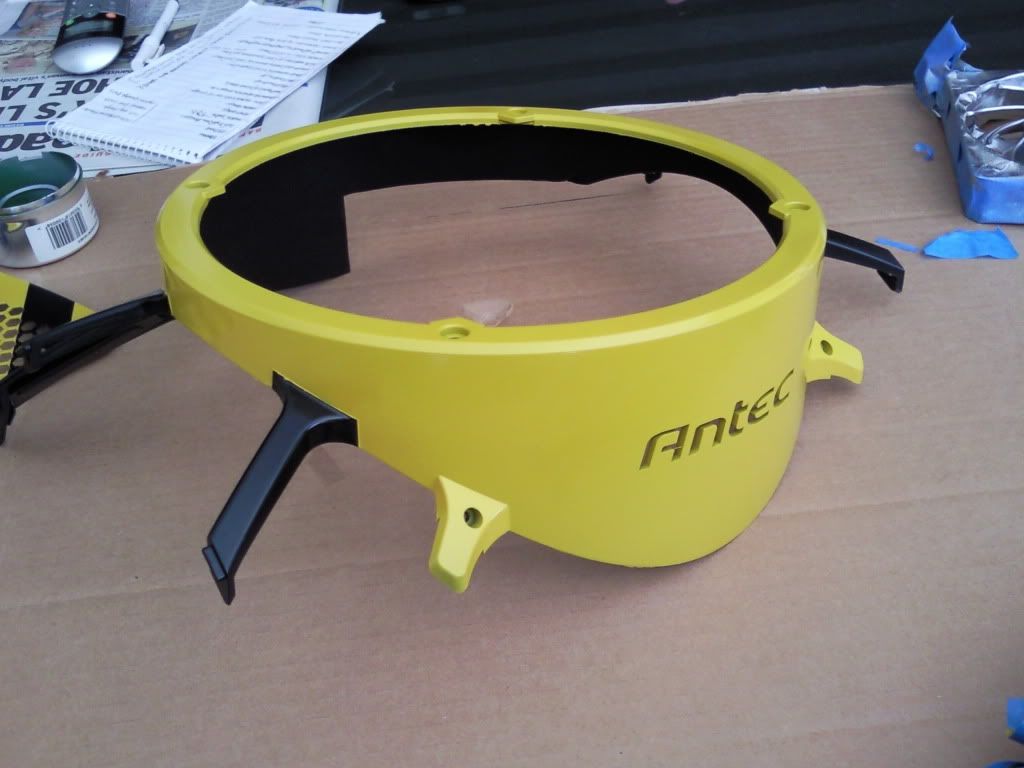
Just paged back through and realised yours is also a blsck and yellow themed mod, many apologies. I guess they just lend themselves to that "warning" yellow look, which is what I was aiming for. Love the Radiation symbol BTW, I see it at work every day!!
My project 's nearly done, just a few tweaks, a bit of spraying and final assembly. It's taken over a month what with work and having "other ideas" along the way. I even started a thread a while back but realised it would be so long before I was able to add to it that I abandoned it.
here's an idea of the sort of theme for the build.
(actually my very first new systam build and mod all rolled into one)
Just paged back through and realised yours is also a blsck and yellow themed mod, many apologies. I guess they just lend themselves to that "warning" yellow look, which is what I was aiming for. Love the Radiation symbol BTW, I see it at work every day!!
Last edited:
Associate
- Joined
- 25 Jun 2009
- Posts
- 226
- Location
- Middlesbrough
I've recently got a skeleton too, which I'll hopefully be starting soon.
Don't think it will beat these on show though! Nice work guys.
Don't think it will beat these on show though! Nice work guys.
Associate
- Joined
- 25 Jun 2009
- Posts
- 226
- Location
- Middlesbrough
Is that a Sony speaker in the background? I used to have a set of them! (God I'm weird. Sorry )
)