Watercooled Prodigy Build (First Log)

is that a fan controller in the PSU bay!! :eek:

if it is amazing!!!! can you please email in trust where you got is from, it would clear up on of my drive bays as i has a 3.5" fan controller in there :D

what is your board like to OC, ram and cpu?

Yes mate it is an internal fan controller, all my own idea have never seen it anywhere else before ;) - credit where it is due, I stole it from your build and think it is genius.
I am using http://www.overclockers.co.uk/showproduct.php?prodid=FG-021-AK&groupid=701&catid=2331&subcat=189 just cut down the ends with a hacksaw and double sided taped it up there.

No idea about the board really, I have spent FAR longer building this thing than I ever did using it.
 
You can't see it in any of my pics but right down in the corner, under the lip of the PSU cage there is a gap that is the perfect size for getting fan cables through. Makes routing the cables easy as anything.
 
Awesome work! It gives me a lot of inspiration for my own Prodigy build wich i hope will start soon.

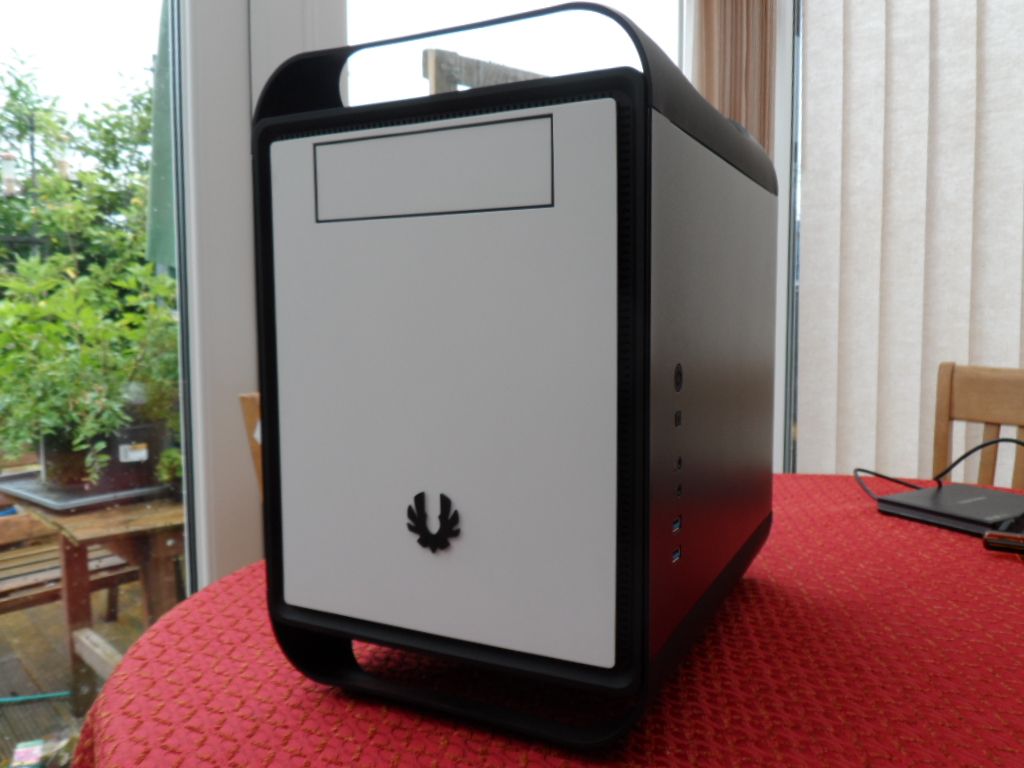
Anyway, how did you get hold of the black front??
Do you notice any big difference if airflow and sound after switching?
Did the white front produce any sound by restricting airflow?
 
Awesome work! It gives me a lot of inspiration for my own Prodigy build wich i hope will start soon.

Anyway, how did you get hold of the black front??
Do you notice any big difference if airflow and sound after switching?
Did the white front produce any sound by restricting airflow?

Cheers mate, appreciate the comments.

I bought the black case from OcUK, swapped the front then sold the black case with white front on the bay for the same price. Looks quite good imo.

SAM_0636.jpg


It was really bad to be honest, the white front really restricted airflow in there. I have a couple of Gentle Typoons in the front and they were really struggling. It sounded a bit like when a hoover gets blocked, really much much loader than they should have been. I run it all without the front on and it really made much more difference than I knew was possible.

Mike,
 
Hmm, not cool at all. Guess i will get the perforated one from the beginning then. FYI: Great news is coming...but sadly to late for you Red Alert. I Just talked to Bitfenix Support and if everything goes as planned there will be loose fronts for sale around october this year.
 
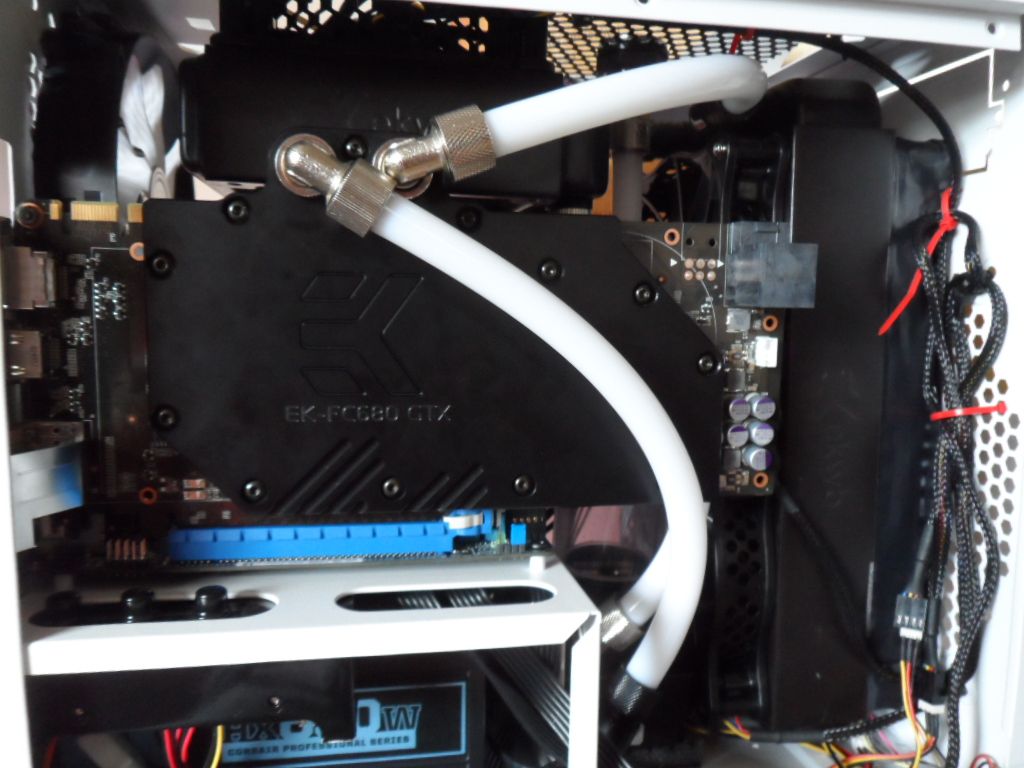
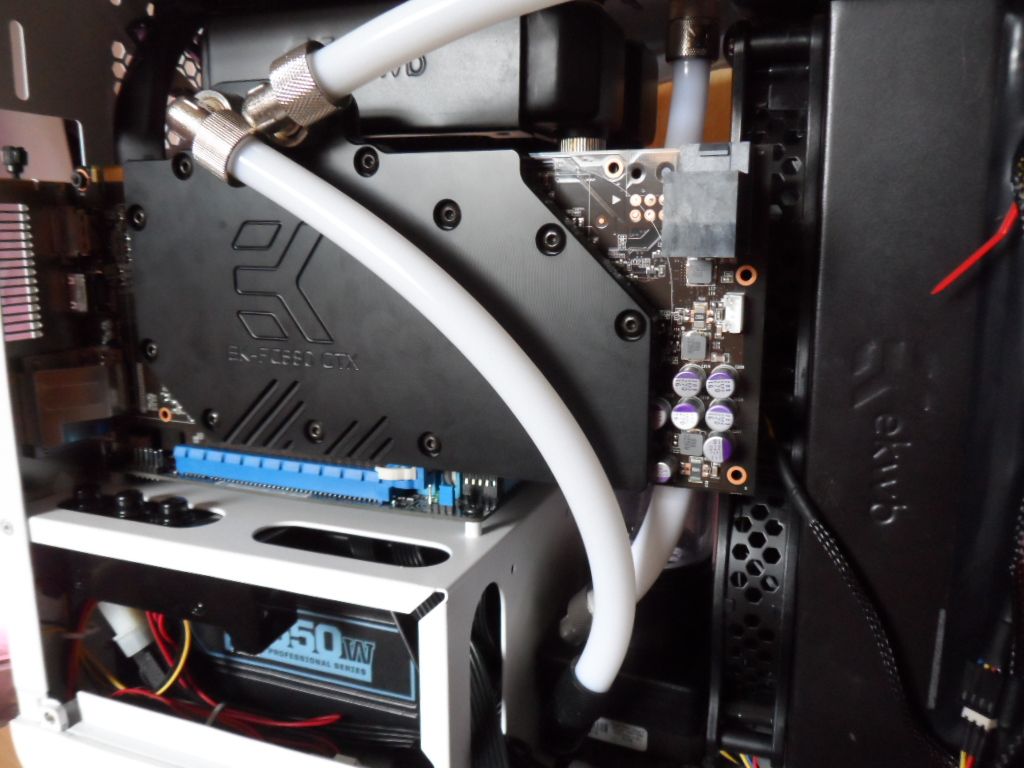
Update, so I went over my ankle last night, nothing bad but needed to take the day off work. Thankfully I had all my parts needed to get this build 99% finished. Here are a couple of pics of how it is looking now.

Same style as before really, you will see I upgraded to a GTX 680 though. Really should have been the 670 for space reasons but I got the 680+waterblock at a killer price so went with it.

SAM_0647.jpg


Got to get the cables in there routed up a bit nicer but that is a minor job really. All radiator fans are controlled but the fan controller in the psu bay.

SAM_0648.jpg


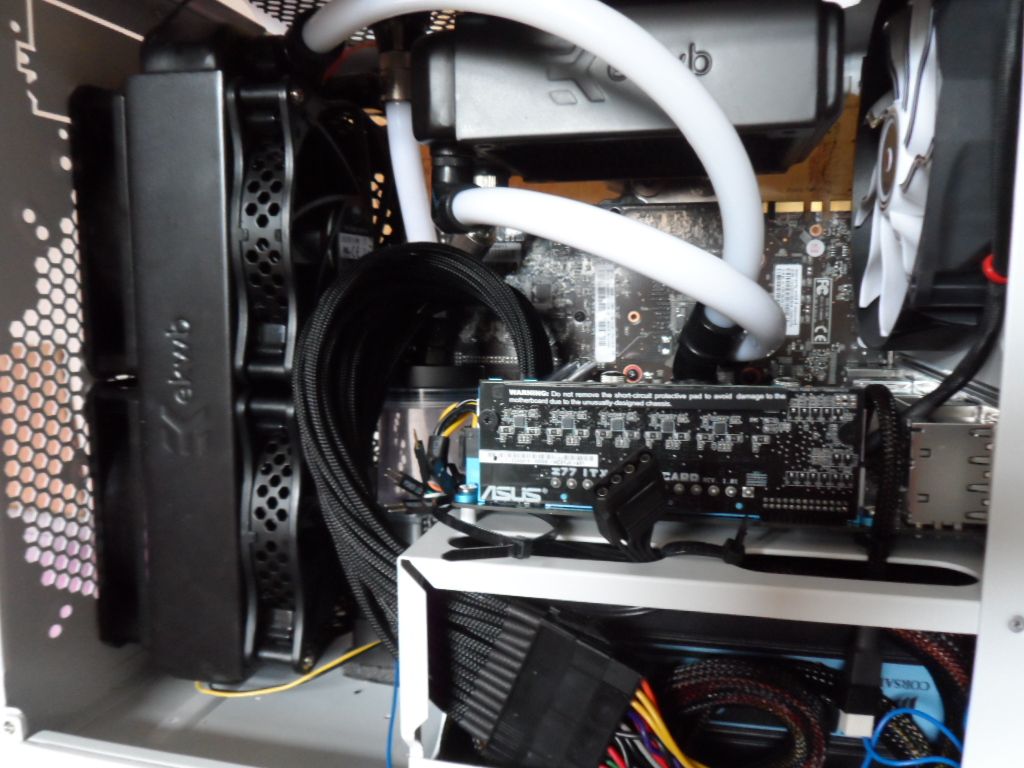
Here is the other side, the sata cables to the two SSDs are going to be stealthed across the top so even though they are not in at the moment it will not make much difference. There is a molex output in the psu bay to power the two SSD's also.

SAM_0649.jpg


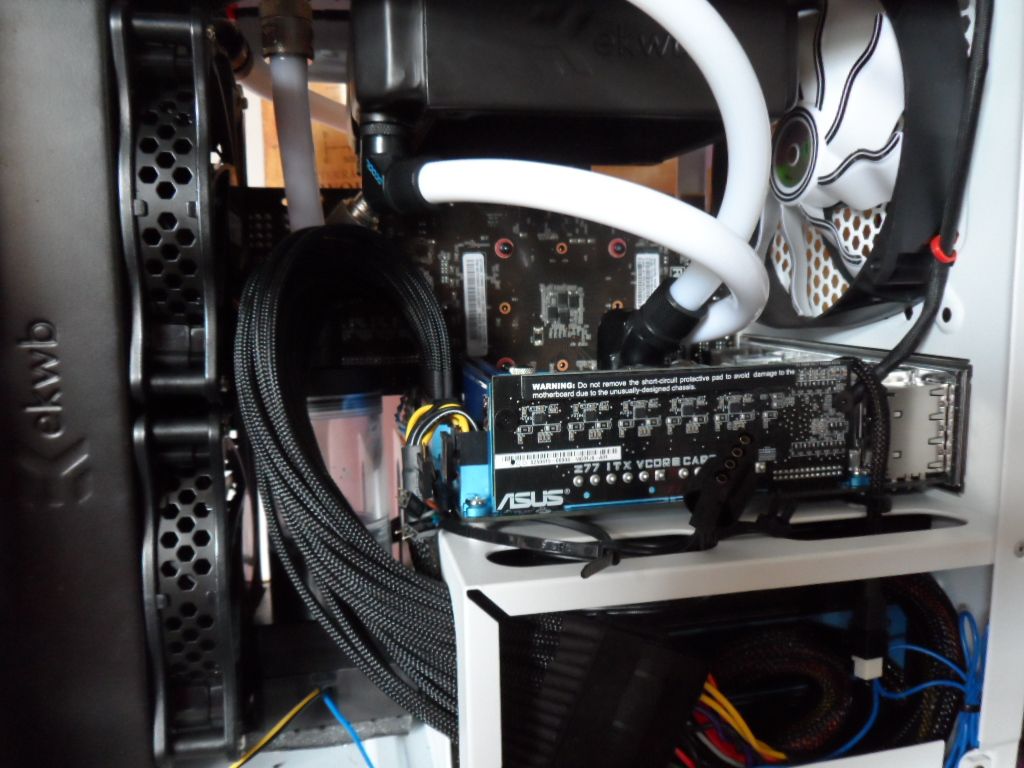
Here is the other angle, pretty happy with the cable routing in here now. The pump and the 140 on the back are controlled from the motherboard. I have a second fan to go on the top radiator but I left it off for now to get access to everything else.

SAM_0651.jpg


Just going to fill her up now and get the leak testing done. :s

PS - Anybody have any feelings on the Alphacoll Nexxxos radiators? The mounting options on that would have made this so much easier. Also if I have the other gpu block I could have mounted the top rad side on so it again would have been much easier to route. Oh well live and learn.
 
Last edited:
Hi, it was an issue specific to my mobo. The backplate is huge with the Raystorm so on that little board it was sitting on top of some of the transistors. It meant I could not tighten it up at all as it would have been crushing them. Not sure if I could have found a workaround.
 
Back
Top Bottom