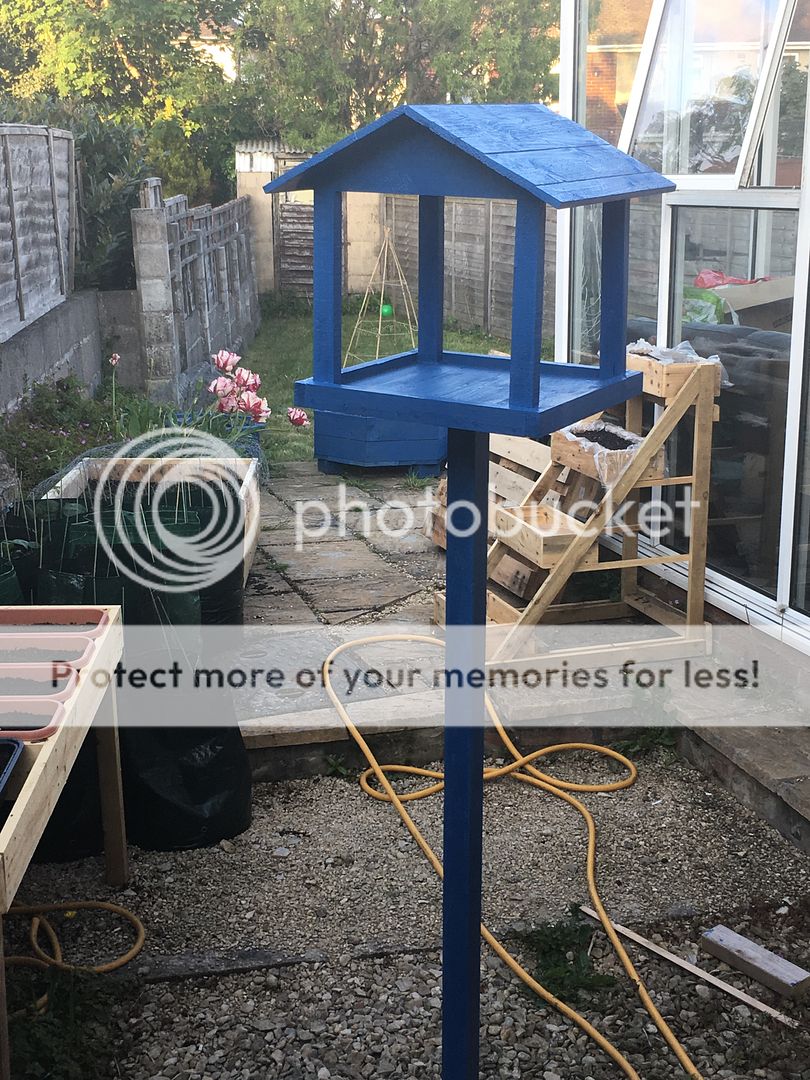
What "man jobs" have you done today?

Moved half of this so far - filled my trailer and two builder bags - Just need to move this off drive then it's going to be a slow time sizing and splitting length ways then stacking.

Should be ready to use by next winter.

This was a tipper transit full from local caravan site.

414207060.jpg
 
Fitted two windows and a door to the kitchen extension. Reused the windows from the old kitchen so they need a bit of tlc but they are triple glazed composite, well worth saving.

9dvkF10.jpg
 
Jet washed the patio today.

Took all morning, lance not quite long enough to stand upright and be close enough to remove dirt (patio has never been cleaned before) so now have raging back ache.

Next on list is to blast whats left of the paint off the decking and re paint it
 
Try washing patio first with bucket of bleach water - brush it in then pressure wash off - so much easier.

Do sympathise with back ache though - got mine shifting the logs.
 
7YUhxoF.jpg.png

Bought an 80 year old Record wood working vice from ebay for my shed/workshop.

z6EPuni.jpg.png

bq8hErY.jpg.png

It was in really good condition with most of the original paint. Loads of these are now rusted up, or have been re-painted and you never know what the paint is covering up. Took it apart, de-greased and removed some slight rust, then added some Kurust.

Just need to decide what grease to use now and then re-assemble. I have some Rocol dry moly paste which is 70% moly which I might add to the holes in the cast iron and just add a layer of car wax to the runners and lead screw. My worry is if I add grease to the runners or the screw it'll get covered in dust and do more harm than good.

I have read that graphite is good to use, but I already have the Rocol and it cost me £20 for a tiny tube, which i used a pea sized amount for my airguns, so I kinda want to get some use out of it :D.

Also ordered a small metal working vice made by Paramo, which I believe was a competitor to Record and also made decent kit. It also looks in great condition, but i'll have to take it apart when it arrives and hope there are no issues hiding.

Dt4KVZL.jpg.png

Oh and also made a wrist rest out of some spare oak worktop. I was getting pain in my left wrist when gaming, so quickly knocked this up with the table saw and a bit of sand paper. Just need to wait a few days for the Osmo oil to fully cure.
 
Last edited:
Bit of a cheat in that this is work over the last few months rather than just today but hey...mega update on the flat renovation. Time been difficult as of late, between work the kid and everything else. Got 10 days off from today so going to make a push to get this all finished up.

The amount of space to "butt" up against with the tiles had diminished quite significantly since putting in new stud walls and tile backing board. Decided to build out the door frame a little to give something to work against. Unsure how I'm going to 2nd fix and finish it yet but likely some molded trim and suitable paint. Would have liked to have tiled it all but the space I had to work with and my skills would have just made it far too difficult.

flat_reno_bathroom_newest_1.jpg


More tiling, finishing out all the walls to my plumb line.

flat_reno_bathroom_newest_2.jpg

flat_reno_bathroom_newest_3.jpg

flat_reno_bathroom_newest_4.jpg


Plumb lines off and tiling down to the floor level.

flat_reno_bathroom_newest_5.jpg


Cut out for towel rail face plate. 125mm angle grinder with a ceramic disc worked a treat. Followed some advice from YouTube where you cut the straights from the back and a little from the front. Gives you a nice square cut out with no overshoot on the visible face.

flat_reno_bathroom_newest_6.jpg


Window surround. You'll note a lack of forward planning meant my corners are not tile edged off. *doh* Solution incoming for that though.
flat_reno_bathroom_newest_7.jpg


Area for sink, extraction and wall cabinet tiled out. Tile trim planned for and used on this occasion!

flat_reno_bathroom_newest_8.jpg


Start of my window surround solution. Uneven L profile in aluminum. Mitre out the corners, a real measure 10 times cut once affair.

flat_reno_bathroom_newest_9.jpg


Tiles grouted at this stage. My amateur tiling skills meant LOTS of grout line cleaning out. Sink placed and stuck in.

flat_reno_bathroom_newest_10.jpg


Plumbing for sink installed and thoroughly tested. It will be boxed in with tile and don't want leaks after the fact. Best practice would have some isolation valves and access for them and the trap but I just don't have to space to work with. Considered a removable tile access panel but scrubbed it. Worst case I can access through the plasterboard in the stairwell. If I have to I'll put an access panel back into the hole made then.

flat_reno_bathroom_newest_11.jpg


Window surround L profile all cut and stuck in.

flat_reno_bathroom_newest_12.jpg


Sink area tile backing boarded and tiled up.

flat_reno_bathroom_newest_13.jpg


Laying out for shower thermostatic mixer bar. Need to be pretty precise here as I need to hit my timber either side of the pipe tails. Cutting back the tails themselves was a measure 5000x cut once bum twitch moment also. Cut these too short and I was SOL as my pipework is now in the stud and behind the tiles!

flat_reno_bathroom_newest_14.jpg

flat_reno_bathroom_newest_15.jpg


Cuts good and within tolerance, push fittings on for the mixer bar. Supporting flange thingies screwed on and secured with grub screws. Little bit of silicone to keep the water out of them.

flat_reno_bathroom_newest_16.jpg


Mixer bar on, cosmetic caps installed and some silicone for good measure. Tested and leak free *phew*

flat_reno_bathroom_newest_17.jpg


Riser bar on, screwed into timber stud previously placed on original masonry wall. Supplied screws for this are absolute cheese grade. I suspect they have used alu. rather than Stainless Steel to achieve some corrosion resistance on a budget.

flat_reno_bathroom_newest_18.jpg


Quadrant assembled and installed. It is a B&Q Beloya unit. The glass is 8mm and it's a pretty hefty unit. Not quite the quality finish you might get from a big named brand but it serves it's purpose. 1 out of 5 stars for installation though. The manual was poor and there was LOTS of man handling to get everything into place. Frustrating as I measured everything to within dead center of the given tolerances. The rollers on the bottom of the glass doors are sprung loaded and supposed to spring down to spring back up into the lower guide...nope. About 5mm too short of a travel to fit in. Had to put the rollers into the lower guide whilst not attached to the door THEN screw into the lower part of the door. The cosmetic trims which cover the screw fixings etc have a poor fit and lack positive engagement. It does the job for the money but would second think about a unit like this in the future.

flat_reno_bathroom_newest_19.jpg


Next up:
Install 100mm extraction fan unit
Source and install Towel Rail
Source and install mirrored cabinet
Lay anti fracture membrane on the floor and tile
Install bog
Ceiling cut outs for downlighters, install and wire
 
Last edited:
Painted the cinema room, whole room was light grey, took the plunge and painted the screen wall Matt Black and side walls Dark Grey Matt, was a good choice.

Need to move the arcade machine upstairs next and replace with a 7th cinema seat.
 
Yesterday I finally got around to doing a number of small jobs.

- Sorted the dropped section on the guttering outside the kitchen.
- Replaced the outside light above the french doors.
- Adjusted the french doors so the left door doesn't hit the frame and the right door doesn't have daylight visible above it when closed.
- Measured cylinder locks in french and bi-fold doors so I can get Ultion locks matched to the front door key.
- Weeded the asparagus patch.
- Tidied the shed.
 
@Sin_Chase those male to male fittings which you have used to connect the tap tails to the plumbing... where did you get them from? I've been looking for some and haven't be able to locate any.

Plumbcentre/Woolsey but any decent place should have them.

They are 15mm compression to G1/2" male. You can also get them in push fitting.

It's a pretty ubiquitous fitting so you shouldn't have issues finding some.
 
Plumbcentre/Woolsey but any decent place should have them.

They are 15mm compression to G1/2" male. You can also get them in push fitting.

It's a pretty ubiquitous fitting so you shouldn't have issues finding some.

Arrrrrr, I see, not quite what I thought it was. What I was actually looking for was a 15mm threaded male to 15mm threaded male.
 
Arrrrrr, I see, not quite what I thought it was. What I was actually looking for was a 15mm threaded male to 15mm threaded male.

Whats the application? You can just put a length of 15mm between 2 of them and achieve the same, spendy way if going about it though.

Maybe if you explain then job that needs doing can suggest some options?
 
Back
Top Bottom