Soldato
- Joined
- 24 Apr 2007
- Posts
- 7,567
- Location
- Southport
Right, I thought it was finally time to consoldate all work on the Ti in one thread. ")
Intro
For those who don't know, the 620ti uses a 197bhp Straight 4 turbocharged engine, front wheel drive with LSD, and is regarded as handling well for a luxobarge. More infos: Parker's Specifications
Basically, I got the car at the beginning of June from an MG enthusiast who is well known, based in Gloucester. He has 3 620tis, but wanted to downsize his collection... so I got a PM from him when I posted asking about quicker options than the 420 diesel.
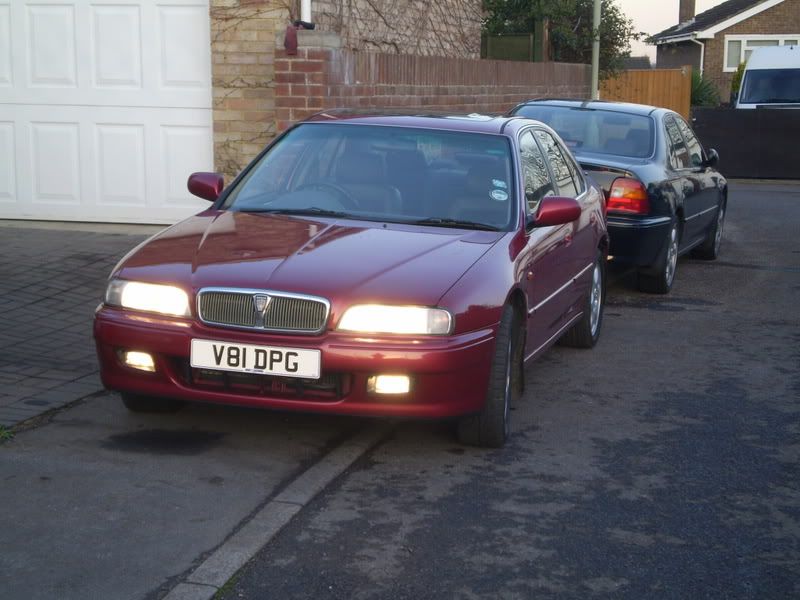
The pic in the ad:
Scouting round for insurance was fun - after calling several companies, exhausting all the search engines I had 2 companies that would insure me, probably due to me being 20 and the car coming under Group 17!
Taking Ownership
So I trotted down after work one day... finished at 4.30 and bombed down to take a look. Lovely chap, very knowledgeable and more than happy to explain any issues with the car. So I spend a couple of hours there, arrange a deposit, and pop back up 'Norf (Got back at about 1.30am when up at 6.30am next day! )
)
About a week later, I went to go and pick it up... in my mate's Proton Compact. 3 hours sat with no air con on one of the hottest days this year... that was fun!
Weak alternators
The 620ti, when fitted with aircon as mine was, is known for alternator issues. These stem from the placement of the exhaust manifold in relation to this - the two are about an inch apart at the closest, so it doesn't half soak up a lot of heat when in traffic etc.
Anyway, while in Oxford on an OcUK meet, I overtook a Civic and suddenly the blowers in the car came on full whack. Worrying? I pulled over, and everything seemed fine!
It turns out the regulator in the alternator had died - when I rose above 2000rpm the lights, heater blower and anything else electrical would go haywire. Cue me driving home with everything electrical on full, at 40mph, in order to keep everything stable. Got there in the end though! This happened a week after getting the car.
The failed unit was obviously fairly old, corrosion had set in and it was an original Rover part. After talking to several companies, I had a recon unit sent out for £117, not bad considering it was an uprated beefy 95A jobby.
Replacing this was fun, didn't get any pictures as it was a rused job but 2 hours later, 3x 10mm sockets and lots of blood later it was off.")
Simple to refit, although made more difficult by me refusing to de-gass the aircon and remove a pipe that makes access easier!
Cam belt replacement
I knew this was probably due - the most recent was at 70k and 7 years ago, and it was on 118k then. Recommended service interval for this is 60k.
After my success with the alternator, I (stupidly) decided to give this a go. As a bit of background info, the T Series engine uses a bog standard twin overhead cam arrangement, with a manual tensioner. The tensioners are designed for the life of the engine, with a full metal construction.
Replacement wasn't too difficult - I simply used some old touch-up paint to mark the pulleys and the old belt for refence if i knocked the timing during the belt change.
This didn't go smoothly - the tensioner bolt was very, very tight and would not budge for the life of me, my cheap socket set probably didn't help! So in the end I did the manly thing, and gave up. It just so happens the tension currently set was fine for the new belt, lucky me.
Pictures coming soon
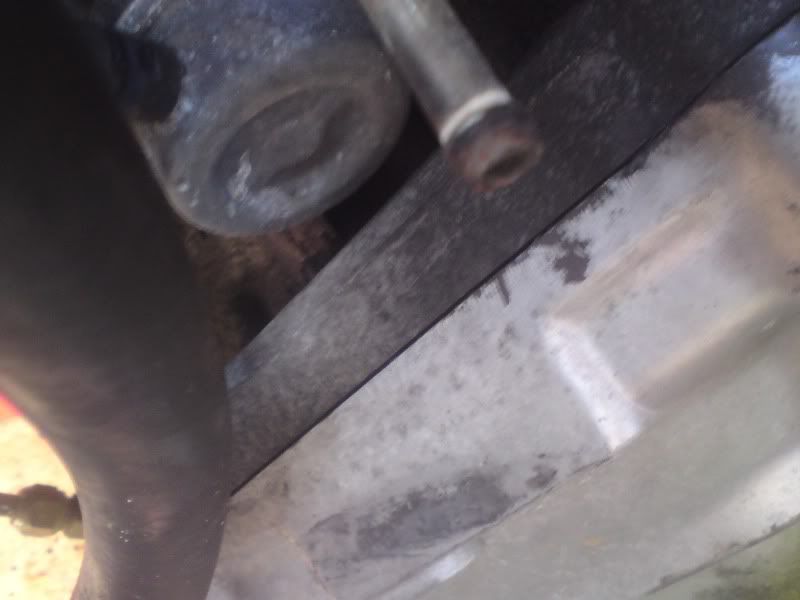
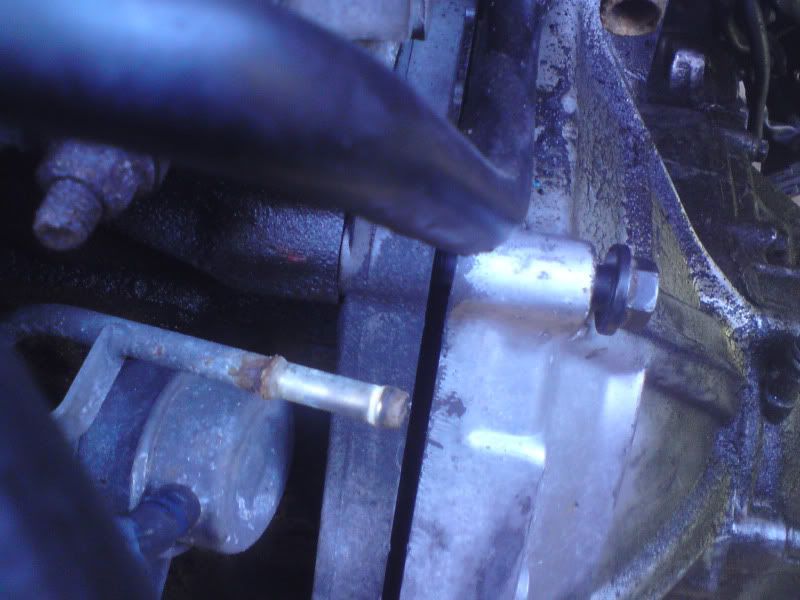
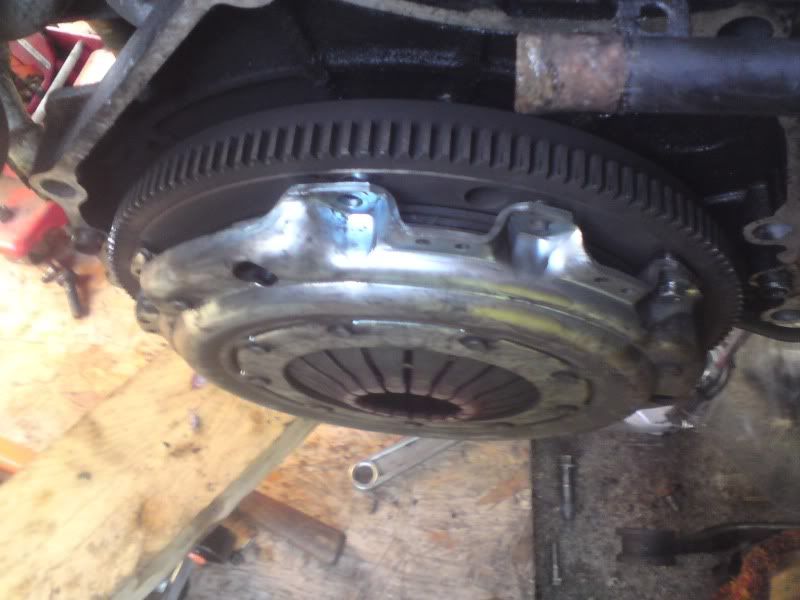
Clutch release arm failure, amongst other things!
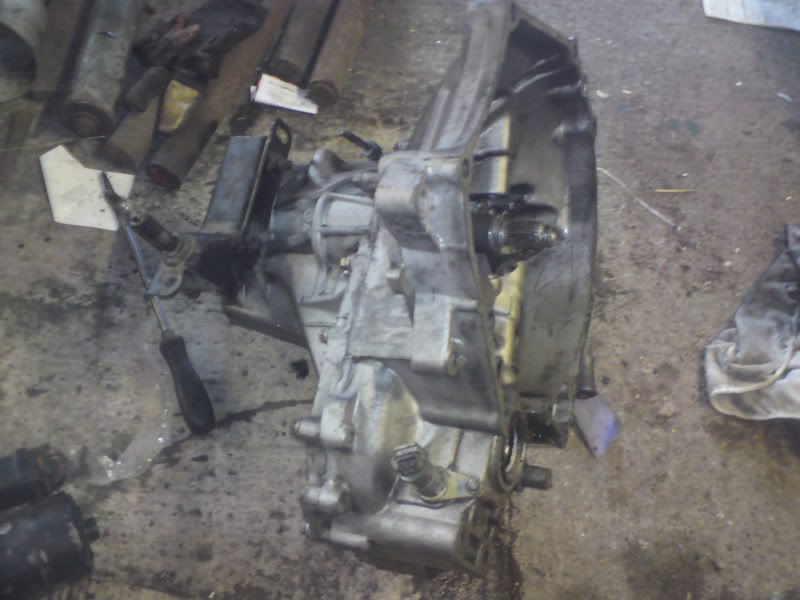
By far, the most challenging issue to date. Driving fairly hard one night, I went to change into 3rd, and the pedal didn't come back up after the shift. Damn! I knew clutch slave cylinders are weak on the PG1 gearboxes, so assumed it was this and called the RAC to come and rescue me.
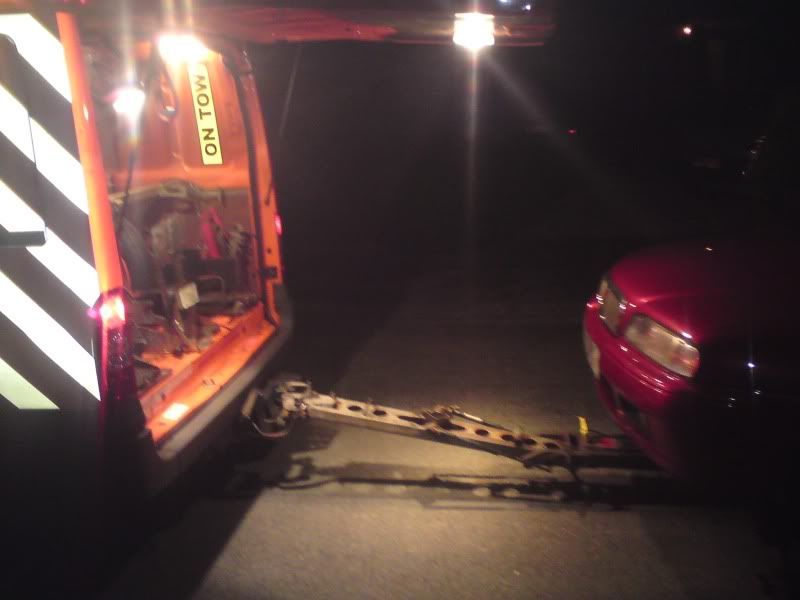
Turns out I'd done some serious damage...
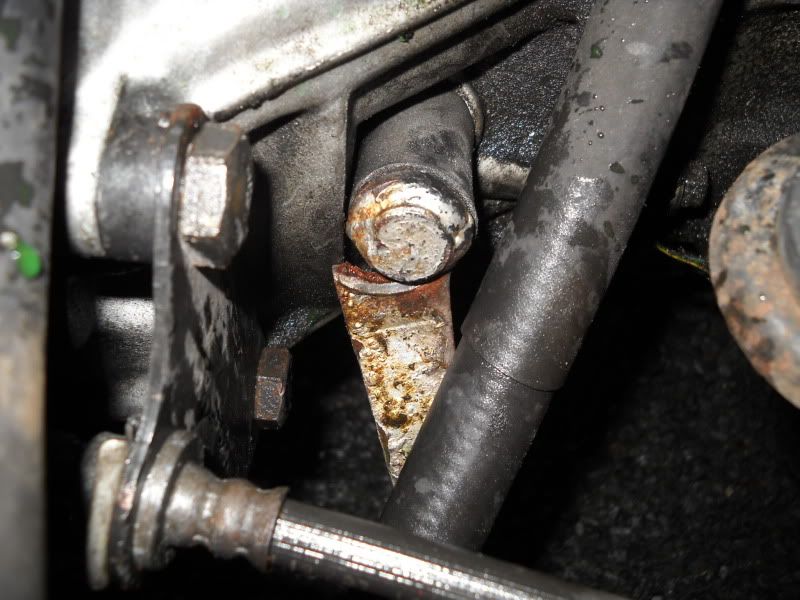
I had the option of weld it, and hope it holds, or find a new or second hand arm, and remove the gearbox to fit it. Being that a good few other bits could do with attention, and that I had a fair bit of free time, I opted for the gearbox-off method. While the car is apart, the following work also was due:
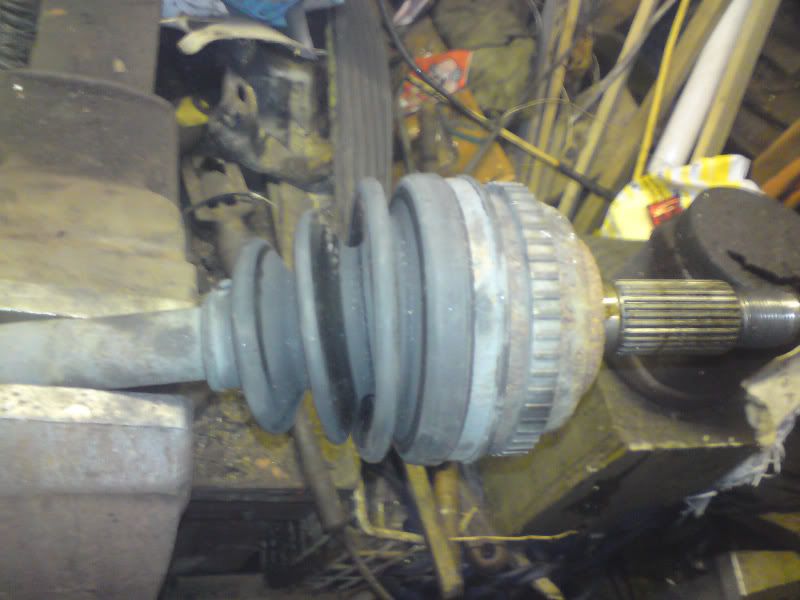
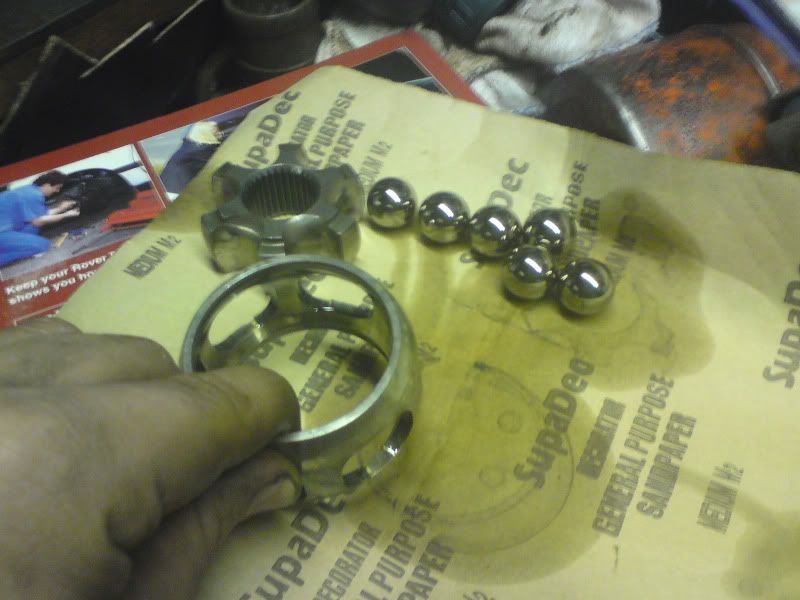
- CV joint gaiters starting to crack
- Bad rust on subframe
- Front brake discs badly lipped and pads low
- Front calipers badly corroded
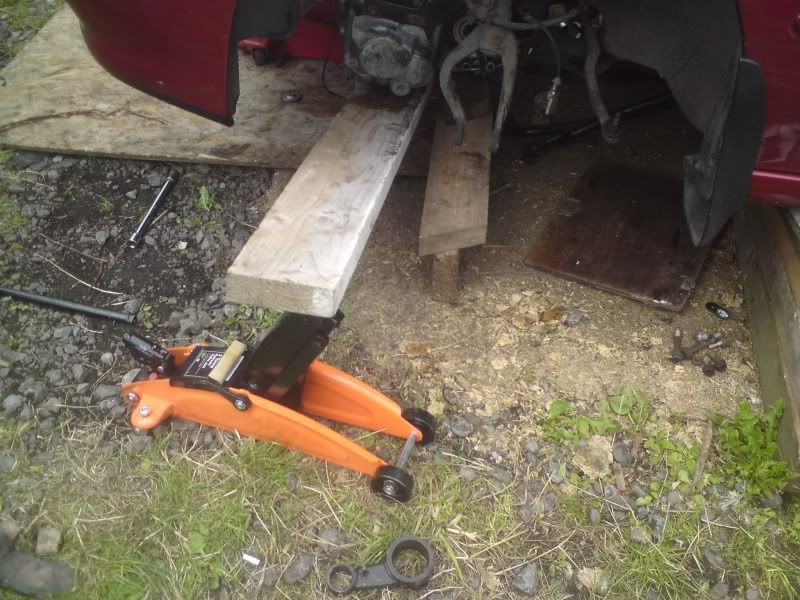
Time to get going...
First, the driveshaft hubnuts are meaty 32/36mm sods, so time for a big manly wrench.
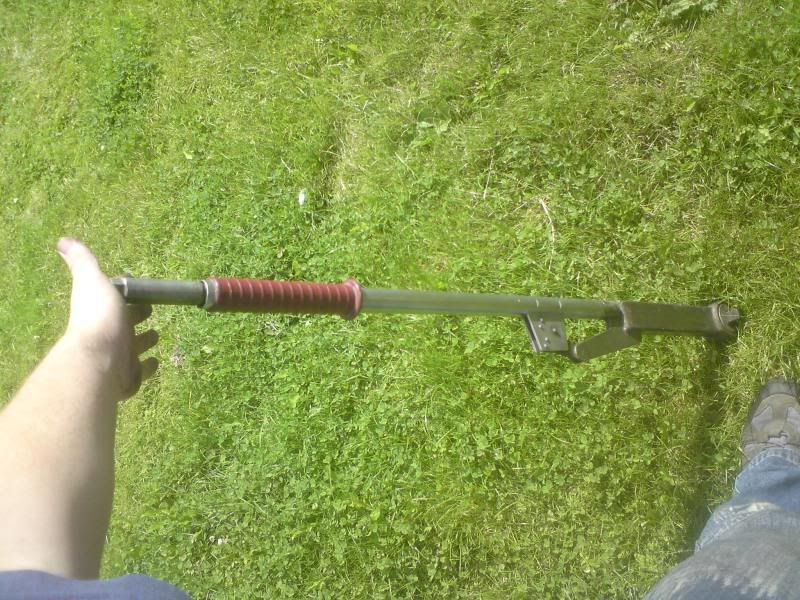
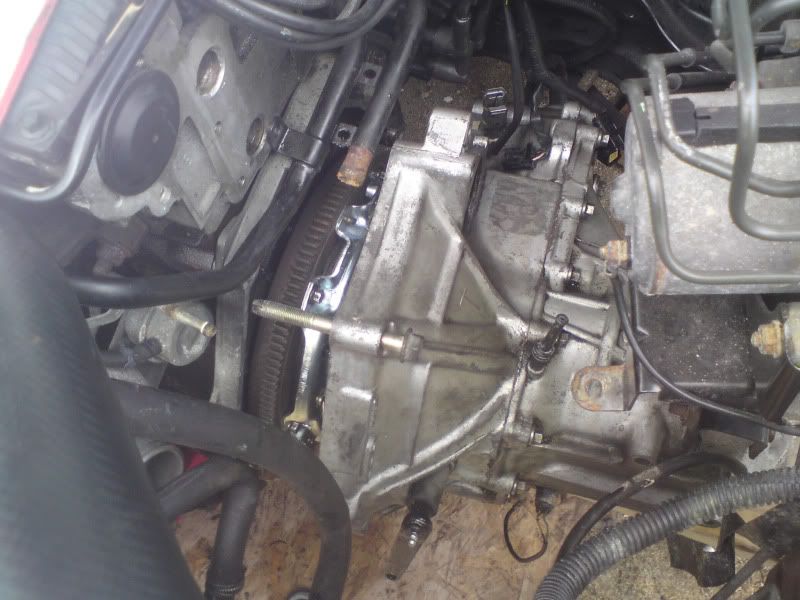
Much bashing later:
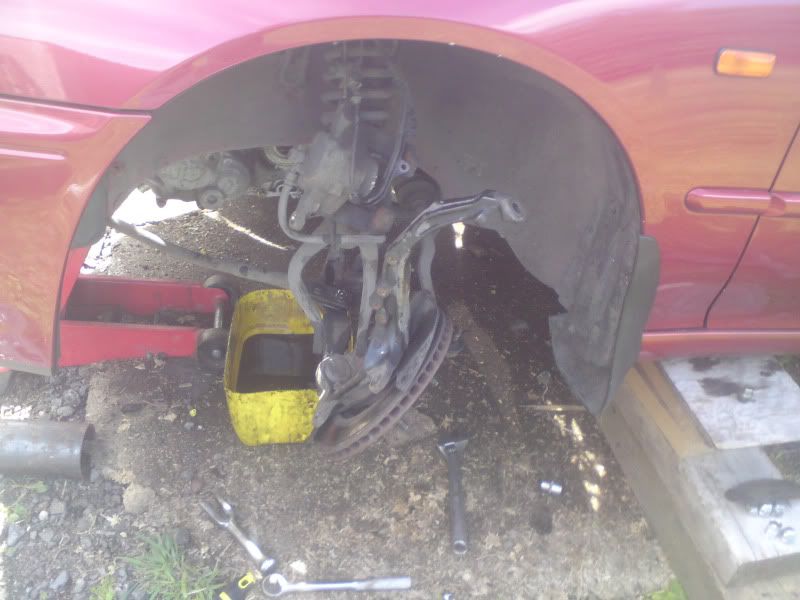
Got the whole hub completely off in the end, balljoints can be a pain to split. The brake discs on the Rover 600 / Honda Accord are mounted behind the hub, well done Honda making removal and refitting a job normally requiring a bearing splitter and lots of hours. Some clever individual on MG-Rover.org has thankfully developed a way to change them without splitting the bearings, making it a DIY job.
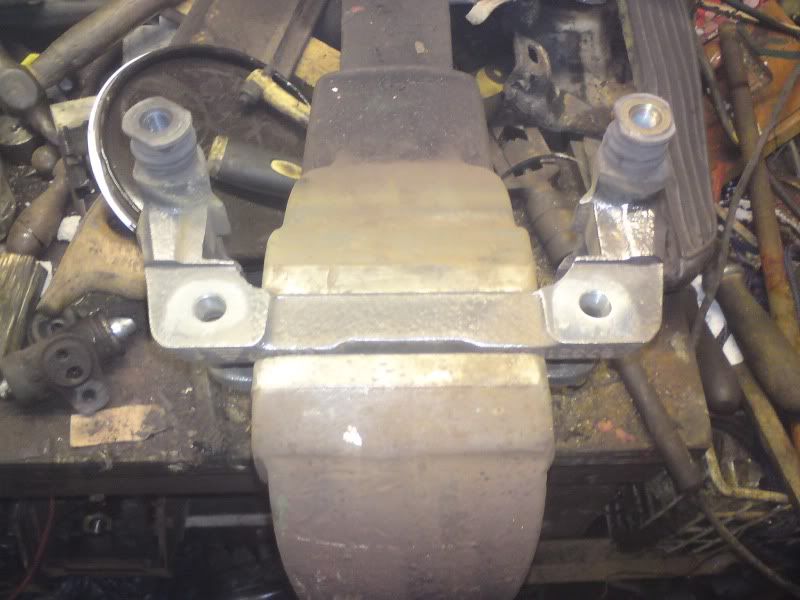
First, you need an impact socket, a big hammer, and 4 lumps of wood or bricks to support the hub assembly. The 4 securing nuts are undone slightly, then let the beating commence!
The socket is hit on the back of each bolt 3 times, then moved diagonally to the next bolt.

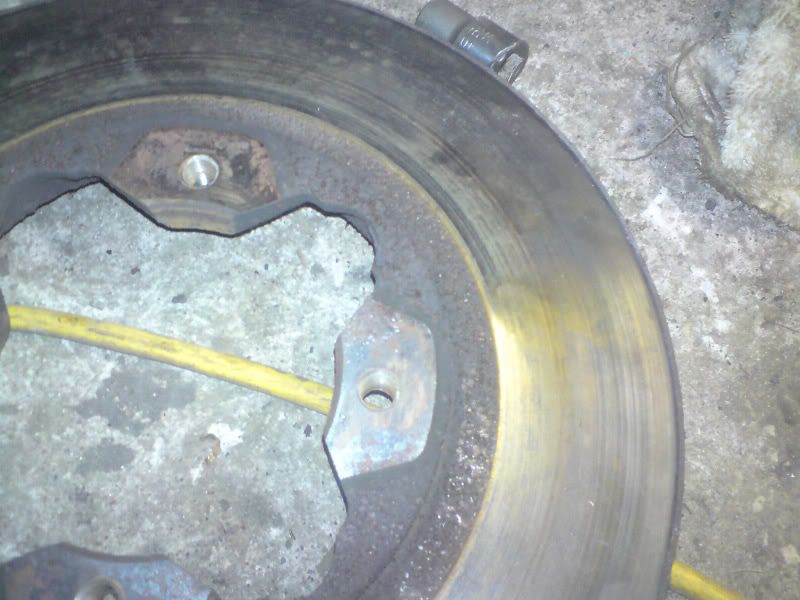
Old disc:
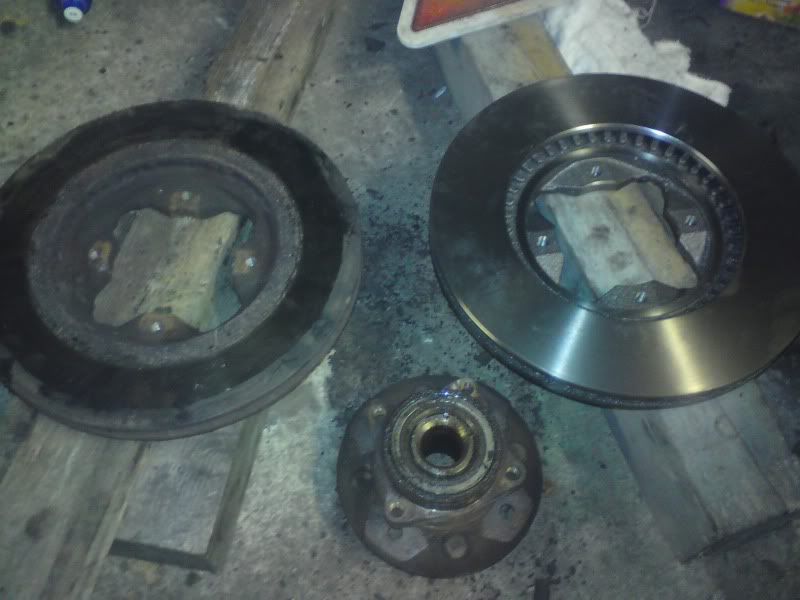
Huzzah! New disc and old, with wheelbearing / brake disc mounting.
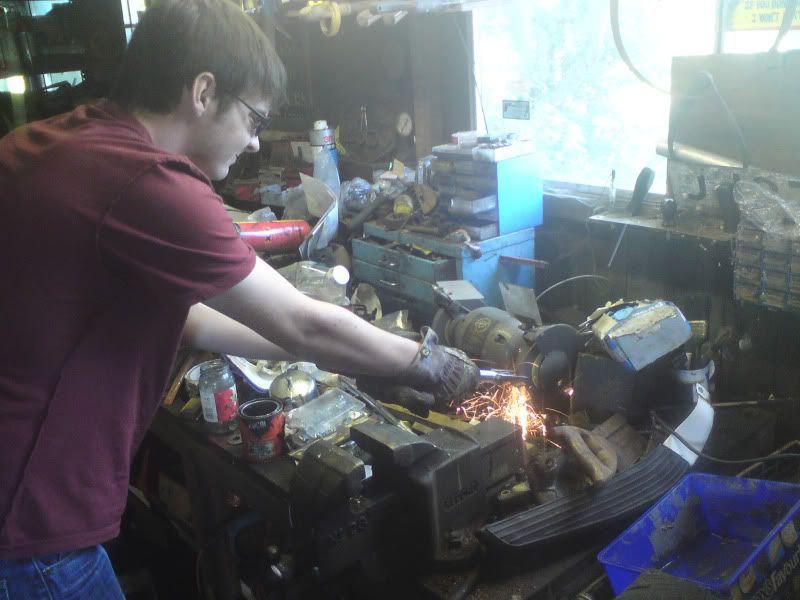
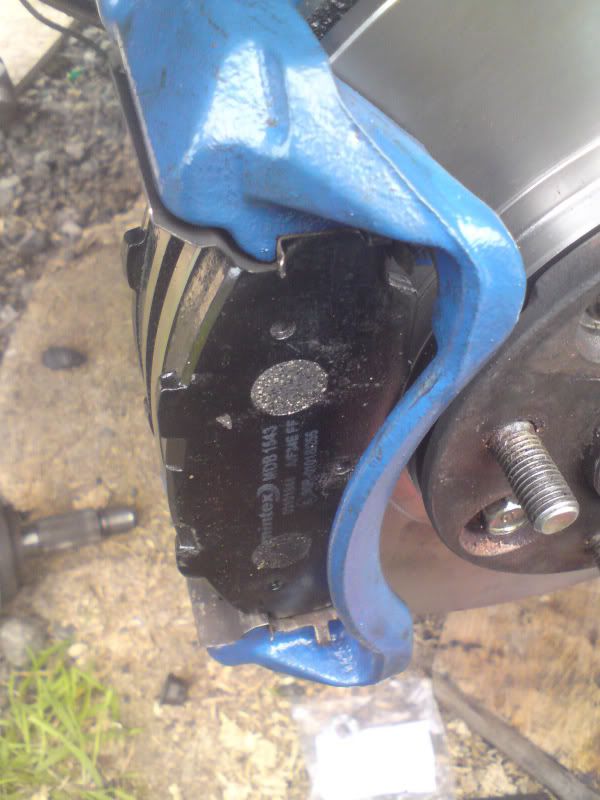
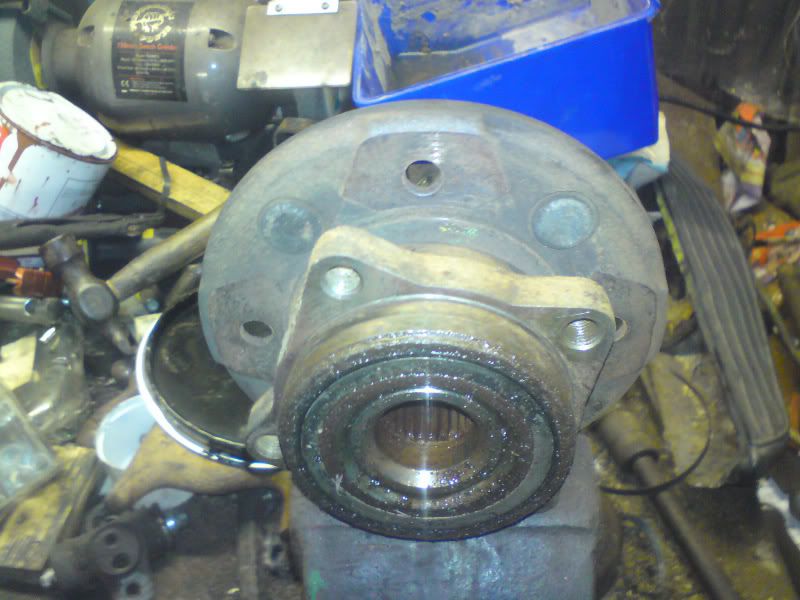
After cleaning up with a brush attachment on the anglegrinder:
And re-ligning up for assembly. When reassembling with a brake disc in place, the wheelbearing / brake disc mounting is lightly tapped into the hub knuckle, then the 4 bolts are progressively tightened to pull the two parts together.
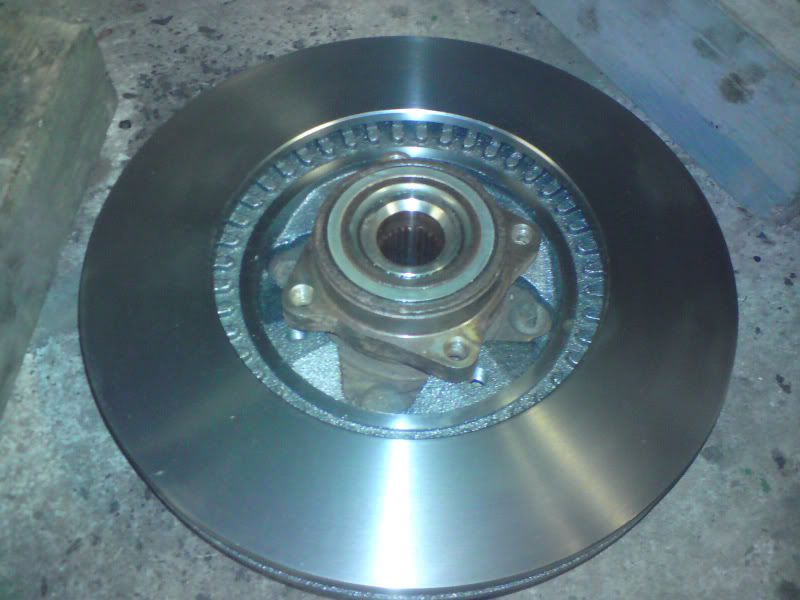
And all finished.

Intro
For those who don't know, the 620ti uses a 197bhp Straight 4 turbocharged engine, front wheel drive with LSD, and is regarded as handling well for a luxobarge. More infos: Parker's Specifications
Basically, I got the car at the beginning of June from an MG enthusiast who is well known, based in Gloucester. He has 3 620tis, but wanted to downsize his collection... so I got a PM from him when I posted asking about quicker options than the 420 diesel.
The pic in the ad:
Scouting round for insurance was fun - after calling several companies, exhausting all the search engines I had 2 companies that would insure me, probably due to me being 20 and the car coming under Group 17!
Taking Ownership
So I trotted down after work one day... finished at 4.30 and bombed down to take a look. Lovely chap, very knowledgeable and more than happy to explain any issues with the car. So I spend a couple of hours there, arrange a deposit, and pop back up 'Norf (Got back at about 1.30am when up at 6.30am next day!
)About a week later, I went to go and pick it up... in my mate's Proton Compact. 3 hours sat with no air con on one of the hottest days this year... that was fun!
Weak alternators
The 620ti, when fitted with aircon as mine was, is known for alternator issues. These stem from the placement of the exhaust manifold in relation to this - the two are about an inch apart at the closest, so it doesn't half soak up a lot of heat when in traffic etc.
Anyway, while in Oxford on an OcUK meet, I overtook a Civic and suddenly the blowers in the car came on full whack. Worrying? I pulled over, and everything seemed fine!
It turns out the regulator in the alternator had died - when I rose above 2000rpm the lights, heater blower and anything else electrical would go haywire. Cue me driving home with everything electrical on full, at 40mph, in order to keep everything stable. Got there in the end though!
This happened a week after getting the car. The failed unit was obviously fairly old, corrosion had set in and it was an original Rover part. After talking to several companies, I had a recon unit sent out for £117, not bad considering it was an uprated beefy 95A jobby.
Replacing this was fun, didn't get any pictures as it was a rused job but 2 hours later, 3x 10mm sockets and lots of blood later it was off.
Simple to refit, although made more difficult by me refusing to de-gass the aircon and remove a pipe that makes access easier!
Cam belt replacement
I knew this was probably due - the most recent was at 70k and 7 years ago, and it was on 118k then. Recommended service interval for this is 60k.
After my success with the alternator, I (stupidly) decided to give this a go. As a bit of background info, the T Series engine uses a bog standard twin overhead cam arrangement, with a manual tensioner. The tensioners are designed for the life of the engine, with a full metal construction.
Replacement wasn't too difficult - I simply used some old touch-up paint to mark the pulleys and the old belt for refence if i knocked the timing during the belt change.
This didn't go smoothly - the tensioner bolt was very, very tight and would not budge for the life of me, my cheap socket set probably didn't help! So in the end I did the manly thing, and gave up. It just so happens the tension currently set was fine for the new belt, lucky me.
Pictures coming soon
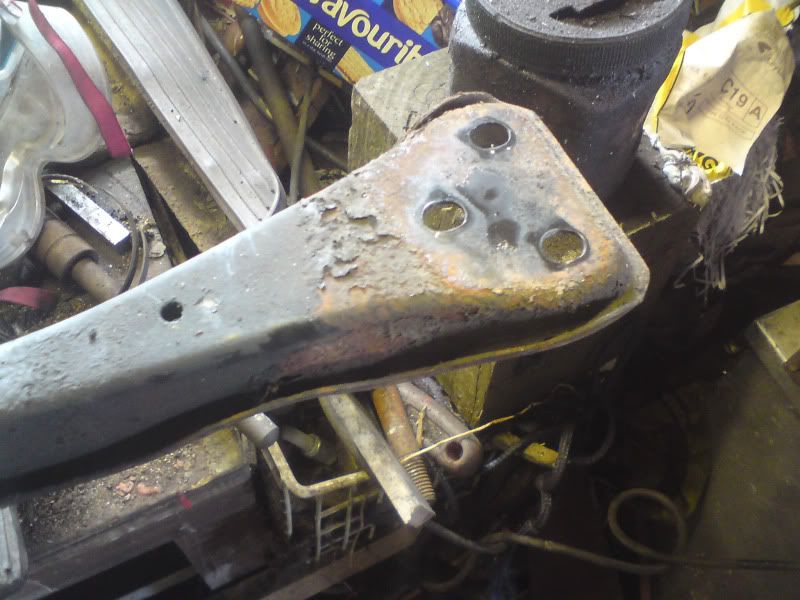
Clutch release arm failure, amongst other things!
By far, the most challenging issue to date. Driving fairly hard one night, I went to change into 3rd, and the pedal didn't come back up after the shift. Damn! I knew clutch slave cylinders are weak on the PG1 gearboxes, so assumed it was this and called the RAC to come and rescue me.
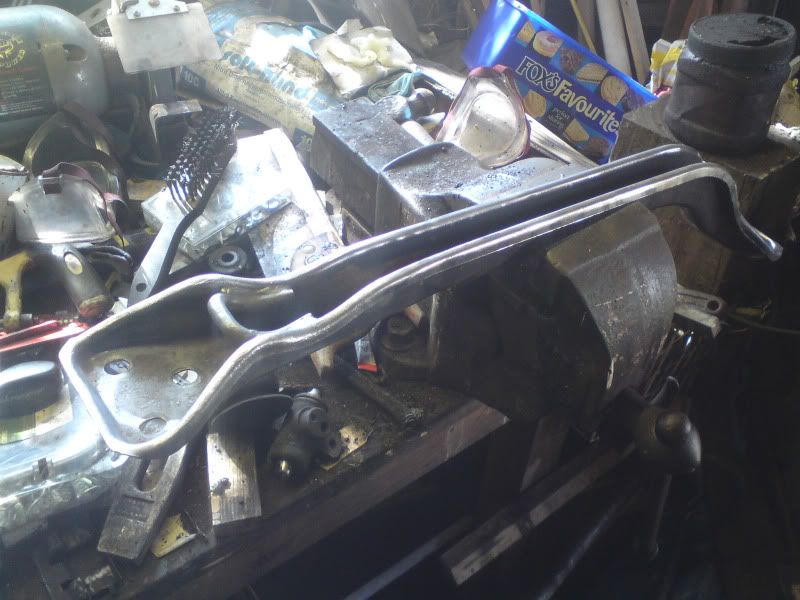
Turns out I'd done some serious damage...
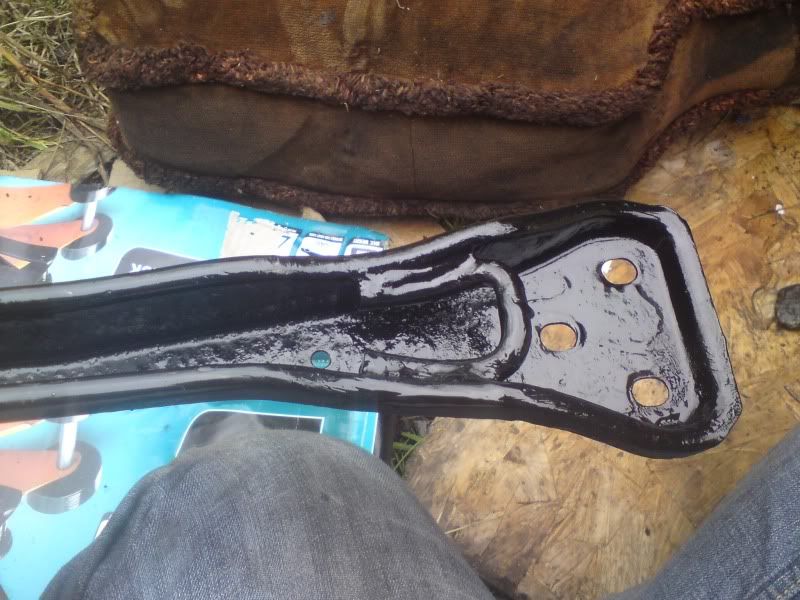
I had the option of weld it, and hope it holds, or find a new or second hand arm, and remove the gearbox to fit it. Being that a good few other bits could do with attention, and that I had a fair bit of free time, I opted for the gearbox-off method. While the car is apart, the following work also was due:
- CV joint gaiters starting to crack
- Bad rust on subframe
- Front brake discs badly lipped and pads low
- Front calipers badly corroded
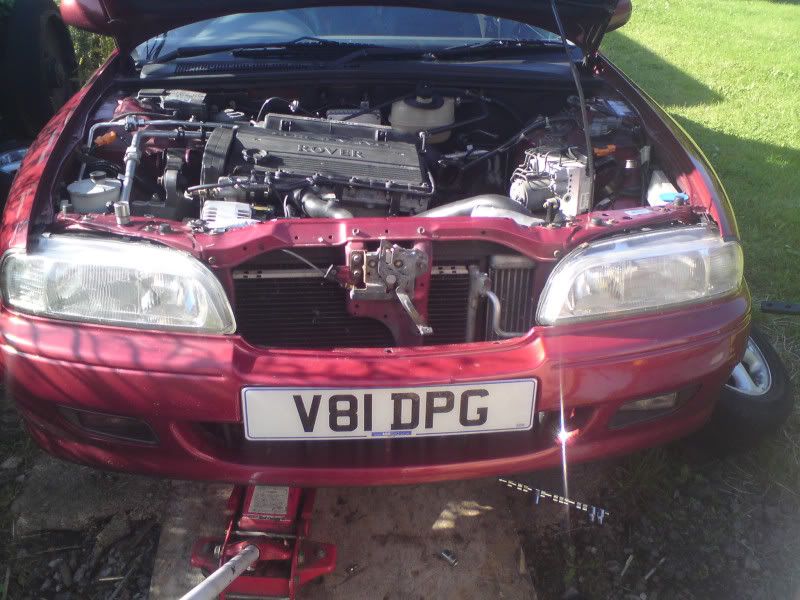
Time to get going...
First, the driveshaft hubnuts are meaty 32/36mm sods, so time for a big manly wrench.
Much bashing later:
Got the whole hub completely off in the end, balljoints can be a pain to split. The brake discs on the Rover 600 / Honda Accord are mounted behind the hub, well done Honda
making removal and refitting a job normally requiring a bearing splitter and lots of hours. Some clever individual on MG-Rover.org has thankfully developed a way to change them without splitting the bearings, making it a DIY job. First, you need an impact socket, a big hammer, and 4 lumps of wood or bricks to support the hub assembly. The 4 securing nuts are undone slightly, then let the beating commence!
The socket is hit on the back of each bolt 3 times, then moved diagonally to the next bolt.
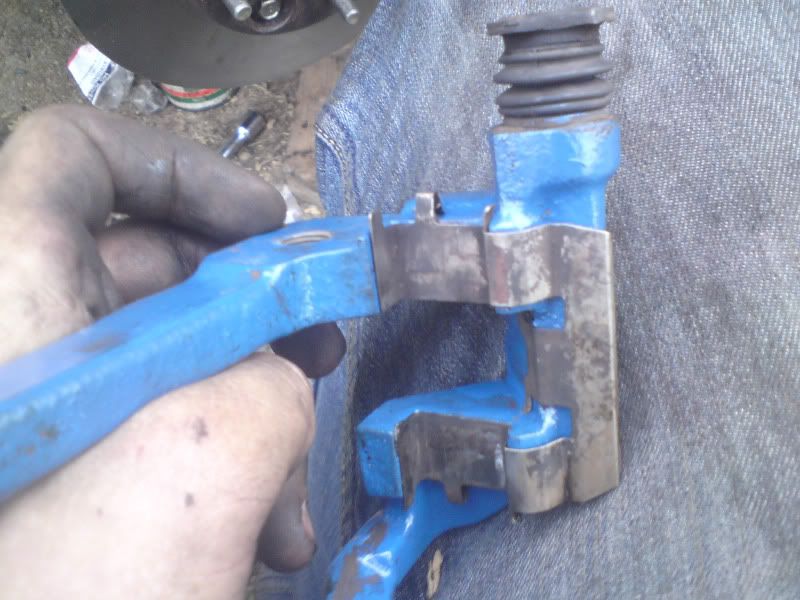
Old disc:
Huzzah! New disc and old, with wheelbearing / brake disc mounting.
After cleaning up with a brush attachment on the anglegrinder:
And re-ligning up for assembly. When reassembling with a brake disc in place, the wheelbearing / brake disc mounting is lightly tapped into the hub knuckle, then the 4 bolts are progressively tightened to pull the two parts together.
And all finished.