Project: Silent Overkill

Soldato
OP
Joined
4 Jun 2007
Posts
2,619
Location
Watford, UK
Beautiful. Love it.

Cheers. Getting there slowly. Still want to replace half the metal with acrylic. Deluding myself that I'll be happy then! :D

Looking good, but going to look even better watching the blocks change with the temperature, both completely in sync & gradually changing the whole look of the case... One complete hammering of the GPU to bump the temps up and all that soldering of LEDs will feel like time well spent :D

Now I've got to ask... Forget to light the reservoir?! :p

At the moment they're not in sync as they're keyed off the temp of the item they're in. Could key them all off coolant temp to sync them up though.

No, honestly. I'd thought about doing it but couldn't because the mounting screws go through the plate that covers the LED holes. Planned to do it at next drain....and failed. It's not a 'guess what surprise I have coming up', it appears I really am just that stupid. Next drain, for sure :D
 
Associate
Joined
22 Nov 2015
Posts
997
Location
Wales
Well as you've got to drain in again anyway... :p

Seriously though, that's going to look stunning when it's finished. Trouble with being an OCD PITA is I could never have the blocks slightly different colours, so would have to do both either completely different or both off water temp... Both and res off same temp sensor would look awesome though :D
 
Associate
Joined
22 Nov 2015
Posts
997
Location
Wales
Now I know how much you like your shiny things from Aqua Computer, and I also know you're always looking for ways to spend a bit more cash on shiny things from Aqua Computer, so I'll just be leaving this here and let you know they're available from the obvious website...

21645.jpg


:D
 
Soldato
OP
Joined
4 Jun 2007
Posts
2,619
Location
Watford, UK
Shiny! I like! :D
Don't mention the RGB word! Already been to two different places today to get heatshrink. 1.5mm fits over the resistors and is small enough to hug the wire when shrunk...but I ran out. Ordered more...and it was missing from the order. Picked up the 1.6mm from stock. 1.6 > 1.5 therefore fine, right? No. The 1.6 is smaller than the 1.5mm...somebody isn't being accurate in their measurements!
Right now I'm trying to get 6 LEDs worth of wiring in a space suitable for 4...at a push! Will get pics up soon...If my sanity holds out! ;)
 
Last edited:
Soldato
OP
Joined
4 Jun 2007
Posts
2,619
Location
Watford, UK
Ok, so why am I constantly whining about how much of a pain it is to wire up these RGB LEDs? I'll try to explain....please leave your sanity by the door :D

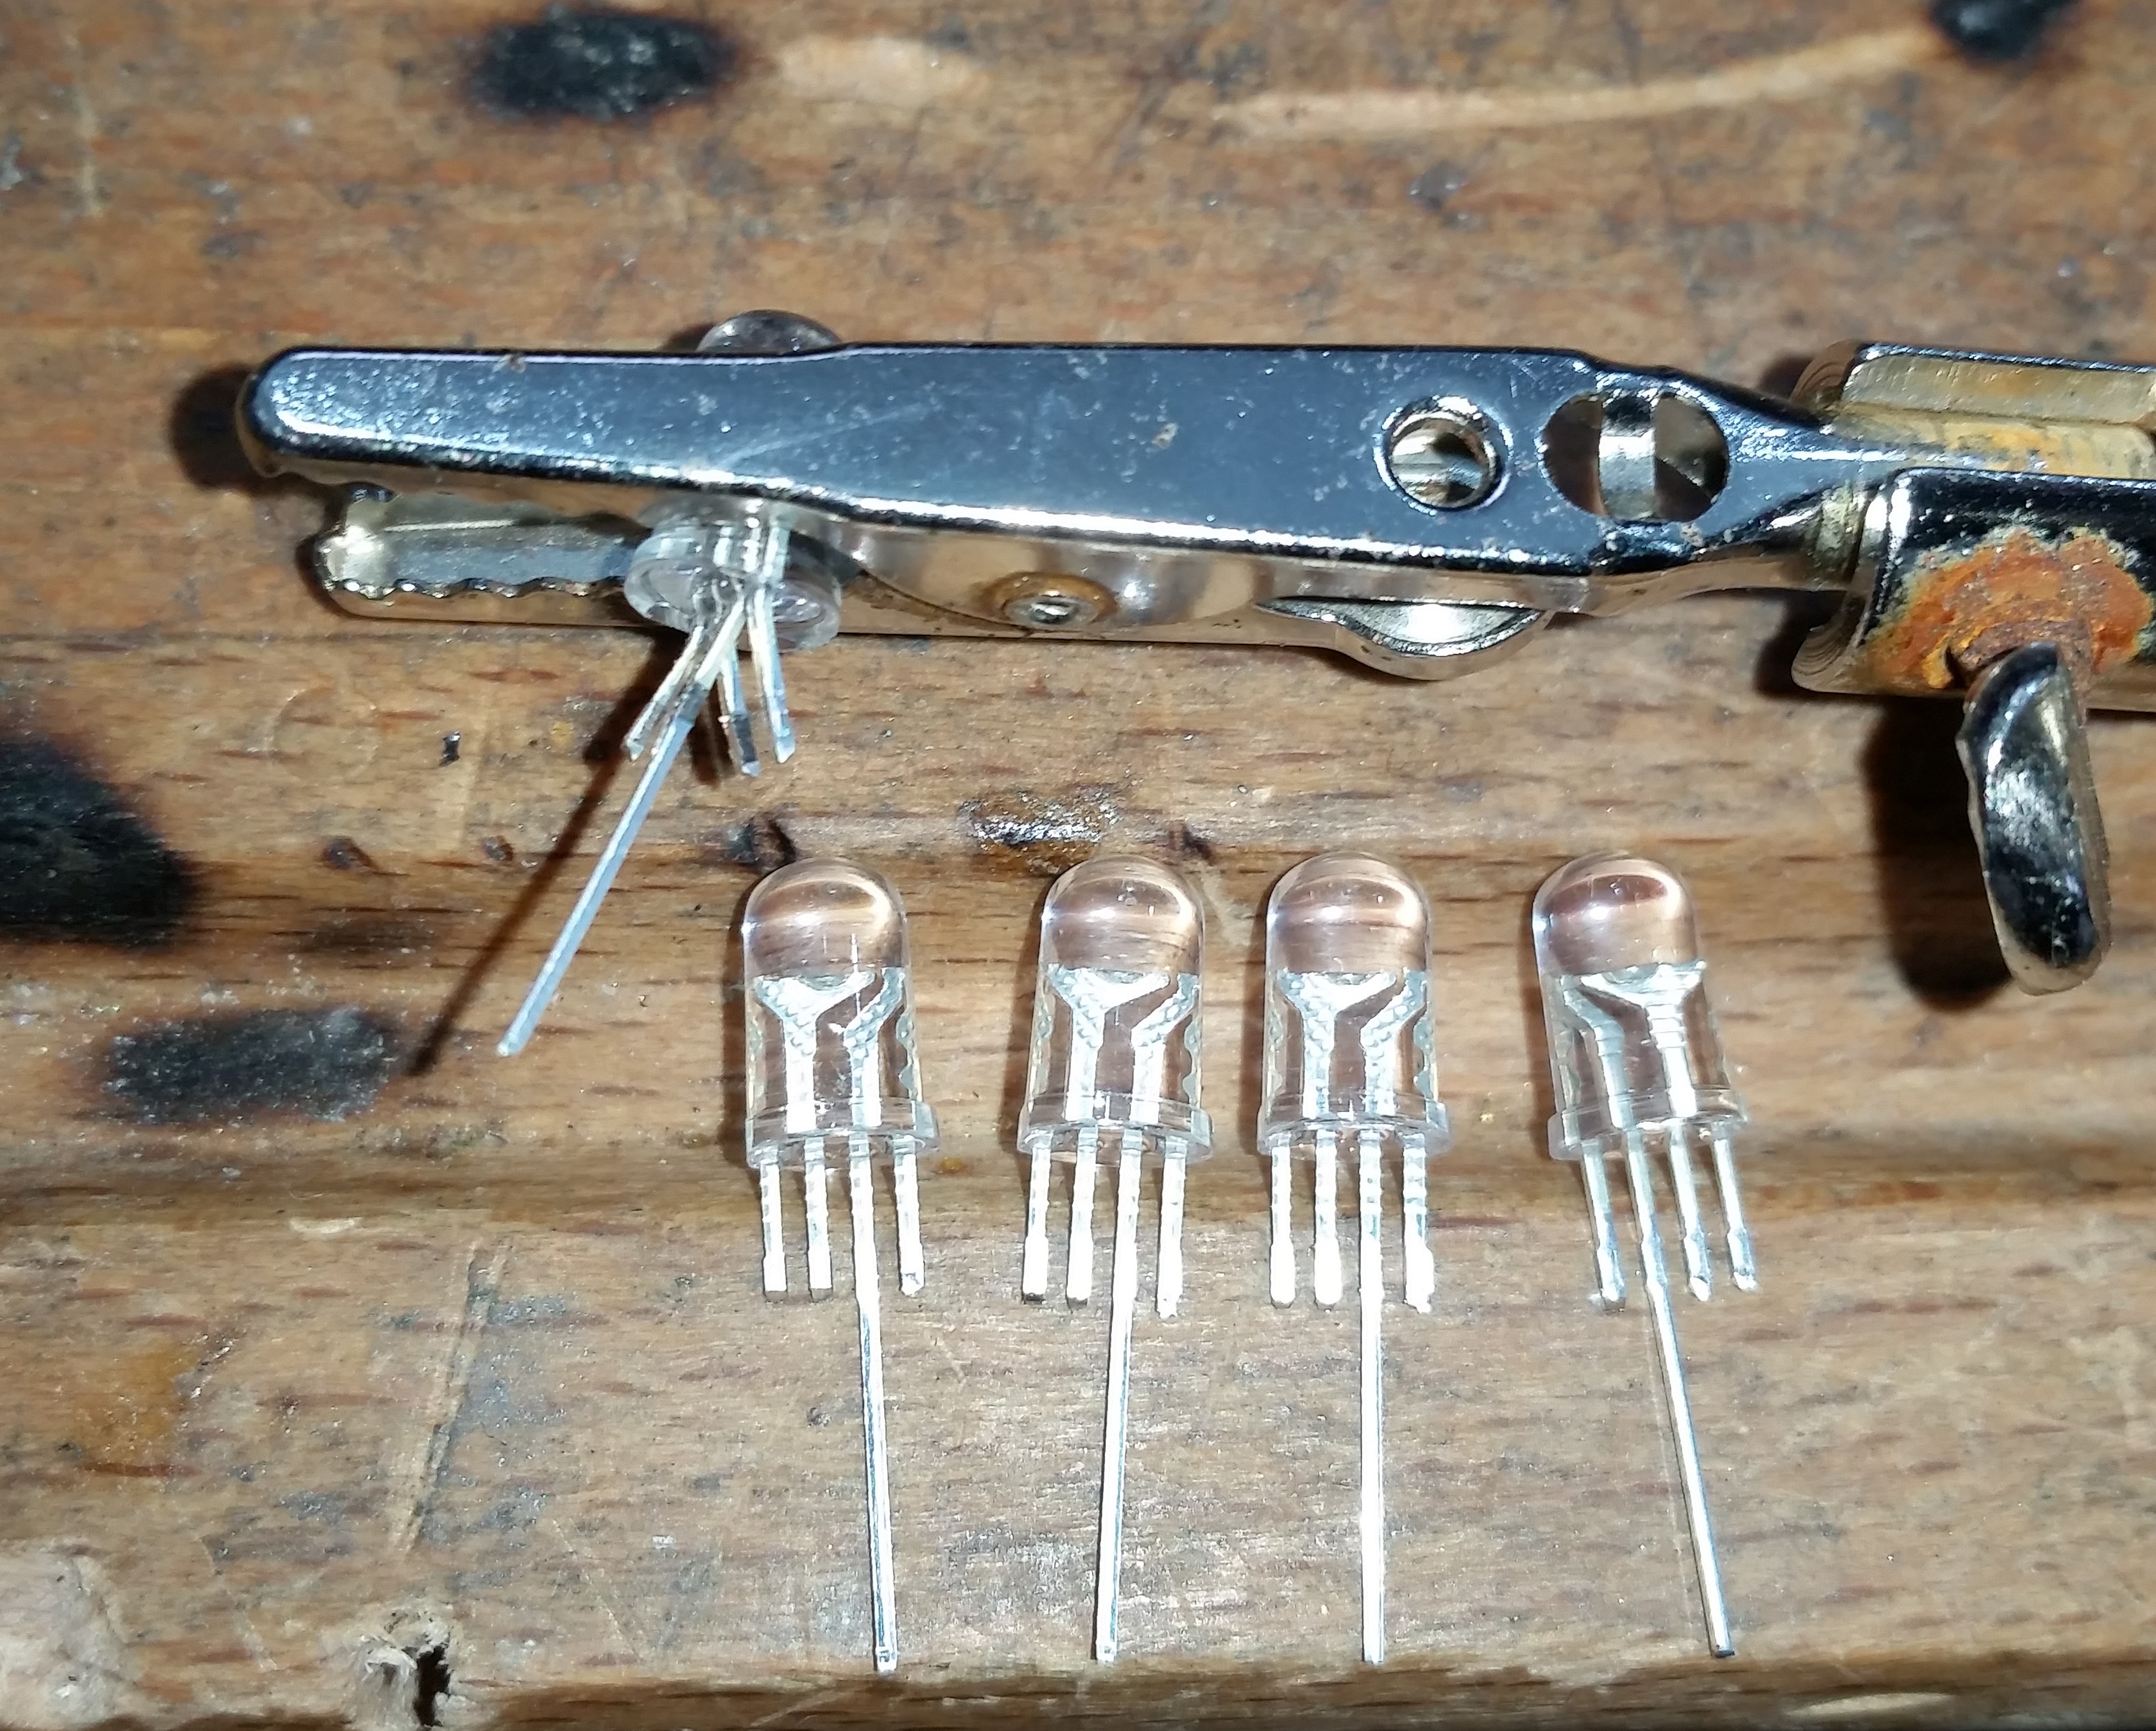
First, you take a bag of 4-pin 5mm RGB LEDs. To work with the Farbwerk - which usually uses RGB LED strips (as opposed to singles) - you need common anode RGB LEDs. This means the 4th pin (or 2nd, if you want to be positional - they're wired R+GB) is a shared positive pin. ALL the RGB LEDs you can buy in this country (I searched quite a few places and found none) are common cathode - the shared pin is negative. So, from China with love, you eventually get a bag of 100....cos I anticipated mistakes :D

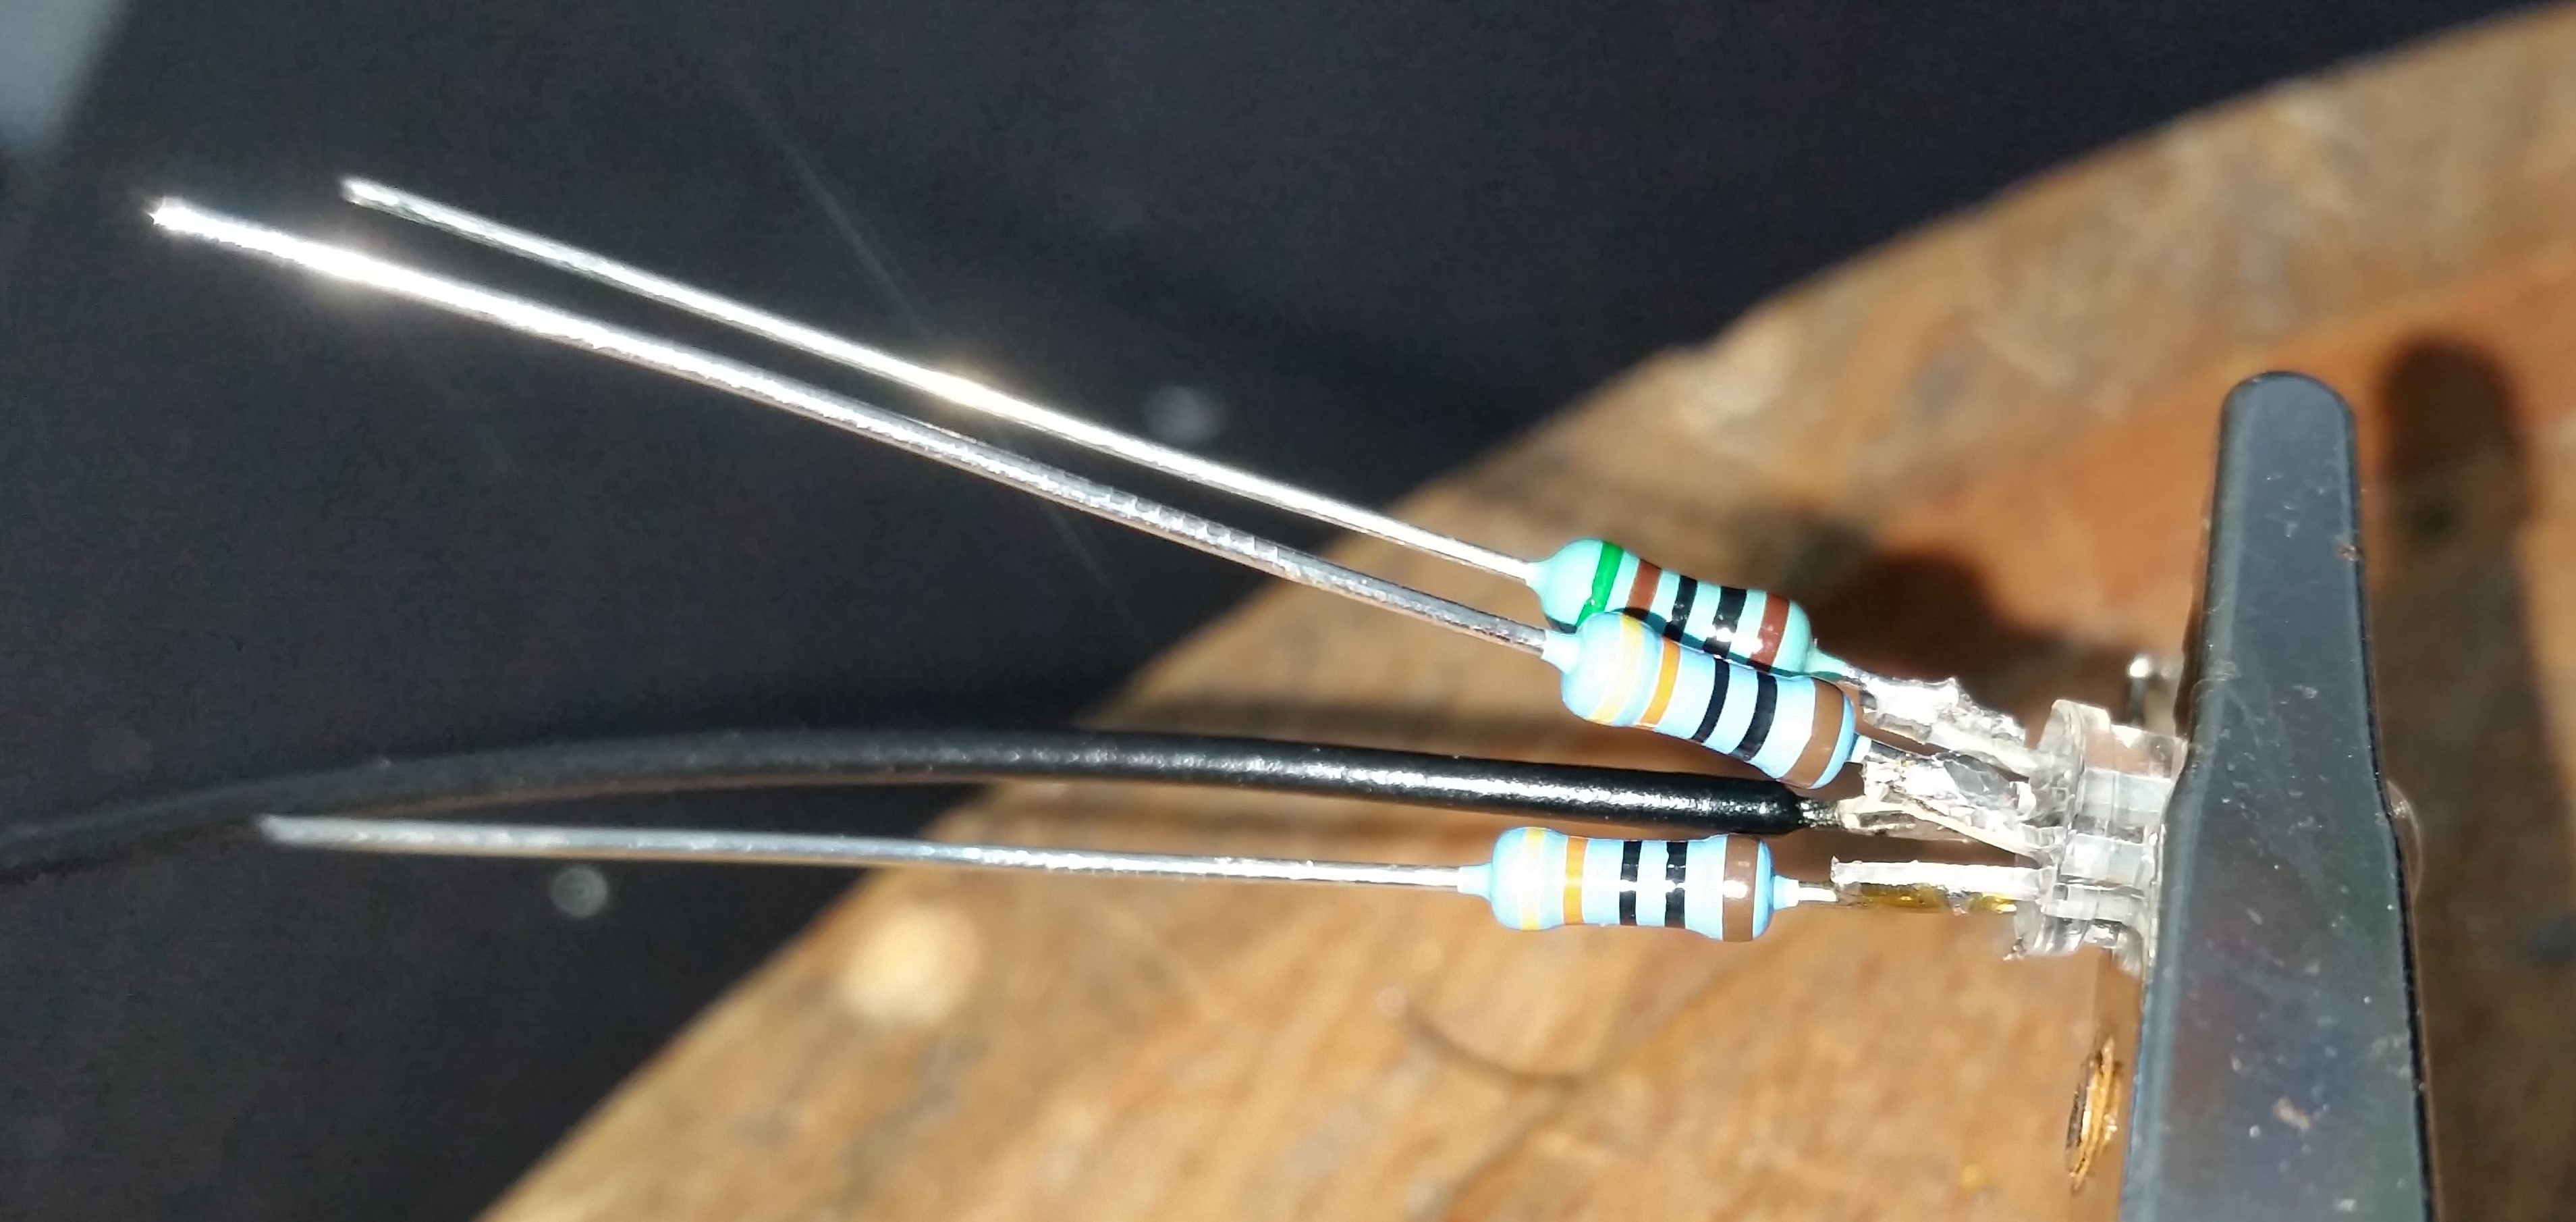
You need (for these particular spec LEDs) a 510 Ohm resistor for Red and 430 Ohm resistor for each of Green and Blue. I'd planned to wire them in series but because there is a common pin, you can't. So you need three resistors per LED - you can't share them with LEDs run in parallel off them because you end up with different brightness LEDs....also, that'd be far too easy *sigh*

So, I've snipped down the pins to a more manageable length. I've left one longer because I need the whole package to fit down the conveniently deep holes in the bottom of the res so one resistor is going further back to make it slimmer. Pins are then bent alternately forward and back just to make it easier to solder onto them.


Resistors soldered directly onto the LED pins. From the top that's Red (bent up), + (bent down), Green (bent up), Blue (bent down). The resistor for the red is a different value as shown by the different bands - the entire body is actually a different colour but doesn't show up in these high quality pics :D


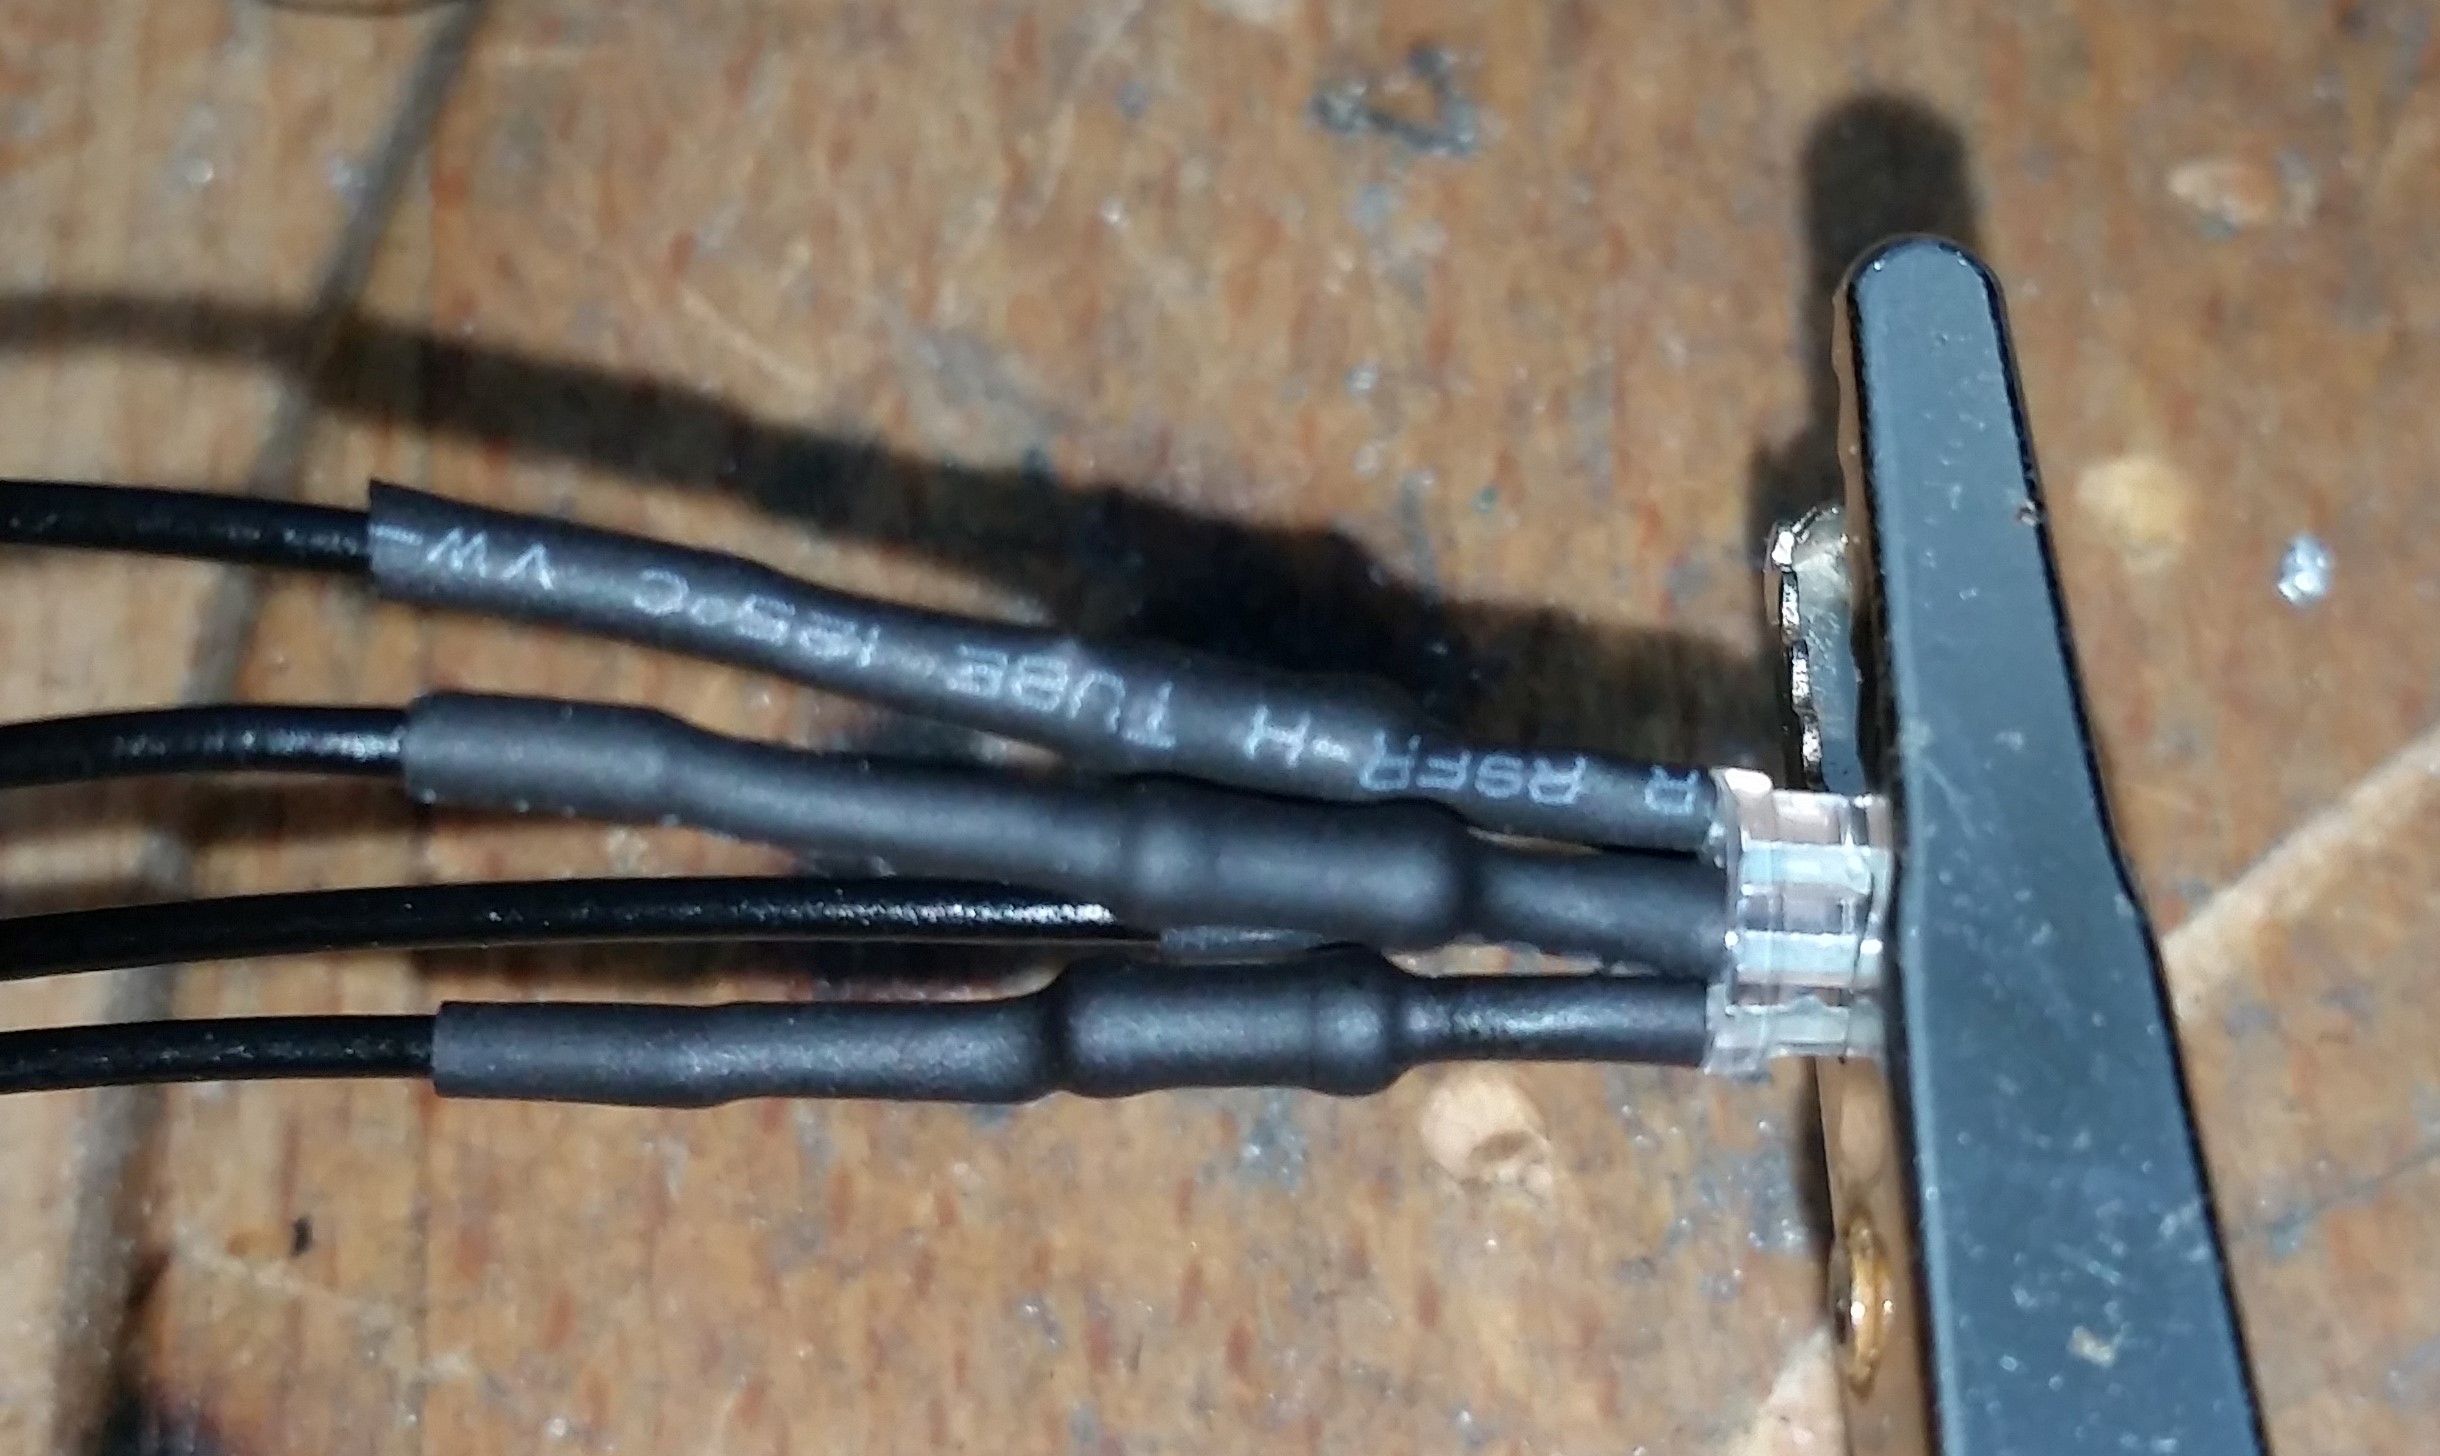
Next solder an excess of wire onto the other side of each resistor - trimming the lead short first. The shared positive had a wire directly onto it as it doesn't need its own resistor. Heatshrink over the top to cover both solder joints and the exposed pin - don't want these shorting out when they're next to impossible to get to. 1.5mm heatshrink from a blue highstreet component shop fits very nicely. 1.6mm from RS, does not :mad:


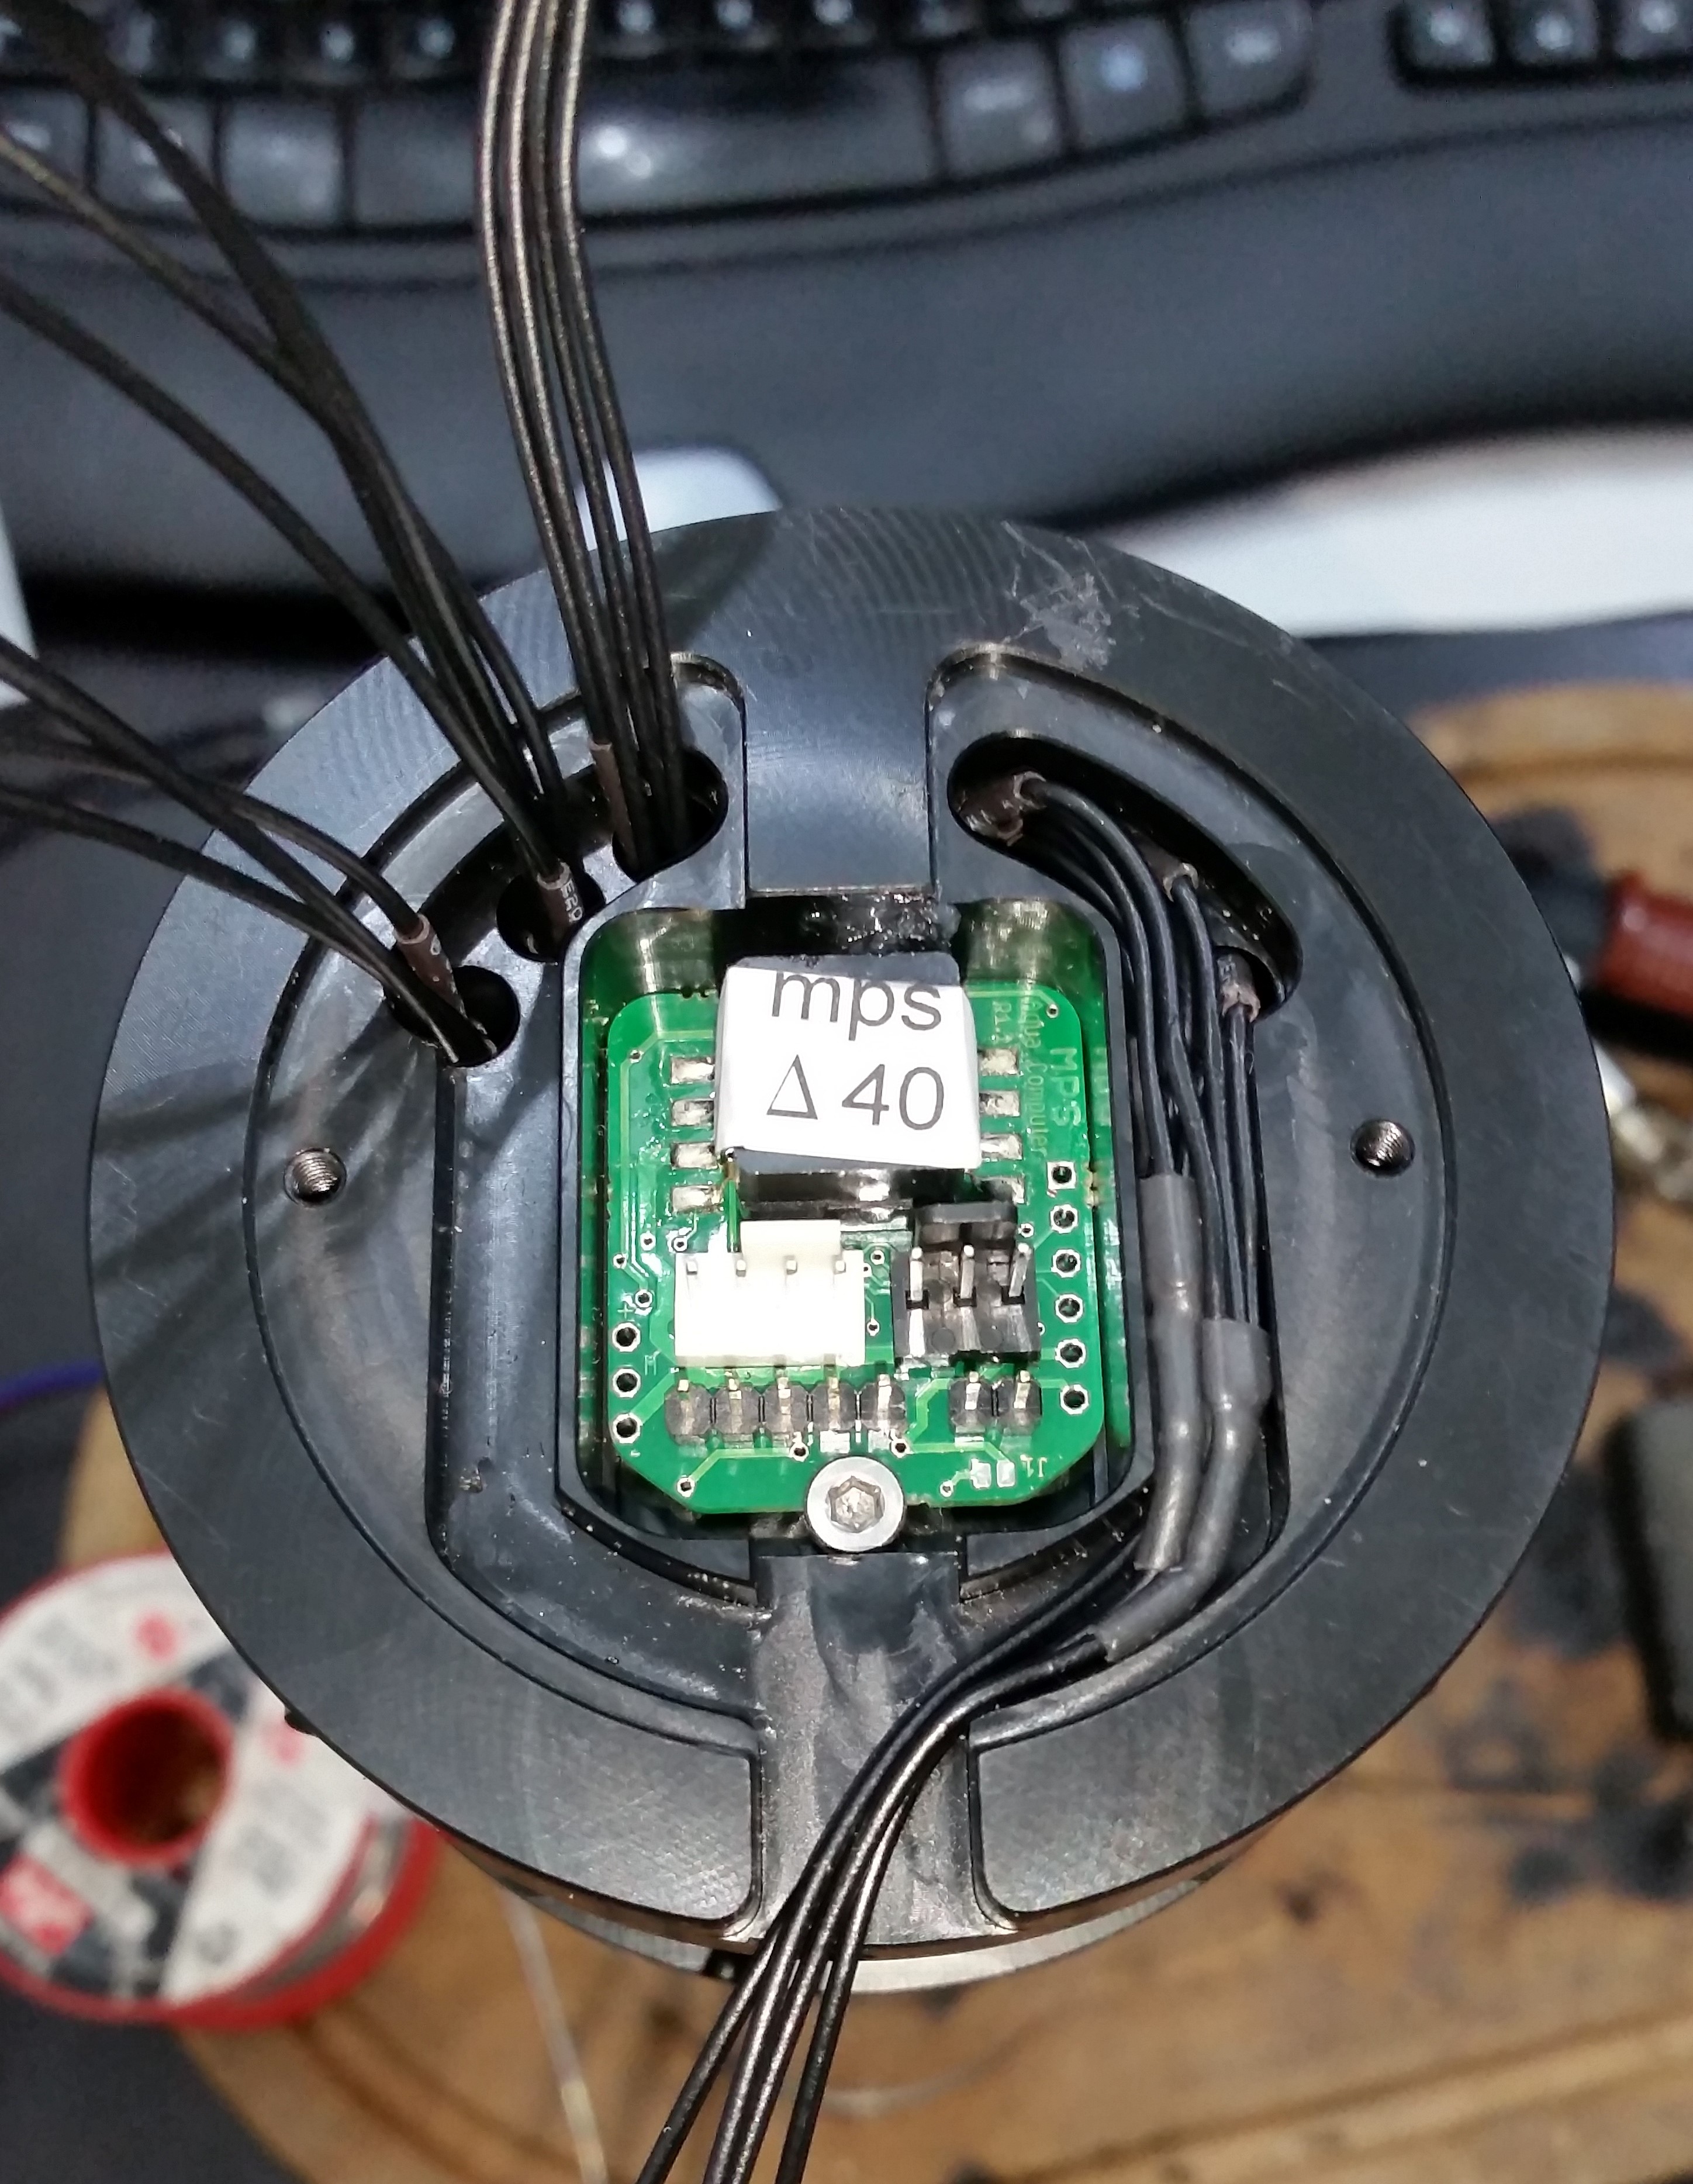
Next, you have to carefully arrange and join all three Red wires, +ve wires, Blue wires and Green wires....I would have made it easier for myself if I'd got wires in each those colours...but clearly I suffer from some form of advanced masochism! The left is before, the right is after.


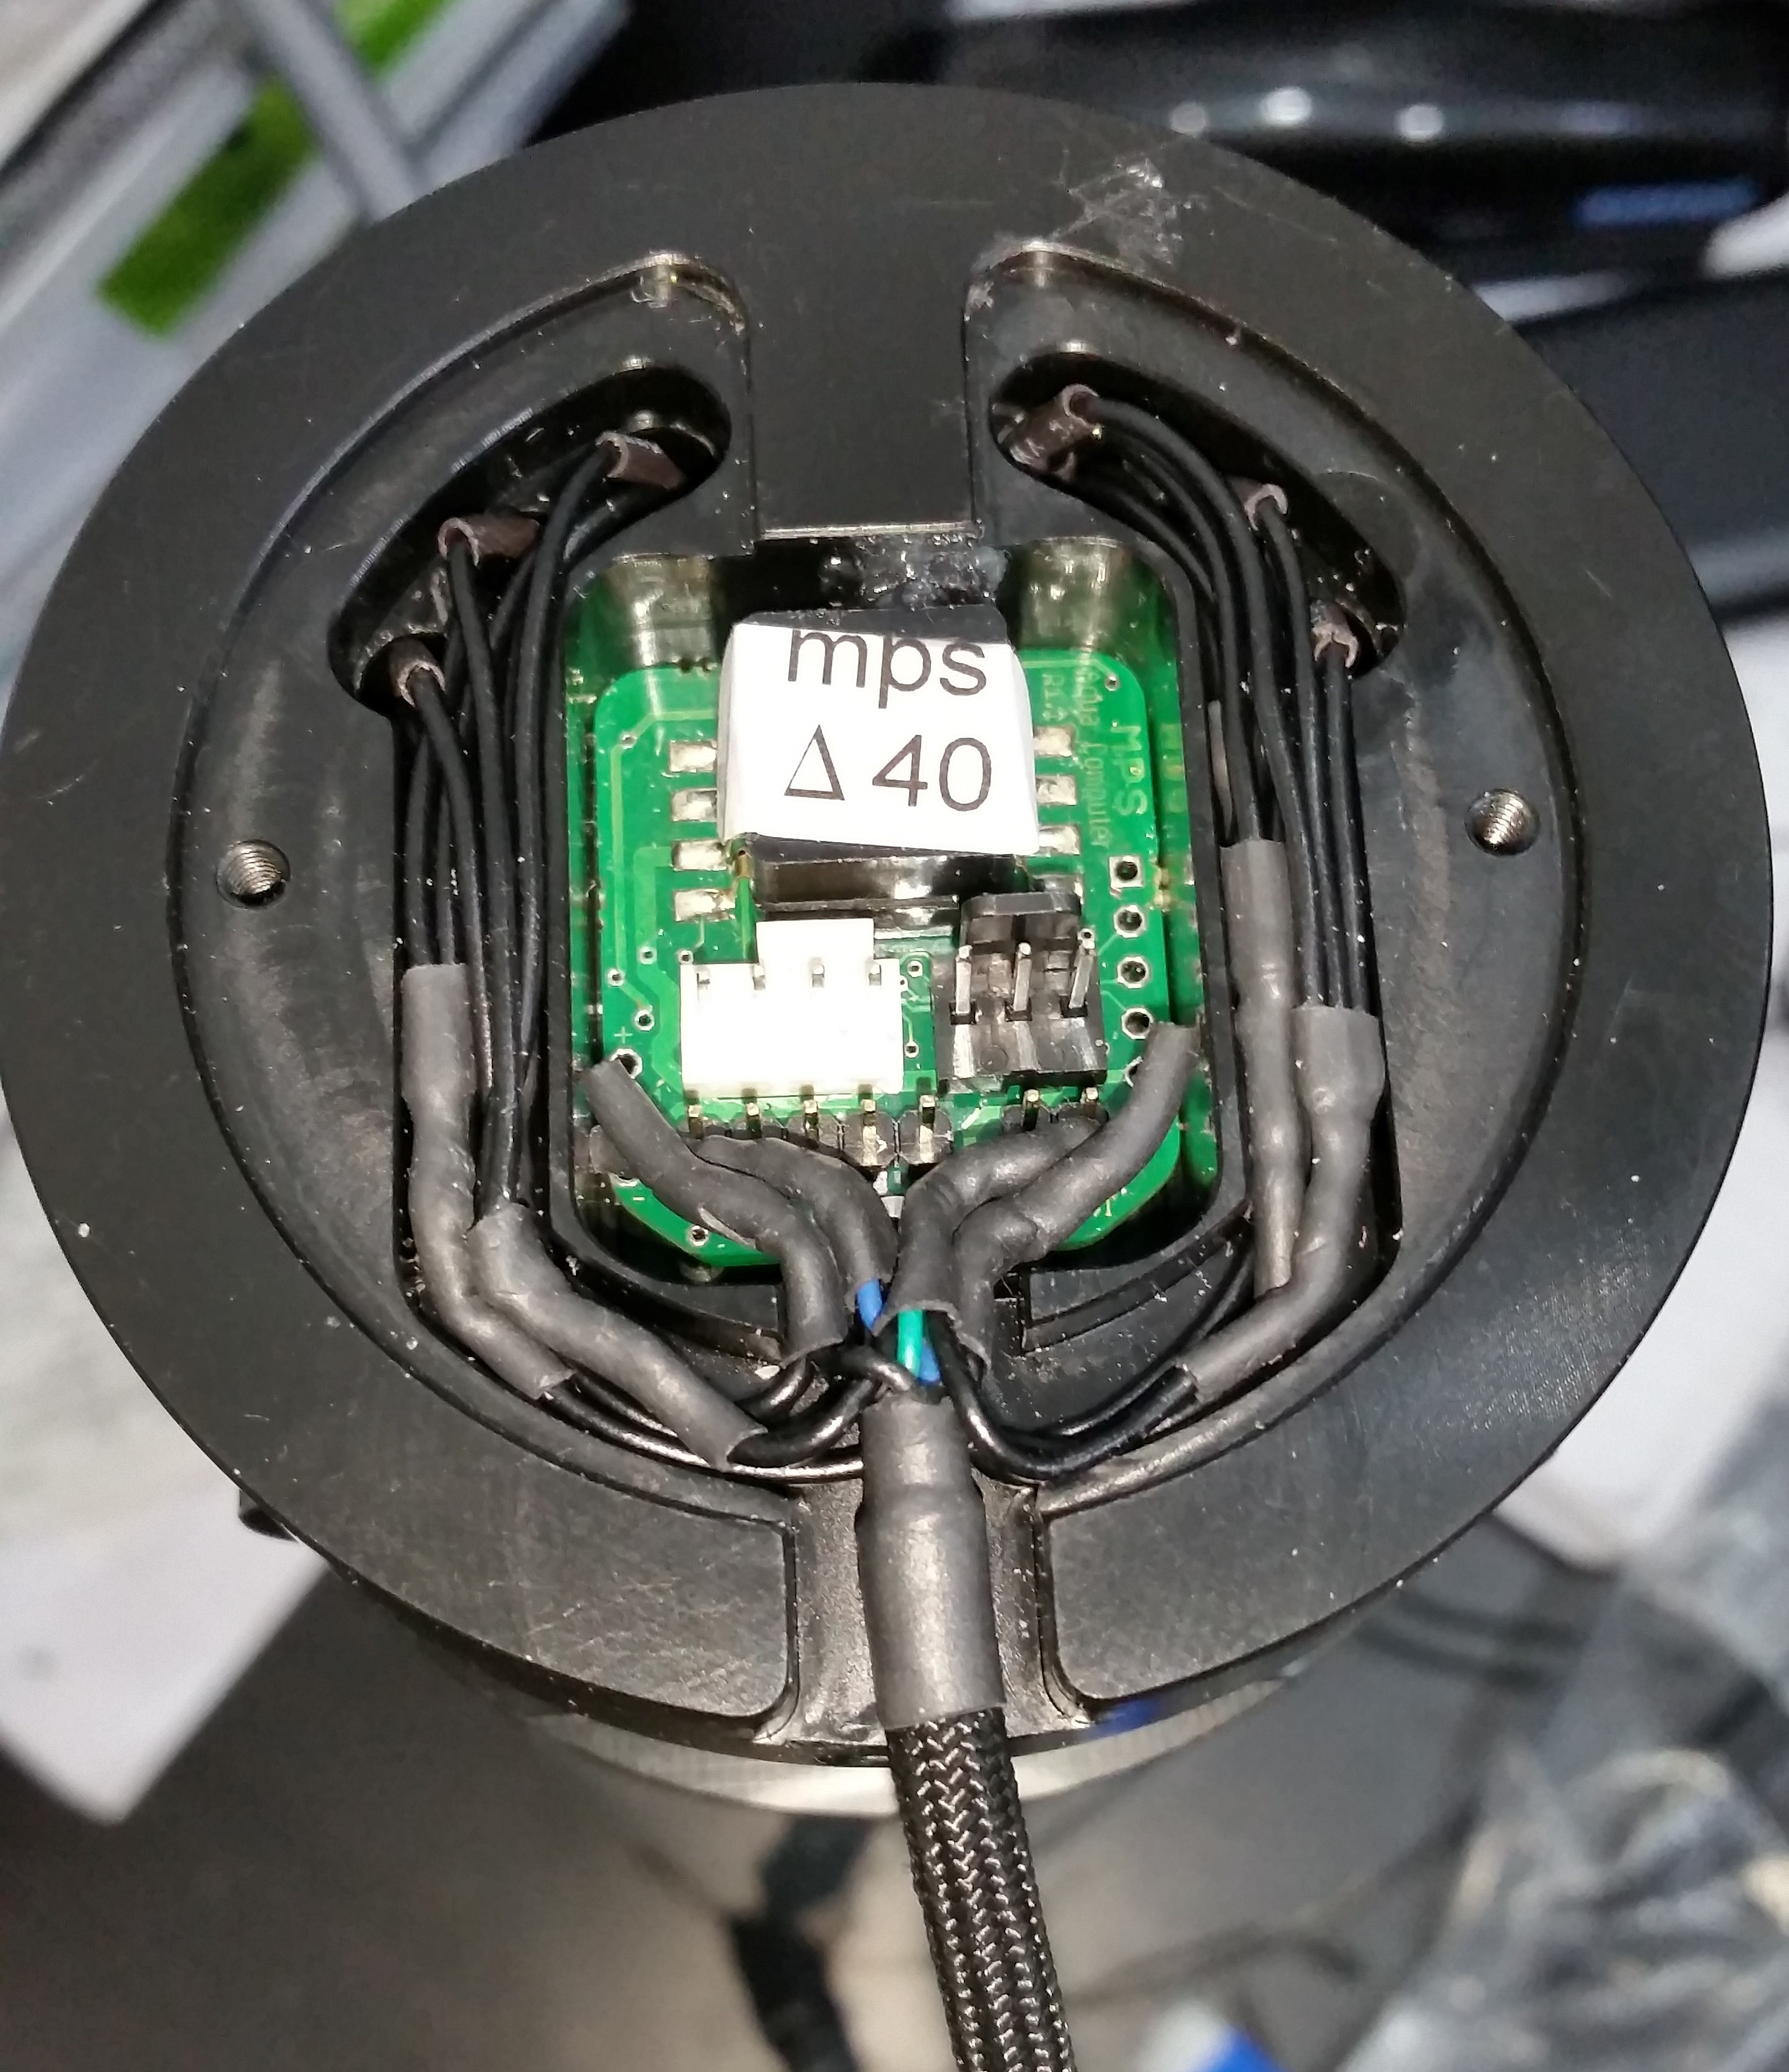
The two sides then had to be joined together and then soldered onto the cable that goes to the Farbwerk. THIS is what stuffed truly means :D I did bend the ends more so they weren't in the way of the pins....just after I took the pic, naturally. There was a fair amount of swearing by this point anyway....especially as I'd found out half way through joining the second bank of three that I'd managed to swap the red and blue channels of one LED and had to carefully cut off the heatshrink and re-solder a longer wire back onto one pin.


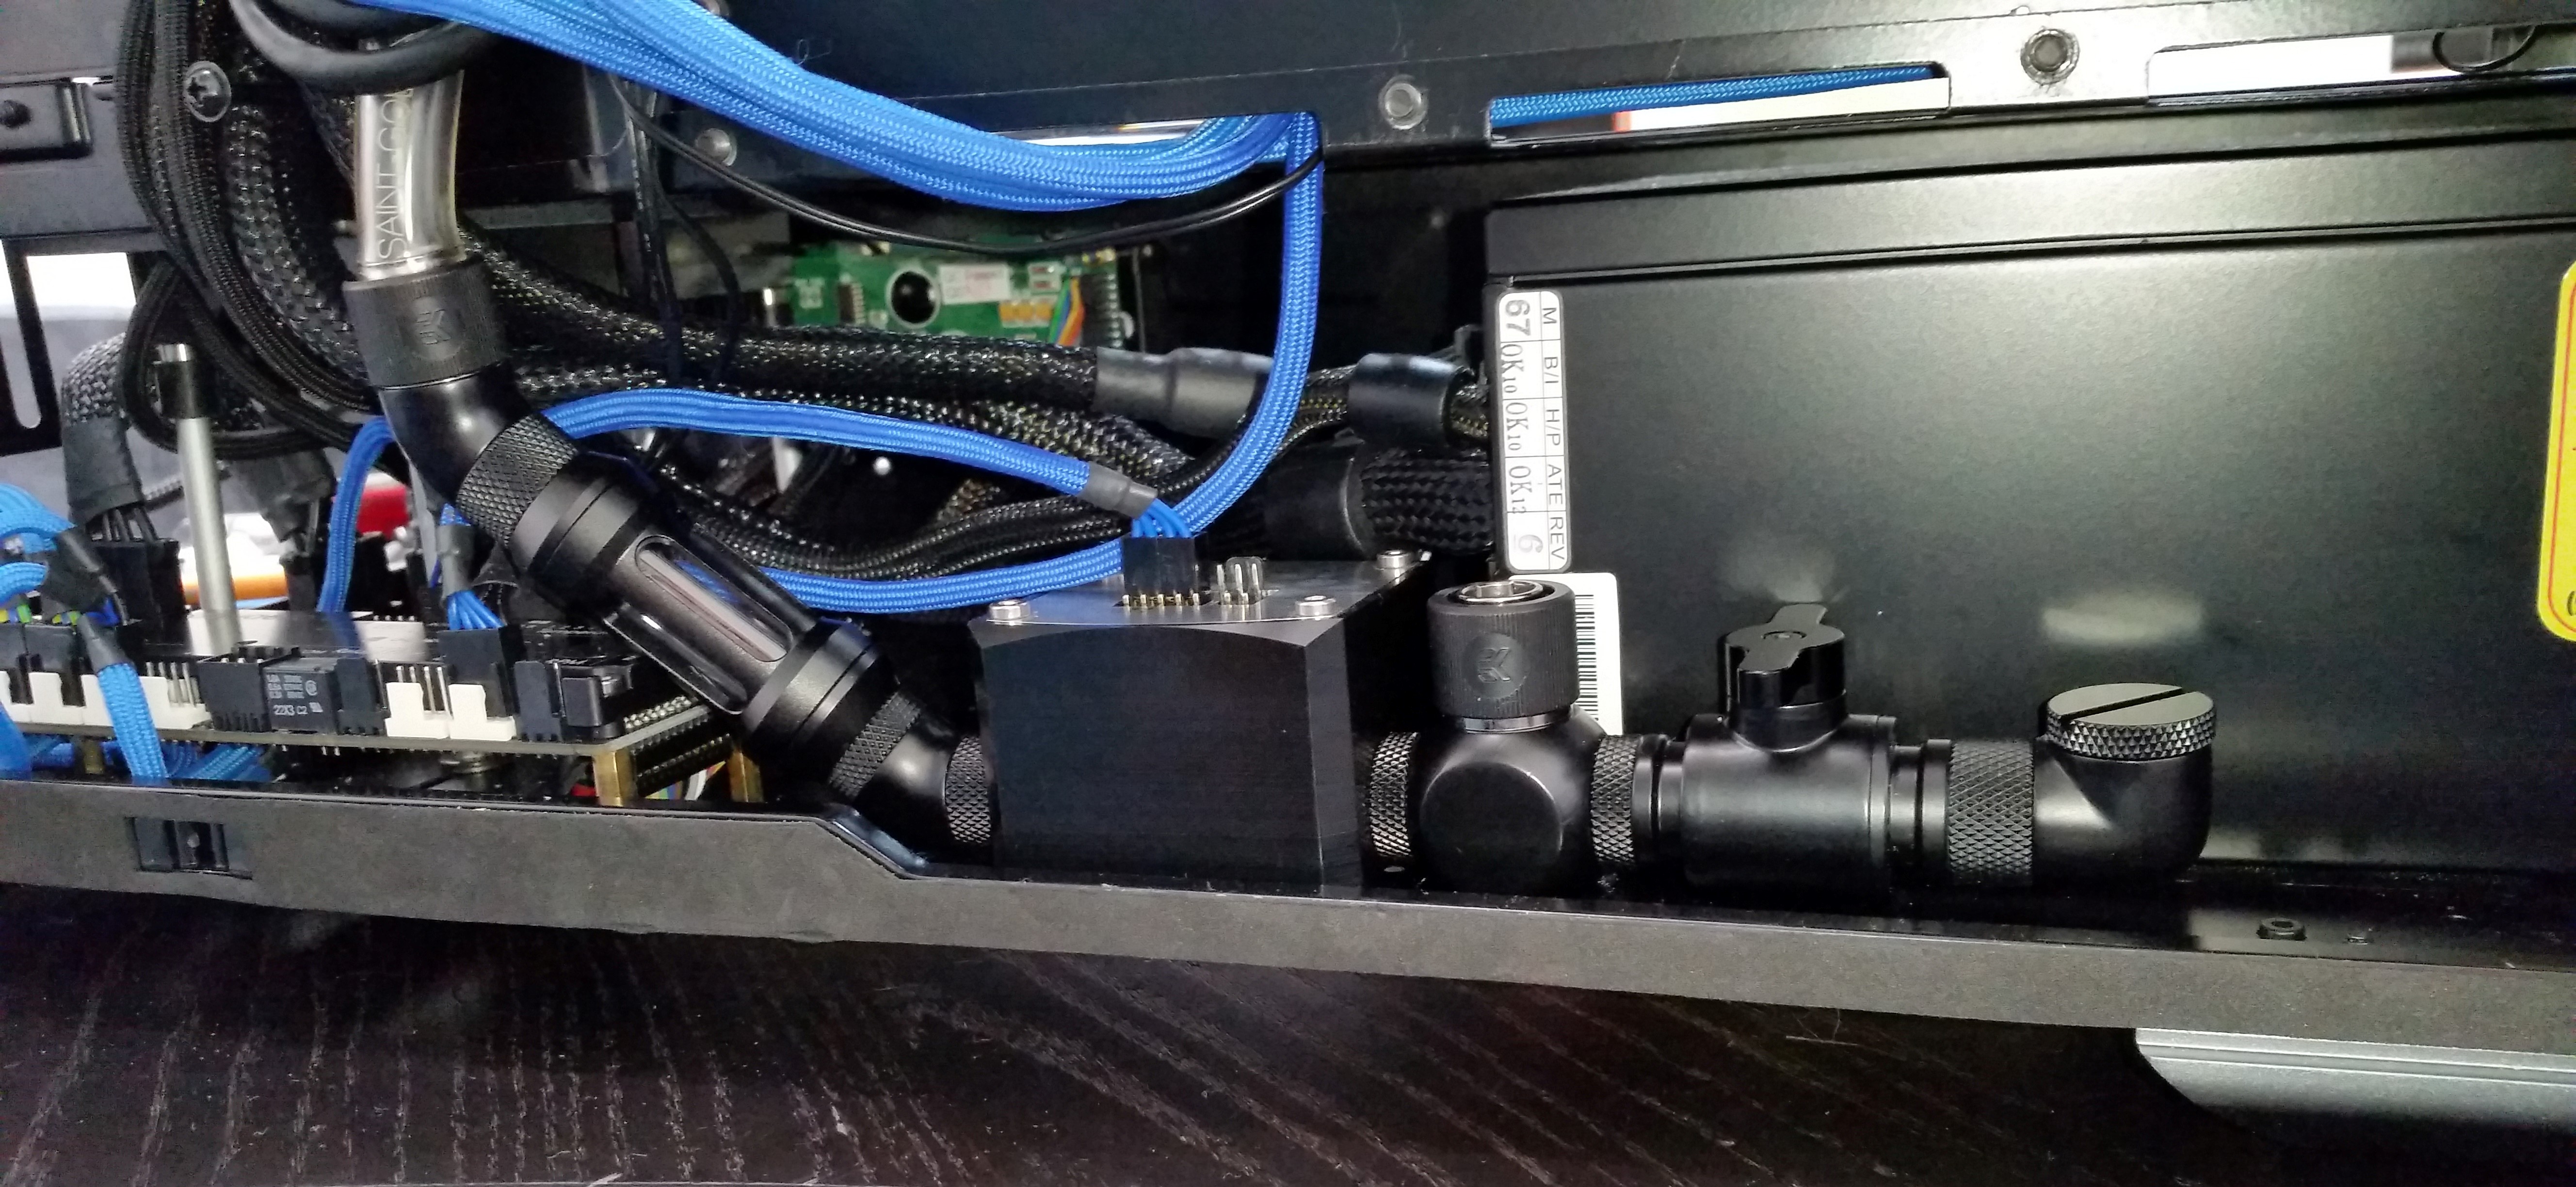
And....finished. It's like having to sit on your suitcase to get it shut :D


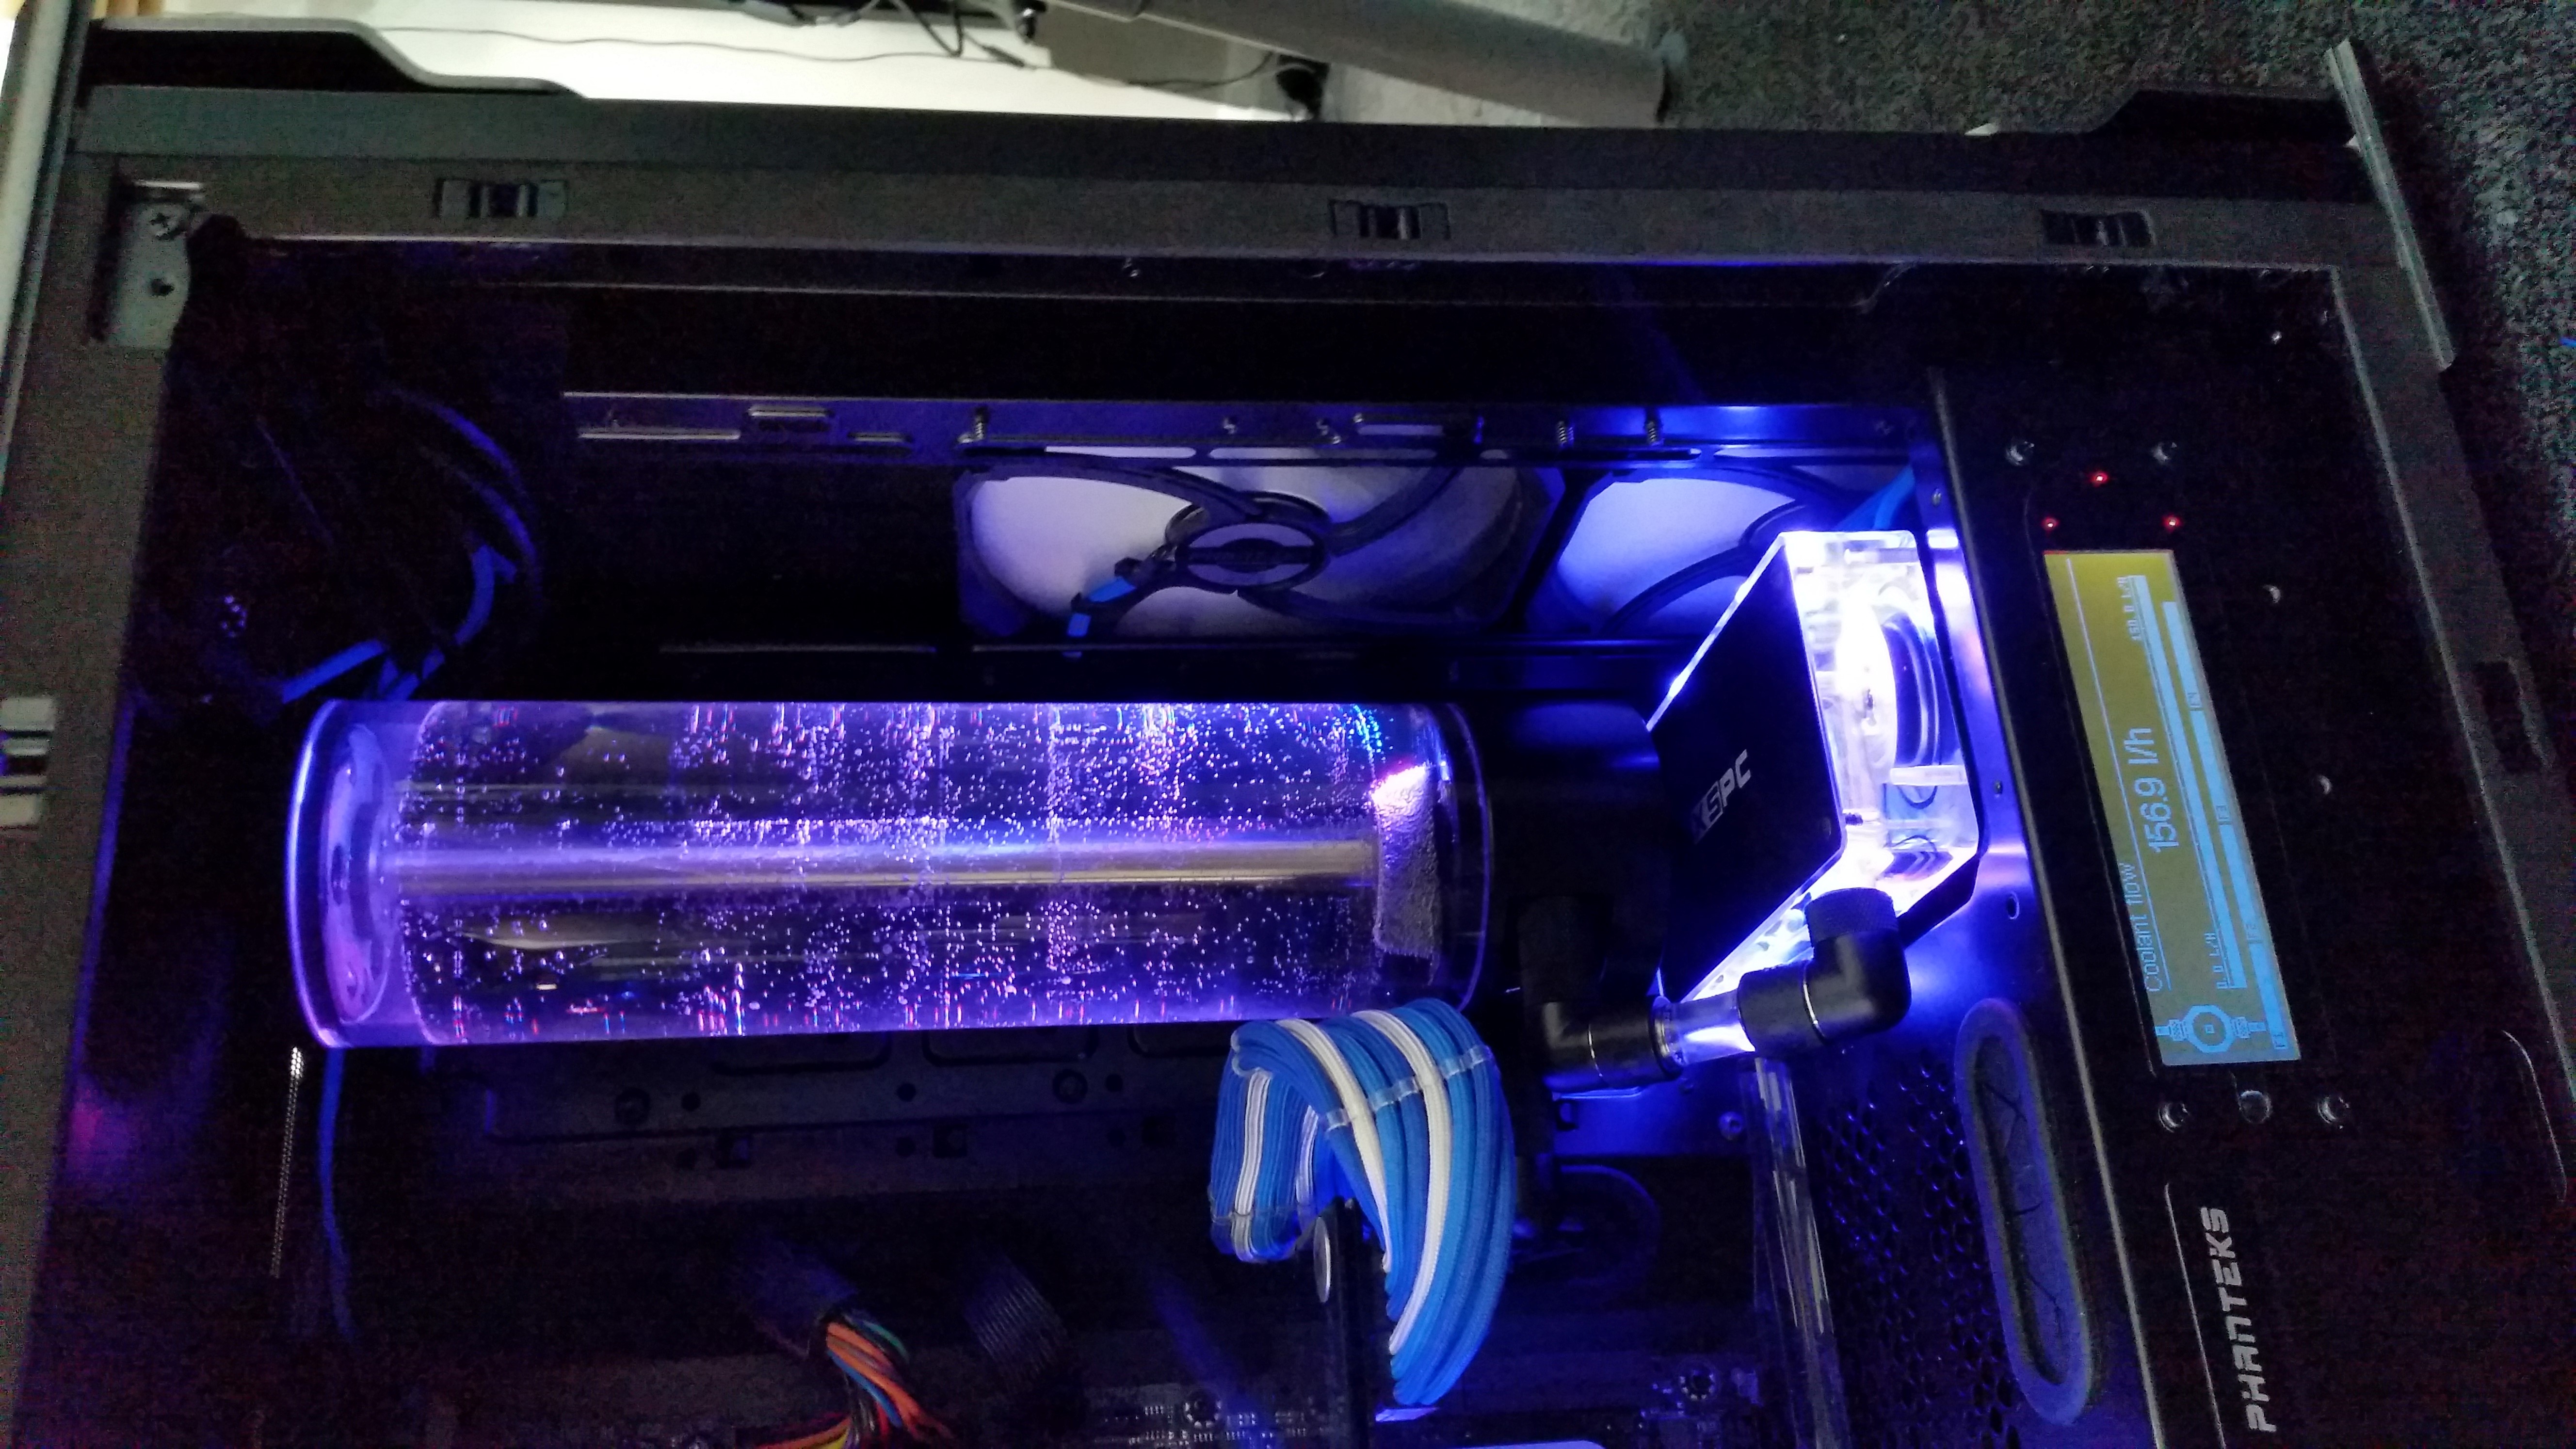
Currently the res is on what's left of my pressure tester (it threw itself off the desk somehow and now reads 2psi before you start) because I had to open it up and clean off a ring of some sort of residue - like scale or something.
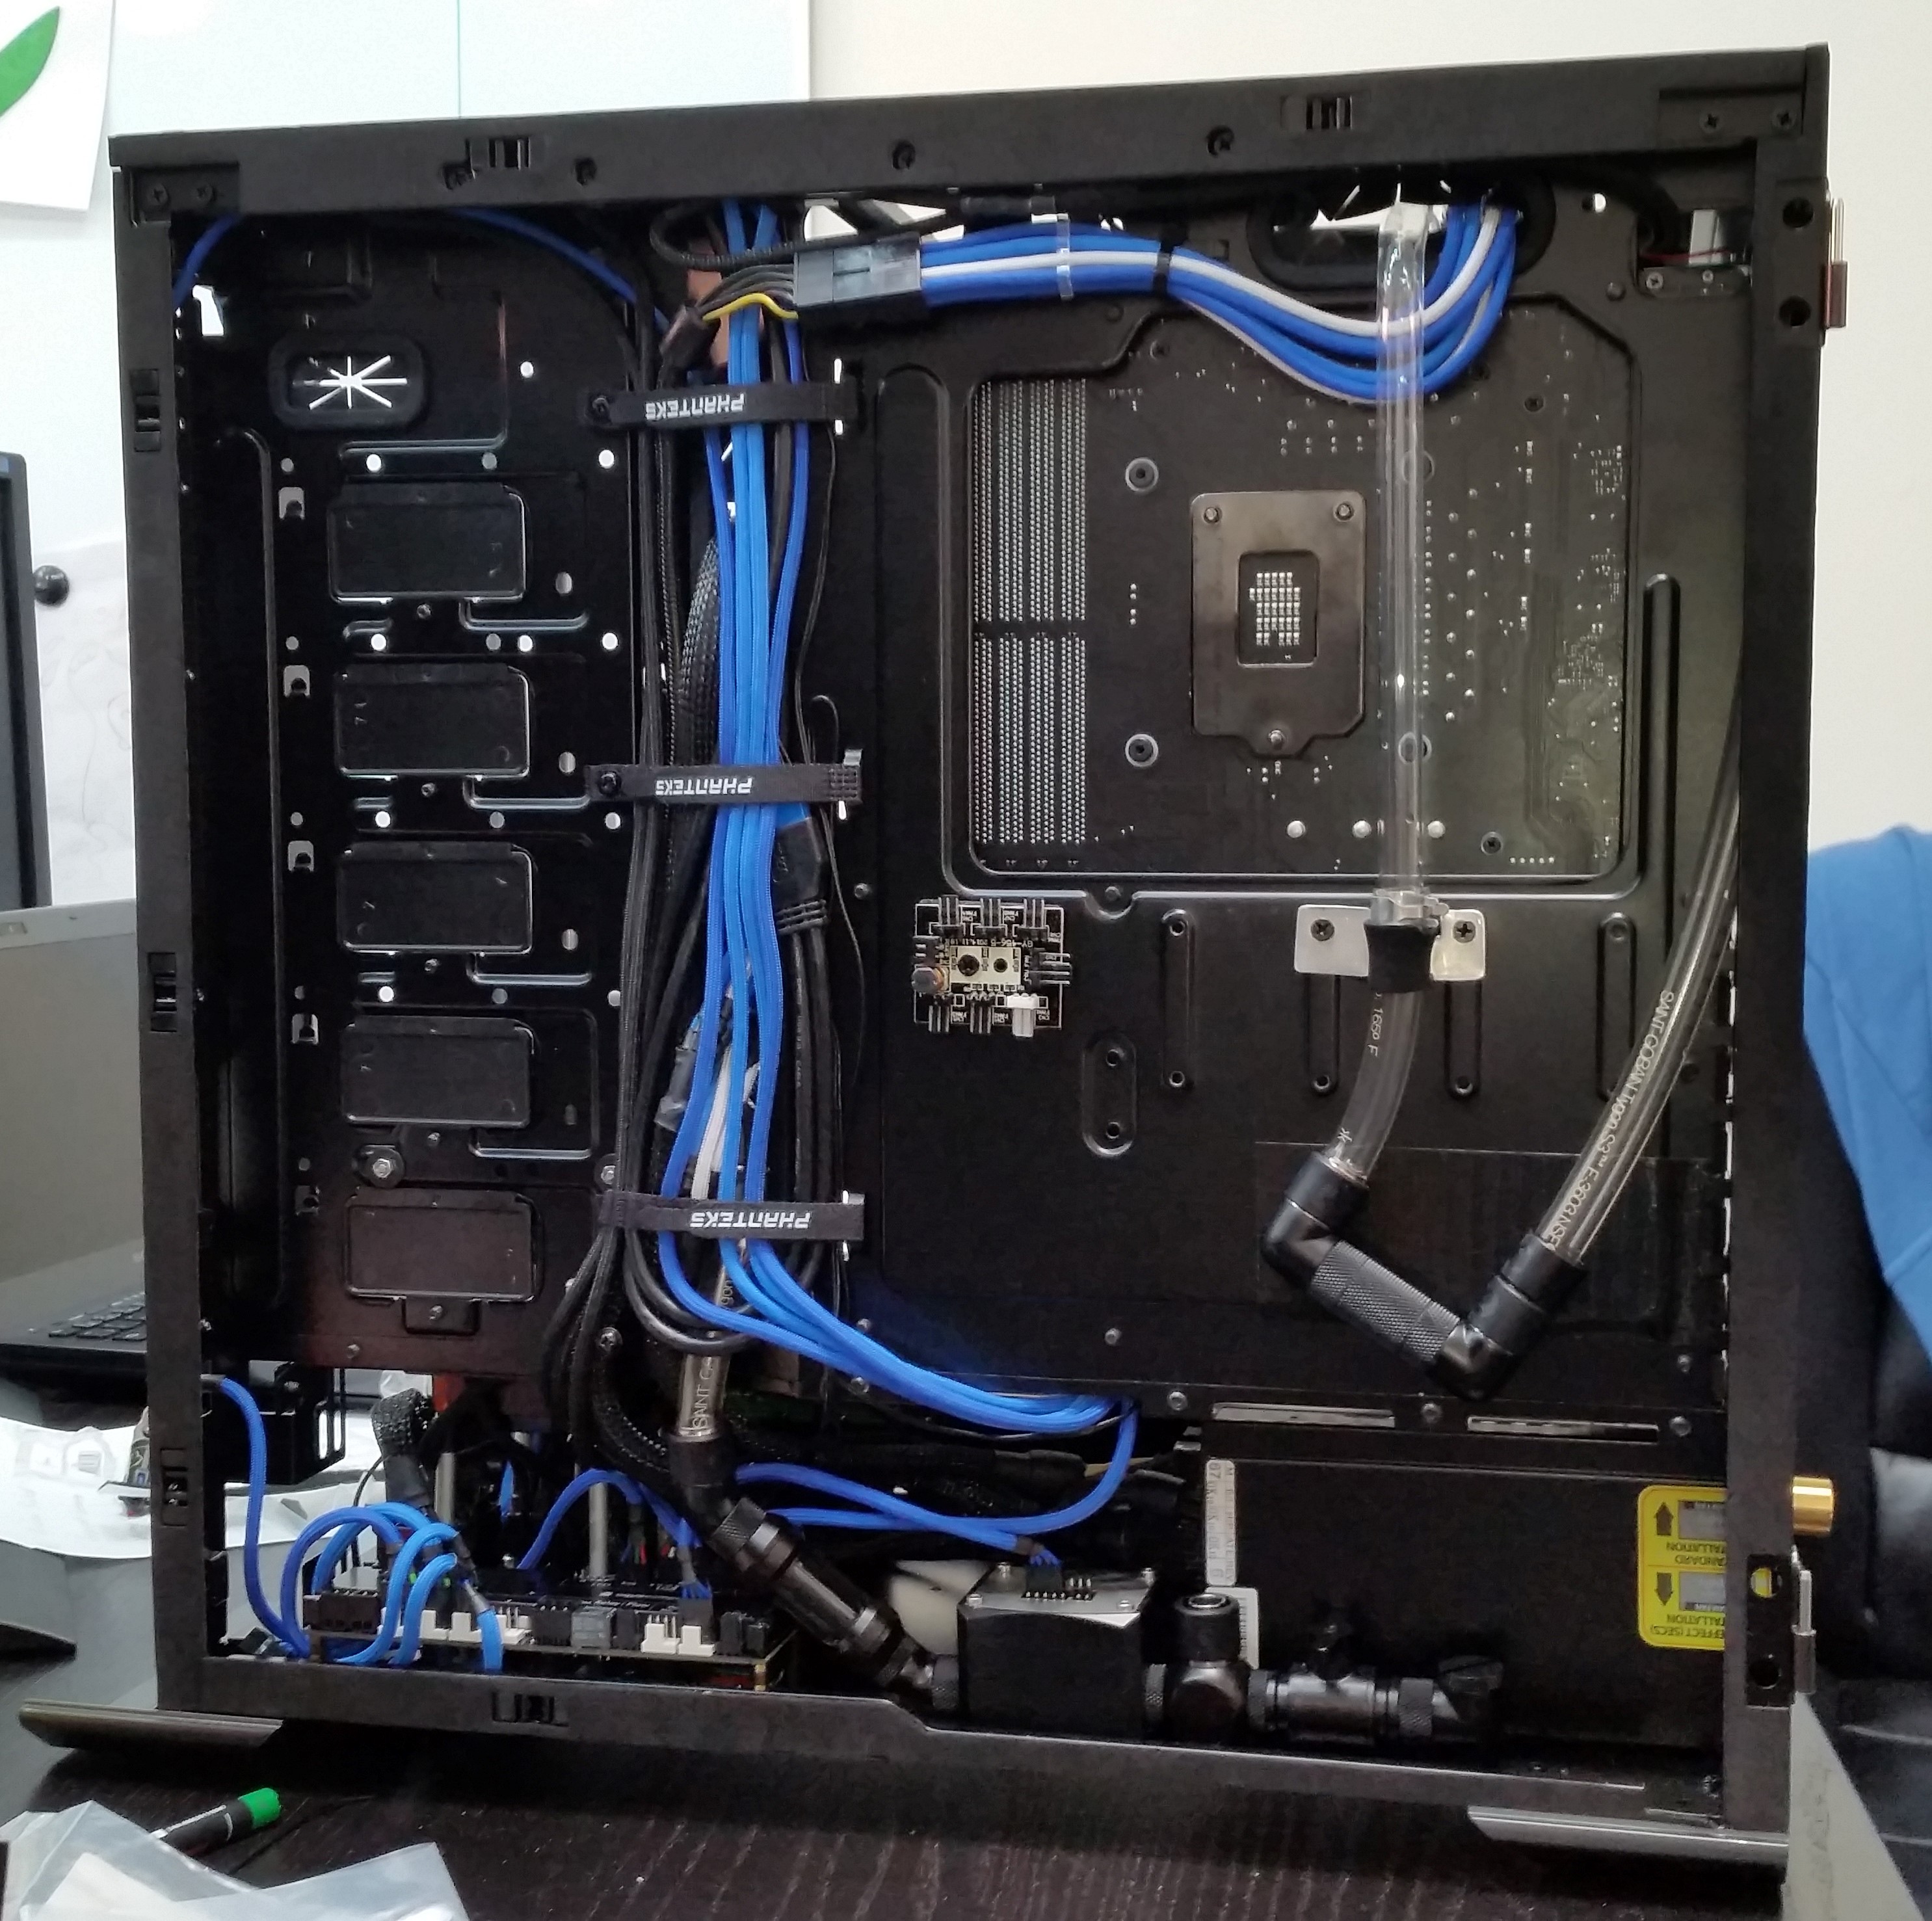
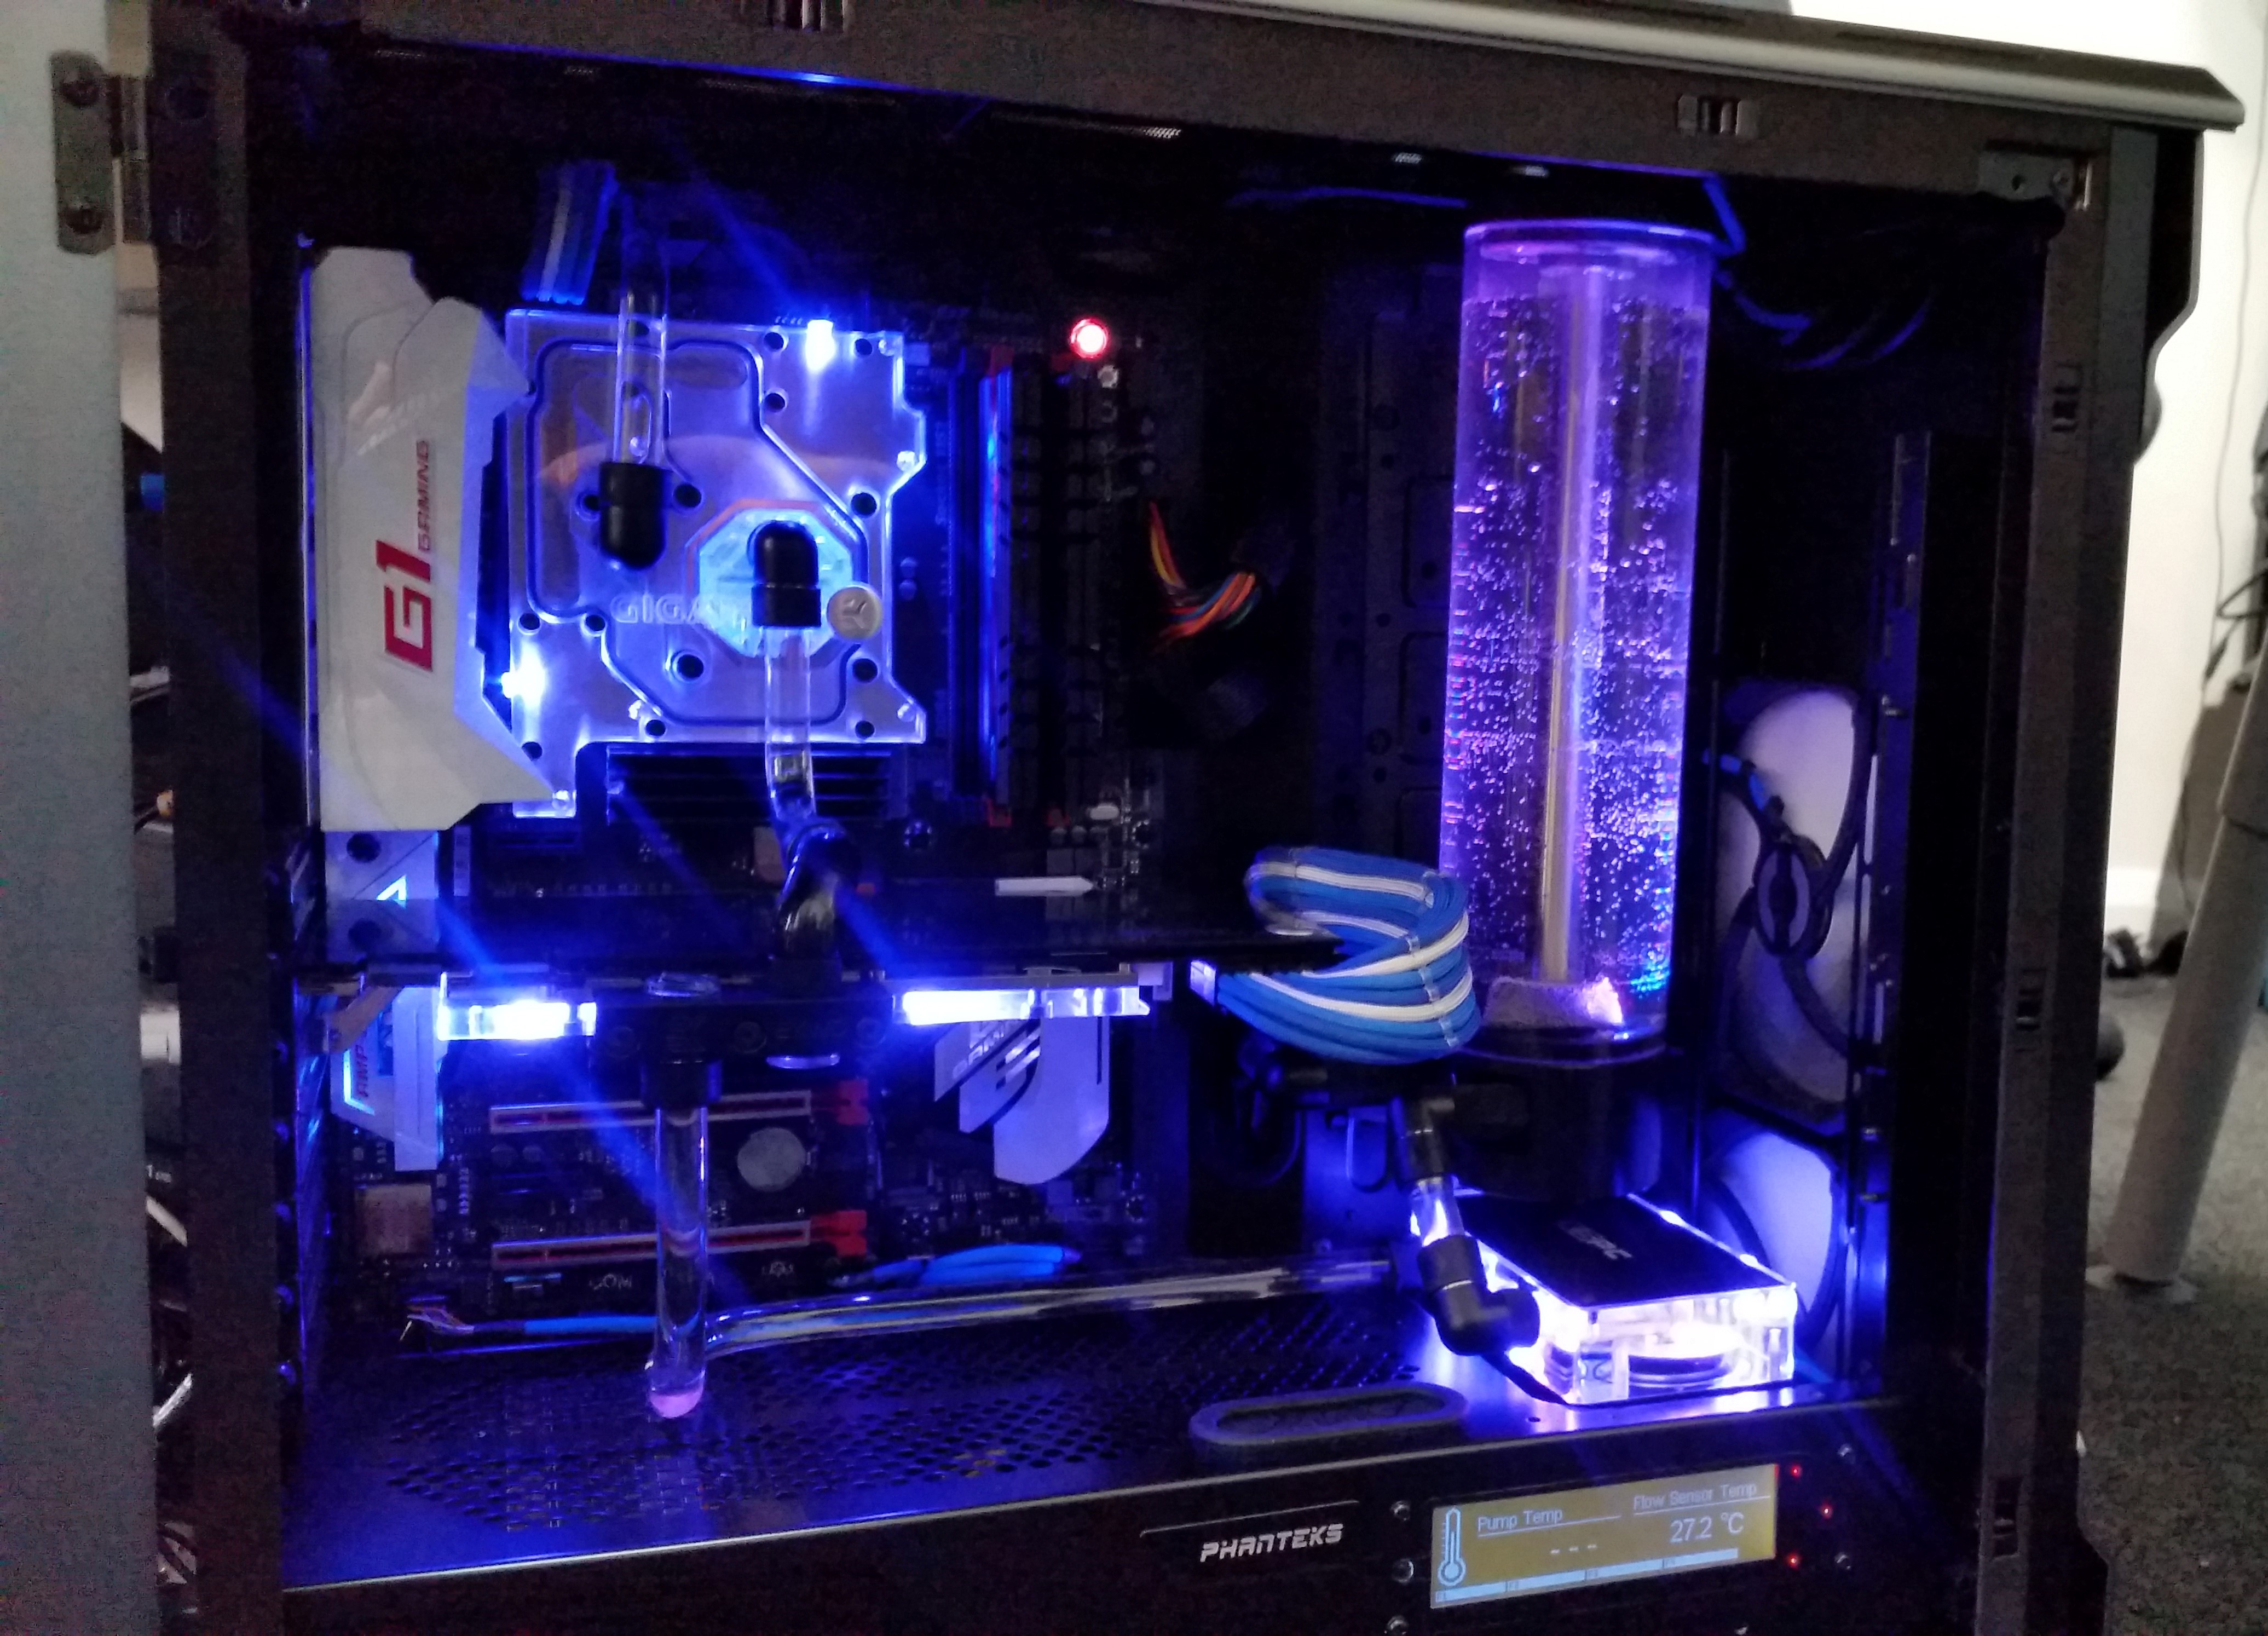
Will get action shots tomorrow once it's all filled :D

Now, you have some idea why my sanity is rapidly failing me ;)
 
Associate
Joined
22 Nov 2015
Posts
997
Location
Wales
Oops, sorry LePhuronn, looks like I may have added the £££ signs to the wrong build :D

Fair play mate, it might have been an absolute nightmare to do but that is some awesome work, can't believe it still looks completely stock now you've managed to get the cover back on! Was kind of expecting there to be a dozen wires poking out... Should have known better :p

Hopefully once it's filled and looking all shiny (in whatever colour takes your fancy) the sanity will come slowly crawling back... Ready for the next round of RGB soldering :D
 
Soldato
Joined
26 Sep 2010
Posts
7,157
Location
Stoke-on-Trent
Ah I getcha :p

Nope, not tempted right now for new kit - spent a fortune I don't have on Asteria II and everything is millimeter accurate now so no deviations :D

But do show me more shiny things as I'm planning on working on the remnants of Asteria I after she's been gutted.
 
Soldato
OP
Joined
4 Jun 2007
Posts
2,619
Location
Watford, UK
Did a leak test...it passed. Turns out if you remove the stop-plug at the lowest point, coolant forms puddles on your desk *facepalm* In my defense, I had spent considerable effort making sure it was actually empty when I drained it, so I wasn't expecting there to be any there. Pressure testing from a high port instead now. Pics once I've filled it and fired it up. In the meantime, here's the new drain. Didn't want to put it on the outside as I just know it'd get knocked or snapped off. Also a new Barrow strainer as the previous one was showing disturbing cracks in the acrylic (pressure tested ok but...paranoia :D) - this one's quartz glass. Slightly longer than the last, hence the awkward angle of the hose...which was spot-on before. One of these would have worked better but they're not easily available....and I want to fill it NOW :D


Took the opportunity to take an anti-glamour shot. This is the Spaghetti side. It's reasonably tidy without being too obsessive :D

 
Soldato
OP
Joined
4 Jun 2007
Posts
2,619
Location
Watford, UK
Well, after another round of filtering the pre-used coolant (I'm not replacing £30 of coolant after a couple of months!) I've finally got it filled. Slight moment of panic when the res didn't light up but quickly realised it just wasn't assigned to a controller. Tried to add one and it appears that you can have a max of 4 RGB controllers on an Aquaero. I think I could export sensor values to the Farbwerk and have it control the LEDs but I prefer to keep it centrally controlled so I've just doubled up the outputs on one controller so the case power LED and the res are both controlled off the coolant temp.

Bubbly because it's just been filled but what do you think? :D


Soldato
OP
Joined
4 Jun 2007
Posts
2,619
Location
Watford, UK
Me neither - don't think my sanity could take it. Gotta look on the bright side, at least were it to catch fire, it would be rapidly self-extinguishing....to the tune of about 880ml ;) :D
Shouldn't do though, the soldering isn't bad - tested them all when I pulled on them as I slid the heatshrink over the resistors - and the insulation is fairly obsessive. Once I'd left the lid screwed on overnight, it had pretty much formed to the shape of the channel...which is good as enough things were hacking me off without the wiring jumping out at me as I tried to get the res mounted! The same screws are all that holds the res onto the bracket...that and the weight!
 
Soldato
Joined
26 Sep 2010
Posts
7,157
Location
Stoke-on-Trent
Yeah, I got some of that to come myself. Part of that alu laser work is a new res mount. I only have 100ml res, but it's a borosilicate glass job so not exactly light when it's filled up. The res will be braced at the top too, so fingers-crossed nothing goes belly up!
 
Soldato
OP
Joined
4 Jun 2007
Posts
2,619
Location
Watford, UK
That size should be fine even when not braced at the top. Had a 150ml in the previous box and a 100ml in a friend's (150 was out of stock!). Didn't have any issues. The 880 is a little heavier and I was surprised there wasn't a brace at the top. It's fine when its static - and I've wedged a bit of neoprene between the roof and the pressure relief membrane fitting that sticks up a bit....but I wouldn't want to ship it!

Also found that pressure testing it with Dr Drop was really useful. I had to tighten up the screw-cap ends to get a better seal on the O-rings against the glass. At one point it was ok but if you moved the res (like rocked it slightly - or maybe even the weight of the water), it broke the seal and literally farted out the pressure. Probably less of an issue with smaller res's (never had a problem with the 150) but might be worth checking its tight enough.

Your lasered alu looks really promising. Are we going to see what it is yet?
 
Soldato
Joined
26 Sep 2010
Posts
7,157
Location
Stoke-on-Trent
My mount is only 1.5mm aluminium though :p should be fine, but I still put a brace in just in case.

And yes the aluminium work is very exciting, but I'm trying to do things logically so I don't have lots of finished things and nothing getting done. I want to finish the GPU first (update coming) so I have the core "computer" portion wrapped up. The backplate is taking a while to properly sand, buff and brush and I can only work on it at the weekends :( don't want aluminium powder in my house and I have no lights outside.

So you'll have to wait :p

I may start folding up some of the smaller alu pieces though.
 
Back
Top Bottom