

Soldato
I see it. Looks decent enough. Hopefully it will be a nice surprise like the XSPC 45' I bought. Wasn't expecting them to be anywhere near as nice as they were.
 The Nanoxia Coolforce fittings aren't bad. The finish isn't as good as Barrow (some tiny, minor bare patches in the paintwork), the internal machining isn't as good either (some sharp edges internally where the Barrow are much smoother) and the rotary isn't lined up the same on the two 60°s I bought. The rotary is easier to turn than a Barrow but not as easy (or alarmingly wobbly) as an Alphacool. Slightly more expensive than the Barrow too at £4.
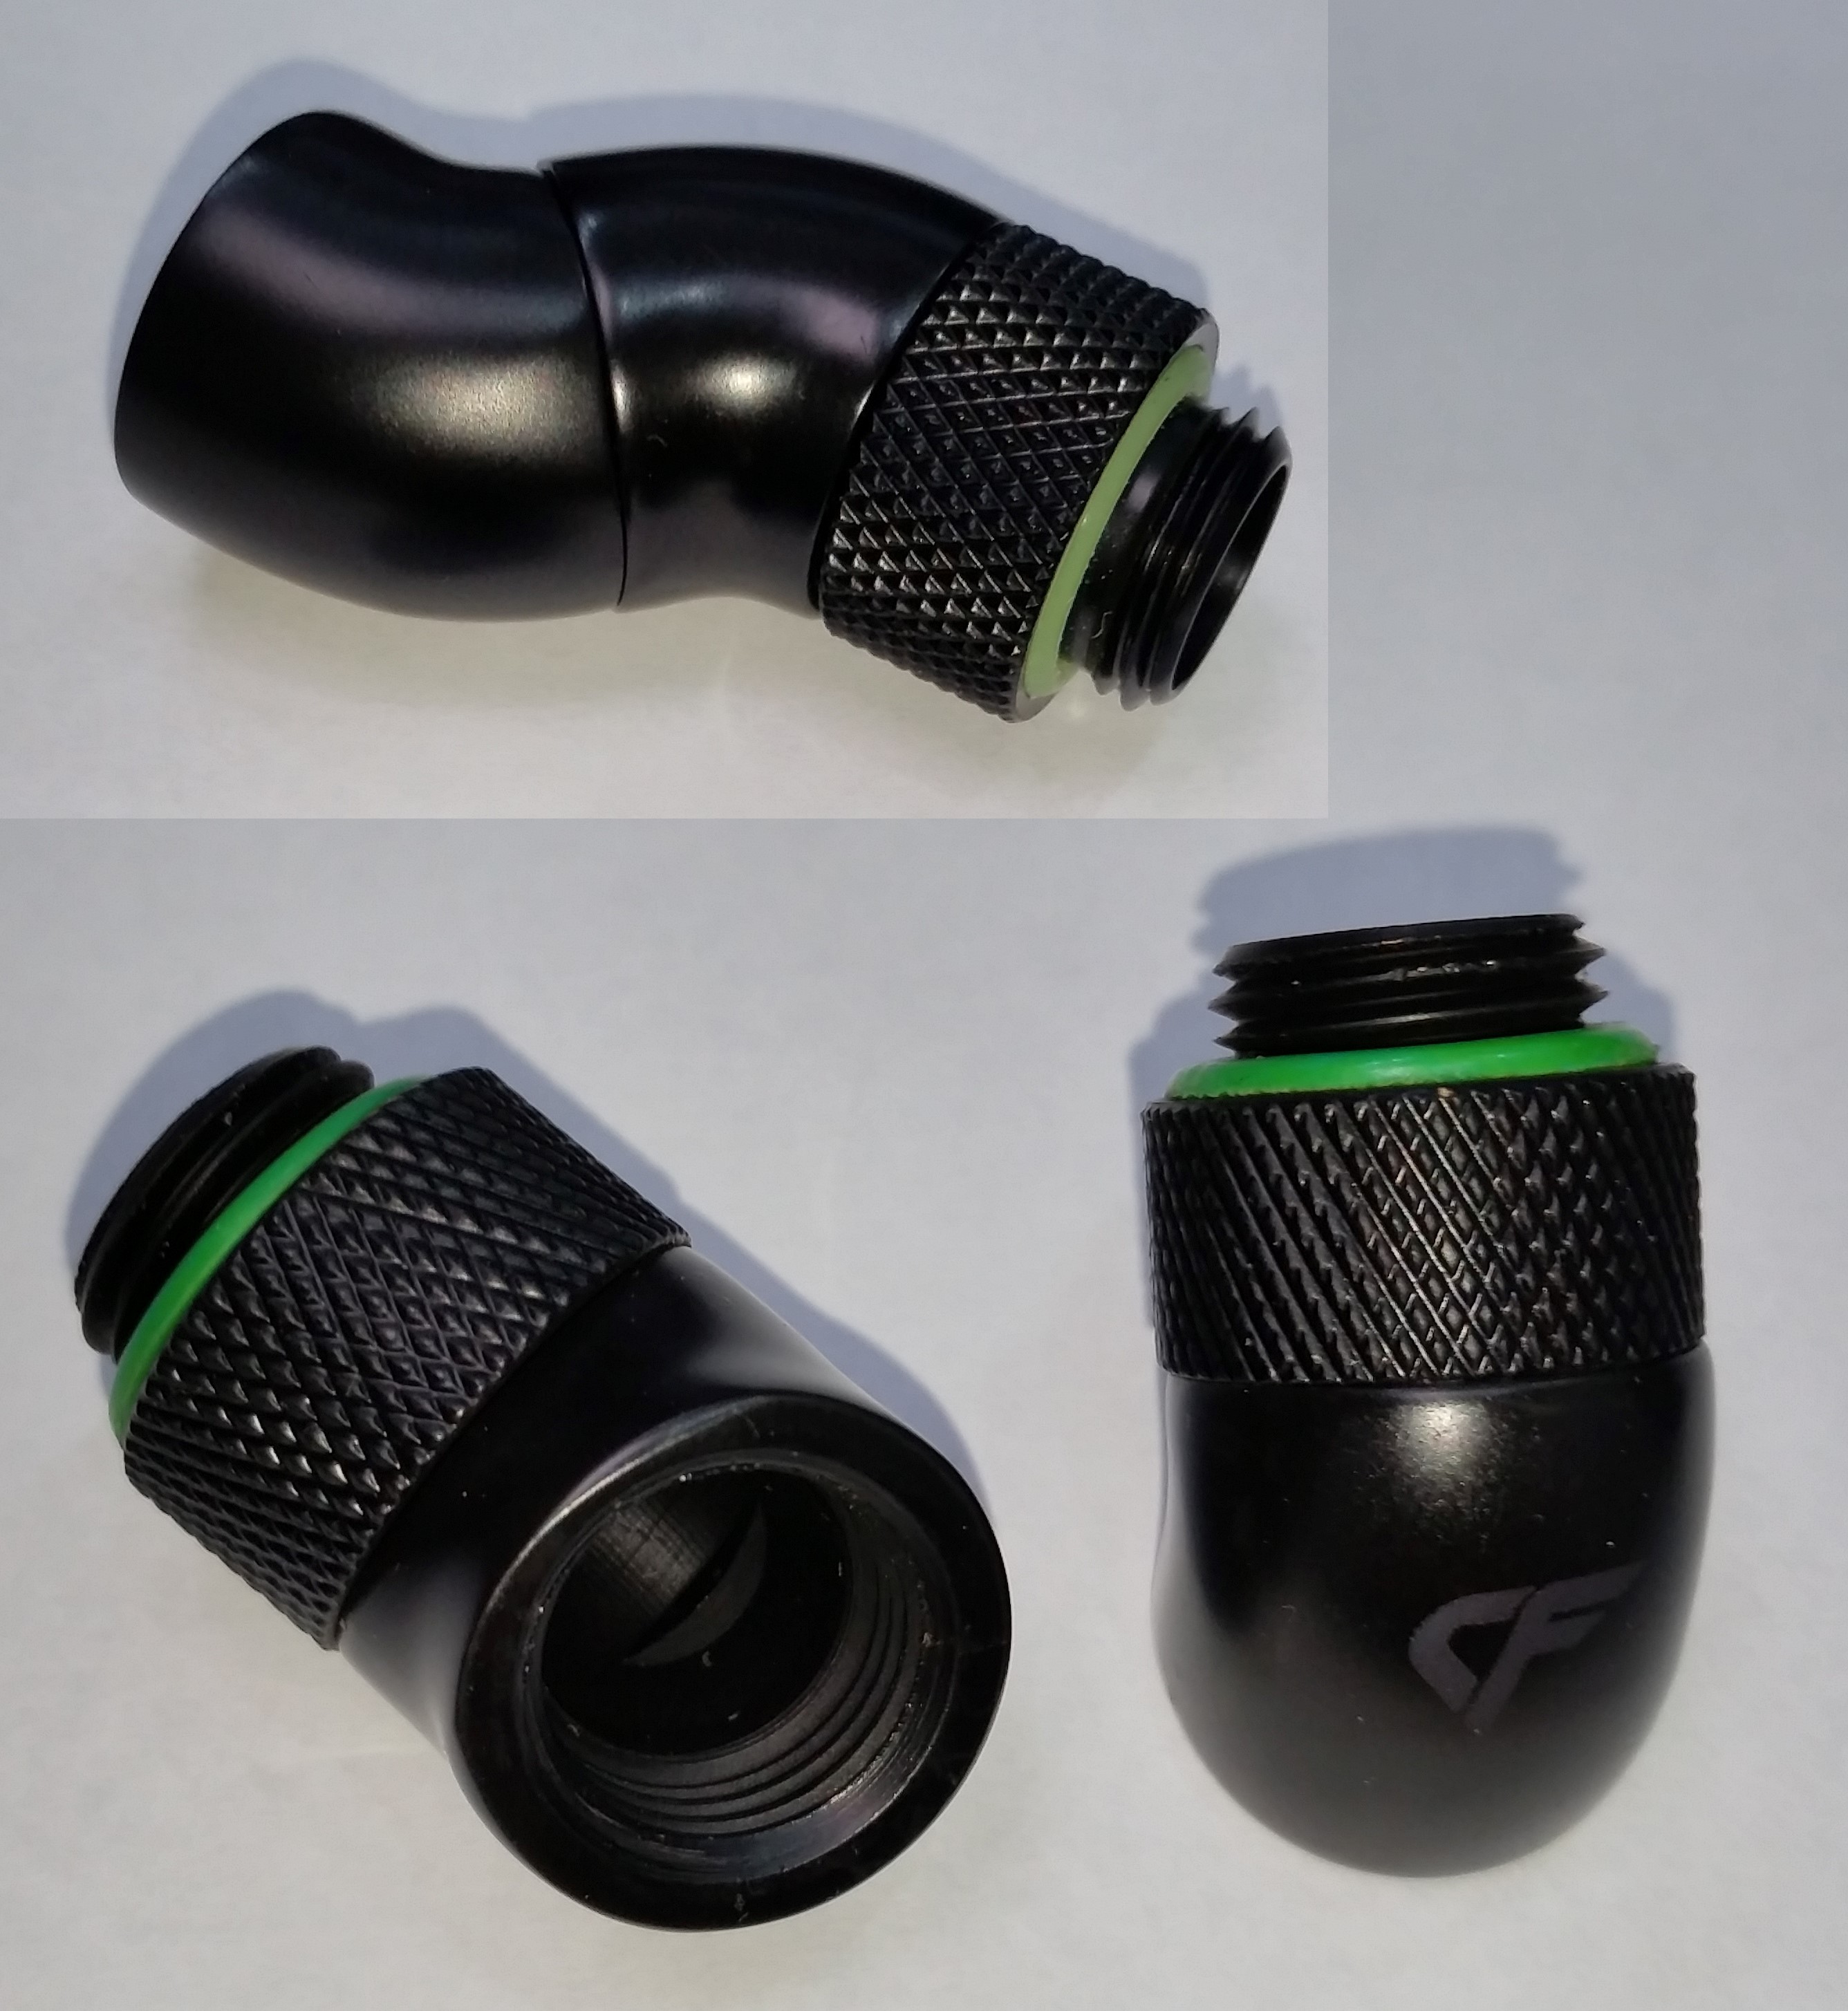
 It could be that there was a mechanical strain that caused this but it didn't show if that's the case.
Hopefully. They're a bit random in quality; one rotates fine, the other sticks and grinds a bit. I'm happy with it as a good fine at a good price for a 60 degree fitting that should hopefully improve the fit of that hose...but I wouldn't be using them for a whole build.
The Monsoons are strange, the 90°s are stiff as hell and don't leak, but the 45°s are loose as hell... But also never leak! Never had one of either fail yet. Also, those fittings look familiar... slightly worse quality but definitely familiar
It's quite tricky to get much pressure in them because of the small volume. Tried at first and it just leaked straight out but that was just my pump leaking. If you can disconnect quick enough it holds some. Currently got them on test with a length of hose, fitting, two 60's, F-F coupling and a stop cap. Haven't checked it today but it seemed to be holding yesterday - within the range of my dropped Dr Drop at least.

Some small progress but mainly an opinion please.
Have res reassembled. My Dr Drop's a bit shonky so I've injected some coolant down the hole that leads to the pressure sensor and then put Dr Drop on the case. That way, I can see the drop (give or take inaccuracies and local leaks) and also see if there's any wetness by the pressure sensor.
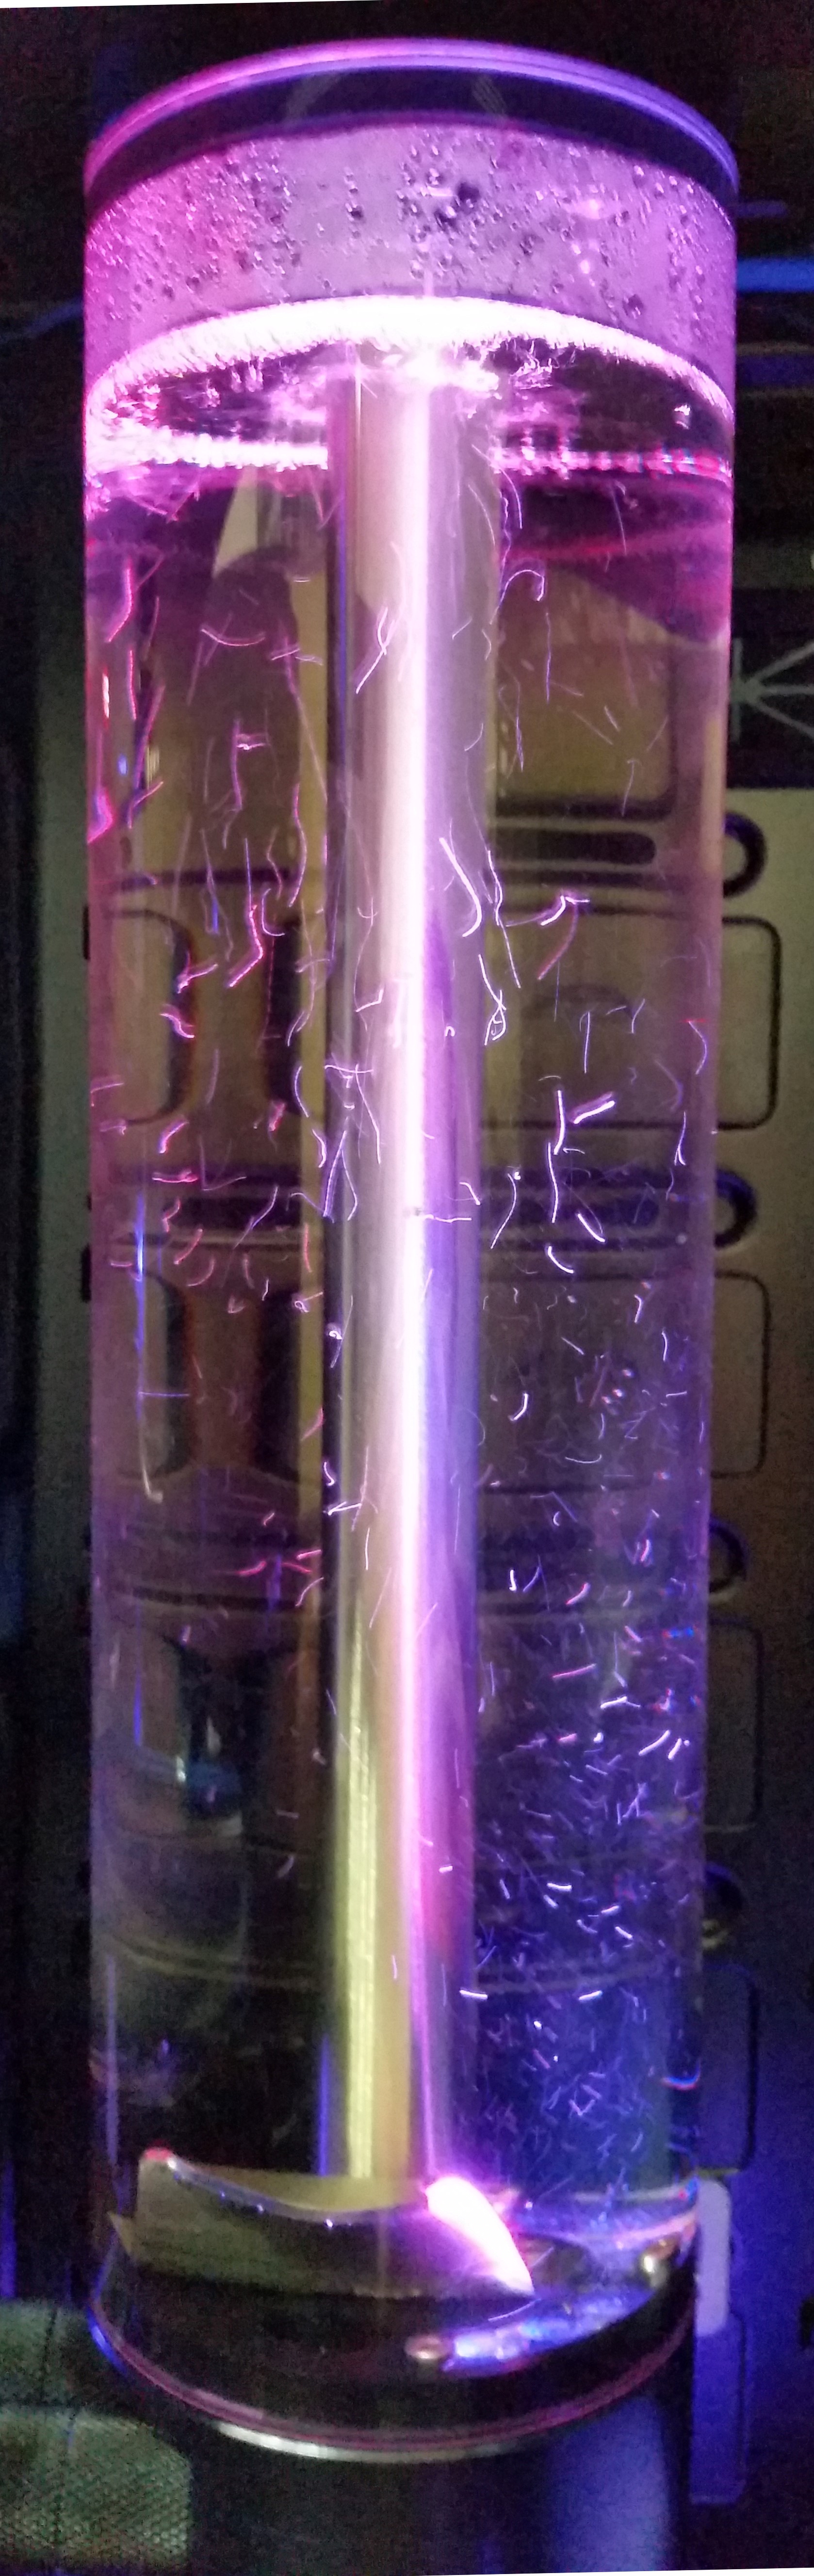
Once the bubbles had settled out of the res, the lighting was much less spectacular. I'm contemplating running the res return to the centre column which will fountain it out the top. I'd not done that before because who wants to aerate their coolant?! ....well, me it seems. What do you think? Good idea, bad idea?
The pump speed now seems to need balancing so that below 200 l/h the water doesn't hit the surface hard enough to trap any bubbles. Above about 220 l/h the bubbles get dragged into the pump. Currently got it around 210 so will see what happens.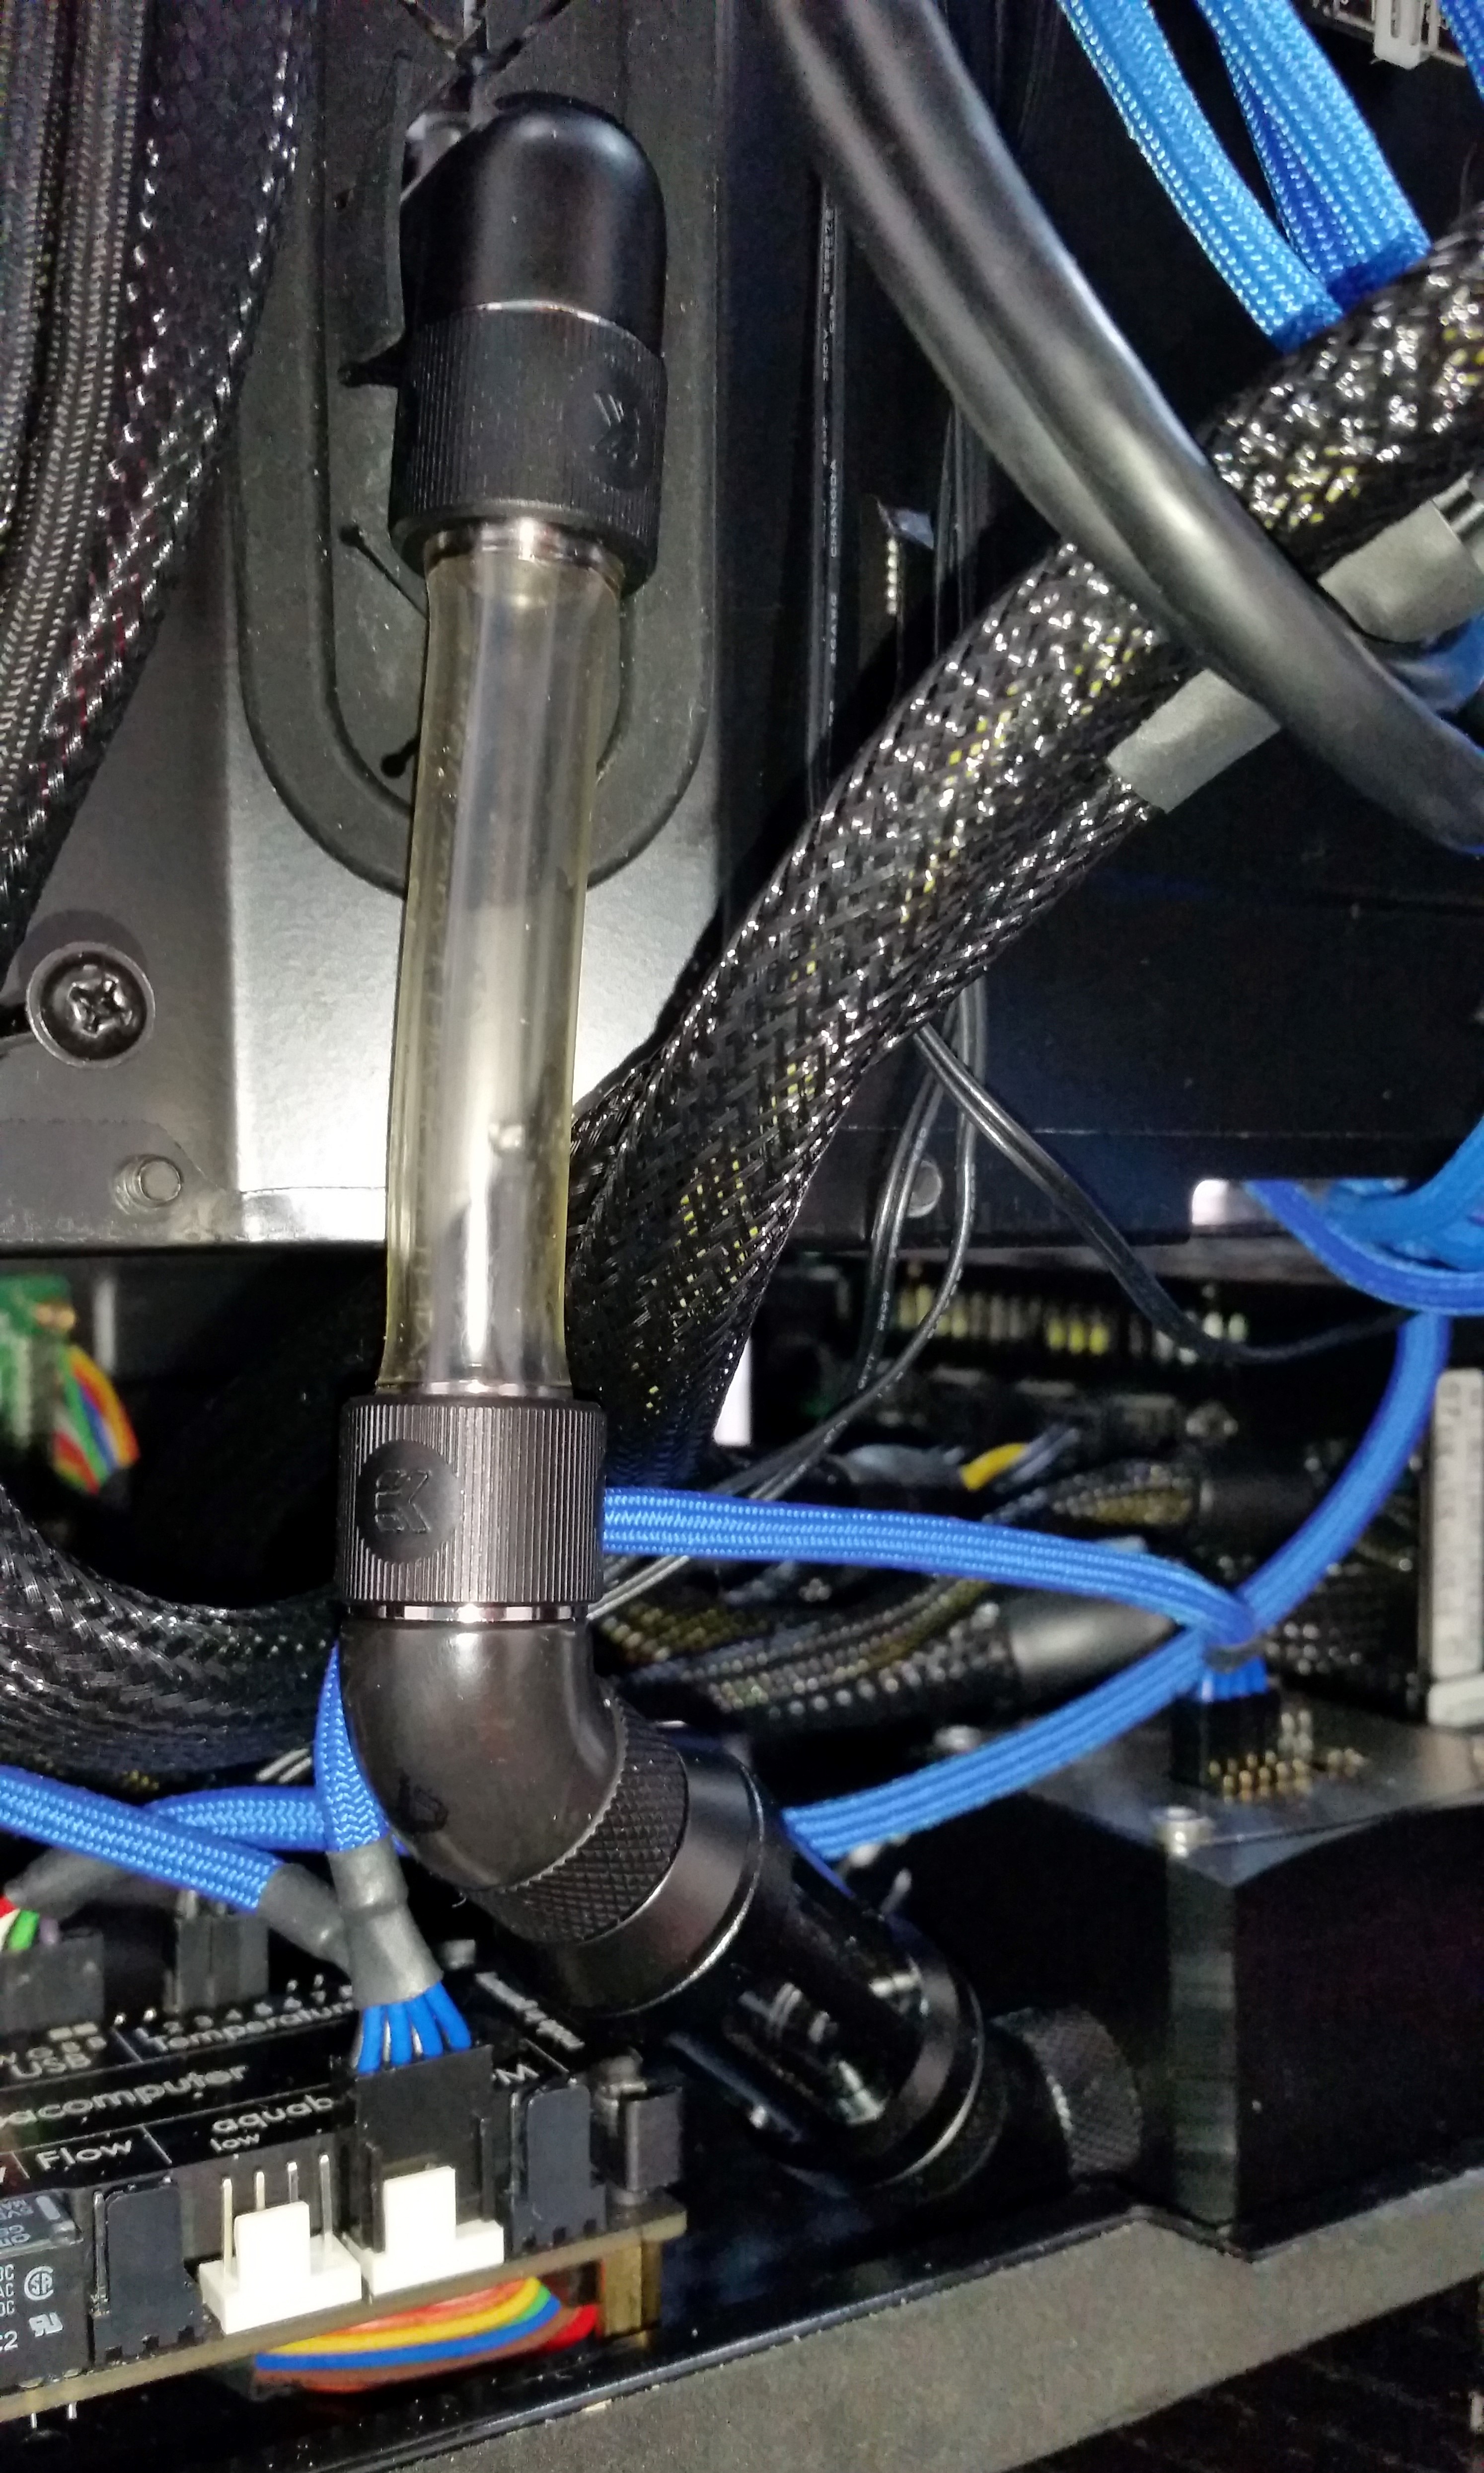

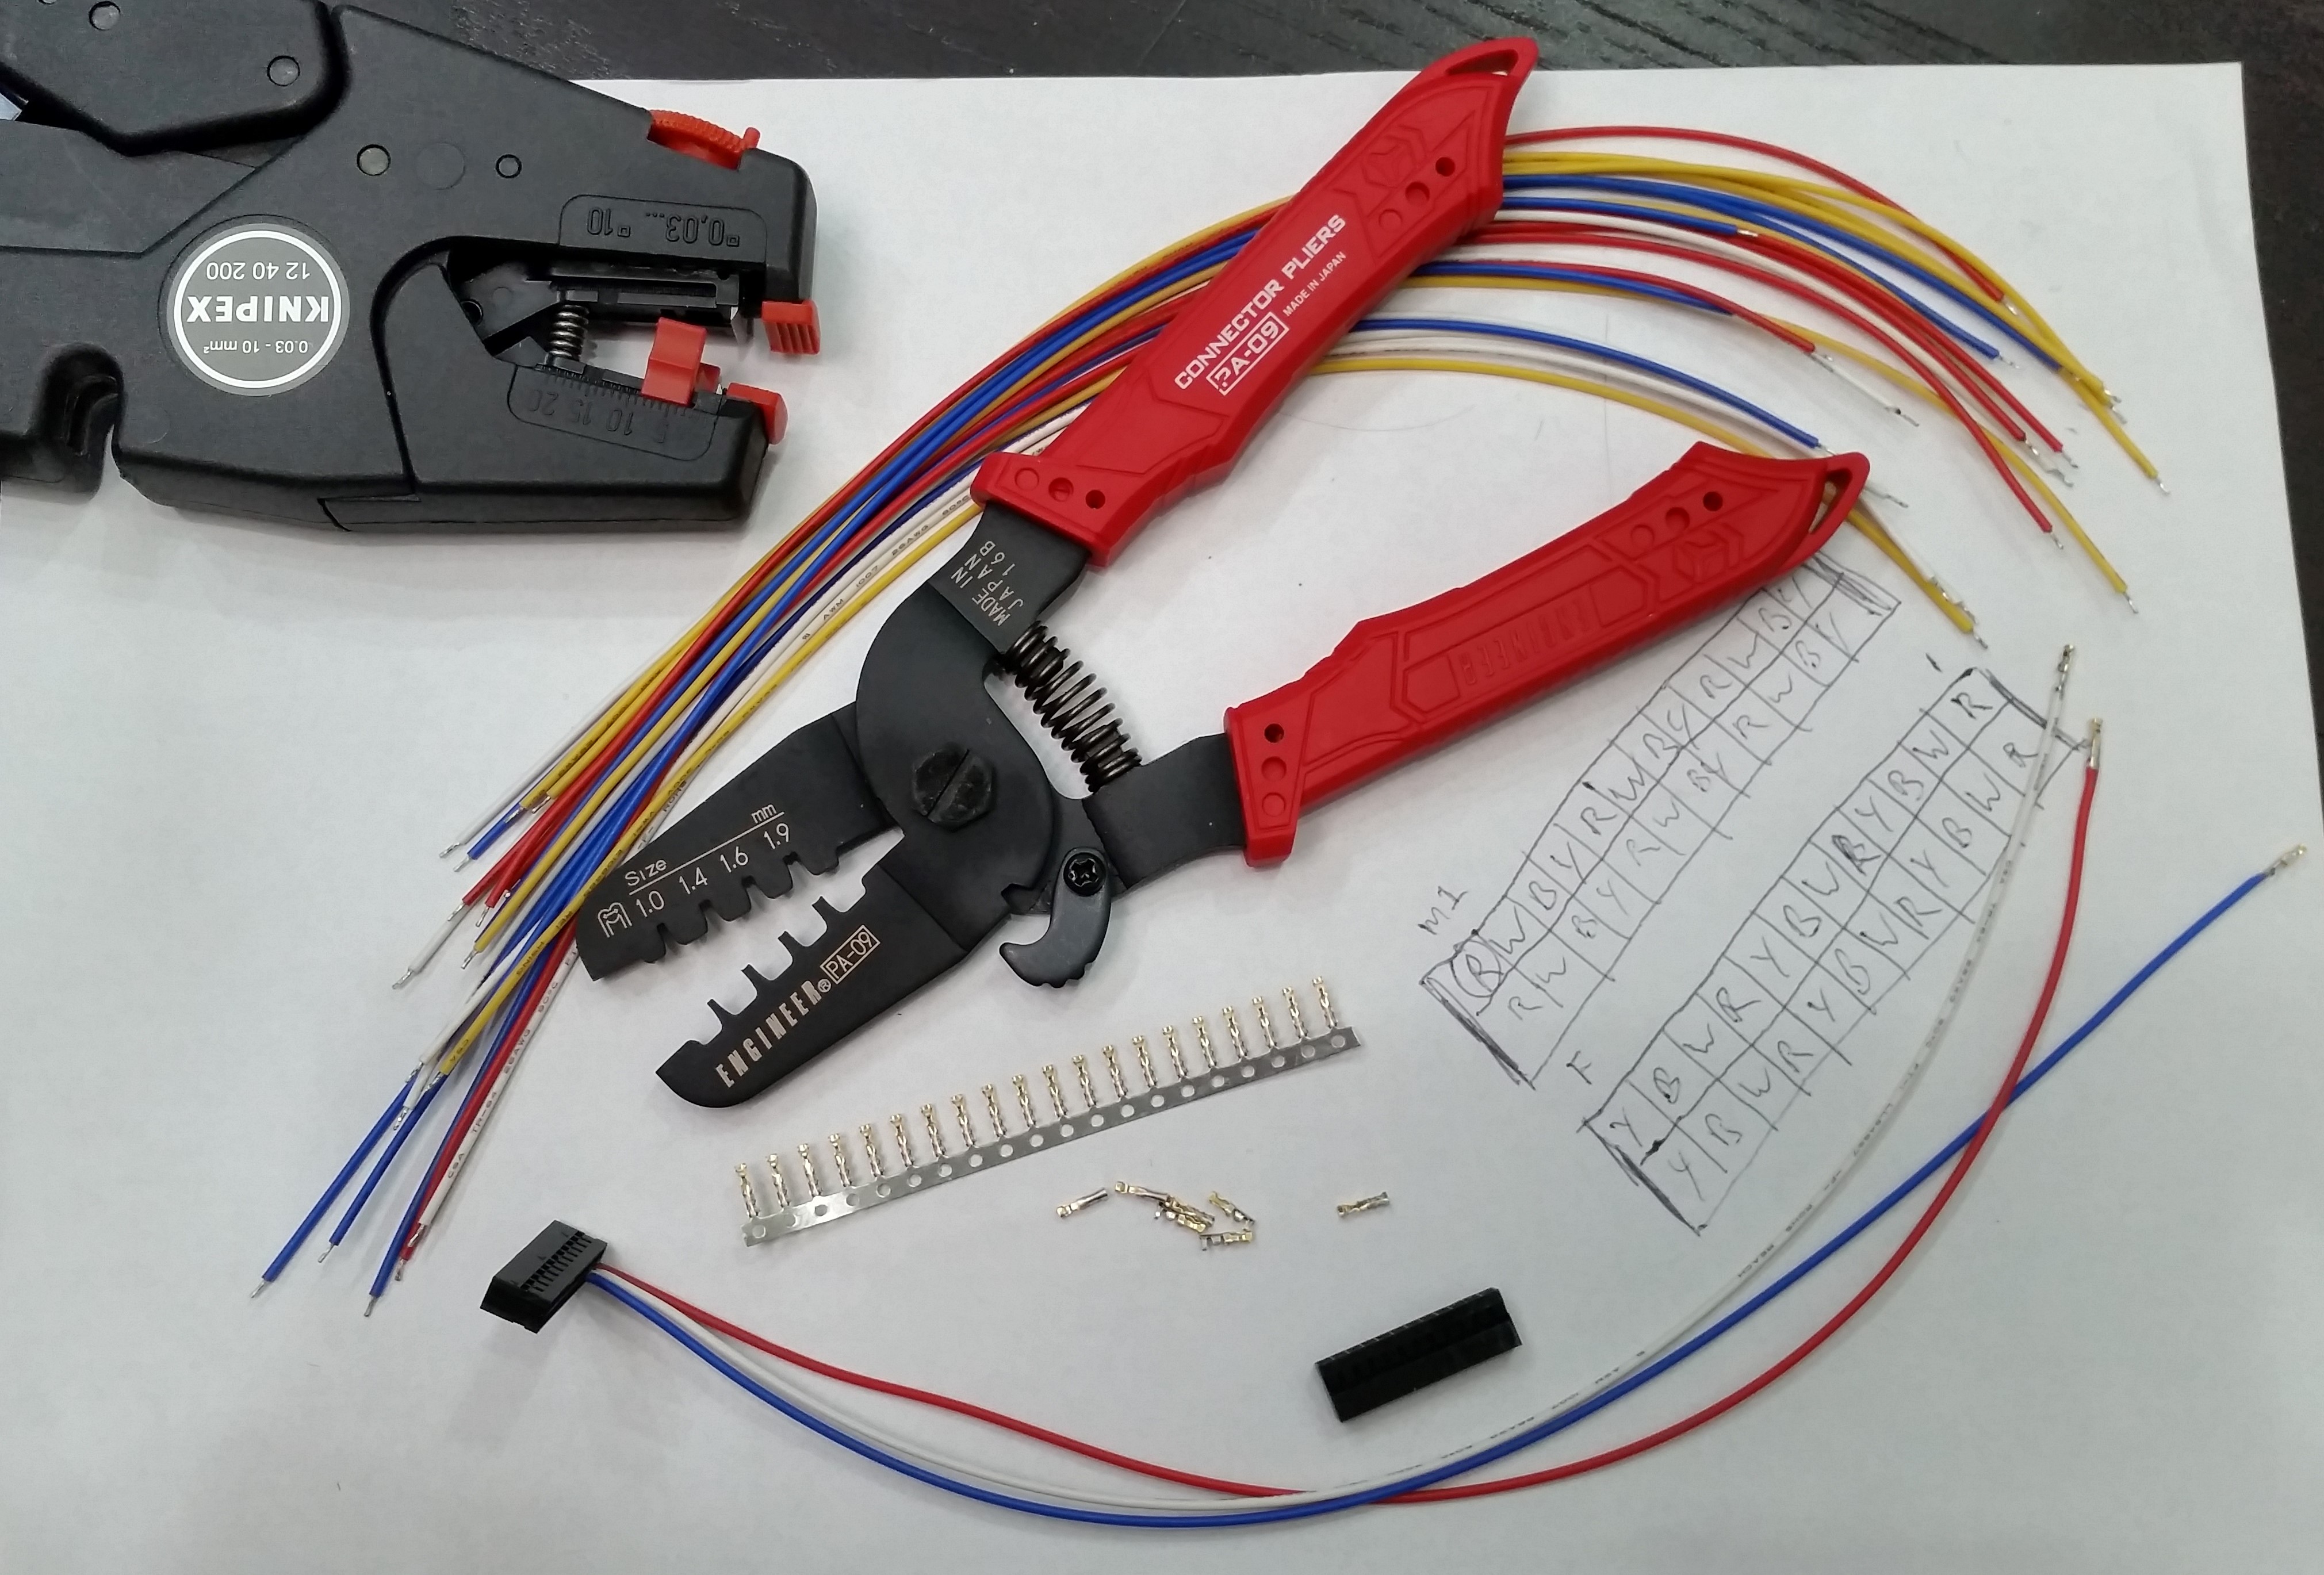 - shows an end-to-end flip so that if you loop the cable round in a circle, the pins match up. This is important to duplicate the pin connection of the Aquaero halves.