You are using an out of date browser. It may not display this or other websites correctly.
You should upgrade or use an alternative browser.
You should upgrade or use an alternative browser.
8pack Supernova - build log!
- Thread starter Shawy
- Start date
More options
Thread starter's postsZotac Titan Blacks?
Flashed with a special BIOS made just for 8pack, and then fine tuned by the man himself.
Out of interest, what antistatic measures do you guys use when doing a build? Just a wrist band or a antistatic matt?
There's an antistatic layer in the floor throughout the whole of tech. Our workbenches are grounded and we're constantly touching cases/PSUs that are also grounded.
So a question, what box is bigger? The box with the PC or the box with the boxes? (Assuming you give them the components)
Caselabs cases come flat pack. Still a pretty big box though.
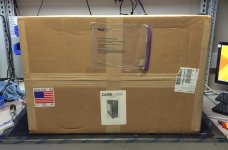
Associate
We demand more pictures
Associate
Get some acrylic in this thing!
We demand more pictures
Here you go

Inside the Caselabs box:
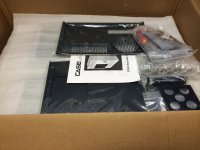
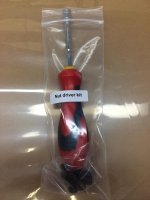
Found this down my shorts, 10 points if you get the joke.
Each panel was vacuum wrapped:
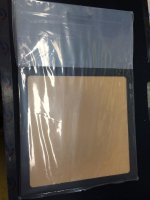
Had to remove the window for laser etching.
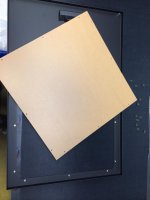
Starting the assembly:
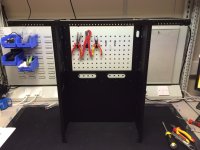
Quite easy to assemble, quite a few screws though
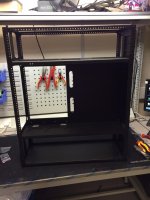
Motherboard tray slides in the back, makes things a lot easier to work on outside of the case
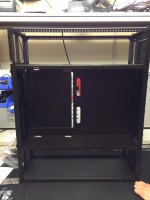
HDD and SSD cages at the back
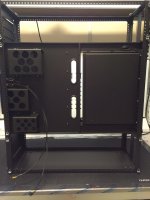
The most annoying part is adding the little clips that hold the external panels:
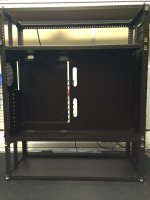
All of the external panels stay in their vacuum sealed packs until the build is finished to make sure they don't get damaged or scratched during the build.
Associate
Wow, cant wait to see the finished result
Associate
What are the specification/ extra you have on the super nova case setup, I went to case labs site and soon realized there were so many addon options I thought *pffft* leave it lol
Soldato
What are the specification/ extra you have on the super nova case setup, I went to case labs site and soon realized there were so many addon options I thought *pffft* leave it lol
ScottieB will have to answer that one.
Once the case was assembled, the preparation began.
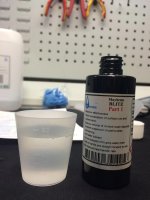
I used the Mayhems Blitz Pro Cleaning System to flush out the radiators.
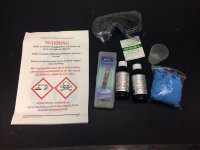
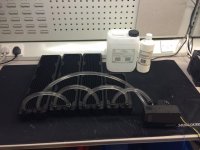
And this is what I had to clean:
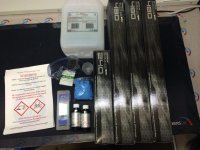
3x 480mm SR1s and a 240mm SR1. That's 14 120mm fans worth of radiator space.
The first job is to calibrate the pH meter using the calibration solution:
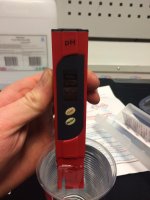
The next step is flushing the rads with diluted acid solution. The 14x120mm rads used up the whole bottle of cleaning formula diluted to 2litres.
And here's the set up used to flush the radiators:
And the spoils:
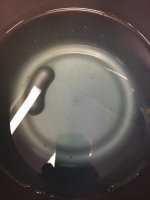
A fair amount of bits in the bucket, not the best picture though.
After running the acid solution for a couple of hours, the rads were drained and washed out with distilled water.
The next step involved a pH neutraliser to clean up all of the acid used in step one.
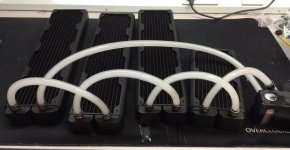
This got very frothy .
It took a while to wash out all of the bubbles.
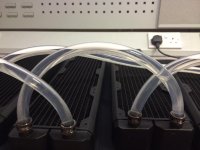
The 5litres of Mayhems Ultra Pure distilled water wasn't enough. I had to break out the big guns.
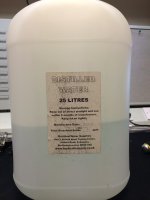
All in all, the kit is quite time consuming, uses up quite a lot of distilled water, but there is no doubt in my mind that these are the cleanest radiators I've ever used.
How tall is that case in the bottom?
About 180mm, but I'll have to measure it to be sure.
Great thread.
@Shawy How long are you given to build it?
It's built.

I did the prep work on Saturday - building the case, flushing the radiators, fitting water blocks etc. Then 3 days putting everything together.
There's still a couple of things needed to finish off the build, but both loops have been filled and no leaks so far.

I'm gonna keep you all waiting on the end results though.

Soldato
It's built.
I did the prep work on Saturday - building the case, flushing the radiators, fitting water blocks etc. Then 3 days putting everything together.
There's still a couple of things needed to finish off the build, but both loops have been filled and no leaks so far.
I'm gonna keep you all waiting on the end results though.
Thanks

Now stop being a tease and show us the end results.

Shawy, I have the same Mayhems Blitz kit and I thought part 2 was for the whole loop?
It is. It was hard enough to flush out of just the rads, I can't imagine how long it would take to flush it out of waterblocks too.
Not cool Shawy not cool! I need to see this badboy built and running.
Thanks
Now stop being a tease and show us the end results.
Alrigh, alright!
You've twisted my arm..
Here's a photo of after both loops have been filled!
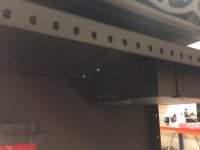
Sorry the angle isn't great..
But check out that plastidip on the optical drive! Sooooo stealthy!

Sorry the angle isn't great..

But check out that plastidip on the optical drive! Sooooo stealthy!
You massive tease 
Love the plastidip, I might do that too. Ya, I saw heard people say the entire loop froths like crazy and takes hours to clear up. I haven't yet gone to that stage so that's why I was wondering if I can get away like you did with just the rads. They are the culprit pretty much every time anyway.

Love the plastidip, I might do that too. Ya, I saw heard people say the entire loop froths like crazy and takes hours to clear up. I haven't yet gone to that stage so that's why I was wondering if I can get away like you did with just the rads. They are the culprit pretty much every time anyway.

