Project Dianoga

Soldato
OP
Joined
23 Apr 2010
Posts
11,896
Location
West Sussex
So I dug out a few old molex connectors and some wire, in order to make a few extensions and splitters etc so everything reaches.


Harvest a few pins.


New braid.


So the first extension is finished. Very difficult braid to use but looks lovely.


Then the doorbell went :)


And.


And a massive thanks go out to Lewis. Ain't gonna be no ghetto now :)
 
Soldato
Joined
4 Jun 2007
Posts
2,623
Location
Watford, UK
Nice. Like the unusual placement of the bay res :D

It may be difficult to work with but at least you get a nice spool to keep it on! My 4mm (give or take - it's 550) stuff comes in 100 ft hanks in a placcy bag. The first thing you have to do is play the 'Which end will free feed?' game :D

Extension looks good. I went with just 6mm overbraid for my Molex power connector because I didn't think I could make the four separate strands look tidy. Will be interested to see how you manage :D
 
Soldato
OP
Joined
23 Apr 2010
Posts
11,896
Location
West Sussex
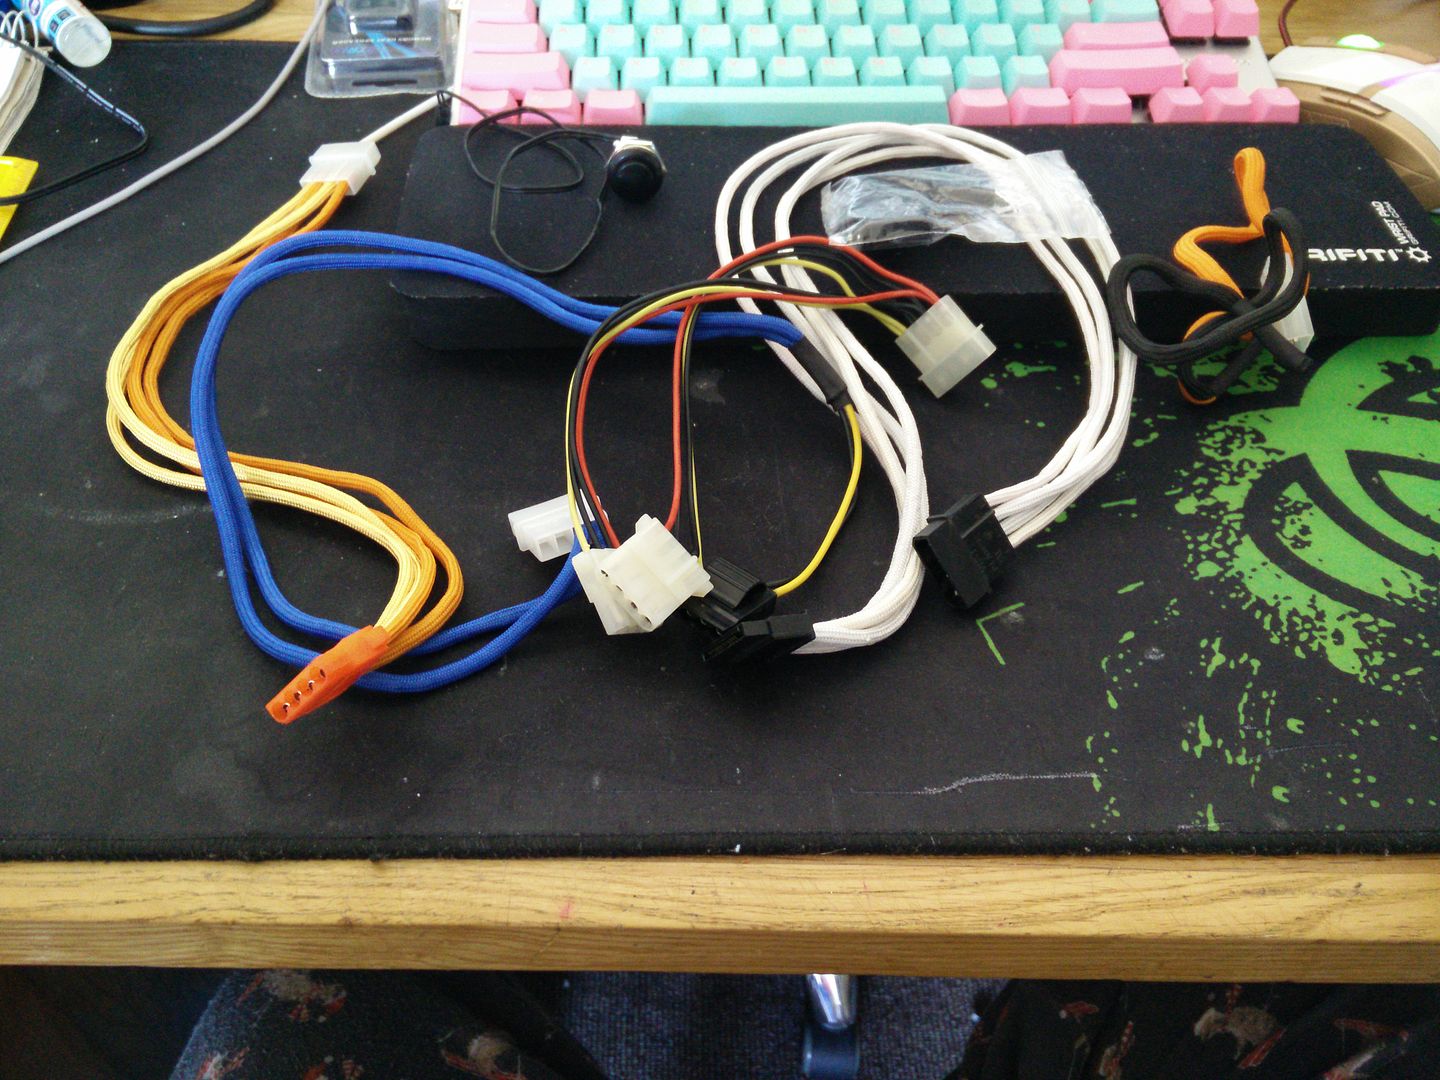
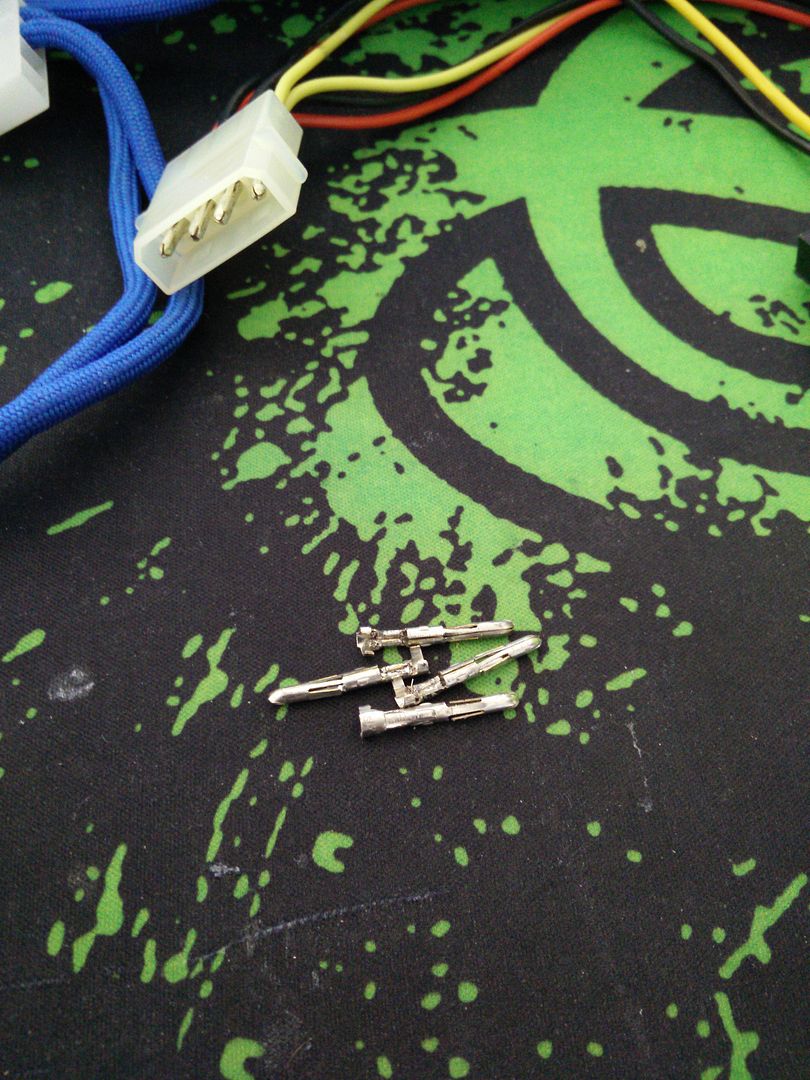
Cheers. TBH there isn't much left to braid because it will all be hidden away. Just a couple of molex power splitters because I'm going to need a few.

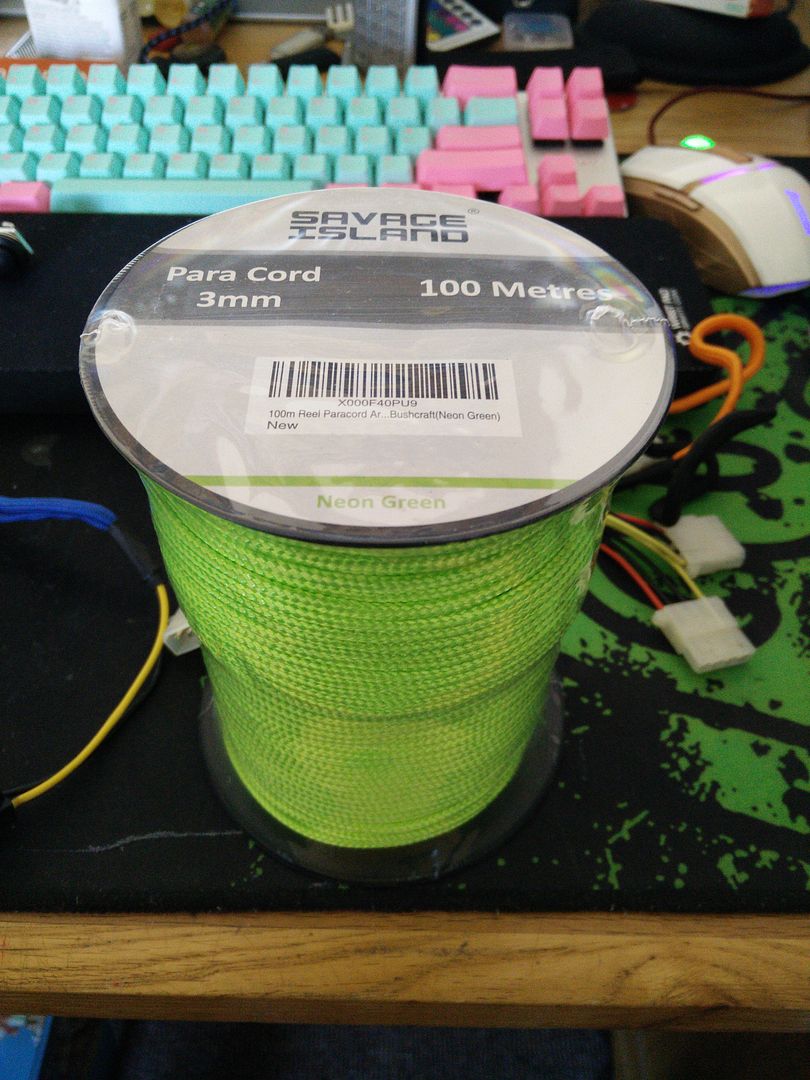
If you are having trouble feeding the braid dude then cut it at the ends from inside once you have melted it. I use snippers to cut a couple of snips it makes the bugger open right up :D

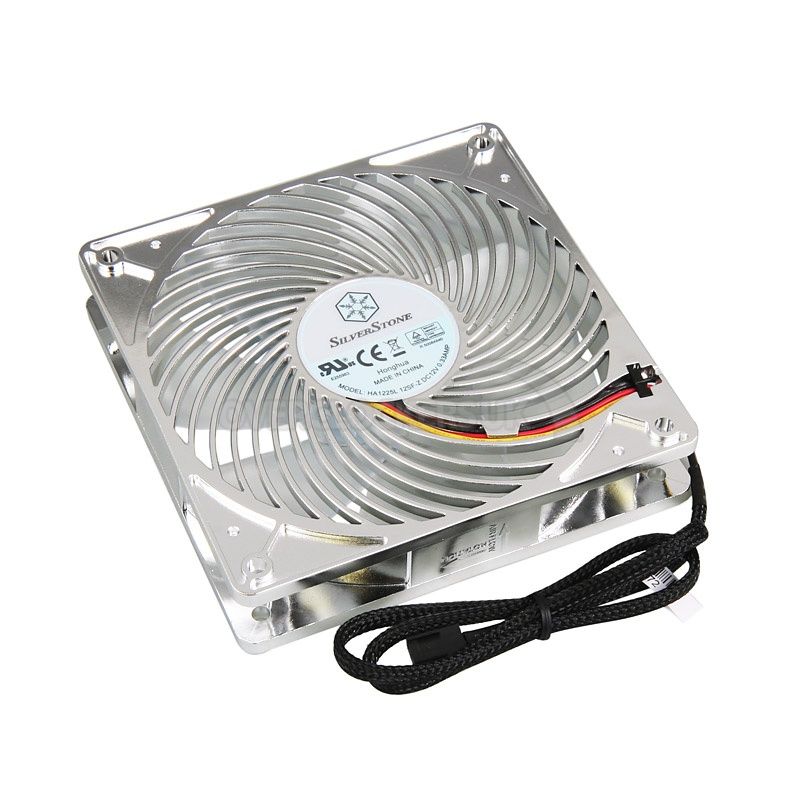
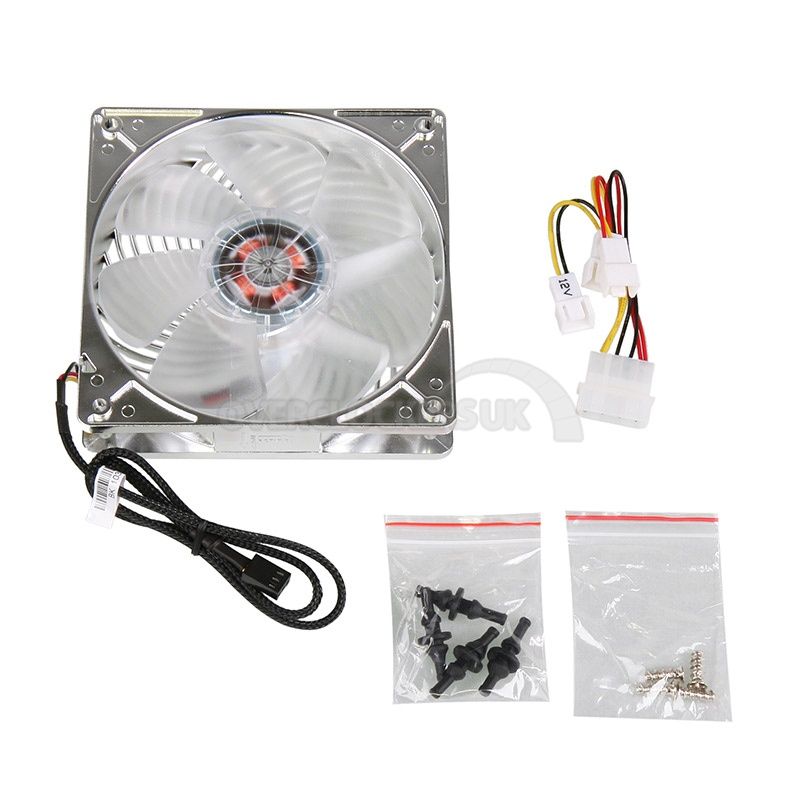
Final order is in. It went a little something like this. Firstly I was poking around on OCUK this morning and saw these for, wait for it, £4.99 each :eek: I've ordered 8.


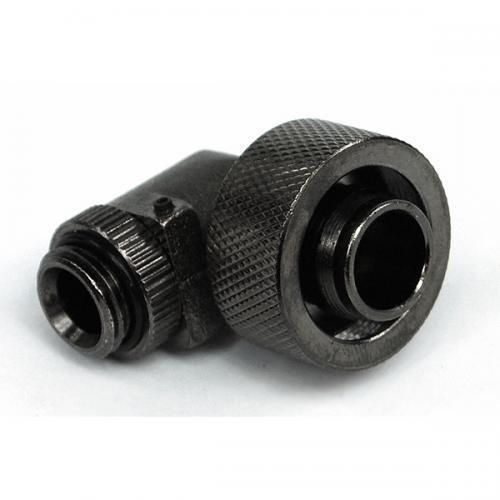
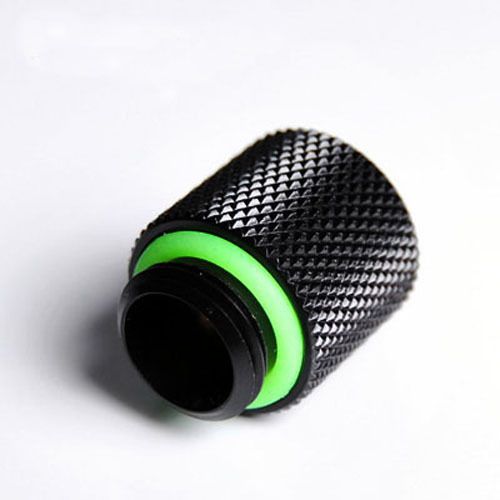
Then I pretty much scoured the bay and found a full set of fittings that would all work with each other and the hose I wanted. I ordered two of these for the bay res (they need to come out sideways) and two for the GPU block.


I ordered two of these for the CPU block.


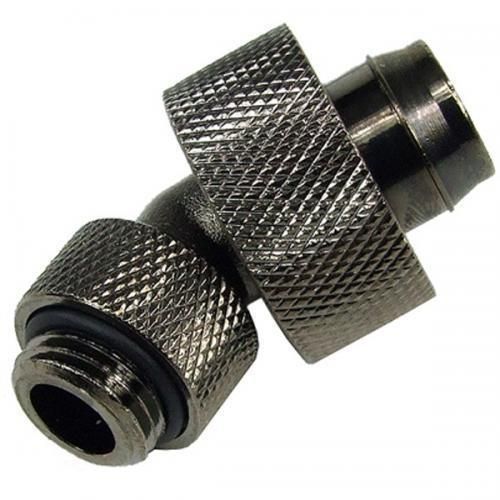
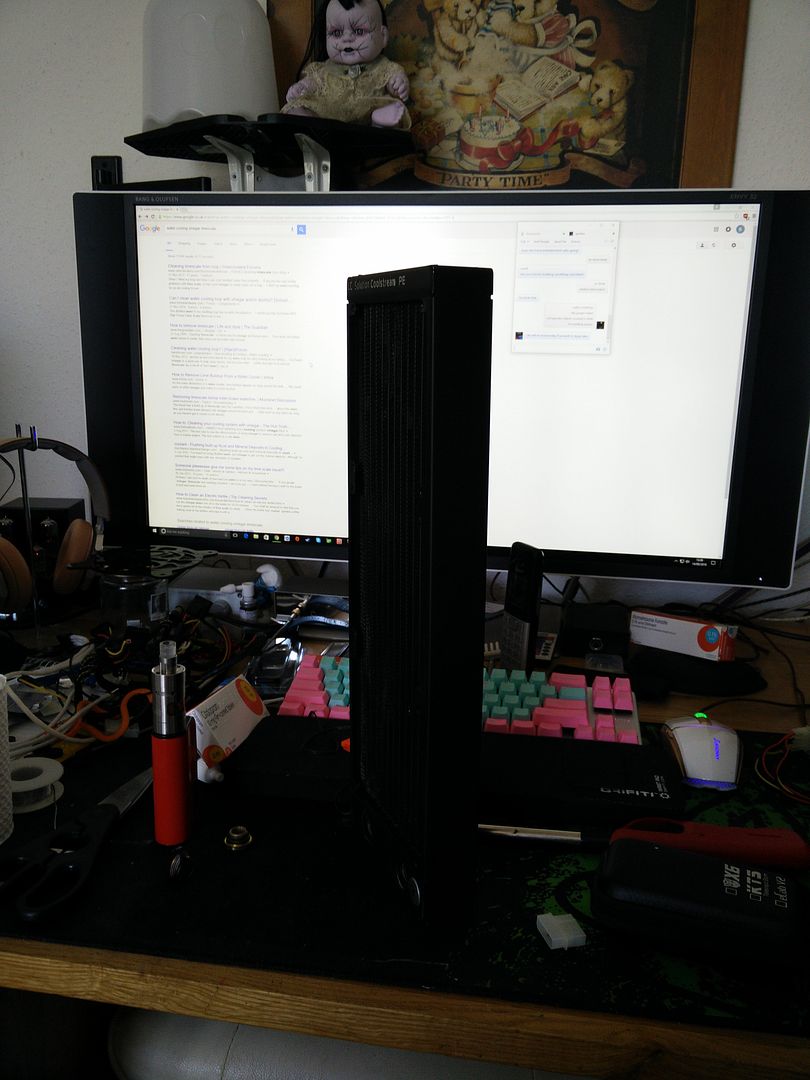
45 Deg, and two of these for the rad.


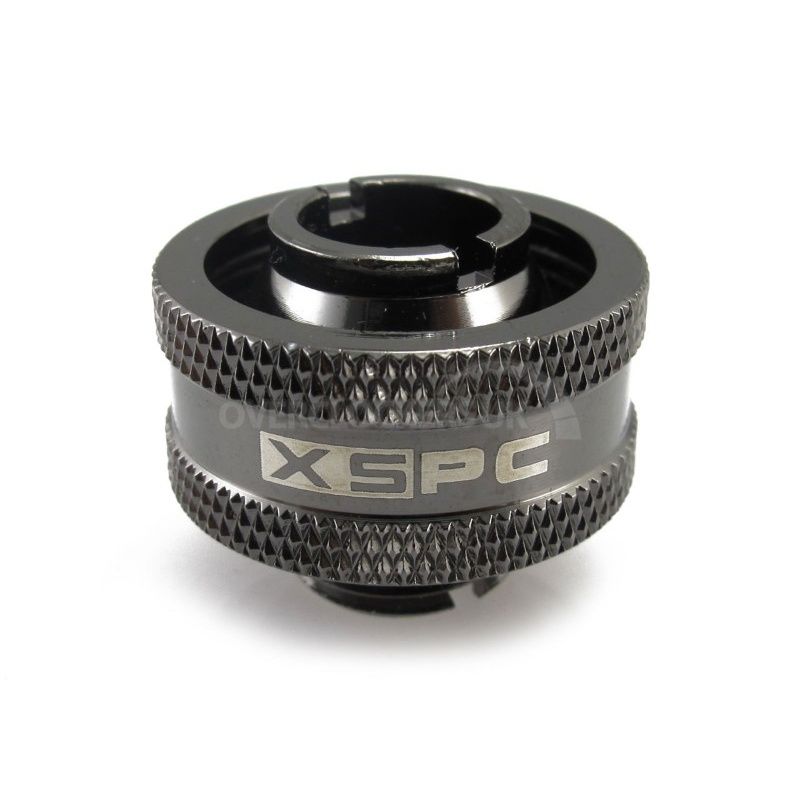
I then had to order two of these, because when I tried to remove the old barb from one side of the rad the extender came out and I scratched it badly trying to get it off the barb.


The hose.


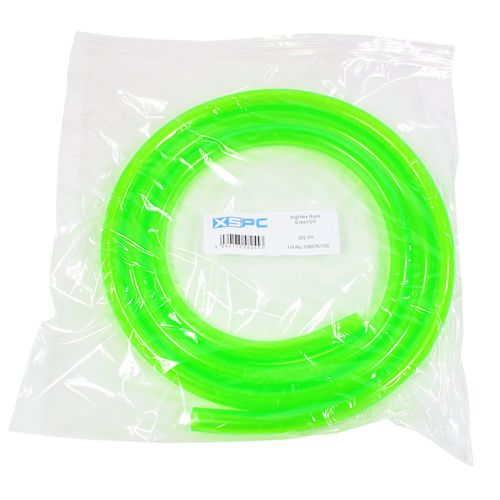
OK so all of that is G1/4 1/2" ID 3/4" OD, or 13mm 19mm. I can't tell you how long it took me to learn all of that and make sure what I ordered was going to be compatible.
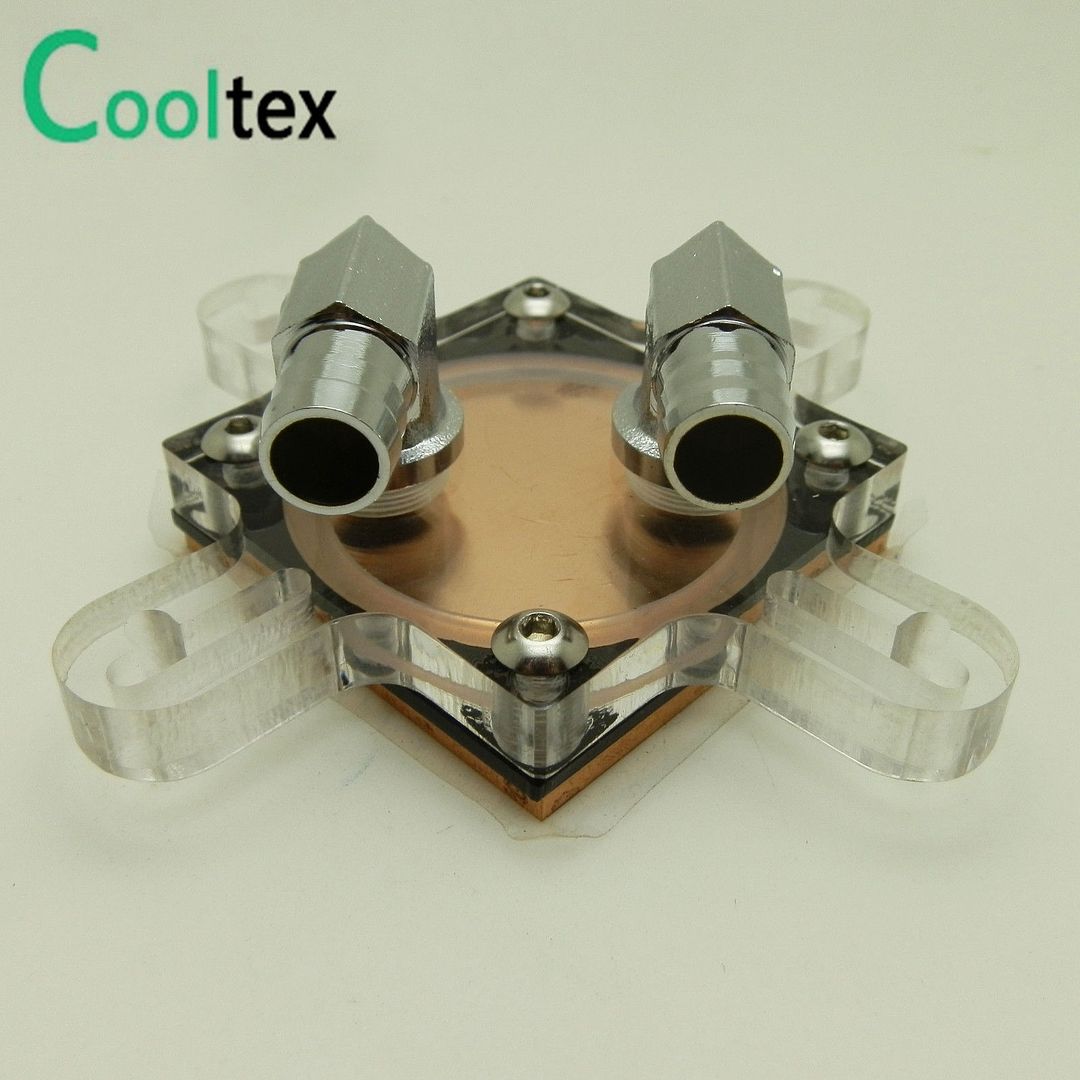
GPU block.


One 1000x500 (yup, 1m x 1/2m) sheet of green acrylic.


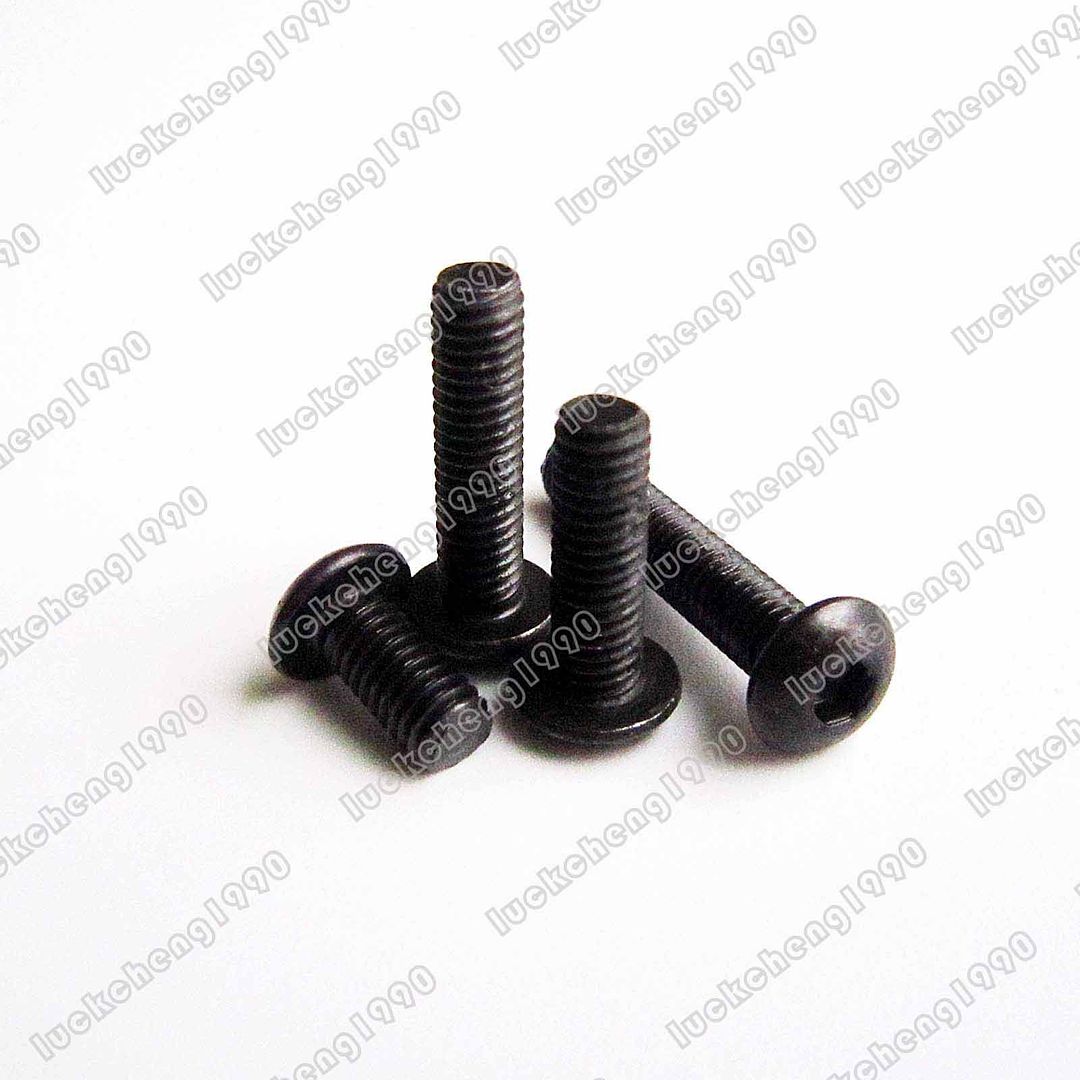
50 8mm button bolts with nuts and 50 6mm bolts with nuts (M3)


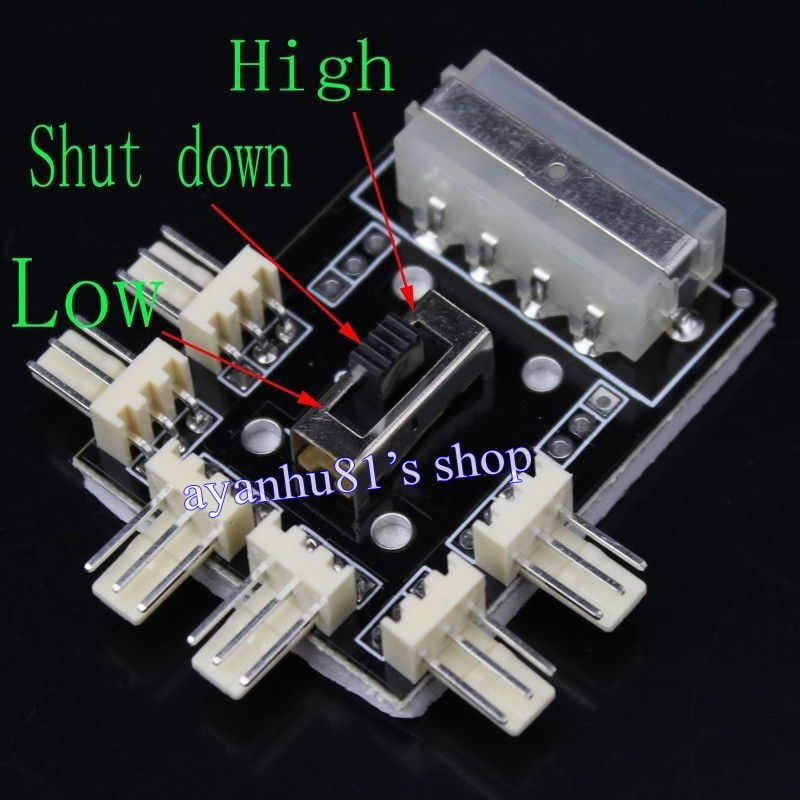
Power distro for the rad fans.


19mm power button, as the alien head button on the front of the rig is temperamental.
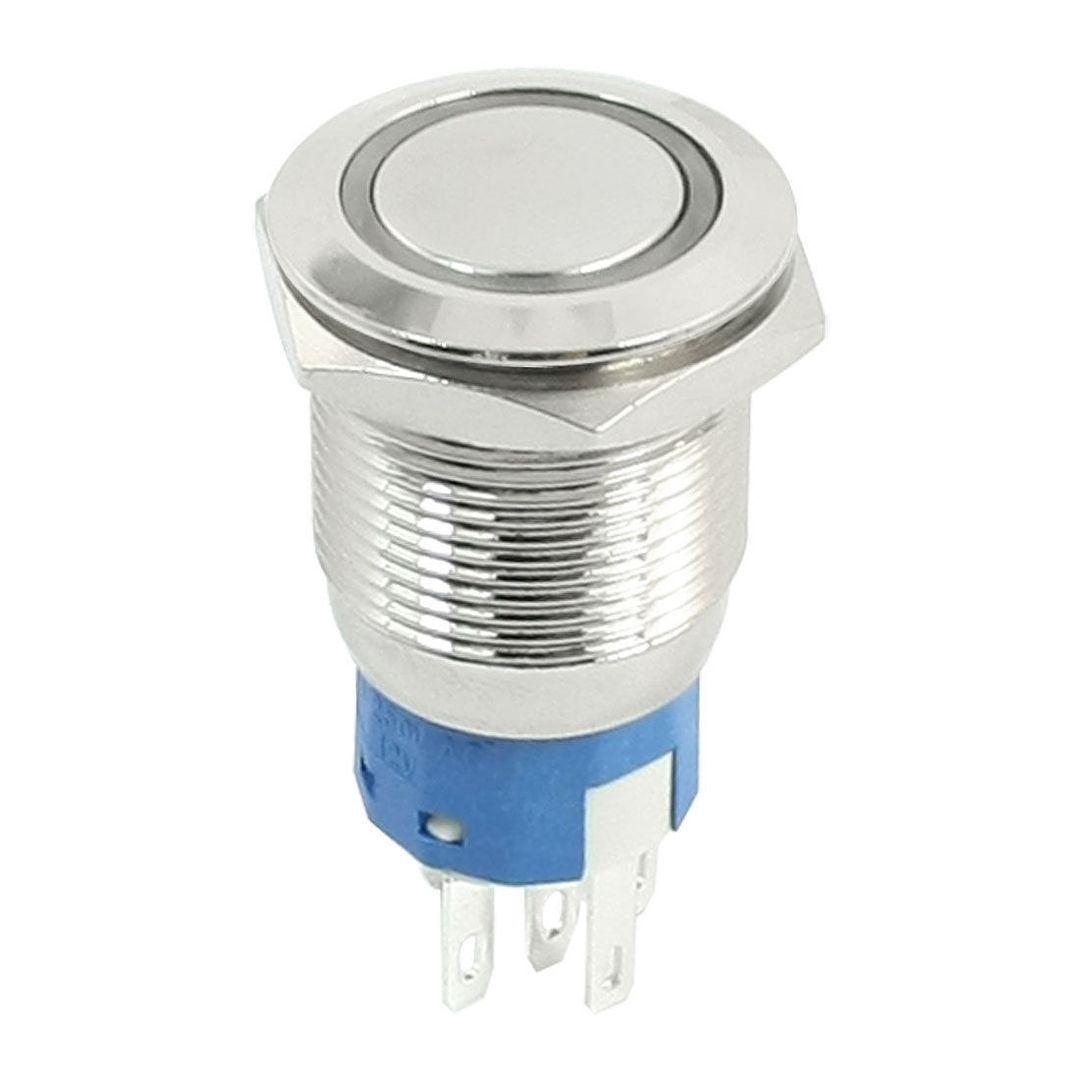
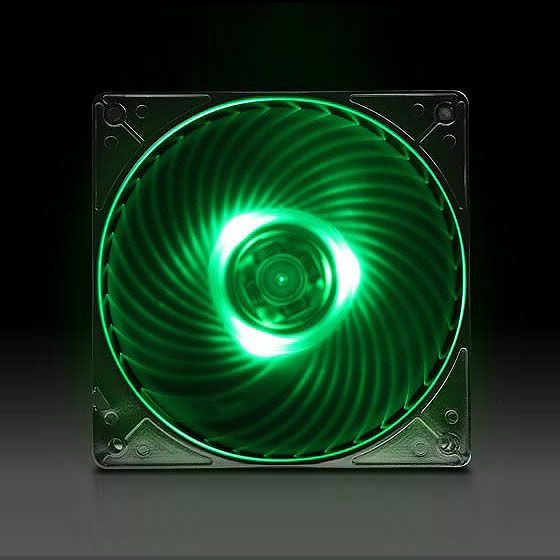


Green LED of course :) 8 of these.


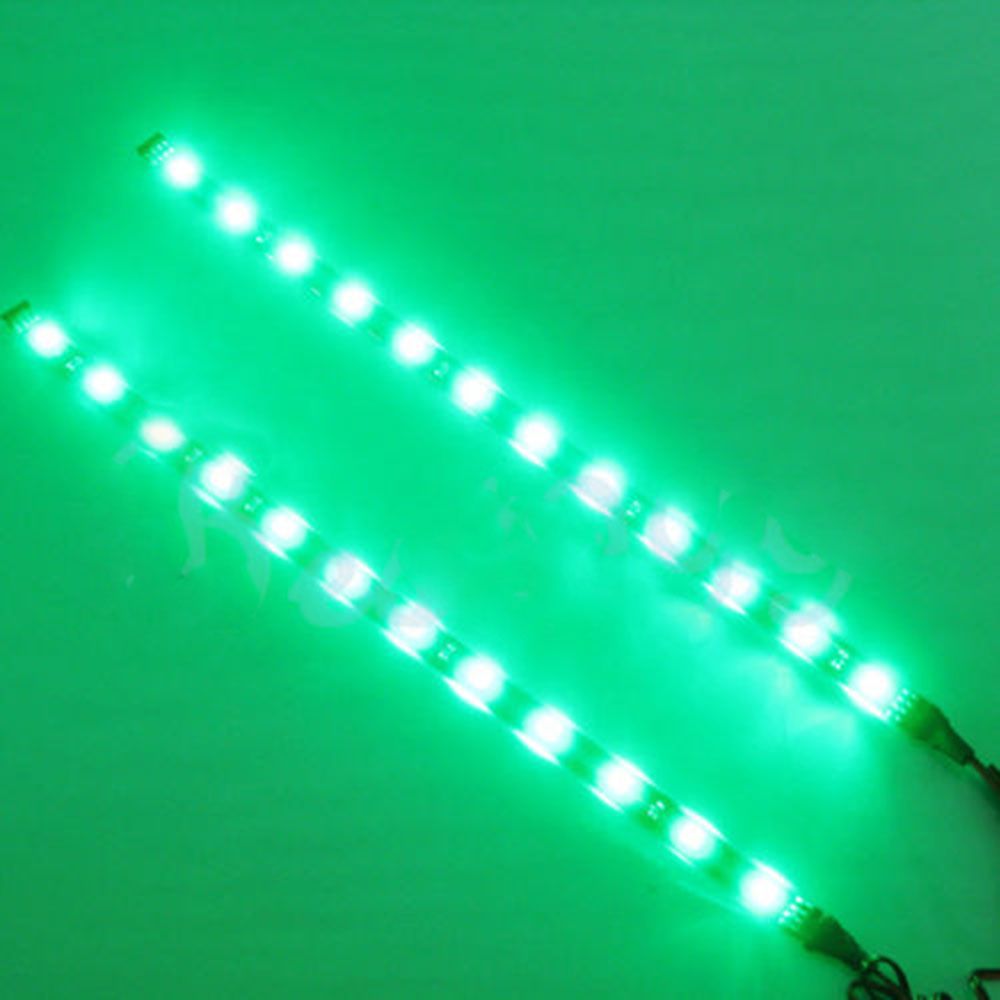
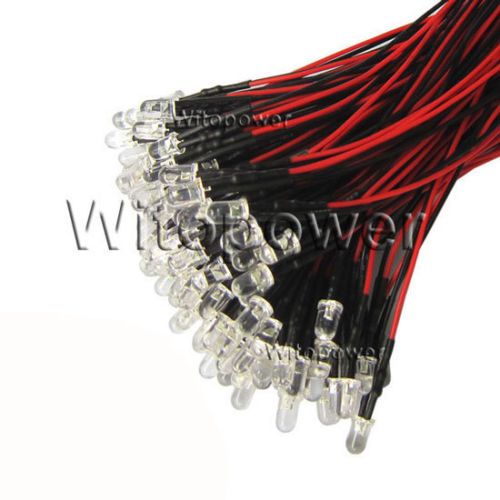
40 pre wired 5mm green LEDs (for the res, general LEDs etc)


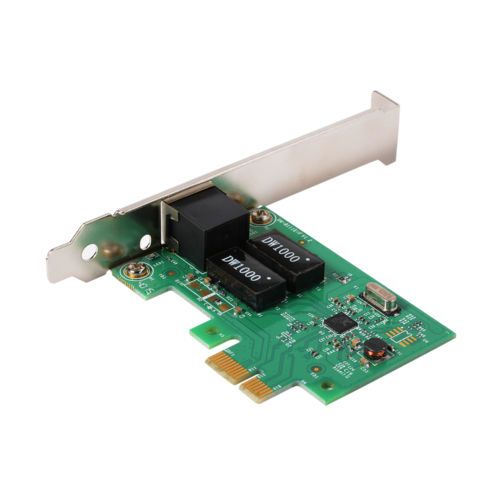
And a network card that will work with Elementary OS


Now if you'll excuse me I have a few hundred rivets to drill out :D
 
Soldato
Joined
4 Jun 2007
Posts
2,623
Location
Watford, UK
I meant that if you pull one end of the cord from the bag it pays out freely but pull the other and it just tangles. Managed to get it threaded over the pins using a piece of heatshrinked shrunk at one end - sort of like a needle for the wire.

Fans are a good find. Should go well with the colour theme!

Good luck with the rivets. I always find the damned things start to spin when you try to drill them.
 
Soldato
OP
Joined
23 Apr 2010
Posts
11,896
Location
West Sussex
I meant that if you pull one end of the cord from the bag it pays out freely but pull the other and it just tangles. Managed to get it threaded over the pins using a piece of heatshrinked shrunk at one end - sort of like a needle for the wire.

Sorry I forgot to answer this. Look at this pic.


See that silver thing with the brass end on? that's my tool. A guy I have known for a few years makes them by cutting up car aerials and then milling brass for the tip. Inside is a coil thing that is grippy, so you just insert your cable in there firmly and it then stays and gives you like a needle attached to the cable. You simply feed the braid over it like putting on a sock.
 
Soldato
OP
Joined
23 Apr 2010
Posts
11,896
Location
West Sussex
So today I cut the supports for the res and welded them in place.


And drilled the holes for the screws that hold it in place. Sorry about the pic, sun went and it was awfully dark in here.


And then the fans came :)


I will probably make the other supports now and get them welded in :)
 
Soldato
OP
Joined
23 Apr 2010
Posts
11,896
Location
West Sussex
OK so the res bay is nearly complete :)


As you can see I have fitted the top now and heat welded in four bolts for extra strength. This unit will be sanded, painted and become part of the case (there will be a filling hole cut in the case roof that lines up with the ones on the res holder).

You will not see hardly any of it when it is done, hence why I have only really been accurate on the opening and where the bolts go in. The rest was pretty much done by eye, given you won't see it.
 
Soldato
OP
Joined
23 Apr 2010
Posts
11,896
Location
West Sussex
CPU block arrived. I've had stuff from England arrive slower.


Very pleasantly surprised by the actual quality of it. Not happy with the "wings" though, they will be coming off. I've removed the barbs as I will be using my own. Ignore the condensation in there I saw a bit of dust and blew it out :D


Nothing else arrived but it's not a problem because it seems I have sprained my wrist :( The drill dug in and span the other day and it seems I've injured my wrist which is steadily getting more painful.
 
Soldato
Joined
4 Jun 2007
Posts
2,623
Location
Watford, UK
Looks alright. Pins maybe a little shallow and I'm not sure that the water is going to be forced through them rather than flow over the top - but it does look like there is some attempt at doing that. Should at least be fairly low restriction and it's not like you're aiming for the world record in lowest temps or anything!
 
Soldato
OP
Joined
23 Apr 2010
Posts
11,896
Location
West Sussex
OK two more things completed :) firstly I filled the res with white vinegar and this gave me the opportunity to leak test it too. It passed with flying colours and now the limescale is literally no more.


Totally minging but totally worth it :D I managed to seal it up using the shut off caps from the GTX 580 I was given. Talking of the GTX 580 I bet you've never had one arrive like this...


Viva Parcel Farce ! Sadly as it was a special edition XOC 580 by Gigabyte (huge ass thing) the block was useless so it all went in the bin. *sigh*. Thankfully I have a better card (even though it looks nowhere near as good) but yeah, had I been depending on that I would have been even more gutted. However, it performed one last duty and that was to give me the caps I needed. I will be using them when I descale/flush/leak test the rad tomorrow.

So for today's fun bit I connected up my test power supply and had a play with the fans.


And I was (pardon the obvious pun here) blown away. They come with a special adapter that allows you to run them at 5v, 7v or 12v. However, I had to stick my ear next to it when it was on 12v to even be able to tell it was working. Due to this lack of noise I was worried it may not be shifting any air, but man, I was wrong.

So so chuffed with these @ £4.99 each and love the green ring that appears around the fan body when they're running :)

Viva OCUK (with absolutely no sarcasm and a slightly fatter back side for eating all of the Haribo :D )
 
Soldato
Joined
23 May 2016
Posts
3,729
Location
North Essex
Shame about that 580 getting tanked mate. I admit I packed it all in a rush but I never expected any breakages like that. Good to see you are getting some use out of the gear tho. Might have to get some of those fans myself to replace the boring NZXT ones I have :)
 
Soldato
OP
Joined
23 Apr 2010
Posts
11,896
Location
West Sussex
Shame about that 580 getting tanked mate. I admit I packed it all in a rush but I never expected any breakages like that. Good to see you are getting some use out of the gear tho. Might have to get some of those fans myself to replace the boring NZXT ones I have :)

Yeah it sucks but hey, what can you do? it's a shame we didn't have the foresight to insure it really because that particular card cost an arm and a leg at launch. Would've served the red gits right.

So the only other thing I really needed to test before filling it with water was the radiator. Another enormously kind gesture meant I could go and see the doctor. Let me introduce you to Dr Drop.


Now the website says to put up to 0.5 into the rad (8.7 PSI) but I was a little worried with this rad being quite old and having damage on the fins. So I decided instead on 0.3 bar because the pump I have could not deliver any more than that any way due to the layout. It kept leaning on the release nipple.


I also did not want to just walk away and forget about the amount of pressure in there either so I sat and stared into space for ten minutes. Lo and behold, no pressure drop.


Phew.

The radiator bolts came today also, so I can get them on and buttoned up. I have also completely changed the design of the rig too. Instead of using that radiator stand I am just going to rivet a 360 fan grille onto the front of the rig. Firstly it will allow me to mount the rad and fans right onto the front of the rig (gaining me about 10mm in space) and secondly there was pretty much no way to bolt the rad stand down and then assemble it. I could assemble it but then I could not get to the bolts, and after three days of trying to think of a solution I just gave up :D
 
Back
Top Bottom