Project Dianoga

Soldato
OP
Joined
23 Apr 2010
Posts
11,896
Location
West Sussex


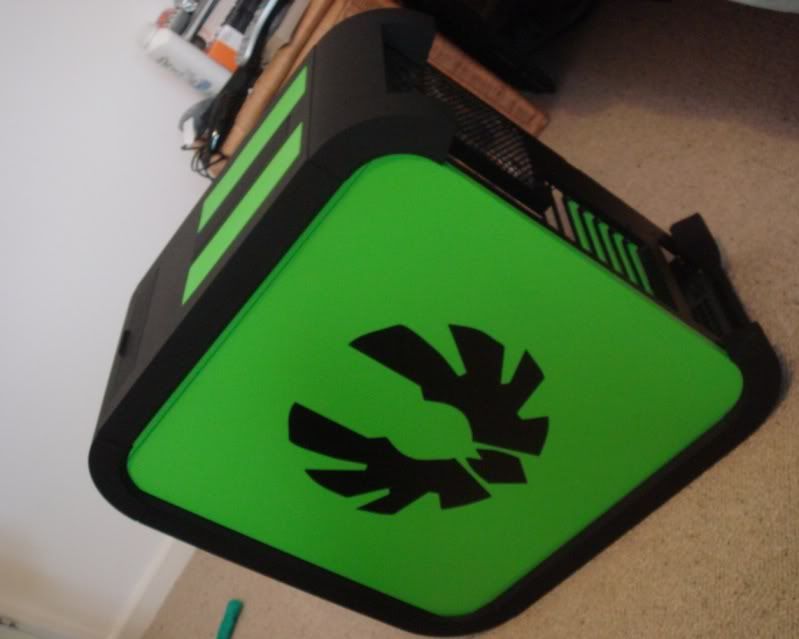
Say hello to my little friend.
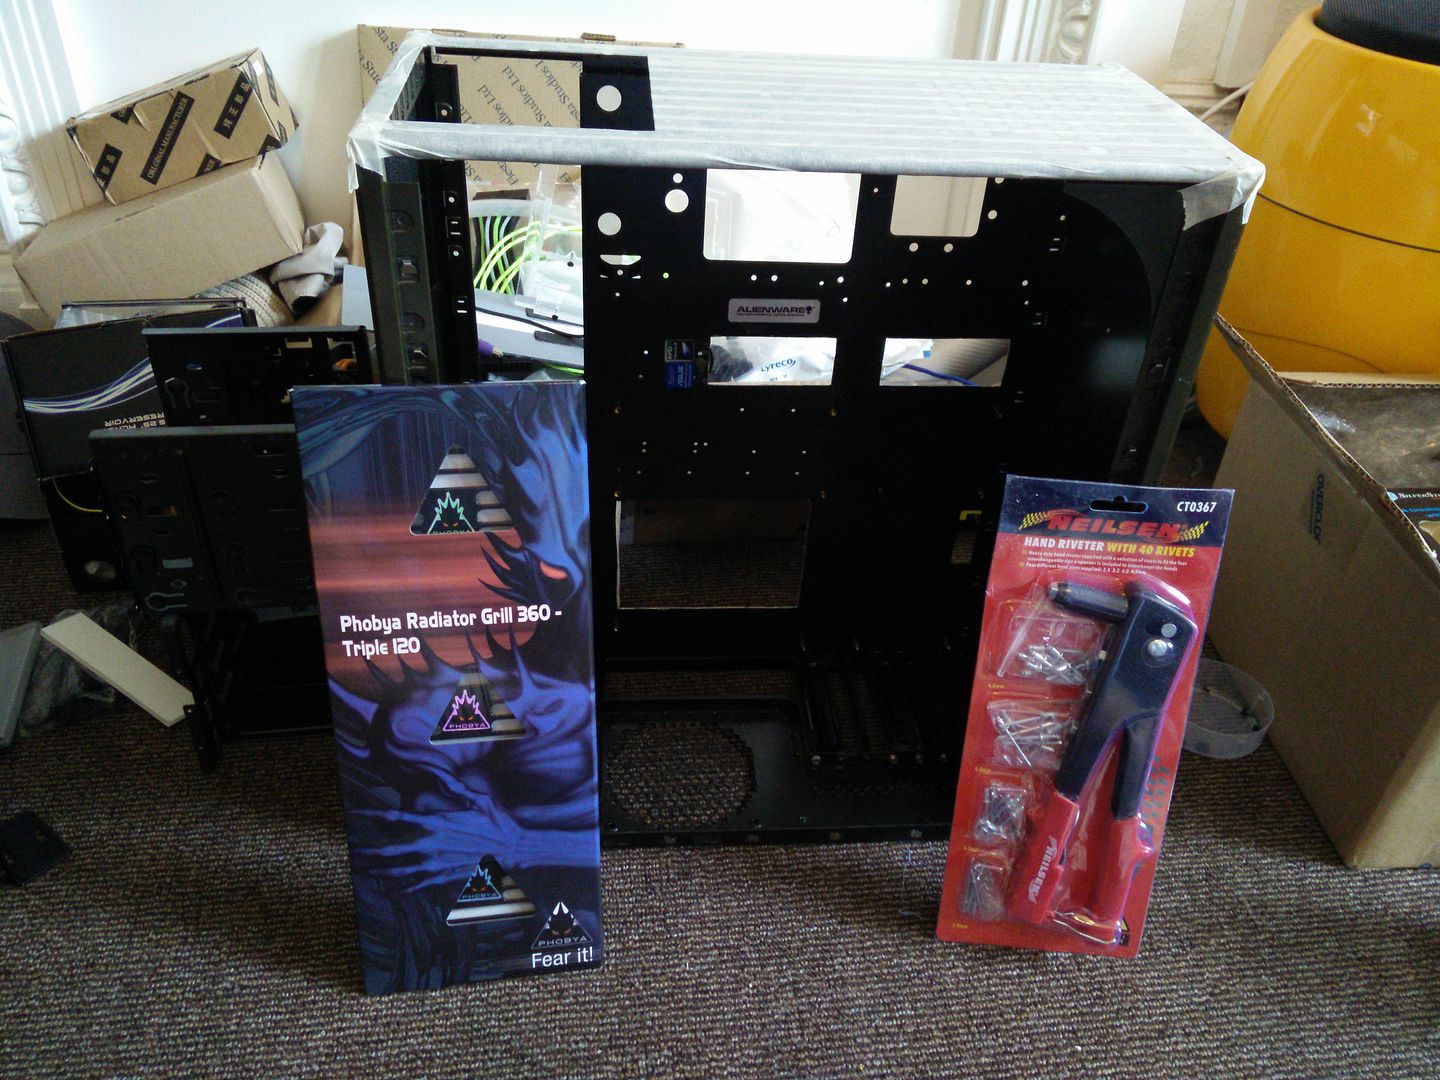


OK so this is what I am going to be using. I have had it forever.
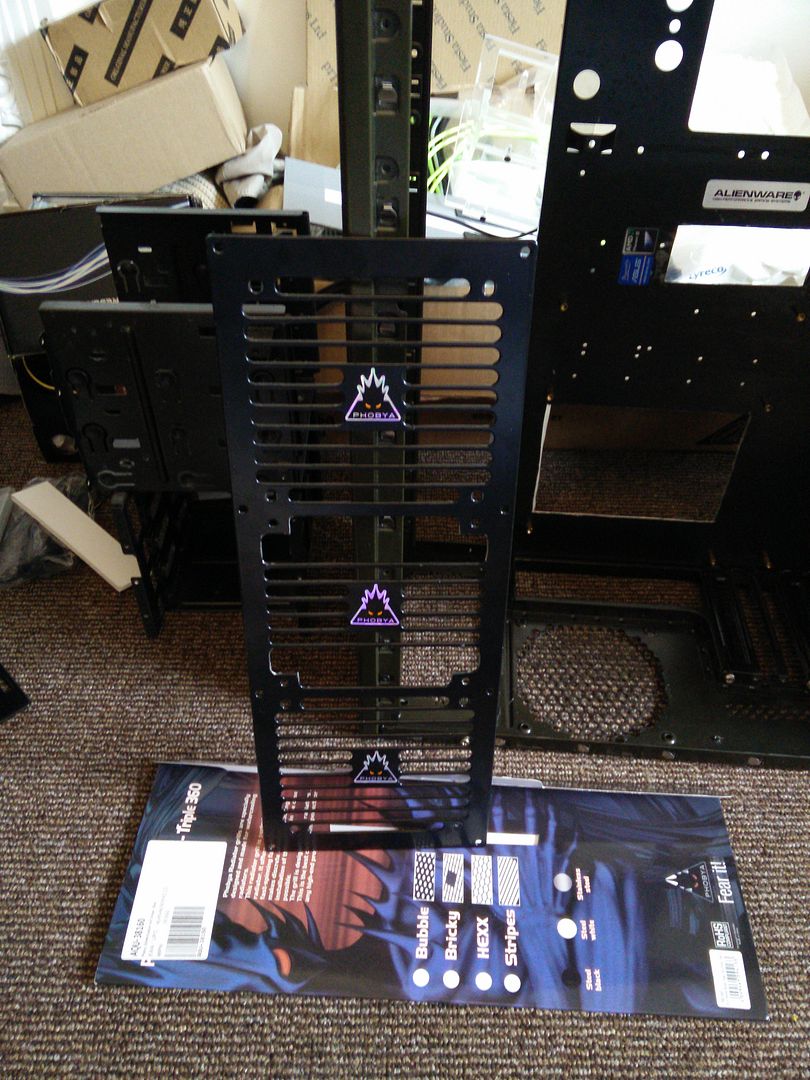


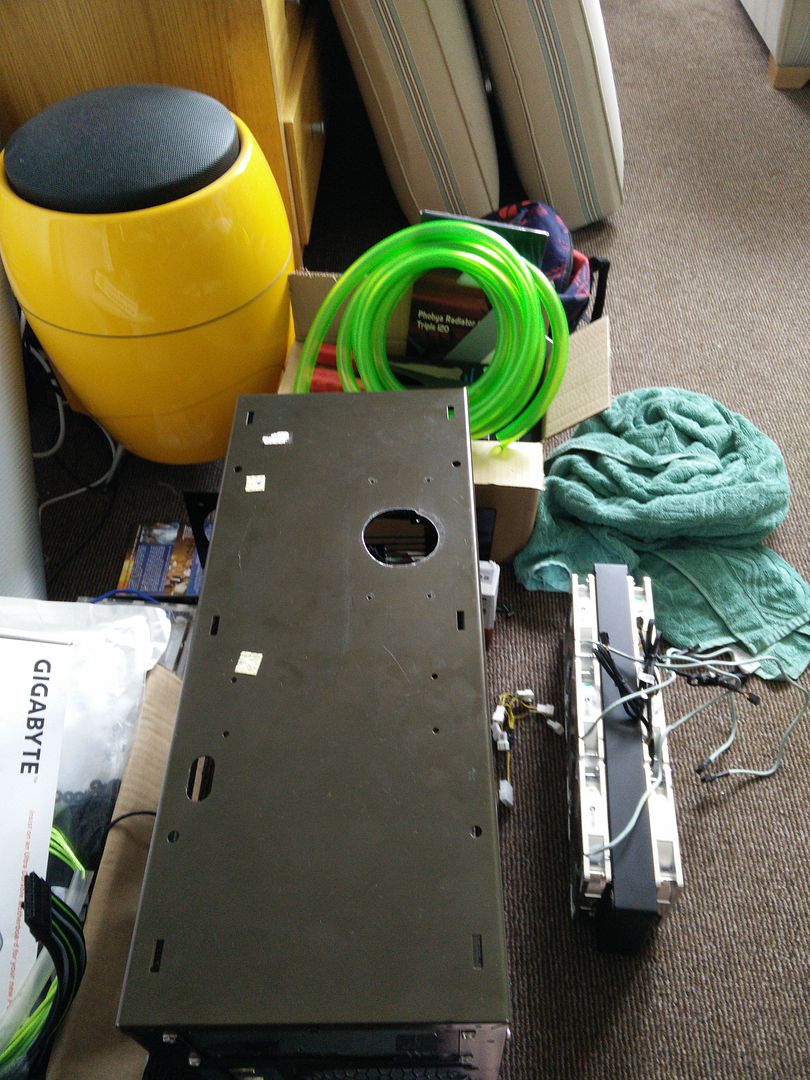
OK so I needed the front so that I could map out where it attaches to the chassis.
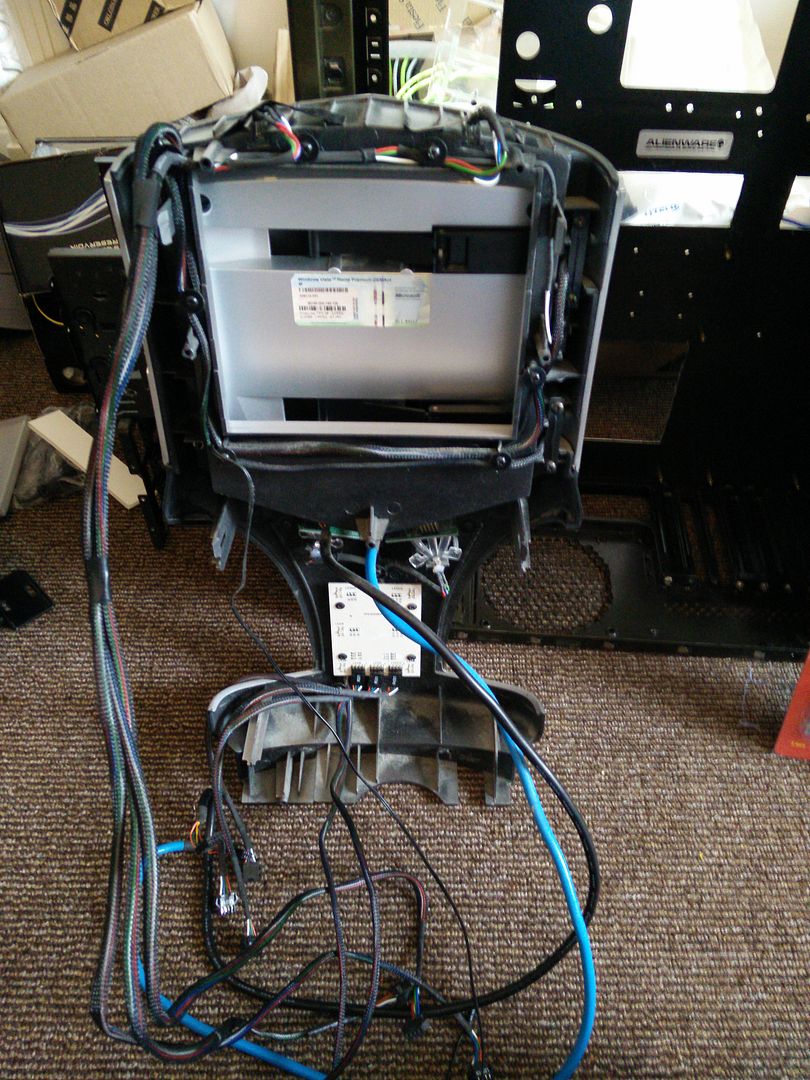


Map everything out.
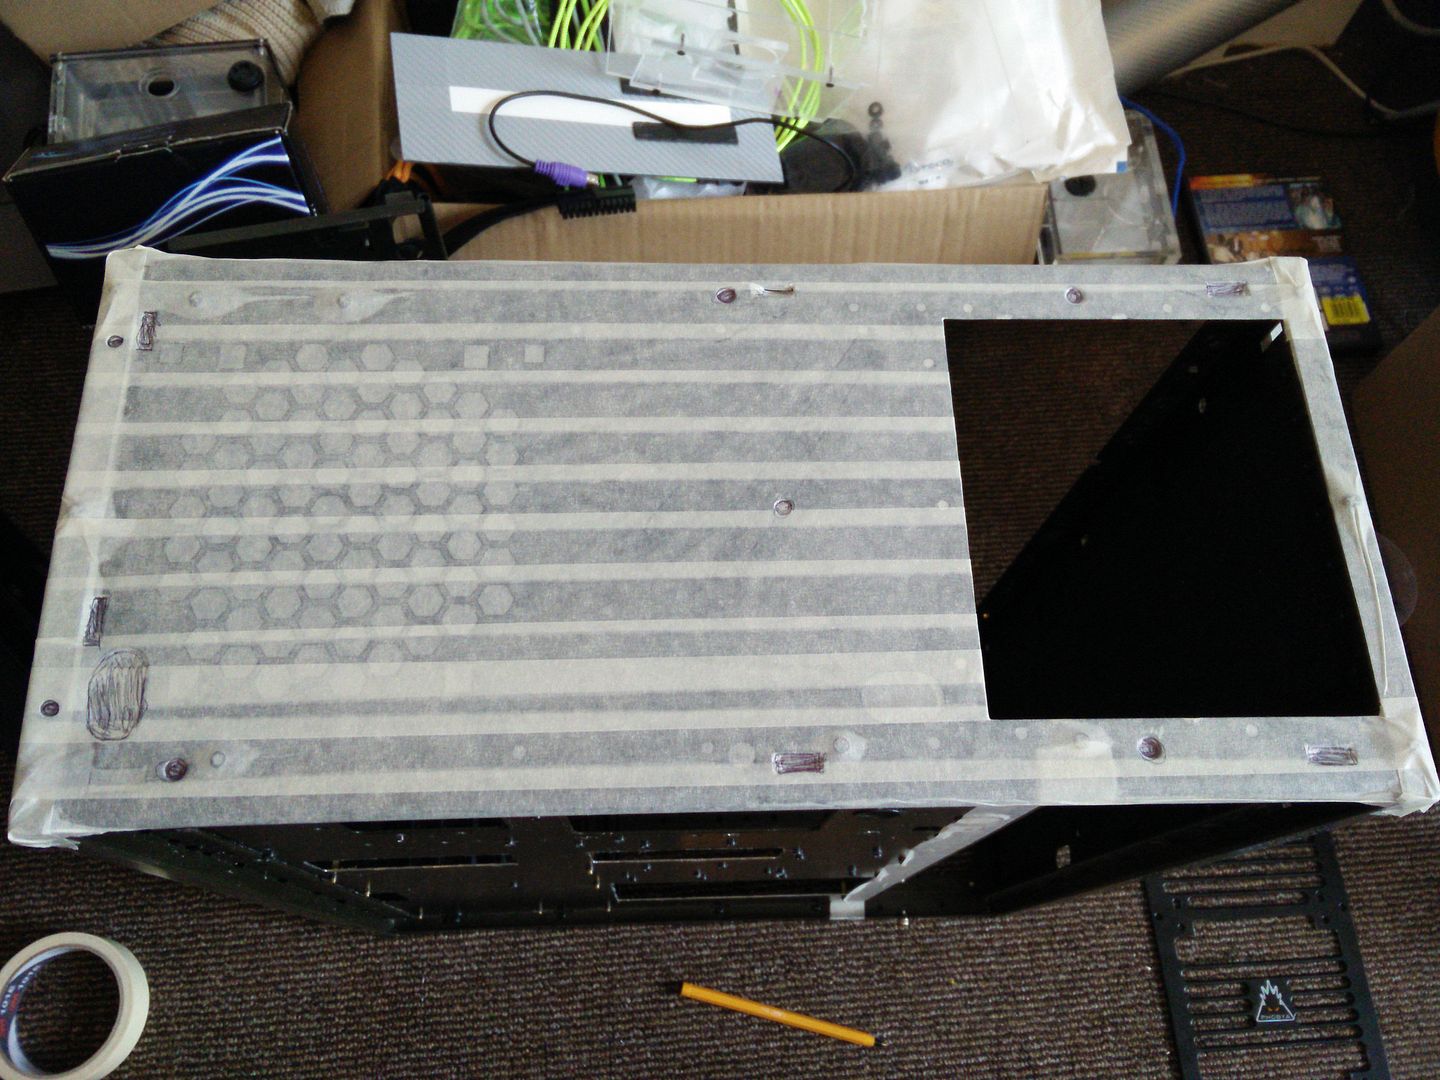


Then tape down.
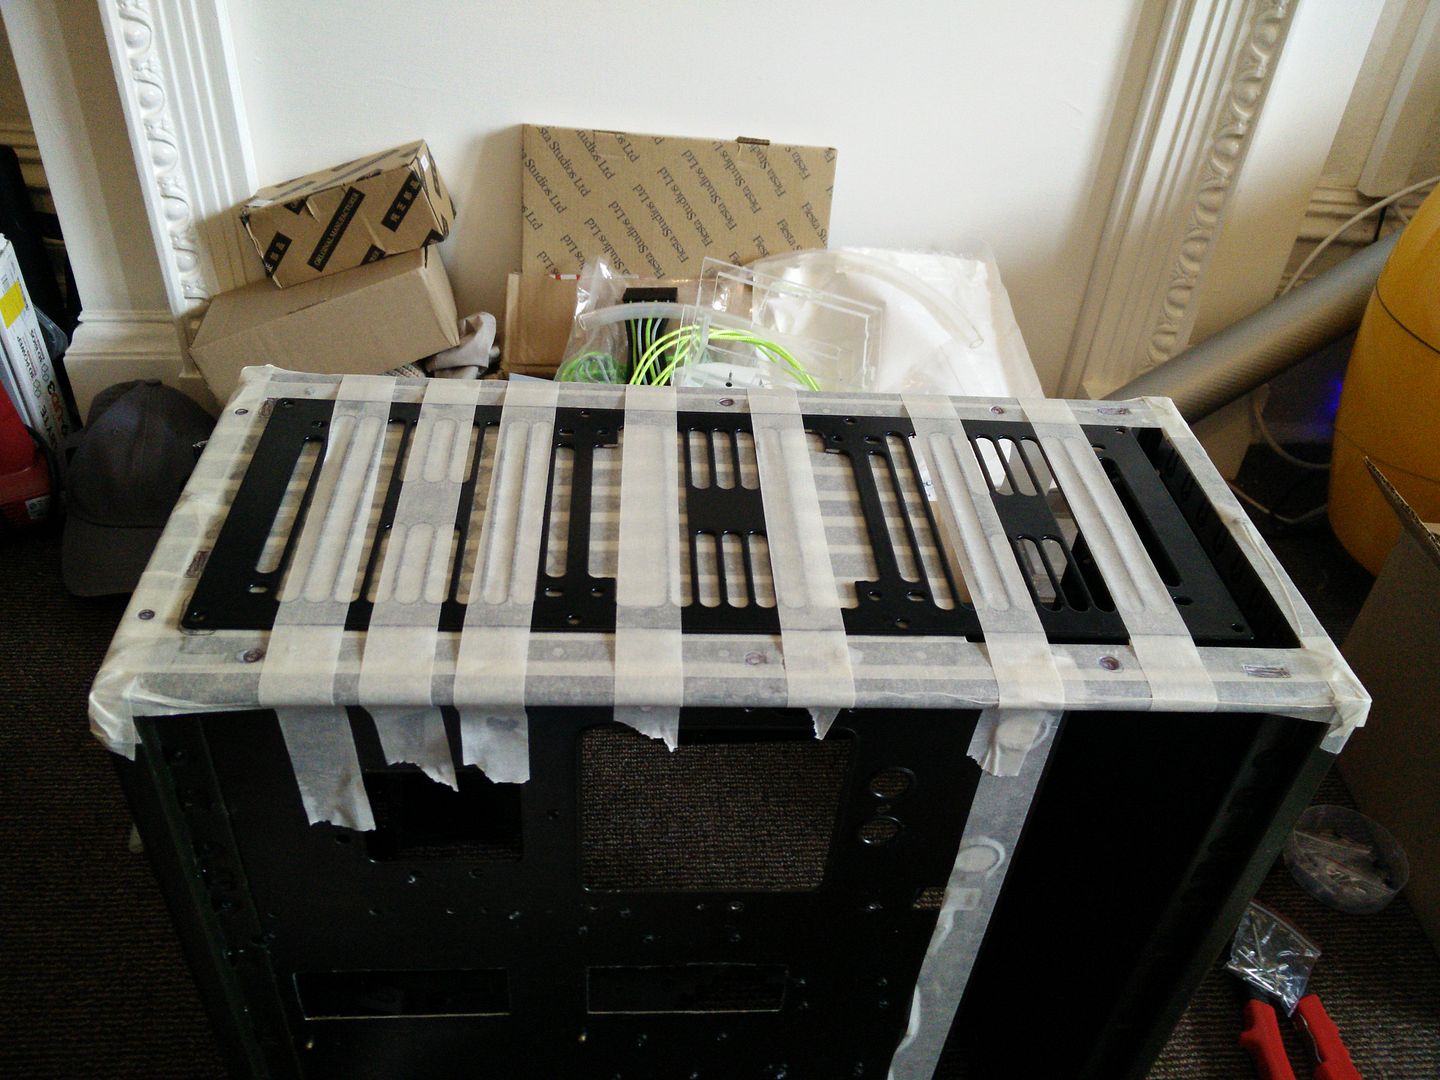


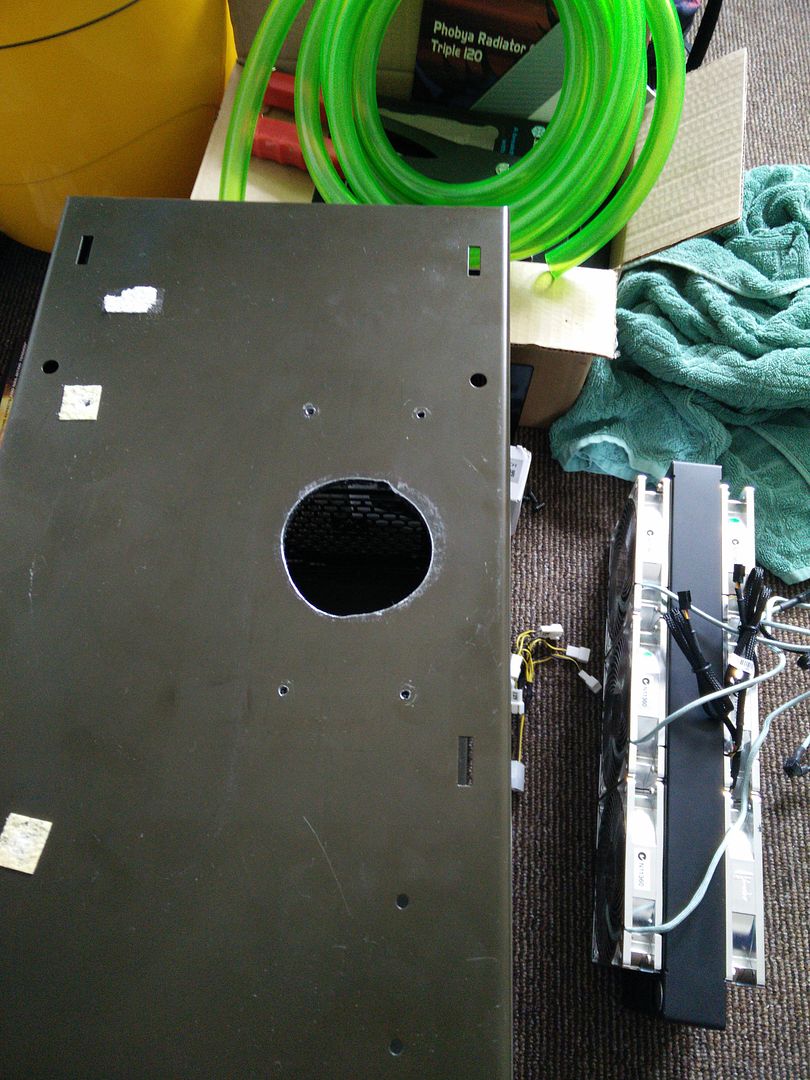
Then take it to the kitchen, drill the rivet holes, cut out the face panel, clean, paint edges that were cut, rivet on, paint rivets (need another coat). And.
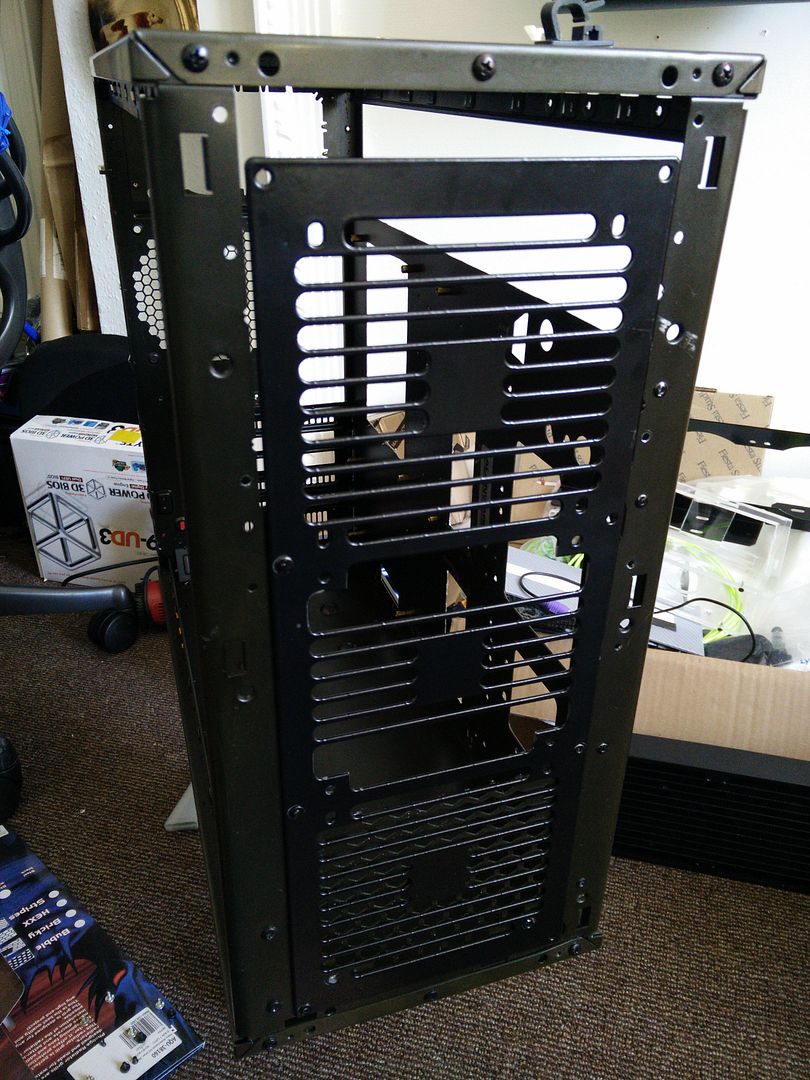


And the other side.
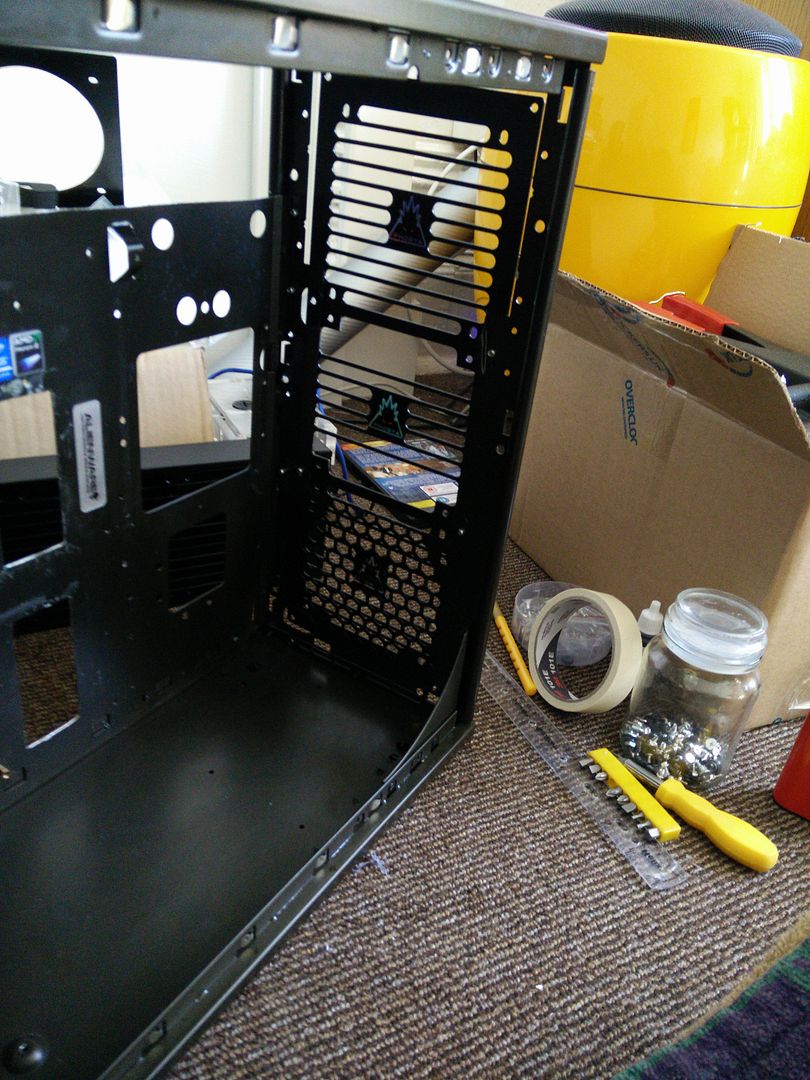


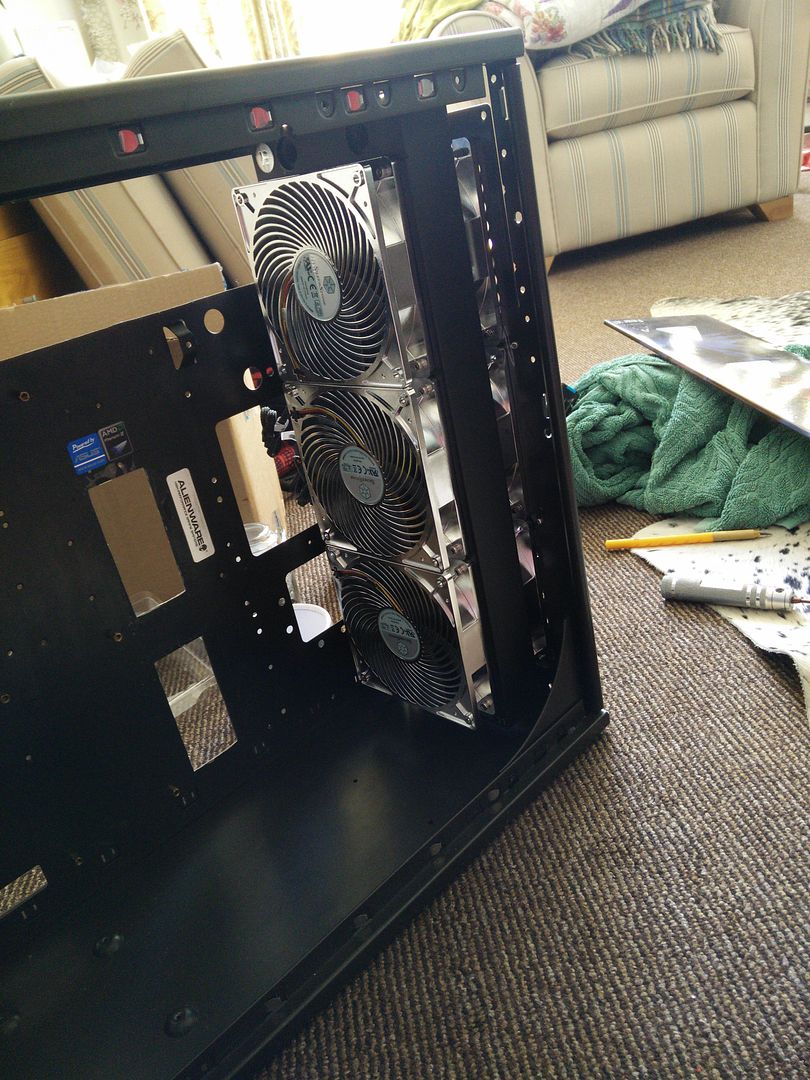
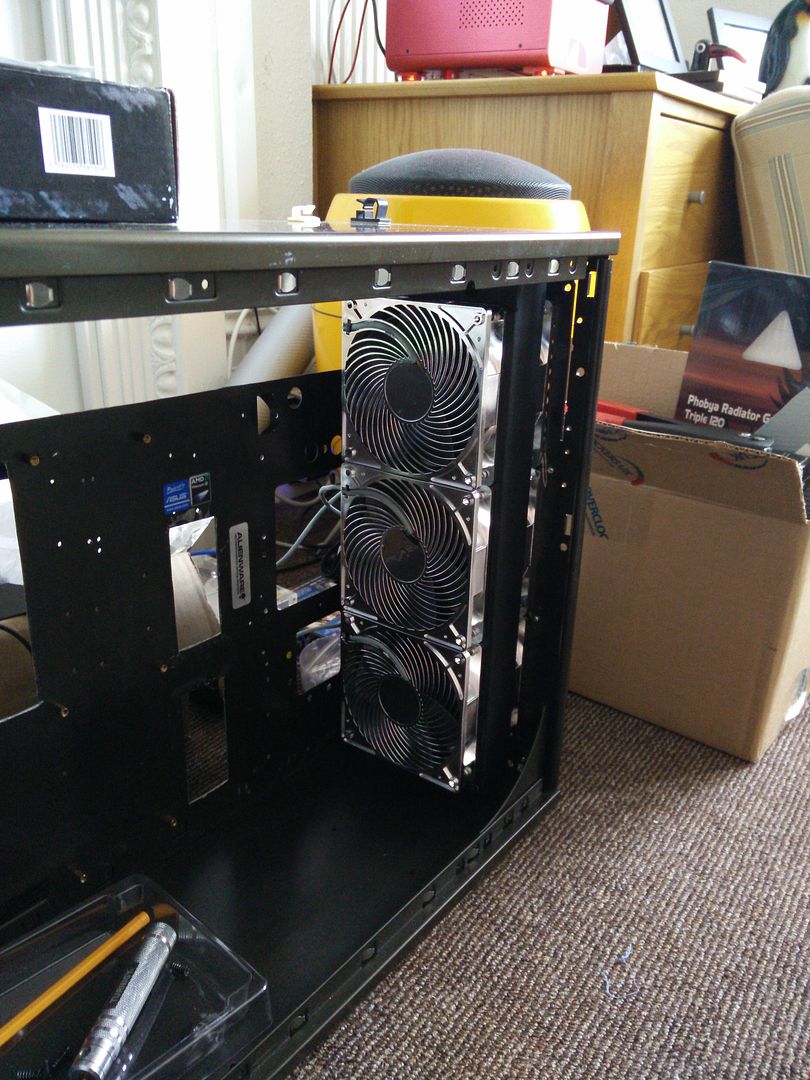
OK so as you can see all I need to do now is basically fit the fans on the rad (short screws) and then use those self tapping fan screws to attach it to the new front panel. Much easier than buggering around with that rad stand.

I also cut off the 90' lip that was running all the way through the case. I will paint this edge later though there's little point tbh.
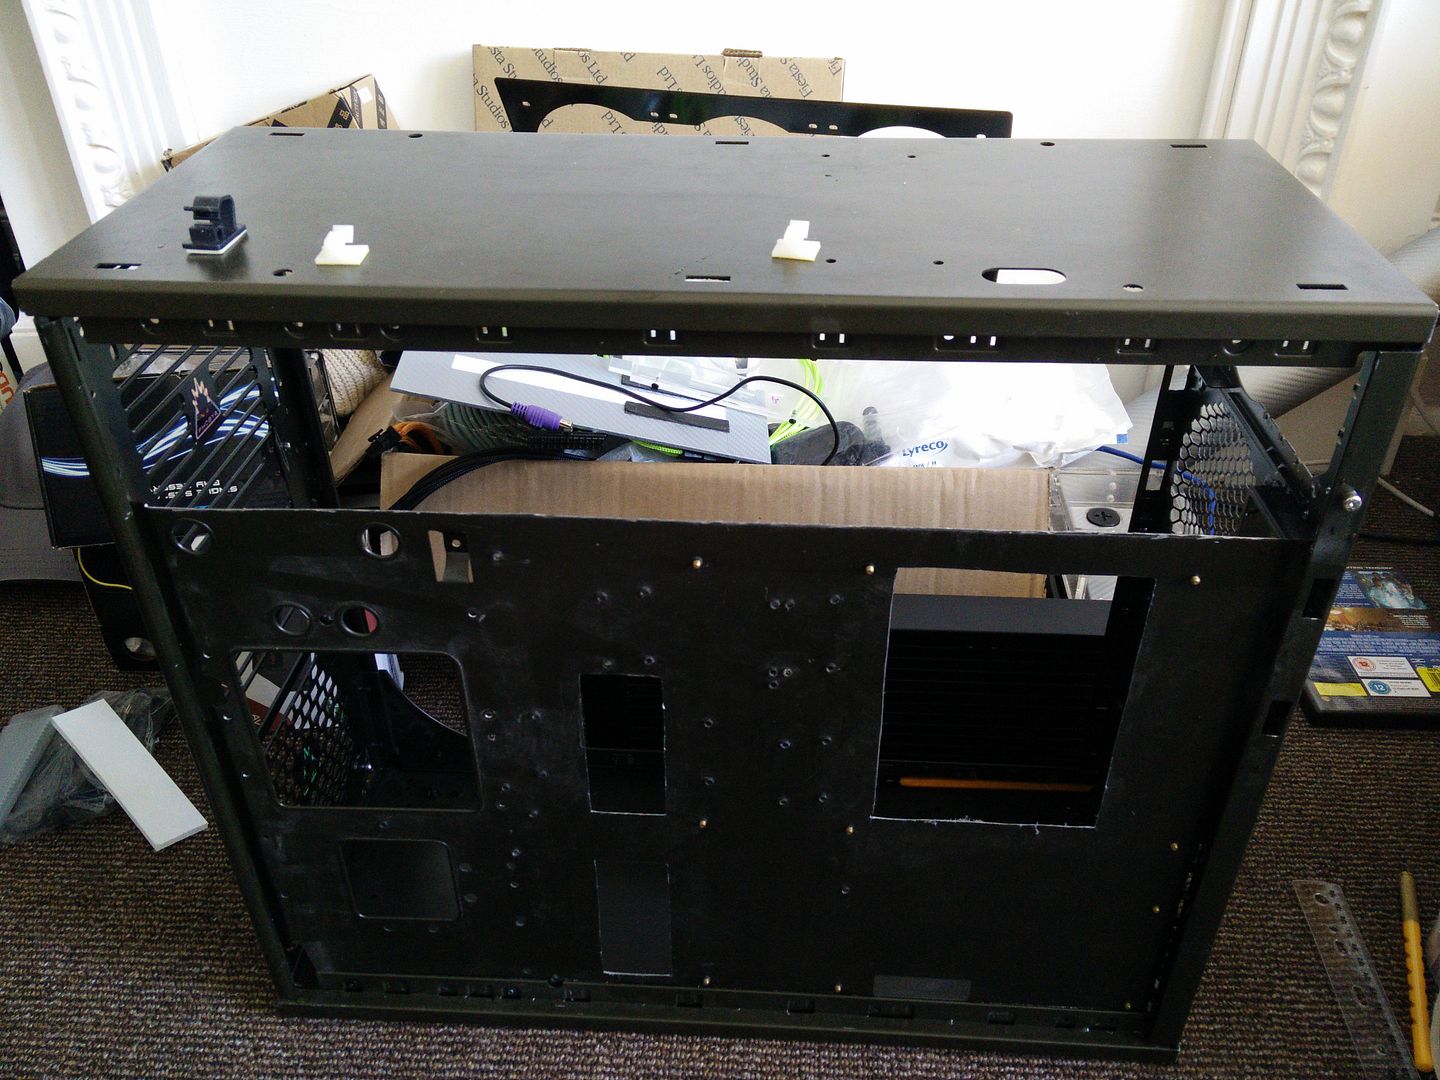
 
Soldato
OP
Joined
23 Apr 2010
Posts
11,896
Location
West Sussex
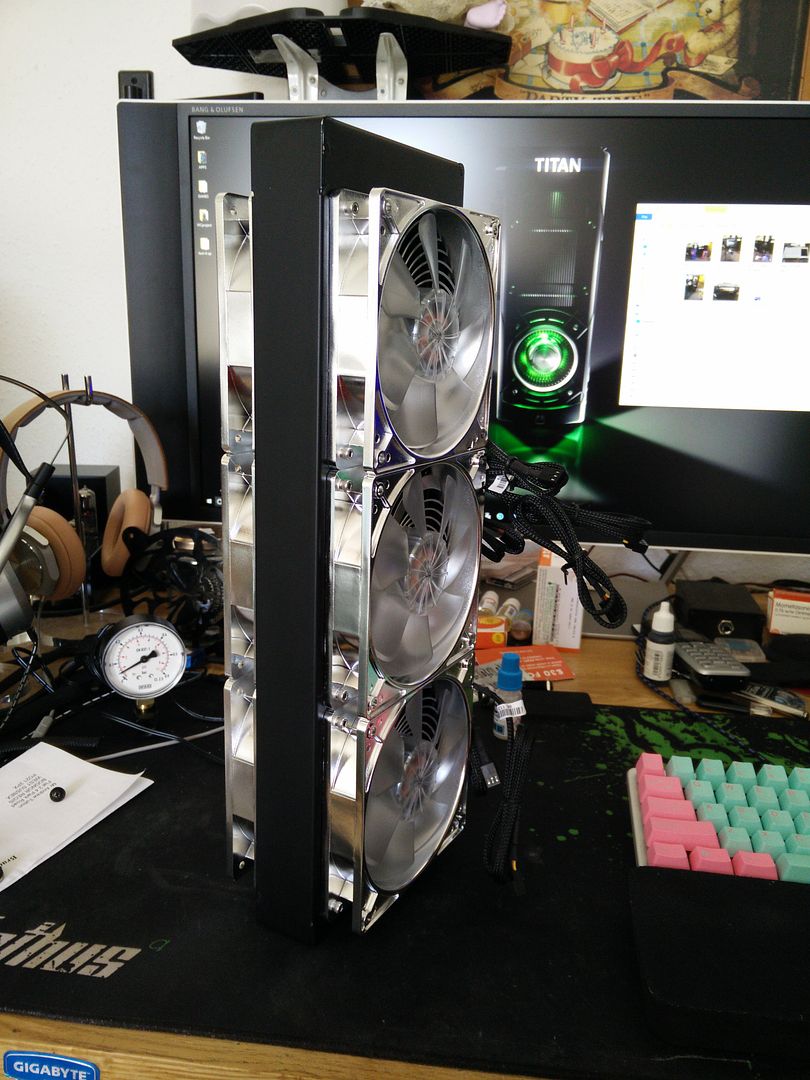
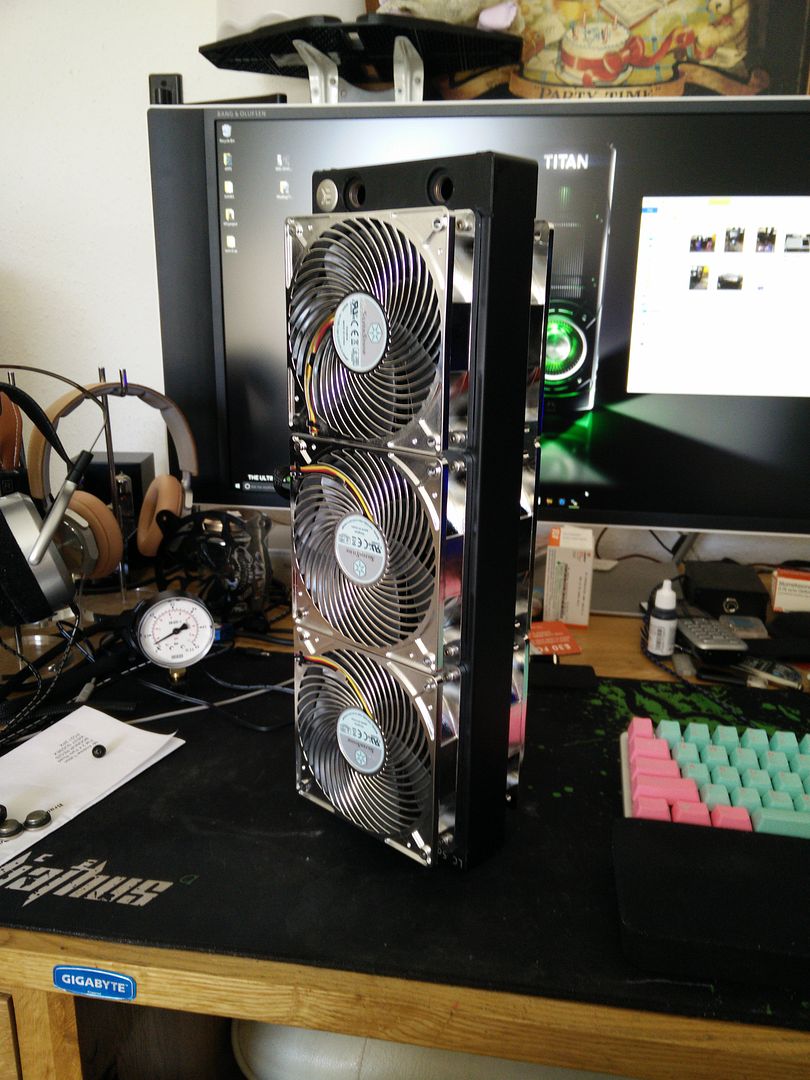
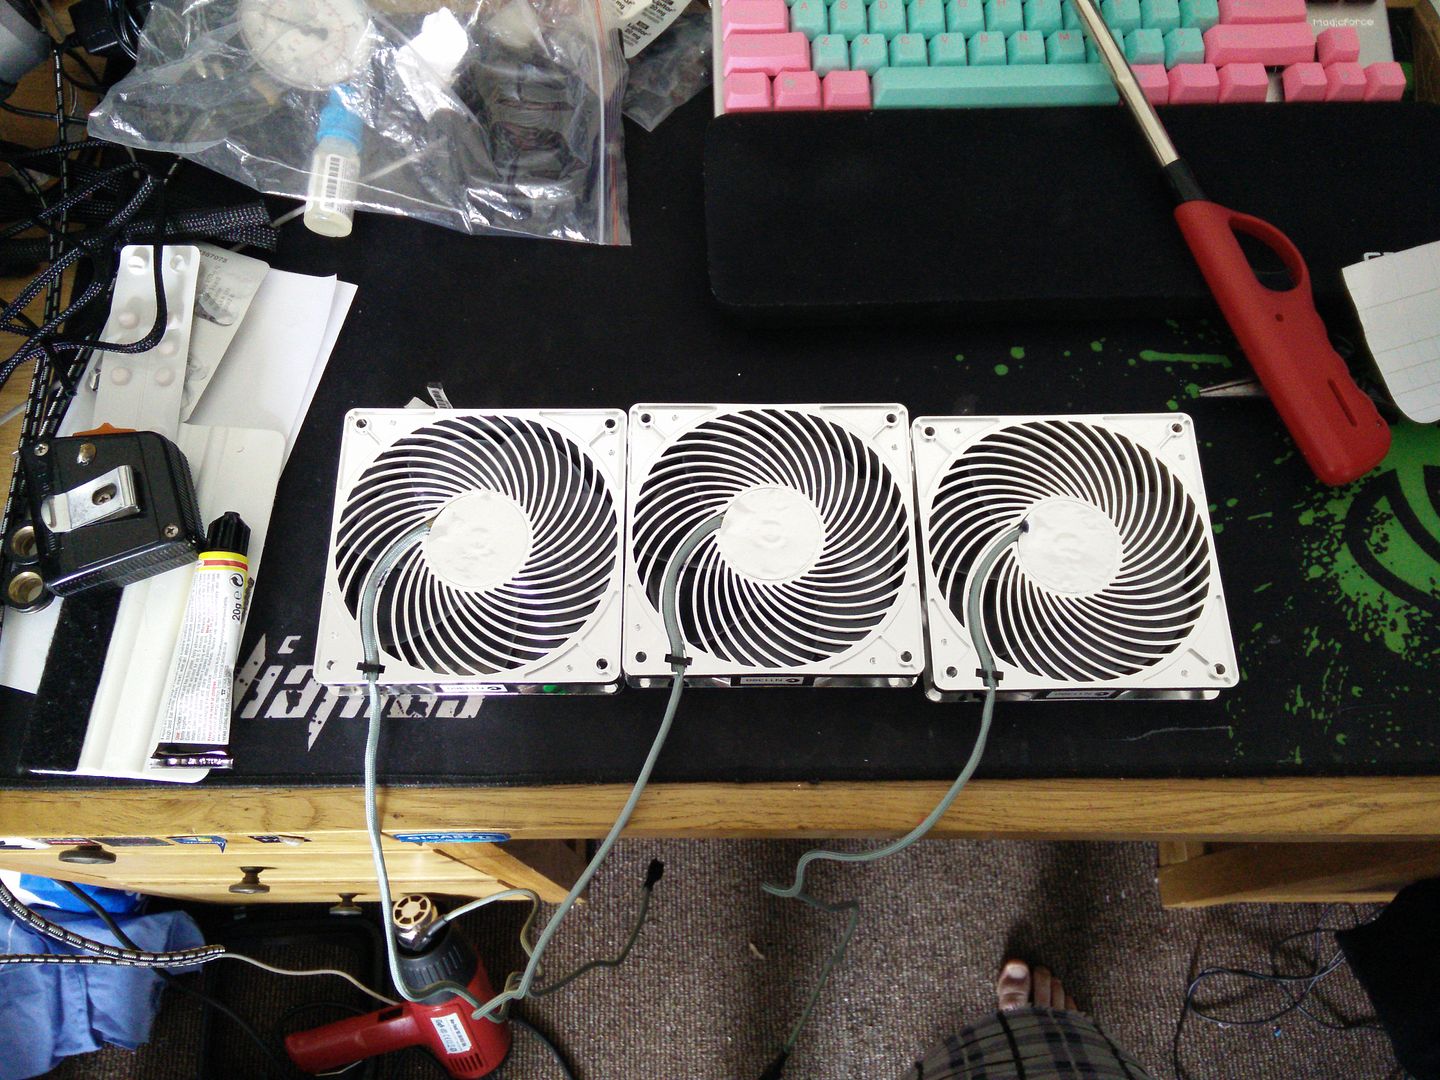
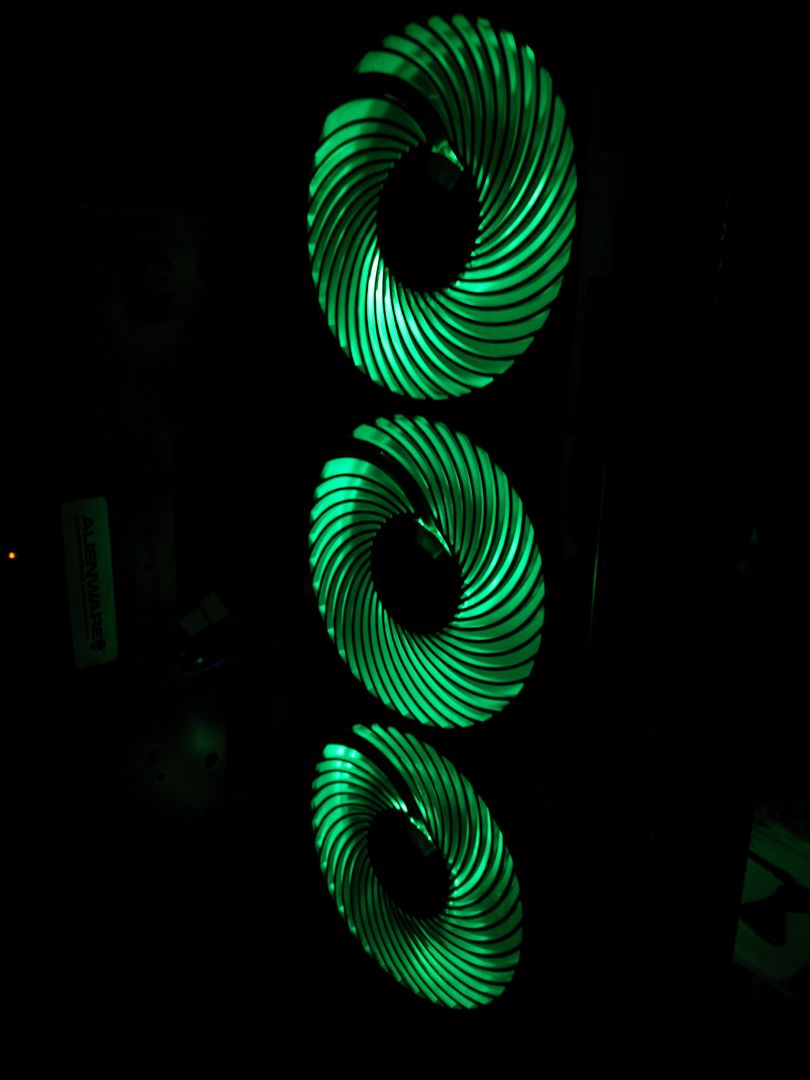
I just had to ! The E-peen was strong on this one, I'd only ever had push pull on a 240mm AIO before. It's darned heavy though !


This side will need some work, but nothing the plotter can't handle. Wondering whether to cut them out of chrome so they merge into the fans...


/Kevin Bloody Wilson - From the Featherbrain Championship..."now there's a doorway where there weren't one there before"


Quite pumped up for the Acrylic phase now :)
 
Soldato
Joined
4 Jun 2007
Posts
2,621
Location
Watford, UK
Chrome fan hub stickers should look pretty good on those. Also, be interesting to find out how push/pull compares to push compares to pull. In theory pull < push < push/pull but I don't think the differences are that great from what I've heard. It'll be good to see a real world example and point people at that.
 
Soldato
OP
Joined
23 Apr 2010
Posts
11,896
Location
West Sussex
I did a stock check earlier and I may just have enough chrome wrap to do the centre circles. However, I wanted to put one under the scanner and scan the centre circle and the area that follows down with the cables in. So that it's all covered.

Just one issue. I set an absolute 100% limit on this of £150 and I'm all spent up. I already had to spend £4 more on some nozzles for the paint because I seem to have lost the one I had so yeah, not sure..

If I braid the cables all the way into the centre it would look better, but that's kinda like a nose/face scenario. Why spend like two hours braiding wires when I can spend about £4 and have it all done in mere seconds.
 
Soldato
Joined
4 Jun 2007
Posts
2,621
Location
Watford, UK
But it doesn't count if you buy the materials for another project and have some 'left over', right?! Does the Mrs need something pretty made that happens to require chrome vinyl?
 
Soldato
Joined
4 Jun 2007
Posts
2,621
Location
Watford, UK
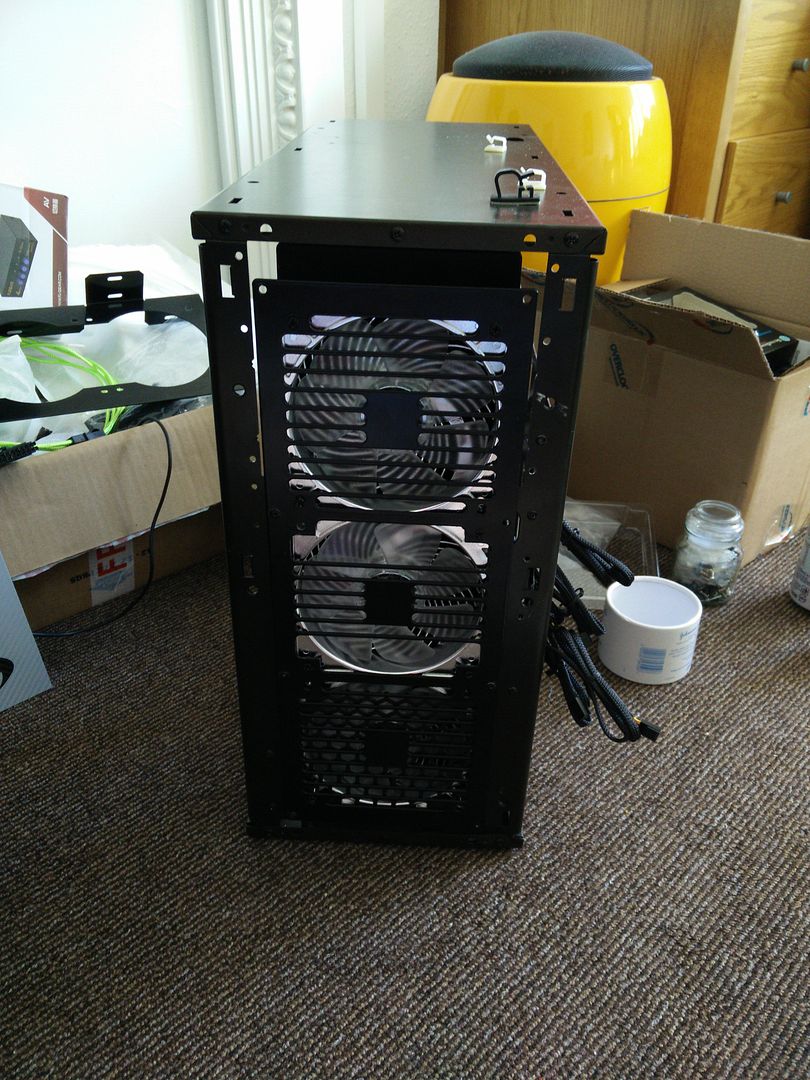
Much better. Like the way Silverstone have curved the cable channel to match the grill. Shame they didn't see fit to sleeve as you have 'cos it looks much better.
 
Soldato
OP
Joined
23 Apr 2010
Posts
11,896
Location
West Sussex
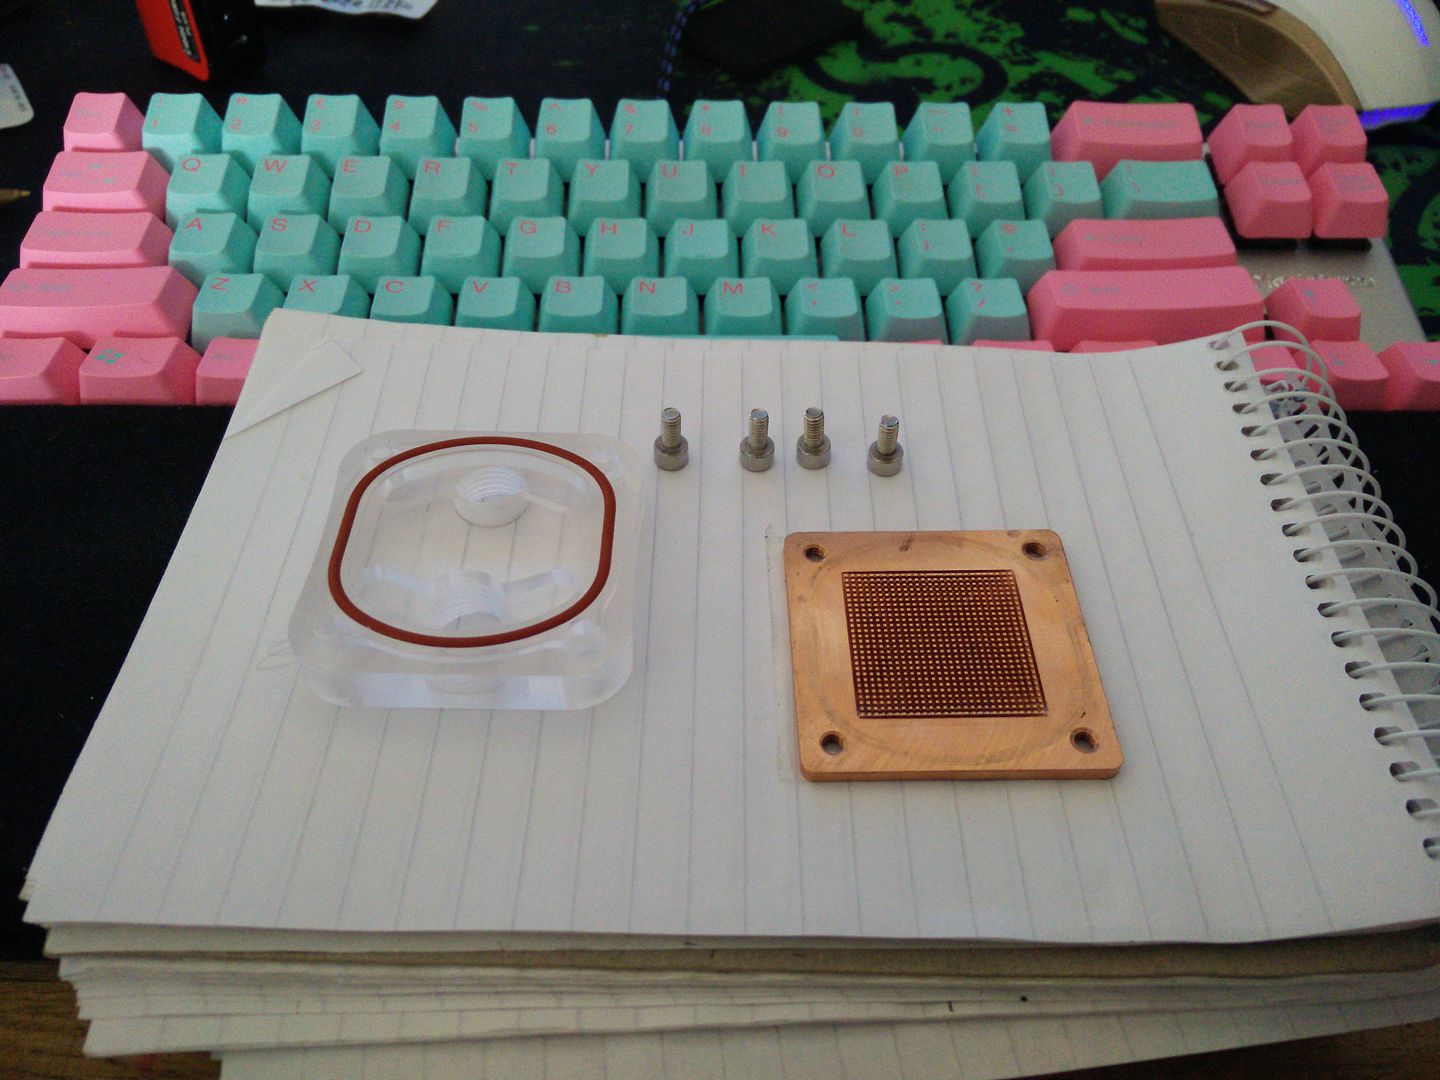
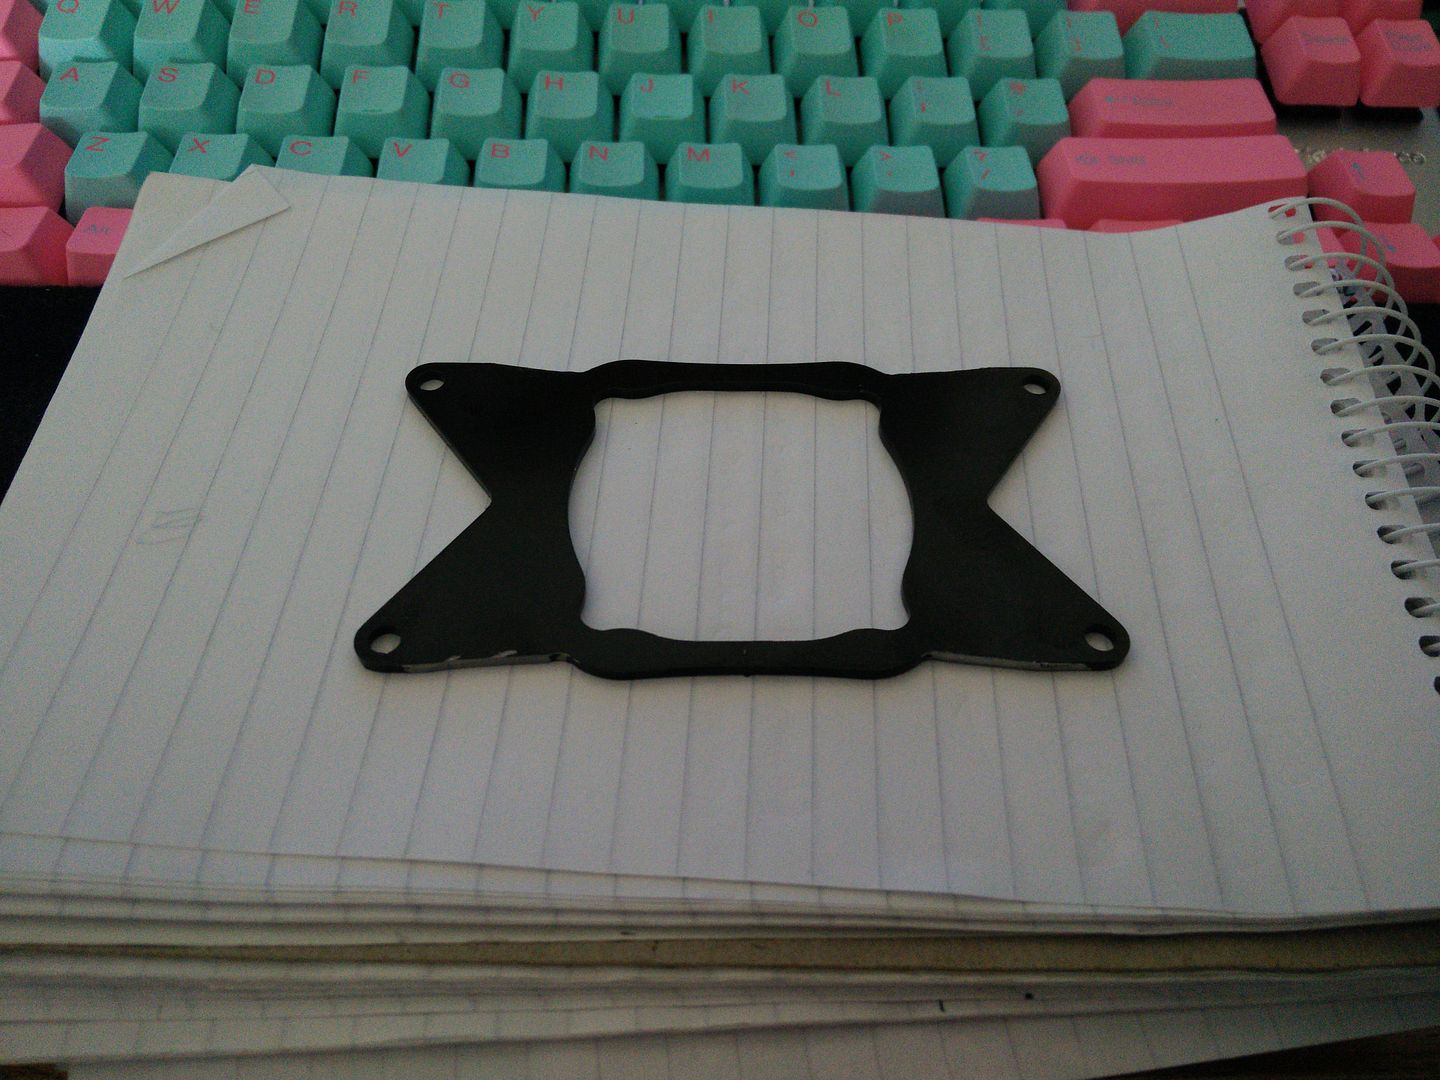
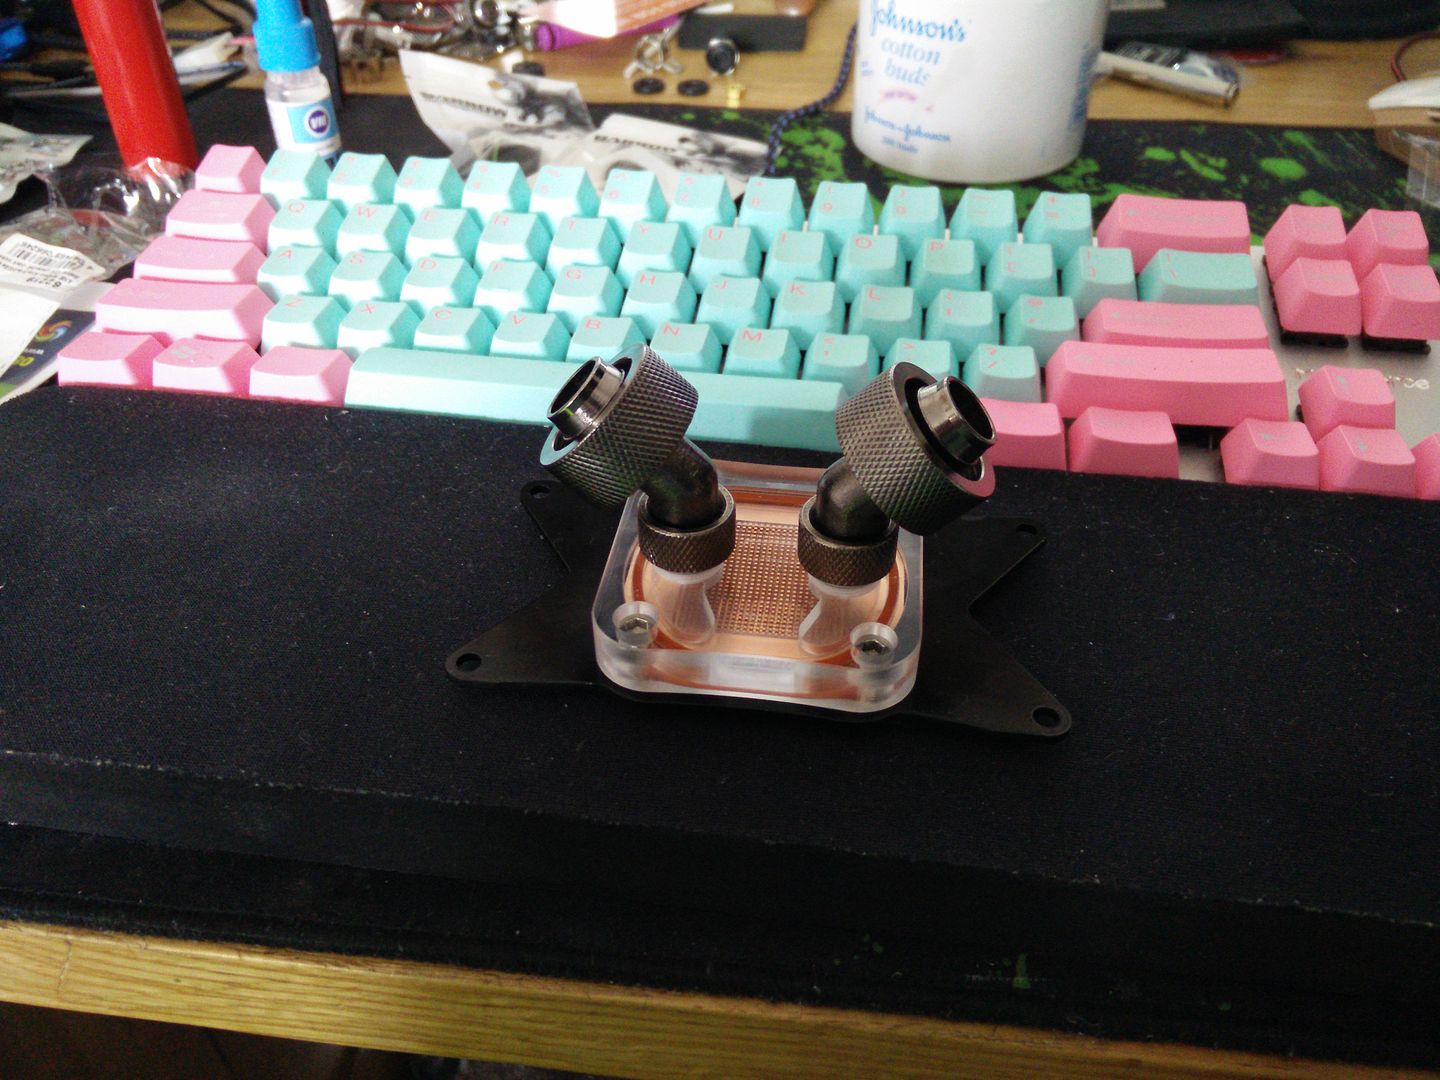
Take apart the water block.


And.


I can either touch it up with a cotton bud or spray it. Not sure which I want to do yet, but at least it doesn't look like some spazzy multi use block and looks more like an AMD one now :)
 
Soldato
OP
Joined
23 Apr 2010
Posts
11,896
Location
West Sussex
I decided that for now I was going to touch up the block and keep it black. This may change yet, but for right now I just touched it in :)


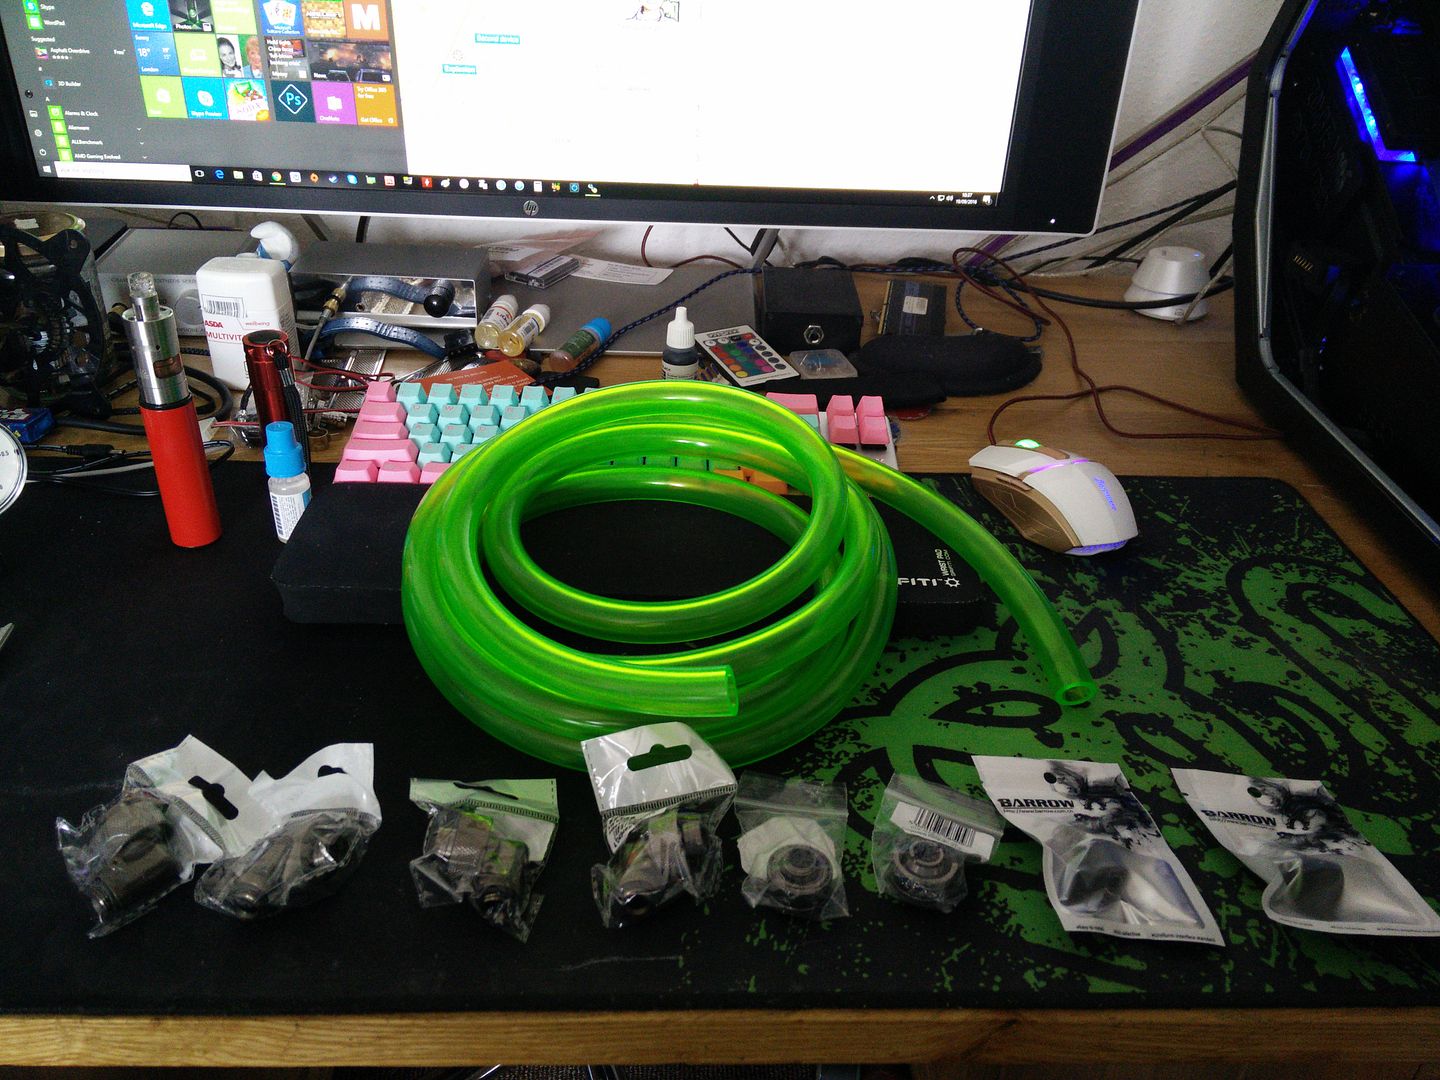
As you can see the fittings have arrived, along with the hose.


Must admit I did LOL at the size of the fittings and sheer massiveness of the hose :D

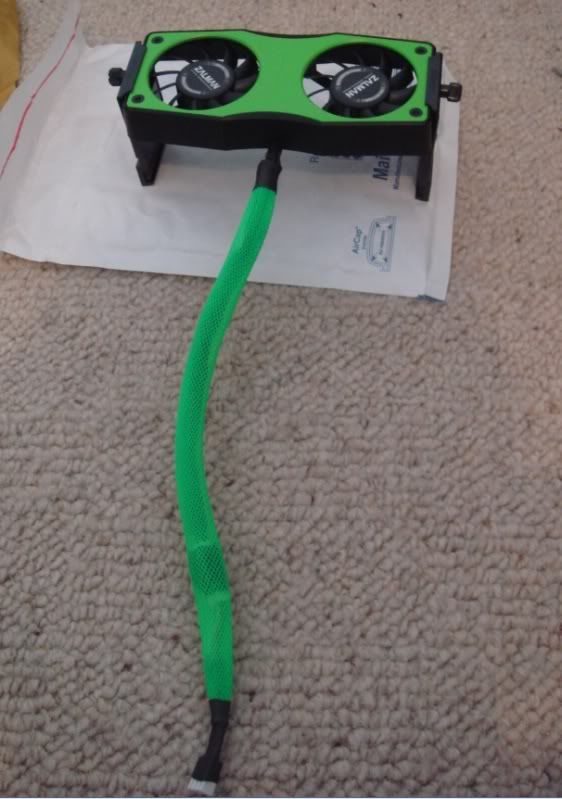
I also had a bit of a problem. The only thing left that would look like sack is the RAM. I thought it was single sided, so dug out four old OCZ chrome heatsinks (from a pair of ram). I was hoping my DDR2 was single sided so I could put the sinks on the chips and then just use some vinyl on the back. Sadly though it is double sided, so that idea was a fail. So after much deliberation I found one of these brand new for £13 and figured that it would look better than stock ram and offer some cooling, given everything else was going to be under water.


Don't worry about it being red. I just so happen to have a brand new unused one of these in my tool box :D

 
Soldato
OP
Joined
23 Apr 2010
Posts
11,896
Location
West Sussex
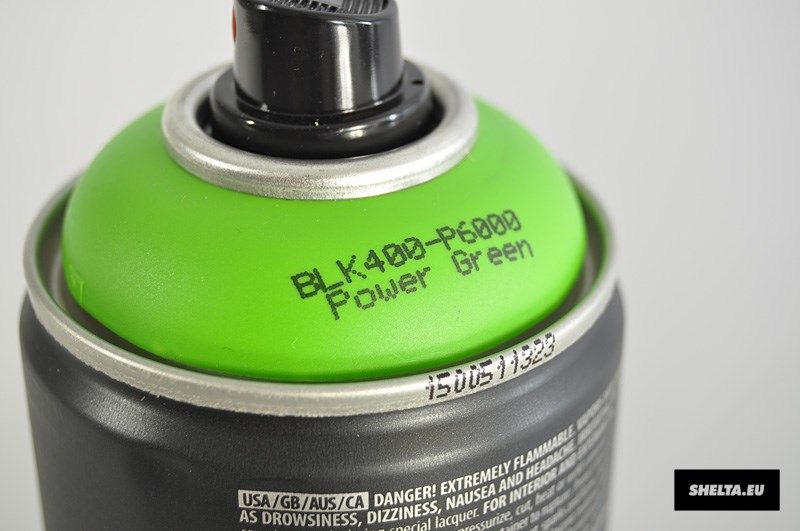
I've used the paint before :)


Actually thinking back to that I also painted a ram fan cooler on that project too lol.


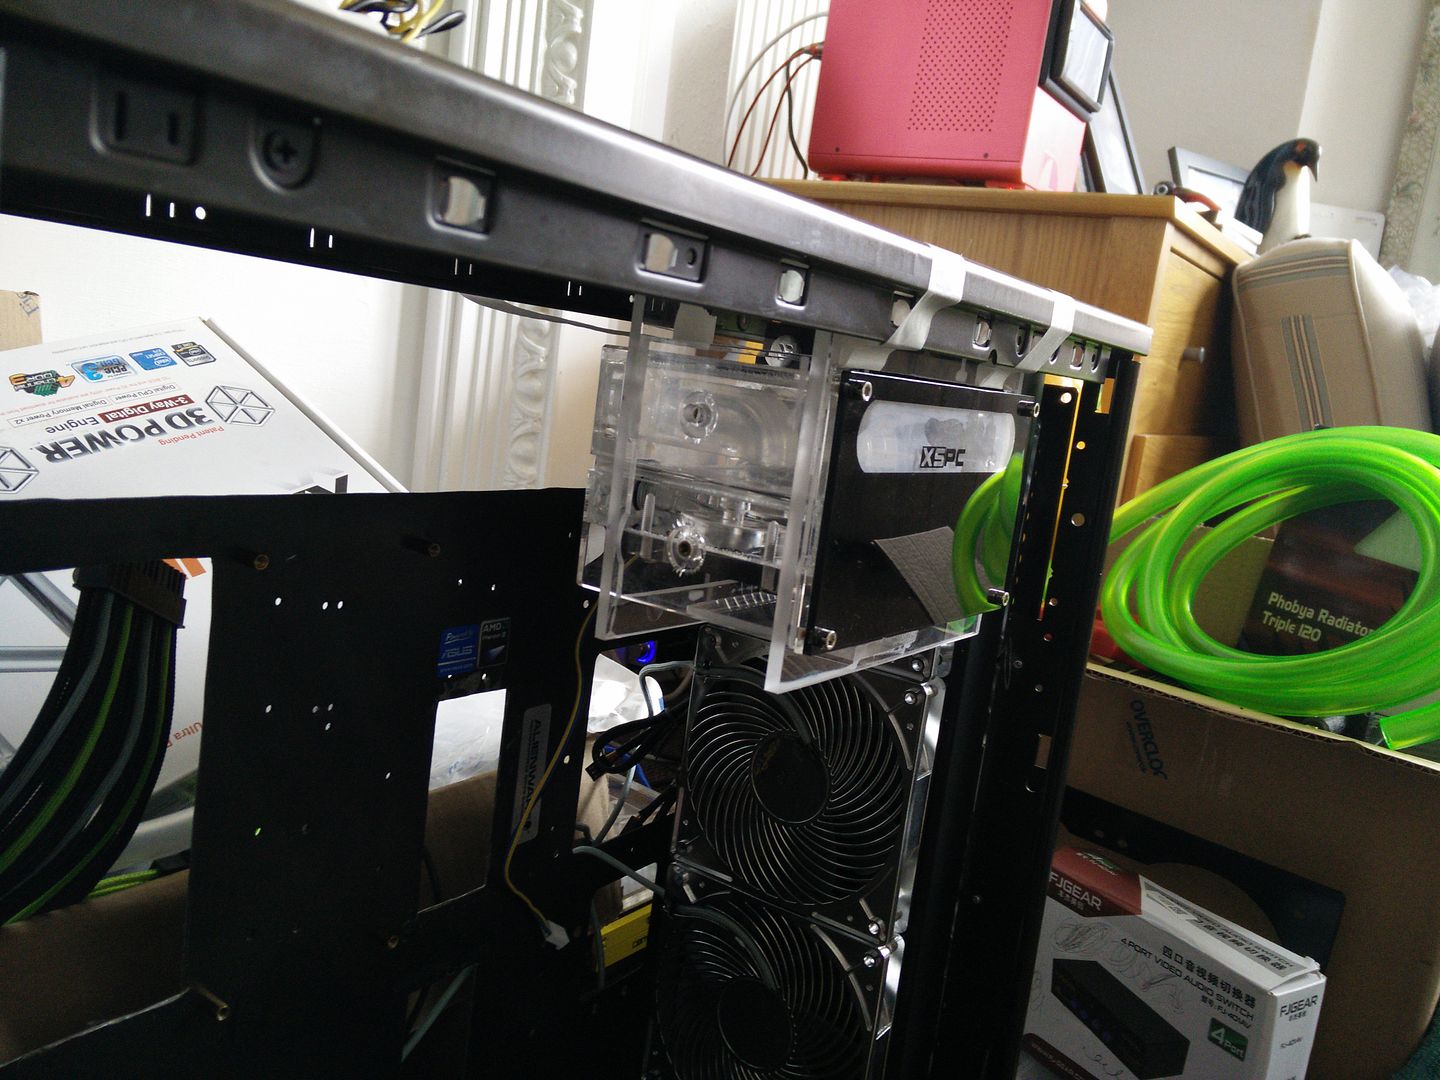
OK so I just spent the last hour or so chopping down the res bay and finishing it off (I had to cut a hole in the top). I've now marked out the case to take it, so at some point today I am going to go and get the case cut and prepped so that it can be fitted and removed easily :)
 
Soldato
OP
Joined
23 Apr 2010
Posts
11,896
Location
West Sussex
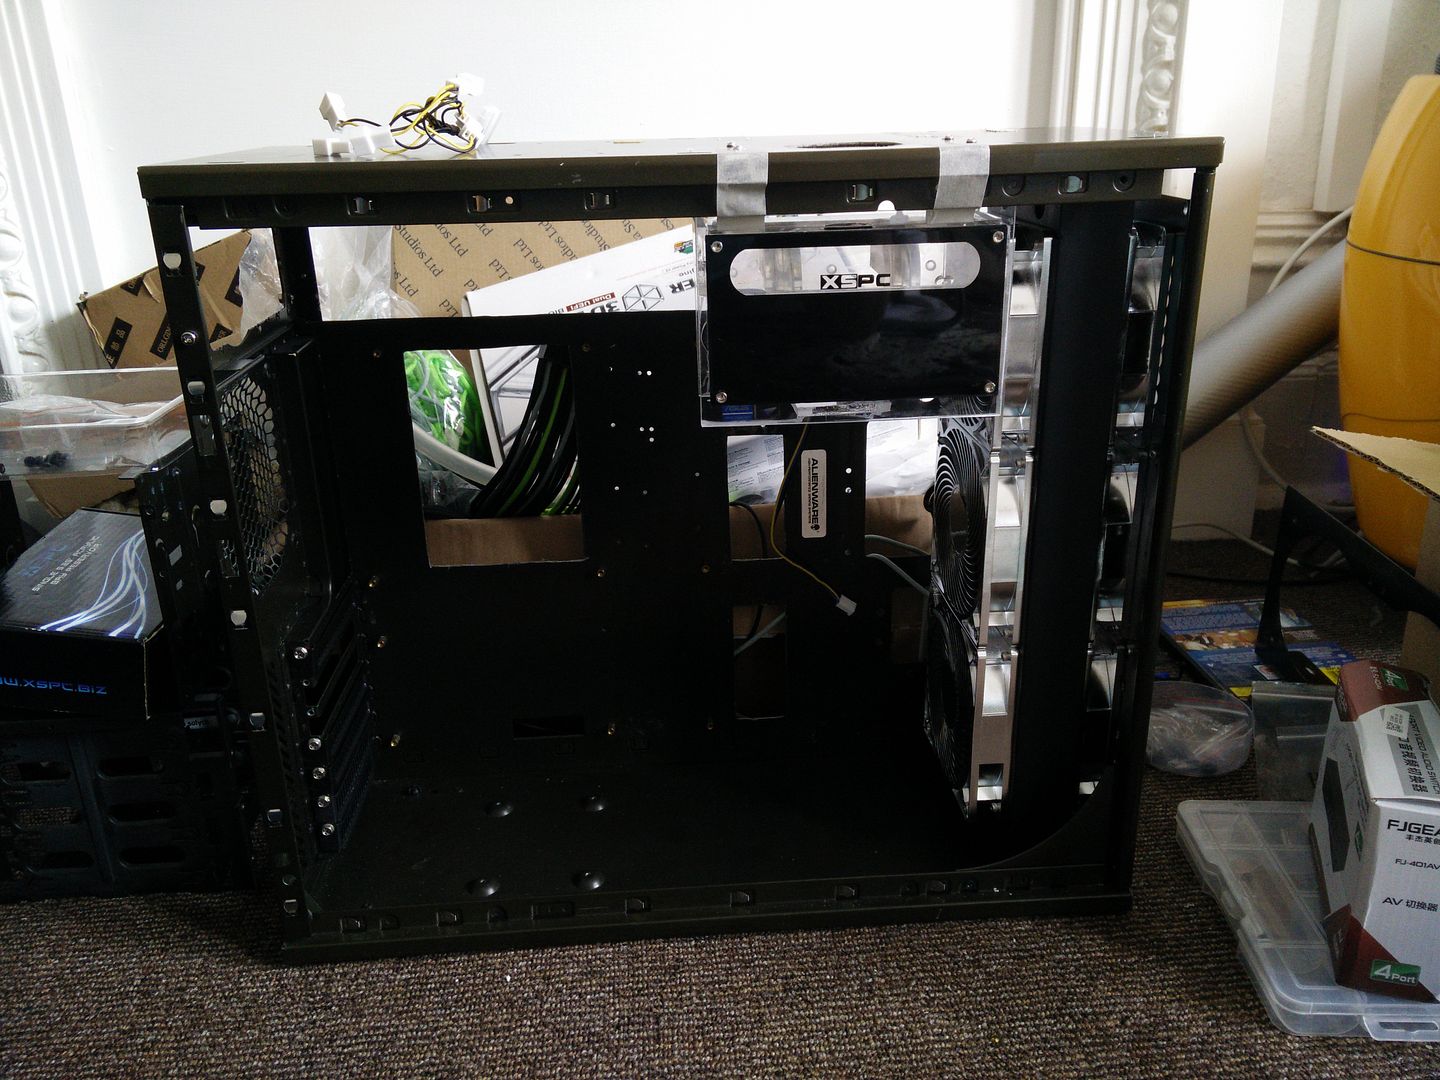
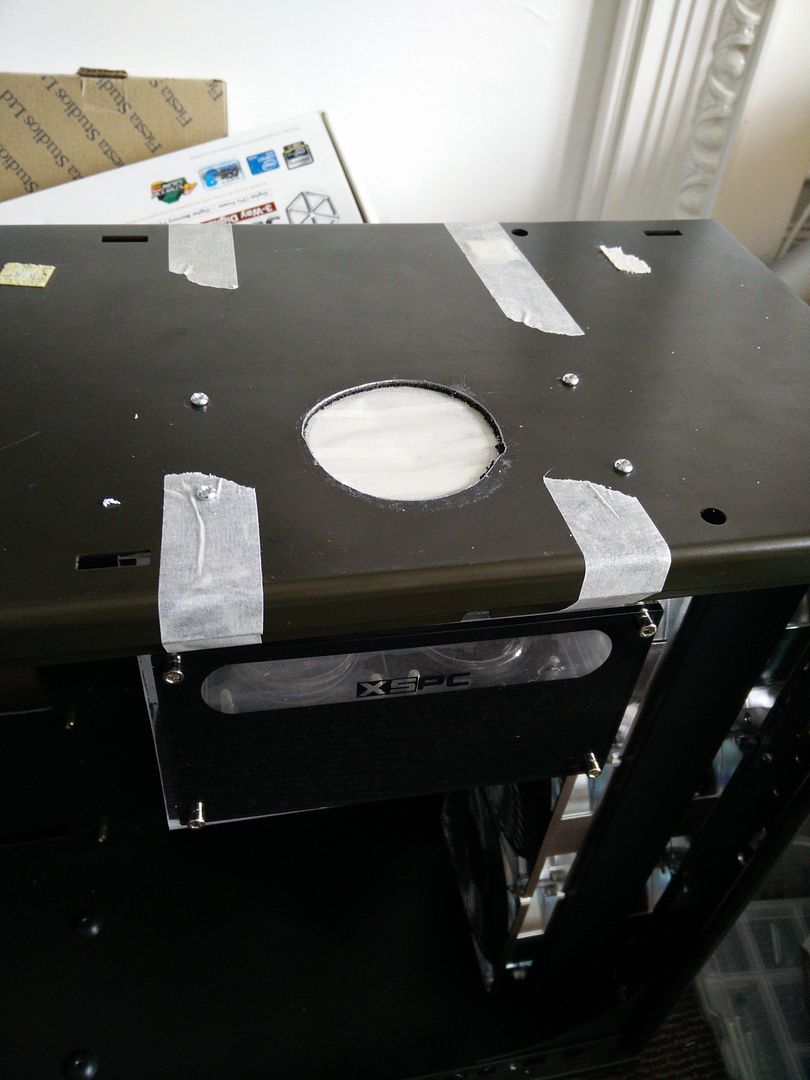
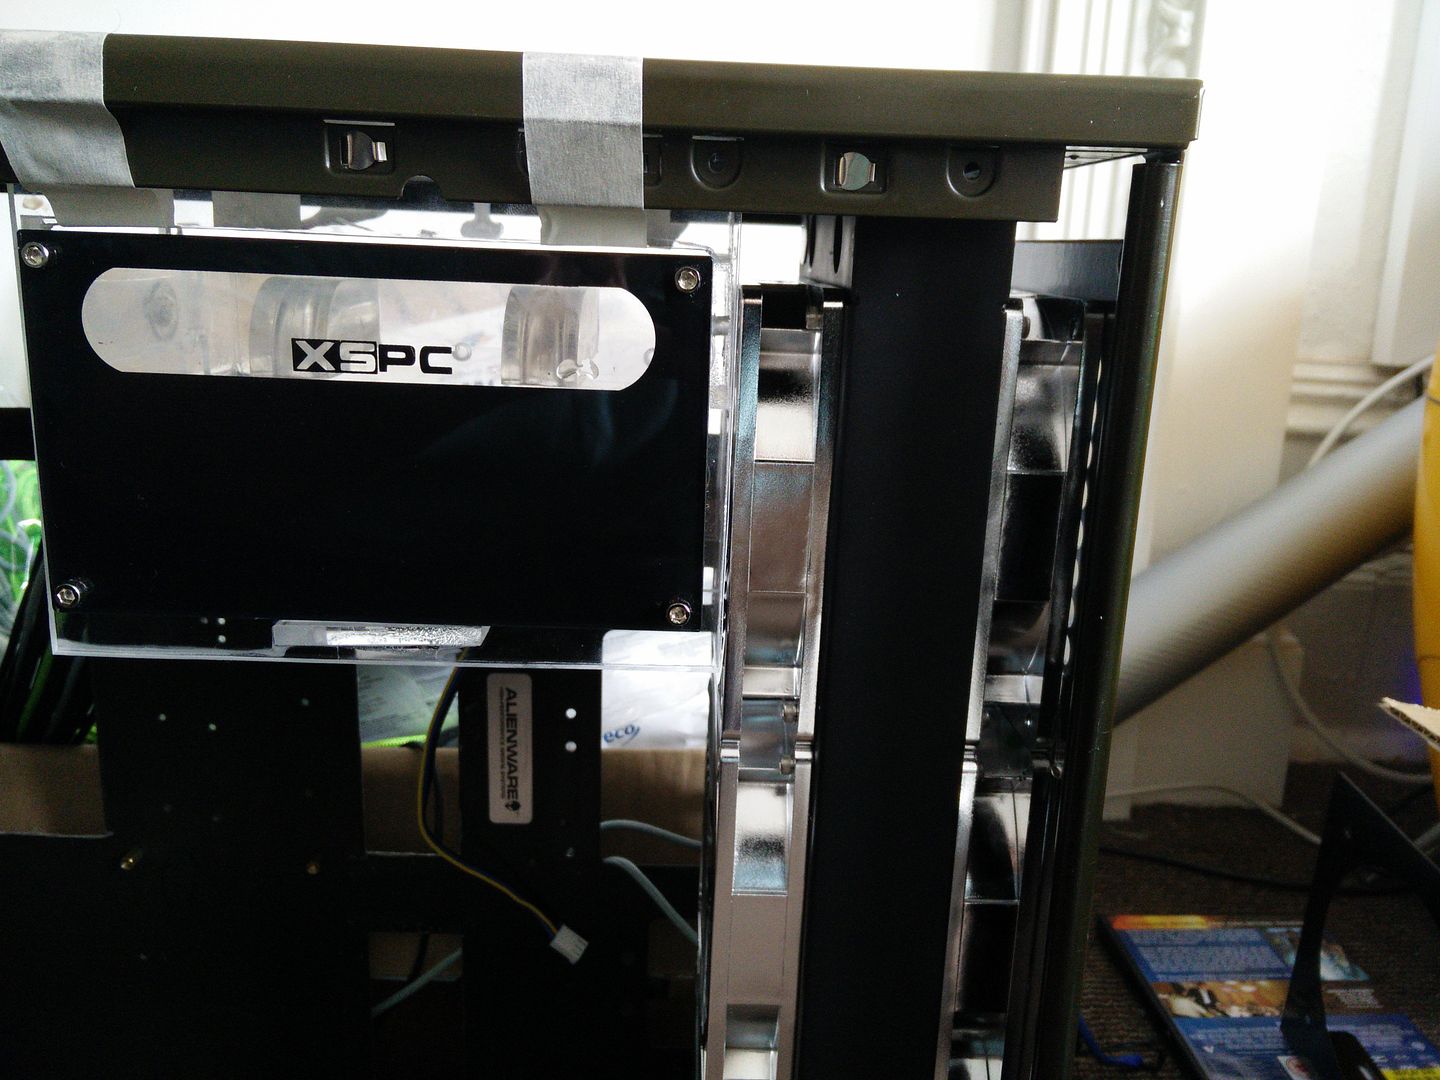
OK so it was time for a bit I had been dreading. Fitting the res bay and cutting a hole in the top of the case that will act as a filling hole. I kinda knew that the hole saw I had was useless for metal but in true "try it and see" style I completely ruined my 40mm bit lol. I was then only really left with one option - the jigsaw. I had forgotten that I own a rather lovely Bosch one and it was right where I left it with a genuine Bosch blade in it.


I'll admit, I've done better work. The screw holes are perfect, mind.


About half an hour later and finally I can solemnly declare that this case is water cooling ready :)


It's 'snug' lol

 
Soldato
OP
Joined
23 Apr 2010
Posts
11,896
Location
West Sussex
looking epic man

Thanks fella ! it's a total shell ATM still. No idea what's going on with the acrylic, might have to light a fire up their bums tomorrow if I don't hear anything.

I might do some mock ups later using Photoshop to show how it should look when finished, but really don't want to ruin the surprise.

I'm working off of plans that are in my head only. I have written a to do list in case I forget any of my ideas but the vision is all in my head ATM.

For example the res bay is not only designed to hold the res but to also route the hoses. Just annoyed I forgot to order a shut off valve, though it will be ages before I go anywhere near it with water :D
 
Soldato
Joined
6 Jan 2013
Posts
3,774
Location
Yorkshire
Love a good budget build, means ya have to use your imagination a bit more.

Are you gonna start attacking everything with that spray can or just doing a few highlights?
 
Soldato
OP
Joined
23 Apr 2010
Posts
11,896
Location
West Sussex
Love a good budget build, means ya have to use your imagination a bit more.

Are you gonna start attacking everything with that spray can or just doing a few highlights?

The only thing that really needs to be painted (so far) is the ram cooler. TBH I want to paint as little as I can as I'm really anal about it and the paint I like using is cellulose and takes about two weeks to fully harden. It's OK after a couple of days as long as you don't over handle it. If you do you end up with finger prints.

I've got plans for the rest but it's all top secret ATM (in other words I'm not sure if my ideas will look poo or not so I'm staying quiet)

:D
 
Back
Top Bottom