Project: Silent Overkill

Soldato
Joined
23 Apr 2010
Posts
11,896
Location
West Sussex
I don't think you will have issues with heat on that lol.

I had it to 4.1ghz on all cores easy. I reckon it may have even done 4.2, but even with a 360 and a 120 fat with a GPU in the same loop it was getting hot. When the 120 sprung a leak I had to remove the overclock completely.
 
Soldato
OP
Joined
4 Jun 2007
Posts
2,632
Location
Watford, UK
Well, that's an auxiliary EPS cable done. Not entirely sure why some of the wires seem to be different lengths as I cut them all the same. The different colours of paracord do stretch different amounts and are slightly different diameters - nominally the same but you can definitely get more wires down a light blue than a white - so it could be that but I think the white is the tightest so logically ought to be shortest. Not that it really matters as that end will be hidden anyway.

Made this with stranded silicone-insulated 18AWG wire so it's nice and flexible. Obviously I found some that came in black, red and yellow so that I could colour code the 12V lines yellow and the ground black.....and then sleeved them with paracord before even connecting them to the shells so it wasn't even that the colour-coding aided assembly *facepalm* Also I managed to get a second EPS shell added to the order so that I had one for the other end....and then realised that I should have got a different colour for that (hidden) end to differentiate it since the ends are the same but it does matter which end you plug into what. Dab of white paint and I could write on it in permanent marker. There's nothing like doing it properly....and this is nothing like doing it properly! :rolleyes:

 
Soldato
Joined
26 Sep 2010
Posts
7,164
Location
Stoke-on-Trent
I've had some cables randomly end up being shorter despite being cut to length, most annoying.

What I'm doing now is cutting everything to a rough length and sleeving the lot. Then doing the PSU side and actually plugging in to get the cable routes nicely trained, bent, twisted and layered. Then I'm slapping a chunky comb at the motherboard/GPU side to get an exact position where the plugs will go and trimming wires using the comb as a guide.

Been a life saver as I flip flop between how to deal with the horrid cable chunky twist malarky on Asteria II. Looks like I've finally decided on training the cables to flatten the twist as much as possible so I can keep the PSU's fan open to the case as originally designed, then covering the entire PSU bay area to hide the twist and the Y-splits.

That still leaves me with a horribly tight 10mm radius 180 degree loop at the motherboard end of the 24 pin :( but that's what 3D printed training jigs are for ;)
 
Soldato
OP
Joined
4 Jun 2007
Posts
2,632
Location
Watford, UK
I have a feeling I could use some of those 'training jigs' for bending acrylic shortly. Good job the PC that's set up to do the 3D modelling isn't in many pieces *cough*
Still, I'm busy procrastinating with some RGB LEDs again at the moment. Can't put everything back together with half (or more) of the blue channel dead. Going to up the resistor on the blue and see if they live longer this time. Could just be the cheap LEDs I ordered, not sure. Will make them more modular this time though.
 
Soldato
OP
Joined
4 Jun 2007
Posts
2,632
Location
Watford, UK
Yes, you did thanks... and I reckon they may come in useful once I've finished faffing with wiring! Obviously it's the awkward double bend pieces that need to be replaced.

I used last of my male fan pins and needed one more. Not a problem, I have another strip....hmm, they seem bigger....arrrr they're male ATX pins and now I'm one short just as the weekend of no-shipping arrives :-/
 
Soldato
OP
Joined
4 Jun 2007
Posts
2,632
Location
Watford, UK
Well I just thought I'd mention this in case anyone else should come across this precise failure mode.

If you've managed to get hacked off through the day, try to get something done to feel like you've achieved at least something only to have the LEDs flicker briefly at you and then realise that you've forgotten the resistors. Not only do they pop really fast but an RGB controller cycles the colours...just to ensure all the colours have popped in really quick succession! *facepalm*

Ah well, snip off the pins, solder on the resistors and crimp on new pins: 1...2...3...out of pins!
So this morning I managed to find a strip of two pins that got lost under the 
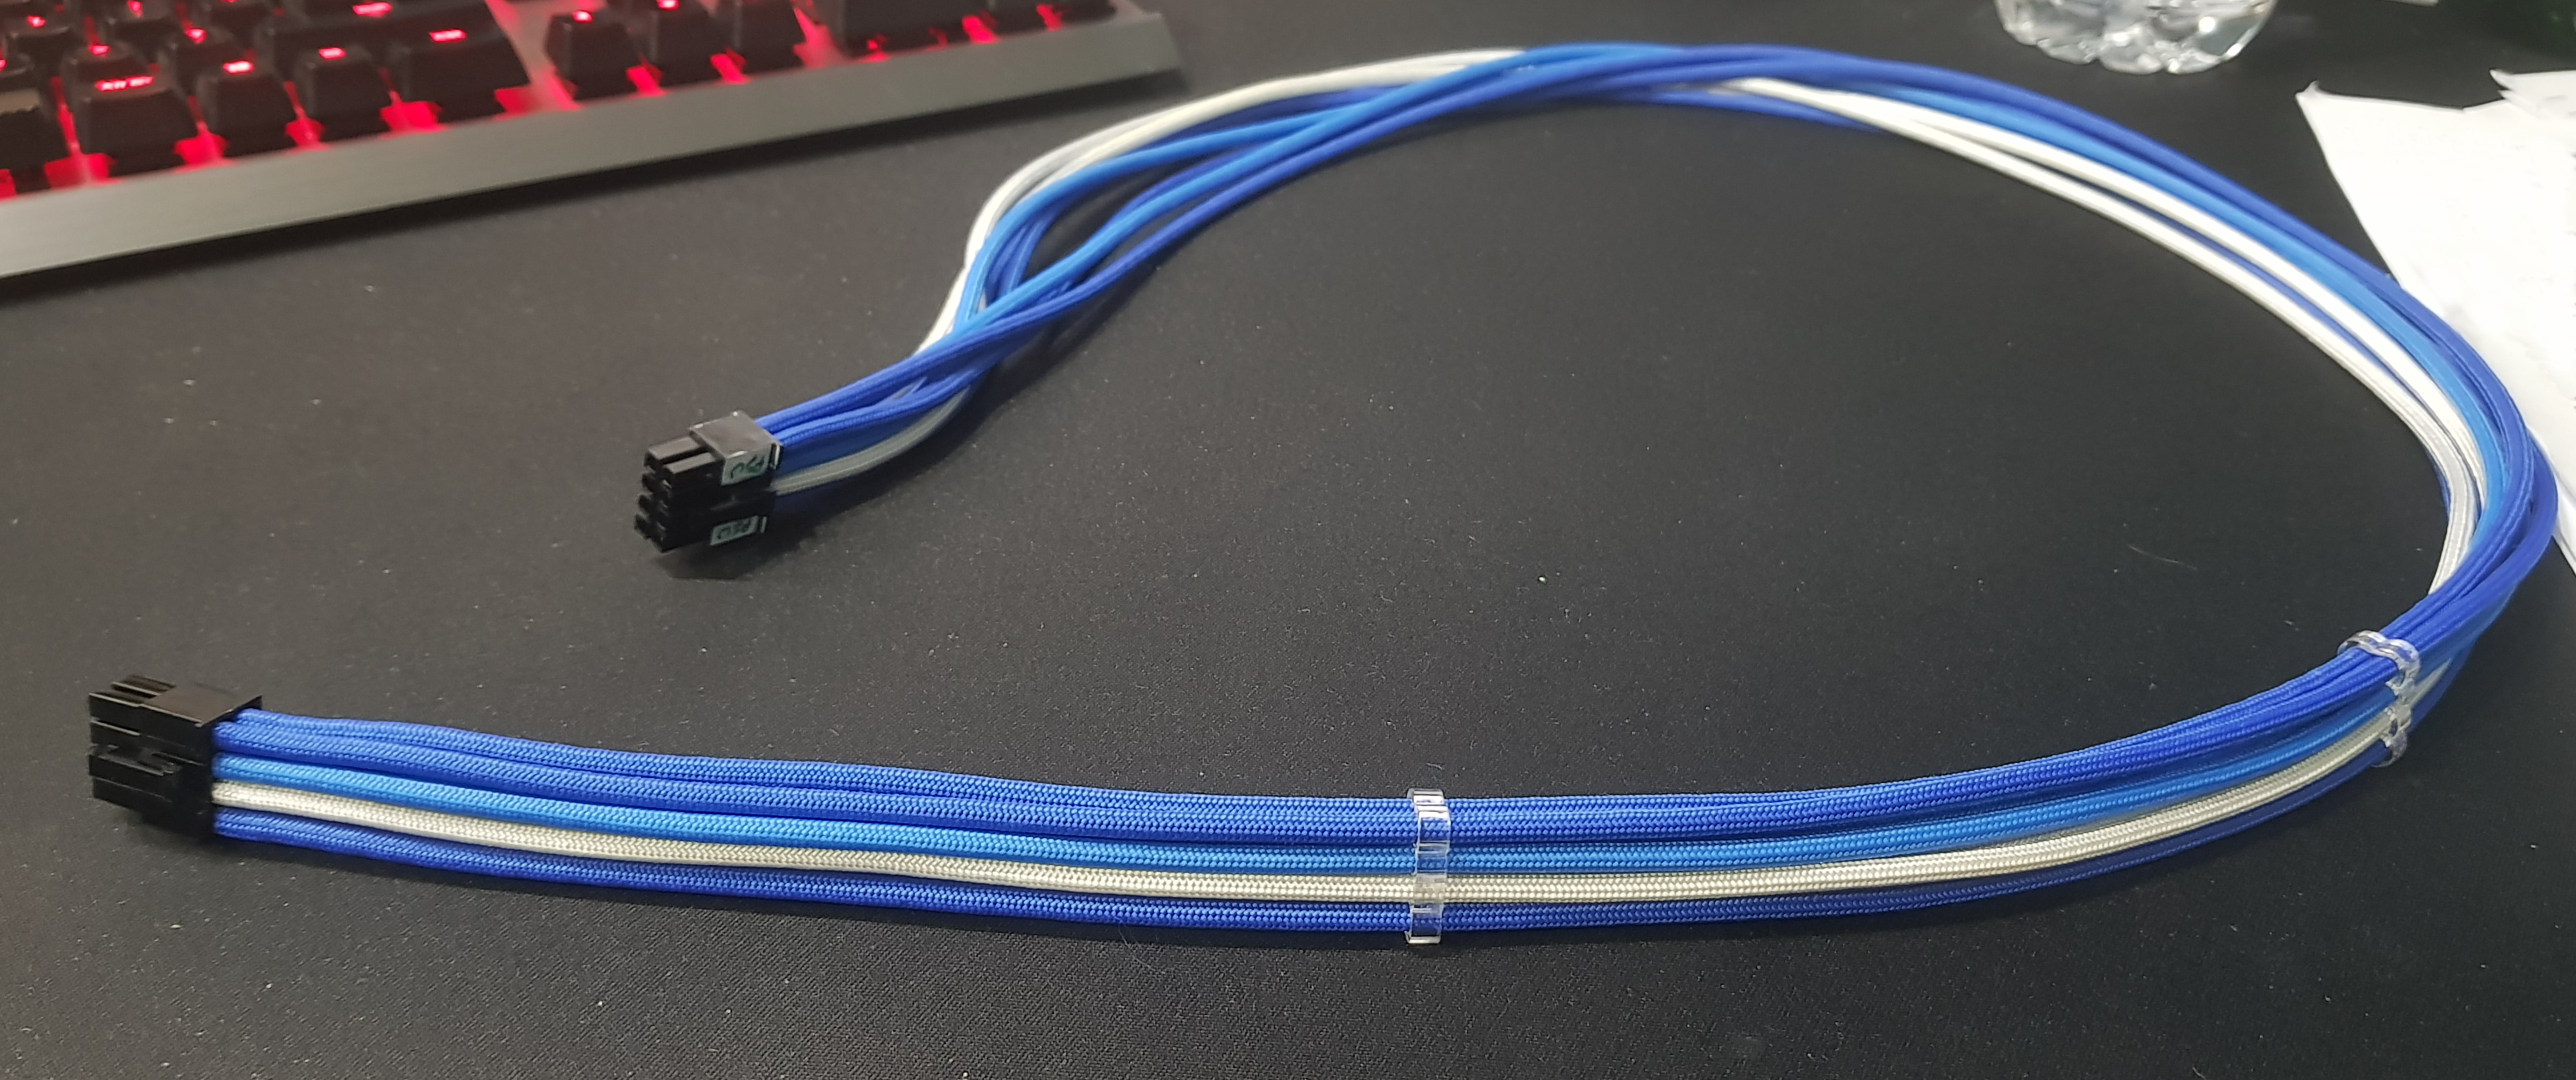
tidyness that is my desk (and floor and any surface within my field of influence!) and finished the last pin - I say "last" but actually it's merely the proof of concept, there are more to do yet. Nothing. Luckily I'd made the end of the cable a 4-pin Dupont connector (think motherboard front panel connectors) so it was just a case of trimming and splaying a new LED and slotting it in. I did briefly (who am I kidding, it was hours!) look at connectors that are a more similar 1.25mm pitch so the led would just slot straight in without splaying it....but then I realised I'd need pins to go in the shells and probably a different crimper.....and accepted the comprise :D ....LED sprang to life and things are looking up. More pins now on order as well as some shells - female fan pins are dead easy to de-pin but male fan pins fight back! Interestingly, male fan pins don't officially exist - the female connectors are Molex KK 254 series pins but they go onto board headers and there isn't a male wire-mounted plug from Molex in the series.

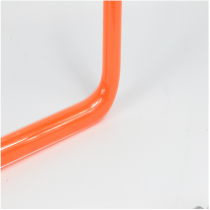
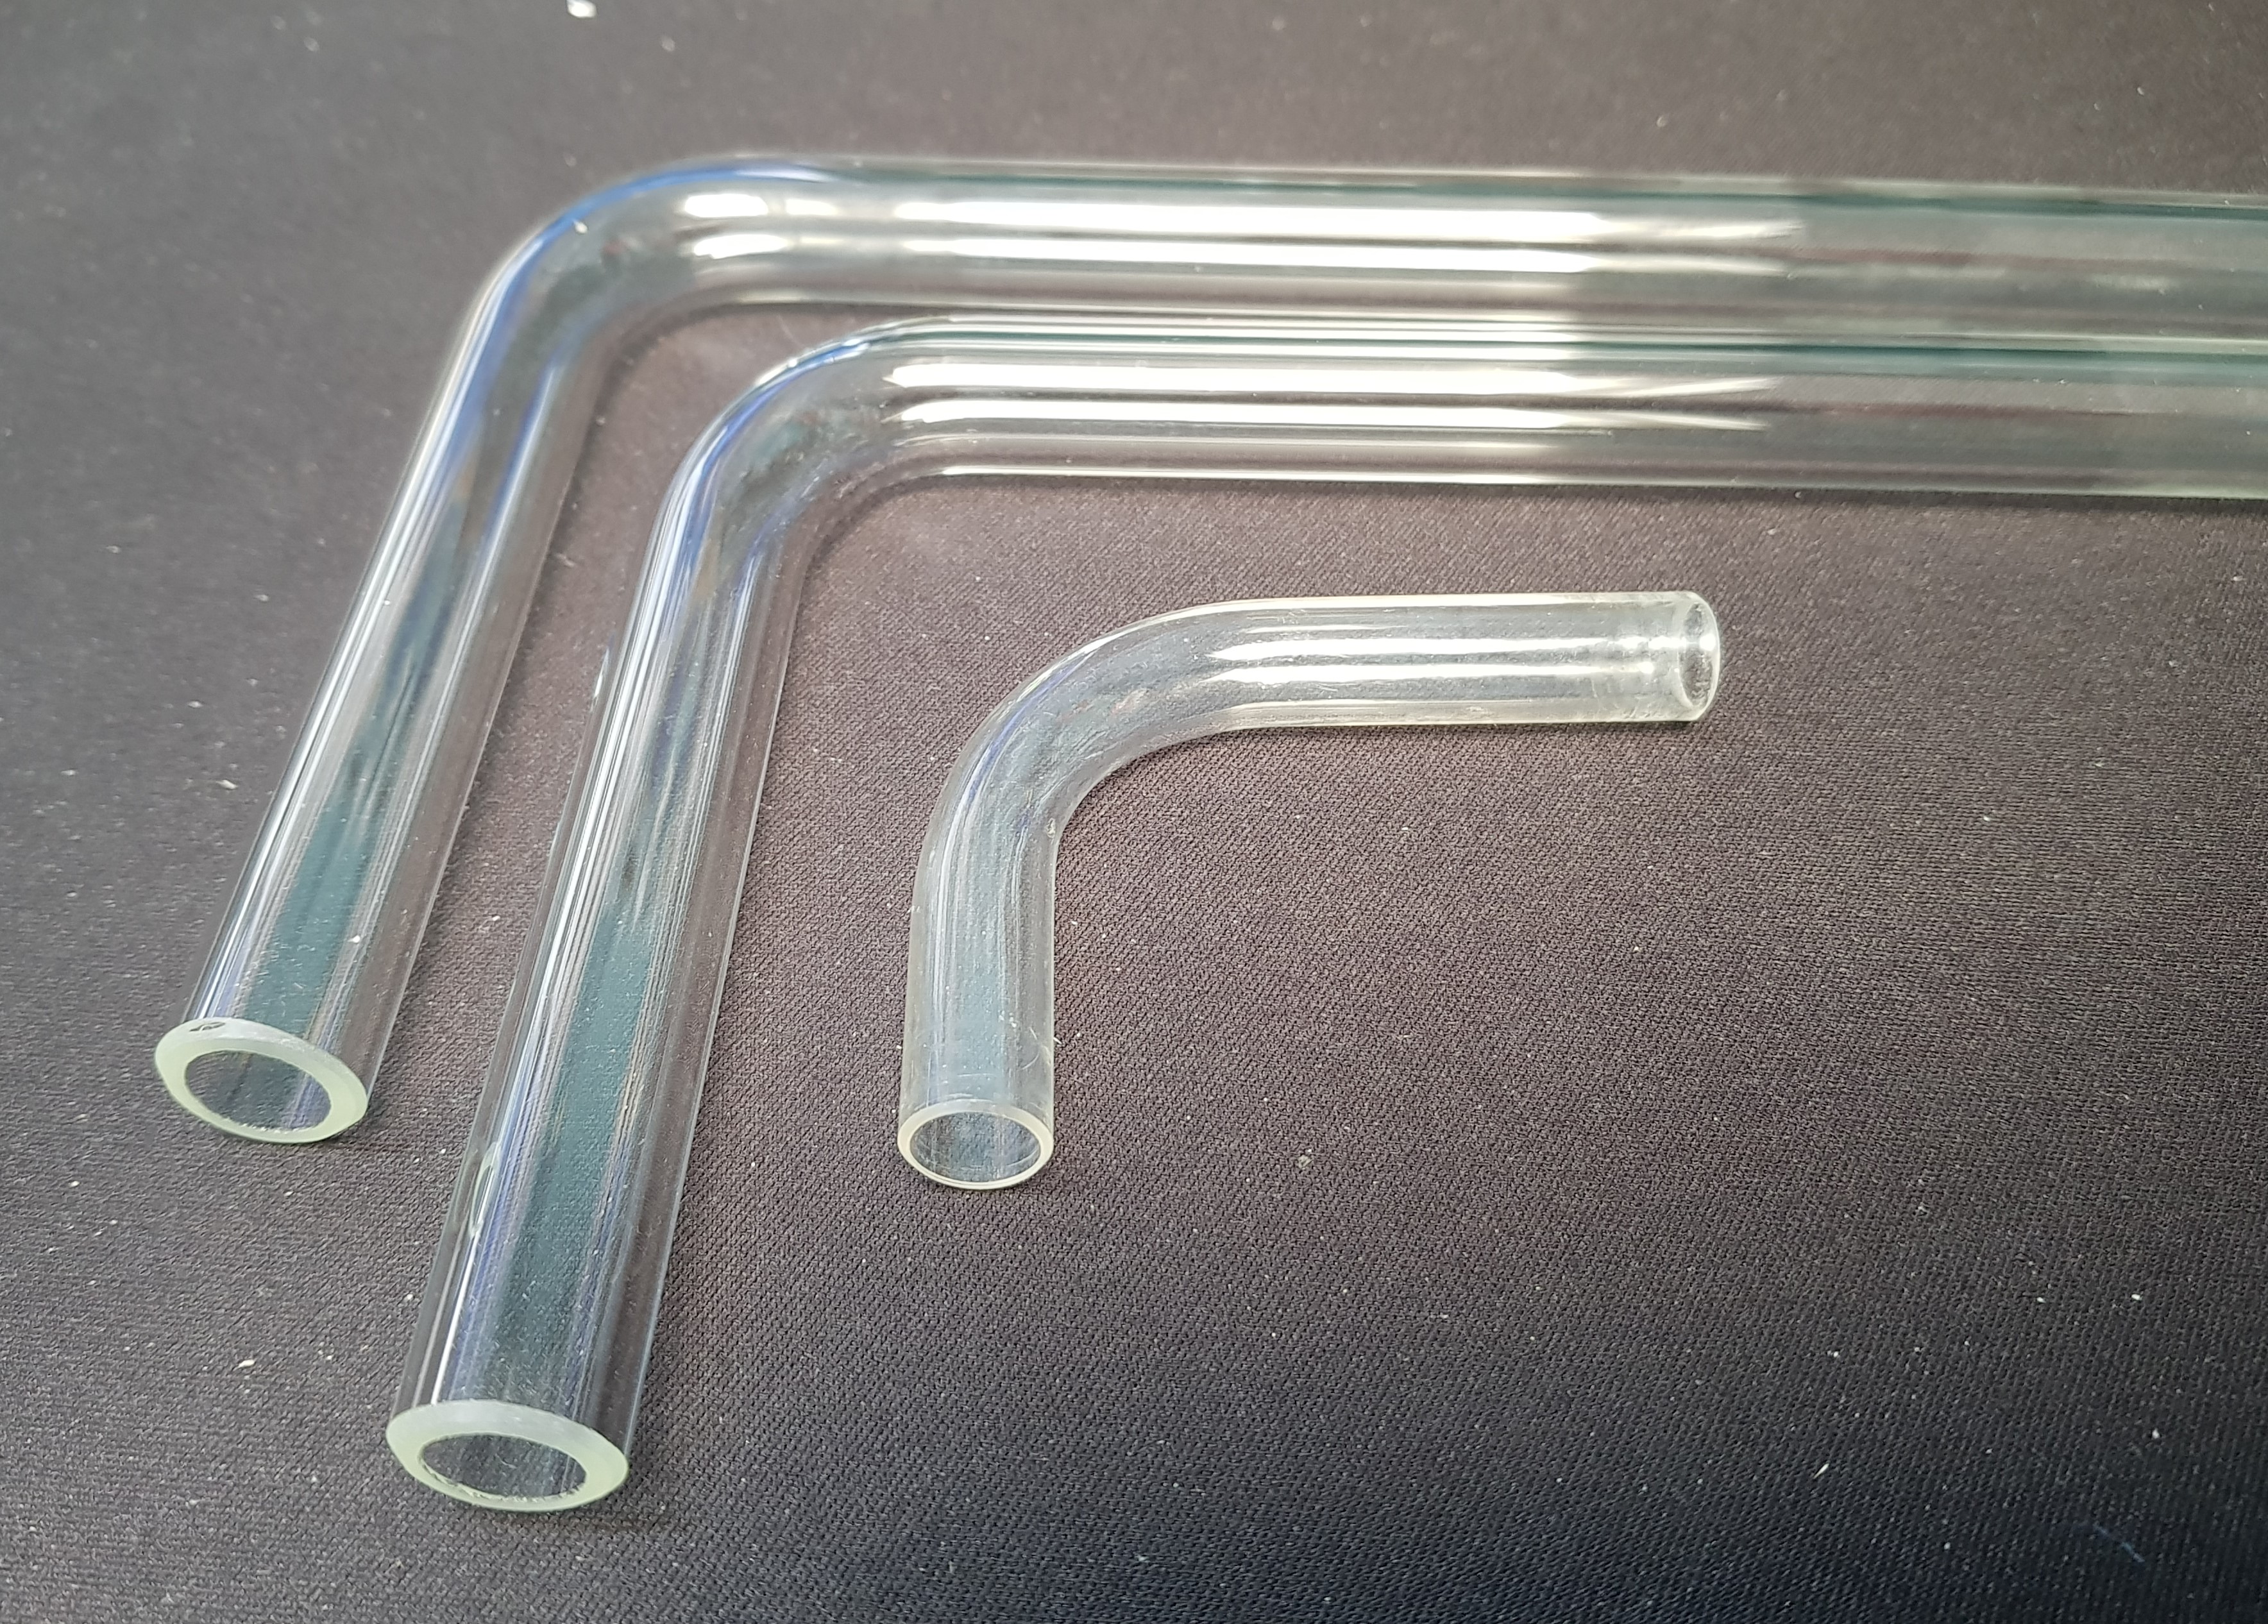
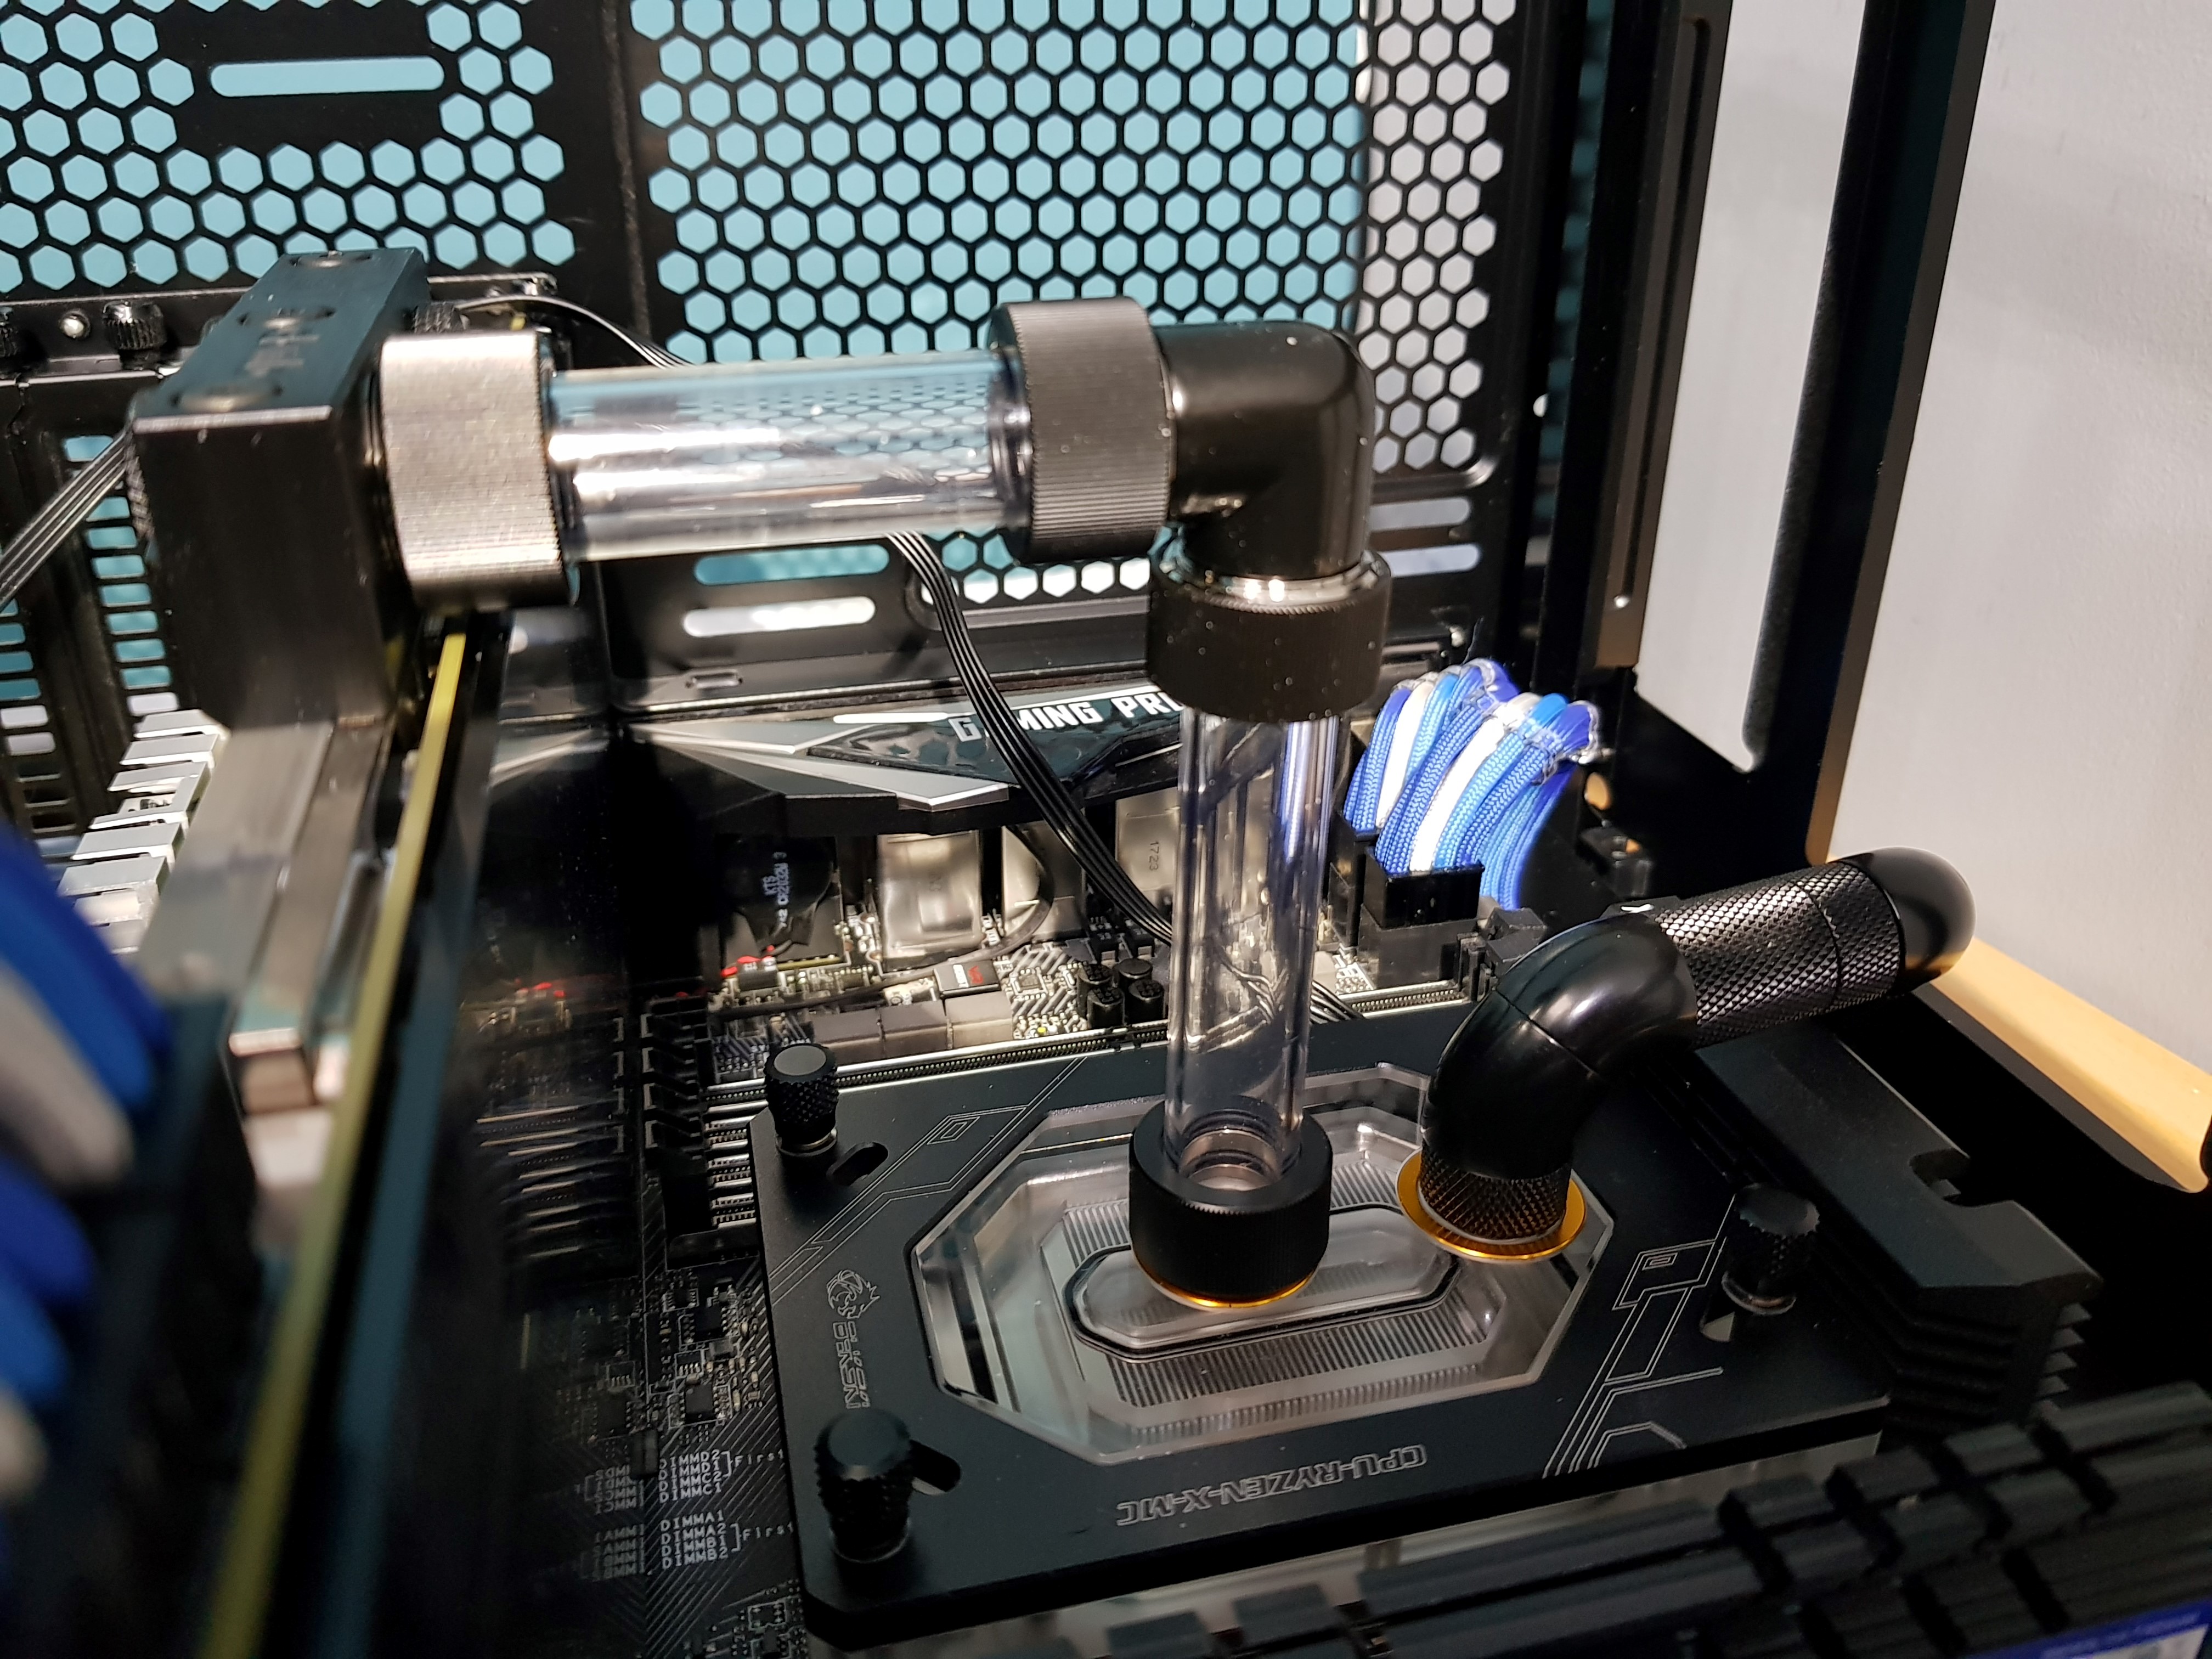
Looked at the acrylic bending situation.....and decided my sanity probably wasn't going to take it at the moment. Have ordered some more Barrow fittings which should allow me to fake it with straight acrylic sections joined with 90° female-female fittings decked with EK hardliner fittings. The up-and-over (COU block over the top of the board and down to the rad) I'm going to try to make out of a couple of double-45 snakes, a 90 and some extensions. (Over-)ordered some of those and will post some colourful language when that all goes wrong :D
 
Soldato
OP
Joined
4 Jun 2007
Posts
2,632
Location
Watford, UK
Barrow parts arrived and I've got the up-and-over from CPU to rad about done. Then changed my mind about the GPU-CPU run and pump-GPU run and ordered a pair of these to make my life that bit more difficult


Had to go 16mm OD to get a decent ID as they're about a 2.5mm wall thickness.....which has meant an order of new EK-HDC's in 16mm size....so I can continue not using my spare 12mm size ones :rolleyes:
So the full plan - if 'plan' you can call it - is: 16mm straight glass from pump (checked and a joint between 12mm acrylic and 16mm glass just looked comically bad) to a female-female 90° fitting equiped with a pair of 16mm HDC fittings. Bent glass from there to GPU. Bent glass from GPU to CPU.
So I'm going to need a good five cuts on the glass tubing :eek:
Oh, and after I hit 'order', I decided to screw a 16mm fitting (I have two but in the wrong shade of black....yeah, I know) into the pump outlet....and it doesn't fit. I'm going to have to make longer standoffs for the pump in order to accommodate the fitting :rolleyes:
 
Soldato
Joined
23 Apr 2010
Posts
11,896
Location
West Sussex
At the speed of which this is going this is good to see.

Kinda like when Eddie Murphy did his sketch about being respectful and not having sex until about 3 months.

"Wow, that was the best I've ever had !"

"No it wasn't. If you were starving and someone threw you a cracker you'd be like GOD DAM THAT'S THE BEST CRACKER I ATE IN MY LIFE. WAS IT CHEESE? WAS IT SALTINE? GOD DAMMIT THAT WAS DELICIOUS" *kisses every finger*
 
Soldato
OP
Joined
4 Jun 2007
Posts
2,632
Location
Watford, UK
So, postie arrived and has brought me this self-inflicted headache :D


16mm OD glass (pre-bent) on the left and 12mm OD acrylic (used) on the right.

Been watching YouTube for cutting tips and.....WOW, there are some people butchering glass out there! So far I'm thinking of going the Dremel with a diamond wheel (and water) route. Score and snap seems to work well for straight pieces but I fear the nearer to that bend it is, the higher the risk of the bend breaking or the tail hitting something after the break and shattering. Wet sanding (like really wet!) for the edges rather the dry I've seen people do and get glass dust everywhere.

Need the materials for the longer pump standoffs before I can get accurate measurements for the glass.

Oh and speaking of self-flagellation, I've ordered a spool of some thinner wire (the insulation specifically; core's still 26AWG) and resistors. I had to take the res out to get at the pump and I couldn't not clean the glass while I had it out....and then since it's already in pieces, it'd be a crime to put it back together and not replace all the failed LEDs. Wait a few days and then send round the men in white coats will you?! :D
 
Soldato
Joined
23 Apr 2010
Posts
11,896
Location
West Sussex
Jesus man you do like making life hard for yourself huh?

Next thing you'll be inserting needles into your nether regions. I mean I am all for a bit of overkill and OCD but man.

Still, there is one good side to this. IE - I get to watch you struggle and squirm ! which is always nice given how much we enjoy watching each other do that lmao.
 
Soldato
OP
Joined
4 Jun 2007
Posts
2,632
Location
Watford, UK
Well, that's going to be a given at a bare minimum!
On another note, definitely realising how spoiled I've been. I'm stuck on my laptop for the duration. Not a bad laptop but from about 2015/2016 I think. i7 but only dual-core. 8GB of RAM, dual SSD in RAID0 but only 128GB. Nvidia Geforce GT 640M. Can't run my external monitor higher than 1920x1080 - it just doesn't support it. YouTube is really bad quality though. Worked out how to kick in the Nvidia GPU for Firefox and it's so much clearer. Only issue is, running it at 1440p60 uses 60-70% of the GPU power, 70% CPU and turns the whole thing into a hairdryer. Just ran HWInfo and the CPU hit 83°C and the GPU 70°C....running YouTube! I don't hit anywhere near those in full gaming - hell, the fans don't even start for a good while and stop after a bit as it's dropped below the threshold they even need to run. Spoiled, clearly.....but also vindicated :D
 
Soldato
OP
Joined
4 Jun 2007
Posts
2,632
Location
Watford, UK
Ok, I got impatient and mocked up the GPU to CPU link in some 16mm acrylic I didn't even know I had :D Mainly so I can check it fits and take accurate measurements for the glass where I'll only get one shot at getting it right. Good job I did as my first attempt was 12mm too short!

 
Soldato
OP
Joined
4 Jun 2007
Posts
2,632
Location
Watford, UK
Yeah, I'm not sure quite how I managed it to be honest. Measured the distance, add 10mm for the fitting....ahh, I think I should have added 10mm for the second fitting when I thought I'd already accounted for it. That would have put me only 2mm out.
I hacksawed the tube but I was sorely tempted to stick it in the lathe (now that I have one) and get a really nice square end. Only trouble is that holding it in a collet would have really scratched up the outside of the tube.....which clearly wouldn't have done for a mockup *cough* :rolleyes:
 
Soldato
Joined
23 Apr 2010
Posts
11,896
Location
West Sussex
Well usually the fail is due to the thickness of material.

In this case it seems to have been the thickness of the person :D

If it makes you feel any better I put down the server case on one of the vents the other day, figuring it would hold it. Now it has nice light lines in it from where the weight of the case crushed it lmao.
 
Back
Top Bottom