Project: Silent Overkill

Soldato
OP
Joined
4 Jun 2007
Posts
2,630
Location
Watford, UK
Well it's a bit premature to call an end to the leak test....but then I've clearly demonstrated that sensible isn't my thing today. :D

I've also clearly demonstrated to myself that switching to coloured coolant is something I'm just not ready for yet! That said, I'm a bit disappointed by this batch of EC6 Clear - I'm sure the last batch didn't have a yellow tinge.

So, some stats - who doesn't like stats?! :D

2.5 litres of the stuff went in :D Some of it also explored the PSU shroud, monitor screen ... :rolleyes: and ALL of it came out (well, what I could get back out) so I could have the pump being fed by the res instead of trying to fill it *sigh*

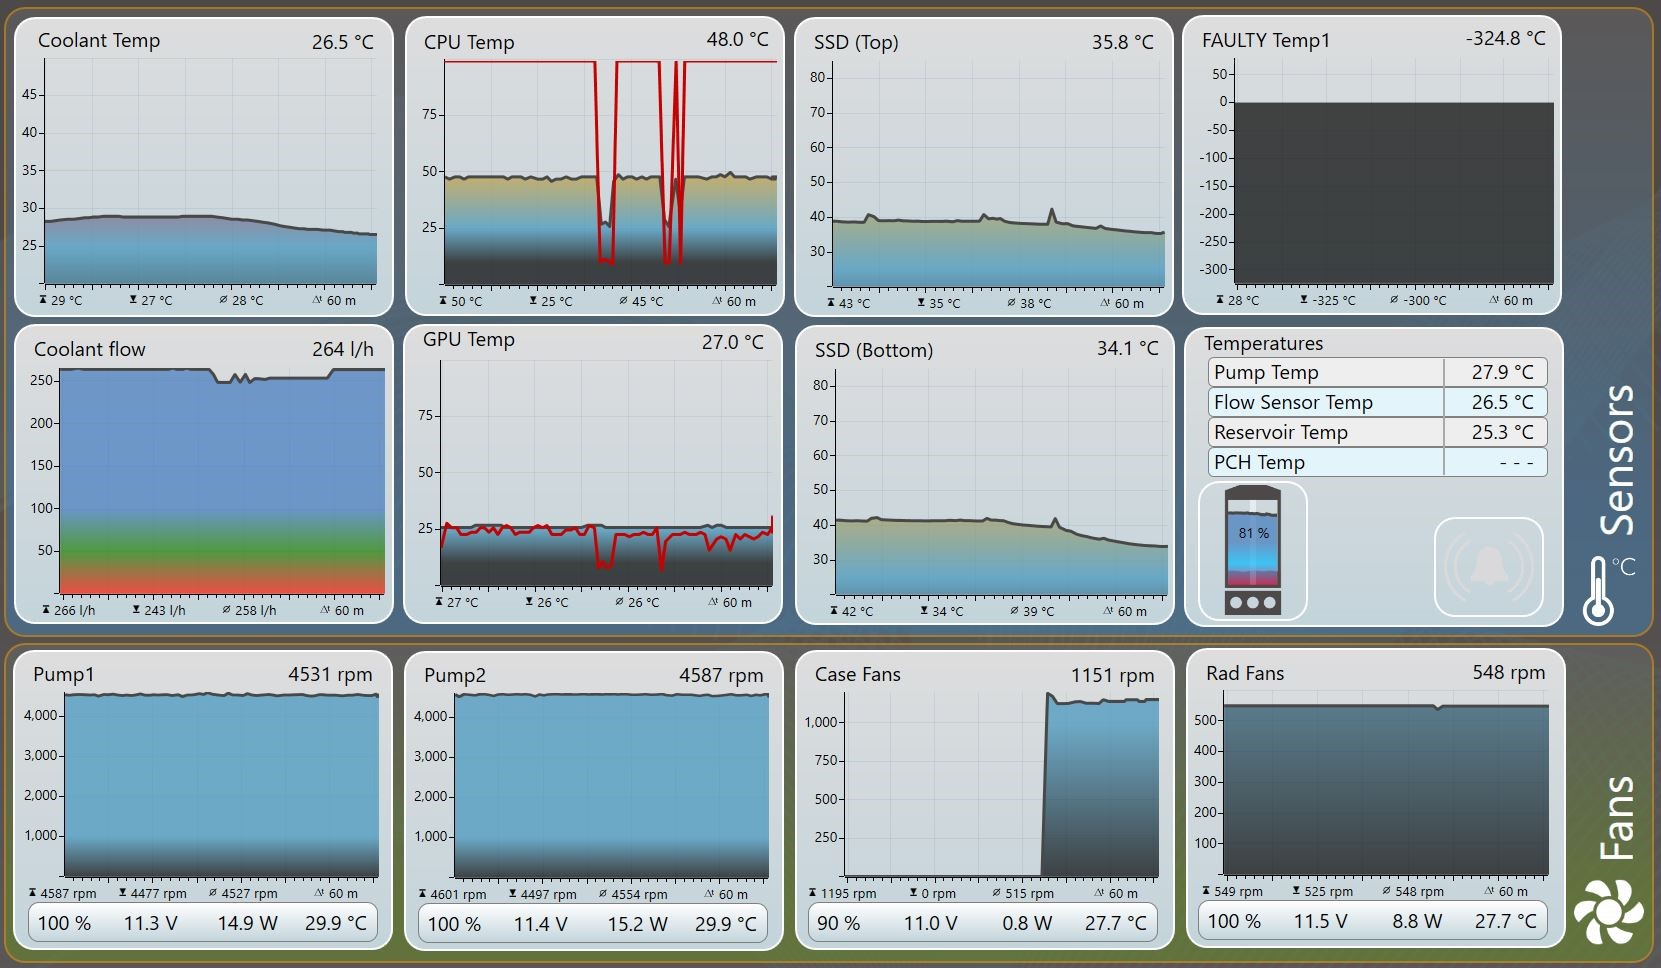
With just one pump (18W DDC) running at full speed I got 157 l/h at 4550rpm.
With TWO pumps running, I'm getting 250 l/h :D

So, the big question is: Will it blend boot?!
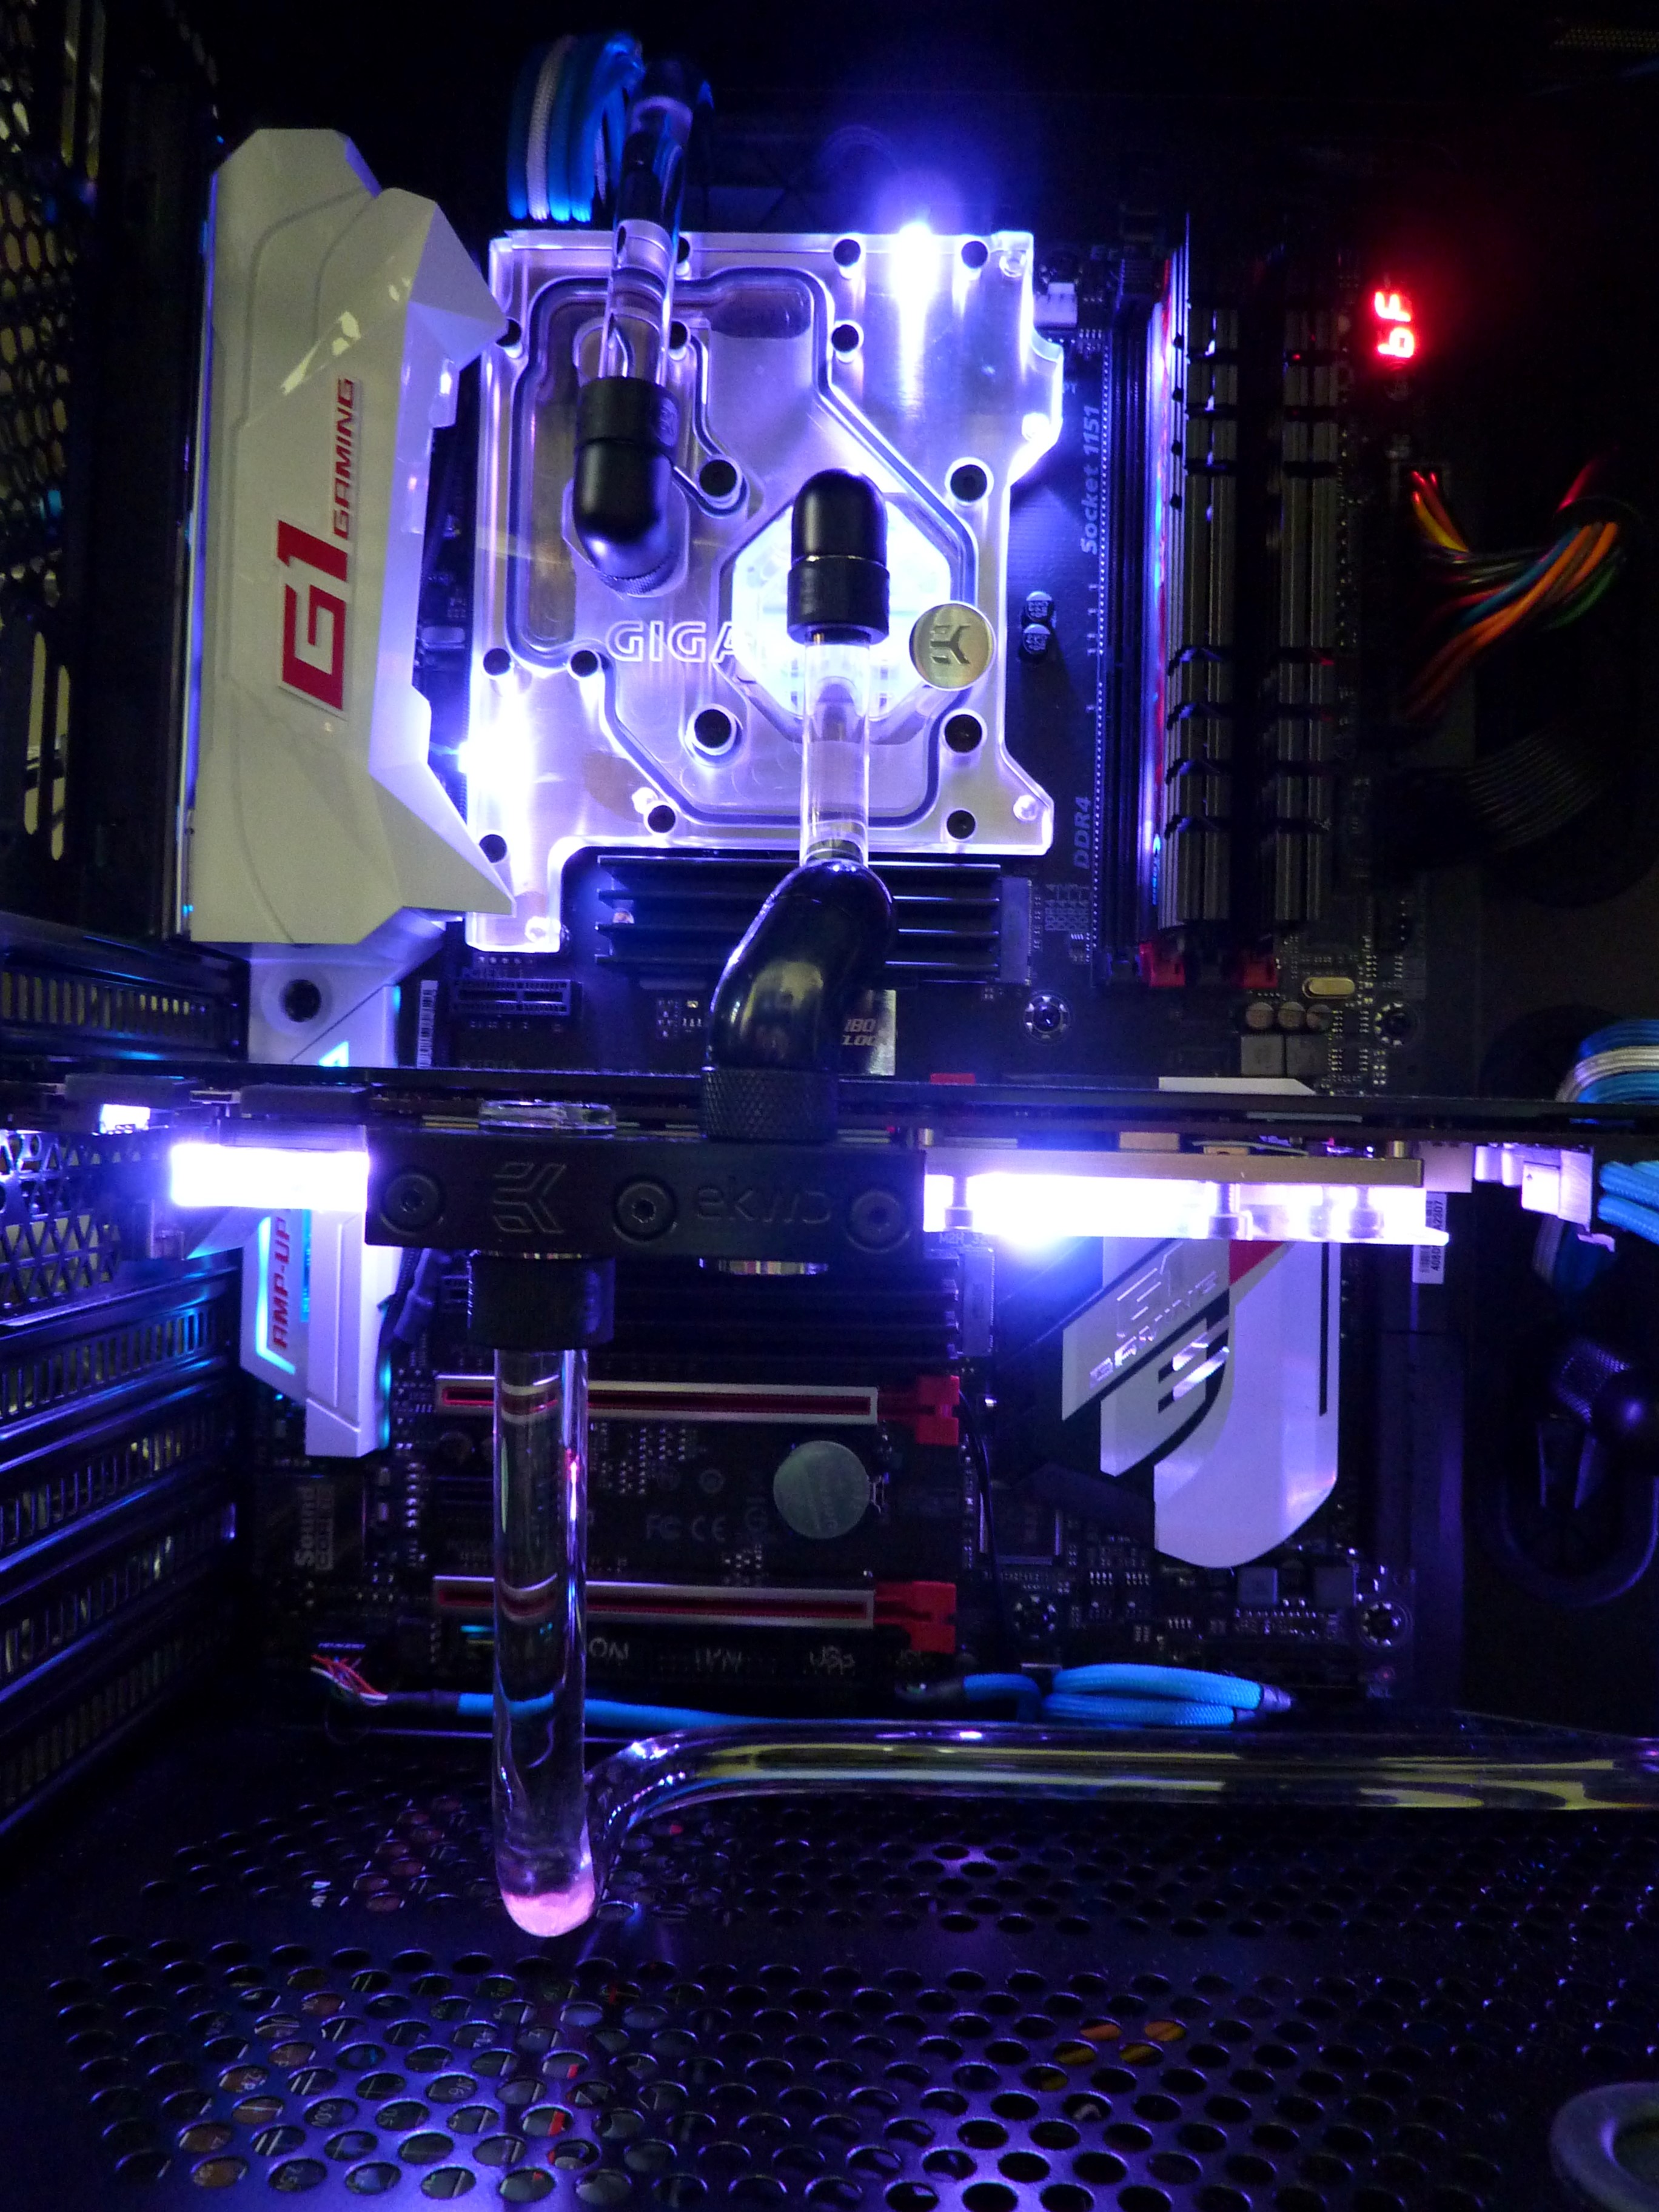
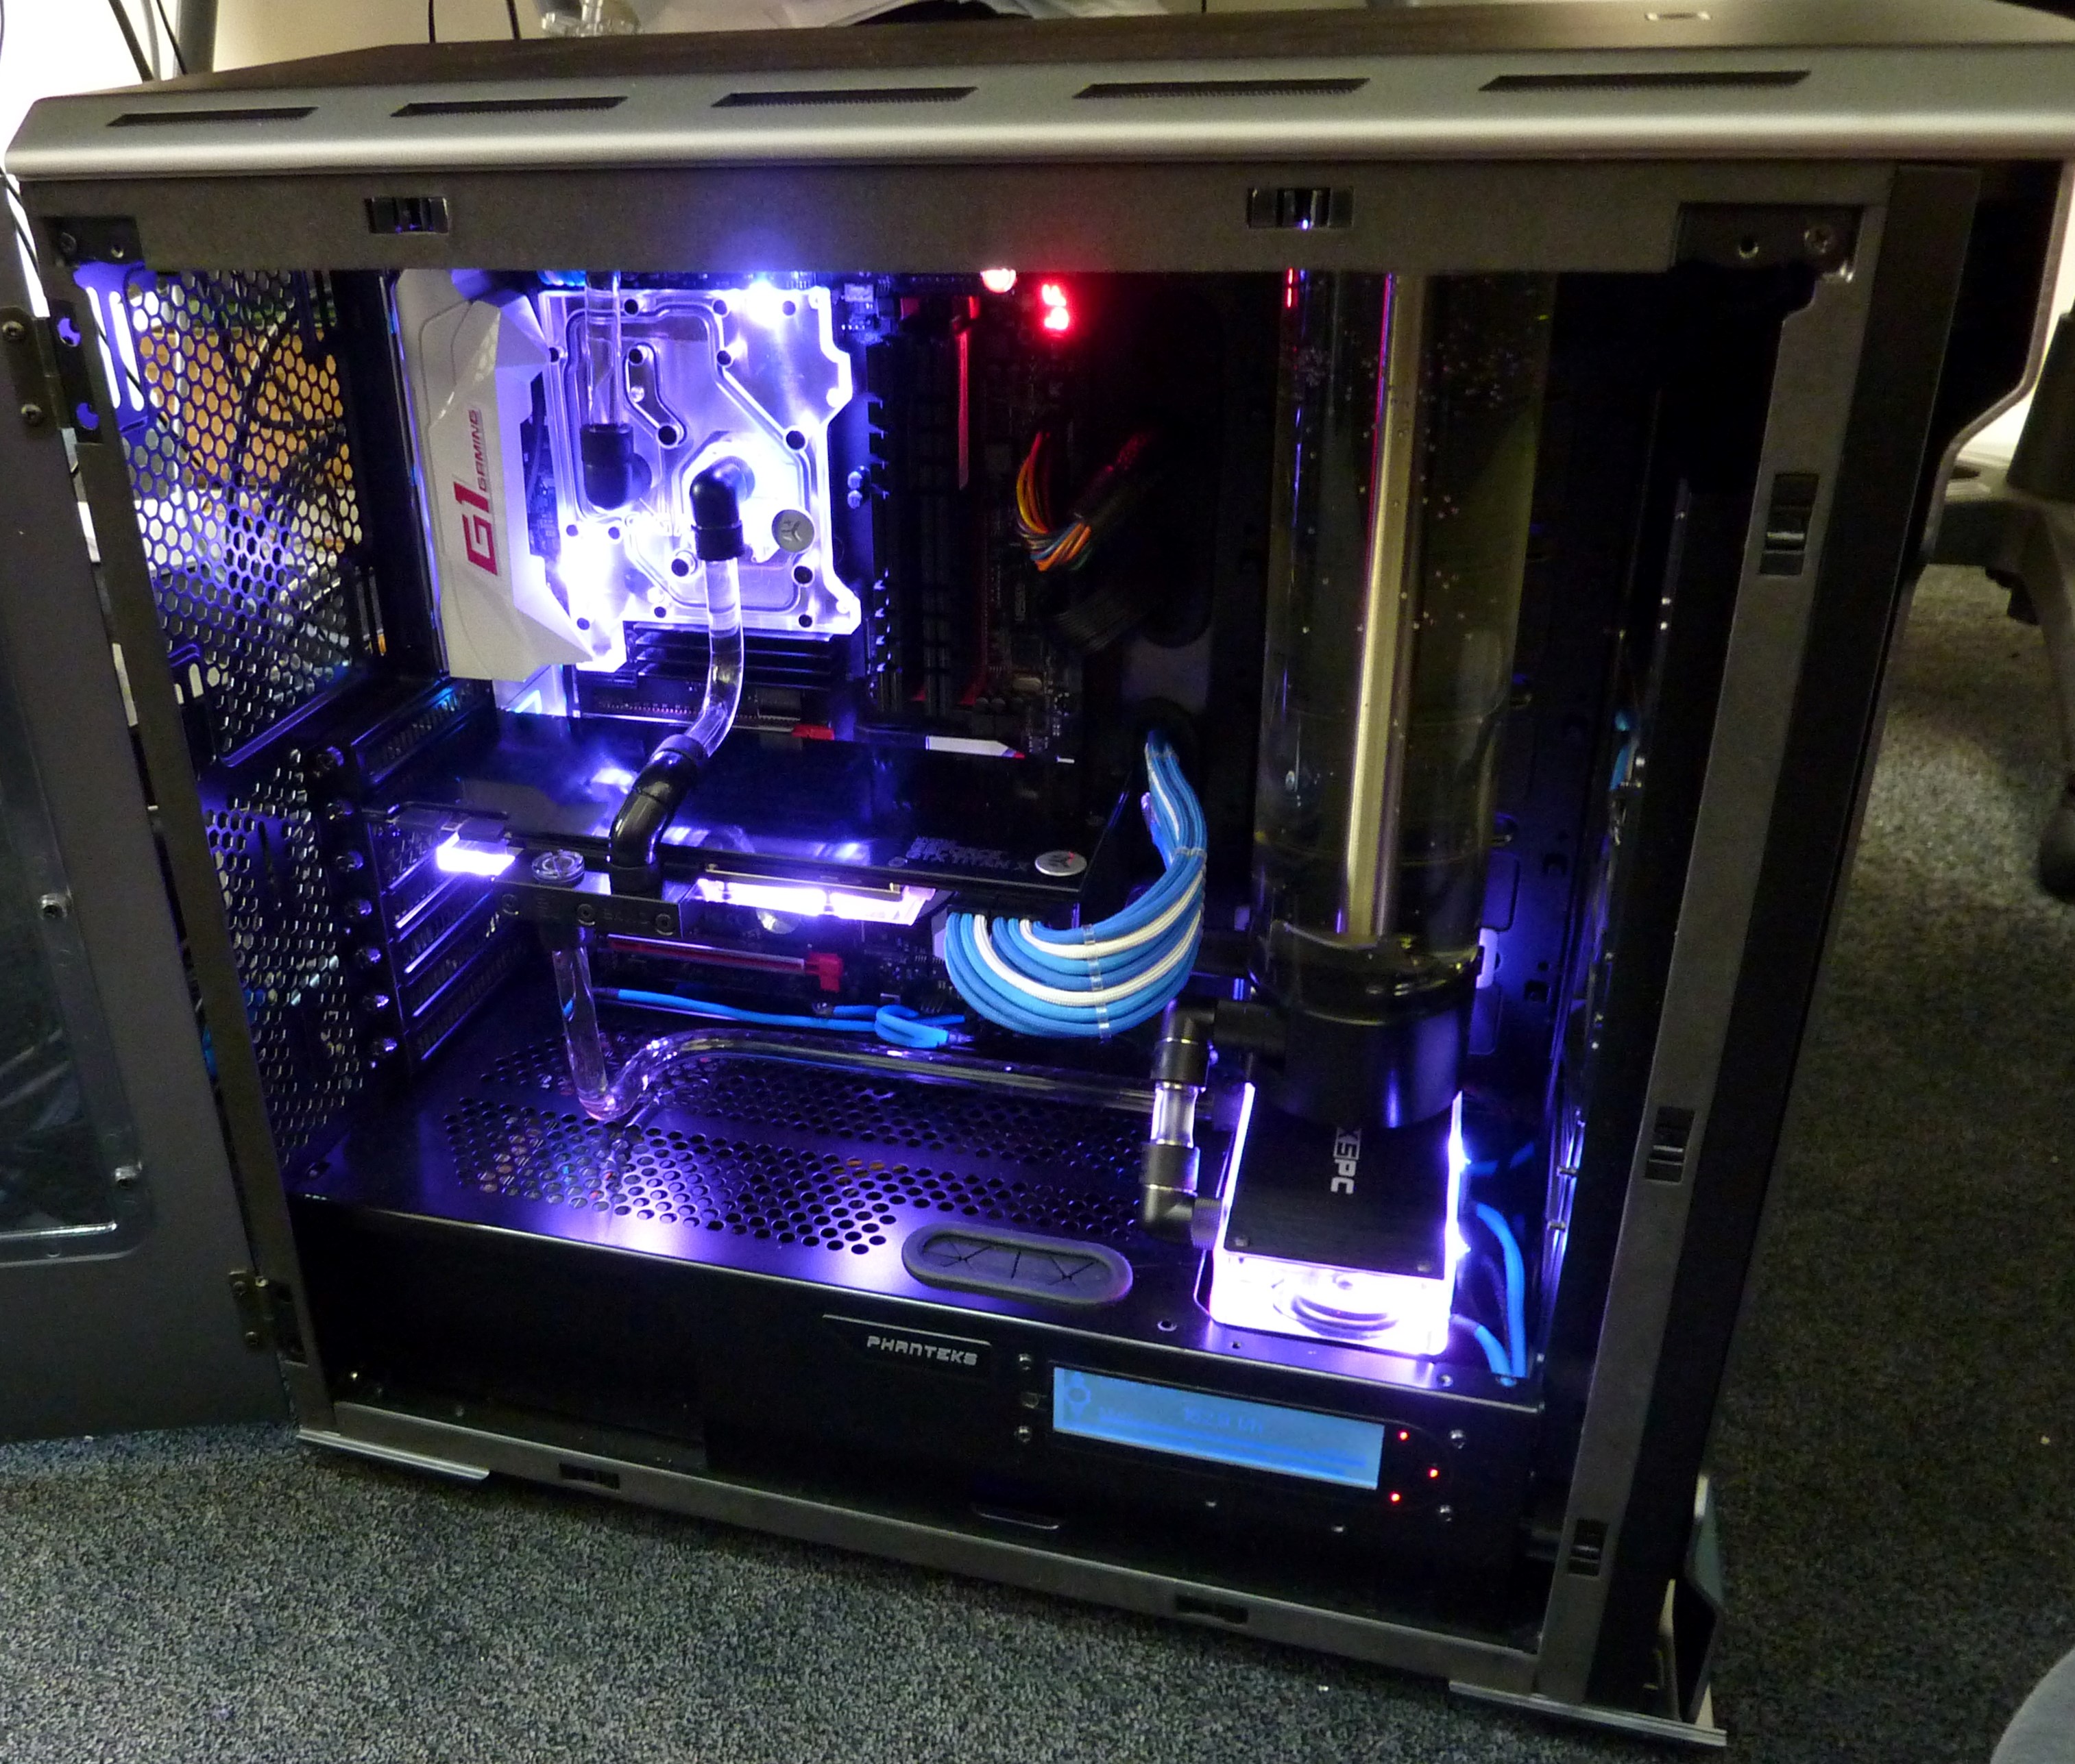
Cue nervous moments of absolute silence before the Aquaero cold booted (it's normally in standby when the computer hasn't got the power cable removed) and then started up the pumps and the rad fans ponderously spun up to their max speed of 550rpm - three out of four seem to tick; which is something I'll have to look at. Then the Windows 10 swirly appeared and I breathed a sigh of relief.

I've not got time to do a full benchmark etc (wife's birthday tomorrow and she doesn't want me sitting in the shed all night :( ) but sitting at idle, the CPU is reporting 22C. Not bad considering the temperature in here is 21.6C! Hell, the DIMMS are reading 30C. GPU is 23 - 24C

So far it's looking good. CPU isn't dead, no leaks (that weren't my own stupidity - more spills really) and the temps are promising. Proper benchmarks when I'm allowed out to play ;)

Still to do:
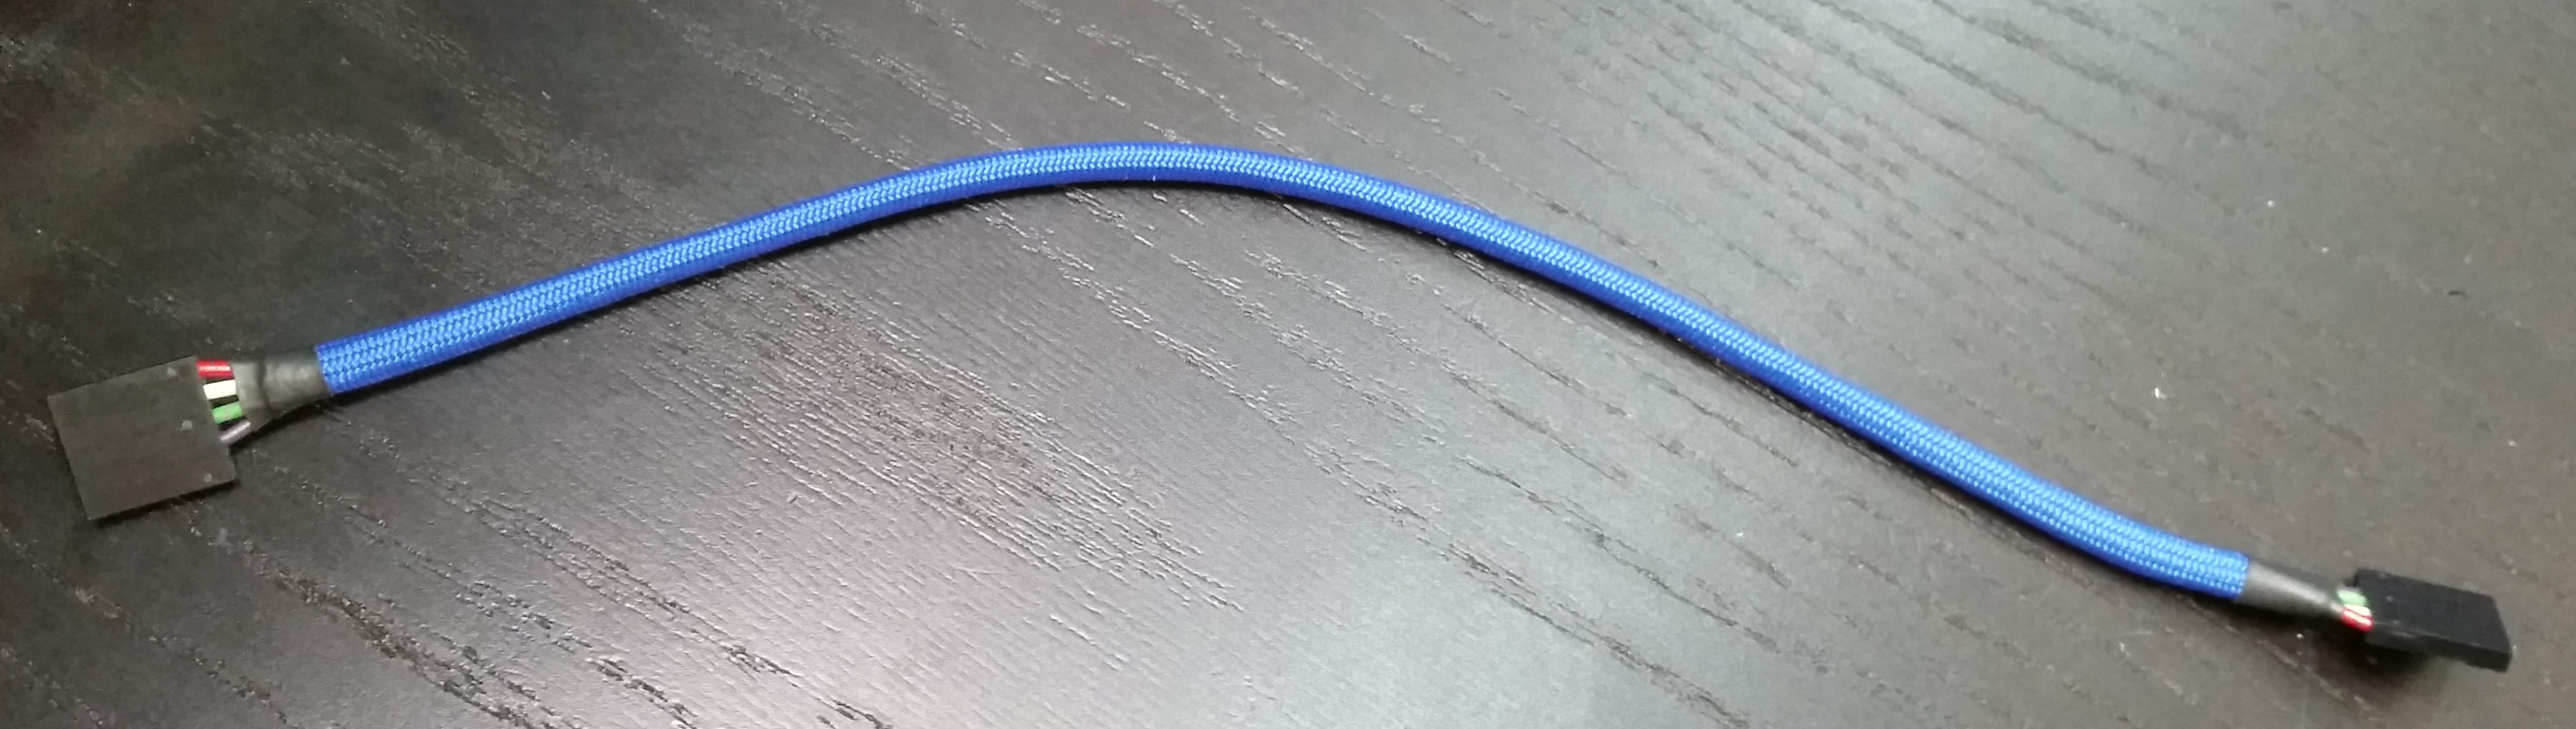
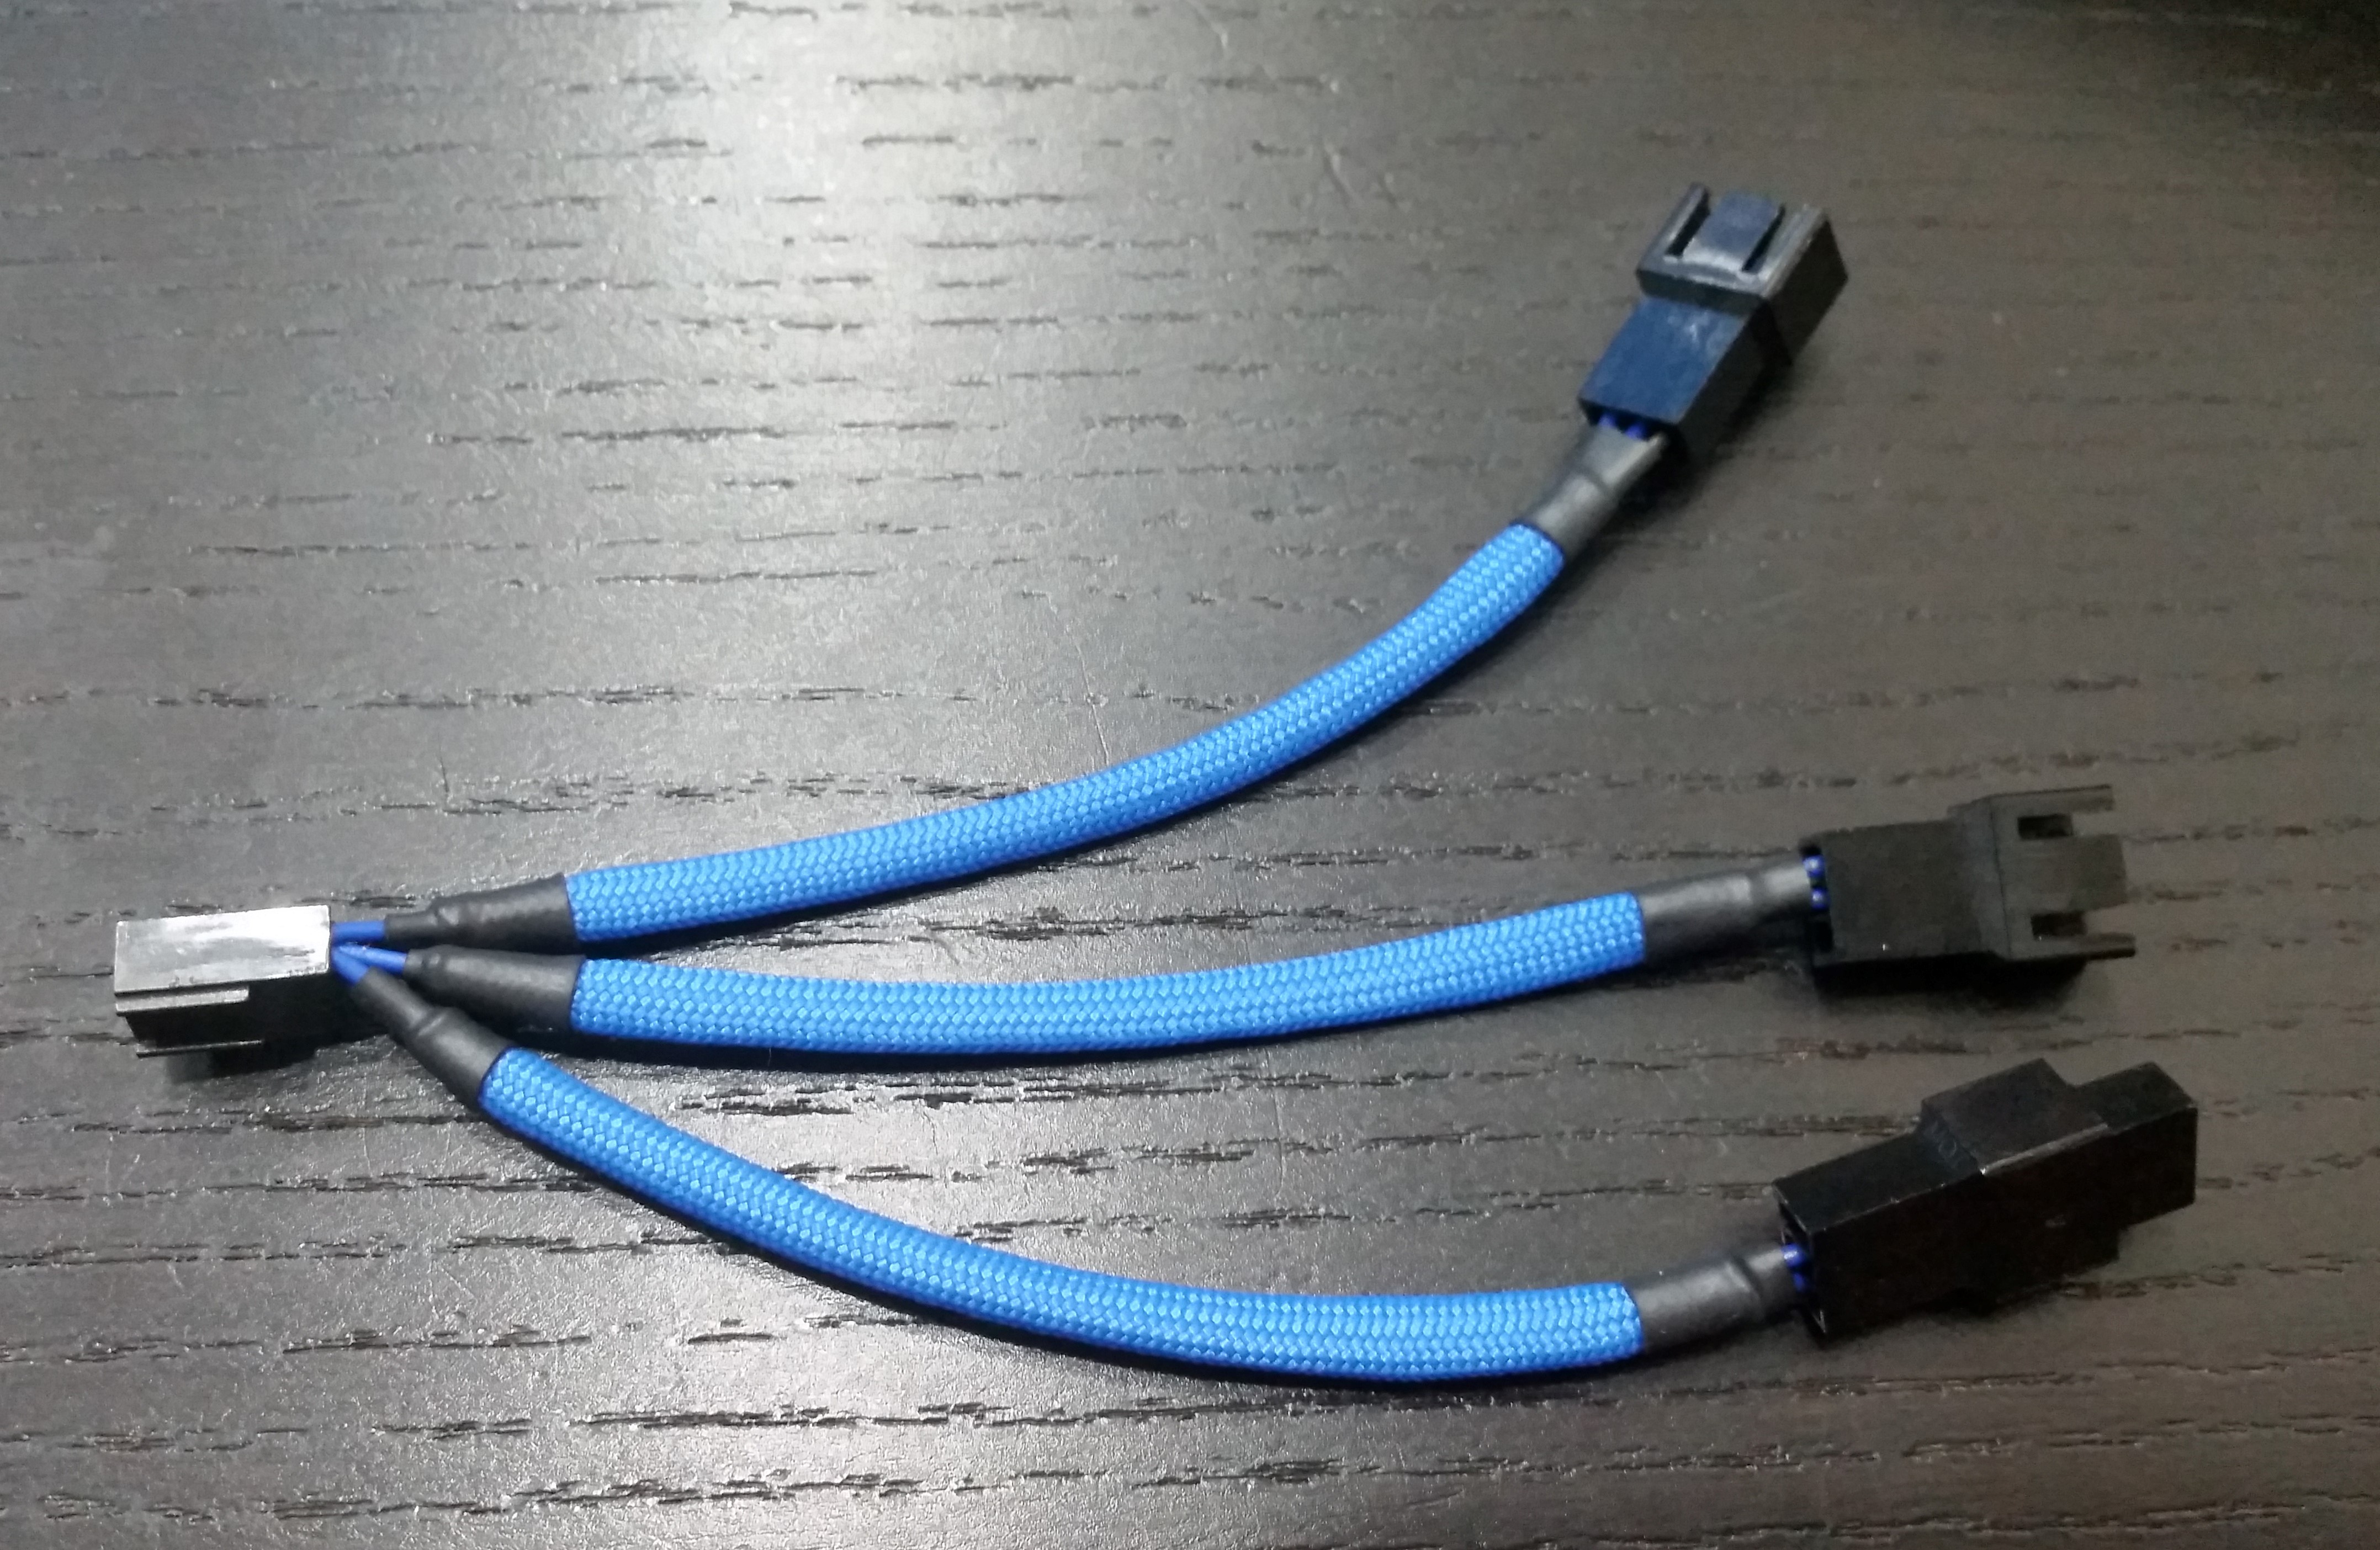
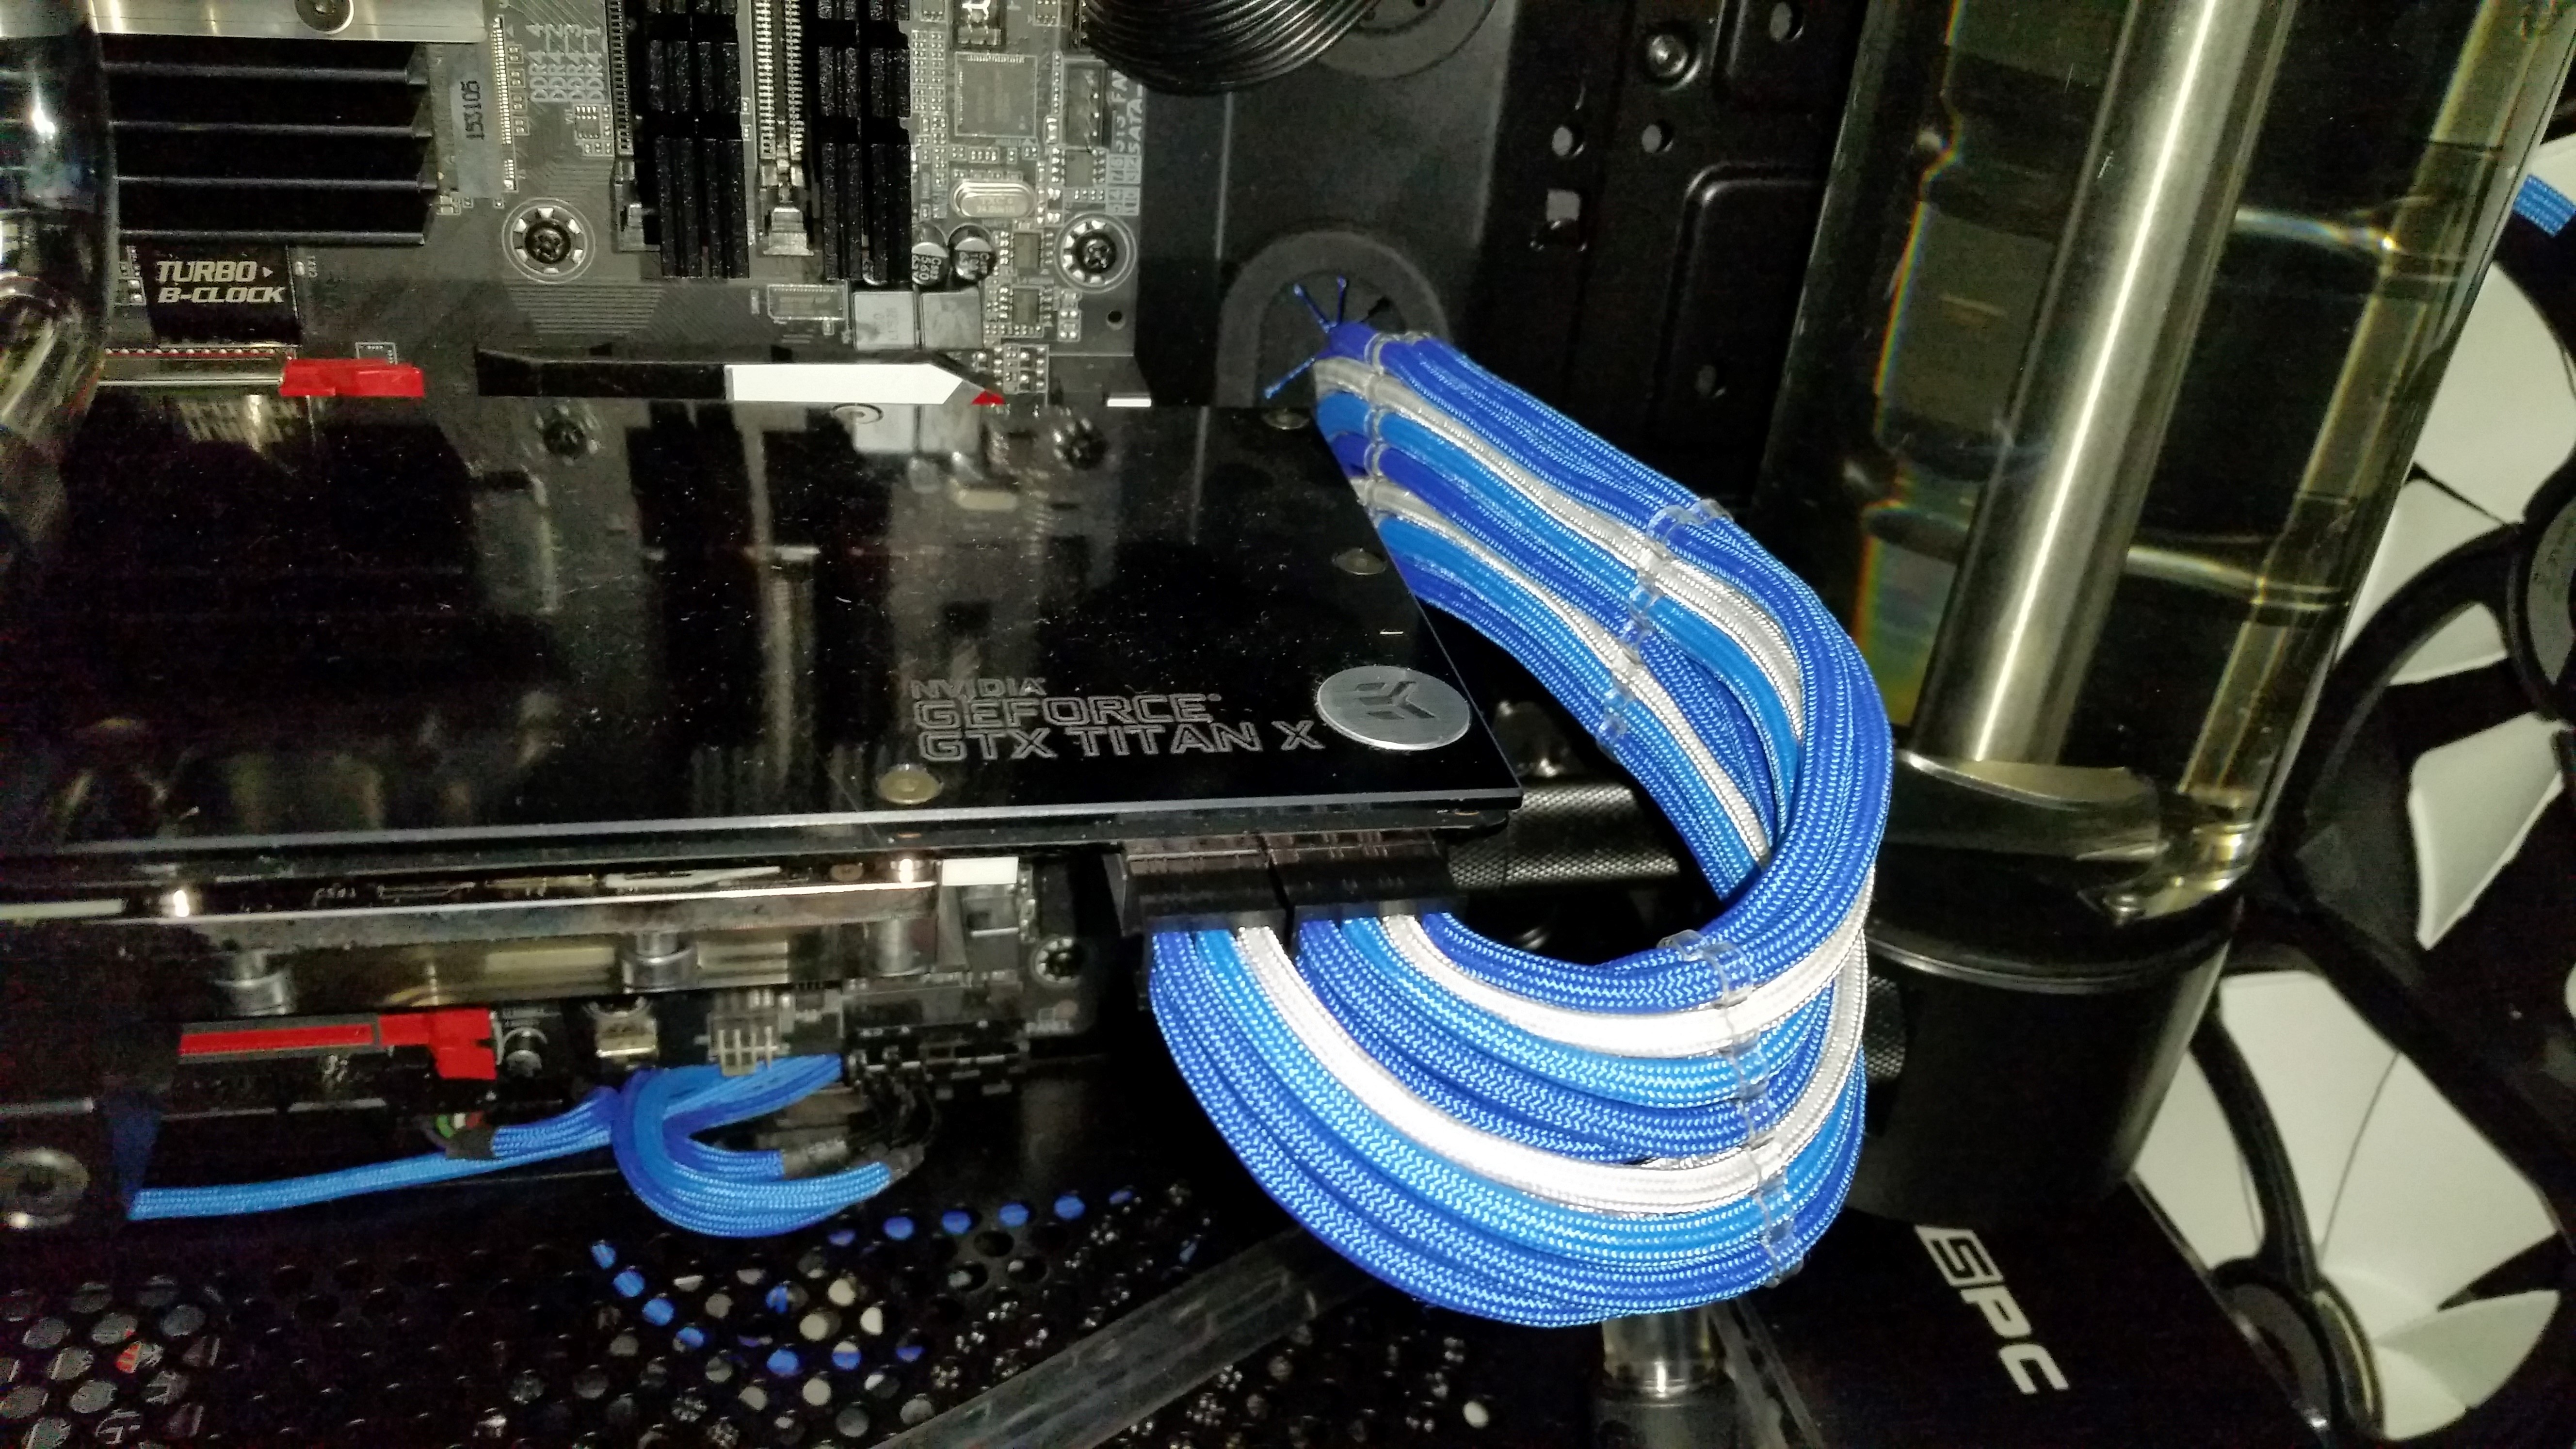
  • Nice PCI-E braided and combed cables - need tools to arrive and some time
  • Nice ATX braided and combed cable - ditto
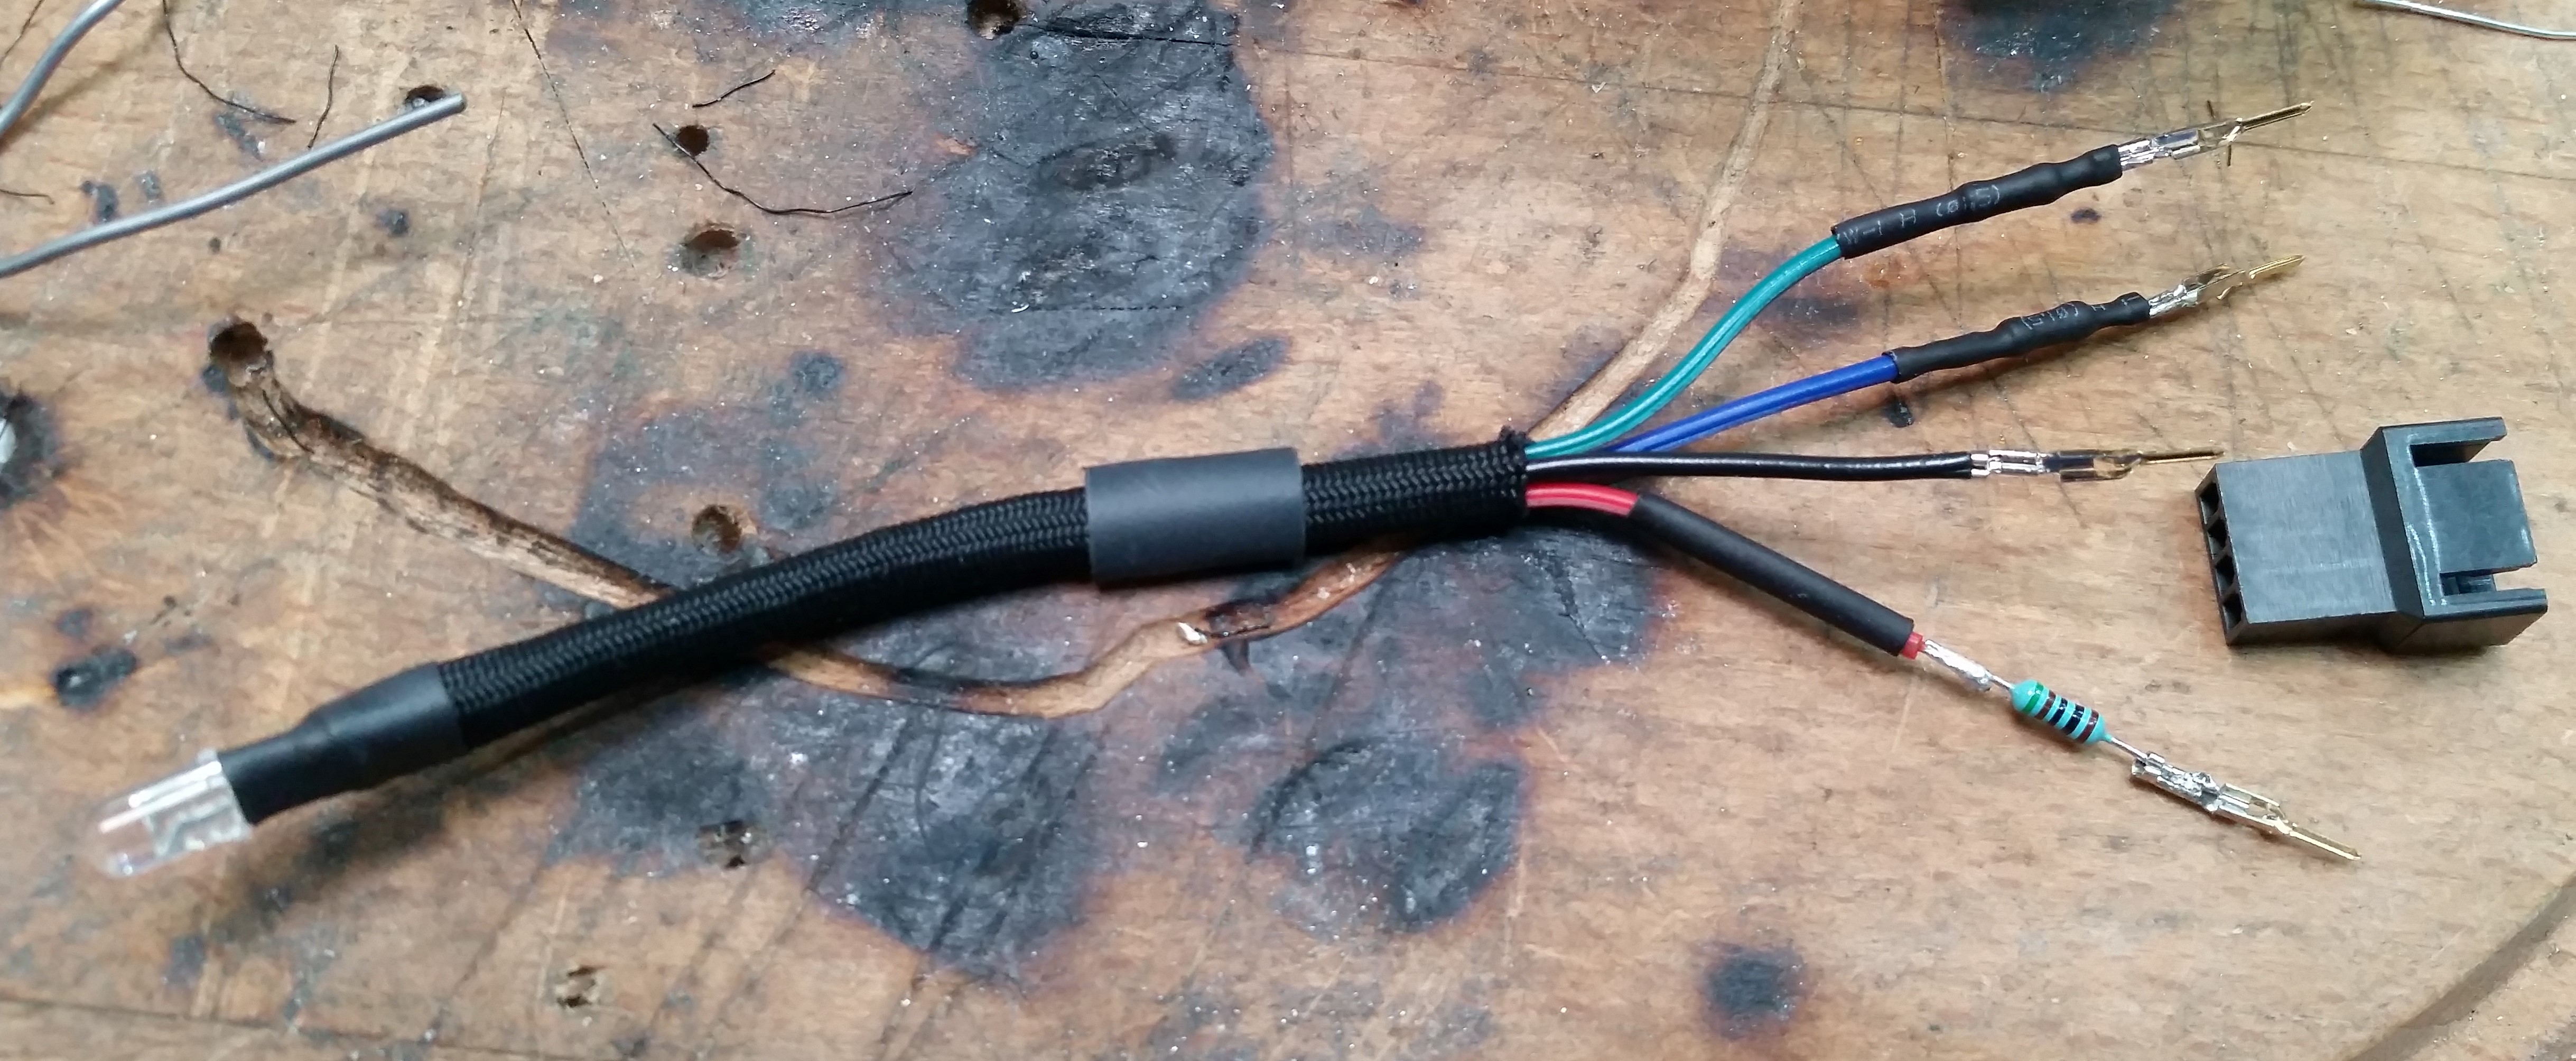
  • Nice braided Aquabus and USB cable - ditto
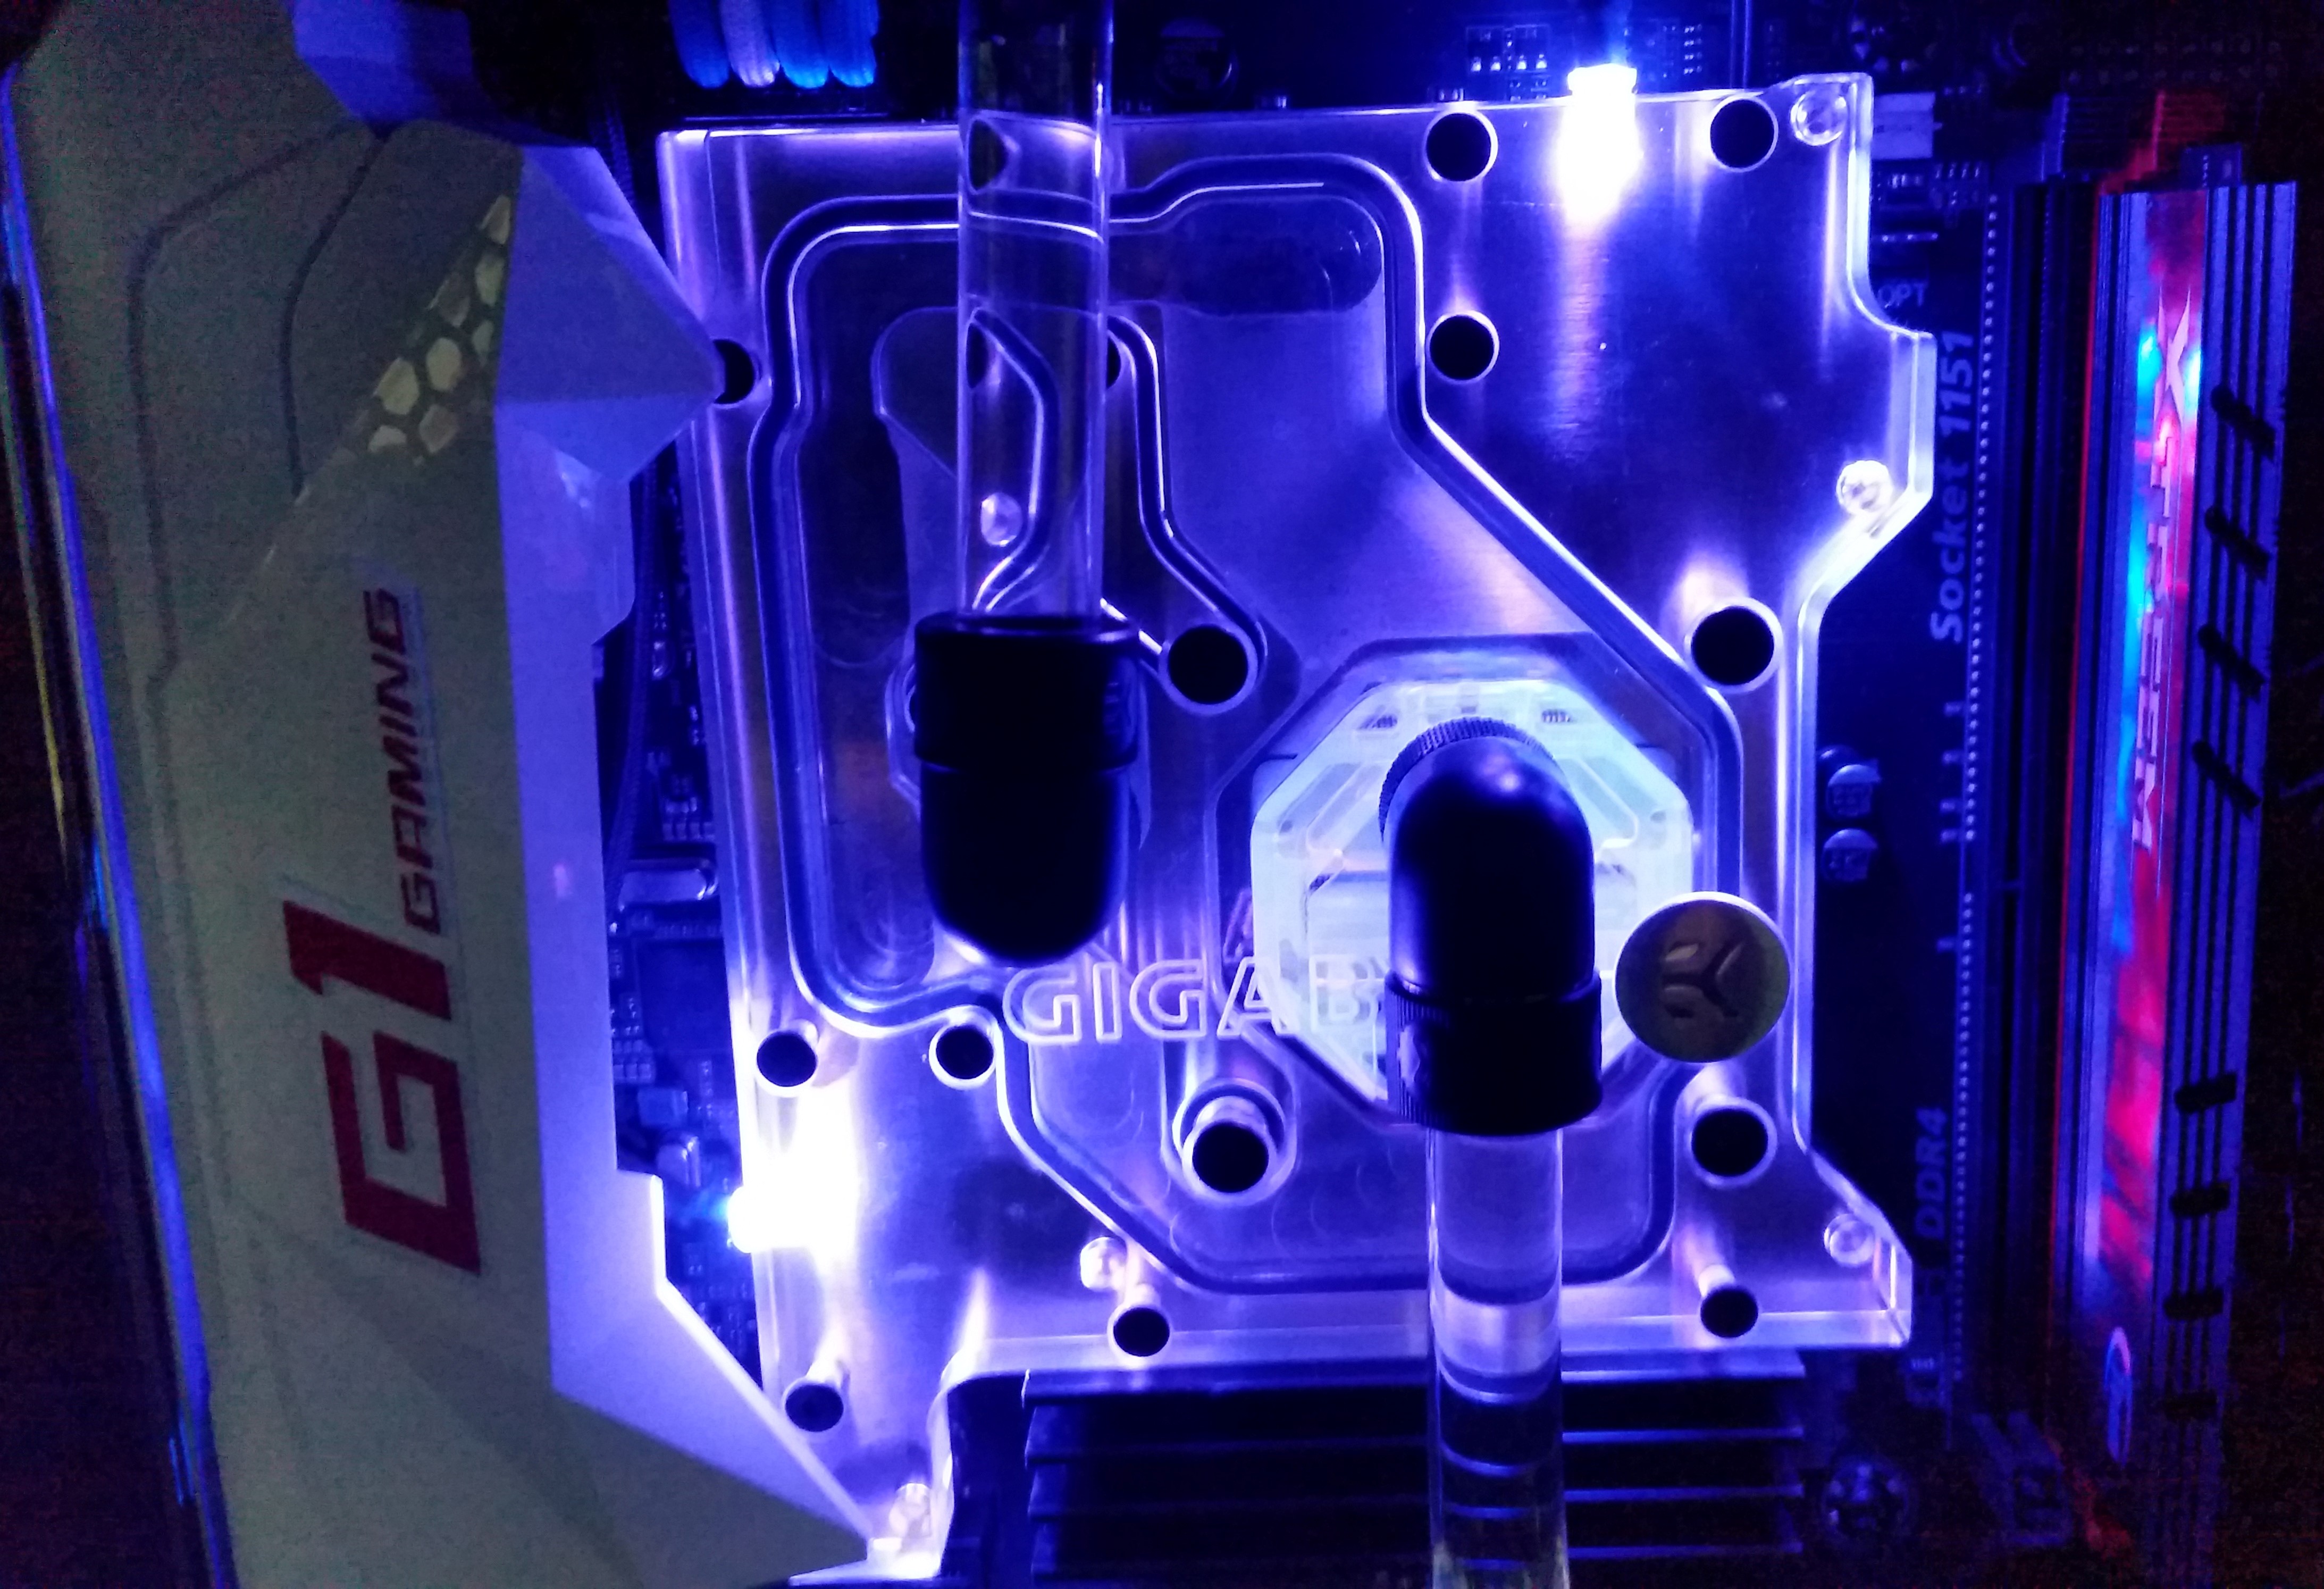
  • Wire up RGB LEDs in CPU monoblock - need time
  • Drill out graphics card block LED holes to 5mm - yeah, I only realised I'd forgotten after it was filled.
  • Graphics card RGB LEDs
  • Pump LEDs
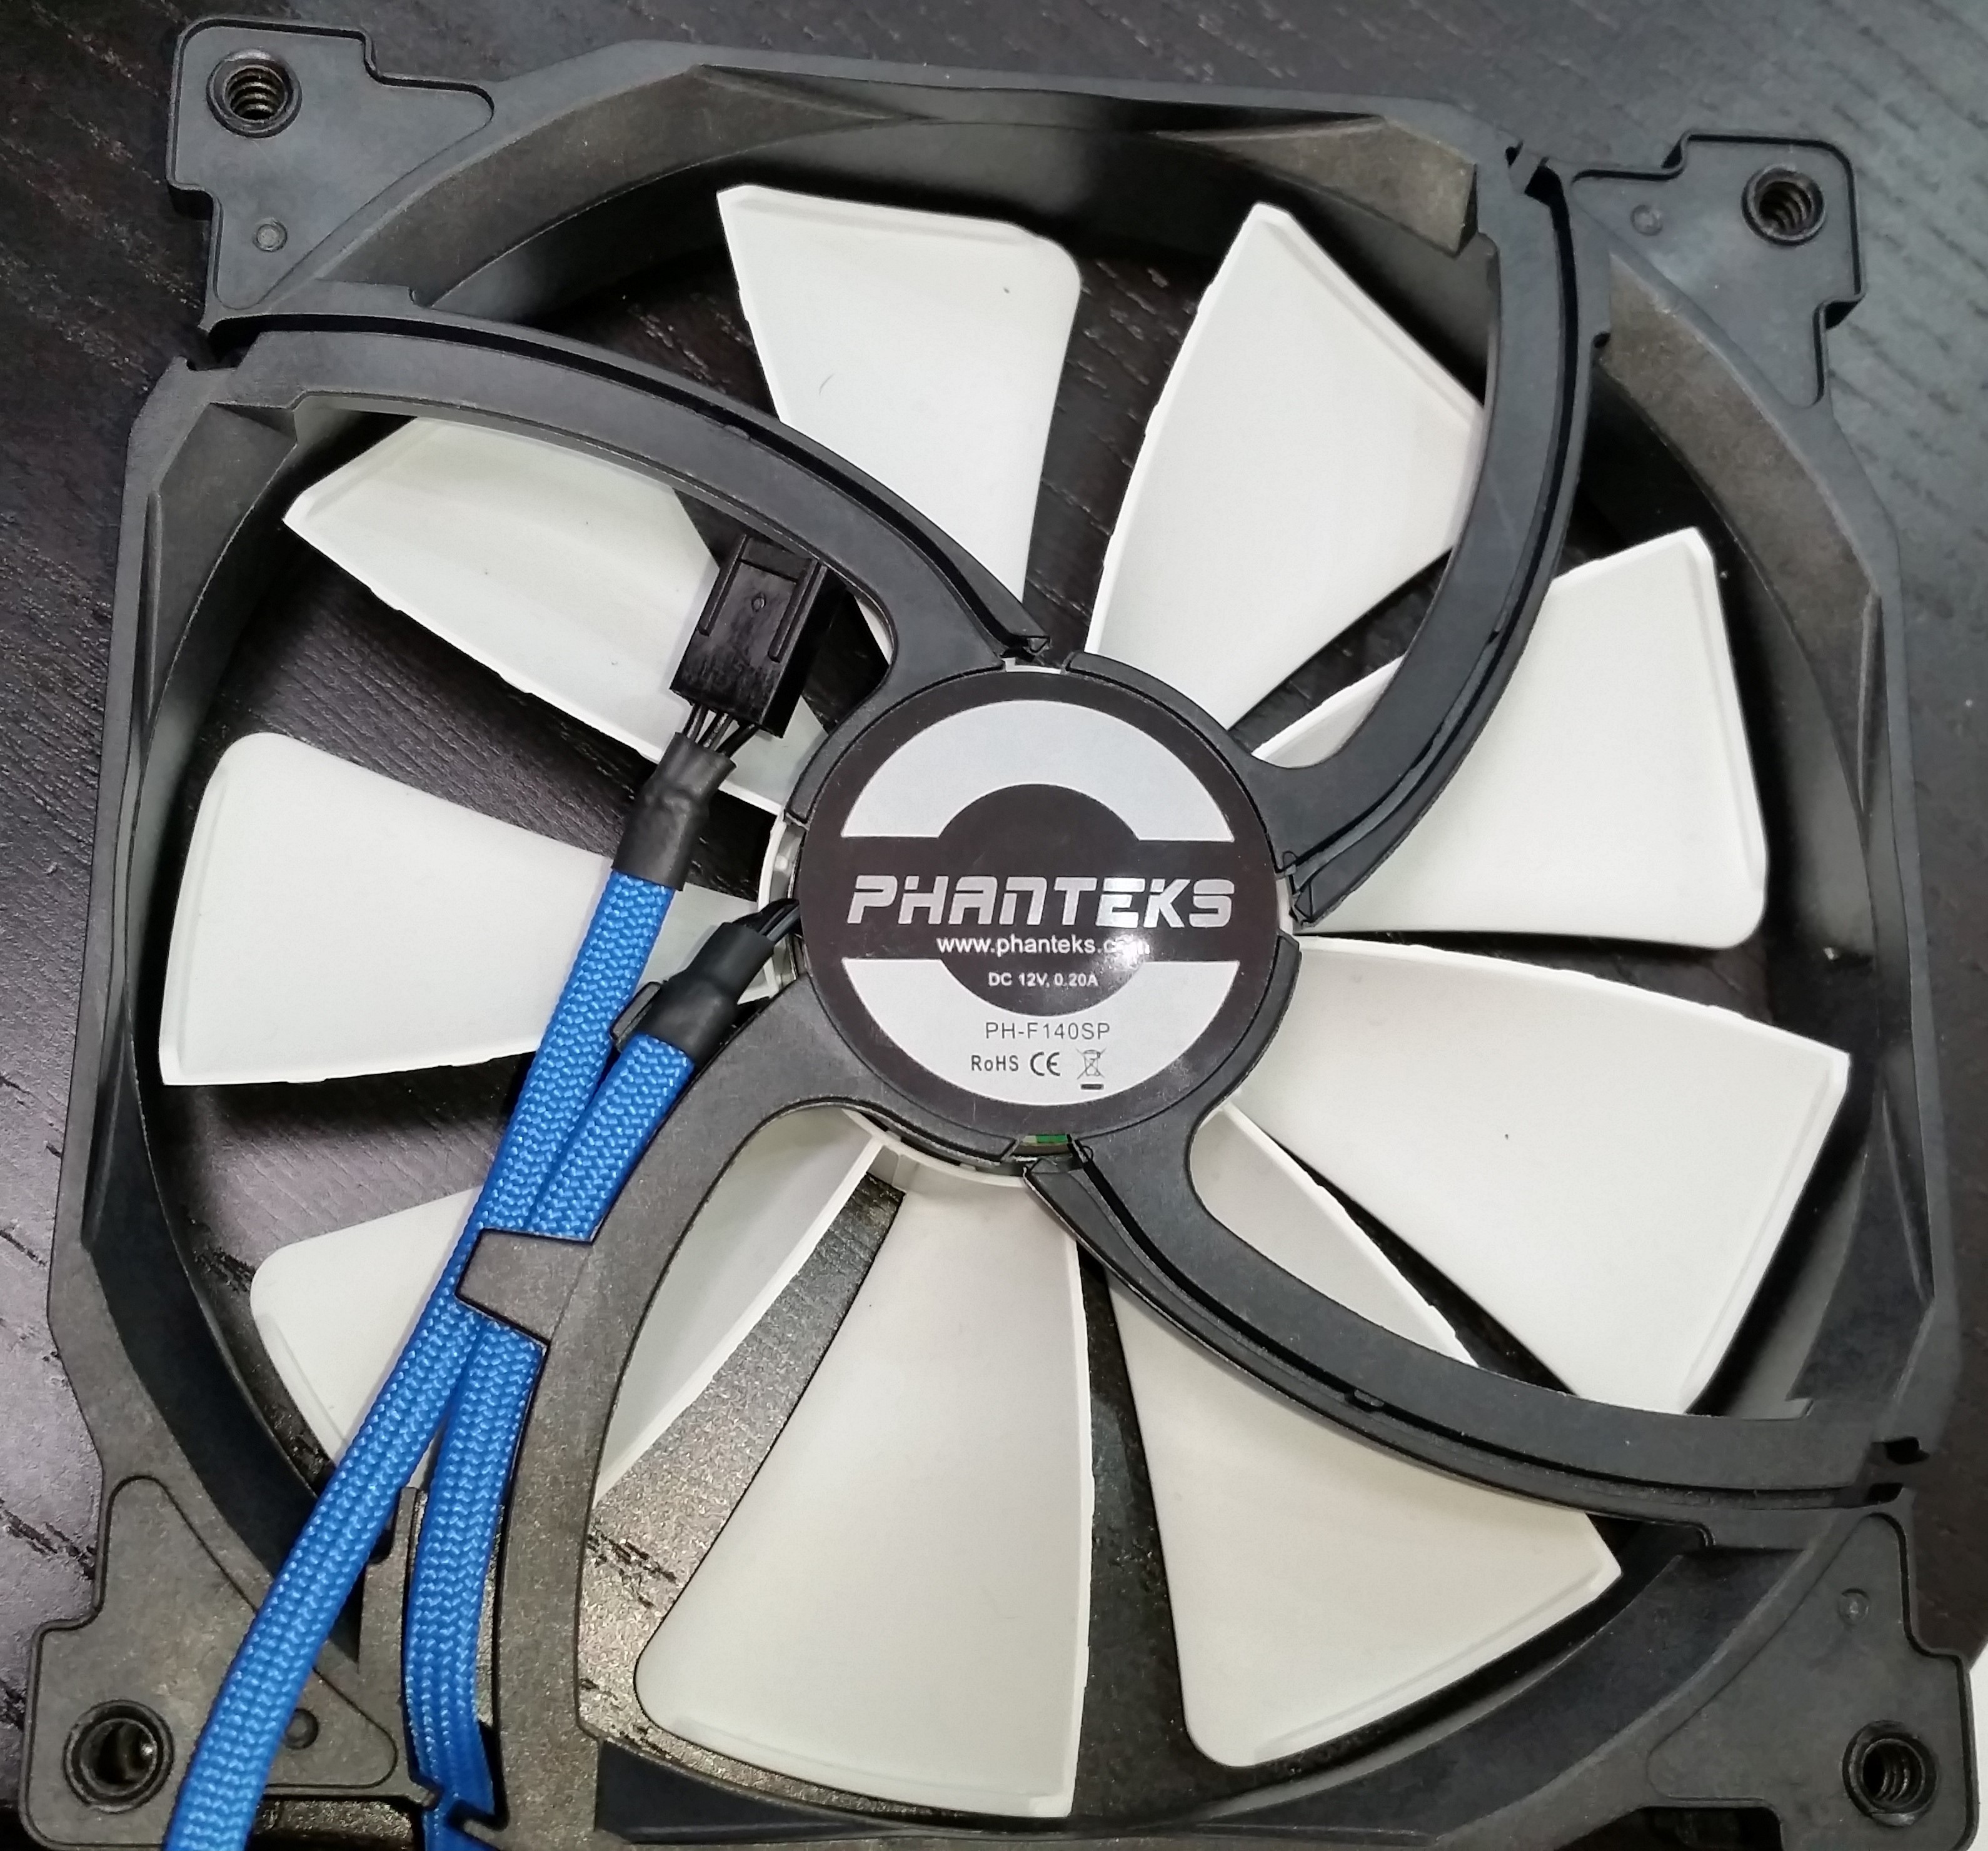
  • Resolve fans ticking if possible
  • Add case fans and braid them.
  • Finish design of acrylic block to replace PSU shroud, pump top (with ports the right way around!), filter and res bottom.
  • Work out how to do PCB to put eight RGB LEDs in bottom of res - I did ask a company and they wanted about £500 to build it. £200 if it was really basic and prototype'y. Might see if it's possible to home build one by abusing someone's CNC....if that's even possible and someone's willing.
 
Soldato
Joined
26 Sep 2010
Posts
7,158
Location
Stoke-on-Trent
AAEAAQAAAAAAAAdpAAAAJDFlMWExYjUwLTUyMjgtNGQ2NC1hYzgwLTQ0Y2Q1ZTg4NjNmZg.jpg
 
Soldato
OP
Joined
4 Jun 2007
Posts
2,630
Location
Watford, UK
Cheers all. Not only is it alive but it's chilled out too :D

For some reason the first temp sensor header on my Aquaero is reading -324.8°C ....which is clearly a fabulous result and not faulty in any way whatsoever. Second header doesn't work at all but the rest do. Odd, but there are eight headers on the Aquaero, one on the res, one on the flow sensor and another 4 on the Farbwerk...so I don't think it'll be an issue!

Pumps were hitting 40°C so I've stuck a case fan in the front for now and now they're 28°C. Fixed!

I had a quick run of Firestrike Ultra but it's busy downloading a 4GB update for it. Ran some of Jam Software's free stress test Heavy Load and with the 'cores' set to 8 it's giving me 100% CPU usage and 25% GPU usage. CPU seems to settle at 47 to 48°C but I think it needs a lot more GPU load to properly saturate it.


Dips are where I paused the test to add the pump temp sensor and then the case fan. You can see the case fan effect on the SSD temps despite the fan being right at the bottom below the PSU shroud and the side and top panels off. Also seems to have droped the coolant temp at the same time so presumably the pumps are dumping less heat into the coolant.

I've got to go and save my marriage now ;) but what benchmarks would people like to see? There seems to be disagreement on which are good/bad/valid with newer CPUs.
 
Soldato
OP
Joined
4 Jun 2007
Posts
2,630
Location
Watford, UK
Should mention that CPU temp is hottest core (core max) and red lines on the graphs are percentage load.
When I just hit stop on the test, the CPU temp fell instantly to 29°C and then to 26°C after a few seconds.
 
Soldato
OP
Joined
4 Jun 2007
Posts
2,630
Location
Watford, UK
Cheers. Quite pleased with round two as well!

The Just Cause 3 'benchmark' has given some good results. Max detail at 2560x1440 on a 980Ti gives about 70 fps on a G-Sync monitor.

This is after long enough that the coolant has settled at a temperature. For reference, it started off at 23°C and topped out at 31°C. Room temp is 20.1°C
CPU is set to turbo up to 4.4GHz on all cores.

jc3-benchmark.jpg


Graphs are 60 minutes wide and show max, min and average along the bottom. Current temp is shown top right but I dropped out of the game to take the screen shot so it's already dropped once the load dropped.

With my old loop (and pre-delid), the CPU was in the 70s and the coolant would settle at 40°C.....so I think I'm happy with that! :D
 
Soldato
OP
Joined
4 Jun 2007
Posts
2,630
Location
Watford, UK
Cheers. I think you'll find those are Bluebird, Javelin, Arctic and profanity*! :D
Next up is the PCI-E and ATX. I'm thinking I may do the ATX as a hybrid - keep the single black sleeve all the way up the back of the motherboard tray and then separate sleeving for the visible side. Should look good but not add bulk and make routing easier. It's a semi-modular PSU (Nesteq 700W ASM) too so just lopping the ends off is really the only option - especially as they've glued the pins into the plugs. May also do the PCI-E the same way even though they're fully modular.

*mainly trying to shape molten nylon with my fingers and threading the paracord'ed wire through the comb. Language was more colourful than the paracord! :D
 
Soldato
OP
Joined
4 Jun 2007
Posts
2,630
Location
Watford, UK
Just a quick note: The E22 crimpers are soooo much better than the Weierli SN-28B's. The insulation wings are properly wrapped round and dug into the insulation, the pin doesn't try to twist as you crimp it and there's nothing sticking out the back after you've crimped it. Much better! :D

Also picked up some Knipex 12 40 200's as they can do the insulation stripping to a consistent 3mm with their depth-stop. The side auto-strippers I was using before were great but it was really hard to get a consistent length stripped.

So between the two, that reduces the swearing to just the paracord part :D
 
Soldato
OP
Joined
4 Jun 2007
Posts
2,630
Location
Watford, UK
Ok, some sleeving has been done at last.

A shiny new USB cable for the Aquaero to the motherboard. Gets rid of the mile and a half of slack but does lose the shielding on the USB cable. So far no problem but it is only about twenty odd centimetres long.


Shortened and sleeved the cables on the front case fans. I did think about buying some overly expensive fans to replace these (I quite like the look of the new Corsair ML140's) but to be honest, these aren't that bad and I've got three of them sitting in my pile-o'-fans :D


And lastly (for the moment) a three-way fan splitter. Currently I only need two so the third is just blanked off. I'm still debating putting a rear fan in for exhaust but I don't think I really need it; it's only the SSDs, the pumps and the memory that are really dumping any heat inside the case and I can feel some air coming out the back of the case with the front fans on low.

 
Soldato
OP
Joined
4 Jun 2007
Posts
2,630
Location
Watford, UK
Finally made some progress with sleeving. It's been difficult as I've been 'working' at the same time so it means I get a bit done, get called to do something else, lose track of where I was, make mistakes, swear, redo it....you get the picture.

PCI-E power cables for the GPU. These are sleeved individually in paracord to just the other side of the grommet and then bundled in 6mm black Teleios. Just makes it easier to route them spaghetti-side....and also I thought it'd cut me more slack in terms of the length of the wires and the bend :D Combs are E22 14-hole clear stealth combs. Nice and, er, stealthy...but you have to thread them all onto the cables before you put the pin in the shell....or more swearing ensues :D


Started on the Farbwerk too. I bought the connectors for RGB strip lights and have lopped the connector off the end. Sleeved the round cable in black paracord and crimped a pair of female 4-pin fan plugs on the end - I say "fan" but they don't have the offset tab...but I have the matched male sockets so don't care :D

So then, RGB LED with some RGB LED cable soldered onto the pins. Paracord sleeving for that - bad plan, four wires too thick to fit without hours of swearing! Came up with the genius (?) idea of crimping the resistors (510 ohm for red, 430 ohm for each of green and blue) directly into the pins with a dab of solder just for paranoia :D Heatshrink over the lot and shove into the shell - accompanied by swearing because the extra bulk of the heatshrink meant the pins didn't go in easily. Also, for the bright-eyed amongst you, you'll notice that the black pin (common anode) is somewhat shorter than all the rest because I forgot to trim all the rest down by the length of the resistor. I spotted this soon after I took the photo. There was much swearing.


Conveniently I drilled a couple of 5mm holes in the CPU monoblock while I was rebuilding :D Now if I'd remembered to do the same to the GPU block I'd be feeling smug about now! CPU block had no existing holes and GPU has two 3mm holes on the edge nearest the PCI-E slot but all controllable RGB LEDs are 5mm.


Looks good to me :D Had it on colour cycling for a while to play and now have it linked to CPU temp.

Next up is to lop of the ATX plug (they glued the pins into the shell!), crimp new pins on, sleeve each of the wires, develop some new and extra-colourful language and then try to comb it all into submission! :D
 
Soldato
OP
Joined
4 Jun 2007
Posts
2,630
Location
Watford, UK
It sure has. That's a drain and rebuild for some time when I can be ar...bothered.

Depends where you're looking. It's all 550 paracord so nominally it's about 4mm - roughly the same as Teleios. Will not stretch anywhere near as much but is always opaque.
The PCI-E cables are single 18AWG wires in a sleeve. They may not be pulled very tight as they're not anchored at the other end of the cable, just heatshrinked part way down - so they float a bit. The EPS cable is an extension - I needed the extra length (ooh-er Matron!) to route that neatly - so that's properly stretched and anchored both ends.
The USB is something like 24 AWG that I accidentally ordered and already had 2.5mm Dupont connectors on one end but you can get four of them in a sleeve without swearing :D It may be a little fattened to fit though. The black one has four full size cables - I think they're 22 AWG - and was an absolute pain to thread...It's just too big but I was committed. Also it's pulled back as far as I could get it so that it will cover to the pins once they're in.

Also worth noting - if I've not put you to sleep by now - is that the colours are not identical. The light blue is noticeably more capacious and also melts into a more smooshable putty rather than just shriveling up.
 
Last edited:
Soldato
OP
Joined
4 Jun 2007
Posts
2,630
Location
Watford, UK
Patience?! ROFL Have you not spotted the constant colourful language?! :D
I think you're mistaking patience for stubbornness and sheer bloody-mindedness ;)

550 into fan plugs I suspect would be a pain or an impossibility - just heatshrink was too much extra thickness. 550 into PCI-E and EPS wasn't actually that bad. I had problems initially because my crimpers made such a mess of the wings and it made it too big to get in. With the decent crimpers it's not too bad. Just a case of softening the end of the paracord and coaxing it to close in round the end of the pin and set. As long as you get that right, you're golden. It's quite easy to squash it so that it sticks out sideways (like wings) and sets and then it won't fit. You can either reheat and smooth or just snip the sticky-out bits off. The stealth combs were actually less forgiving than the molex shells.
 
Associate
Joined
22 Nov 2015
Posts
997
Location
Wales
Looking good mate, not sure I'd ever have the patience stubbornness and sheer bloody-mindedness to attempt some of that but always good to see people who have putting it to good use :D
 
Soldato
OP
Joined
4 Jun 2007
Posts
2,630
Location
Watford, UK
Some more work done. Drained the loop and took out the graphics card. Stuck it gently in a vice and heard it crack :rolleyes: no damage it seems, just trying to scare me. Couple of 4.8mm holes for the 5mm LEDs but in different places to the existing 3mm holes as it seemed to light it up better.

New cable made and sleeved. Resistors hidden mid-cable - one set nicely behind the GPU and one sort of under it...cos I didn't bother to check that there were caps on the motherboard that completely fouled where I'd planned for the cable to run. Still, can't be seen unless you're lying on the floor....and even then it's black heatshrink against a black motherboard.
The result:


As you can see, I also changed the bottom pipe. Originally I didn't want to bend a pipe as it was going to be temporary. I've since realised that 'temporary' doesn't mean only for a short time :D I also wanted to test out my acrylic thread and transparent o-ring. That worked nicely but the pre-made acrylic link tube had developed quite alarming micro-fractures on the outside and you could actually feel them with your fingernail. It did pass the pressure test but better safe than flooded PSU! :eek:

While I was at it, I thought I may as well swap the Aquaero's own single RGB LED in place of the system power led. This is now linked to coolant temp and, like the other blocks, fades from blue to red as it gets warmer...that's why everything is sort of lavender in the pics.
This left the pump block unlit which, although also 'temporary' was annoying....so I through sanity to the wind and wired up another pair of LEDs for that. Would have been fine if I'd not wired one up backwards :eek: :rolleyes:
Now corrected, this is linked to the pump temperature which is read by a stick-on temp sensor on one of the pump's heatsinks. The case fans are also linked to that but stepped so most of the time they're at an almost inaudible 800rpm.


Now, the question you're going to ask is why didn't I light the res while I had it all drained? I know you're going to ask that since I asked myself the very same question as soon as I finished filling it and the lights came on *facepalm*
One for the next drain I think!
 
Associate
Joined
22 Nov 2015
Posts
997
Location
Wales
Looking good, but going to look even better watching the blocks change with the temperature, both completely in sync & gradually changing the whole look of the case... One complete hammering of the GPU to bump the temps up and all that soldering of LEDs will feel like time well spent :D

Now I've got to ask... Forget to light the reservoir?! :p
 
Back
Top Bottom