Im on the case again today... more progress...
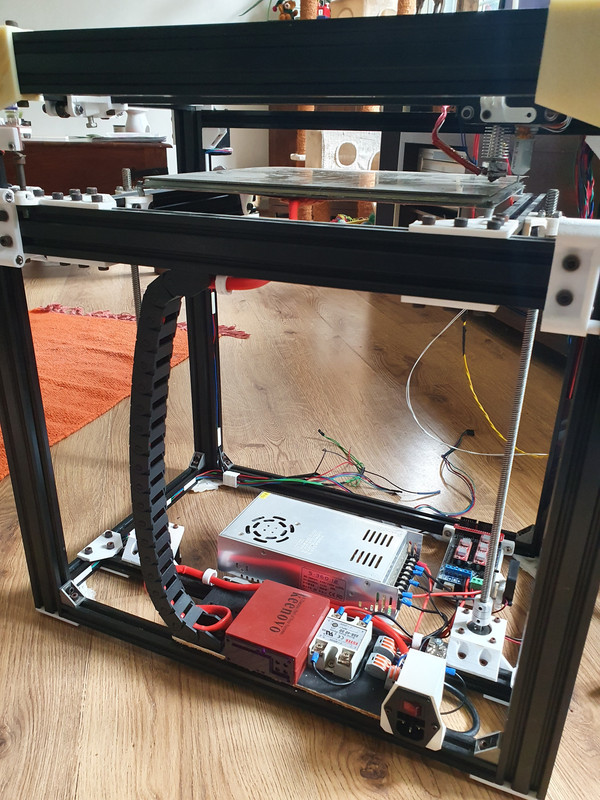
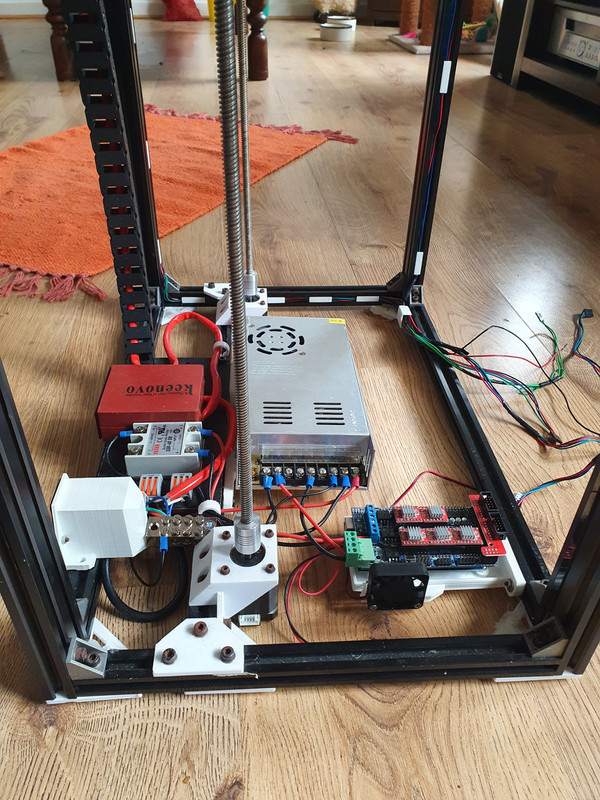
So far today we have added the ground block and ground wires from the mains, psu etc all wired up.
I added the cable management for bed wires, Ive also printed more cable management parts to hide all the wires in the frame.
In terms of fans i'm just building a little 12v fan breakout board, and when pulling all the wiring back noticed that all the fans including the cooling fan were powered directly from 12v so no pwm controll on cooling. I think we are going to change that and have 2 cooling fans on pwm and the rest wired into 12v. @deuse also provided me with a couple of fans wired up somehow via usb but they are 5v so im either going to have to poke around the board for 5v or create a little 5v breakout section for more fans. Im not sure on that part yet.
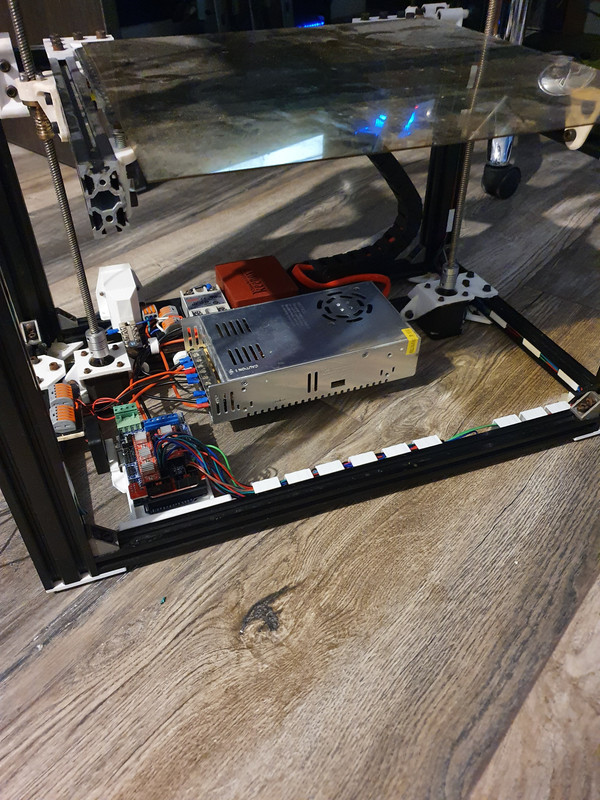
")
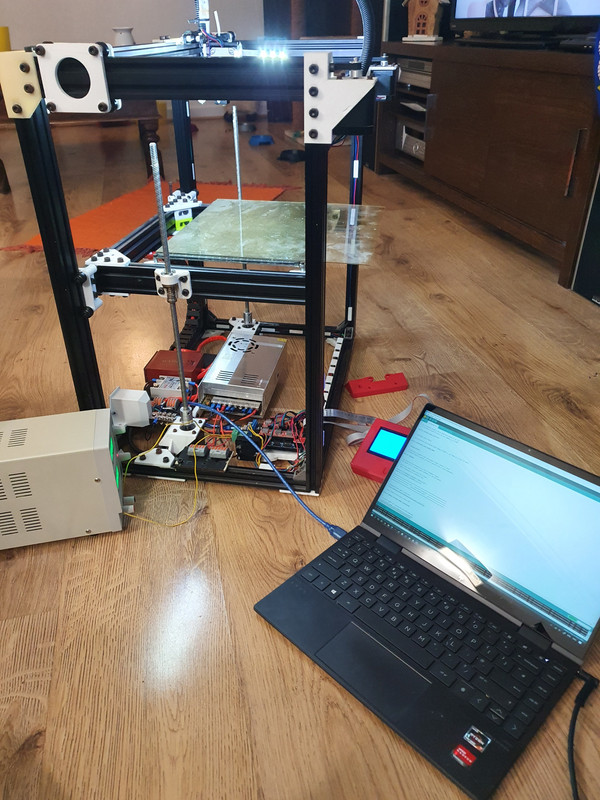
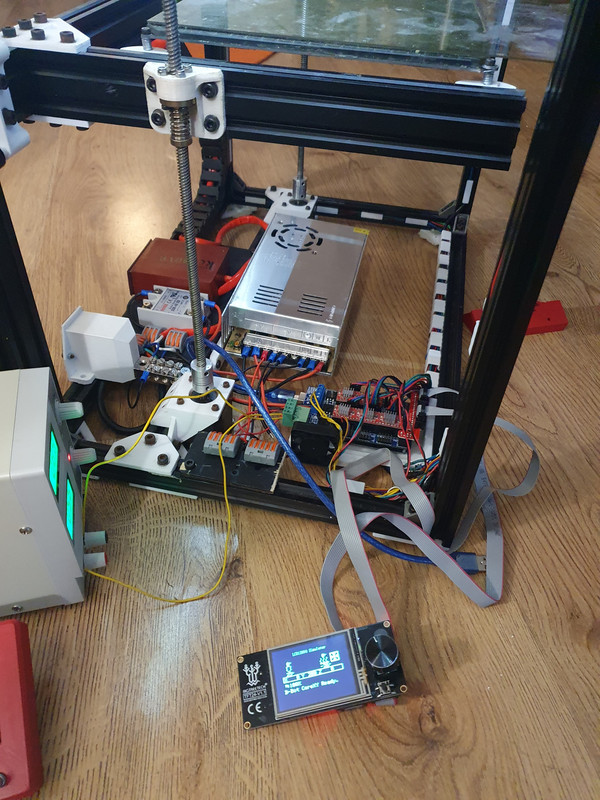


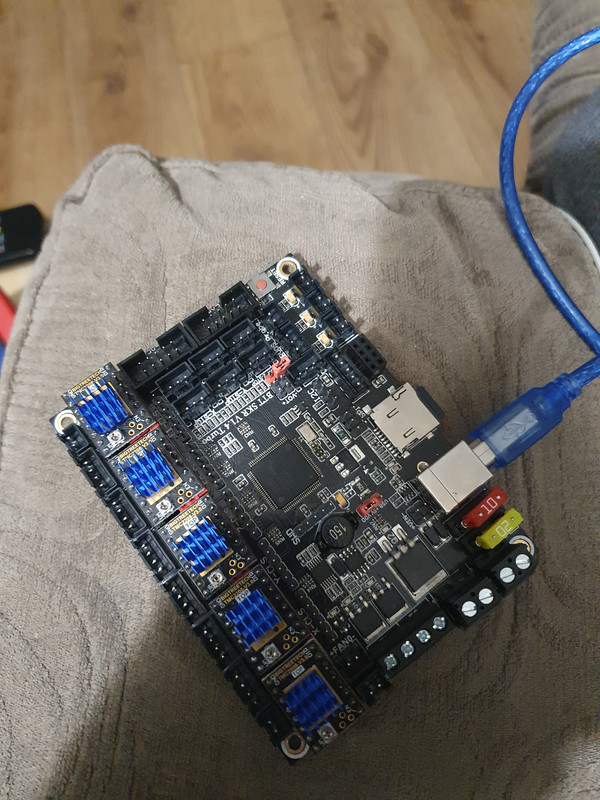
 This is why ive blown 3 boards