Yours is looking like a hefty project now, at the start I could not envisage this at all. I'm very interested in your filtration ideas, keep posting progress
")
It will be interesting to see - on 58 watts of air power (ie 80lph) how good this will be. Others have had 15,000 lph water flow through a 110mm airlift so with two airlifts it shouldn't have a problem with 80lph. This is also why I have two 110mm returns to limit the water resistance for the airlifts. Typically a 20,000lph pump is about 150-200W. So it shows the design for operational efficiency!
Just a quick update - we're into the last week or so (although we're then waiting on the fibreglasser + window). However still todo:
* final piping, lay into garage (builder + me)
* backfill (builder + me)
* Outer rendering (builder) and two coats of exterior paint to waterproof (me)
* fibreglassing (fibreglasser)
* final water pipe check (builder + me)
* window install (me+4 other)
* coping stones (builder)
* wash down (me)
* electrics to garage (electrician)
* MPDE water laid to garage and insulated (me)
* construct airlifts and connect up. (me)
* fill (which will take a while). (me)
* move fish (me)
* move filter kit (me)
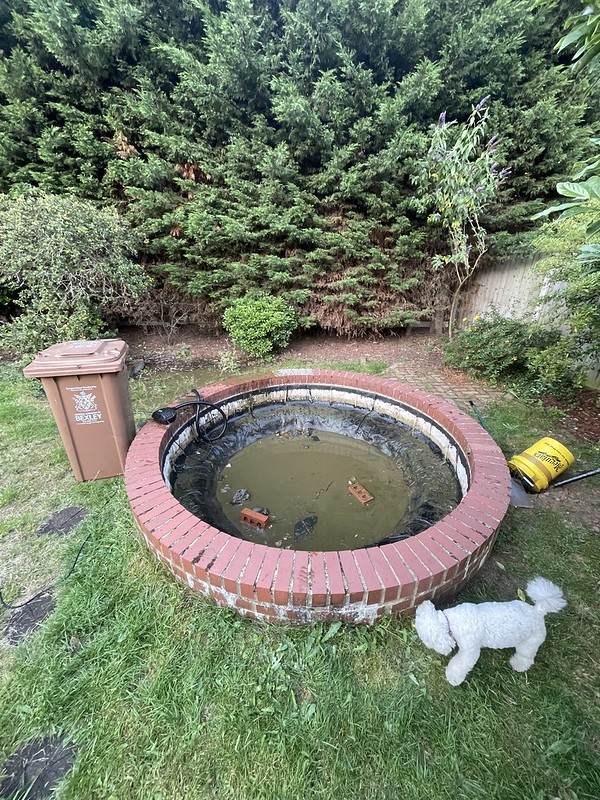
* drain/rip out/backfill old pond (me)
* auto-top up
* water blade (this can be delayed until next year) - this will use the laid 2" pipe return and existing pump (that has a 2" connection
")
(me)
* anoxic filter media (that will be done next year or progressively during the colder months) (me)
* sort out garden (me)
* put in raised garden beds blocks (me)
Water overflow (ie when it rains etc) will be handled by the water level being set by the waste chute of the drum filter. The pond is designed NOT to have a constant water trickle (that would be expensive), so I will have to install a top up float that adds water should the water get close to the bottom water level mark. That way the water level should vary a little but not too much and it will cope with evaporation and rain without a problem.


 Untitled
 Untitled
 Untitled
 Untitled
 Untitled
 Untitled
 Untitled
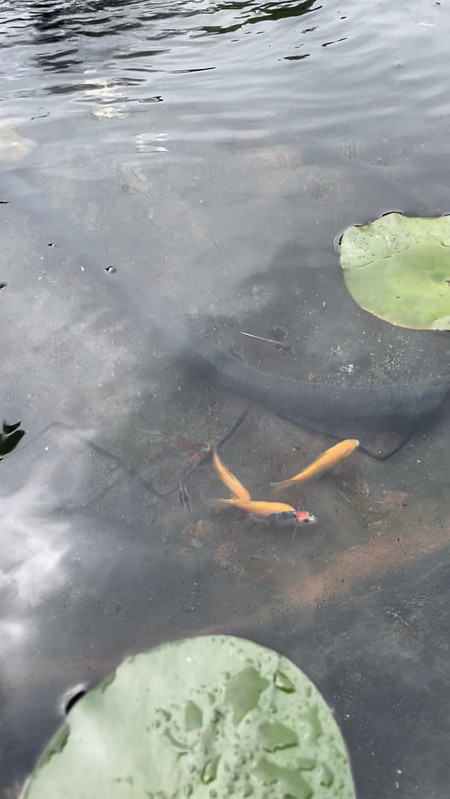 Untitled
 Untitled
 Untitled
 Untitled