Build Log - TJ07B - Initium Novum

Thanks a lot for the positive responses guys, all ways nice.

That's looking like a really clean build - may I ask why you've gone for an inverted ATX setup? It seems to me like that's a desirable setup, since you'll actually be able to see the GPU, but are there other reasons beyond aesthetics?

Supposedly it should give better heat dissipation than a standard ATX layout, but my main reason was that I wanted to be able to see my handy work rather than have the window facing a wall :)
 
O and I did find that the Bitspower fill ports aren't long enough to go through the lightbox, then I was like "I'm sure Hukkel used these!" checked his thread to find he tried to and had the same issue!
So as per Hukkel's information I have some of the longer Alphacool ones on the way.

HA :D I am glad I have helped someone out with some usefull info in my buildlog ;)

Your build is looking nice. You can't go wrong with orange. ;)

I drilled the holes with a 20mm wood saw piece and I had no trouble at all. Just used a standing drill for it.

This piece:

5413326367859.jpg
 
Is that paracord sleeving there Mole?

Yep, I've used paracord for the PSU wires, and the visible fan wiring, then MDPC-X sata sleeve for the raid card cable and sata cable for the DVD drive, unfortunatly I have to make all of those black as the orange from MDPC-X was miles brighter than the orange paracord I had.
 
OK quick update for now.

I have mostly been waiting for the last custom parts from Coldzero still, taking a fair bit of time due to his massive waiting list, But I got bored and ordered just the mid-plate so I could try to finish the loop and get to testing of that.

So I drilled the mid-plate ready to receive the two fittings for the tubing to run through, same process as the light-box just a lot quicker and easier seems it was a single sheet of black acrylic.
I then sat and fitted all the fitted and tightened them all down with the Primoflex tube rather than the XSPC tubing I was using as I think it looks a lot clearer and nicer.

IMG_3298.jpg


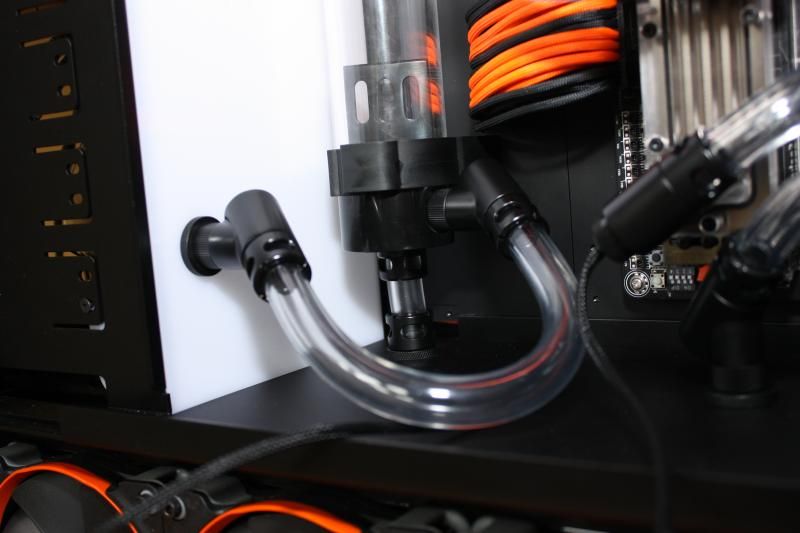
This was all going well until I got to this fitting below the reservoir, as I tightened it got crazy tight and wouldn't go any farther, I tried to undo it but no luck and the fitting just unscrewed from the bulkhead adaptor.
I then proceeded to try all sorts to undo it, the story ended fairly abruptly when I was using a large screwdriver across the top of the barb in the groves and unscrewing that way, all of a sudden it moved! turns out the barb split in half :(.

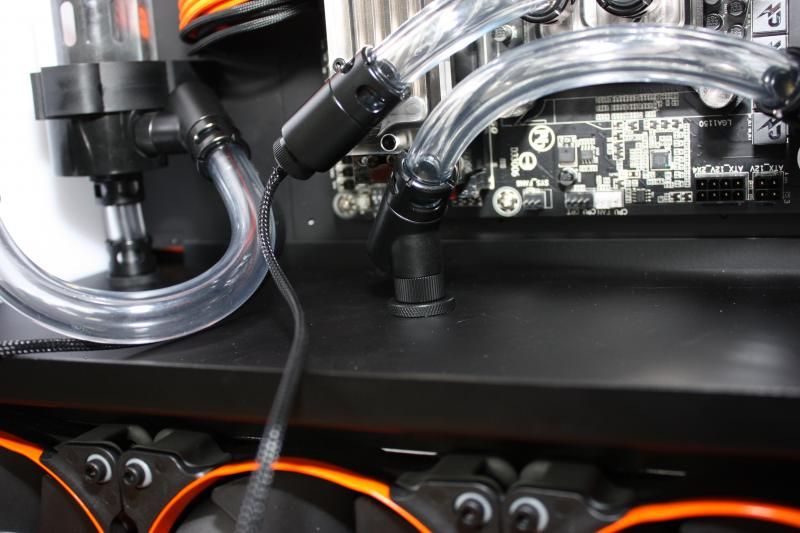
So now I've ordered another Monsoon matt Black fitting and I also picked up a few 90 degree EK fittings to make the radiator connections a lot neater down below.

But for now I took a fitting from down below and sorted the reservoir fitting out so now the main compartment all looks good.

IMG_3300.jpg


IMG_3302.jpg


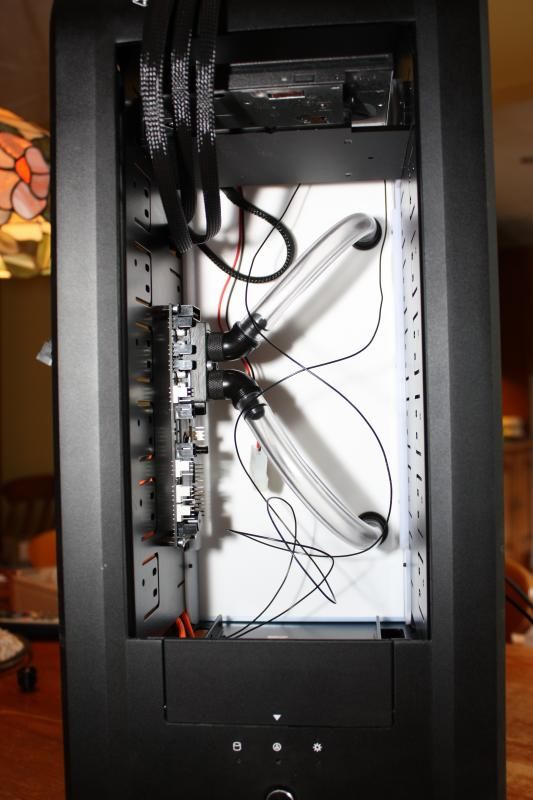
O and I sorted out the front compartment tubing as well!

IMG_3303.jpg


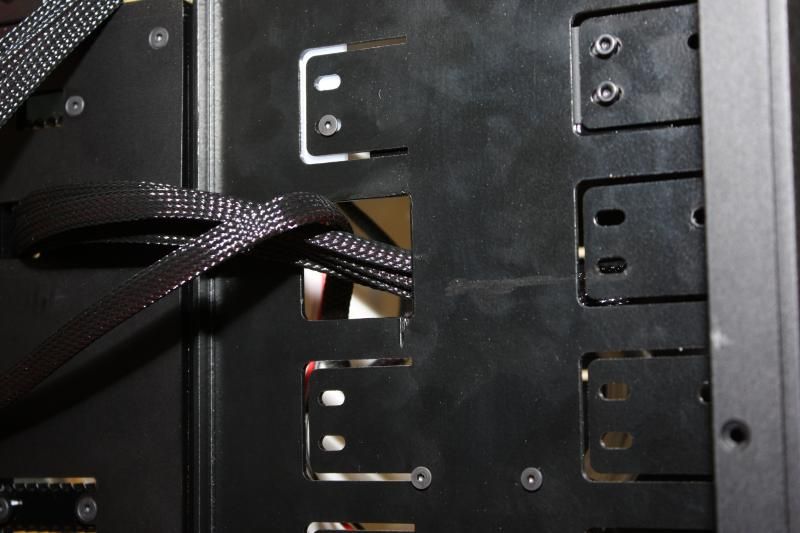
And here is a little picture of the hole I cut in the 5.25 panel before to route the SATA cables for the DVD drive and the SSDs.

IMG_3305.jpg


Unfortunately that is it for now, New fittings and such are due tomorrow so Hopefully I can follow this up with another update soon and finally get the liquid flowing!
 
OK here is the update as promised!

To start off I received the replacement fittings and the EK 90 degree fittings I ordered bang on time - woo for ocuk!

Here's a picture of the EK fittings with a monsoon fitting attached, actually looks really smart in my opinion, may be something I use more of next time I do a build.

IMG_3308.jpg


Then all the fittings installed into the rad compartment of the case.

IMG_3310.jpg


And this meant I finally had a complete loop! Time to leak test!

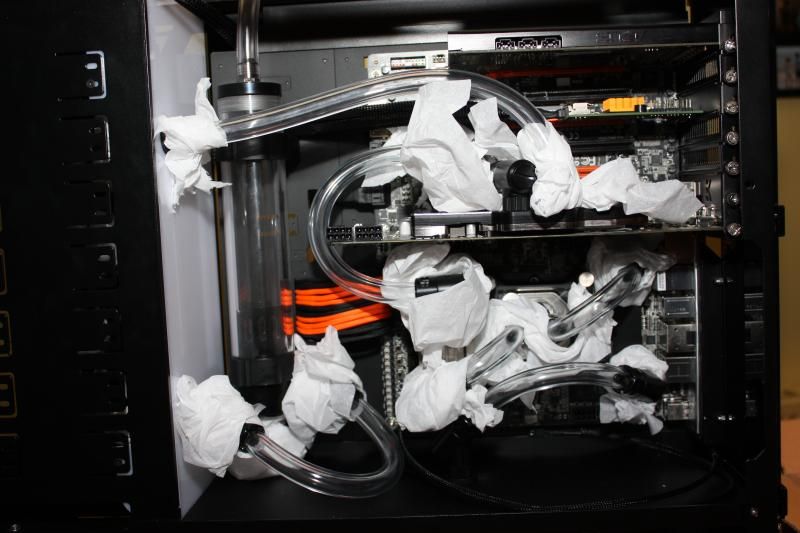
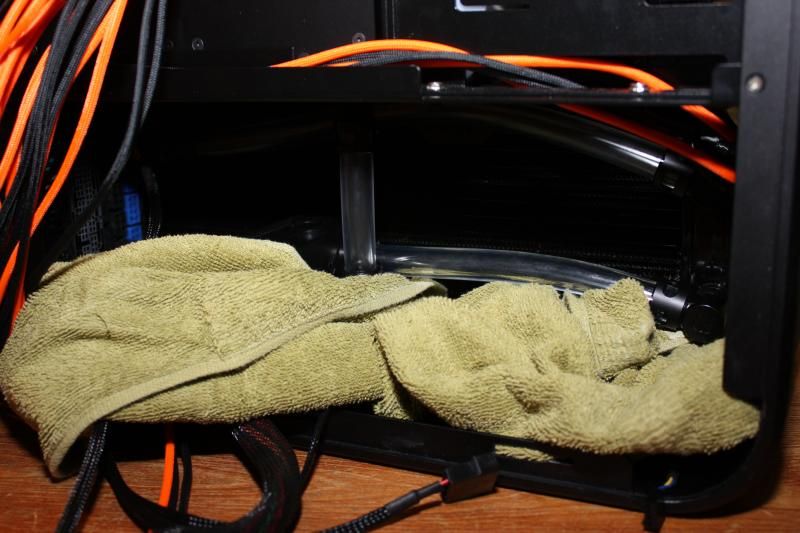
All wrapped up and ready to hopefully stay dry.

IMG_3312.jpg

IMG_3313.jpg


Unfortunately it turned out I had a leak from the temperature sensor that was installed into the back of the reservoir at the back, a complete ass to get to, but as it turned out it was leaking not from the thread but from where the temperature probe went through and then running down the cable, not very impressed so need to contact Monsoon about that one.

So swapped out that temperature sensor and rebuild that section of the loop, filled it back up with pure water and continued to leak test, this time we were all good so onto the fun stuff!

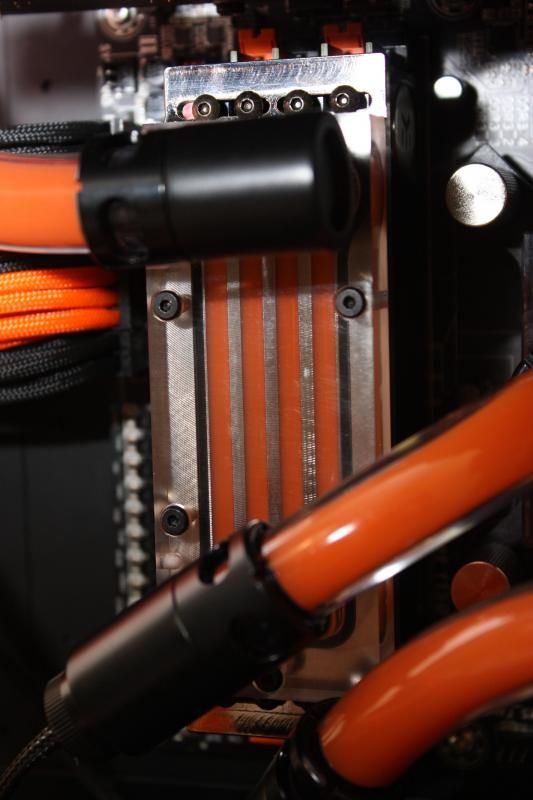
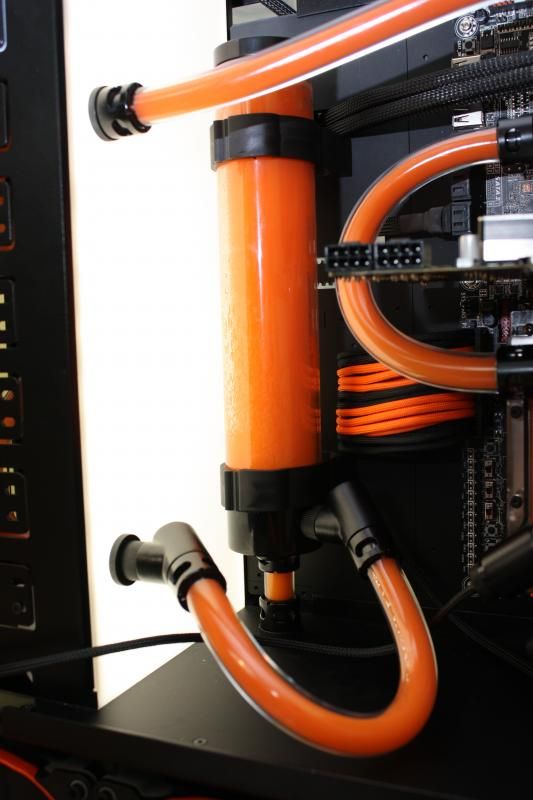
Drained the water and filled with Mayhems Pastel.

IMG_3315.jpg

IMG_3320.jpg

IMG_3321.jpg


And a close up of the light-box in action.

IMG_3322.jpg


The front panel illuminated. unfortunately the picture really doesn't show how bright it glows.

IMG_3323.jpg


And an overall picture of the article so far.

IMG_3327.jpg


Tonight I've been back to sleeving more cables and carefully threading more cables in, planning to have it up and running to see some temperatures before the week is out.
 
Last edited:
I've been really terrible at thanking everyone for their positive responses and comments, It is really appreciated! I just get far to engrossed in writing the updates I completely forget to type the segments I had planned after reading all your input.

Fantastic! Making me want to do a wc build more and more. Subbed.

Thanks very much Mr Critchley!
 
Just a quick update, I finished off some more cabling and got the PC up and running, had a quick mess around and had it at 4.6GHz although it seems to want a lot of volts to be happy there.

46.png


I'll try to take a few more photos tomorrow and let you know how my playing with the clock goes.
 
Just a quick update, Not much has happened unfortunately, still just stuck in the queue with Coldzero trying to clear the backlog.

Temps are still fine and I'm mostly working with voltages to try and push the overclock a bit further with out that much luck so far but I haven't had a huge amount of time to work on it anyway.

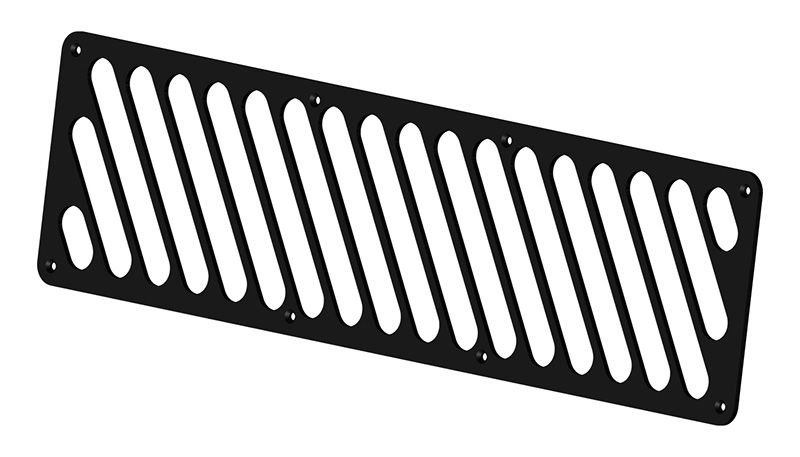
I do have this so show you, It's a render of the fan grills for the side, plan is to use orange LED strips to make them glow from the inside once installed, just waiting on the other parts to be completed before I order because I cant realy afford the postage multiple times at the moment :(

Side-grills-Andrew.jpg
 
The grill looks great and suits your theme very well.

Thanks, Ricardo at Coldzero really does turn out some great stuff even if you just go to him with a simple sketch of what you want!

Wow, that looks really nice! Great job!

Great stuff as usual :)

Thanks very much guys.

I have decided that now is the time for the 580 to get replaced, the allure of the 780ti is just too great! So now I'm just waiting for the news from EK that their block for the 'ti' is out, that or maybe if Bitspower bring out a block soonish I may go for one of their black tinted blocks. We'll see what turns up first :).
 
Back
Top Bottom