You are using an out of date browser. It may not display this or other websites correctly.
You should upgrade or use an alternative browser.
You should upgrade or use an alternative browser.
Build Log - TJ07B - Initium Novum
- Thread starter Mole.
- Start date
More options
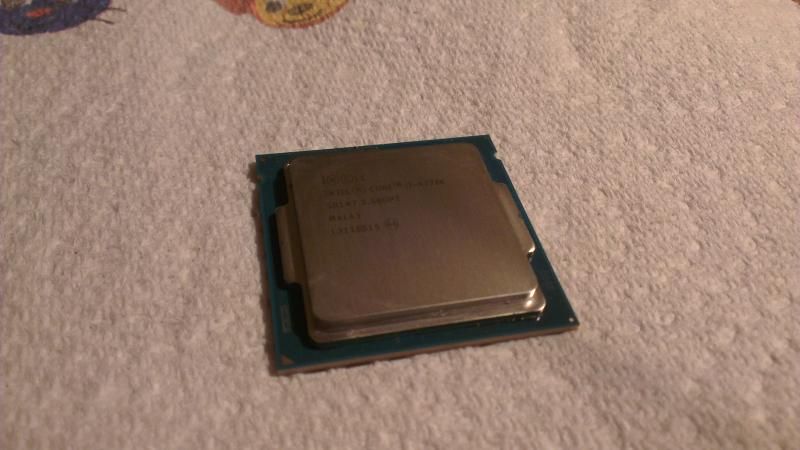
Thread starter's postsOk I managed to get a load done tonight starting with the processor.
Before:
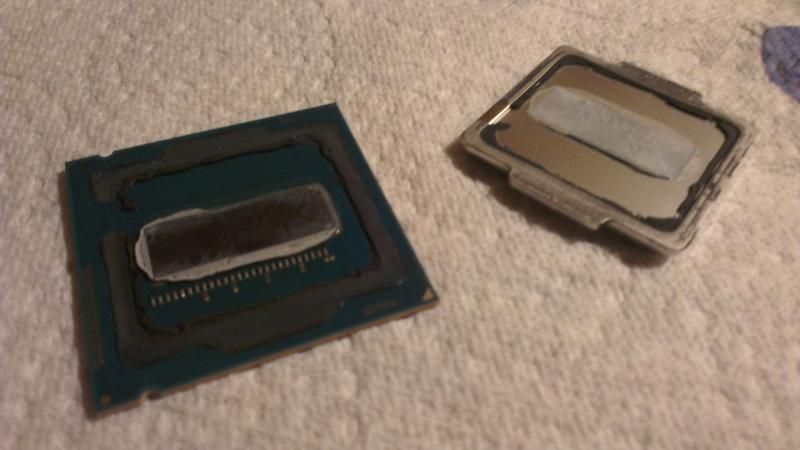
After:
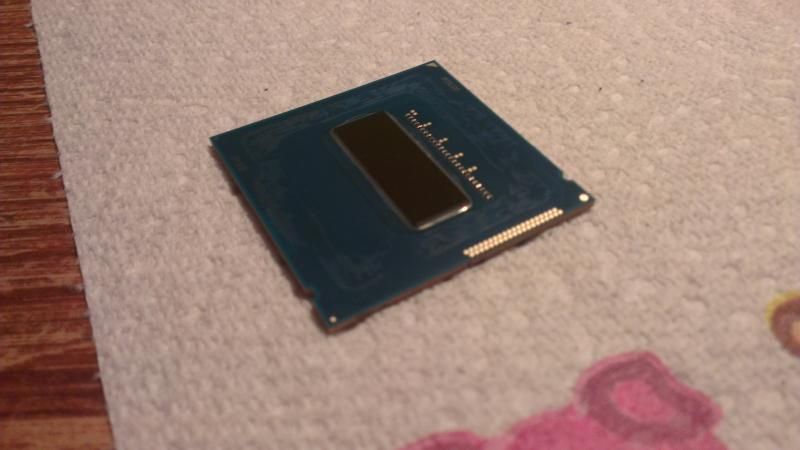
And after a little clean up.
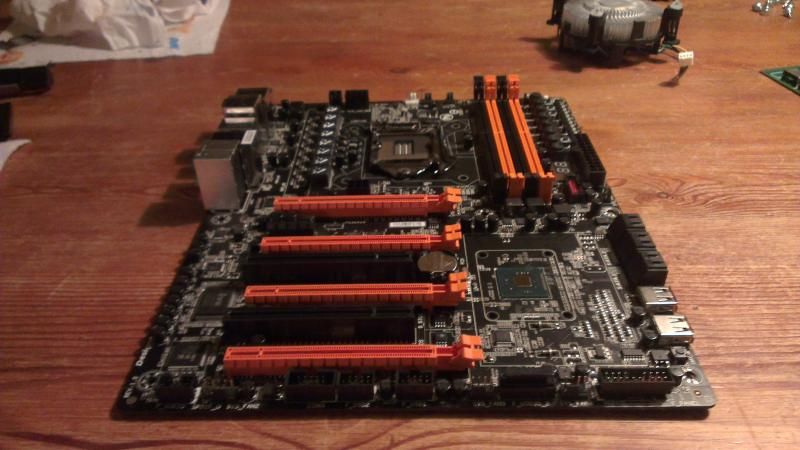
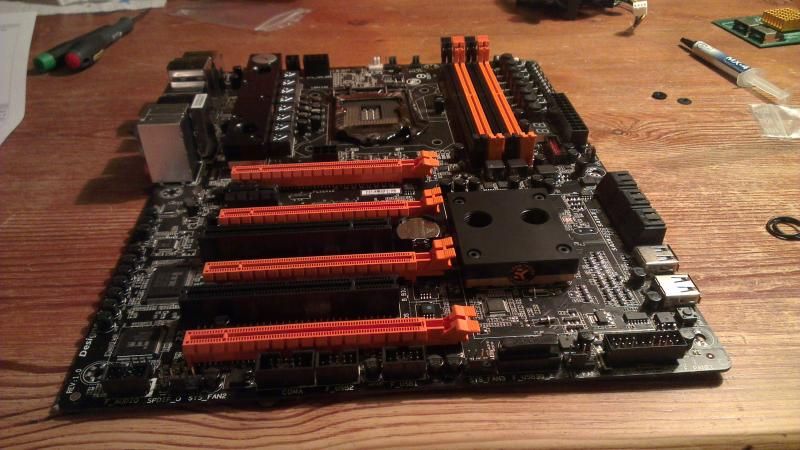
Then I moved on to the motherboard and stripped that naked too.
And shortly afterwards with blocks happily mounted.
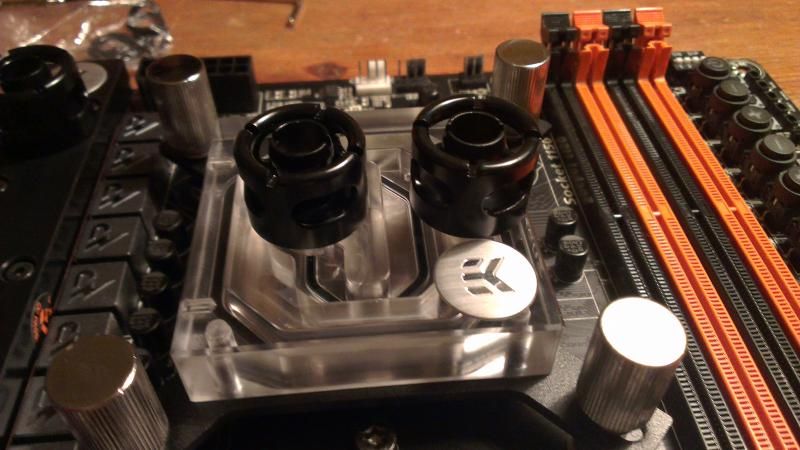
Then it was time to get the CPU on the board and covered up.
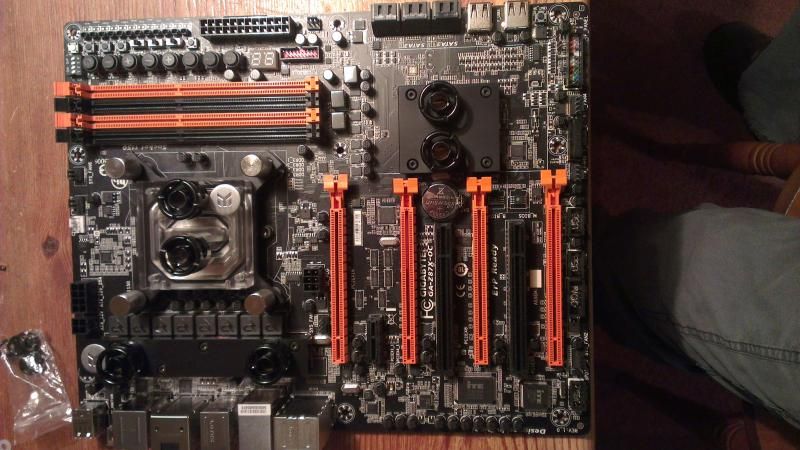
And the overall look so far.
That's all for tonight, should hopefully get you another update tomorrow!
Before:

After:

And after a little clean up.

Then I moved on to the motherboard and stripped that naked too.

And shortly afterwards with blocks happily mounted.

Then it was time to get the CPU on the board and covered up.

And the overall look so far.

That's all for tonight, should hopefully get you another update tomorrow!
Associate
- Joined
- 2 Jul 2012
- Posts
- 1,115
- Location
- Berkshire, UK
Did you put the IHS back on the CPU or did you use one of those EK 'Naked Ivy' mounting kits to put it straight onto the CPU?
Very nice job on the block. Looks much better. I have the older style with the clear EK logo. This looks even better.
Looking forward to seeing the build.
Thanks, didn't take that long in the end probably one and a half to two hours, well worth the effort in my opinion.
Your attention to detail so far is awesome!!
Thanks, I appreciate the positive comments!
Did you put the IHS back on the CPU or did you use one of those EK 'Naked Ivy' mounting kits to put it straight onto the CPU?
I used an EK Precision mount 'Naked Ivy' Kit to go straight onto the die, Coollabratory Liquid Ultra on the die with a little bit of MX4 on the chips next to it.
I failed in my quest to bring another update to the thread yesterday but that was mostly because I didn't get much done.
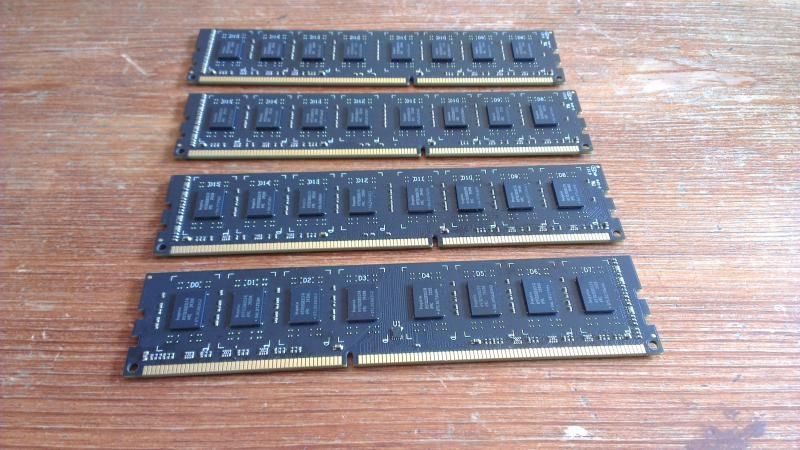
I did however have a go at the ram. Which went from this:
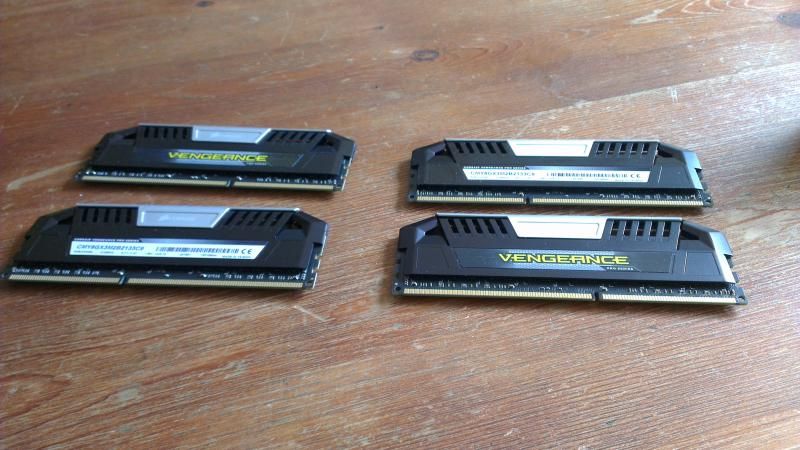
To this:
And today I finally got these, notice how there is only one pair, seems someone in the packing department failed at counting to two. Have contacted them but will proceed with only two sticks of RAM for now as I'm not sure this will be resolved that quickly. (I wish Overclockers had them in stock!)
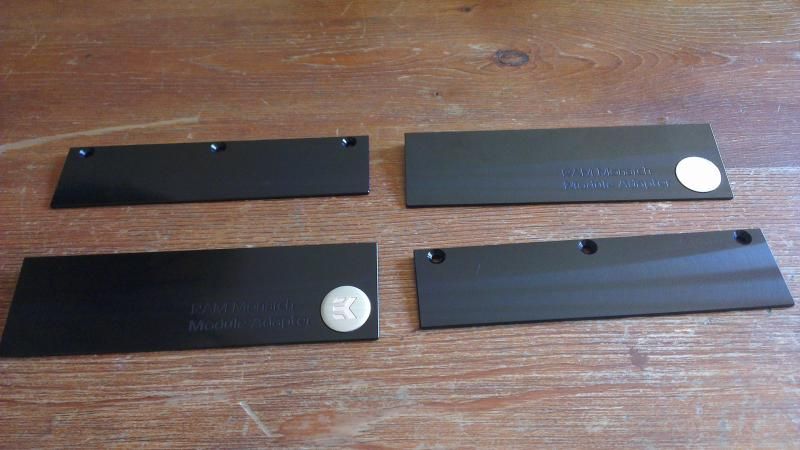
Then I fitted them to the RAM, damn they look nice, almost seems a shame to cover them up.
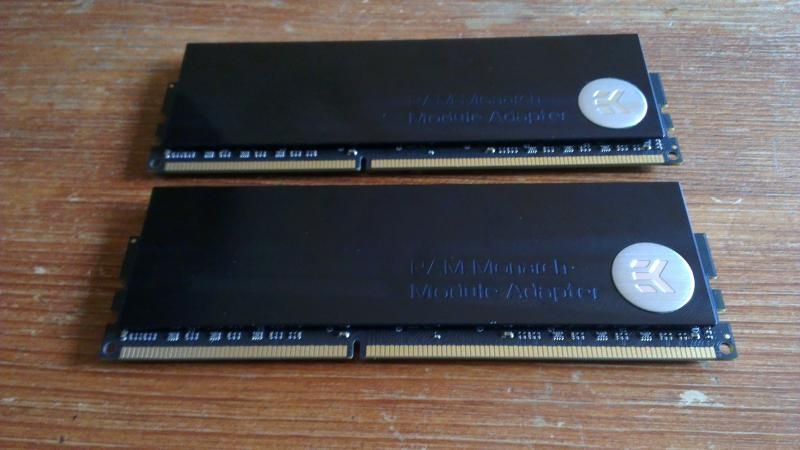
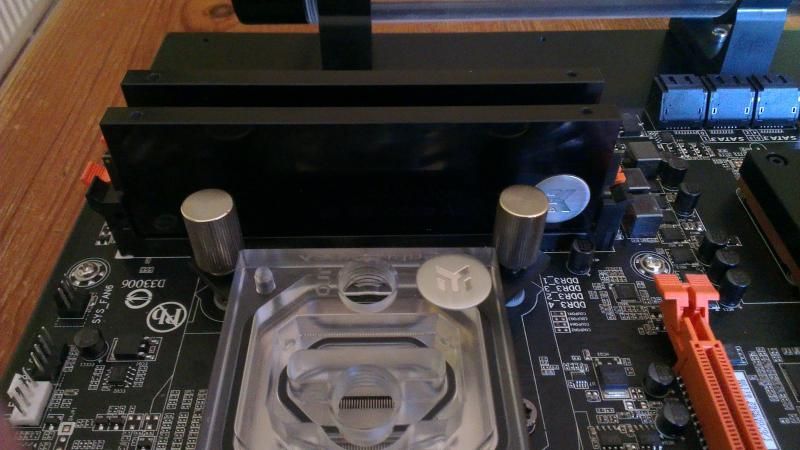
And with the nicely polished block on top!
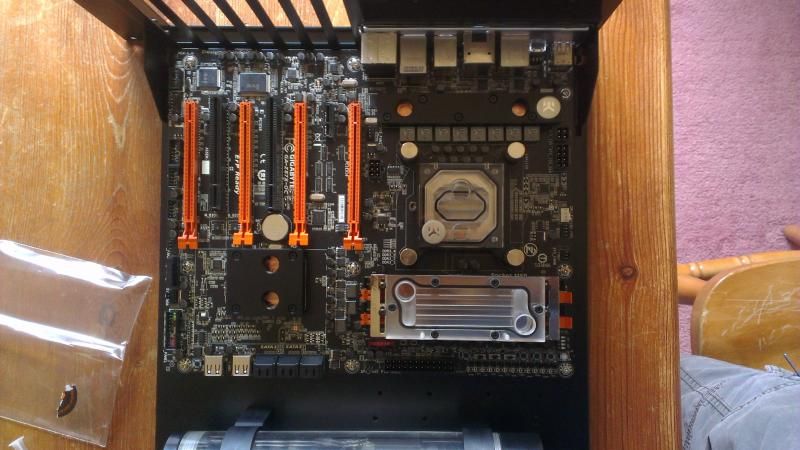
After that I took the plunge and set about preparing the old 580.
Before:
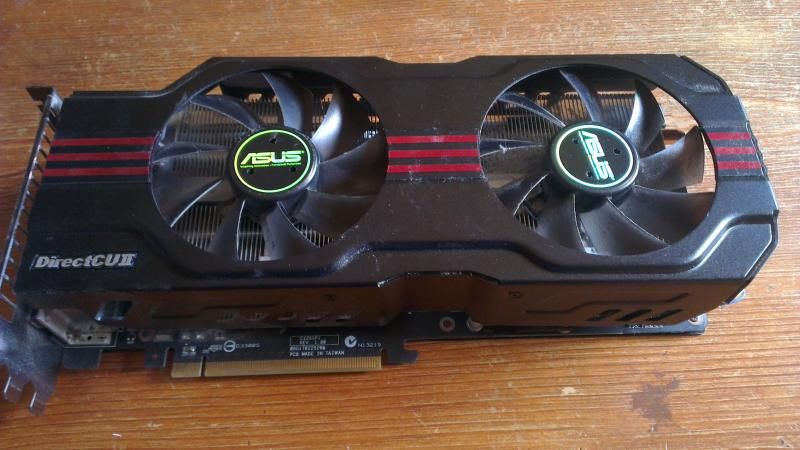
After: (Should have taken a moment to clean off the fingerprints )
)
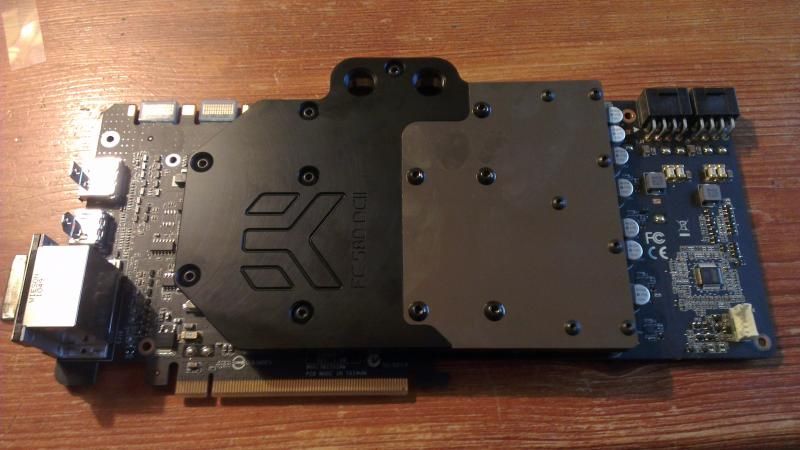
Spent about 20 minutes working the PCI backplate into the slot and removing little bits of powder coat until the Card seated nicely again.
Finally got that sorted and decided it was time to start fitting some fittings.
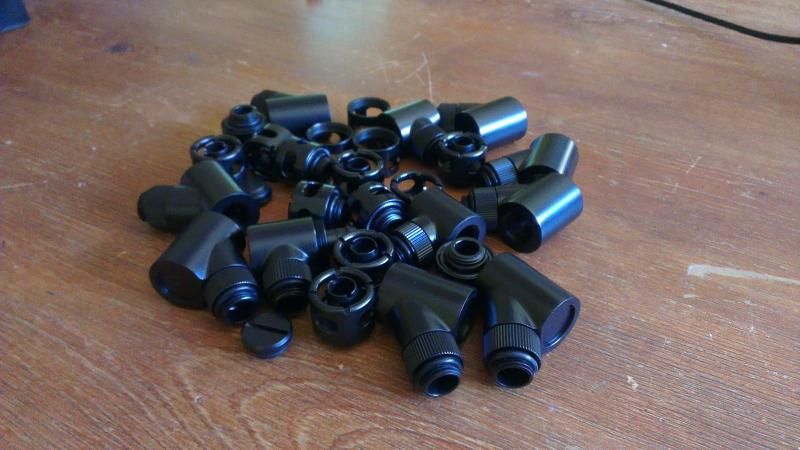
First few connections:
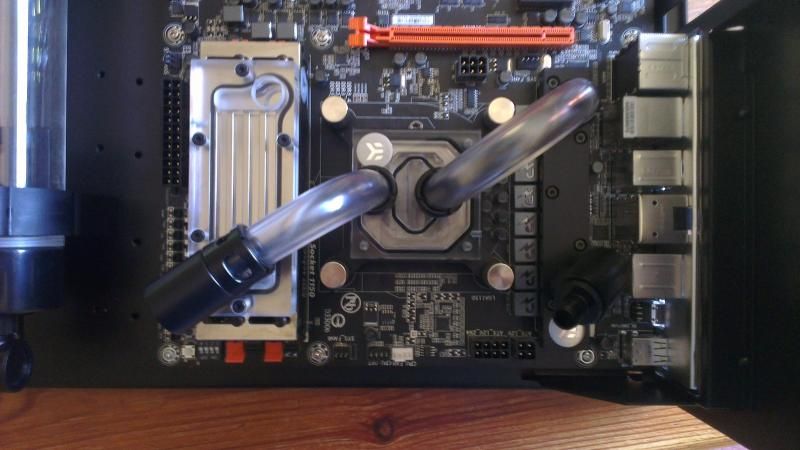
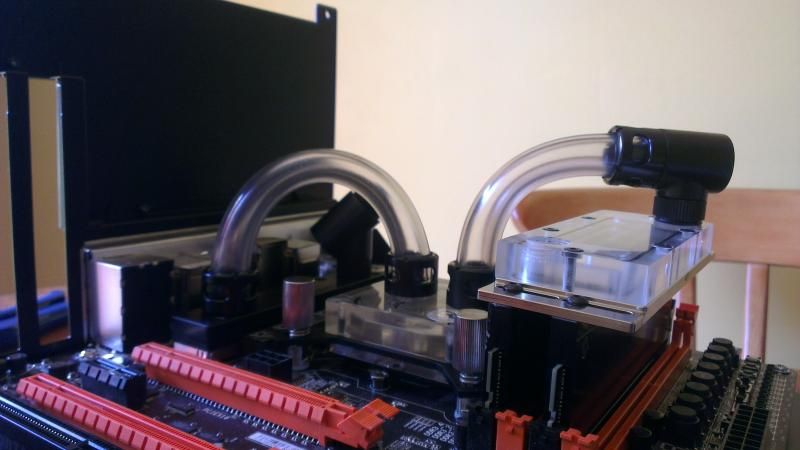
And the motherboard all tubed up.
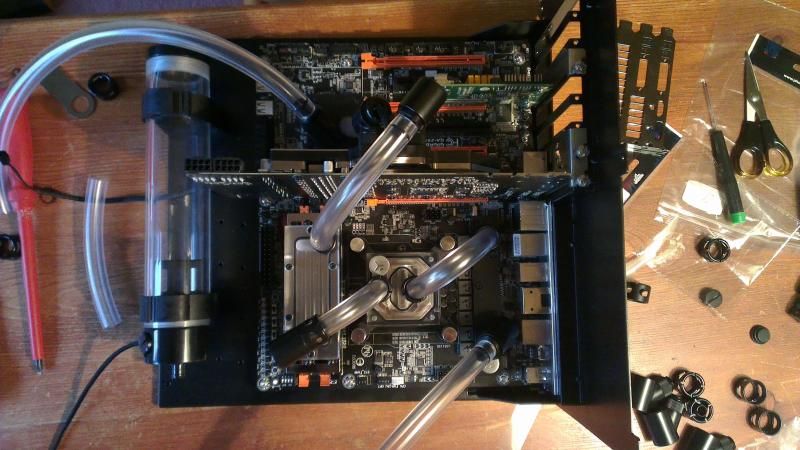
Took a break for dinner and will be continuing a bit more later and tomorrow!
I did however have a go at the ram. Which went from this:

To this:

And today I finally got these, notice how there is only one pair, seems someone in the packing department failed at counting to two. Have contacted them but will proceed with only two sticks of RAM for now as I'm not sure this will be resolved that quickly. (I wish Overclockers had them in stock!)

Then I fitted them to the RAM, damn they look nice, almost seems a shame to cover them up.


And with the nicely polished block on top!

After that I took the plunge and set about preparing the old 580.
Before:

After: (Should have taken a moment to clean off the fingerprints
 )
)
Spent about 20 minutes working the PCI backplate into the slot and removing little bits of powder coat until the Card seated nicely again.
Finally got that sorted and decided it was time to start fitting some fittings.

First few connections:


And the motherboard all tubed up.

Took a break for dinner and will be continuing a bit more later and tomorrow!
It's been a bit slow recently, However the missing pair of RAM sinks have now arrived and been fitted, other that that I'm mostly waiting for some parts from Patuga at Coldzero.
I do plan to slowly continue to sleeve cables and I have finally got a new battery for my DSLR so I promise to start taking some far better looking photos of the build to date!
I do plan to slowly continue to sleeve cables and I have finally got a new battery for my DSLR so I promise to start taking some far better looking photos of the build to date!
Massively overdue update!
Ok, I've been working on some part designs with Ricardo over at Coldzero, the man is a magician!
And yesterday I had this turn up on my doorstep.
And inside there were lots of goodies.
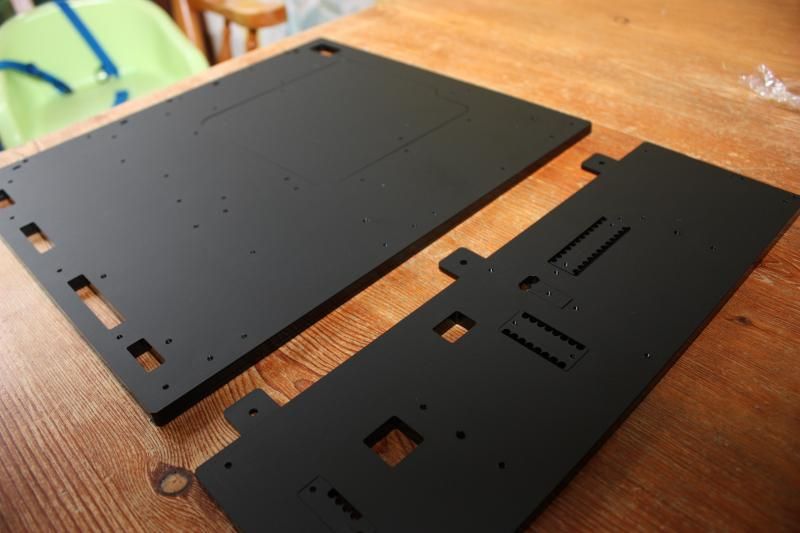
One motherboard tray with extra long extension.
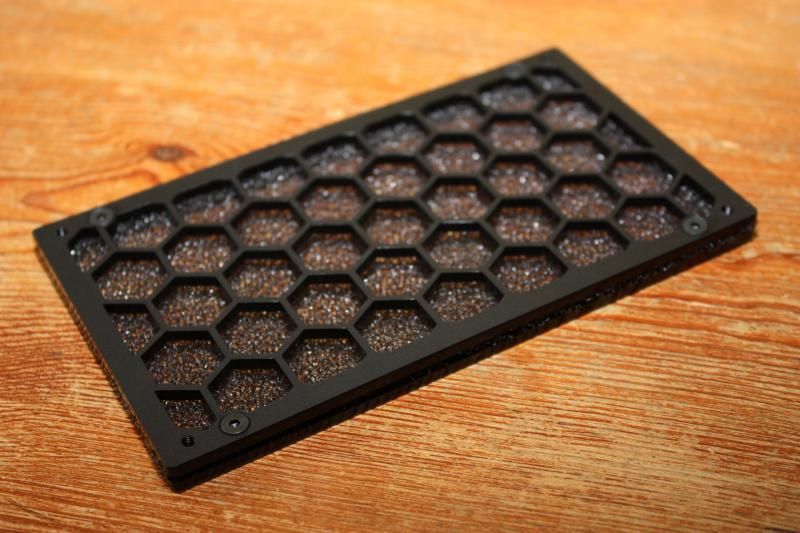
One PSU blanking plate.
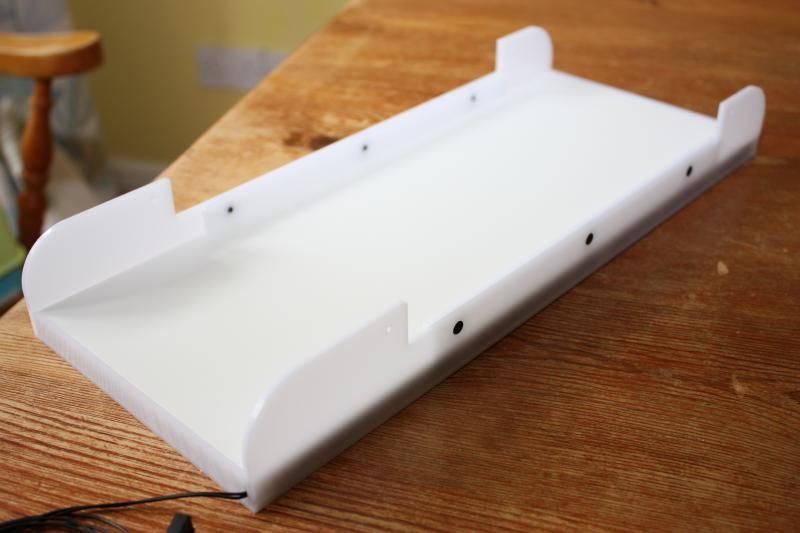
One Light-box to fit in the rear section of the 5.25 bays, should throw a nice wash over my components!
Unfortunately delivery companies never fail to succeed in failing!
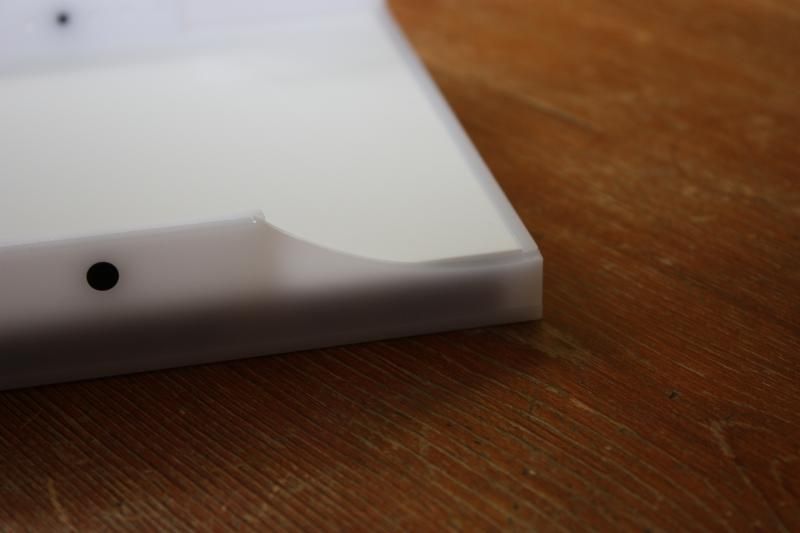
Not to worry though Ricardo is all ready busy creating a new part for me to fix it.
O and then the 'Pièce de résistance'
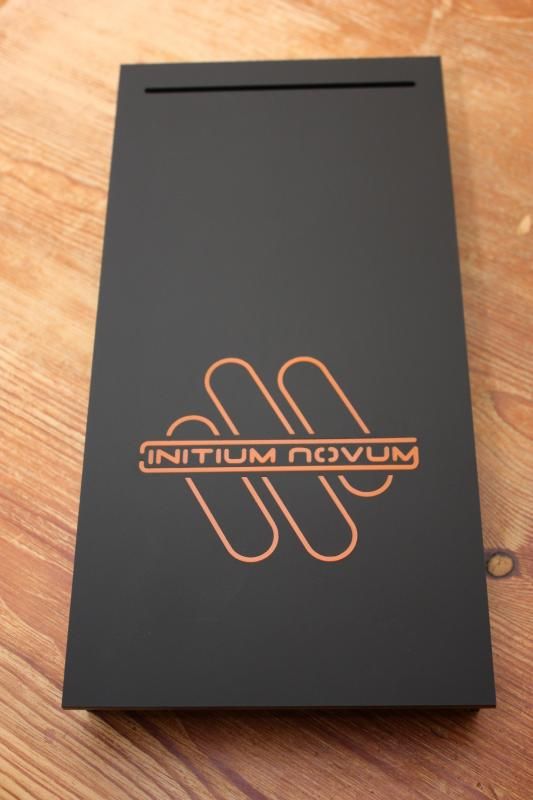
Close up of my logo design.

Now a few progress shots, should hopefully be many more over the next week as I progress a lot closer to completion!
Motherboard tray and backplate assembled and motherboard attached.
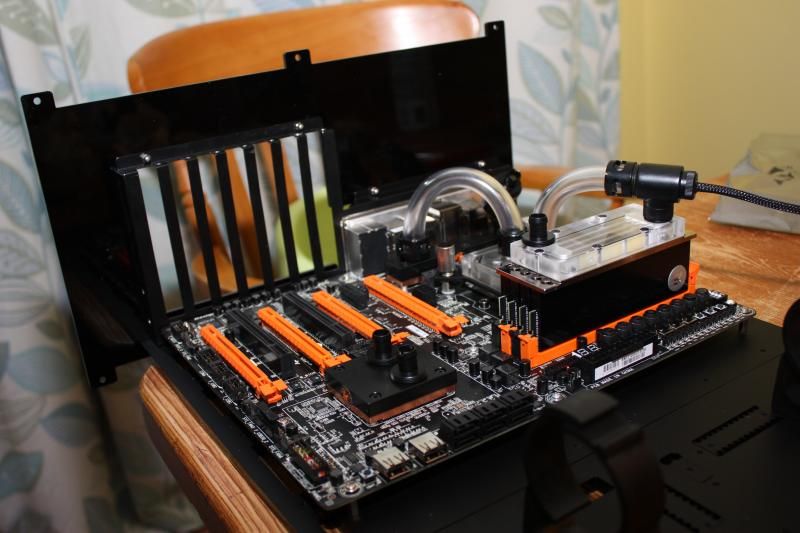
Front plate fitted, I think it looks great, interesting yet clean. Still need to get rid of that damn 'Silverstone' logo, anyone know what is best to use?

And then just an overview shot with the motherboard tray in the case. Finally feels like I'm getting somewhere.

Some may notice that the photos are better quality, finally got the DSLR sorted so hopefully you can see far more detail.
Ok, I've been working on some part designs with Ricardo over at Coldzero, the man is a magician!
And yesterday I had this turn up on my doorstep.

And inside there were lots of goodies.
One motherboard tray with extra long extension.

One PSU blanking plate.

One Light-box to fit in the rear section of the 5.25 bays, should throw a nice wash over my components!

Unfortunately delivery companies never fail to succeed in failing!

Not to worry though Ricardo is all ready busy creating a new part for me to fix it.
O and then the 'Pièce de résistance'

Close up of my logo design.

Now a few progress shots, should hopefully be many more over the next week as I progress a lot closer to completion!
Motherboard tray and backplate assembled and motherboard attached.

Front plate fitted, I think it looks great, interesting yet clean. Still need to get rid of that damn 'Silverstone' logo, anyone know what is best to use?

And then just an overview shot with the motherboard tray in the case. Finally feels like I'm getting somewhere.

Some may notice that the photos are better quality, finally got the DSLR sorted so hopefully you can see far more detail.
Associate
- Joined
- 18 Aug 2013
- Posts
- 193
love the look of orange and black builds 

Update time!
First I started with the simple task of replacing the screws mounting my fans to the rad.
From this:
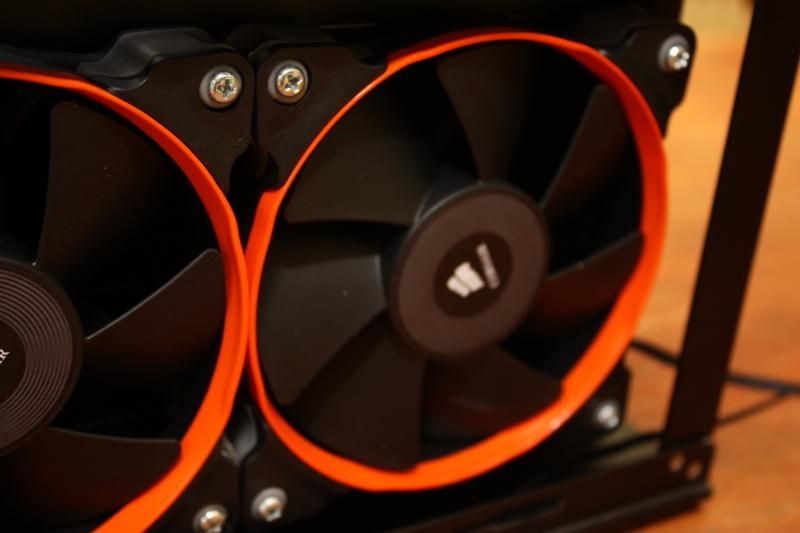
To this:
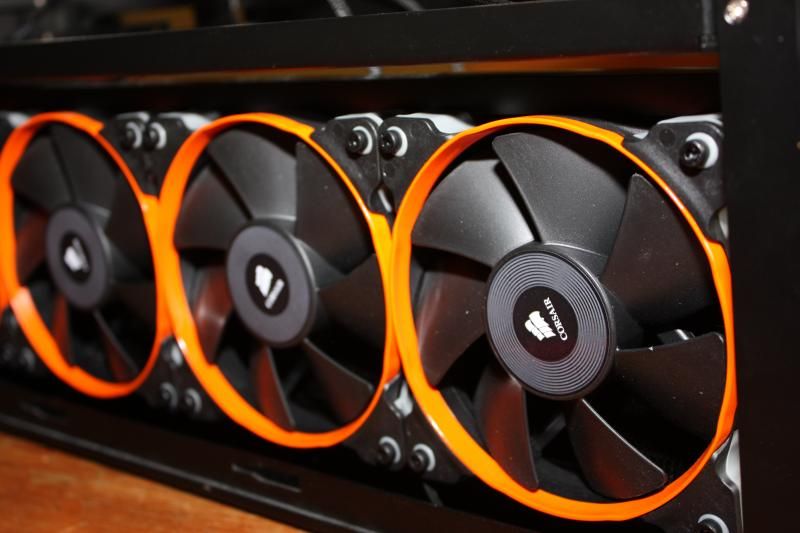
Much better.
Then I finally got round to sorted the waterblock on the Aquaero 5.
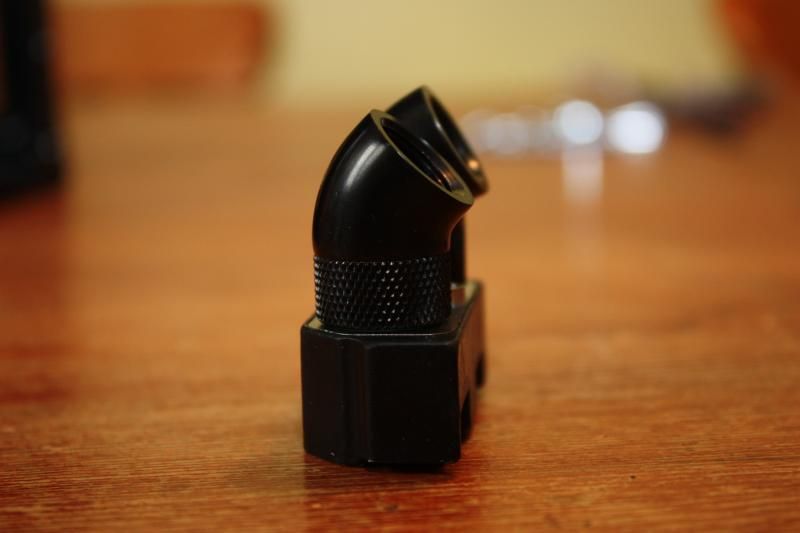
I found I had to use something to mount the Monsoon fittings up from the block as the outer part of the fitting would foul on the screws holding the block together, so step in some Bitspower rotaries as the Monsoon ones were too bulky for this block.
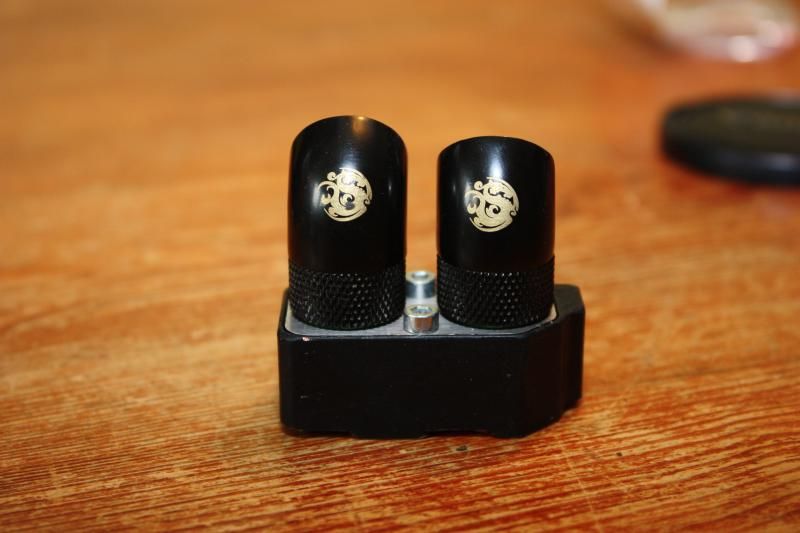
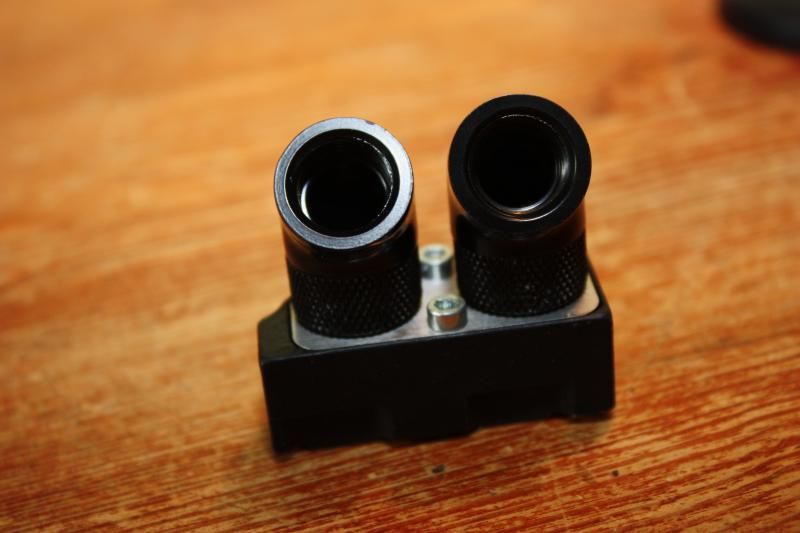
Although someone at Bitspower did manage to label these both up as 60 degree fittings, not that it matters to me.
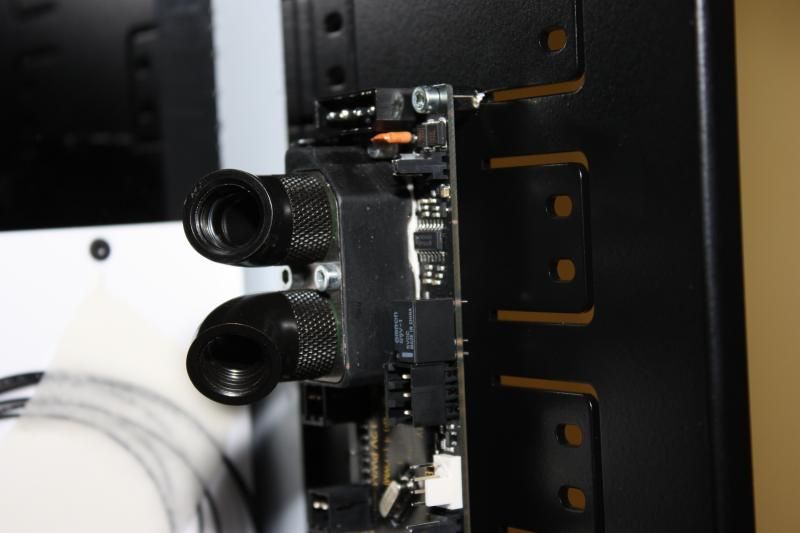
And mounted into the drive bays as planned.

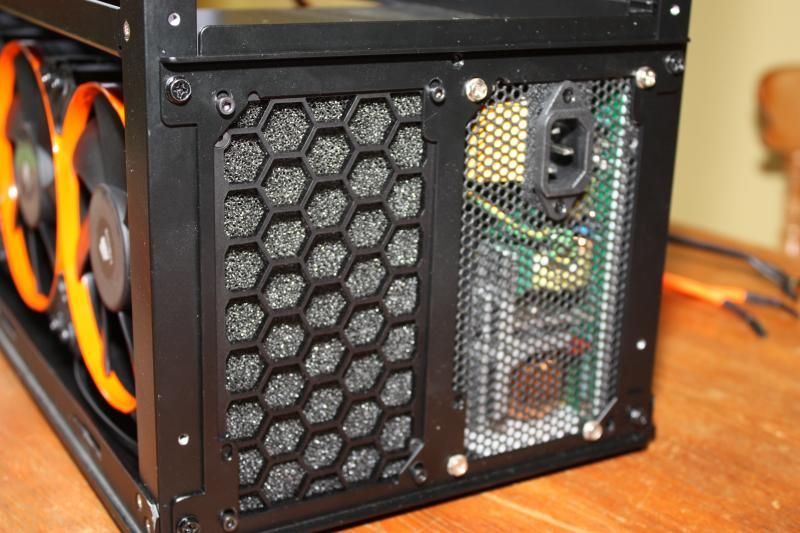
Then I fitted the PSU and the nice new back cover I got from Coldzero.
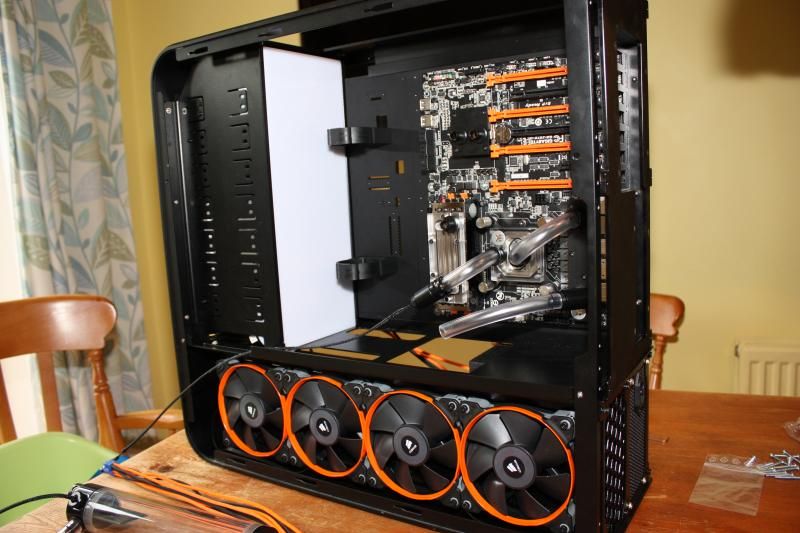
A quick test fit of the lightbox
That's about where I finished Saturday night, Sunday morning I got the spray paint out and went at the PCI backplates.
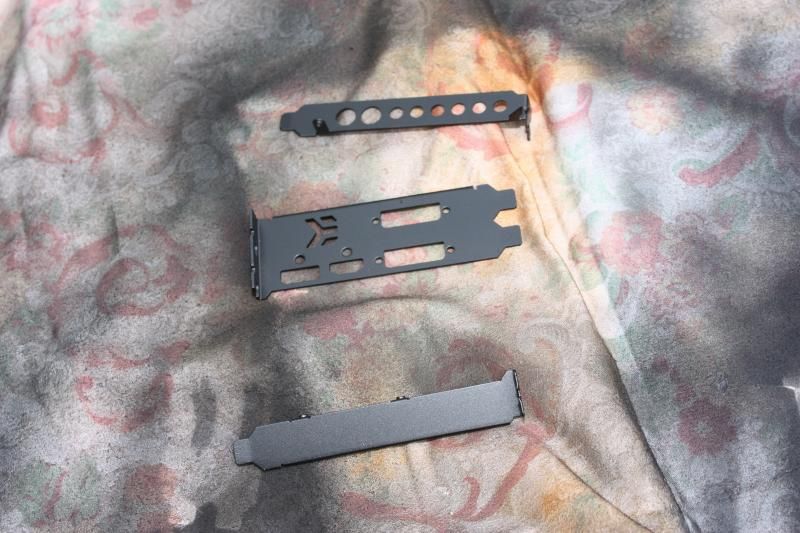
And all painted up and back on the cards.
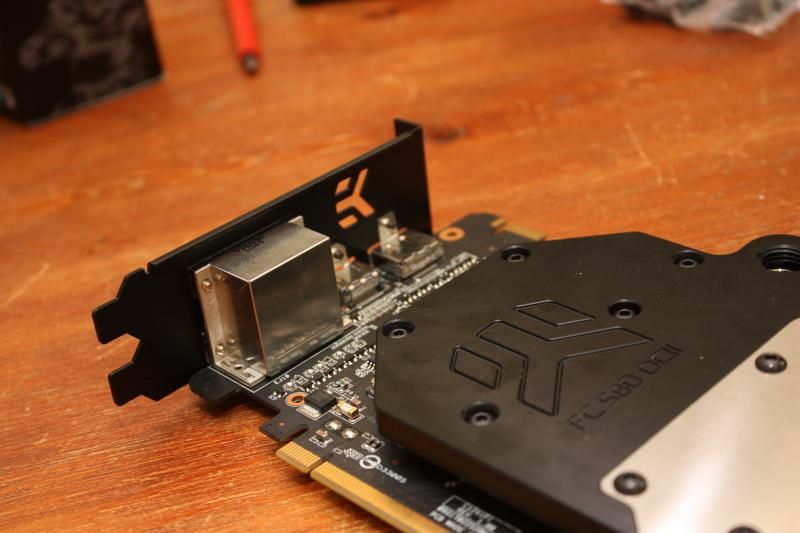
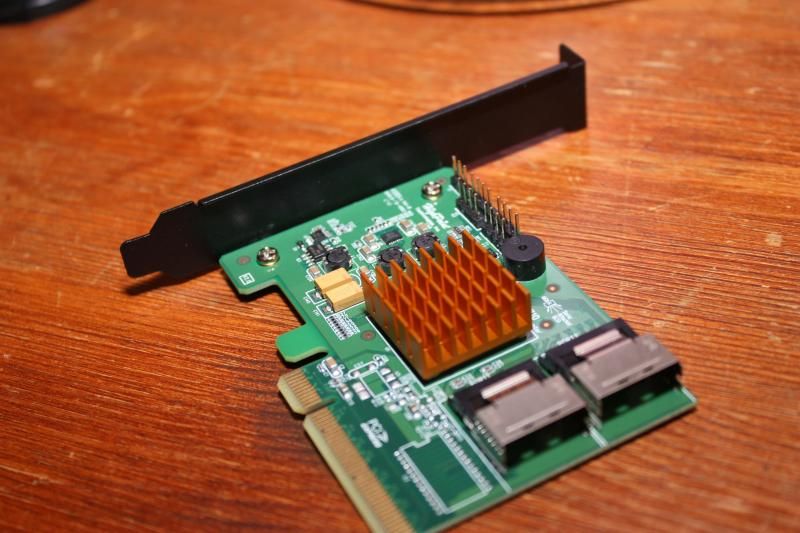
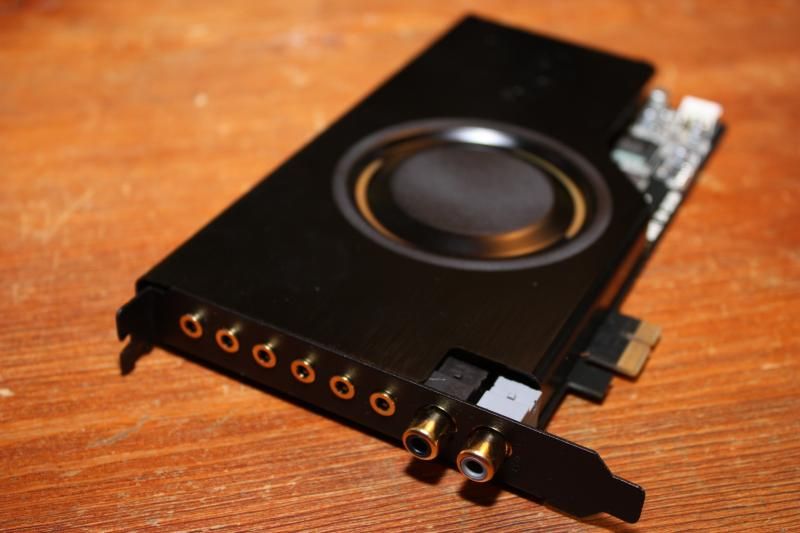
The Xonar looks so much smarter with the backplate in black rather than gold.
Then they all moved back into the case.
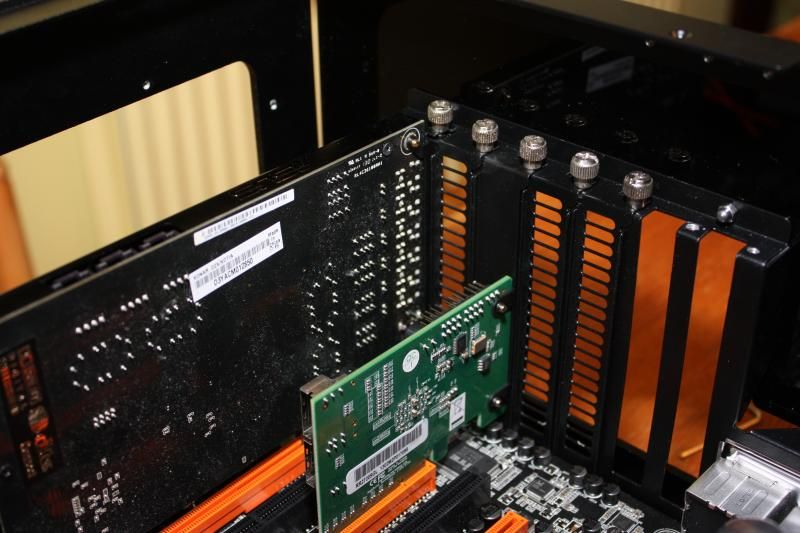
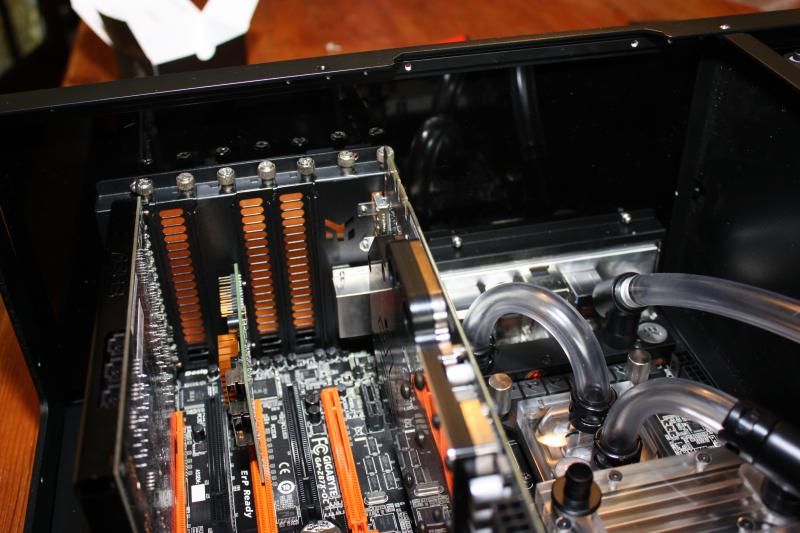
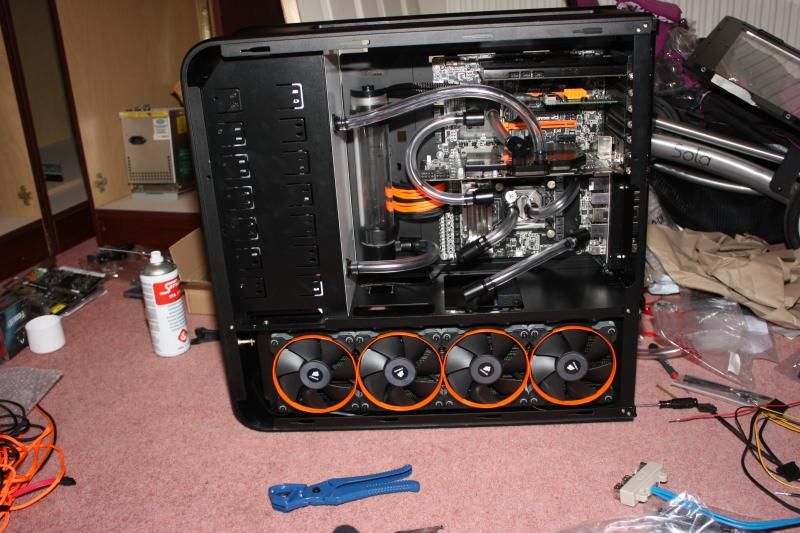
This is the point where I decided I really didn't like the fitting setup on the graphics card so I reconfigured the loop design. Instead of going from the RAM block up and over into the GPU, I decided to go around and into the second motherboard block first.
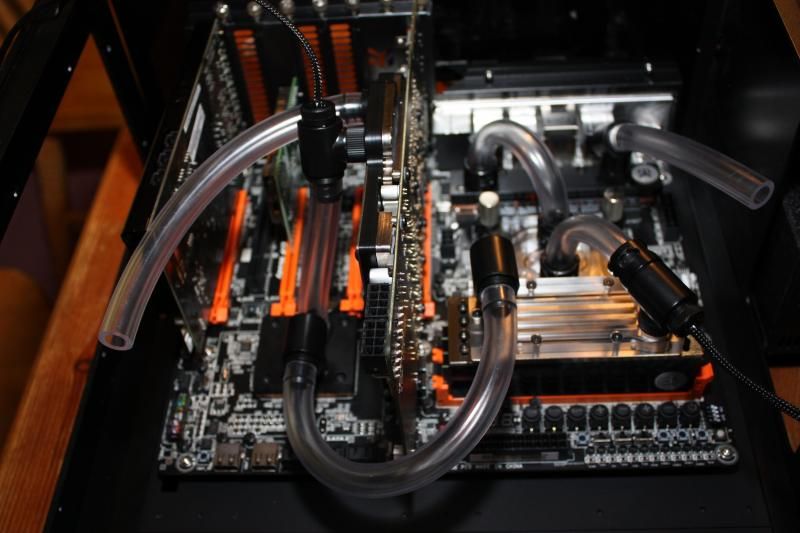
Then it was time to sit and burn my fingers some more.
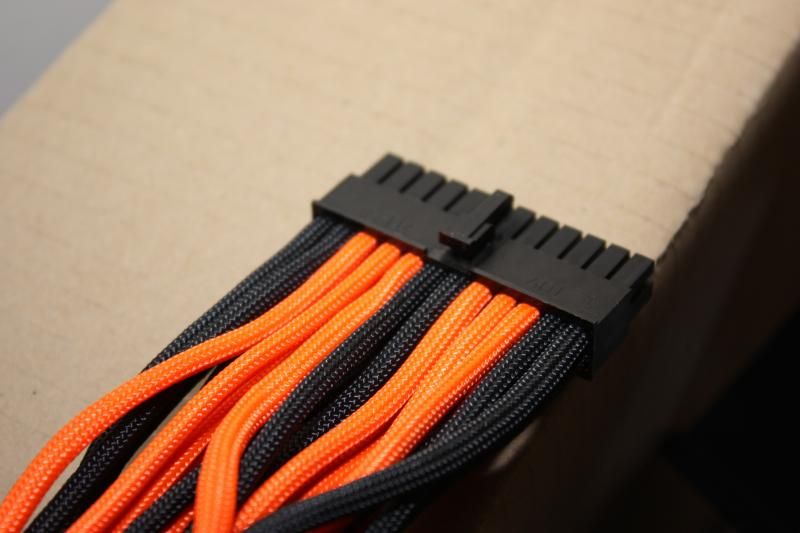
I'm never sleeving a PSU again!
But I suppose it does look nice in the case.

And that wrapped up Sunday.
Monday I took to drilling holes through the lightbox, after reading lots of horror stories about cracked acrylic on the internet I got prepared!
I purchased a 20mm hole saw, drilled a pilot hole through all 3 pieces at once very slowly with some water splashed in the hole to make sure it didn't heat up.
Once through I dismantled and carefully set to drilling each piece with the hole saw, thankfully it all went fine, unfortunately I didn't think to take any photos of the process so all you get is a few photos of the lightbox back together and back in the case.
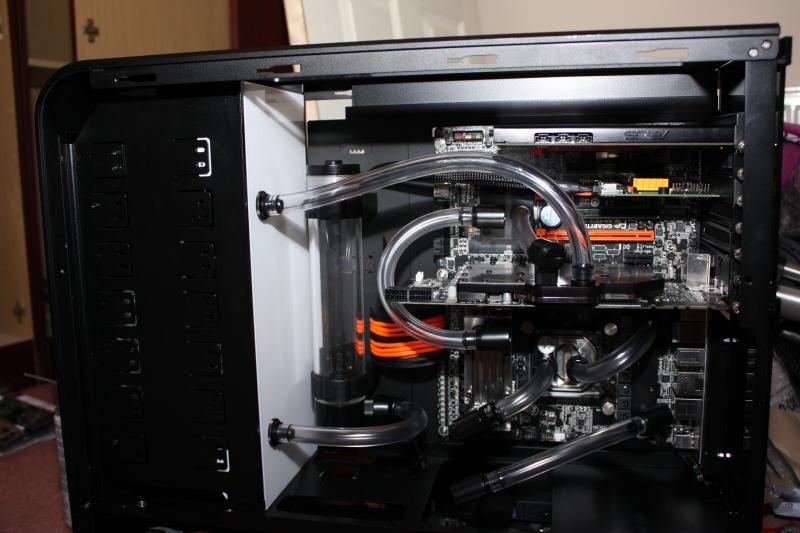
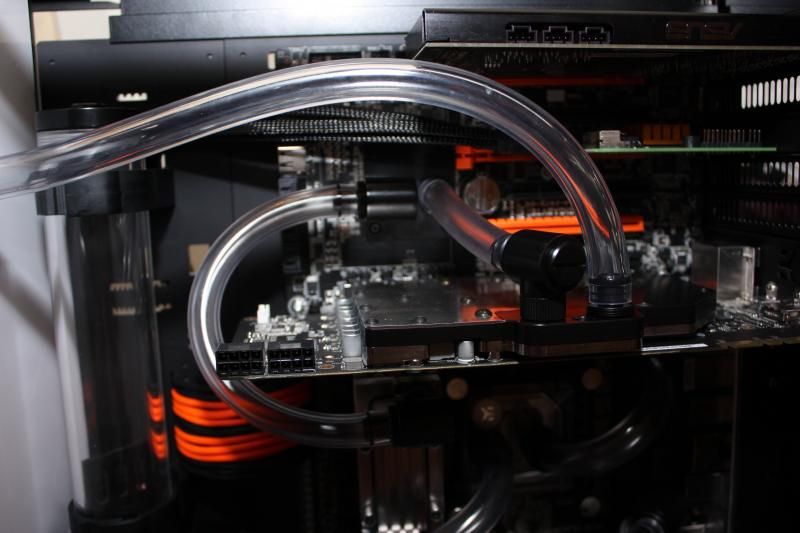
O and I did find that the Bitspower fill ports aren't long enough to go through the lightbox, then I was like "I'm sure Hukkel used these!" checked his thread to find he tried to and had the same issue!
So as per Hukkel's information I have some of the longer Alphacool ones on the way.
Anyway That's it for now, I've either got to get my stuff together and start making the 5.25 panel, midplate and all the fan covers or speak to Patuga at Coldzero again.
Here's one last parting photo for now.

First I started with the simple task of replacing the screws mounting my fans to the rad.
From this:

To this:

Much better.
Then I finally got round to sorted the waterblock on the Aquaero 5.
I found I had to use something to mount the Monsoon fittings up from the block as the outer part of the fitting would foul on the screws holding the block together, so step in some Bitspower rotaries as the Monsoon ones were too bulky for this block.


Although someone at Bitspower did manage to label these both up as 60 degree fittings, not that it matters to me.

And mounted into the drive bays as planned.


Then I fitted the PSU and the nice new back cover I got from Coldzero.

A quick test fit of the lightbox


That's about where I finished Saturday night, Sunday morning I got the spray paint out and went at the PCI backplates.

And all painted up and back on the cards.


The Xonar looks so much smarter with the backplate in black rather than gold.
Then they all moved back into the case.


This is the point where I decided I really didn't like the fitting setup on the graphics card so I reconfigured the loop design. Instead of going from the RAM block up and over into the GPU, I decided to go around and into the second motherboard block first.

Then it was time to sit and burn my fingers some more.

I'm never sleeving a PSU again!
But I suppose it does look nice in the case.

And that wrapped up Sunday.
Monday I took to drilling holes through the lightbox, after reading lots of horror stories about cracked acrylic on the internet I got prepared!
I purchased a 20mm hole saw, drilled a pilot hole through all 3 pieces at once very slowly with some water splashed in the hole to make sure it didn't heat up.
Once through I dismantled and carefully set to drilling each piece with the hole saw, thankfully it all went fine, unfortunately I didn't think to take any photos of the process so all you get is a few photos of the lightbox back together and back in the case.


O and I did find that the Bitspower fill ports aren't long enough to go through the lightbox, then I was like "I'm sure Hukkel used these!" checked his thread to find he tried to and had the same issue!
So as per Hukkel's information I have some of the longer Alphacool ones on the way.
Anyway That's it for now, I've either got to get my stuff together and start making the 5.25 panel, midplate and all the fan covers or speak to Patuga at Coldzero again.
Here's one last parting photo for now.


