You are using an out of date browser. It may not display this or other websites correctly.
You should upgrade or use an alternative browser.
You should upgrade or use an alternative browser.
Build Log - TJ07B - Initium Novum
- Thread starter Mole.
- Start date
More options
Thread starter's postsSoldato
- Joined
- 29 Feb 2012
- Posts
- 2,908
- Location
- London
Updates!!! With pictures!!!
Associate
- Joined
- 20 Dec 2013
- Posts
- 566
- Location
- West Sussex
Wowowowow, That is beautiufl inspirational the case is a beauty!
Associate
- Joined
- 13 Jul 2012
- Posts
- 166
Looks awesome, moar updates required!
Just a quick heads up, Leak testing of new loop complete, running clear at the moment for a few days to clean the remnants of the pastel out of the components, 35 Photos uploading at the moment and then I'll be sitting and writing up some stuff to go along side them.
ETA 1 hour I hope.
ETA 1 hour I hope.
Soldato
- Joined
- 29 Feb 2012
- Posts
- 2,908
- Location
- London
Looking forward! 

Ok, here it is!
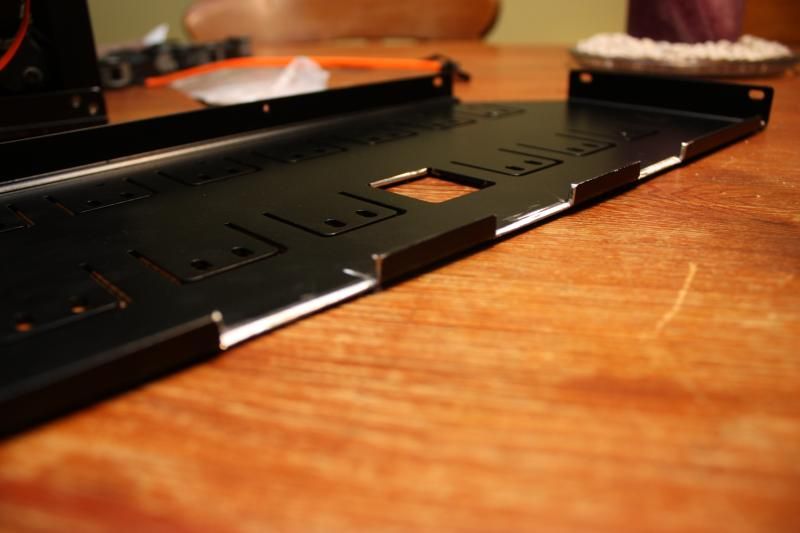
Lets start with the SSD mount, First I've cut out some slots in the side panel for cable routing.
Then we start to build up the layers.


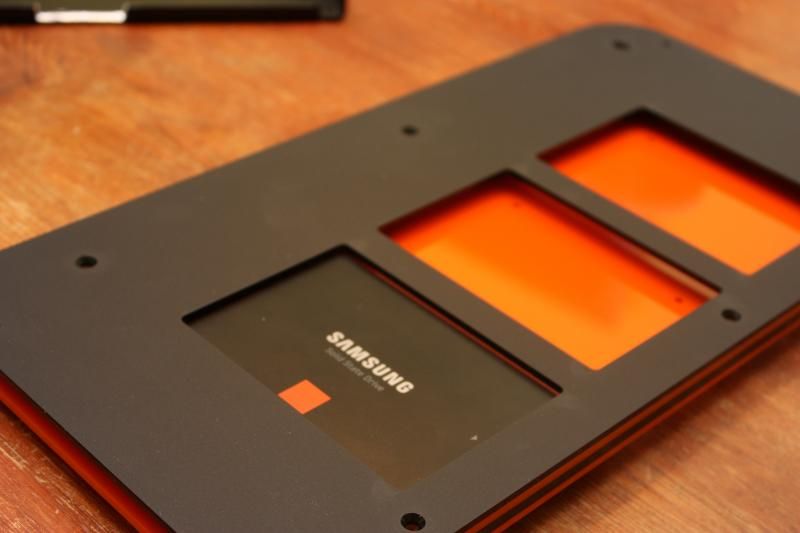
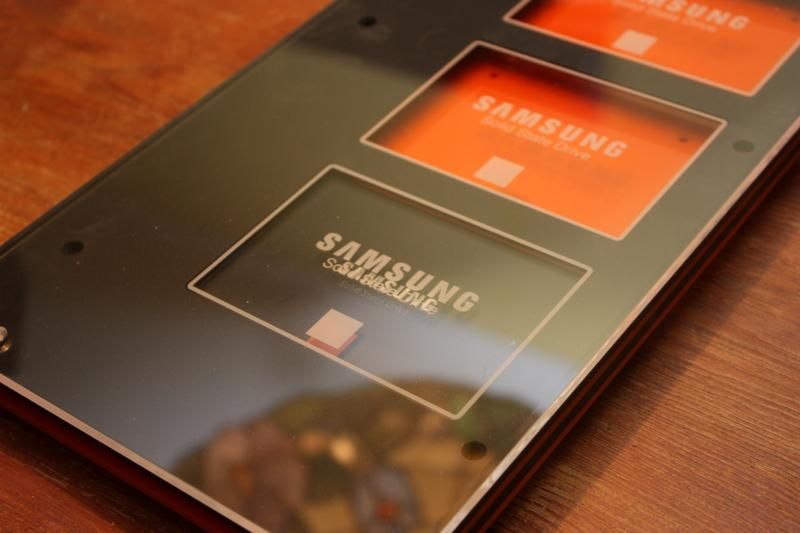
But, as you can see the etching on the clear layer doesnt actually match up with the SSD, I haven't decided yet if I should remove the text from the SSDs or get the top clear layer re-done.

Next we move onto the additional 240mm rad in the bottom section.
Here's the rad mounts and you can see my initial cut for running cables, this had to get bigger, just so many damn cables.
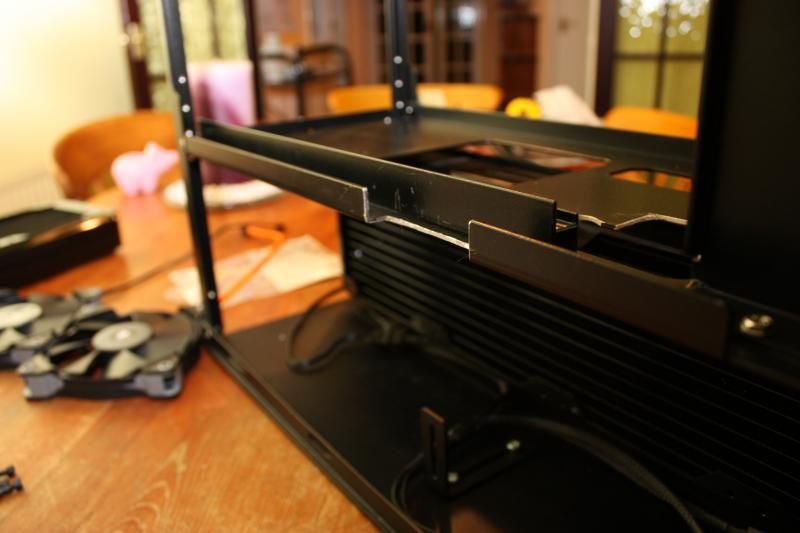
It's tight down there!
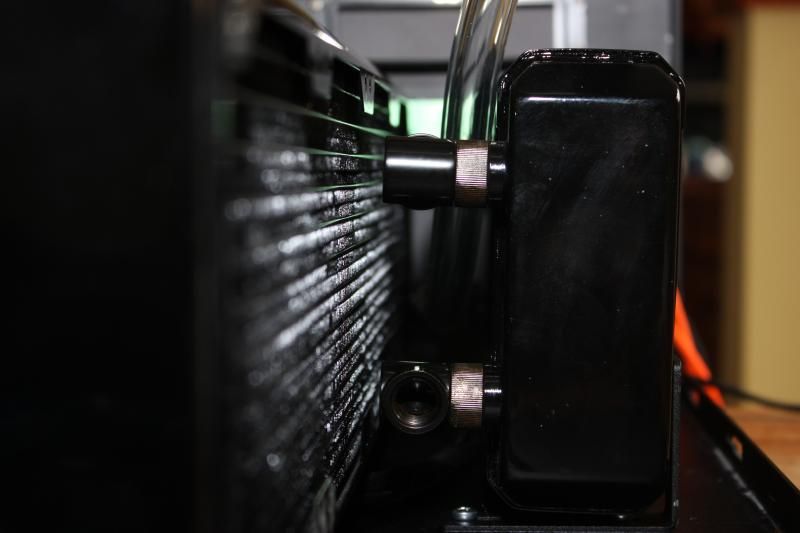
O and here is the additional monsoon fittings I had to order for the new rad, they now come with uncoated centres, this makes them a hell of a lot easier to screw down once you have the tube over but be careful If you want them to match older fittings if you're using clear fluid!

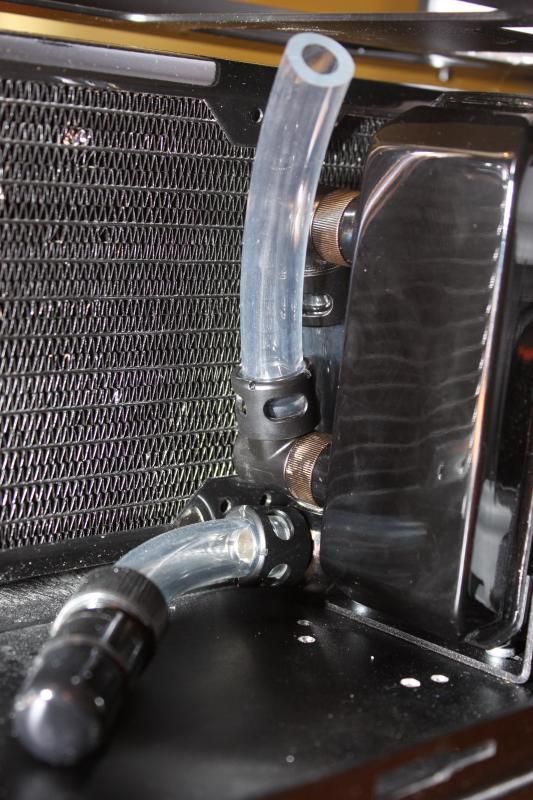
The T section I've created to allow a drain port in the bottom section.

And you can just about see it in position below the bottom rad fitting.
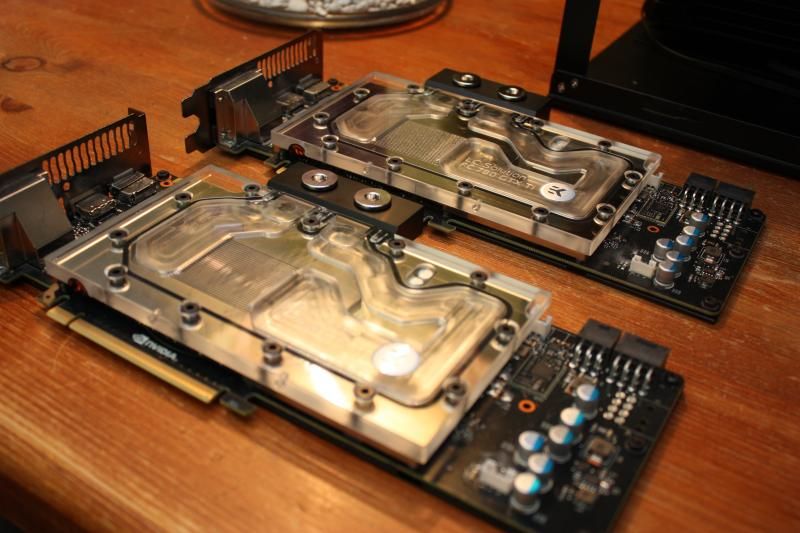
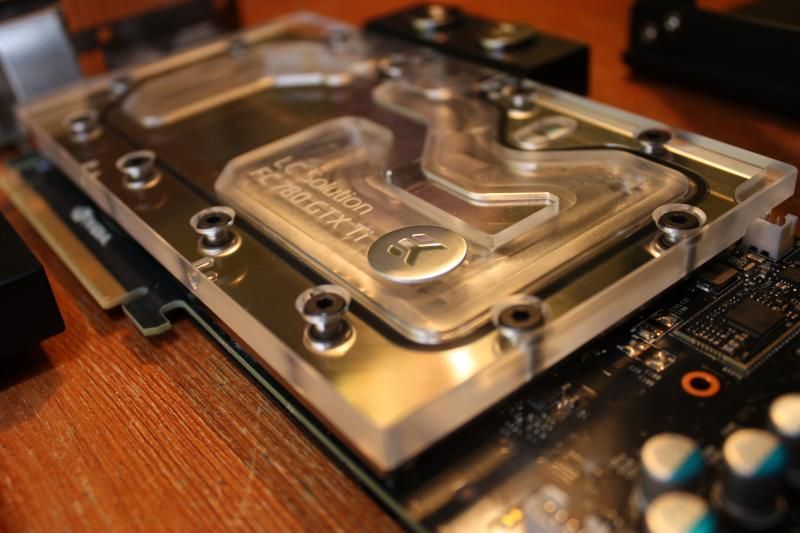
Next we move onto the GPU's I got a bit carried away when doing this so there are no progress shots but plenty of nice pics of the finished product!
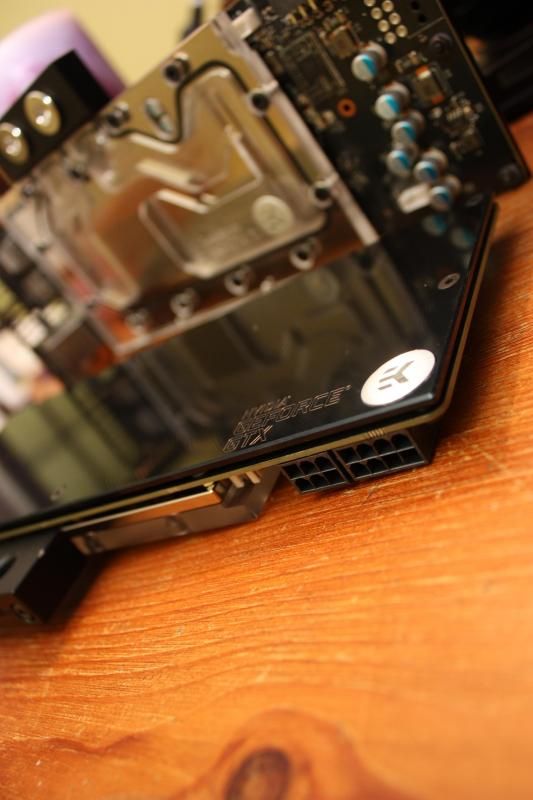
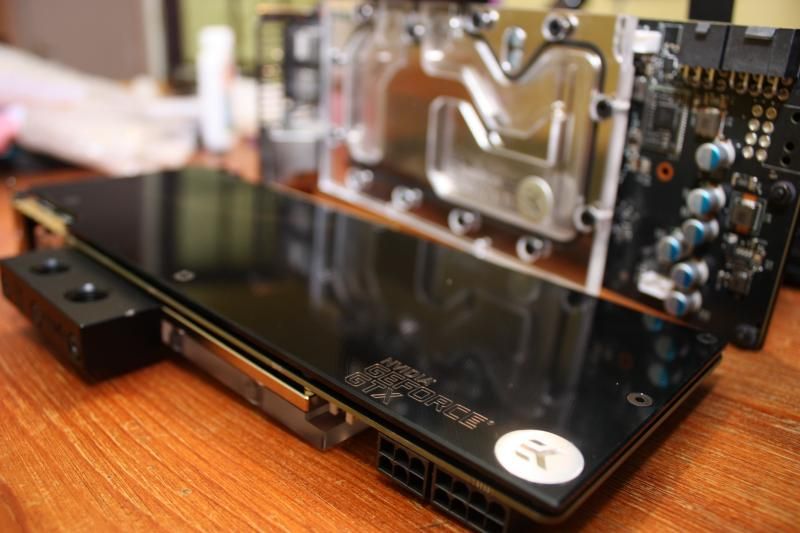

Now the front section, When I thought "no problem, I'll just put the res/pump in here" I didn't think it would be anywhere near this cramped!

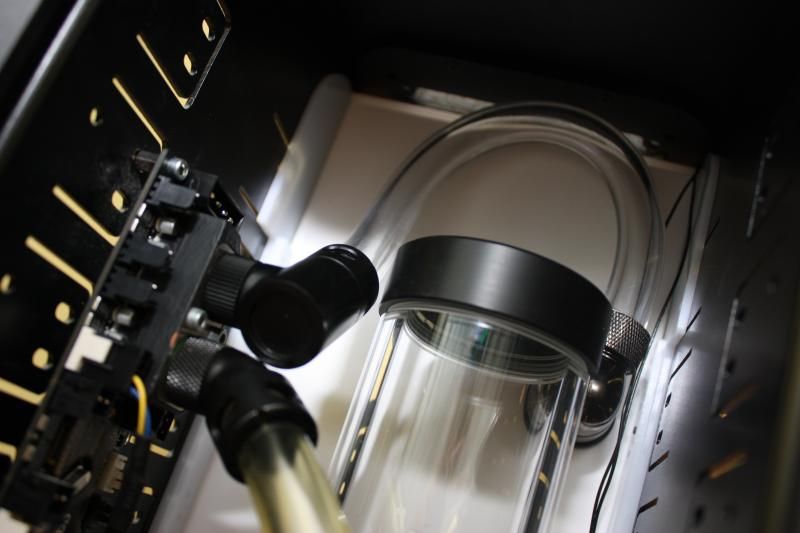
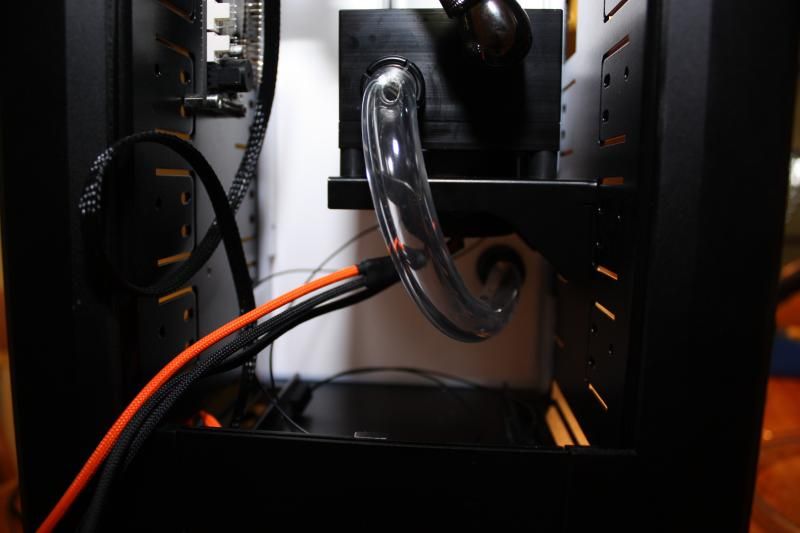
And a couple of close ups of the interesting tubing arrangements.
The top Tube had to run like this because of the Res being in between the fittings but also there is still the slim DVD drive to fit in there, Also one SSD will be mounted in the bottom of this section.
Cable Combs!
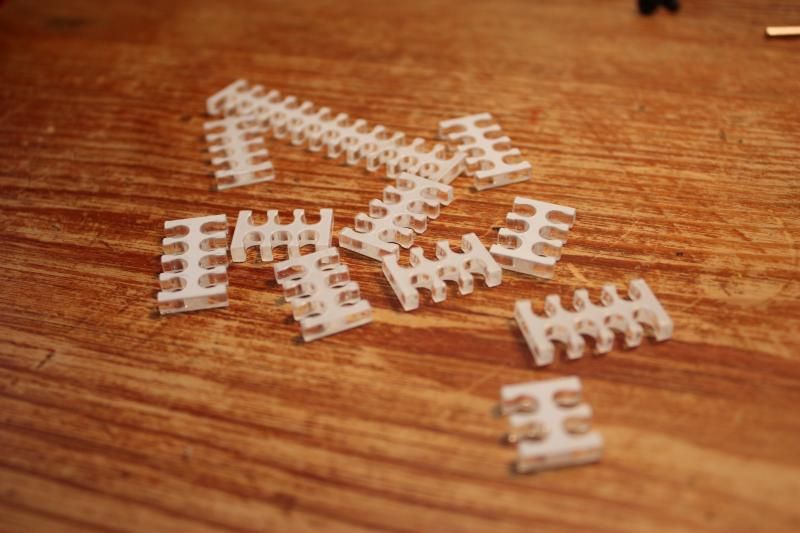
They look a bit nicer when you remove that protection film!

And then you put them in between some cables! Definitely worth a few pennies from E22 imo.
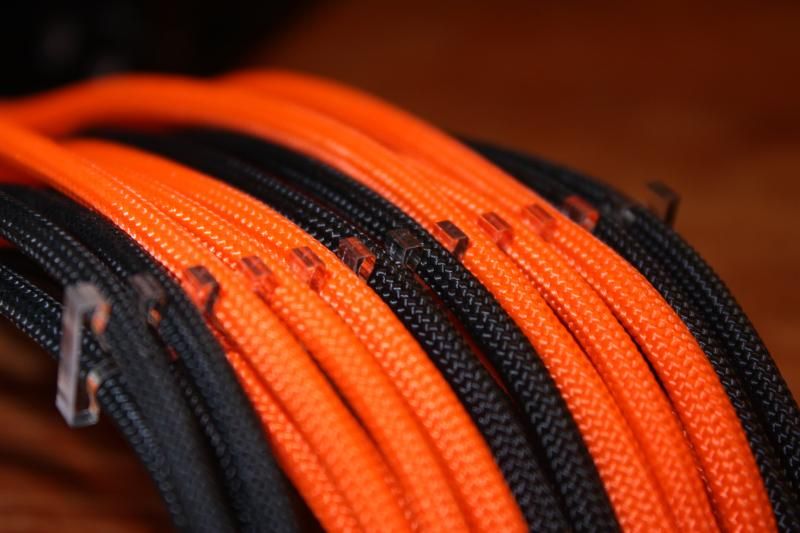
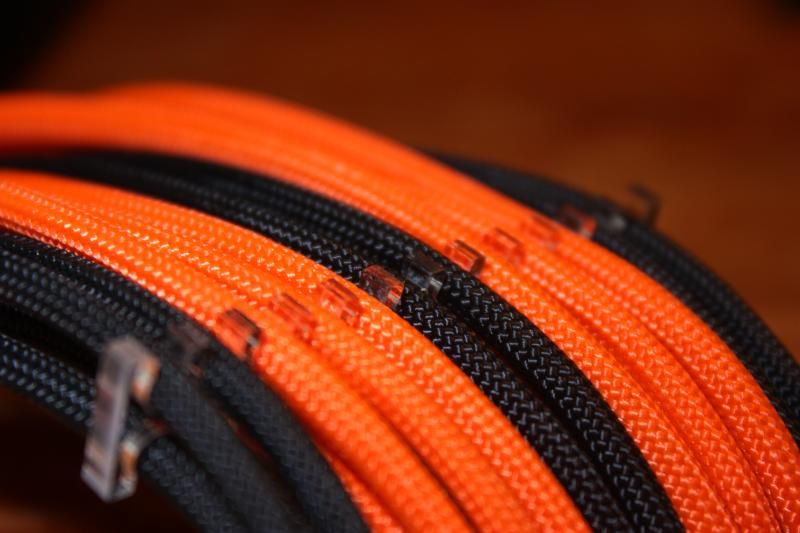
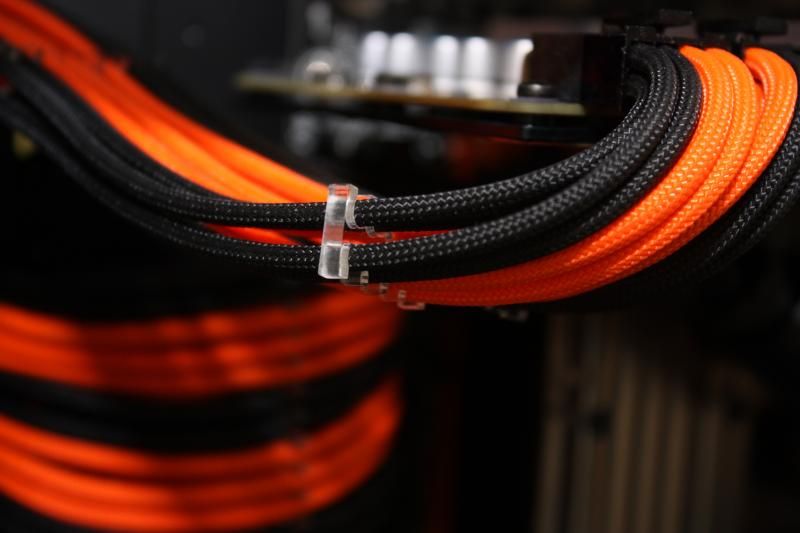
So this leads us on to putting the motherboard back into the case and building the rest of the loop, pretty self explanatory, here goes!
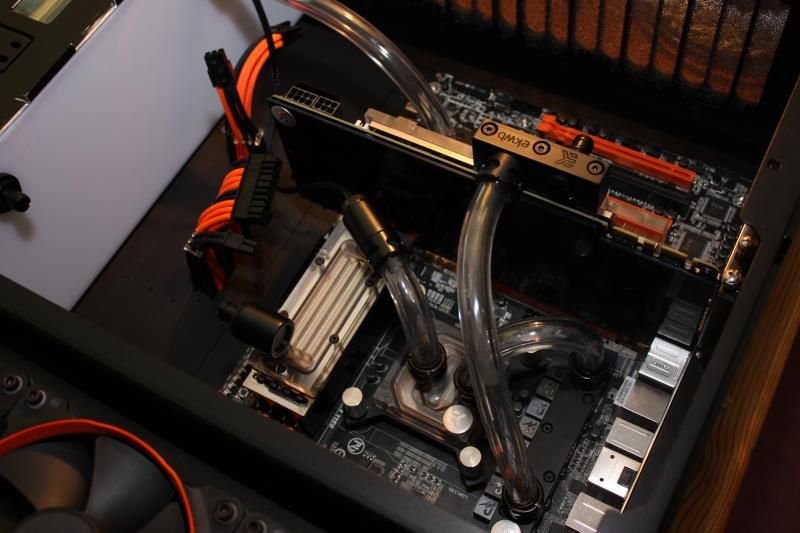
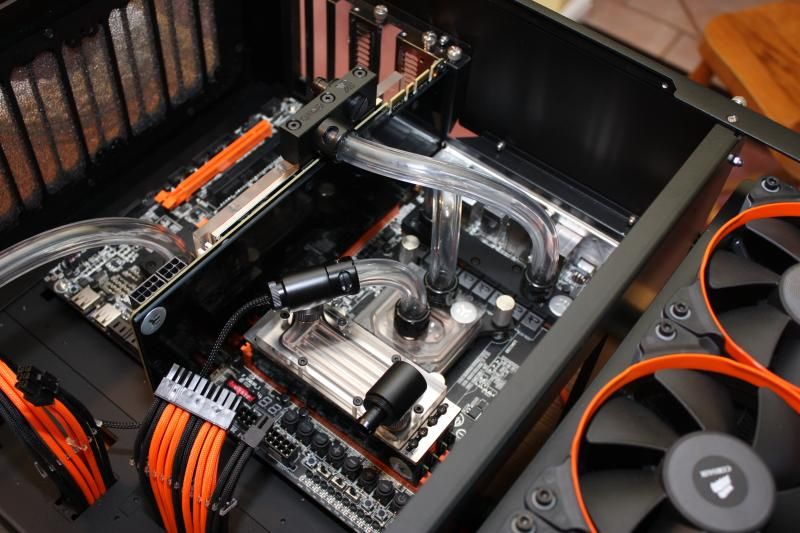
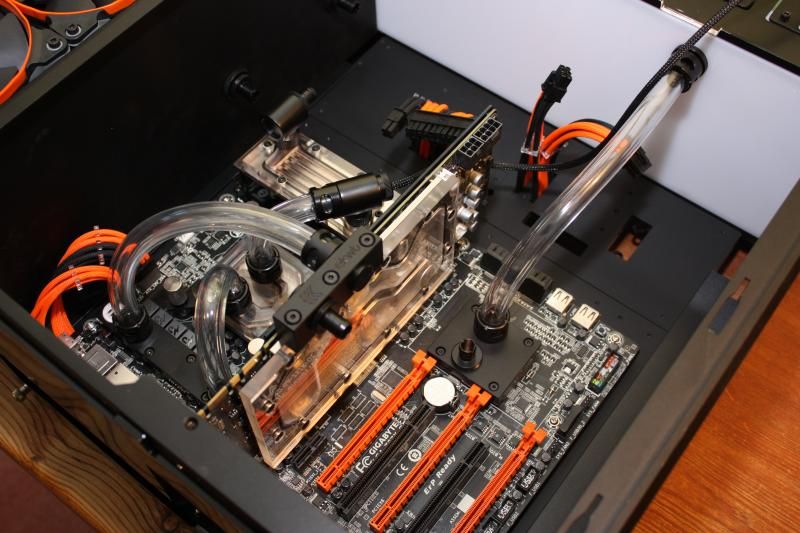
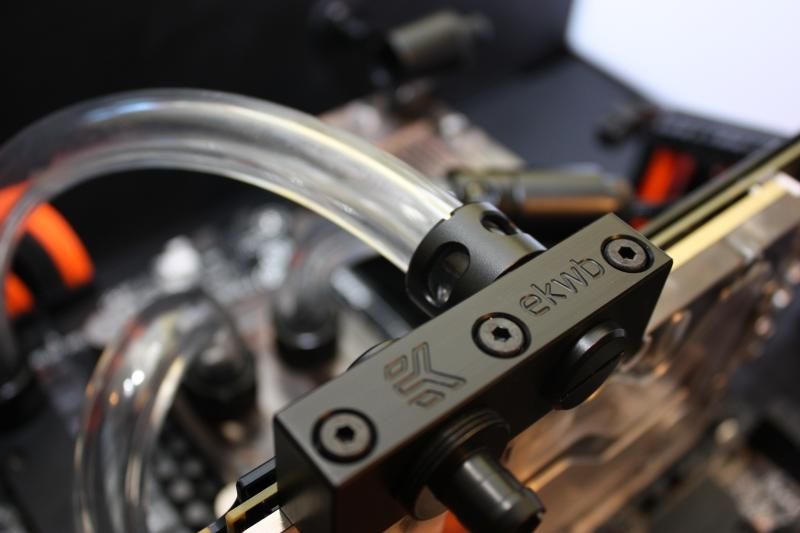
Cloudy fluid thanks to the remaining pastel in the loop.
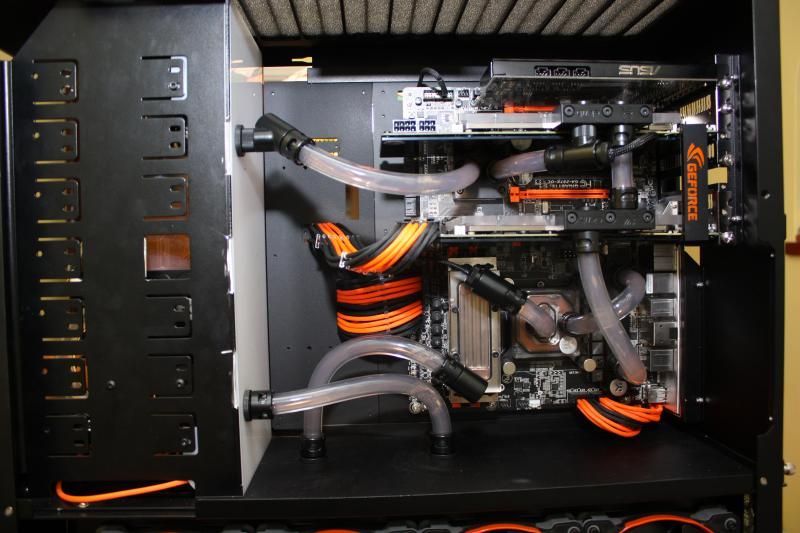
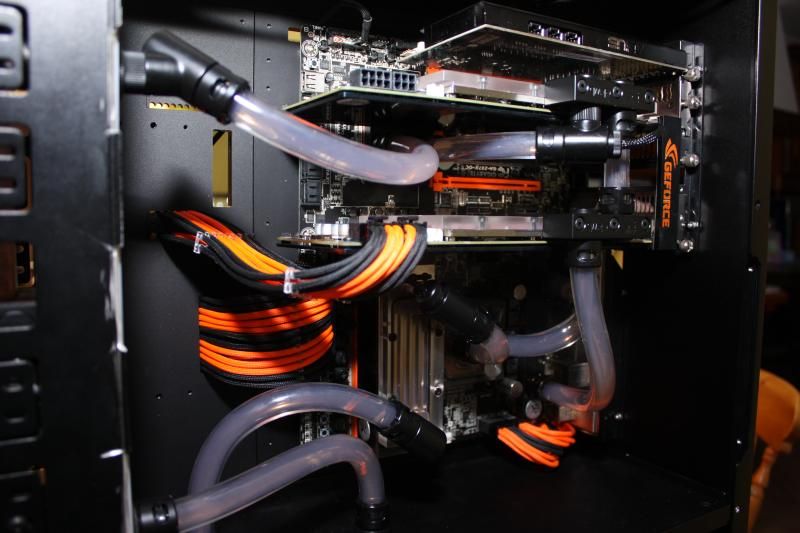
And the nice SLI bridge that I also got from Coldzero.
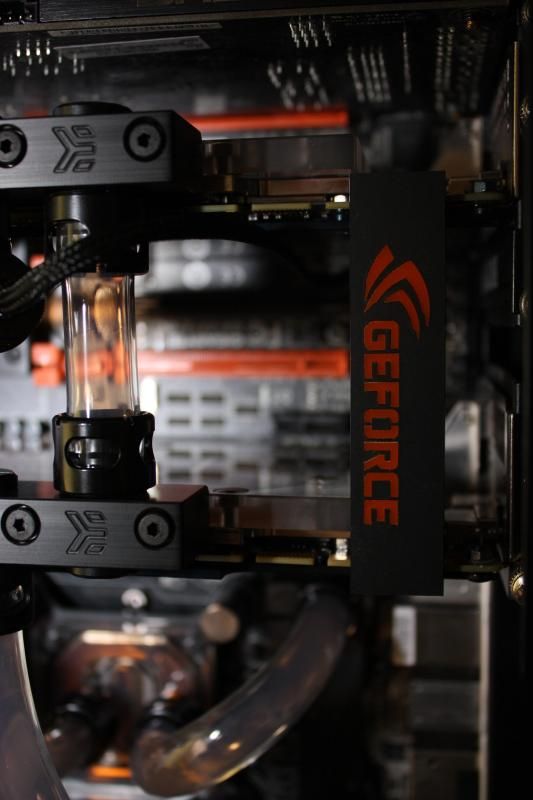
That's all the photos for now, going to run the system for a couple of days, the drain and refill with added colour, Should hopefully then be able to ply you with some more photos including some of the finished article!
Lets start with the SSD mount, First I've cut out some slots in the side panel for cable routing.

Then we start to build up the layers.


But, as you can see the etching on the clear layer doesnt actually match up with the SSD, I haven't decided yet if I should remove the text from the SSDs or get the top clear layer re-done.

Next we move onto the additional 240mm rad in the bottom section.
Here's the rad mounts and you can see my initial cut for running cables, this had to get bigger, just so many damn cables.

It's tight down there!

O and here is the additional monsoon fittings I had to order for the new rad, they now come with uncoated centres, this makes them a hell of a lot easier to screw down once you have the tube over but be careful If you want them to match older fittings if you're using clear fluid!

The T section I've created to allow a drain port in the bottom section.

And you can just about see it in position below the bottom rad fitting.

Next we move onto the GPU's I got a bit carried away when doing this so there are no progress shots but plenty of nice pics of the finished product!


Now the front section, When I thought "no problem, I'll just put the res/pump in here" I didn't think it would be anywhere near this cramped!

And a couple of close ups of the interesting tubing arrangements.
The top Tube had to run like this because of the Res being in between the fittings but also there is still the slim DVD drive to fit in there, Also one SSD will be mounted in the bottom of this section.


Cable Combs!

They look a bit nicer when you remove that protection film!

And then you put them in between some cables! Definitely worth a few pennies from E22 imo.


So this leads us on to putting the motherboard back into the case and building the rest of the loop, pretty self explanatory, here goes!


Cloudy fluid thanks to the remaining pastel in the loop.


And the nice SLI bridge that I also got from Coldzero.

That's all the photos for now, going to run the system for a couple of days, the drain and refill with added colour, Should hopefully then be able to ply you with some more photos including some of the finished article!
Soldato
- Joined
- 29 Feb 2012
- Posts
- 2,908
- Location
- London
Lovely dude can't wait to see more.


Soldato
- Joined
- 7 Mar 2013
- Posts
- 3,321
- Location
- Caistor
loving the ColdZero work!!
Bloody lovely, some great ideas in this build, love the little touches of detail like the cable combs. Pity about the lettering on your SSD rack not matching up first time. If it were me I'd get the etching done again over falling back to a blank panel. Then again if it were me, I wouldn't have come up with such a good design idea in the first place.
Good luck with the running in.
Good luck with the running in.

Ok so here is some pictures of the loop with coloured fluid, it's mayhems X1 Clear with dark red, Yellow and Orange dye's mixed.
Not finished the side panel yet, haven't had a huge amount of time to work on it but having issues getting the cables to fit properly, may have to cut or file some sections out of the panels to get it to all fit.


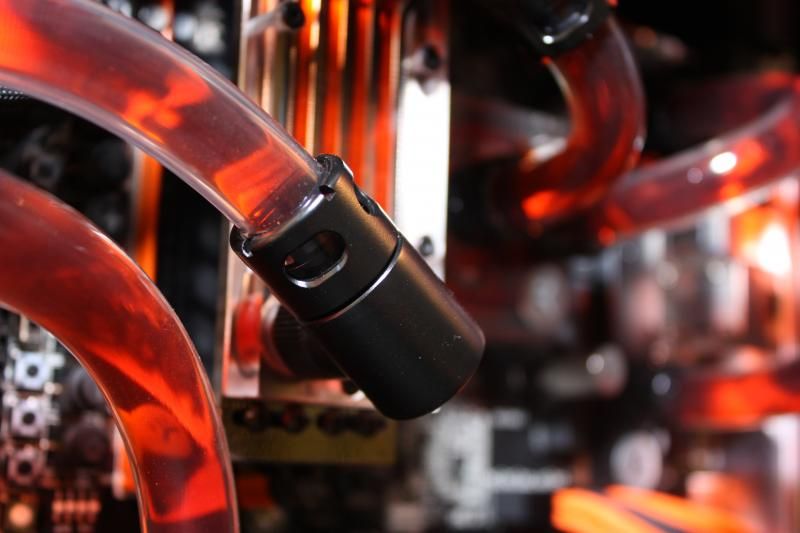


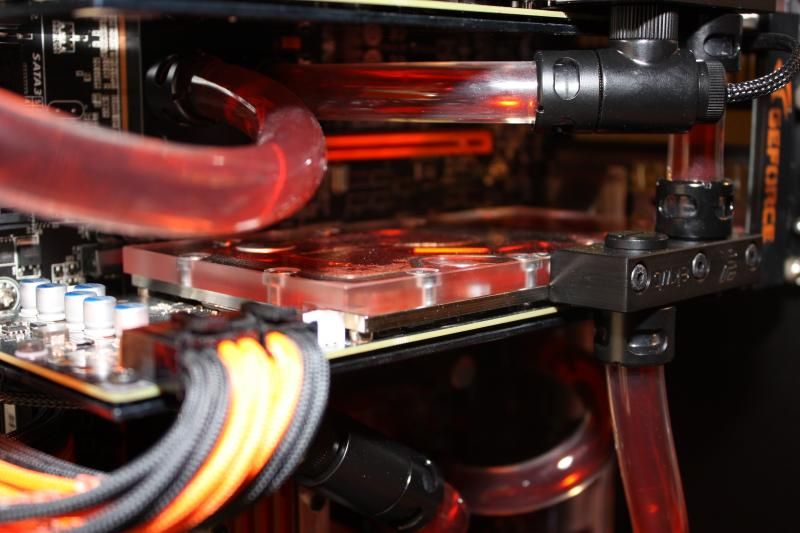
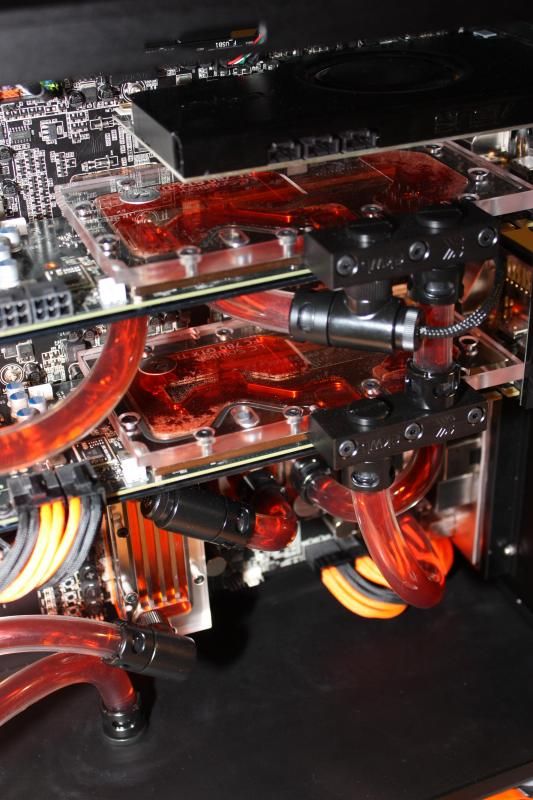
I think I still need more light in the case to make the fluid pop, probably going to try an LED strip hidden along the mid plate and one in the roof of the case hidden from view, hopefully that should fill the case with light.
That's all for now, have made up the new longer cable 6 pin pci-e cable for the second GPU but it isn't sleeved yet. Will update at the weekend I hope!
Not finished the side panel yet, haven't had a huge amount of time to work on it but having issues getting the cables to fit properly, may have to cut or file some sections out of the panels to get it to all fit.


I think I still need more light in the case to make the fluid pop, probably going to try an LED strip hidden along the mid plate and one in the roof of the case hidden from view, hopefully that should fill the case with light.
That's all for now, have made up the new longer cable 6 pin pci-e cable for the second GPU but it isn't sleeved yet. Will update at the weekend I hope!
Soldato
- Joined
- 7 Mar 2013
- Posts
- 3,321
- Location
- Caistor
Looking really nice already 

Soldato
- Joined
- 29 Feb 2012
- Posts
- 2,908
- Location
- London
Sexy!!!
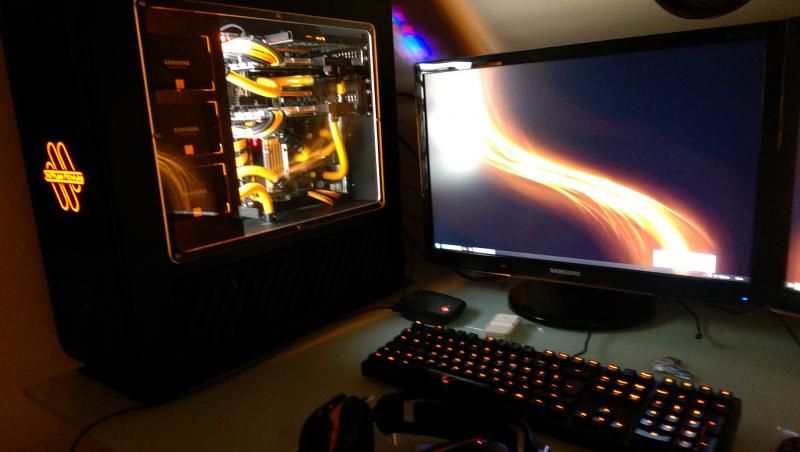
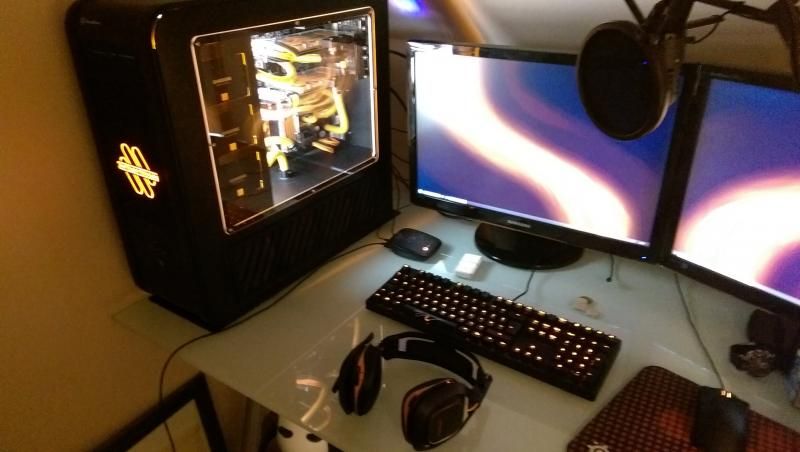
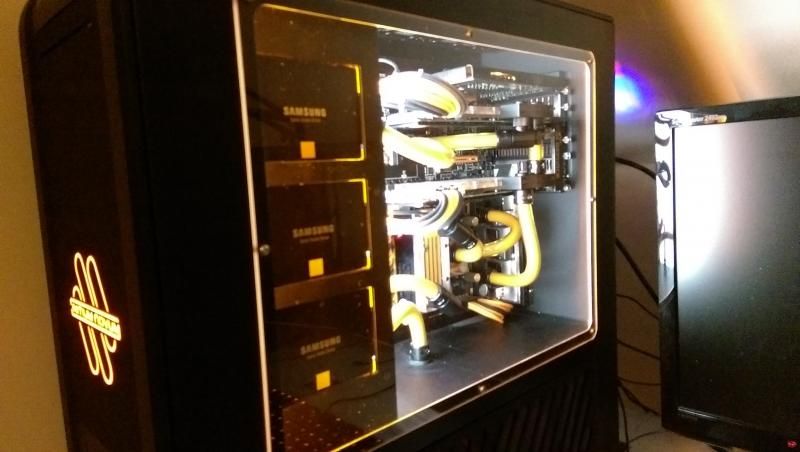
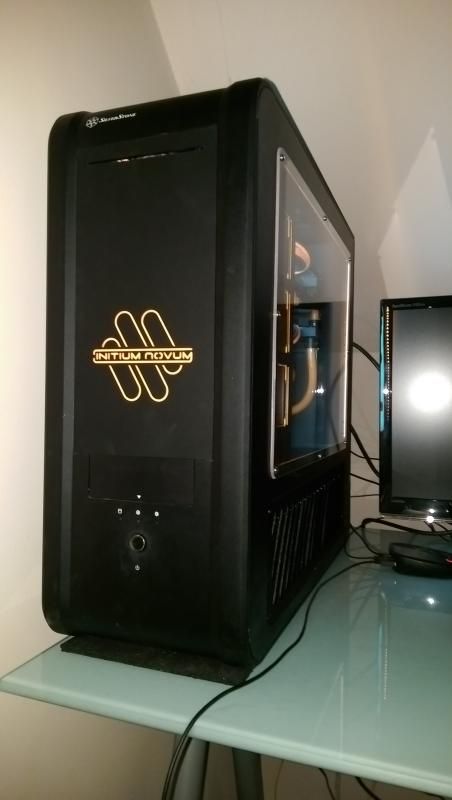
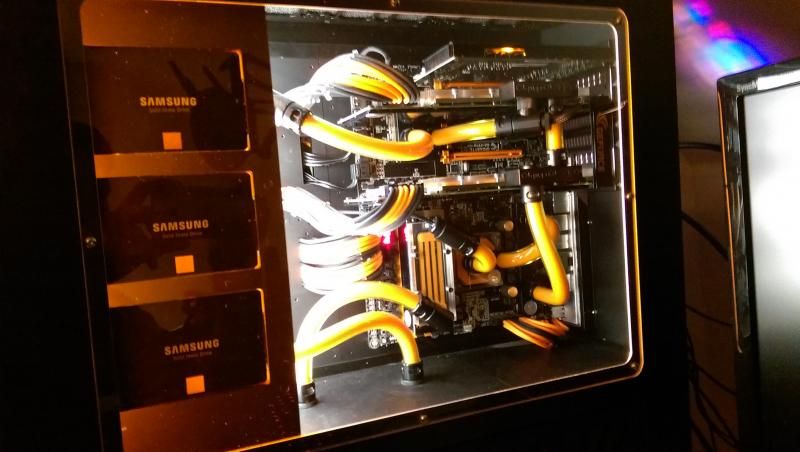
I've almost finished this finally, approaching a year late because of building work and other things slowing me down to a crawl with progress but we're very nearly there.
I've contacted Patuga over at ColdZero about getting a replacement top layer for the SSD mount and once that arrives it will be complete!
Here's a few photos of it in situ, unfortunately I seem to have lost my battery charger for my dSLR so you'll have to make do with crappy phone camera photos for now, Once I get the final part I'll take a good array of decent quality photos to show of the build.


Soldato
- Joined
- 27 Jan 2012
- Posts
- 8,156
- Location
- The king of the north!
I love the way you have mounted the ssds very clever 


