i7 Skeleton build and mod log

Associate
Joined
2 Jan 2009
Posts
1,737
Location
Lincolnshire coast
Photo0413.jpg


I'd been saving for an i7 set up for a while (haven't we all) so being as I was going to be taking it all apart I thought i'd go the whole hog.

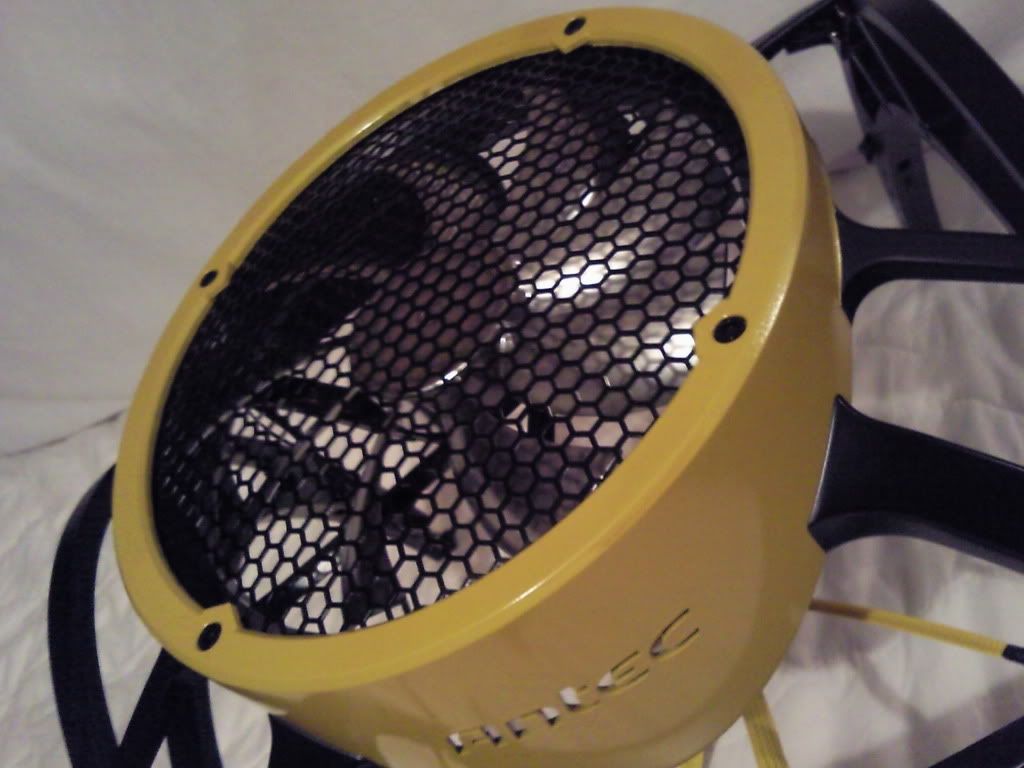
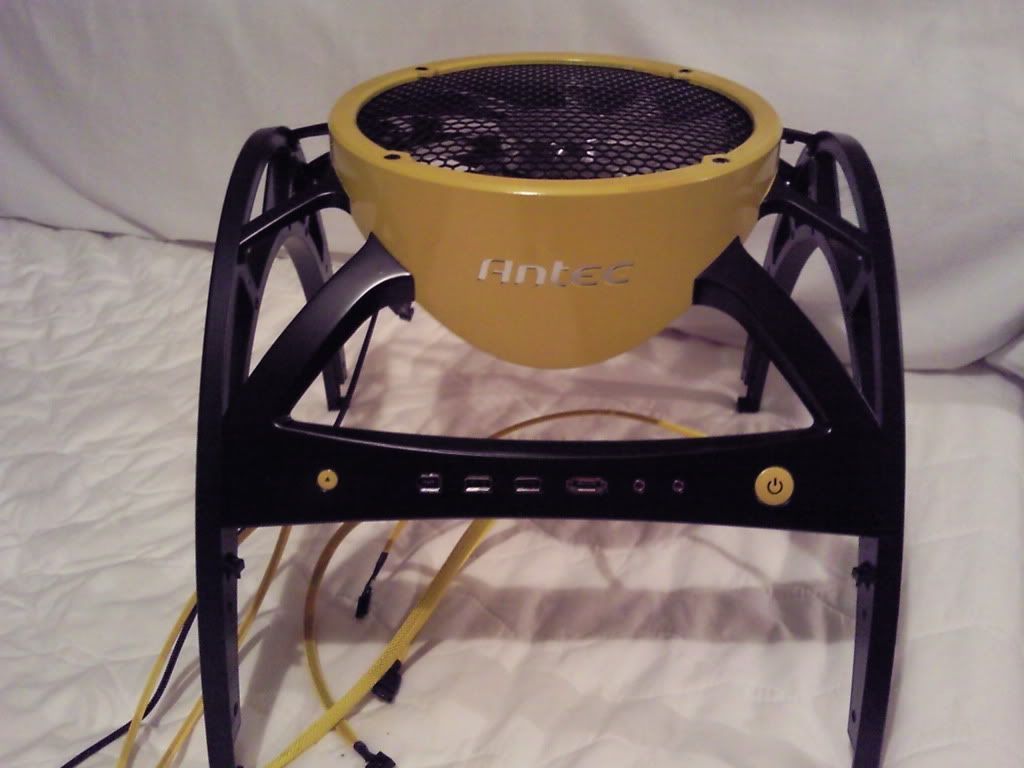
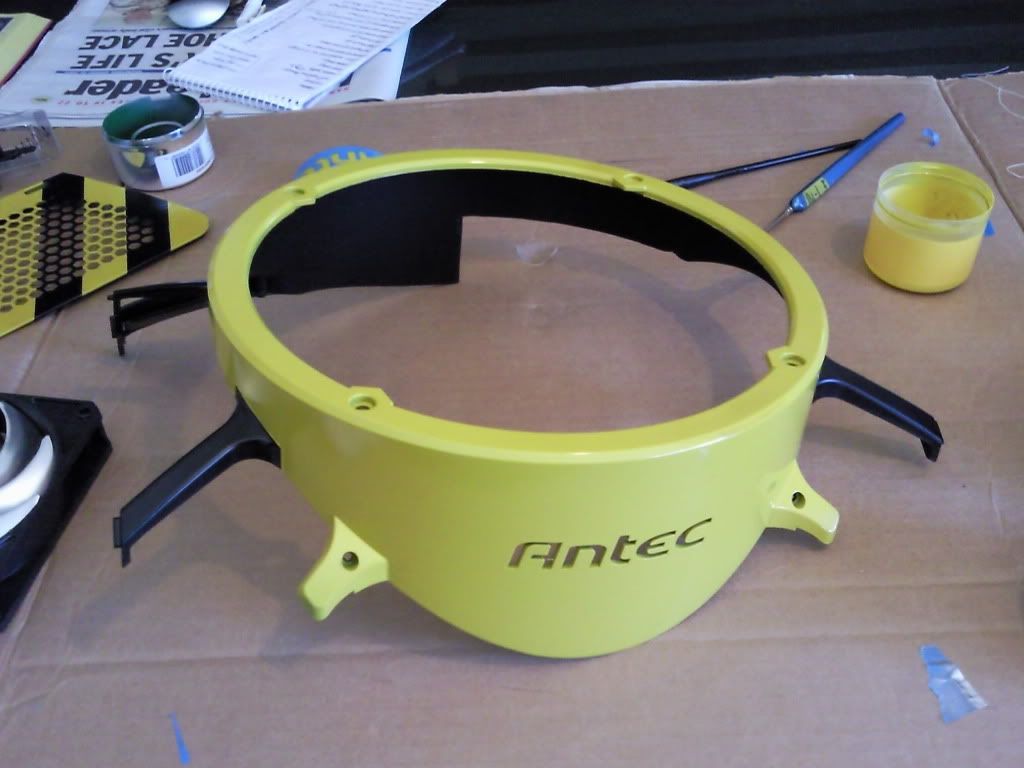
The Skeleton has always strck me as appearing very "industrial" in its appearance, looking like some sort of turbine cooling device that ought to have a big yellow warning sign on it. It's this "warning" theme that led to the colour scheme of the build.

I started the mod about a month ago, working at weekends and in the evening. It's just about finished now, with some spraying and assembly yet to happen but I thought i'd post what i'd done so far.

I should perhaps point out that I've never built a rig from scratch before although I have transplanted my old rig into the skeleton case. Neither have I ever modded anything before beyond adding a few ccfls or braiding a cable or two. I've learned quite a bit along the way (especially about spray painting) but as a beginner I'd appreciate any hints and tips as to how I could have done things differently.

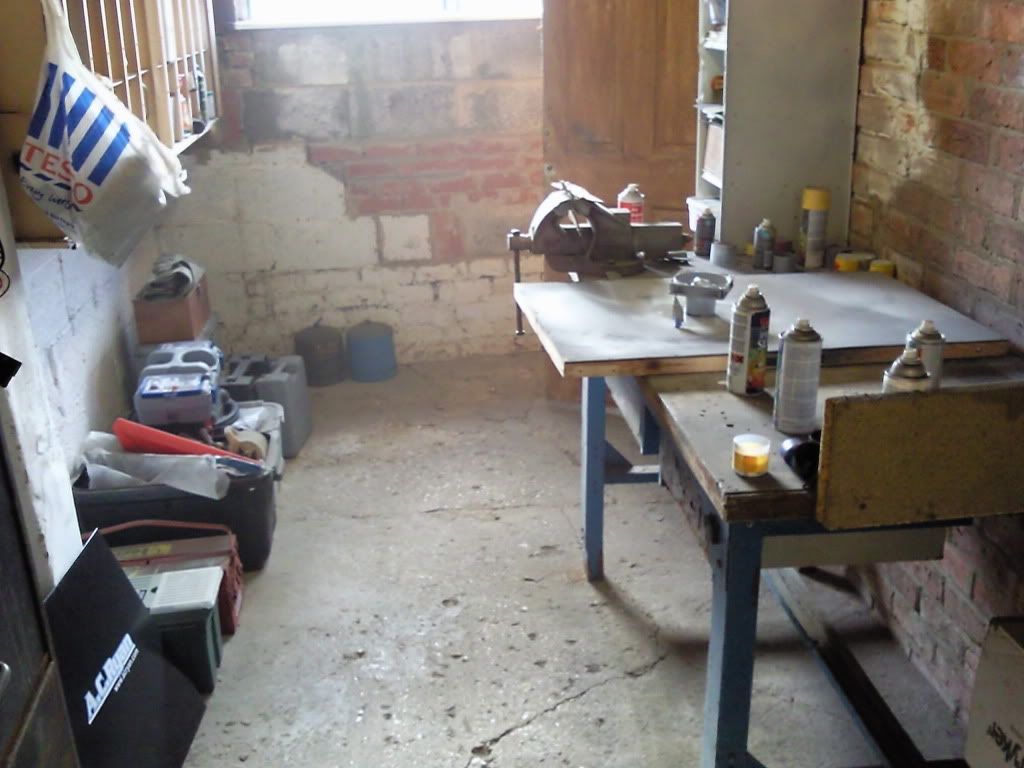
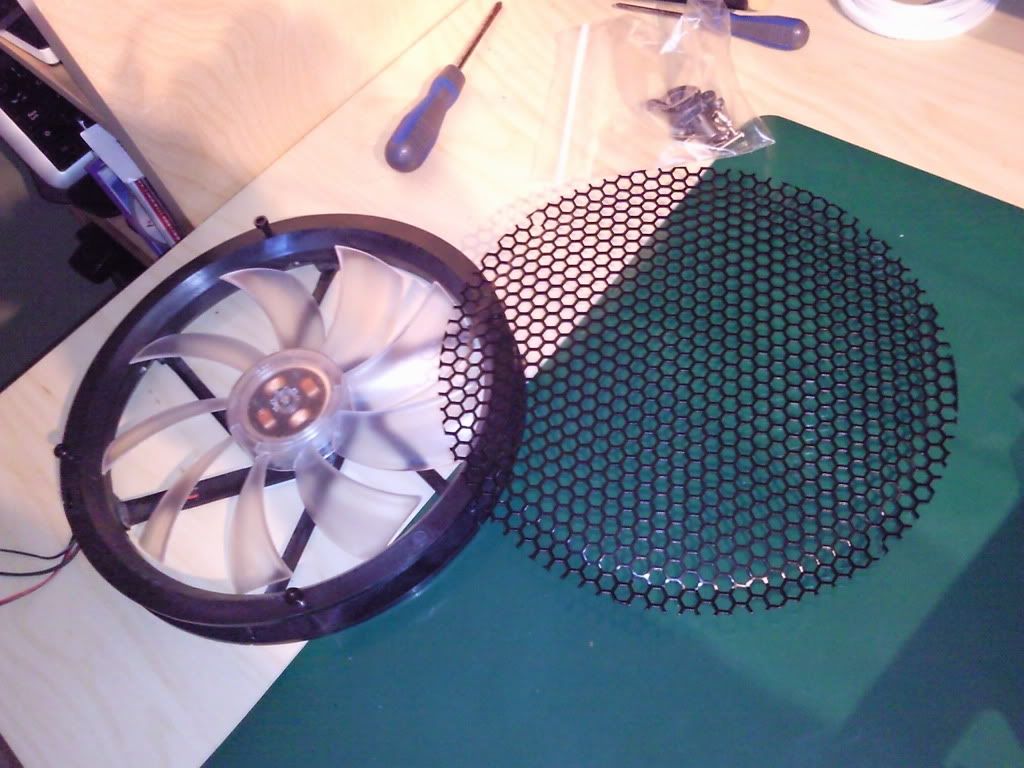
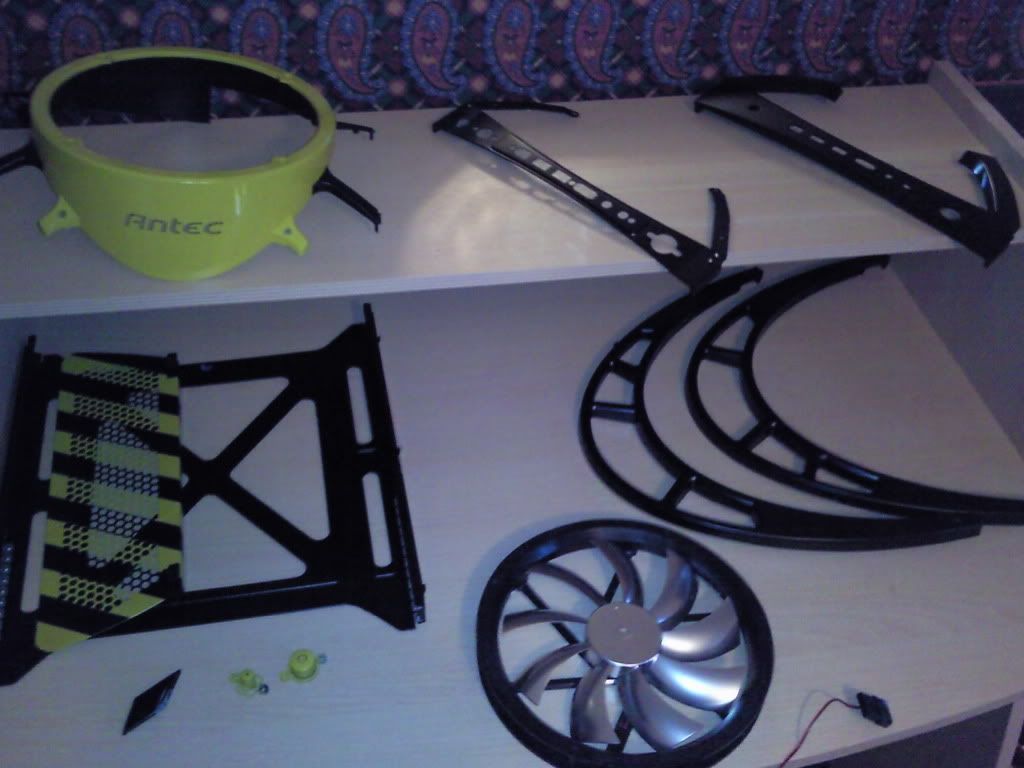
here's what it looked like as I took it all apart

Photo0306.jpg


Stage 1
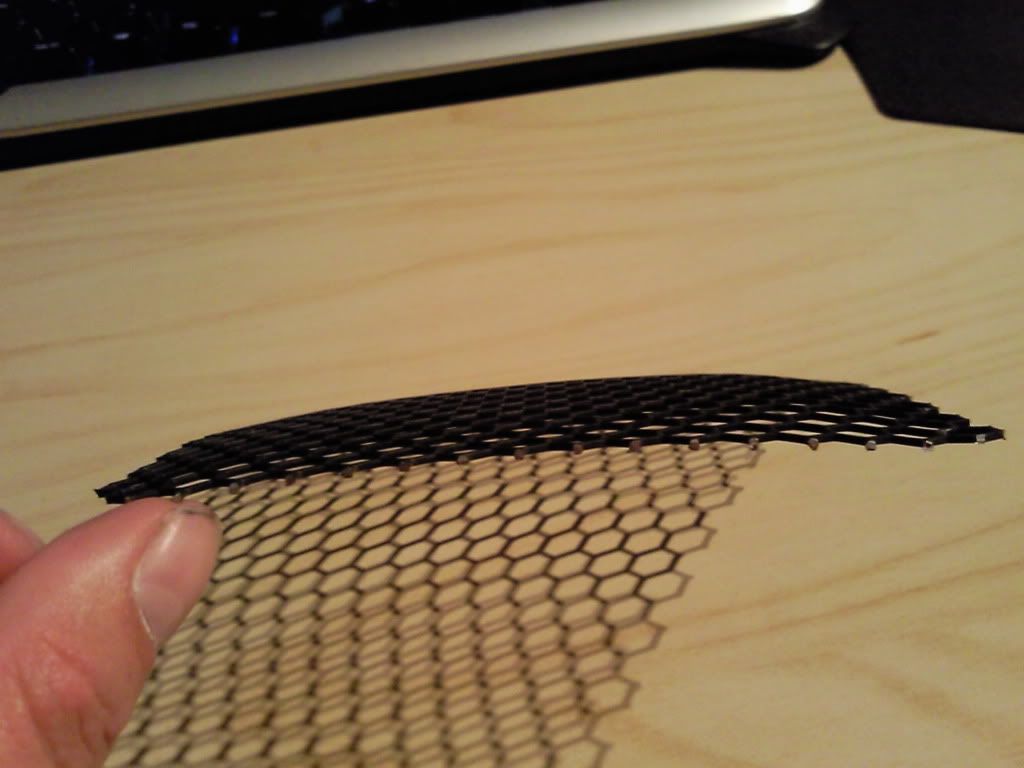
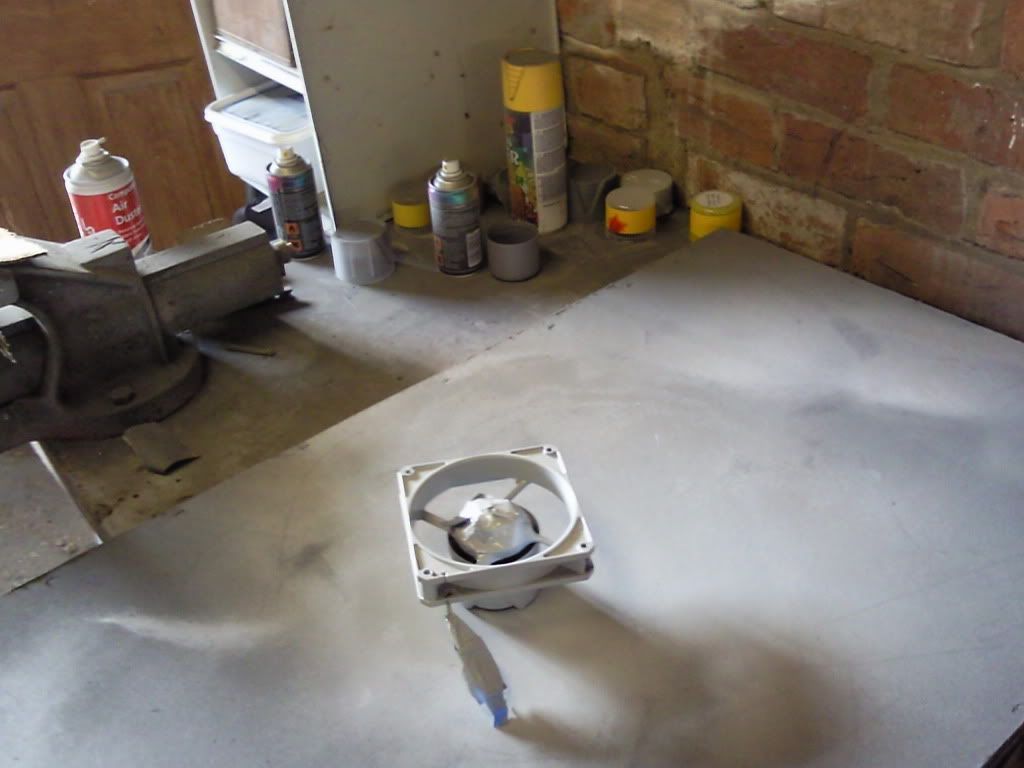
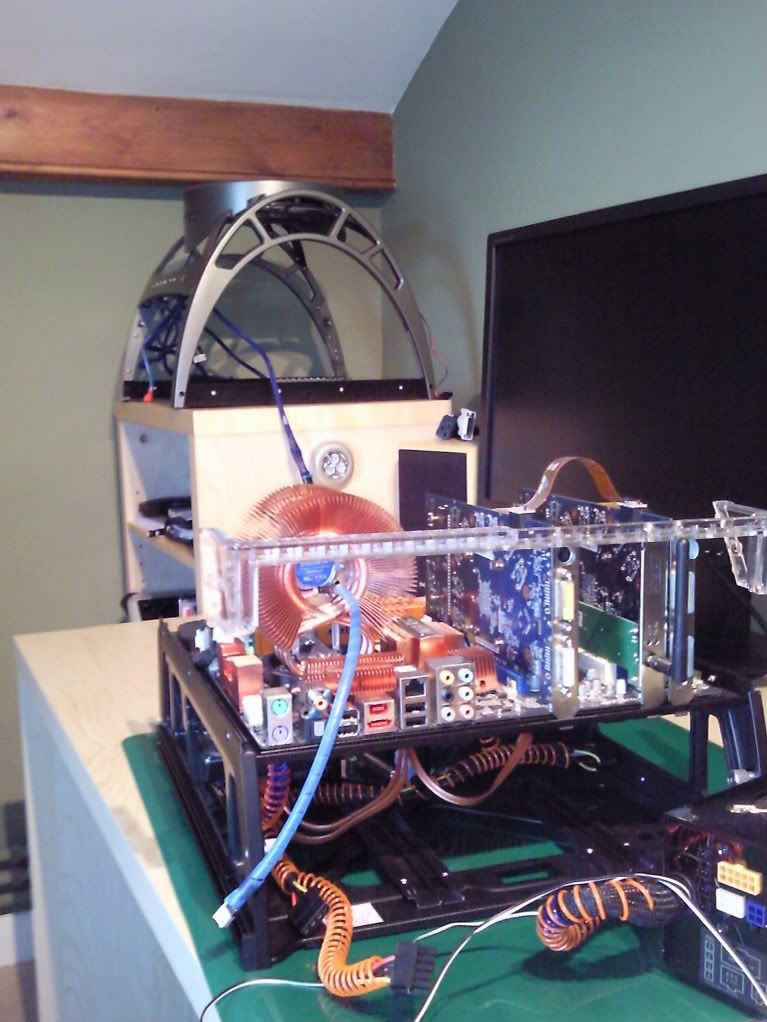
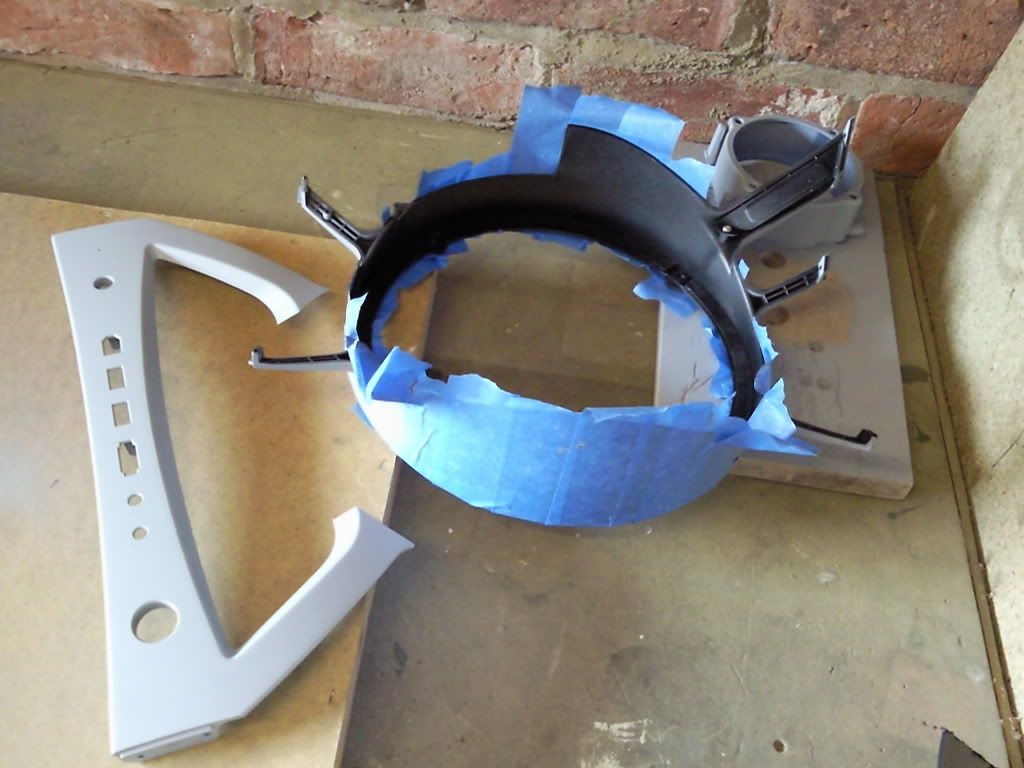
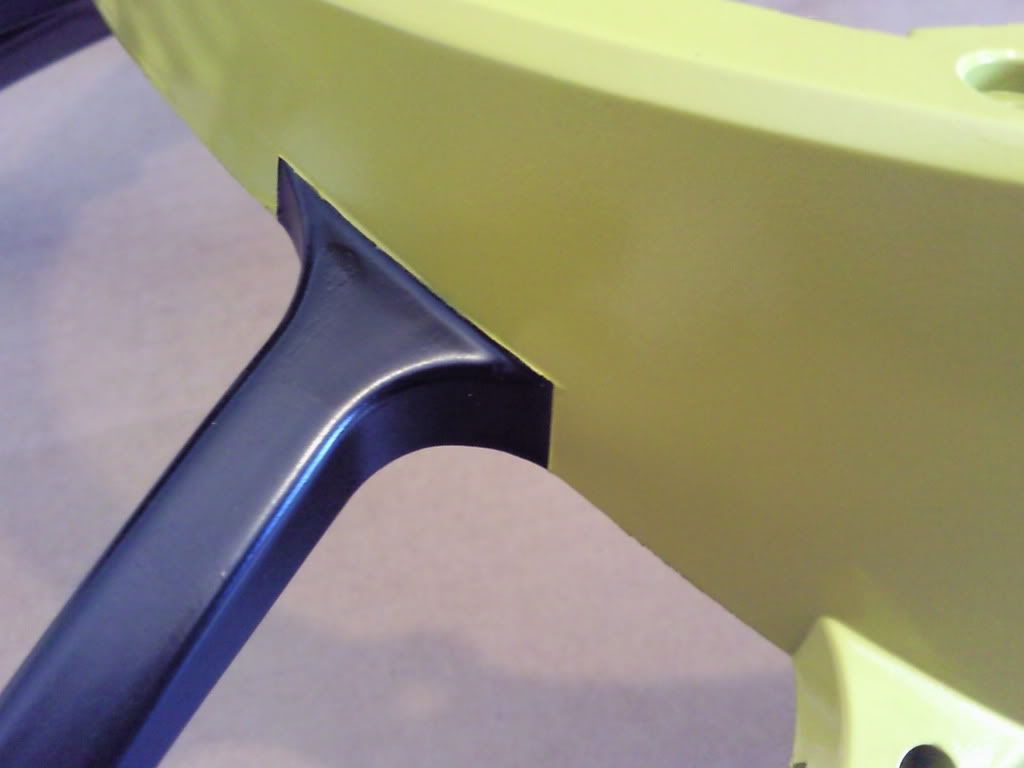
Cut the cowling to accomodate fenrir cooler.
there's 157mm of clearance between the CPU and the underside of the "big boy" fan. The fenrir is 156mm in height. so I had to be fairly accurate with my cutting, but first I had to buy a dremmel (been looking for an excuse for a while

Photo0320.jpg


Photo0321.jpg


Photo0323.jpg


Lesson learned No 1 When you cut plastic with a dremmel it melts!!!


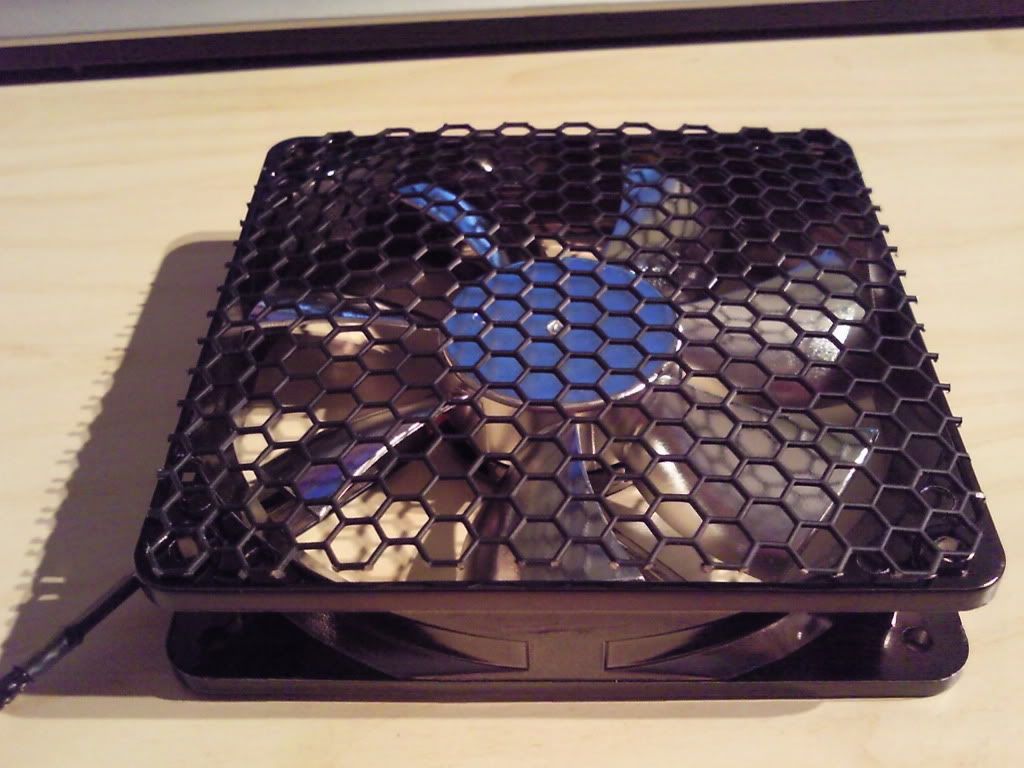
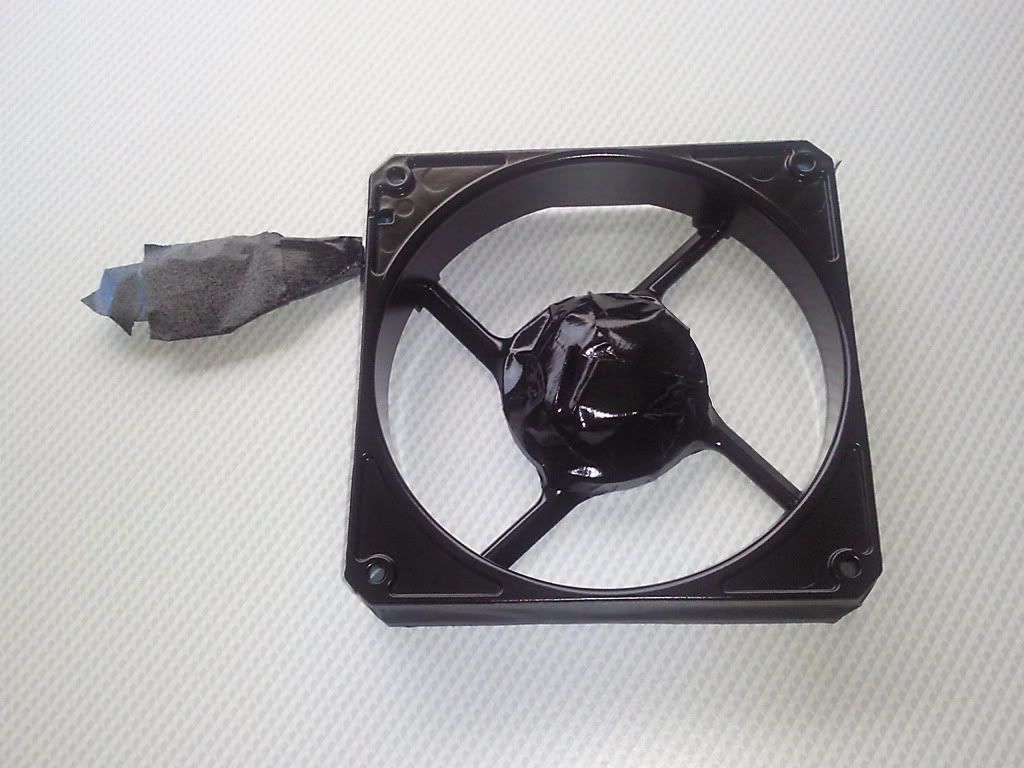
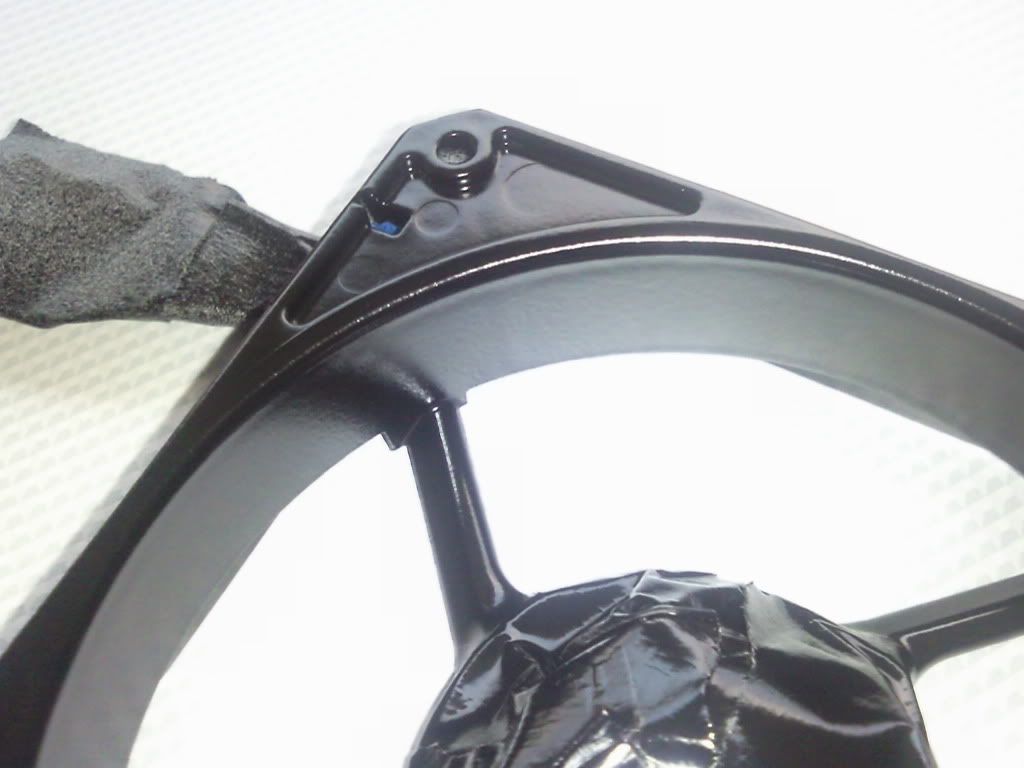
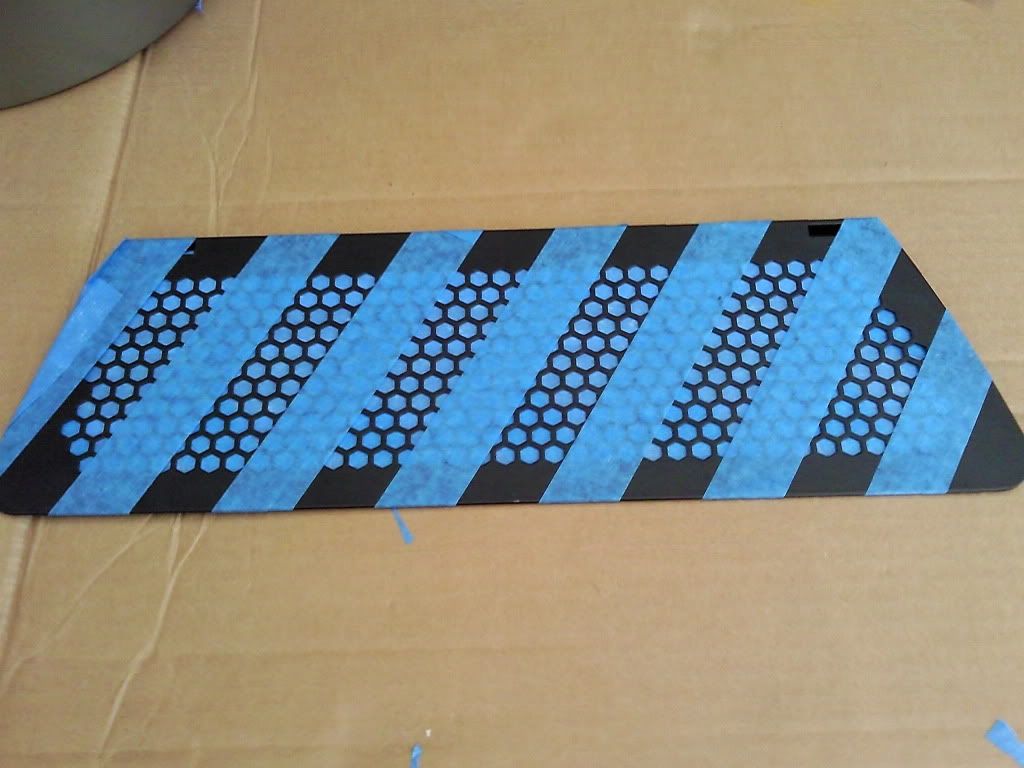
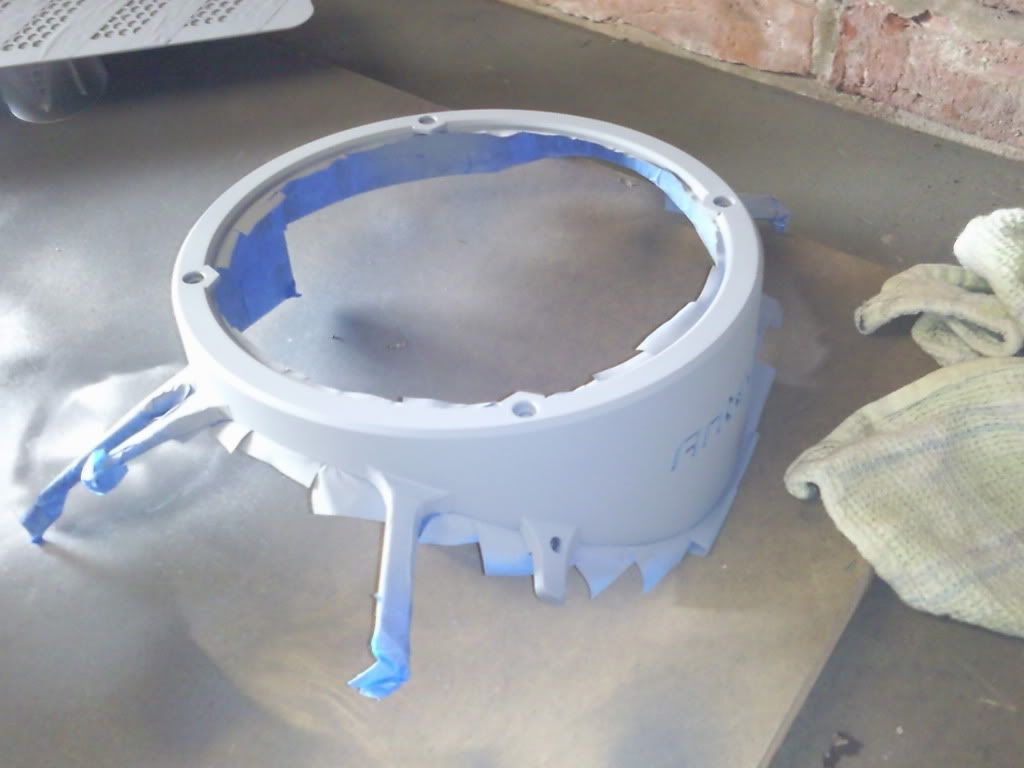
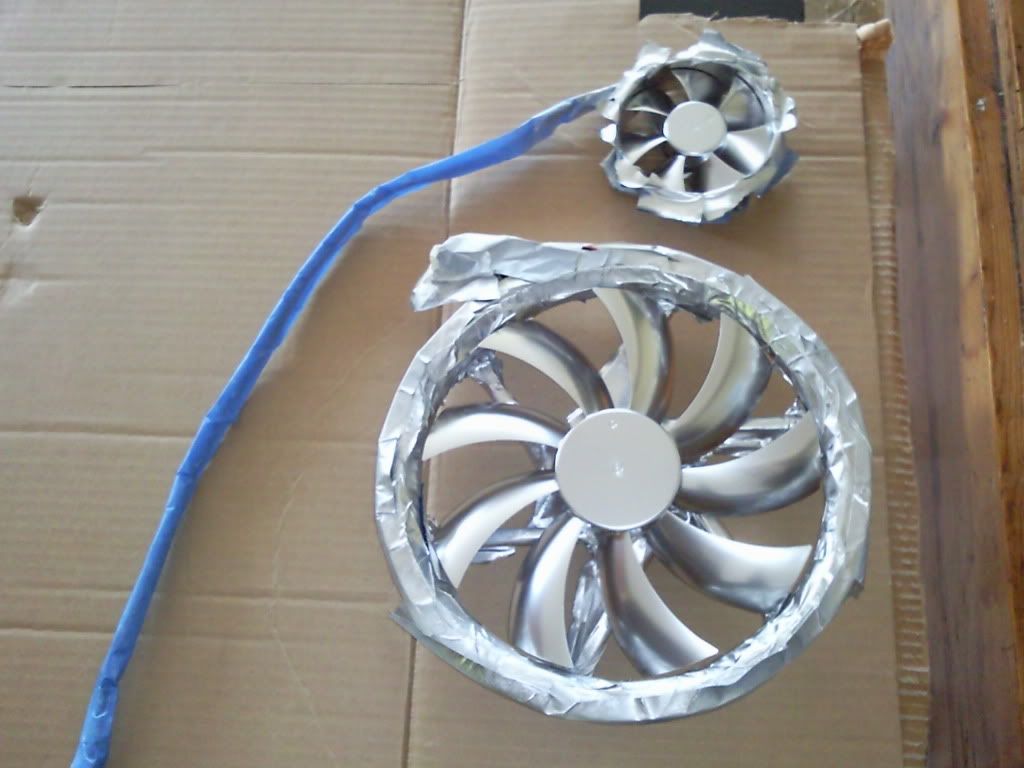
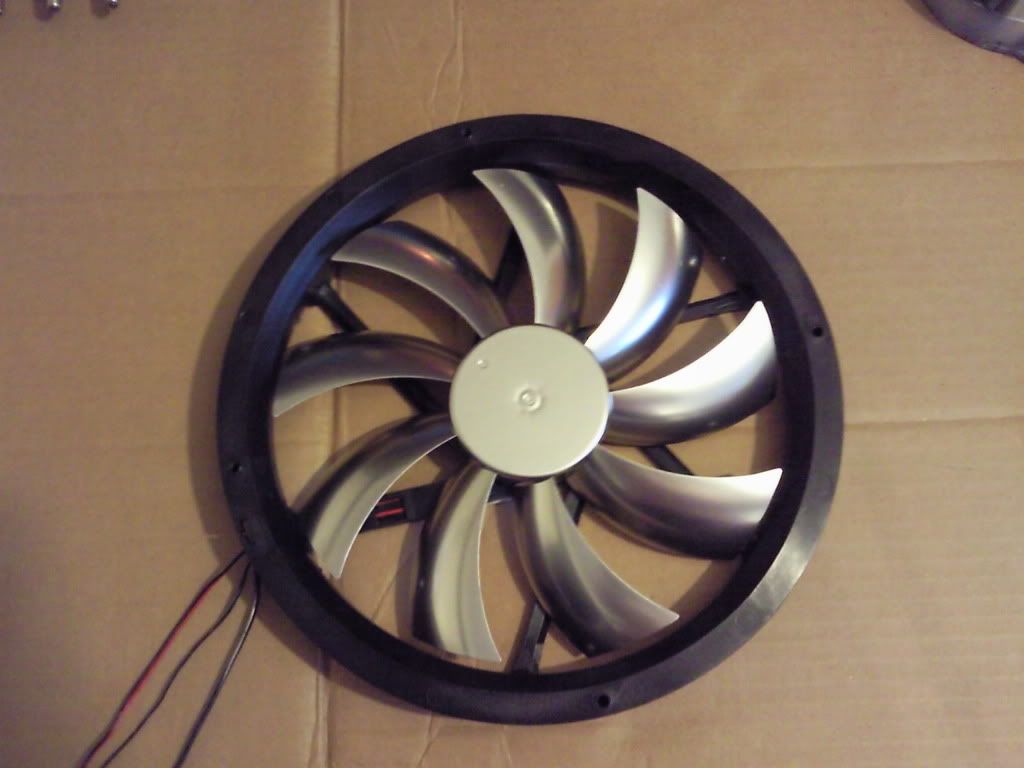
I then took the whole thing to bits and set about masking ready for spraying. Anybody who's ever masked a fan will know what a pain in the rectum it is.

Photo0319.jpg


Photo0328.jpg


Photo0327.jpg


Photo0377.jpg


Photo0331.jpg


Photo0376.jpg


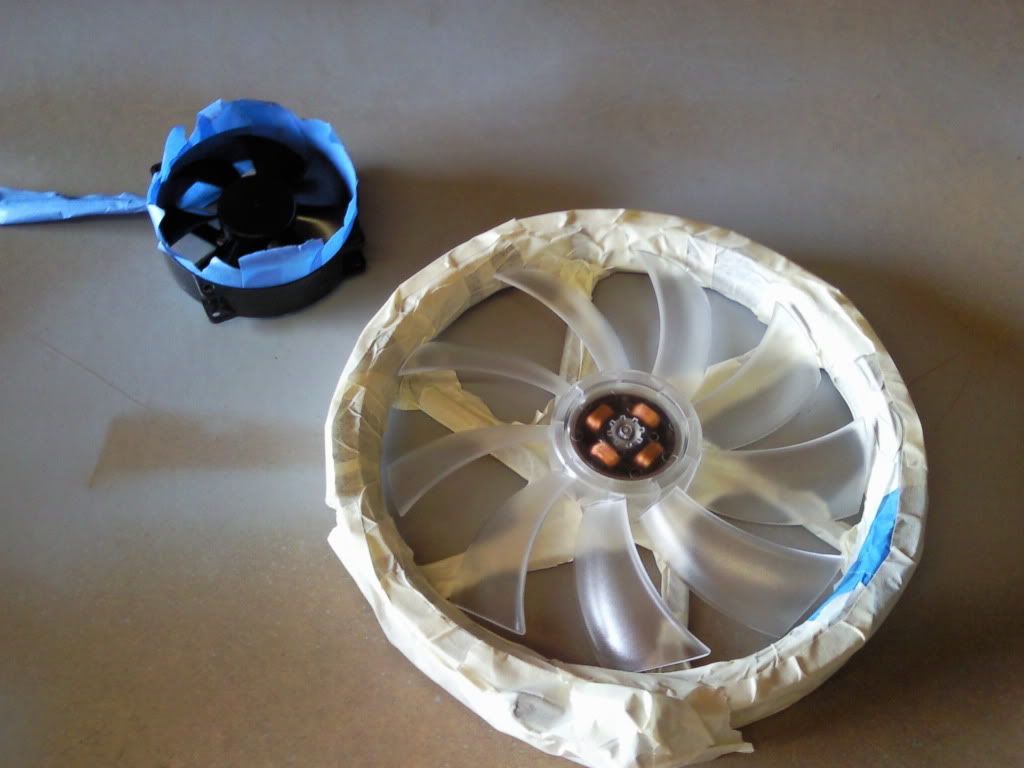
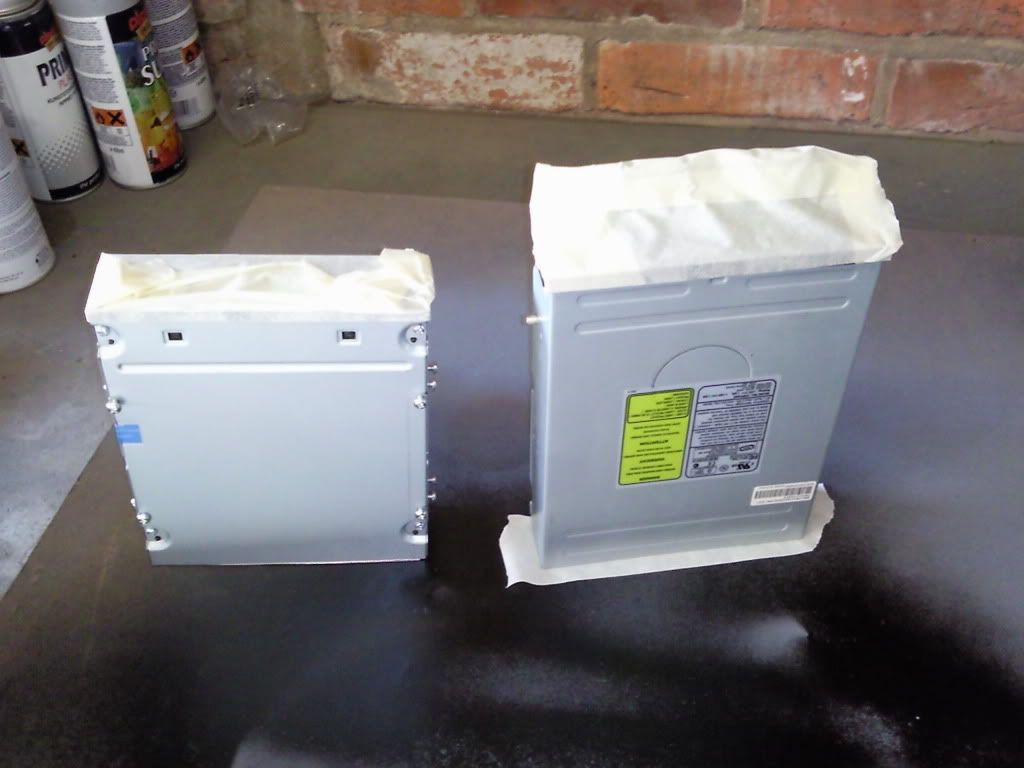
never really spray painted before, apart from the odd bus shelter in my youth so very steep learning curve

Lesson learned No2 Dust is the enemy

Lesson learned No3 sand between coats for a better finish

lesson learned No4 don't be tempted to touch it between coats as grease from your fingers from handling the job between coats causes the next coat to crackle when it dries in the areas you have touched it. You then have to sand it all back to the plastic base and start again.


Photo0385.jpg


Photo0392.jpg


Photo0398.jpg


Photo0397.jpg


Photo0332.jpg


Photo0336.jpg


Photo0408.jpg


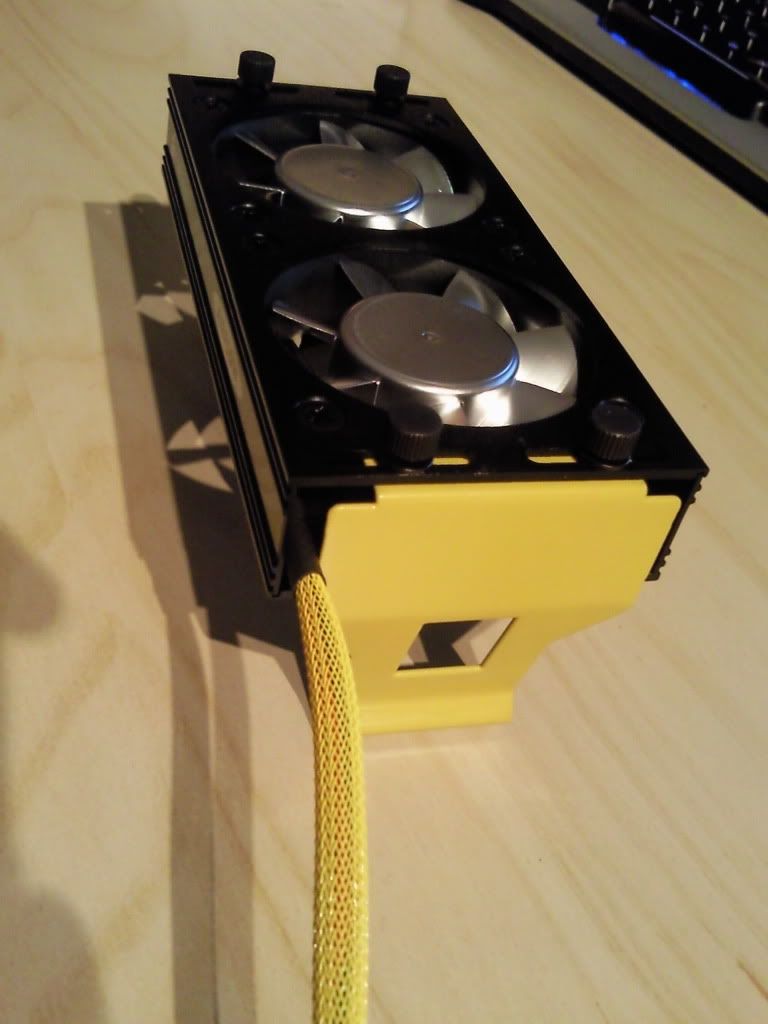
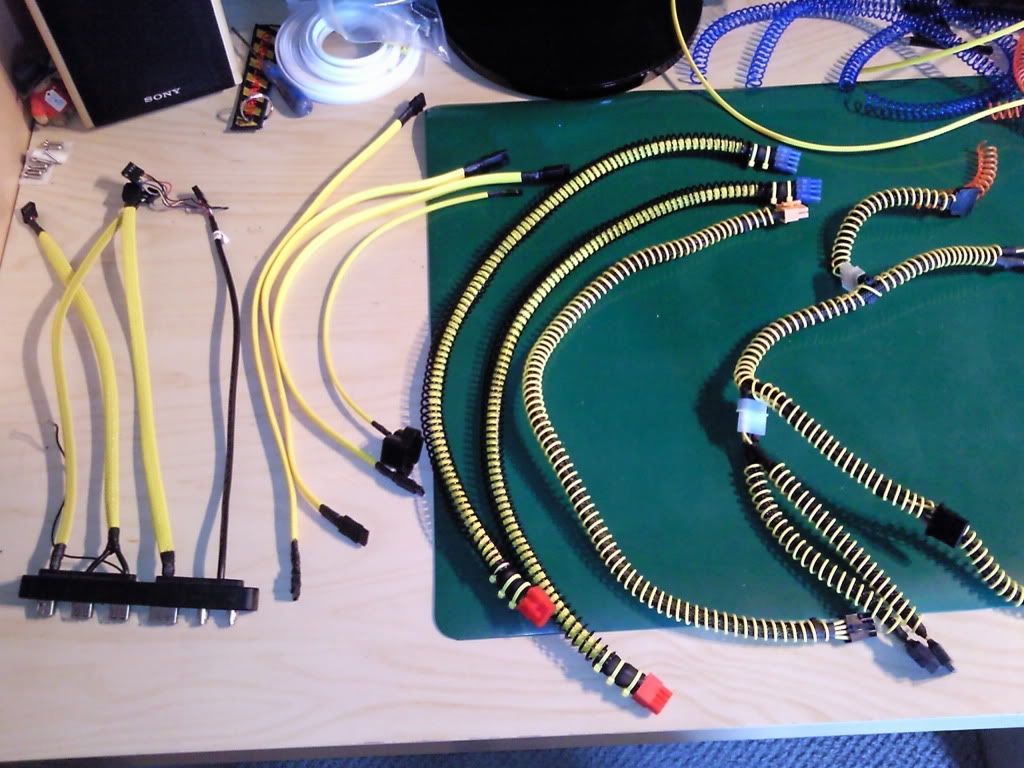
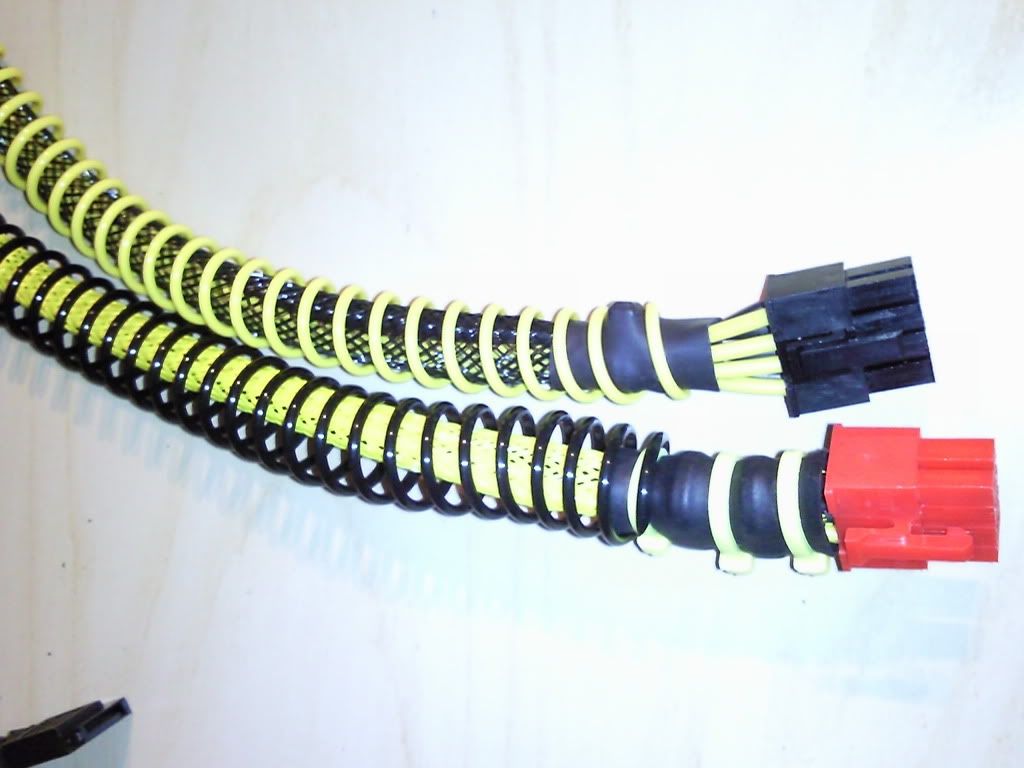
Continuing the black and yellow theme I re braided all my cables (very theraputic). I also quite like the look achieved when putting anti kink coil over braided cable, I know it's not what it's for, but like I say I happen to like the look.

Photo0347.jpg


Photo0349.jpg


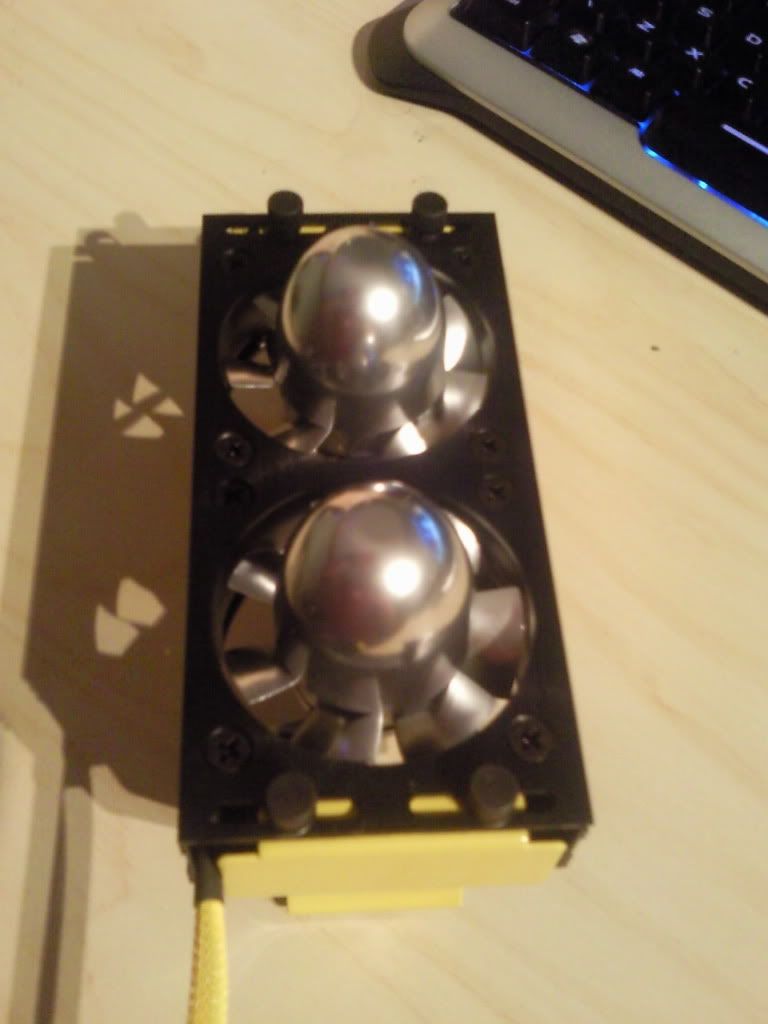
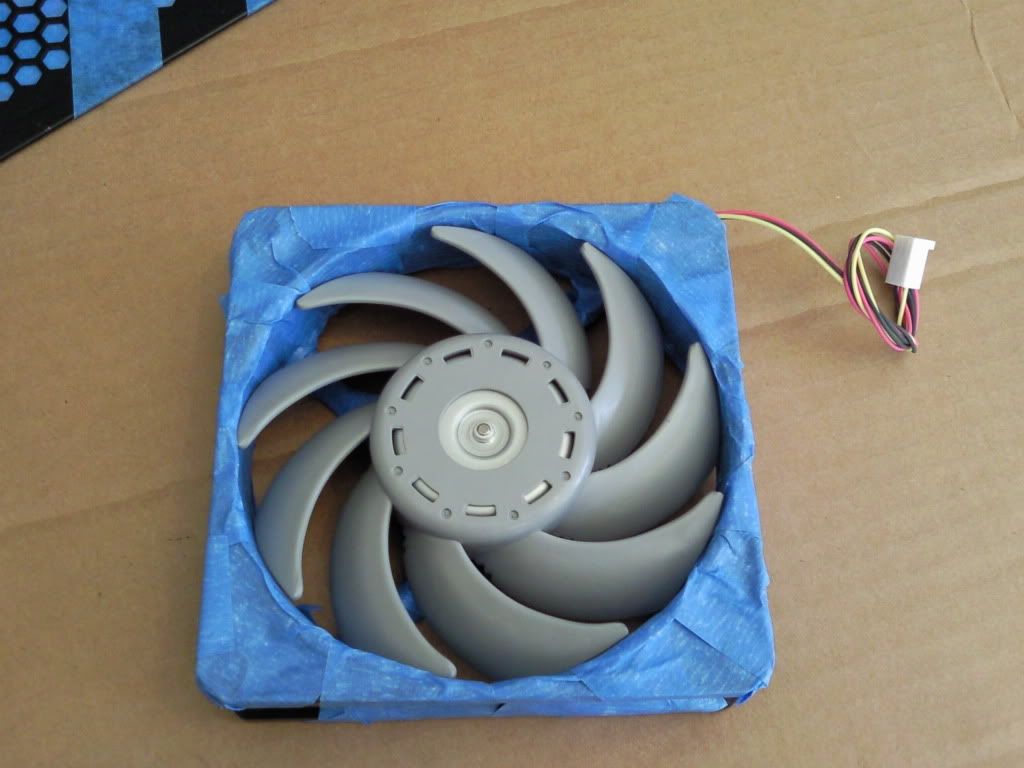
I also modded a Corsair Airflow fan as part of the build

http://forums.overclockers.co.uk/showthread.php?p=14970908#post14970908

So that's pretty much where I'm up to now. Just got to get it all back together and working!!!
 
Last edited:
Associate
Joined
11 Sep 2009
Posts
52
Looking very nice m8 makes me wish i had taken build pics when i did mine :D
Your spraying looks pro & i really like the chrome fans sexy :)
 
Associate
OP
Joined
2 Jan 2009
Posts
1,737
Location
Lincolnshire coast
Cheers maduser

Like the black and yellow sig, for some reason I can't quite put my finger on it appeals to me

Having pretty much worked out what I want where I'm just about to start braiding the cables for the ccfls

The main body is pretty much together now, hope to post a few more pics either later tonight or tomorrow eve.

Amongst other things spent time today fabricating a hex mesh grill for the cpu fan. Its not finished yet as I still have to sand and touch up the bare metal edges where it was cut. I spent ages trying to work out how to get the slight domed effect to it so as it would sit slightly proud of the fan. in the end I pressed the cut square into the inside of a fruit bowl which as the metal is quite maliable moulded it to the right sort of shape. It scratched the fruit bowl quite a bit, but having put the fruit back it'll be a while before my wife notices (I hope)

I'd welcome thoughts on how to bring this into the black and yellow theme as i'm undecided.
Do i spray the front surface yellow and leave the rest black,
Do I spray the whole thing yellow
Do I leave the front black and spray the rest yellow
Or something else

Photo0423.jpg


Photo0420.jpg
 
Last edited:
Associate
OP
Joined
2 Jan 2009
Posts
1,737
Location
Lincolnshire coast
Big lesson learned No5 If you pop out the rubber bung on the back of pretty much any fan and prise off the little plastic circular clip then you can take the fan blades out of the housing, and don't need to spend weeks of your life masking them up.

Wish I'd known this before I'd started

trying to remain calm.....
 
Last edited:
Associate
Joined
25 Jun 2009
Posts
226
Location
Middlesbrough
That's looking really good. Great work.
Because the Skeleton mods I've been reading about here look so great, I'm having to change the plan for mine. It was going to be quite plain but I can't do that now!
Candy apple red keeps popping in to my head. I love that colour when done properly.
Hmmm... should I go for it? (Apologies for hijacking thread)
 
Associate
OP
Joined
2 Jan 2009
Posts
1,737
Location
Lincolnshire coast
For best results its a good idea to strip it down to component parts (happy to give advice on taking apart etc). Lots of screws, all different sizes.

You've got a fair bit of sanding ahead of you, as the arched frame and cowling etc have a slightly textured finish to them, to achieve high gloss look you'll need to take it back to the black plastic underneath and then down to a 800grit paper.
 
Associate
OP
Joined
2 Jan 2009
Posts
1,737
Location
Lincolnshire coast
A bit more work done over the weekend, I've now assembled the main frame work, with no screws left over (always a good sign

I've also decided to paint the CPU fan housing yellow in keeping with the other fans. I've actually swapped out the PWM fan that came with the fenrir for a scythe gentle typhoon 1450. It's a mush quieter fan, and should hopefully knock a few degrees of my temps.

Also decided to try out the turbine mod on my RAM cooler, so have been spraying them aswell.

The last photo is a shot of my sprayshop/workshop/bit at the back of the garage, with the caseing for the scythe having just been painted

Photo0431.jpg


Photo0430.jpg


Photo0425.jpg


Photo0427.jpg


Photo0428.jpg
 
Associate
OP
Joined
2 Jan 2009
Posts
1,737
Location
Lincolnshire coast
what spray paint is that? it has come out really nice.

I used halfords grey coloured plastic primer, with plasticote satin black from B&Q. the yellow is another Halfords product and is actually Rover "inca yellow" I tried a few yellows, including the plasticote one you can see in the back ground, but the rover one was the best colour for me. coverage and ease of use wise they're all the same really.
 
Associate
Joined
24 Feb 2009
Posts
1,720
Location
Teesside
Looks nice, really liking the colour scheme, somthing a bit different :) And to say its your first proper mod it seems to be going pretty good! Liking the little 'Lessons' along the way :p
 
Associate
OP
Joined
2 Jan 2009
Posts
1,737
Location
Lincolnshire coast
many thanks for positive feed back, nice to know I'm going in the right direction

Not much action tonight, I sprayed the CPU fan casing last night, and was hoping to re mask and apply the yellow coat tonight but it's just not dry enough yet. i've also modded my RAm cooler and have been yoying with the idea of adding in turbine effect spinners to the blades. I've had a bit of a go using the lids off of a certain ladies deodorant (got a few funny looks in tesco looking for cans with pointy lids) but i'm not sure....they kinda look too big maybe...what do you think?? If the ideas sound but the product is wrong I might source some propper spiners from a model aircraft shop or something

Open to suggestions


Also many thanks coldzero, you're my first ever "subscribed"

A few photos


Photo0437.jpg


Photo0439.jpg


without spinners

Photo0418.jpg


With spinners


Photo0443.jpg
 
Back
Top Bottom