Tiger Style: Build log

Man of Honour
Joined
14 Nov 2005
Posts
10,661
Location
Up North
I am just about to start on a new project so thought it might be an idea to make a little log of it. Hopefully it might interest a few people.

A few of you may have seen my last build :

http://forums.overclockers.co.uk/showthread.php?t=17778740&highlight=UFO

059-2.jpg


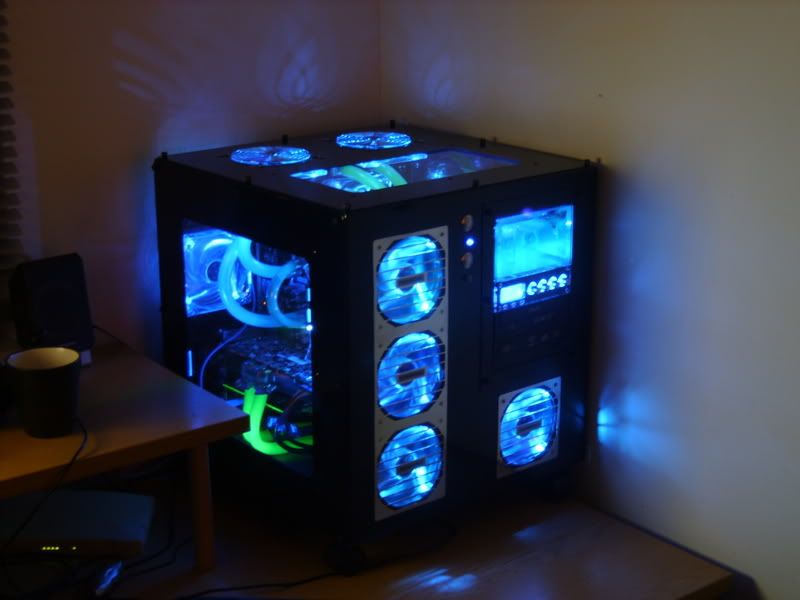
Although I did really like my old setup I felt that the green/blue theme had been done to death. It was also very bright and became a little distracting, especially when gaming. With the fans being blue LED version, a lot of UV blue reactive kit, blue gauges, fan controllers etc so the looks needed a complete overhaul.
My watercooling kit is top of the range stuff so I would be keeping that although it did need a damn good clean after 6 months of none maintenance aswell as a little spruce up - more on that later.

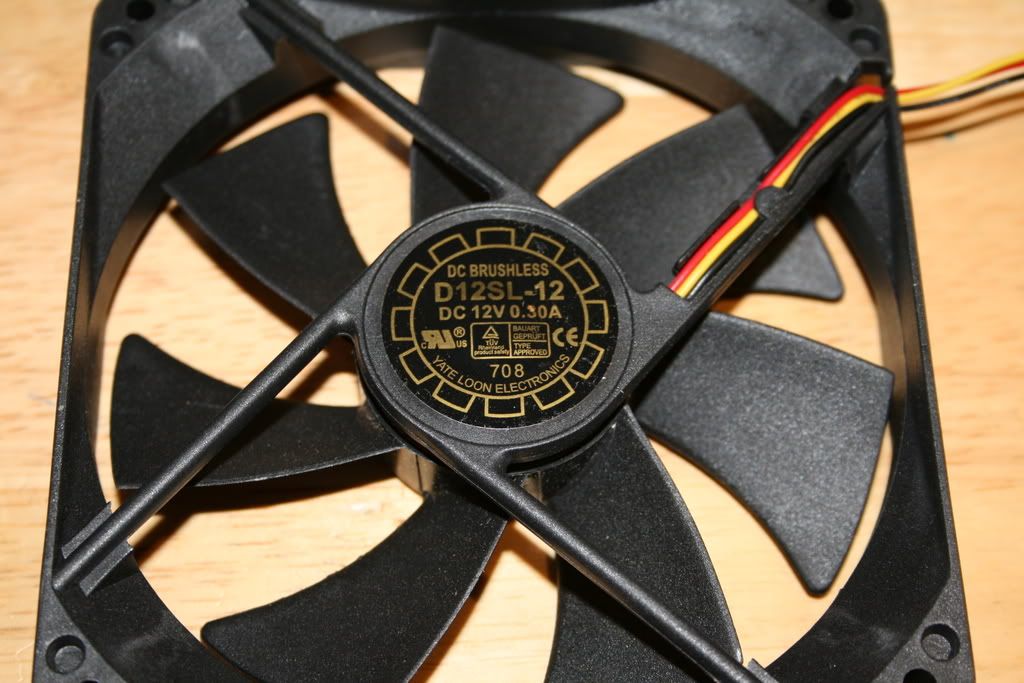
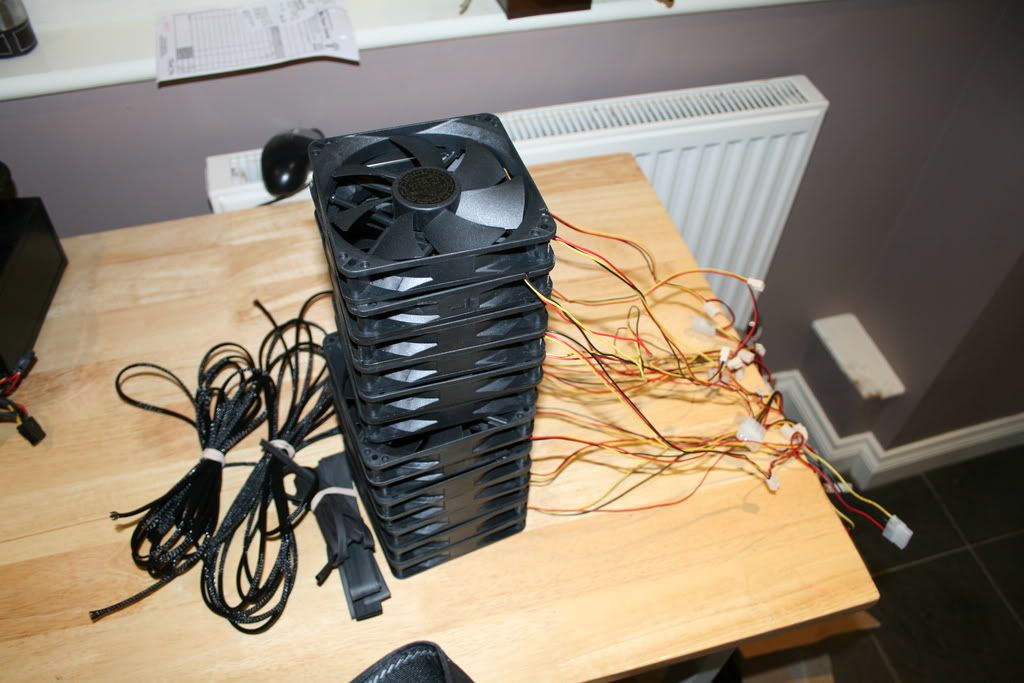
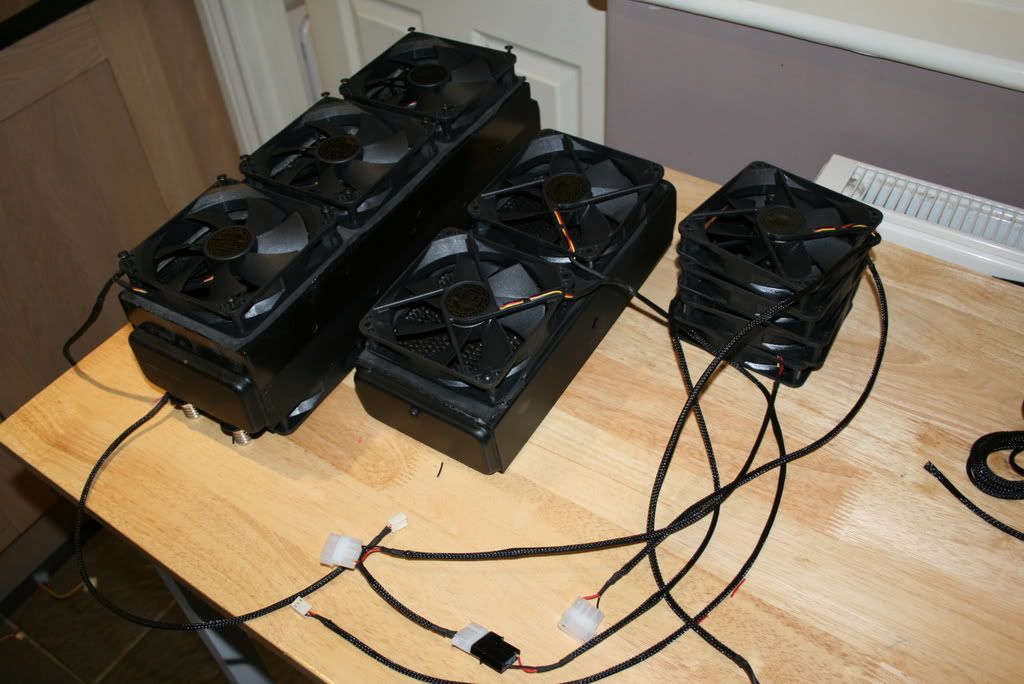
I love the UFO case and just can't rate it highly enough. It makes building a rig very easy (though expensive) and although the accessories it comes with are sparse to say the least, all you need are fans (9 of) to get you going. I will once again also be using a dual loop watrercooled setup so using this case again was an easy choice to make. Being black it goes with almost anything and for watercooling there just isn't a better case to use on the market (imo). I know it isn't to everyones tastes, being more industrial looking than lianLi and silverstone, but its a look I like.

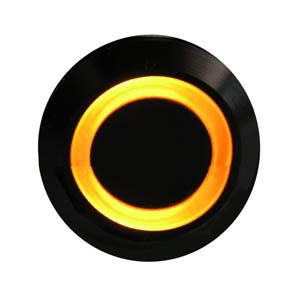
As the name suggests there will be a splash of orange (visually, not physically I hope) as I don't believe orange is widely used - I guess for good reason judging by the hassle I am having sourcing parts. It will however be a little more descrete than the blue/green effect used previously!

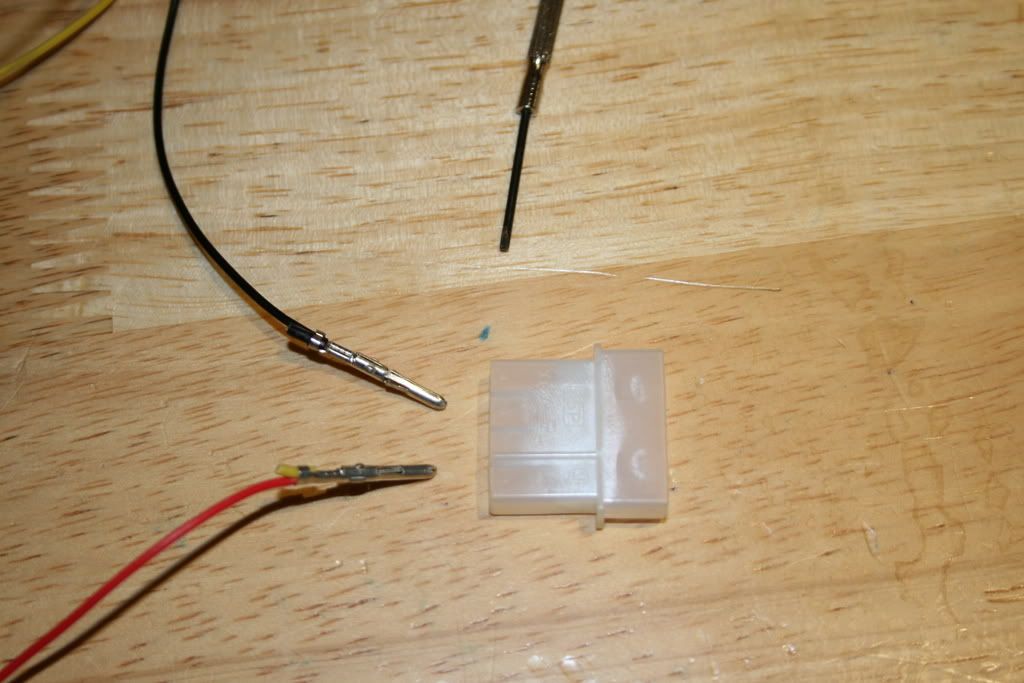
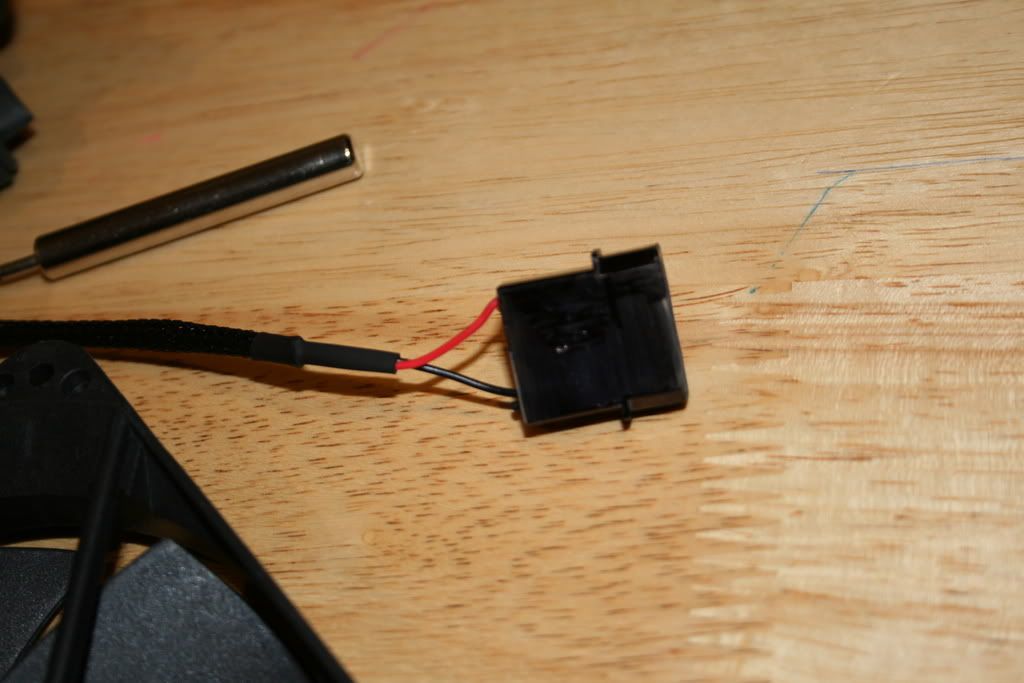
Before I get onto the actual building though I have a little prep work and cleaning to do so I'll update this when its done. Pics to follow;)


<<<!!!Rig now complete!!!>>>

Clicky HERE
 
Last edited:
Man of Honour
OP
Joined
14 Nov 2005
Posts
10,661
Location
Up North
Really looking forward to building this one tbh m8 - I just hope it turns out how I envisage:o. Its just a pain having to clean/prep it all before hand - I wanna get on with building it!
 
Man of Honour
OP
Joined
14 Nov 2005
Posts
10,661
Location
Up North
Yeah I was gonna go for the orange yates but I wasn't too sure how they would look. I don't wanna make it look tacky or too orange so for now I have gone with black yates (12 of em!) but I also have some invisible UV orange paint on the way too so who knows.;)
 
Man of Honour
OP
Joined
14 Nov 2005
Posts
10,661
Location
Up North
Yeah I've seen those but I reckon I'll go with these :

2209.jpg


Can't find them in stock atm though.

I may even keep the led's as I have the orange leds but need to solder them in.
 
Soldato
Joined
11 Sep 2003
Posts
14,716
Location
London
Those are nice switches w3bbo, I am interested in using similar switches for a few builds but I don't really know how to attach the wires and stuff, sounds like I will finally have to get myself a little soldering kit! :o

Look forward to your work in progress, if you do some custom switches it would be nice to see the process and whats involved, thanks! :)
 
Soldato
Joined
31 Aug 2007
Posts
4,649
Look forward to seeing the results of this. That current blue setup you have although nice, looks like it would really strain your eyes.
 
Man of Honour
OP
Joined
14 Nov 2005
Posts
10,661
Location
Up North
Some of the bulgin switches come with user friendly screw in type wire connectors (4), sadly there are other ones that have the blade type connectors(6) that require soldering (and a lot of head scratching).

I'm still not sold on the switches though as there would be 2 led's on the case front that would need blanking off. I'll probs see how it goes with the orange led's first and if I don't like em its an easy job to fit a couple of switches aslong as they are the screw type lol.
 
Man of Honour
OP
Joined
14 Nov 2005
Posts
10,661
Location
Up North
Did a little prep work in the hope of getting rid of some nasty wires.

This is the fan I intend on using: Yate Loon D12SL-12. These are fantastic fans for the price and near silent:

Model: YATELOON D12SL-12
Dimensions:120x120x25mm
Rated Voltage: 12 Volts
Operation Voltage: 6.5~13.8 Volts
Input current: 0.30 Amp Max
Operation temperature: -10 to +65 C
Storage temperature: -40 to +70 C
RPM: 1350 +/- 10%
CFM: 47
dB: 28


IMG_0031.jpg


They're that good I got 13 of em! :

IMG_0025.jpg


As you can see there's a hell of a lot of wires there which could look a real mess inside a case, even with some tie wraps.
 
Man of Honour
OP
Joined
14 Nov 2005
Posts
10,661
Location
Up North
So.....time for a little braiding.

I said the fans were near silent, well near silent aint really good enough so to make them as quiet as possible without hindering airflow too much I decided to 7v mod them while I'm braiding them.

First I cut off either the 4 pin molex or the 3 pin headers (depending on which connection I wanted) and then removed the connection itself. The 3 pin header is a doddle to remove, just use a small flat head screw driver and push down the metal pins on the back - a little tug and the wire should come straight out. The 4 pin molex is a little more tricky if you dont have the molex removal tool. The trick here is to look down the metal plugs and there are 2 barbs per plug. You need to push these barbs in flush with the plug but not too far as its a bitch to get em back out again. Once they are flush the wirse should come out without the need for tugging.

IMG_0032.jpg


With the connectors removed I went about braiding the wires. I used 3mm black braiding for the fans with 4mm heatshrink which is a perfect (tight) fit. IT was a tedious task but certainly worthwhile. I won't go into the ins and outs of braiding as its pretty much self explanitory but heres a couple of tips:

1. When you have cut the braiding to the desired length, slightly melt the ends which will prevent fraying when threading the wires through.

2. I cut the lengths about 4cm (2x2cm) short which gives the heatshrink something to grip onto, about 1cm wire and 1cm braiding. Depending on the look you're after you may want to allow more or less.

So with them braided up and looking a lot tidier, the ones with molex's (case fans) I 7v'd them :

IMG_0033.jpg


I cheated in that I 'coloured in' the molex connectors with a marker pen until I can get hold of some black connectors:001_cool:.

Hoping to cut down on wires even further I wanted to daisychain some of the fans together for the rads so I spliced some of the cables and ran 3 together for the front of the PA 120.3, 3 for the back and 2 for the PA120.2. I did run into a problem here in that my fan controller didn't like the fact I was using 3 fans on the rpm reader cable so only one fan could be used for that but other than that it was pretty straight forward.

...and an hour or so later all the fans were done.

IMG_0098.jpg


4 fans were modded for 7v with the rest on 3 pin headers that will be attached to the fan controller.

More to come later...
 
Man of Honour
OP
Joined
14 Nov 2005
Posts
10,661
Location
Up North
Aye, looking at them like that its the 'Tower of Power' lol. You would think that many fans would make a hell of a noise but honestly, you can barely hear them, especially when 7v.
 
Man of Honour
OP
Joined
14 Nov 2005
Posts
10,661
Location
Up North
So while waiting for my hardware to arrive I decided to crack on and do a mini mod. The stock UFO comes with really bright blue LED's on the front panel. While these do look nice blue didn't match my rig this time around nor did I plan n burning my retinas any longer so I decided to go with orange LED's.

Heres a shot of the blue ones with the original 'chrome effect' holders next to my planned orange led's and balck holders:

IMG_0117.jpg


I want as little bare metal/chrome as possible on this rig so think I will be going with the black holders this time around.

IMG_0122.jpg


Rather than solder the led's onto a wire (and then strip it down again when I next change my rig!), I put a motherboard header on both ends of the case wire so the leds can be easily swapped if I dont like em.

IMG_0121.jpg
 
Man of Honour
OP
Joined
14 Nov 2005
Posts
10,661
Location
Up North
Of course these little babies were also braided along with the rest of the front panel header wiring.

IMG_0120.jpg


IMG_0119.jpg


New vs old :

IMG_0125.jpg


anyway...thats enough for one day, time I went to bed (I h8 night shifts:().
 
Last edited:
Soldato
Joined
15 Jun 2003
Posts
2,597
Location
Darlington
W3bbo have you ever had any problems with your UFO's roof mounted fans? as both of my Yate Loons have started to grind due to them been mounted horizontally and having sleeve bearings.
 
Soldato
Joined
18 Apr 2007
Posts
3,736
Location
Probably in a river somewhere
Look's interesting, and some very nice work, even if I do still think UFO's look too cheap and box-like. :p

I like that front pannel header block though, that must make putting all the separate connectors together so much easier. Where did it come from? With the case, board or somewhere else?

PK!
 
Back
Top Bottom