650D Watercooling Project

Associate
Joined
27 Nov 2006
Posts
1,329
Location
Coventry
Hey guys. Been considering my first watercooling project for some time now. Been holding off, nervous to take the plunge. But seeing as I just got a new job, I thought I'd treat myself and finally get cracking! :cool:

The OCUK forums have been a great help so far, so thought I would share my plans, and hopefully my build with all you lovely people.

So, what is the plan? The loop will be for a single CPU and GPU, but I want to leave headroom for upgrades in the future. I'm aiming for this to be a nice silent build too :)

My current hardware is quite mediocre, and showing its age a bit! Got an old (but very reliable) Asus P5B Deluxe board, with a Q9550, 4Gb RAM, and a 560Ti. Due an upgrade at some point soon, but I'm quite happy to be trying my hand at watercooling with hardware that isn't brand new. Just in case I make a ****-up :D

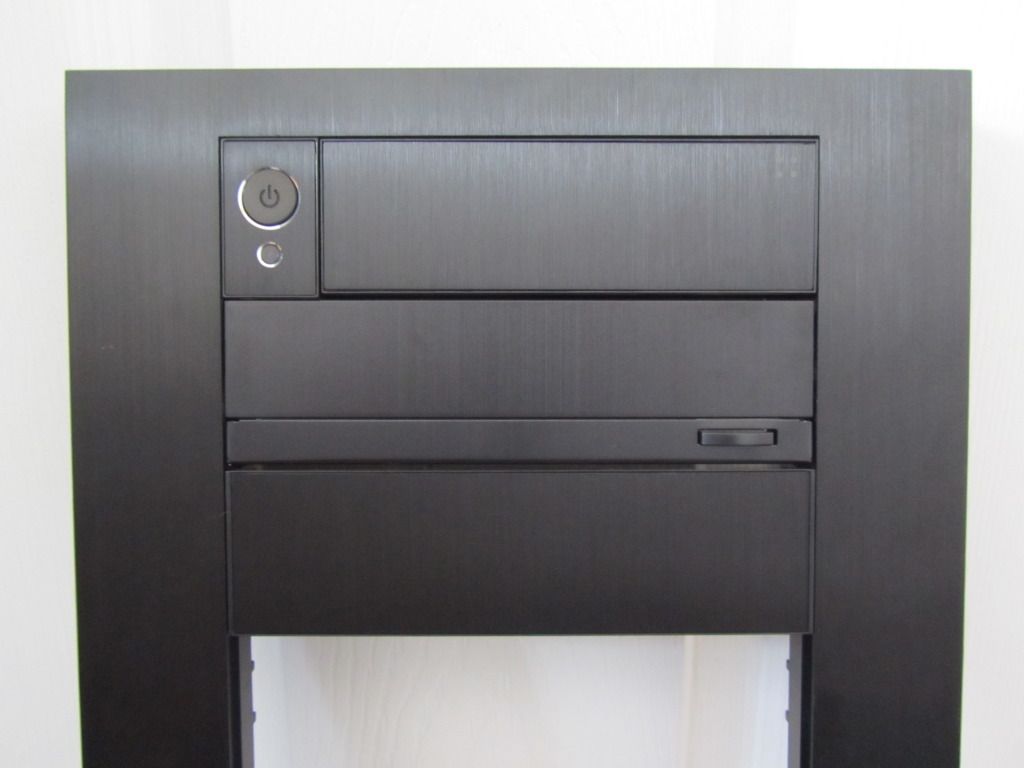
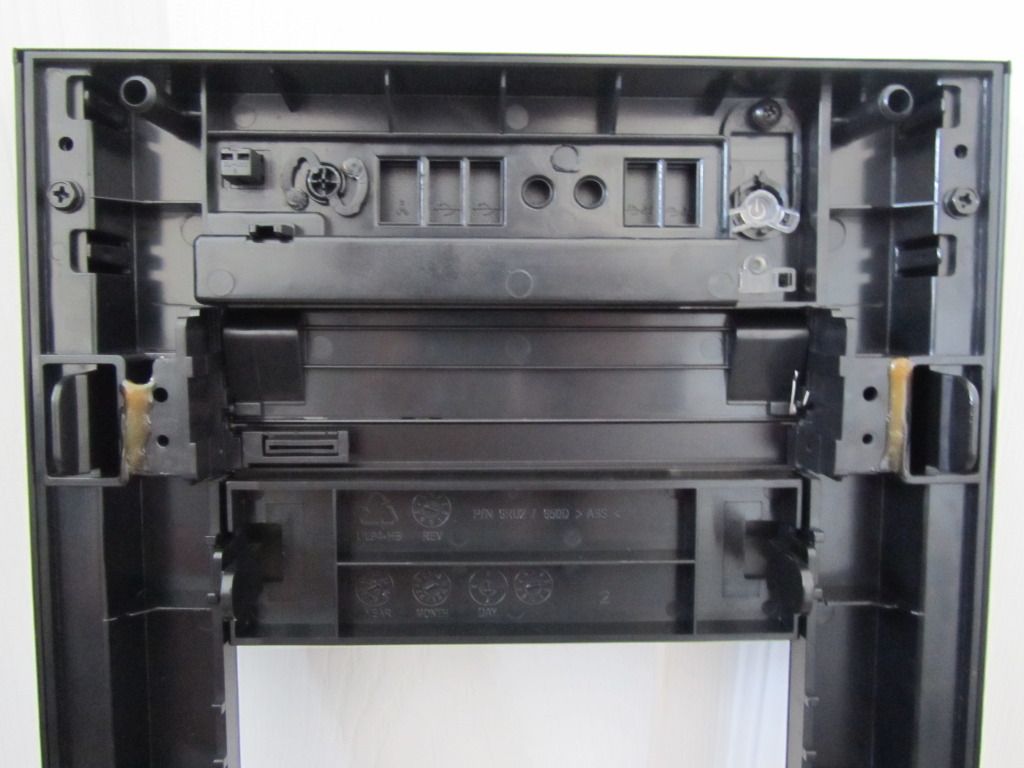
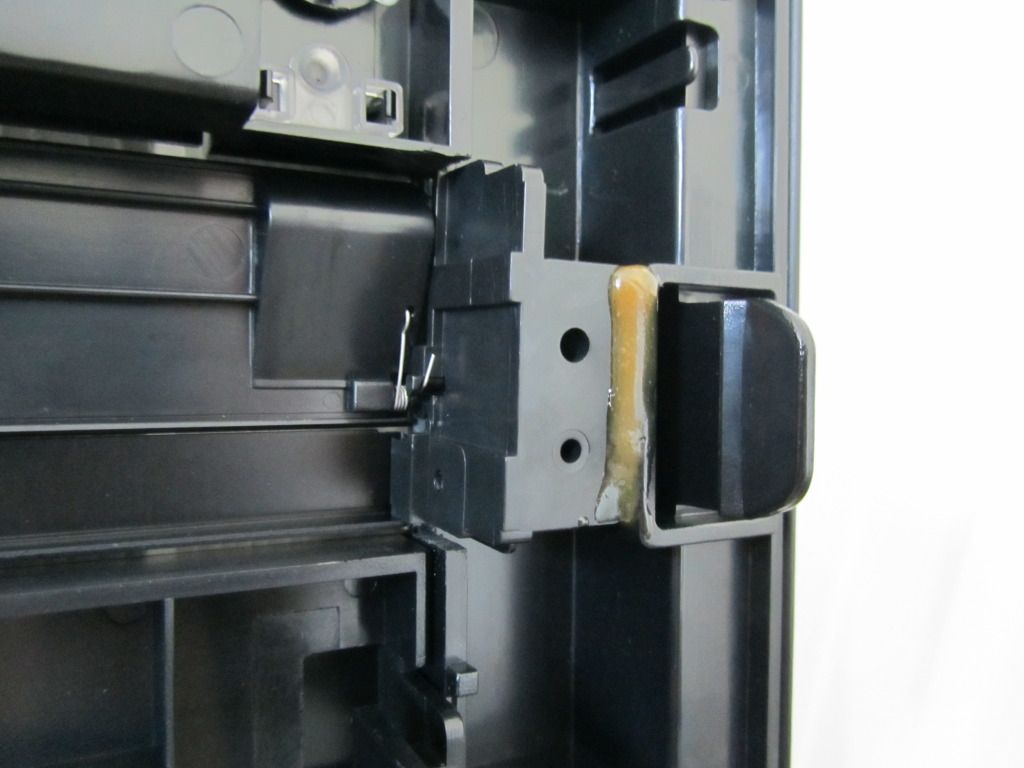
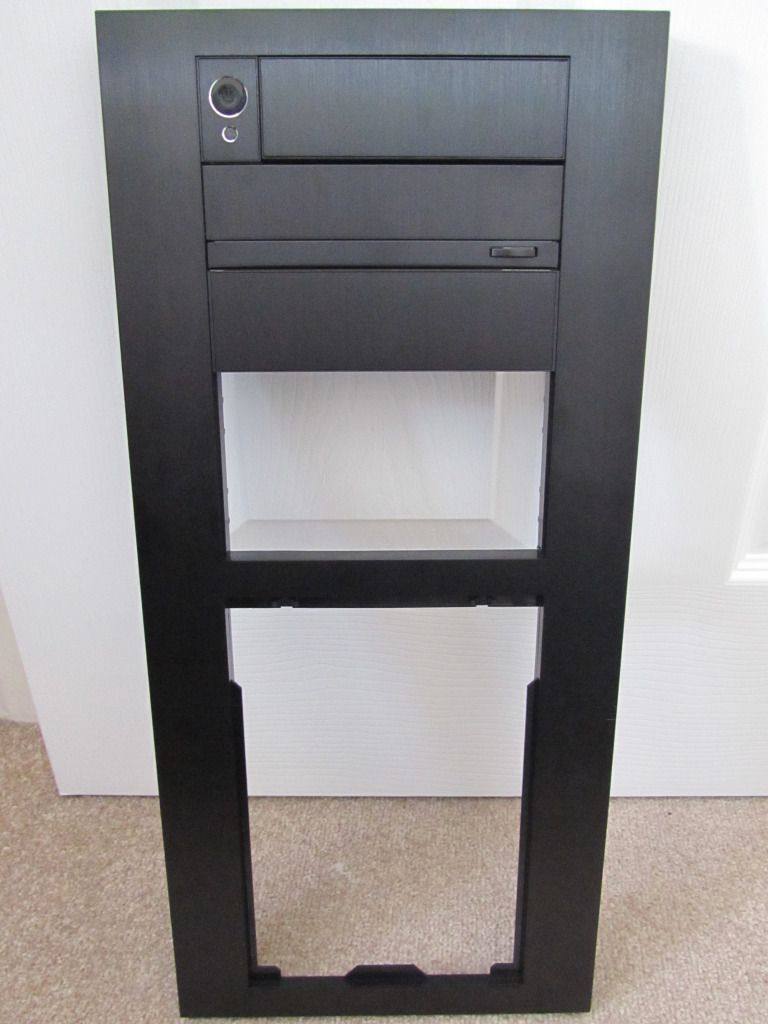
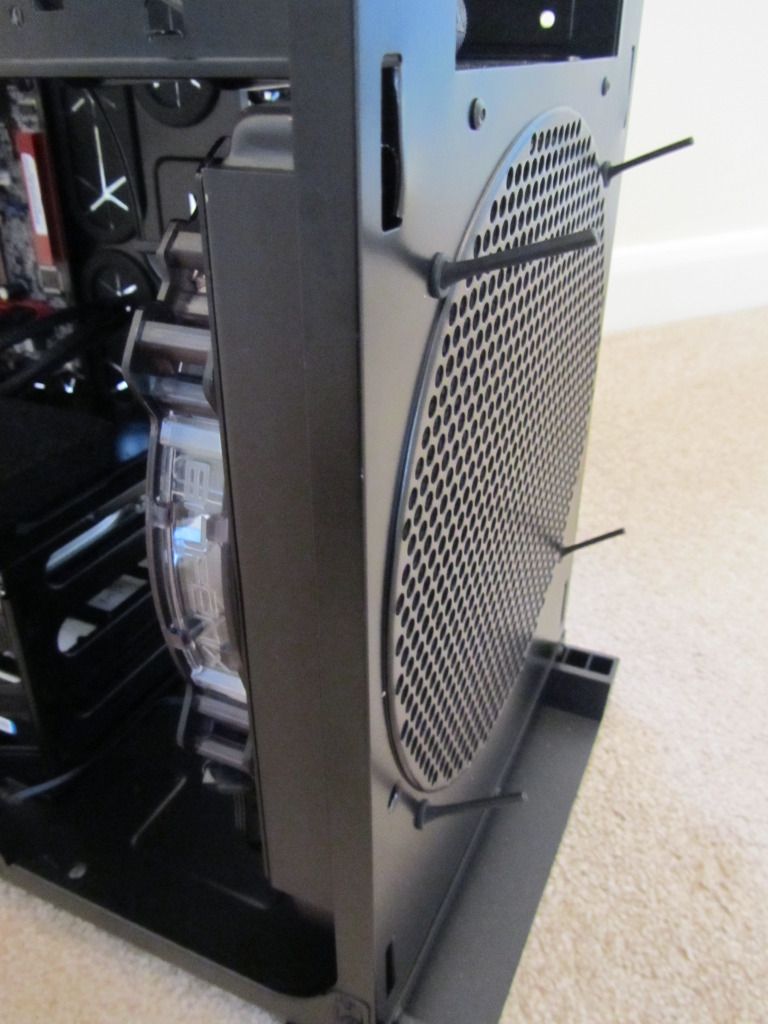
Just switched from my aging Thermaltake Tsunami case, which served me very well, to a lovely 650D. I know there are better cases out there for watercooling. But I spent weeks deciding which one to get. And I kept getting drawn back to the 650D. I've not been disappointed with my choice, seems like an excellent piece of kit!

So what am I hoping to cram inside??
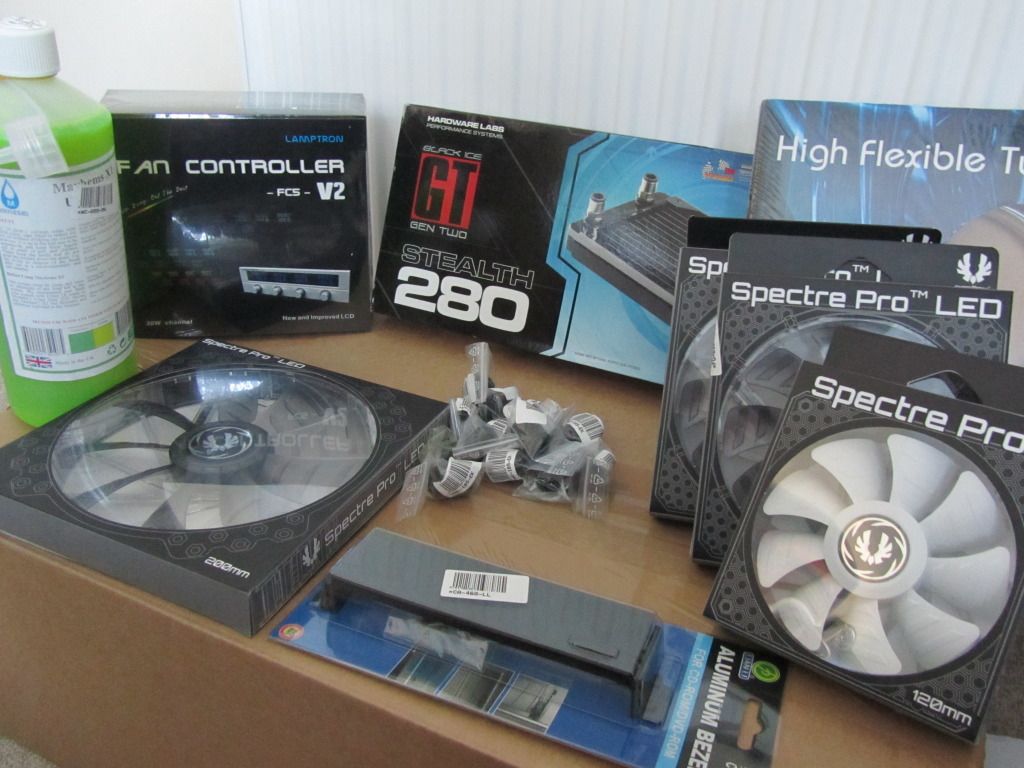
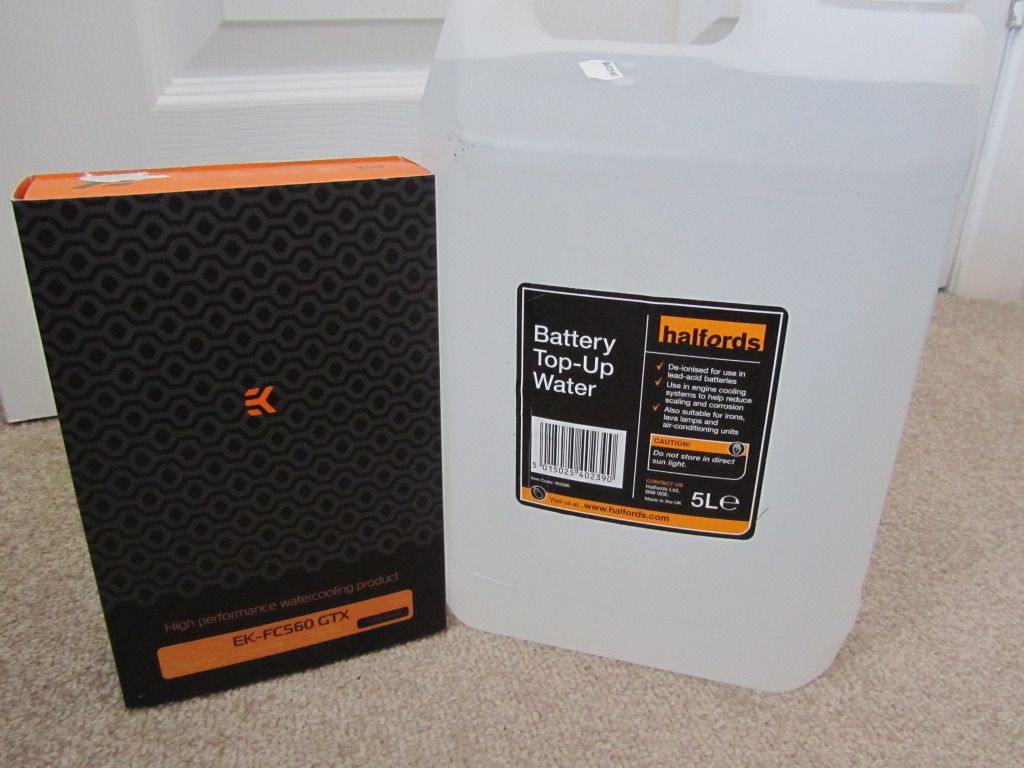
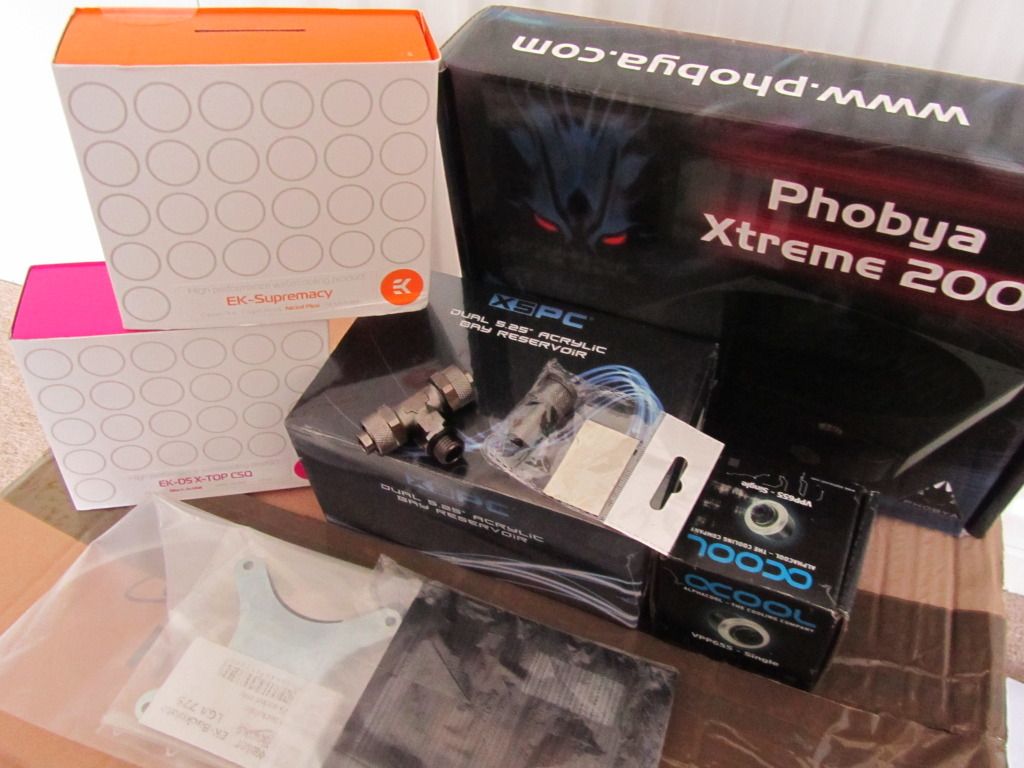
My shopping list is as follows: (About half of it is already ordered and on it's way!!)

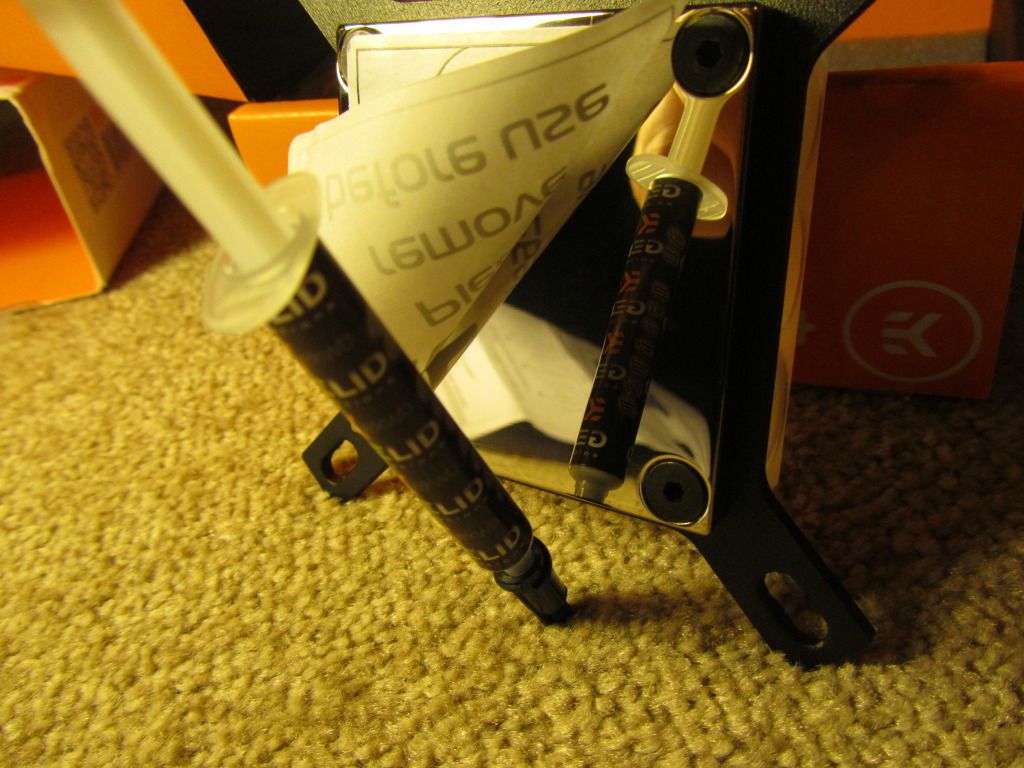
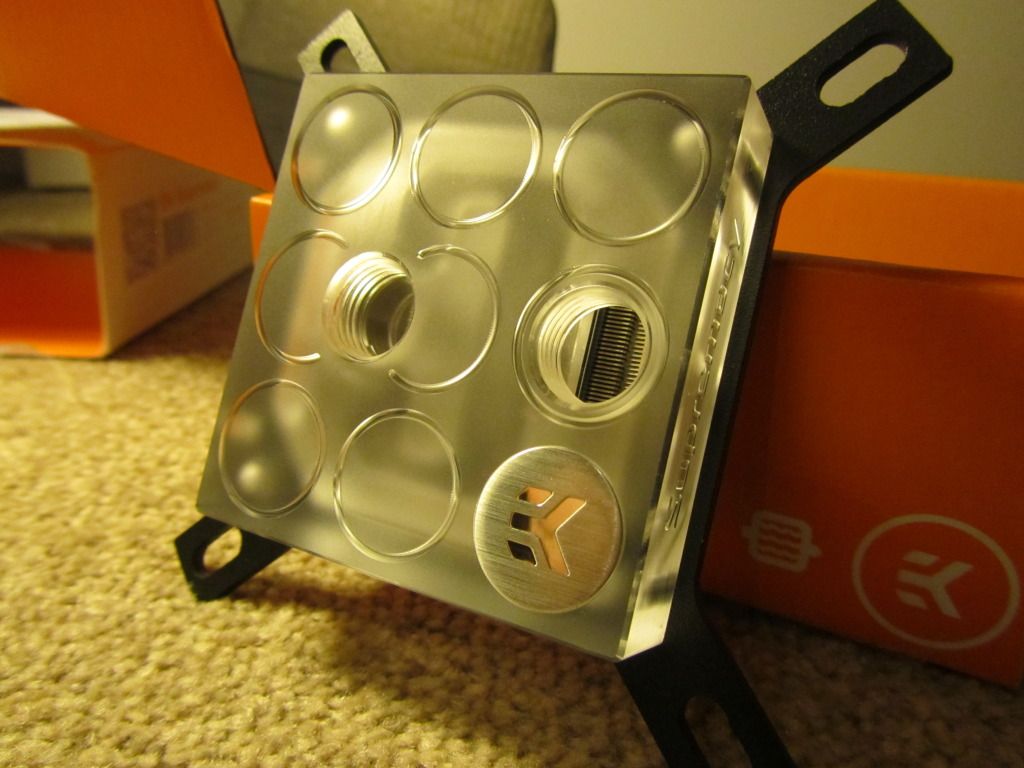
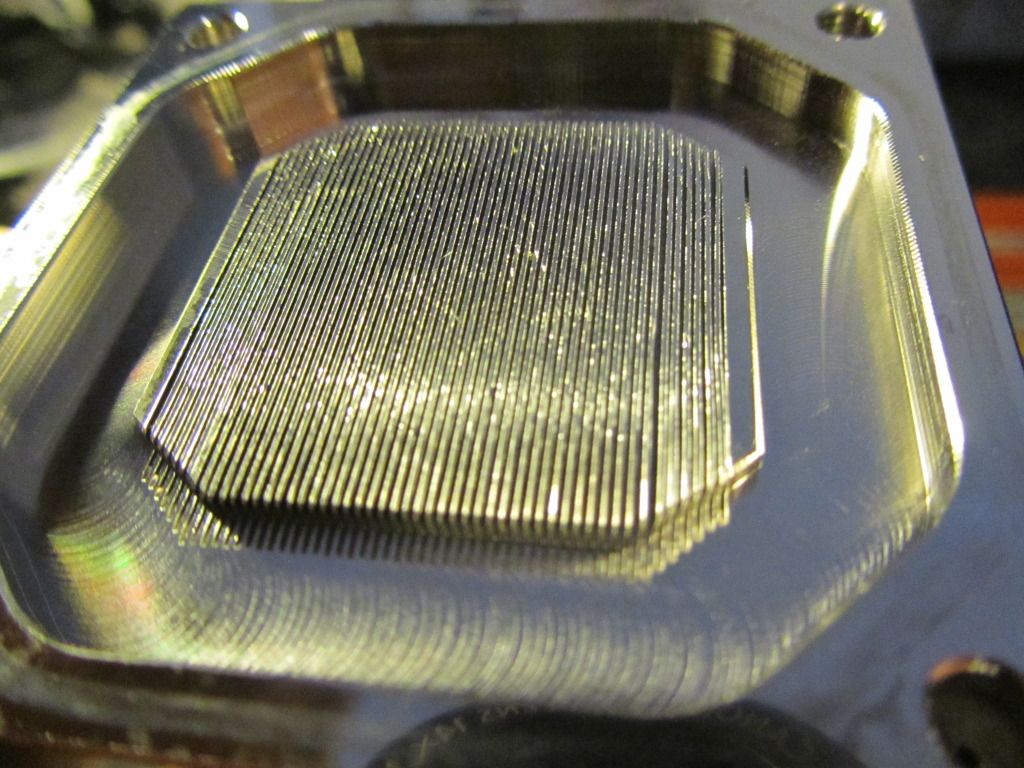
*EK Supremacy CPU Block
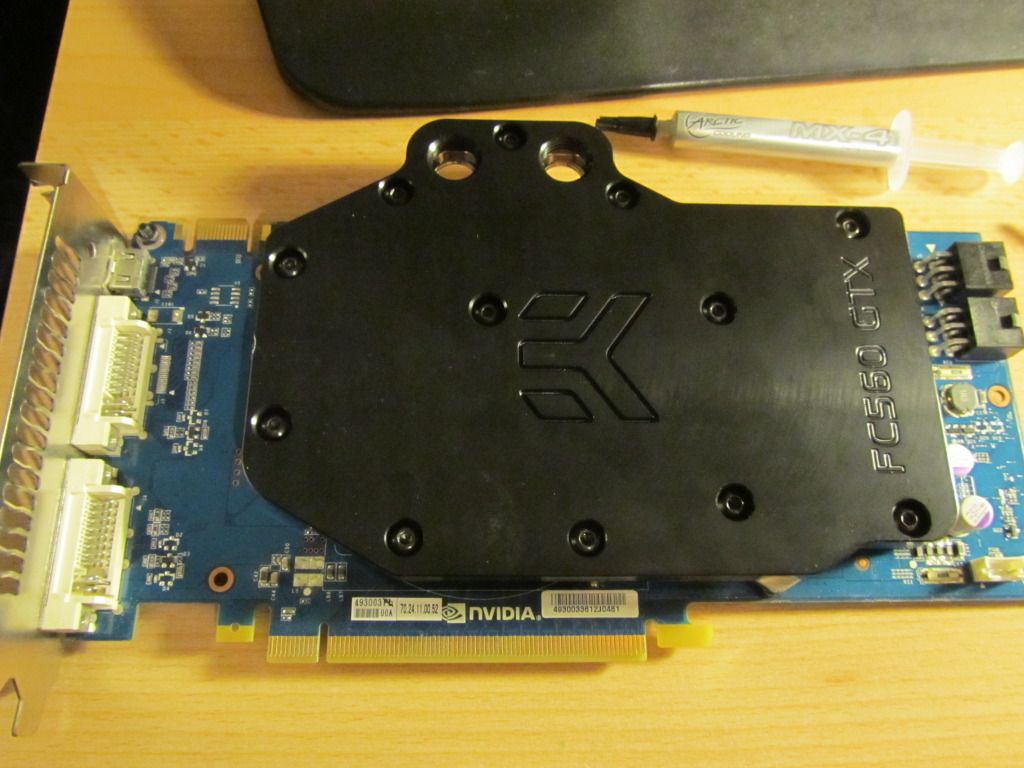
*EK 560Ti Full Water Block (Had for a while, sat taunting me on my desk :p)
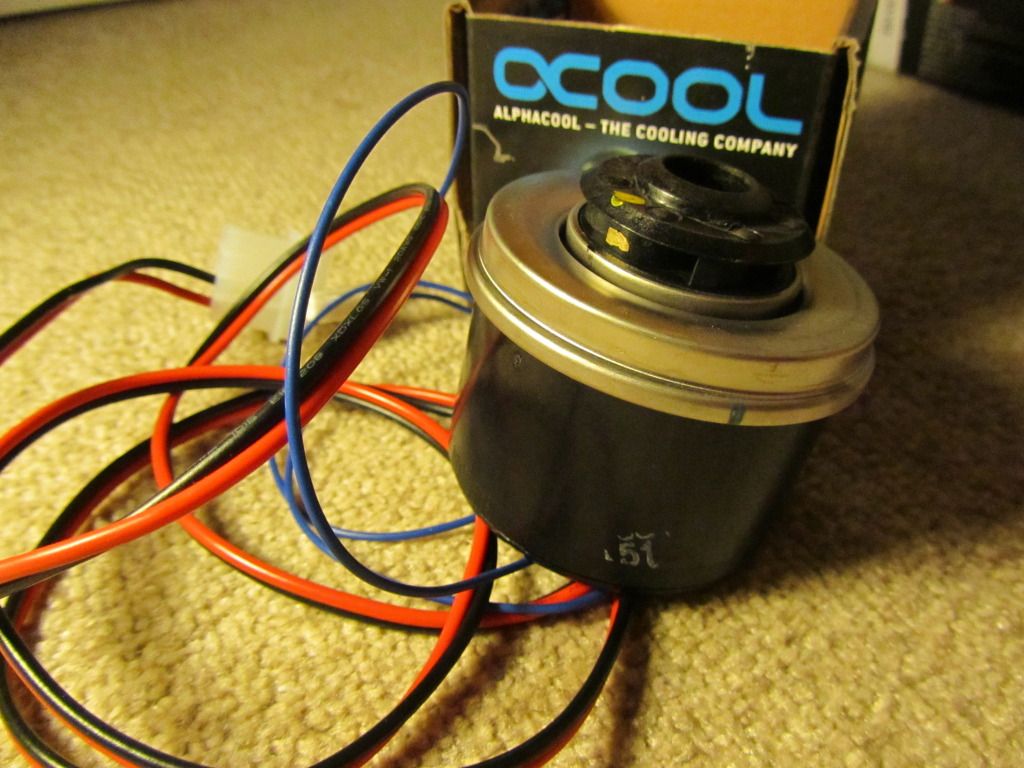
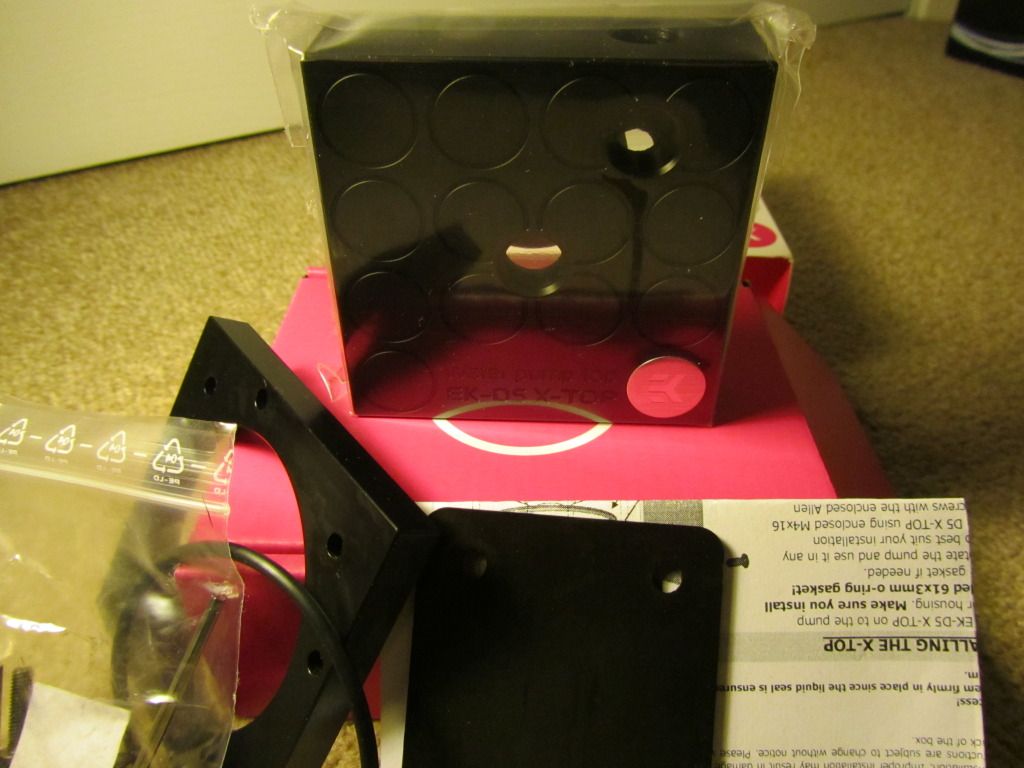
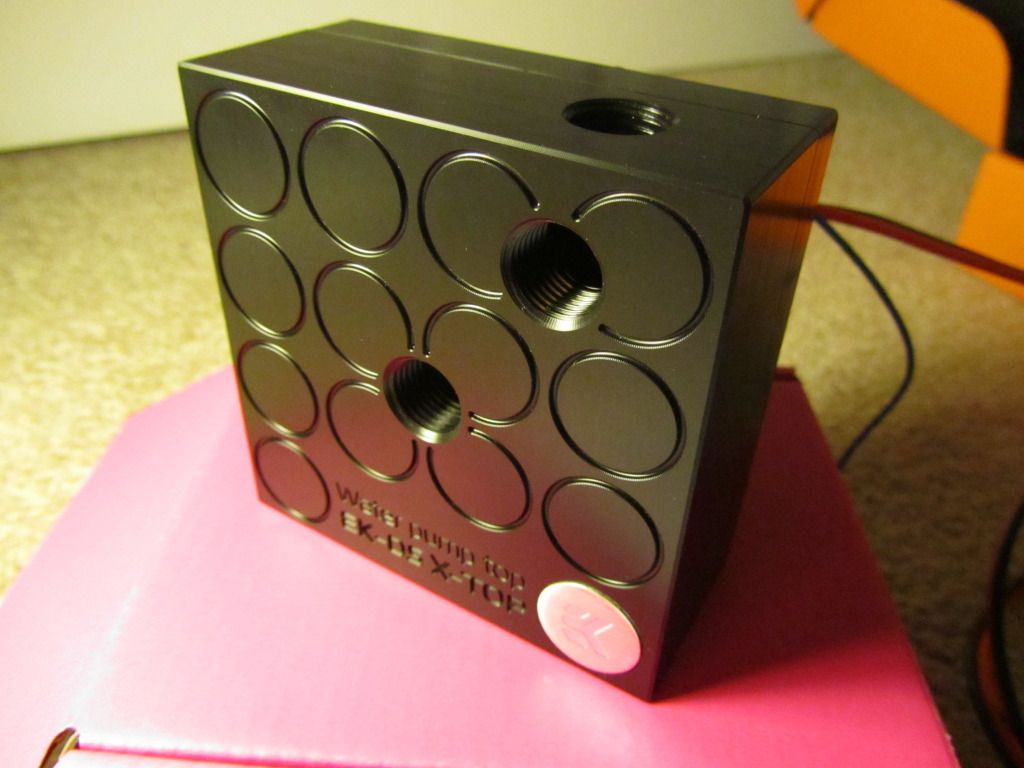
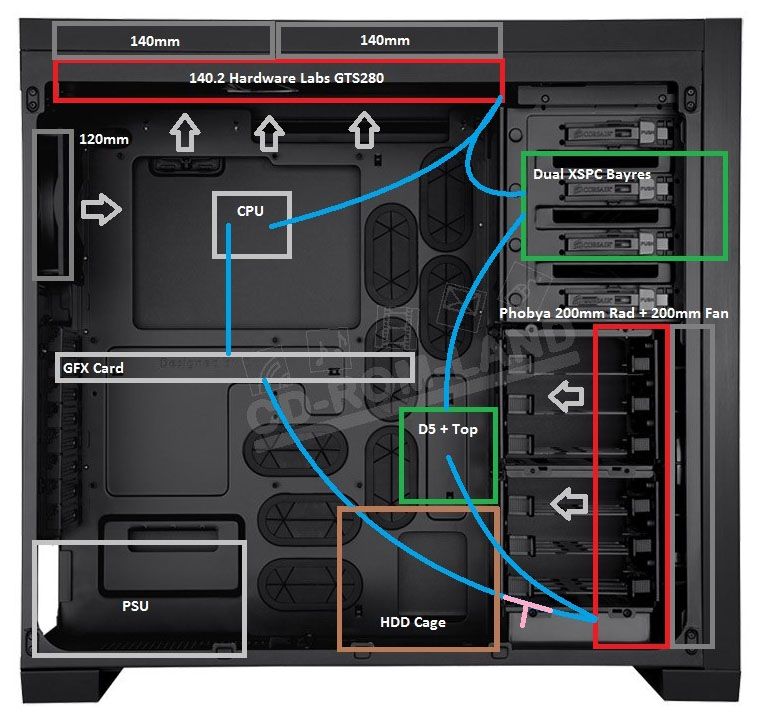
*D5 Pump + Alphacool Top
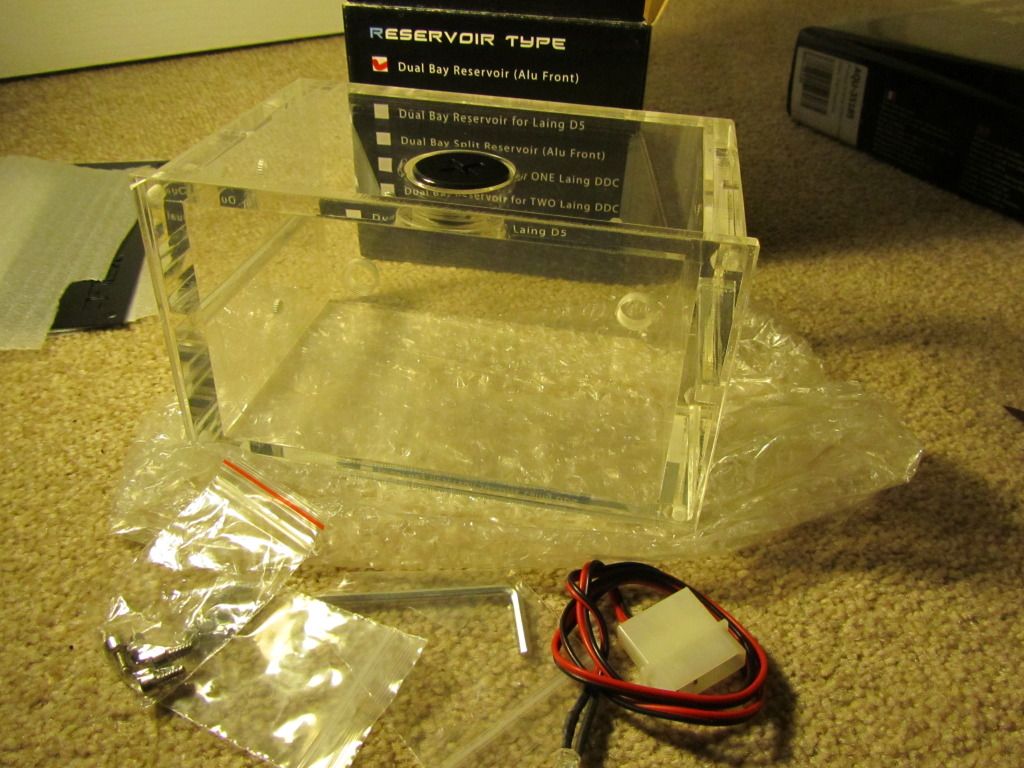
*XSPC 5.25" Dual Bay Res
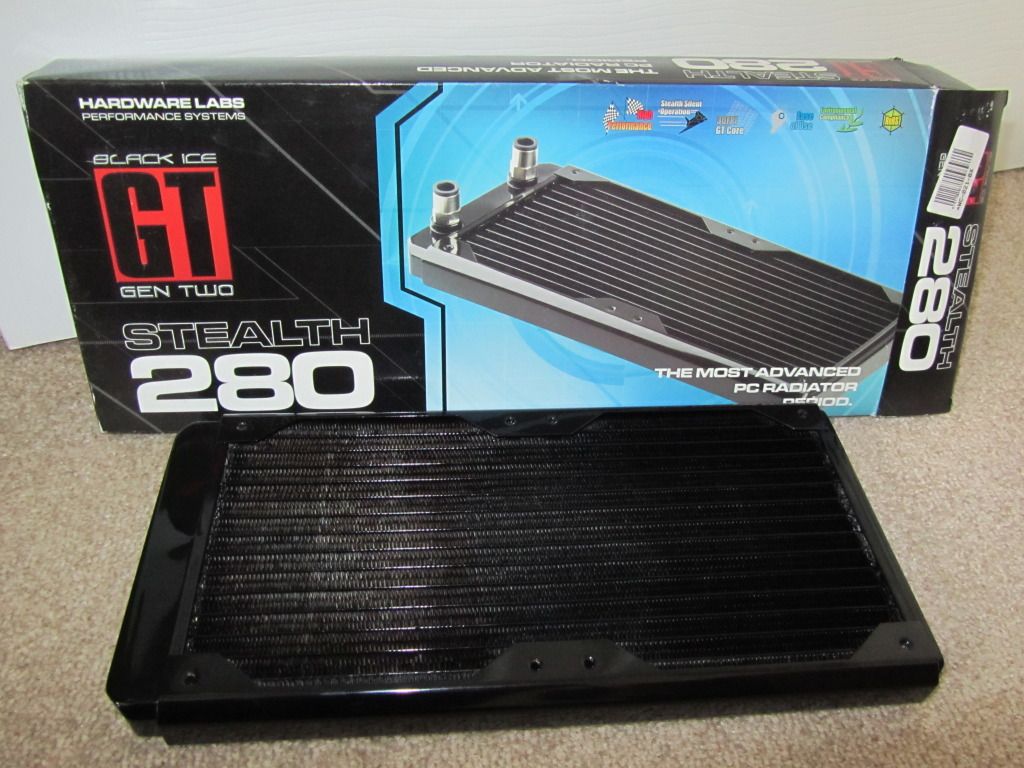
*Hardware Labs Black Ice GT Stealth 280 (GTS280) Rad
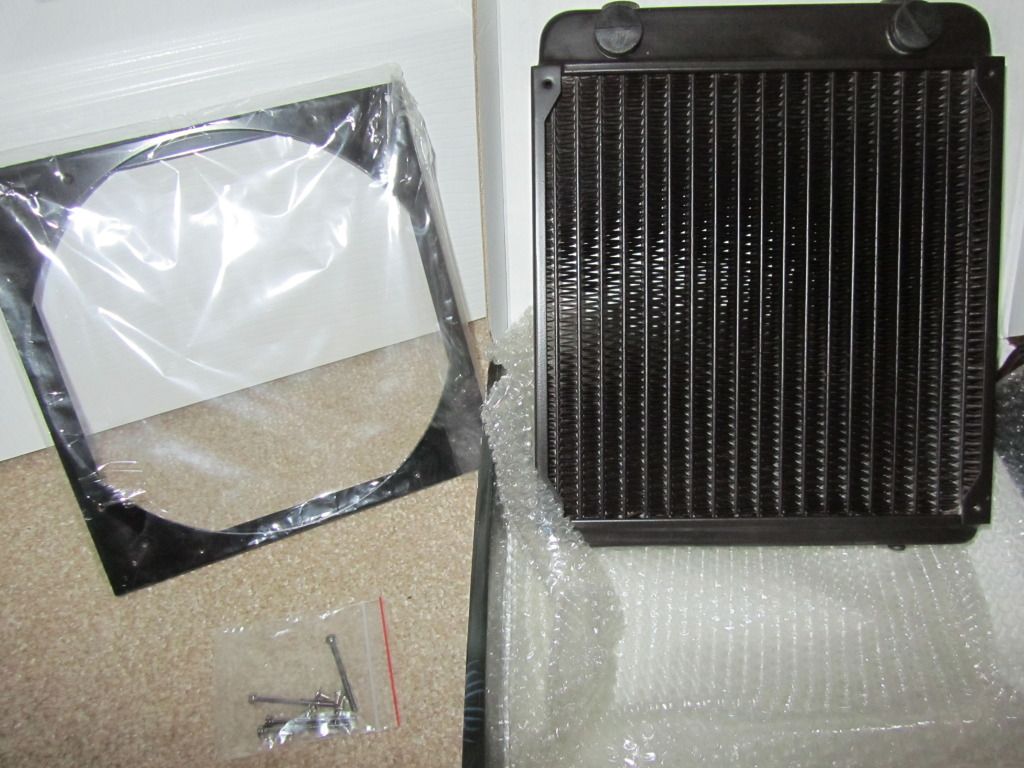
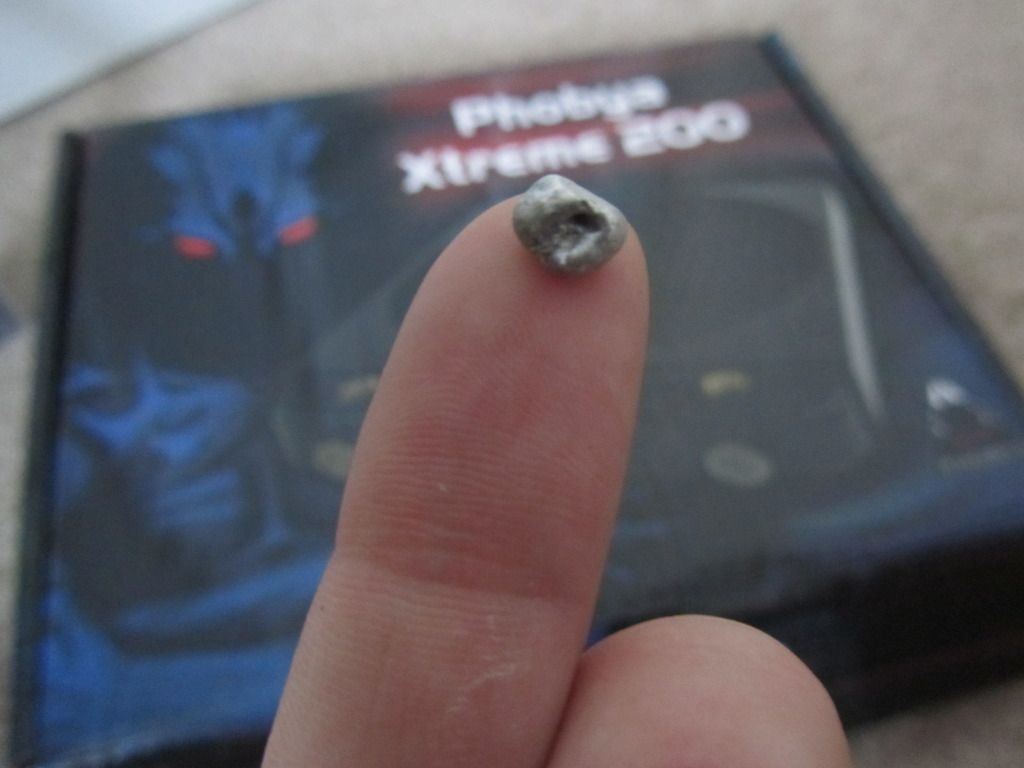
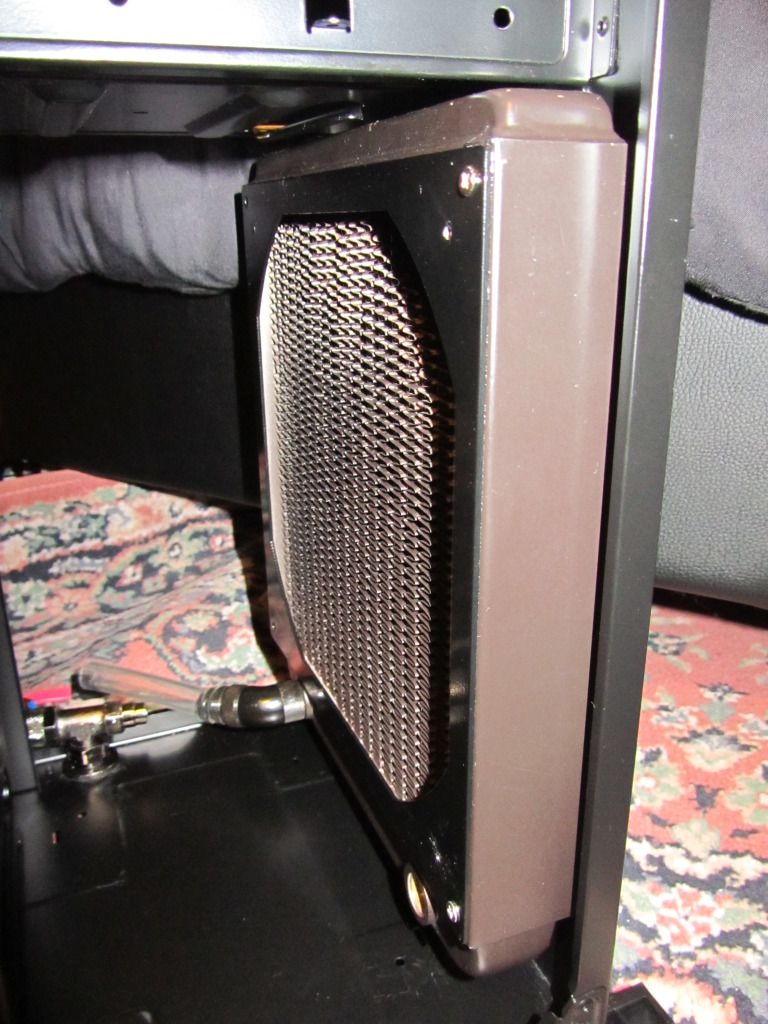
*Phobya 200mm Rad
*Some nice Mayhems coolant
*Masterkleer Tubing (3/8")
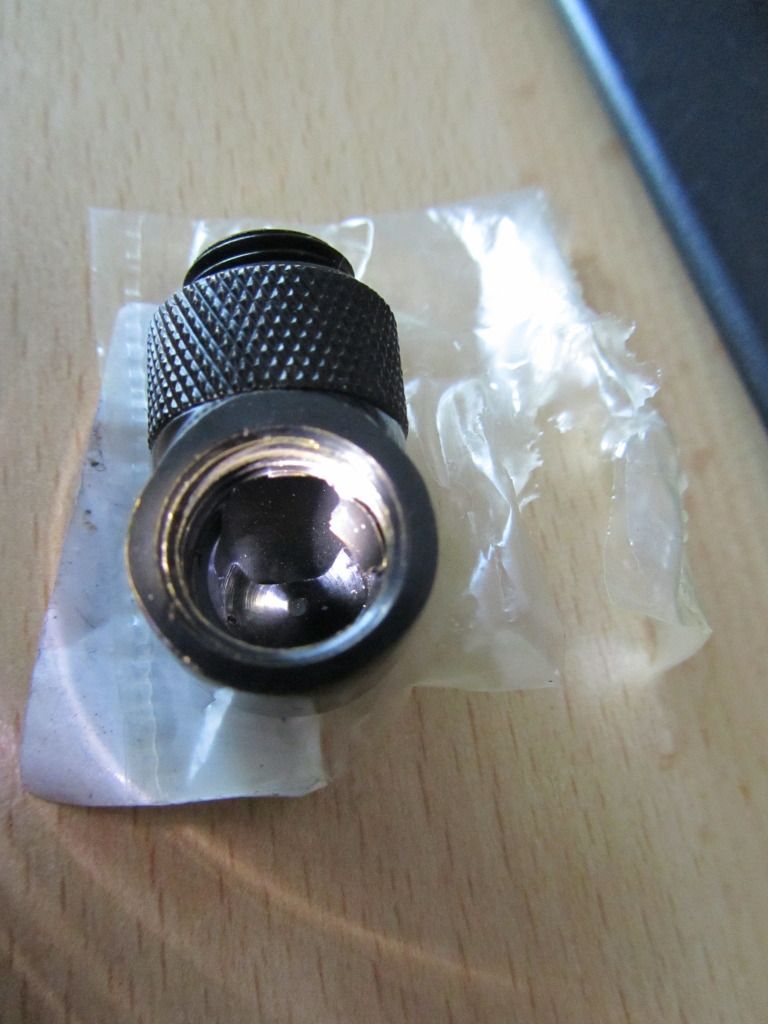
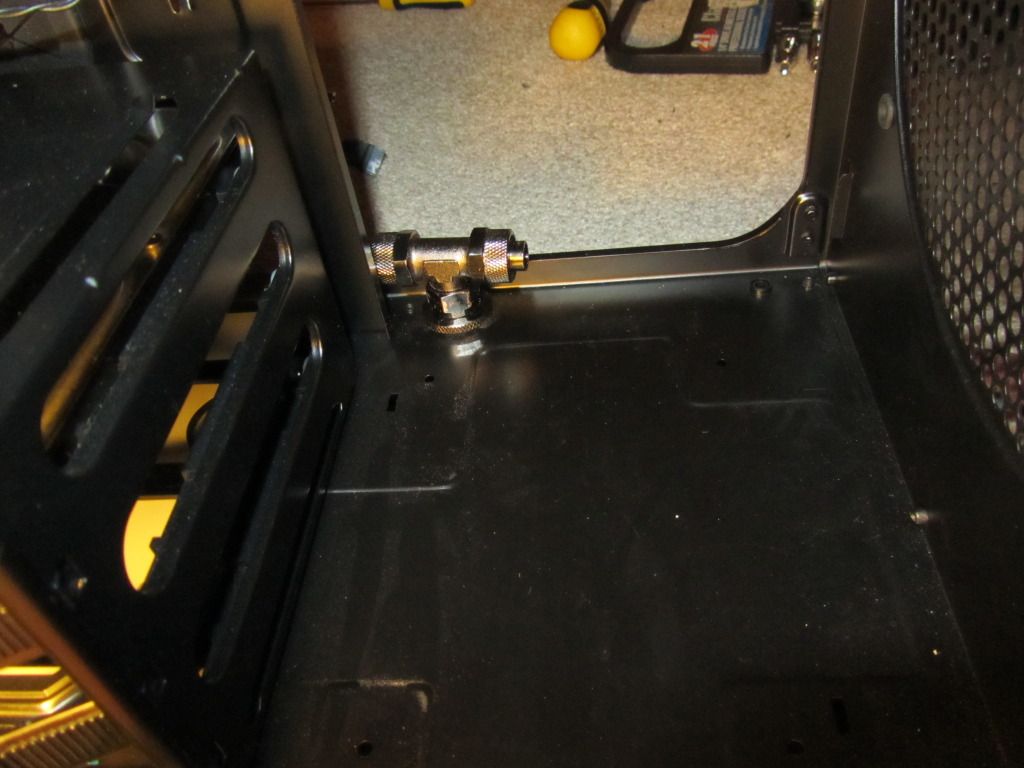
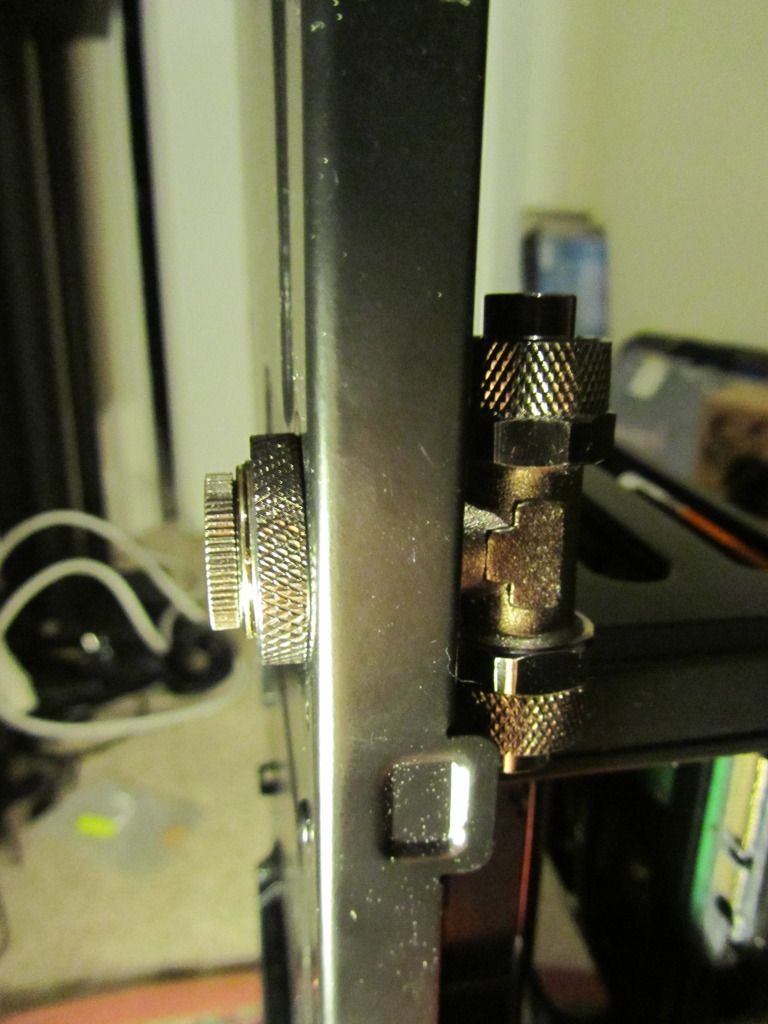
*EK Compression Fittings (including a T-Piece for draining?)
*1x 120mm Bitfenix Spectre Pro LED Fan
*2x 140mm Bitfenix Spectre Pro LED Fans
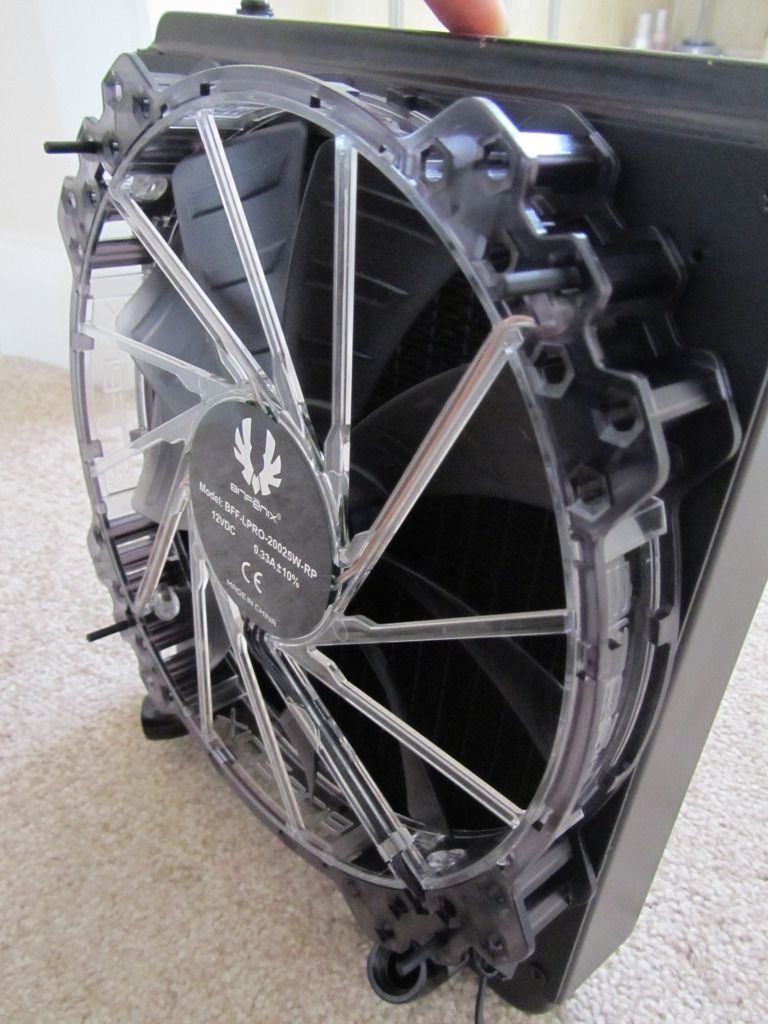
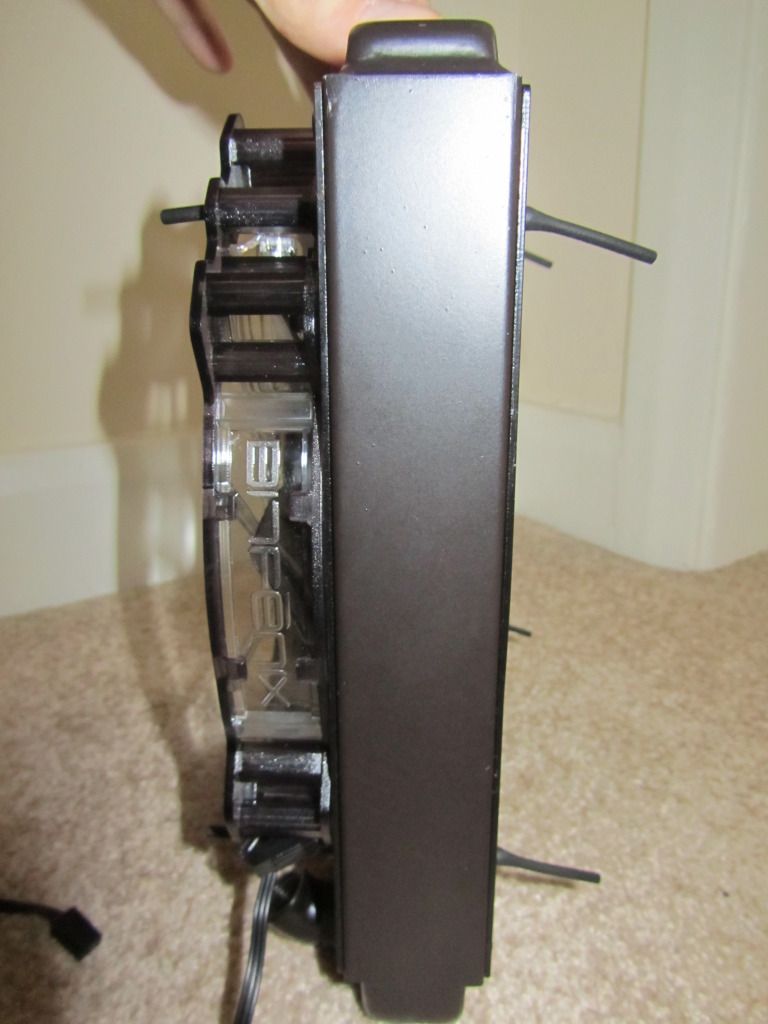
*1x 200mm Bitfenix Spectre Pro LED Fan
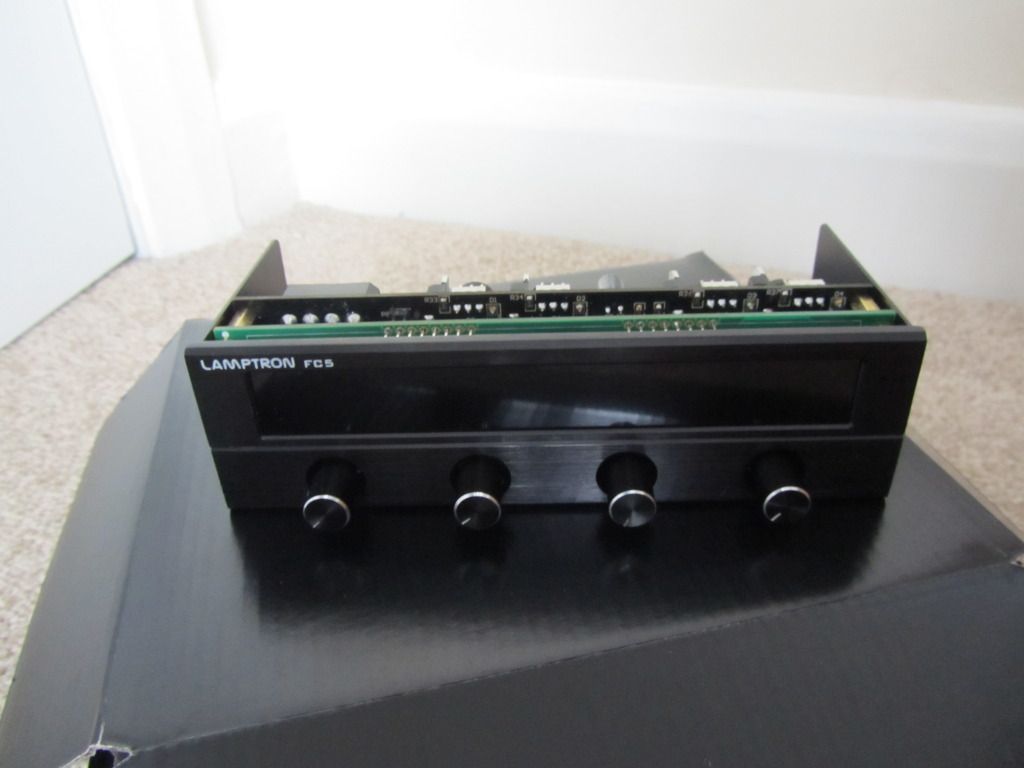
*Lamptron FC5 v2 Fan Controller
*+ a few small bits and bobs, LEDs, fan filter, cable braid maybe, etc

This is the layout I plan to achieve:
http://s1183.photobucket.com/user/Toothy1911/media/Watercooled 650D/650DWCSetup.jpg.html
650DWCSetup.jpg


Not sure on colour scheme yet and a few other details. I'm thinking plexi pump top and cpu block, clear tubing, and maybe orange or green coolant. Nothing is going to go too great with my current hardware, as nothing is colour coded. Think I'd like white/UV leds, and change the look of my case with the coolant. That way I can change it if I get bored/don't like the look. I would love to braid my cables. But again, it's difficult to settle on a colour scheme, and braiding them all black seems a little bit of a wasted opportunity... And a waste of time and money if I replace my PSU

Well that's all for now folks, I'll keep you posted! All comments welcome :)
 
Last edited:
Associate
Joined
21 Oct 2009
Posts
1,616
If you have a AX power supply, you can buy pre braided power cables.. and I believe they also fit into the HX but obviously, the connected wires will have to be braided by yourself.
 
Associate
OP
Joined
27 Nov 2006
Posts
1,329
Location
Coventry
Well I had a lovely present from the post man today, thanks for the very fast service!

IMG_14051.jpg


But my joy was short lived when I realised I'd been sent a white 120mm Bitfenix fan, instead of a white LED version (like the other 3). And then whilst having a look at my compression fittings, noticed that the 90deg adapter seems to to be broken inside... :(

IMG_14081.jpg


It's hard to take a photo of the defect, I had to hold a torch and get my camera to focus. But you can see inside that there is a chunk of thread broken, and has been folded back on itself! Good job I noticed that. Else I might have fed my expensive D5 a chunk of brass to munch on!! Not too impressed :/ Starting to wish I had gone for some BP fittings instead haha. Overall quality of the EK fittings is ok, but I understand why people pay more now
 
Last edited:
Soldato
Joined
25 Sep 2009
Posts
9,632
Location
Billericay, UK
I was using some of that Masterkleer tubing just last night and I have to say it's very easy to work with. To cut it I used a pair of garden clippers I borrowed from Mum but you can also cut it with some decent scissors if you so wished.

Good luck with your build!
 
Associate
OP
Joined
27 Nov 2006
Posts
1,329
Location
Coventry
Yeah, I've read conflicting things about the 200mm rad in the front of 650D and 600T cases. Some people fit them with less hassle than others. I think another way is to re drill the holes on the bracket that comes with the rad. I'm hoping it can do that! Thanks for the heads up though. I might need my dremel for getting that Lian Li drive cover to fit too Haha. It's got me scratching my head already!
 
Associate
Joined
27 Oct 2009
Posts
1,195
Location
West Sussex
I need to subscribe to this thread as there might be a few useful things for me here too :)
Doing research for WC in my 650D too :)

I'm thinking 120.2 in the top and thick 140.1 on the front for 2500K and 6950 Frzr3... should leave some extra cooling capacity for another 6950 if I can get one lol :D or upgraded gfx :)
Rear 1x120 GT out, top 2x120 GT out, front 200mm Spectre pro in.
 
Last edited:
Associate
OP
Joined
27 Nov 2006
Posts
1,329
Location
Coventry
Quick update. Nipped to Halfords for some de-ionised water, £3.99 for 5 liters. Going to use it for flushing radiators and leak testing. I know distilled is bit better, but it was hard enough to find de-ionised! I don't know what you guys use? Photo next to my 560 block (Forgot to include it in other photos :p)

IMG_1409.jpg


In other news I have tackled the fitting of the front drive bay/bezel :D The bezel I used was a Lian-Li C-02. Took a bit more modifying than I would have liked. But I'm happy with the result. I used a junior hacksaw blade to cut a small section of plastic away from the inside of the 650D front fascia. Allowing enough clearance for the mechanism on the bezel. Then glued the tabs on the bezel to the inside of the fascia. I am pleased that the brushed aluminum is a very good match too!

IMG_1410.jpg


IMG_1412.jpg


IMG_1413.jpg


IMG_1415.jpg


OCUK are sending me a new EK 90 deg fitting to replace the damaged one. Still in discussion about the 120mm fan though :/
 
Last edited:
Associate
OP
Joined
27 Nov 2006
Posts
1,329
Location
Coventry
Hey guys. Quite a big update tonight. It's hard to get on the forums with no PC :p

Well, I recieved the rest of my parts earlier this week. Plus a few smaller deliveries of connectors and bits and bobs too. Been doing an hour or two every night. Still a way off completion though! Mostly been prepping things. I flushed out my radiators, have assembled the water block onto my graphics card and started work on the case.

Second delivery in all it's glory:
IMG_1420.jpg


The two radiators I'll be using, all cleaned and ready to go!
IMG_1422-1.jpg

IMG_1427.jpg


I found this rattling inside the 200mm Phobya! A great big lump of solder... Just what you want zipping off to your pump. Very good example of why you should clean your rad before use.
IMG_1433.jpg


D5 pump and XSPC Dual Bay Res
IMG_1434.jpg

IMG_1438.jpg


New style EK top. Unfortunately the plexi alphacool one was out of stock and is not back in for a couple of weeks. So went with this instead... But it's really growing on me. I really don't mind the new EK circles design either. Unlike many haha. Looks much better in the flesh than on photos.
IMG_1444.jpg

IMG_1459.jpg


EK Supremacy Nickel Plexi. Little worried about this one, as I could tell the box had been opened before?! :S And had been re-sealed, by EK I assume. When I opened it, the manual looked like it had been opened and used, but everything was there and all the seals to the water block itself were intact. Maybe should make a complaint? Little dissapointed with the fins inside the water block too. Should some of them be slightly wonky?? Or all nice and straight? I took a photo, but it doesnt show them as being too bad. But you can see the gap between the fins on the right. All of those fins have a slight bend/lean
IMG_1449.jpg

IMG_1457.jpg

IMG_1455.jpg

IMG_1467.jpg


560ti block fitted
IMG_1461.jpg


I caved in and got a new PSU. Not really an upgrade from my TX750. But get modular cables, and a more efficient, quiter PSU.
IMG_1464.jpg


Lovely FC5 controller
IMG_1424.jpg


And finally my drain fitting, located on the bottom of my case, just behind the 200mm rad/fan. I used a T fitting plus a standard fillport, and blanking plug. The 2 compression ends of the T fitting will plug into the main loop, between the 200mm rad and gfx card. The threaded bottom end of the T block goes into the fillport fitting, which I am using like a bulkhead fitting to pass through the bottom of my case. To allow this to pass through, I had to open up an exisiting hole in the case with a drill. A blanking plug is used on the bottom for sealing the loop when not draining.
I hope people think this is a good idea. Would like to hear some feedback. I don't think I've seen it done before (I hope it works haha!)
IMG_1471.jpg

IMG_1470.jpg


Think I've about covered most things, so will leave it at that for now. Sure this post is massive as it is. Will give you guys another update soon! :)
 
Last edited:
Associate
OP
Joined
27 Nov 2006
Posts
1,329
Location
Coventry
Front rad fitted:

IMG_1475.jpg


Also finally recived my replacement 120mm Bitfenix fan! .... But OCUK managed to mess up AGAIN and send me the wrong colour for a second time! *facepalm*
 
Last edited:
Associate
Joined
19 Nov 2011
Posts
151
Location
North East
Could you post some details/pictures of what you did to mount the front 200mm rad? Like what cuts you had to make or holes that needed to be drilled also how fan mounting till work etc.
 
Associate
OP
Joined
27 Nov 2006
Posts
1,329
Location
Coventry
Sure, no problem mate. I tried various ways of attaching the radiator and fan, and this is the best solution I came up with, that required minimal modification and used the items I had to hand.

I decided that the order should be FAN<--RAD<--Case. Turned out the easiest way of mounting. Also by distancing the fan from the front grill meant I didn't get the horrible fan/grill noise that most people get from the 200mm fan on these cases. So no need to chop the front grille out!

Parts/tools you will need,in addition to any that come with the rad are:
- 8x Rubber fan mounts (I used the ones that come with my various Bitfenix Spectre Pro fans)
- 4x M3?? Small screws for mounting both fan adaptor plates (my rad only came with 4, enough for one side. But the 650D comes with a bag of screws for attaching hard drives and DVD drives and what not, that are ideal)
- 4x M4 washers (or similar)
- 4mm drill bit
- Drill
- Dremel/hacksaw/file

The rad comes with two adapter plates, for various size fans. First step I took was to drill out the threaded holes on the 200mm fan plate. I used a 4mm drill bit. The hole drilled was the one the drill bit points to. This was to allow the rubber mounts to pass through, which will be used to attach the rad to the case. I tried using screws, but had a real hard time getting things to line up. Doesn't help there is a bleed screw on the radiator that seems to catch on the bays above. Rubber mounts just give you a bit more flexibility and also reduce and vibrations of course! The short side of the fan mounts will need trimming though, so they dont push on the fins of the rad.

IMG_1482.jpg

IMG_1483.jpg

IMG_1484.jpg

IMG_1487.jpg


That side of the rad is now complete, so i turned it over and tackled the other side. The second mounting plate was now needed. I think it had holes for a 230mm rad? Thats no good, so using the 200mm fan I have as a template, drilled a new set of 4mm holes. Again these are for the rubber mounts to attach the fan. And again these need trimming. After a quick flick of matt black paint on the plate and screws, I attached the fan to the plate, and screwed the plate to the other side of the rad. We're almost ready to attach to the case!!

IMG_1488.jpg

IMG_1489.jpg

IMG_1490.jpg

IMG_1491.jpg

IMG_1492.jpg

IMG_1493.jpg


Before mounting the rad into the case, I found it necessary to modify a couple of the tabs that protruded into the case. Half of the flange needed removing/folding back on itself. This is to make the tank on the radator not foul on them. The flanges are used by the front cover to attach to the case. I am unsure yet whether the tabs on the front case will need to be modified too. Shouldn't be too much of a problem though.

IMG_1495.jpg


Now it's just a case of iserting the rubber mounts through the fan holes in the case.

IMG_1496.jpg


Because the fan holes already have rubber grommets on the 650D case, I found had to use some washers (M4) to give the rubber fan mounts something to grab onto. Making the rad far more secure and stable.

IMG_1498.jpg

IMG_1500.jpg

IMG_1501.jpg


There you have it! Took a bit of figuring out, but I'm quite pleased with the result :) If you have any other questions I'll do my best to answer them.

In other news, I have now mounted the top rad, and a few other bits and bobs, and have started braiding some of the cables... I wont be braiding the PSU for now. That will probably be a furture project :)

IMG_1502.jpg
 
Last edited:
Soldato
Joined
9 Mar 2009
Posts
2,885
Location
-
Do those rubber mounts hold that rad securely enough?

I'd be worried about the weight once it's full of coolant. I can see there's no up /down room for movement, but as the barbs at are the bottom you'll be tippinh the case around a lot to bleed that rad. It could fall inwards if the rubber doesn't hold.
 
Back
Top Bottom