

You are using an out of date browser. It may not display this or other websites correctly.
You should upgrade or use an alternative browser.
You should upgrade or use an alternative browser.
650D Watercooling Project
- Thread starter Toothy1911
- Start date
More options
Thread starter's postsHave you tried already how the GTS280 will fit the top space?
I'm planning to put a Alphacool XT45 240 in there as I don't want to give up on my GT15's and there is no space with the 120->140 shrouds for it (I will be on a clearance type of fit anyway with this config lol)
I'm planning to put a Alphacool XT45 240 in there as I don't want to give up on my GT15's and there is no space with the 120->140 shrouds for it
(I will be on a clearance type of fit anyway with this config lol)- Joined
- 27 Nov 2006
- Posts
- 1,334
- Location
- Coventry
Do those rubber mounts hold that rad securely enough?
I'd be worried about the weight once it's full of coolant. I can see there's no up /down room for movement, but as the barbs at are the bottom you'll be tippinh the case around a lot to bleed that rad. It could fall inwards if the rubber doesn't hold.
I can understand why youd be concerned, but the rubber mounts hold it suprisingly well. I just gave it a good tug and it didnt budge. Infact the fan fell off, but the rad stayed in place. I think that's down to those washers though! They really help make it more secure.
Have you tried already how the GTS280 will fit the top space?
I'm planning to put a Alphacool XT45 240 in there as I don't want to give up on my GT15's and there is no space with the 120->140 shrouds for it
It fits very well with some good space between the bottom of the rad and motherboard. I measure a space of 14/15mm from the edge of my motherboard to the lowest edge of the rad. I have the fans mounted above the rad in a pull config, so I did have to buy some M4 bolts and cut them to length in order to attach the fans and rad to the case.
Nice one mate, looking good. So you didn't need to make any cuts to the drive bays for the bleed screw?
To save you the work of braiding your PSU, why not get one of the braided cable kits that corsair has released recently?
Nope, no cuts made. I might consider drilling a hole to access the bleed screw though. Might make filling the loop easier. And yes I have considered that. But I think its quite expensive to re-buy cables I already have. I also didnt think much to the consistency of their heat shrink to be honest. The lengths were all over the place. I think I will just braid the cables I need, which isnt too many, and only the parts on show in the case.
Nope, no cuts made. I might consider drilling a hole to access the bleed screw though. Might make filling the loop easier. And yes I have considered that. But I think its quite expensive to re-buy cables I already have. I also didnt think much to the consistency of their heat shrink to be honest. The lengths were all over the place. I think I will just braid the cables I need, which isnt too many, and only the parts on show in the case.
Oh right, that's pretty cool, I think it must only be if you mount the fan first then the rad when you have to make cuts to get the fit, not access to the bleed screw. You have tempted me to add a 200mm rad to my loop, despite the fact I ordered that rad and sent it back because I thought it would be too much work.
Could you detail the fitting of the 280mm rad as I'm currently running a 240 in the top, I would also be interested to see the performance results using that rad over a 240mm.
- Joined
- 27 Nov 2006
- Posts
- 1,334
- Location
- Coventry
To be honest, you probably wouldnt see much gain over the 240. It's difficult to get 140mm fans that perform well on rads. But all you would need is the correct length bolts to pass through the case, then fans and into the rad. The heads on the bolts need to be large enough to sit on the 650D rubber holes. I bought 10x 50mm allen head bolts from ebay for like £1, and chopped them down to the desired length with a hacksaw ") No other mods needed.
No other mods needed.
If the fan had open corners, not an enclosed tunnel like the Bitfenix ones I used. You'd probably be able to use 2 sets of bolts/screws on either side. Some to attach the fans to the rad, and then some to attach the fans to the case. If that makes sense
No other mods needed.If the fan had open corners, not an enclosed tunnel like the Bitfenix ones I used. You'd probably be able to use 2 sets of bolts/screws on either side. Some to attach the fans to the rad, and then some to attach the fans to the case. If that makes sense
Last edited:
- Joined
- 27 Nov 2006
- Posts
- 1,334
- Location
- Coventry
Update:
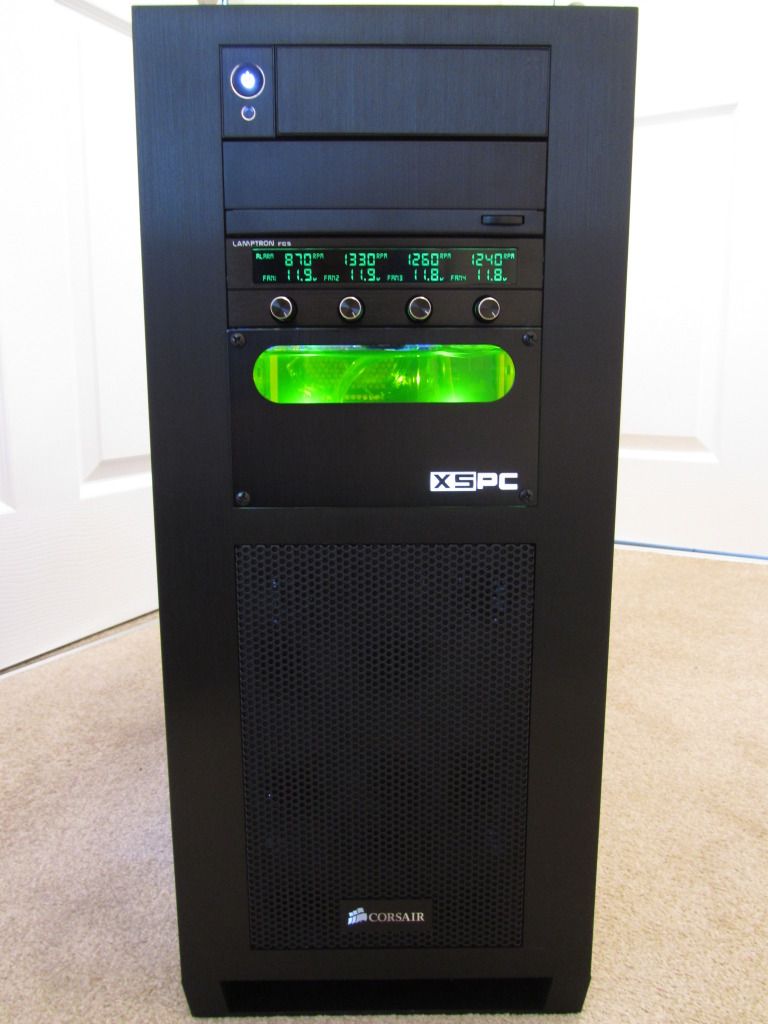
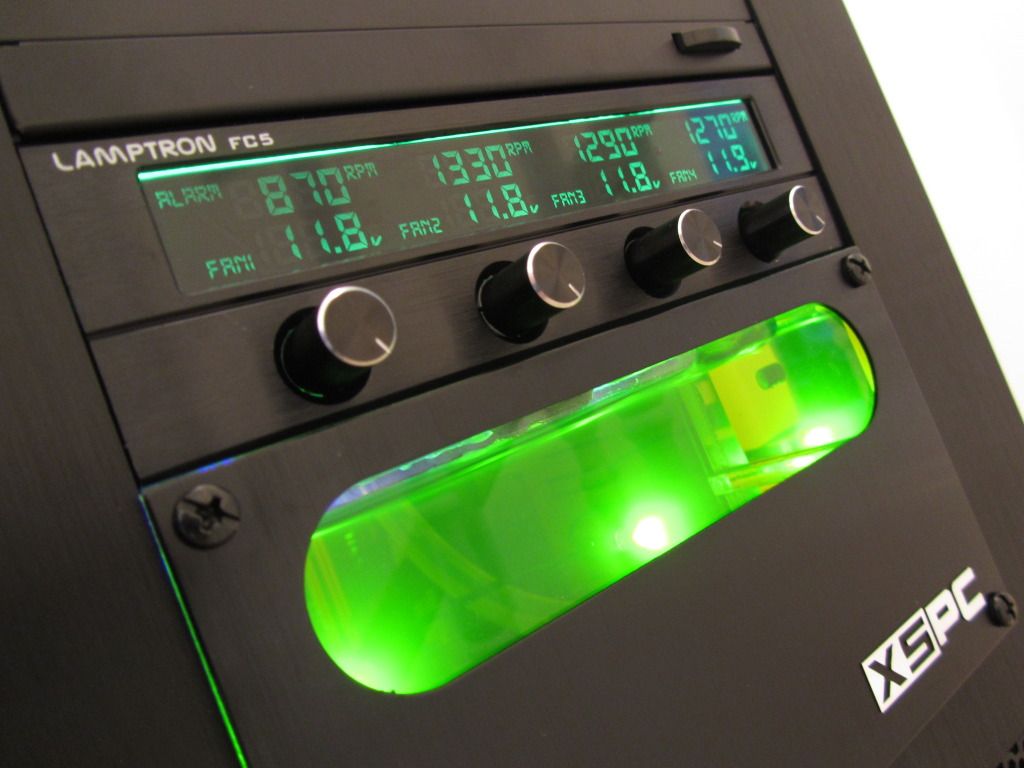
DVD drive casing and facia sprayed black to blend in with the rest of the case. Suprised just how easy this was! Took all of 10 mins to do

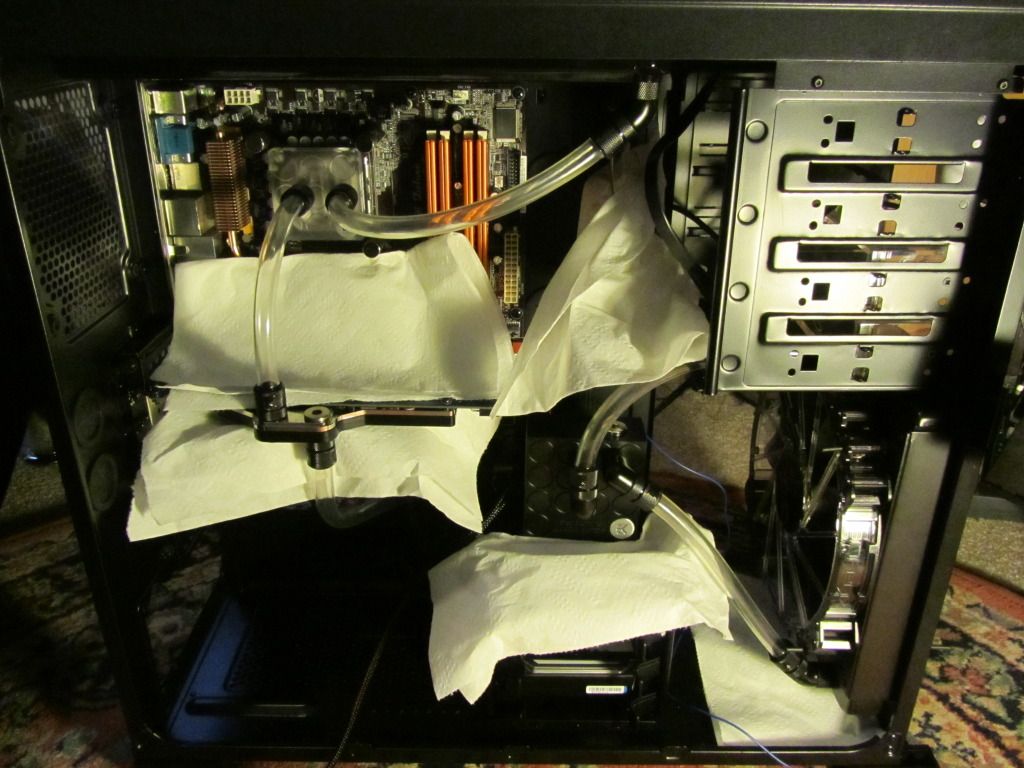
And more importantly... Let the leak testing begin!! Exciting times
So far, no leaks. Fingers crossed all goes well!
How many hours would you guys recommend for testing, by the way?
Impressions so far? Anything you'd have done different? Love to hear peoples opinions. It is my first time after all
DVD drive casing and facia sprayed black to blend in with the rest of the case. Suprised just how easy this was! Took all of 10 mins to do
And more importantly... Let the leak testing begin!! Exciting times
So far, no leaks. Fingers crossed all goes well!
How many hours would you guys recommend for testing, by the way?
Impressions so far? Anything you'd have done different? Love to hear peoples opinions. It is my first time after all
Last edited:
I do about an hour leak testing, if all good, can't see why any longer would be needed, compression fittings are good and as long as you have tightened them up as far as you can all should be good.
I may have mounted the pump next to the front rad on the floor or in the drive bays out the way.
I may have mounted the pump next to the front rad on the floor or in the drive bays out the way.
- Joined
- 27 Nov 2006
- Posts
- 1,334
- Location
- Coventry
Been going 2 hours with no problems Might drain and fill it tonight with the proper fluid then hehe.
Did consider the pump next to the front rad. And for any who want to do it, it does fit (just). But being honest, I didnt want to fiddle with connections in a tight space. Possibly something that would need to be done in the future if I got a larger gfx card. I would have a 90deg fitting coming out of the res, through a hole in cage, straight down to the pump. Would probably look quite neat. Although be hidden from the window
Might drain and fill it tonight with the proper fluid then hehe.Did consider the pump next to the front rad. And for any who want to do it, it does fit (just). But being honest, I didnt want to fiddle with connections in a tight space. Possibly something that would need to be done in the future if I got a larger gfx card. I would have a 90deg fitting coming out of the res, through a hole in cage, straight down to the pump. Would probably look quite neat. Although be hidden from the window
- Joined
- 27 Nov 2006
- Posts
- 1,334
- Location
- Coventry
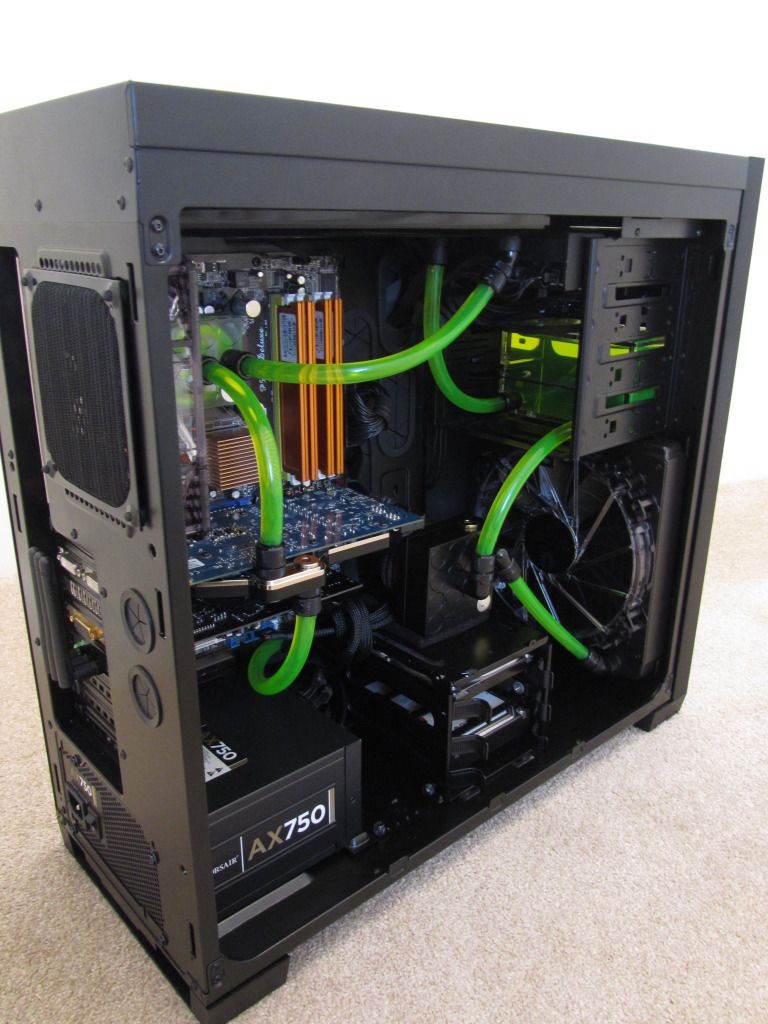
After a quick drain, I was ready for a final fill  The drain port worked really well. Reminded me of draining a sump on a car hehe

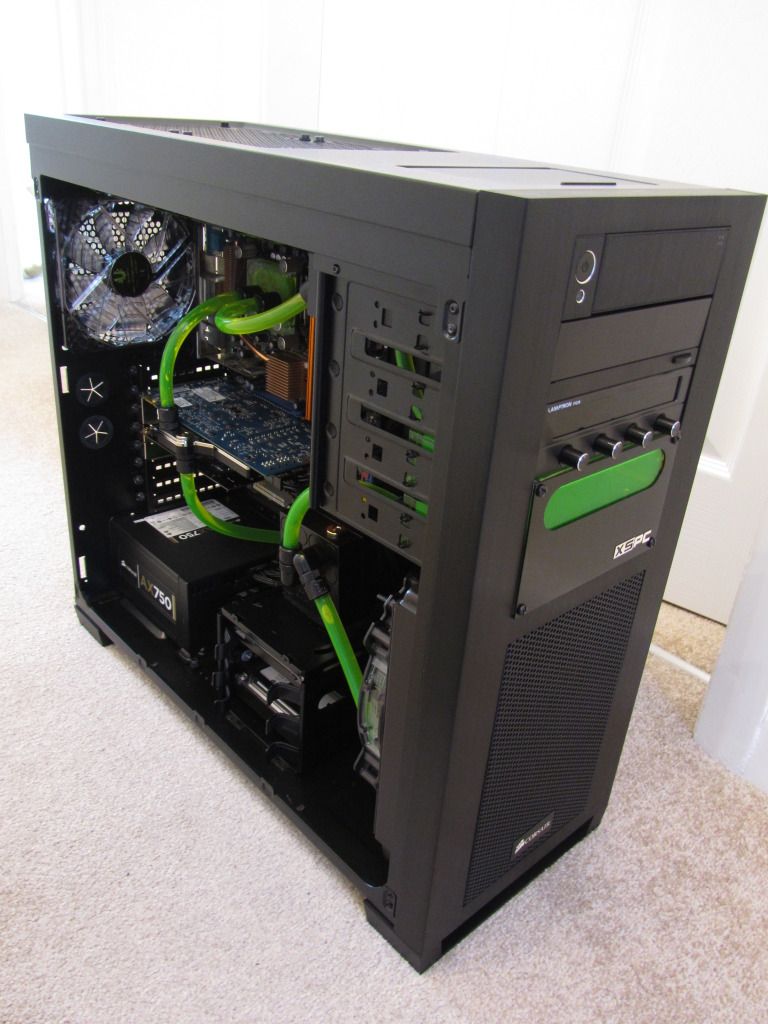
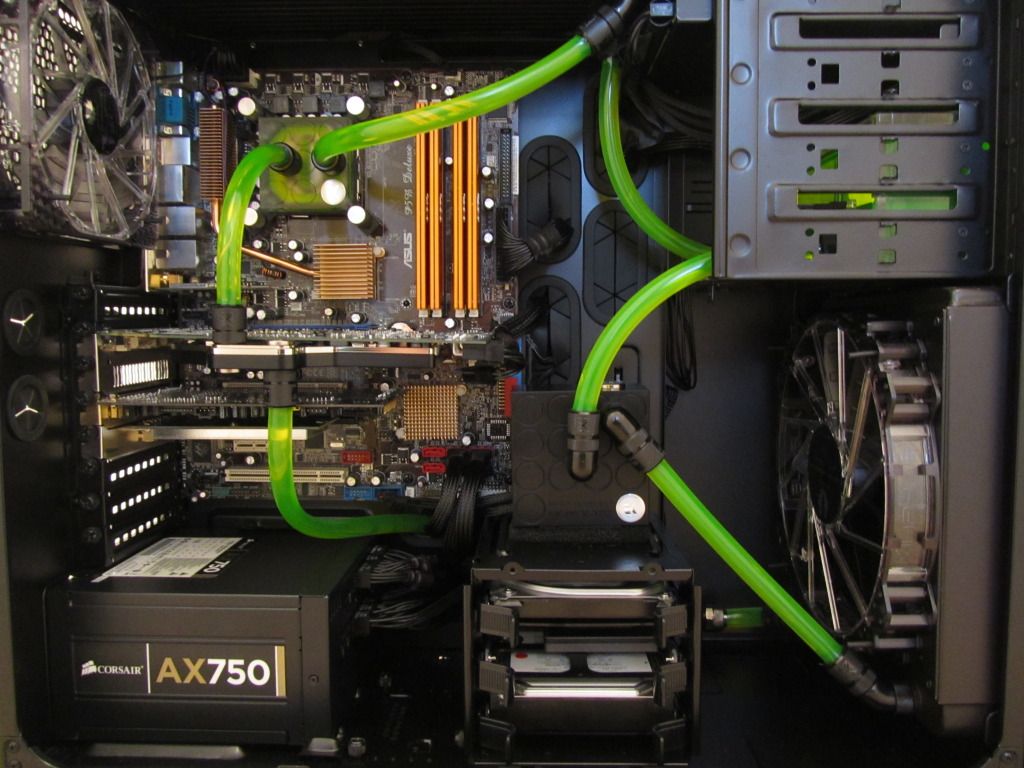
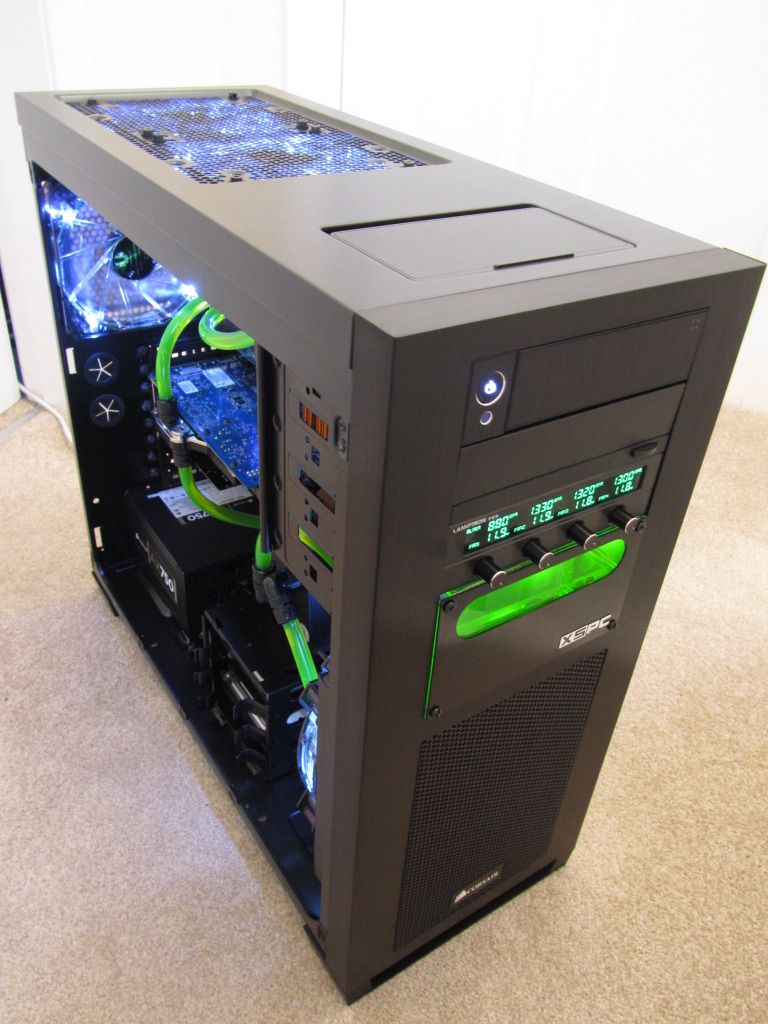
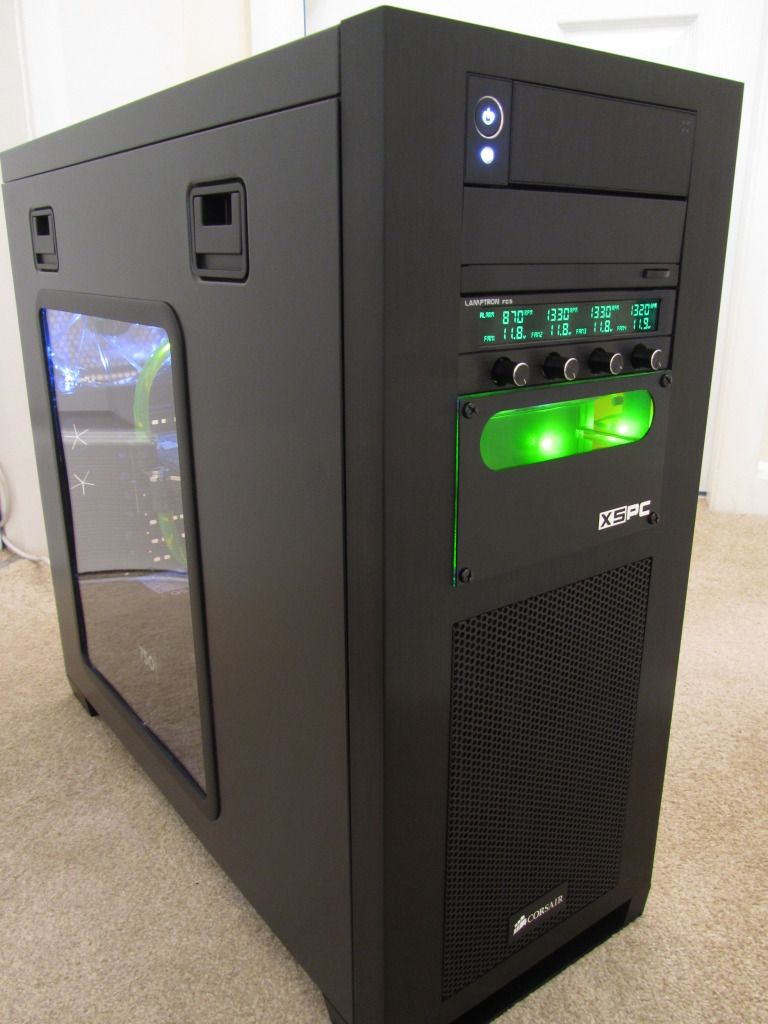
Some final photos of all the hard work... for now. What you think?

The drain port worked really well. Reminded me of draining a sump on a car hehe
Some final photos of all the hard work... for now. What you think?
Last edited:
- Joined
- 27 Nov 2006
- Posts
- 1,334
- Location
- Coventry
im liking the drain port,green looks pretty good but i think the bay res needs pushing in a touch more
You're right. I think it would look better a bit further in. I just left it where it lined up with drive bay holes. Going to have a look into it
looking very beast and nice and tidy, well done. You have done a great job. Is it just me or is the tubing really skinny?
p.s Temps at idle and load please for all components
Had PC on for around 3 hours, just browsing web. Graphics card is reading 30-32degC ish, CPU is averaging about the same, maybe a degree or 2 more. Nothing is overclocked, and fans are running at low voltages (around 5V). Super super silent though
Tubing is 3/8" (1/2" outer). Pretty standard I thought
Oh right, my tubing is 7/16" of an inch, i'm guessing that is bigger? Just thought that was the norm as its what OCUK offer with their kits.
Overclock that beast and tell me the temperatures again, they currently seem nice and low and could take a tasty overclock.
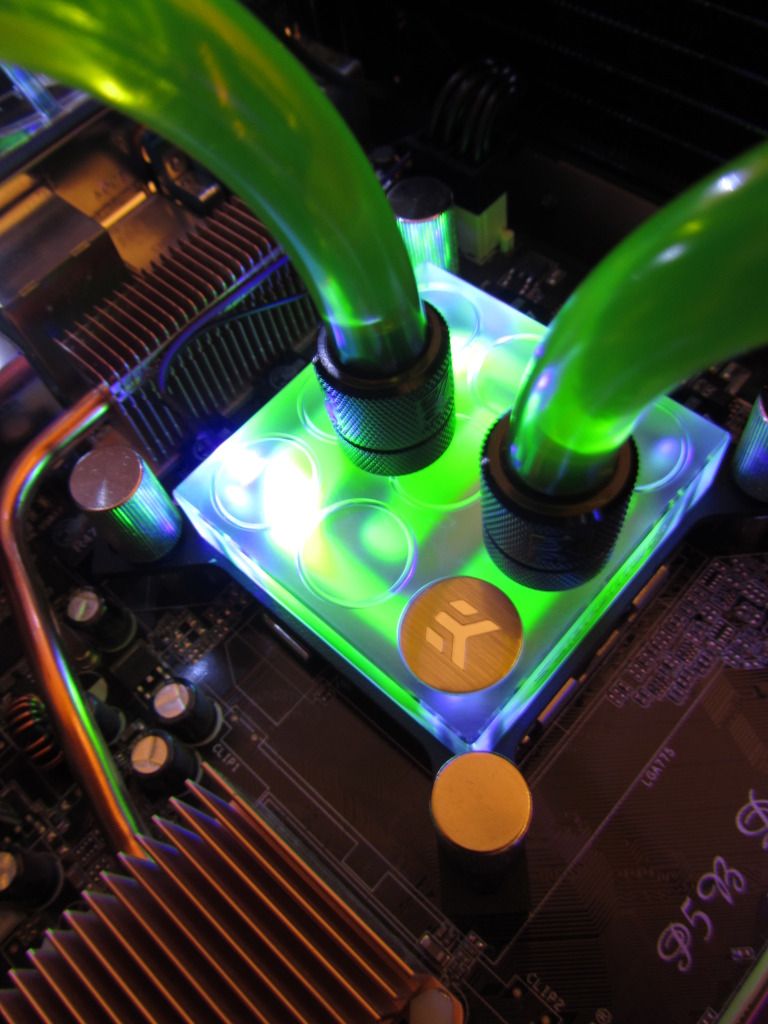
What you using to light up your cpu water block?
- Joined
- 27 Nov 2006
- Posts
- 1,334
- Location
- Coventry
Yeah I think 7/16" is slightly bigger.
Going to see where I can overclock it to soon I'll keep you posted.
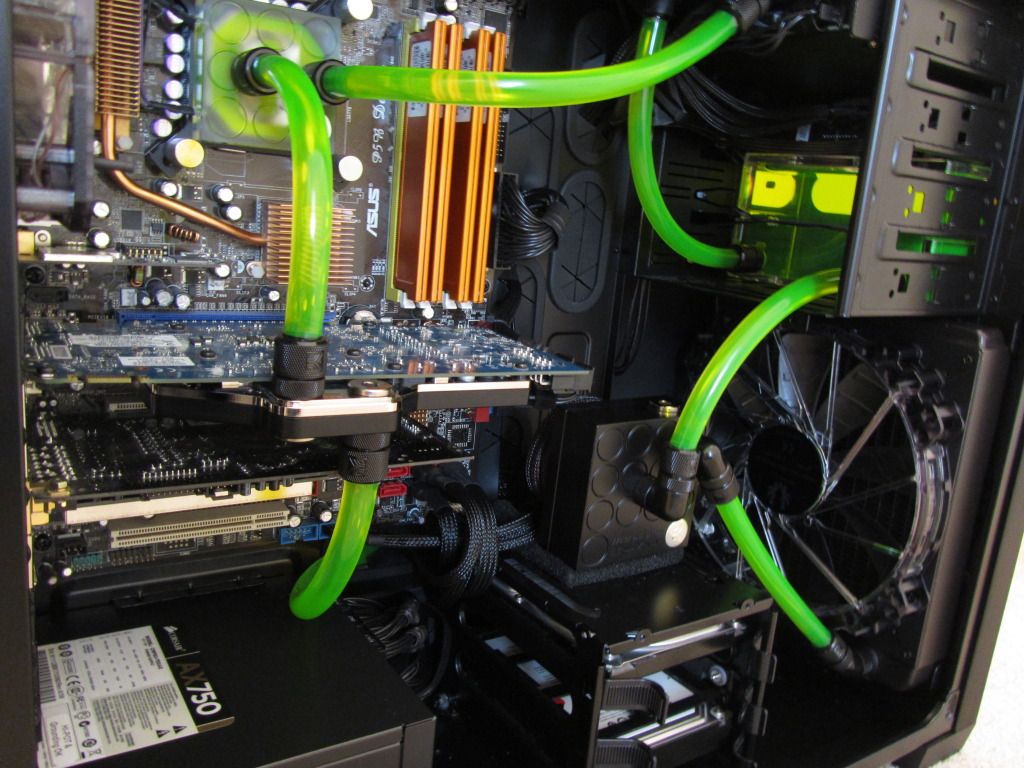
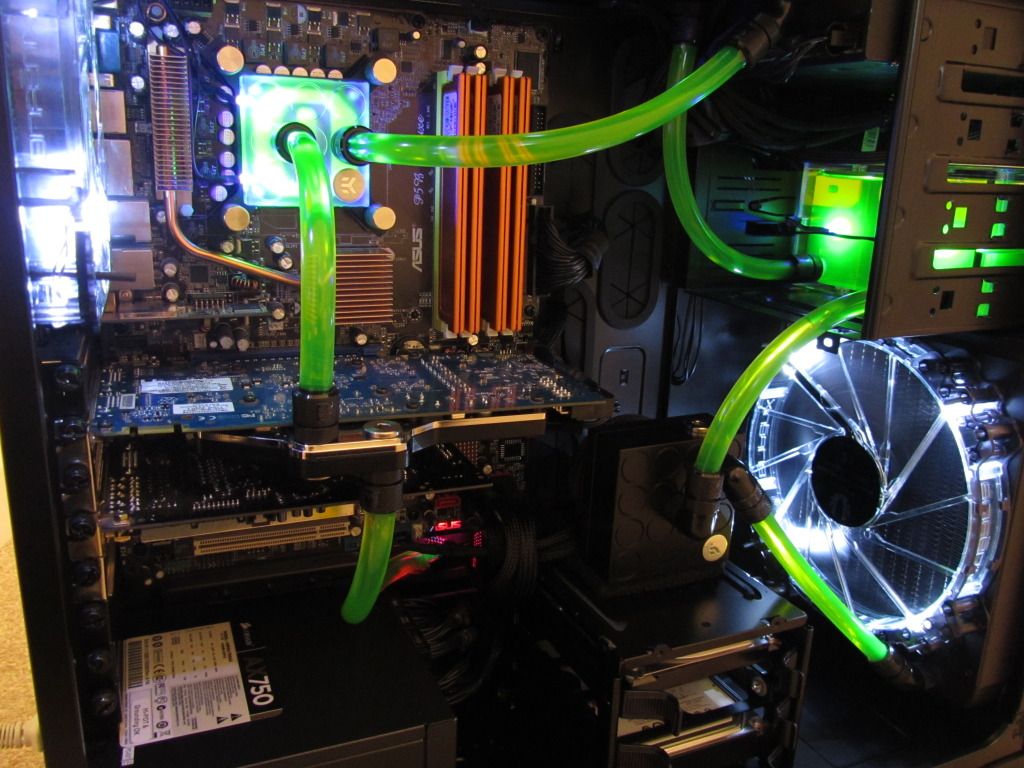
I have two 3mm UV LEDs to light up the CPU water block, and two 5mm UV LEDs for the res. Got them on eBay, 12V ready with resistor, and wired them in. The block and res have pre-drilled holes for them. Going to braid the cables for them soon too, to make it look neater. The photos don't do the CPU block justice. You'll have to take my word it looks far better in real life. The lights aren't as bright, and it makes the coolant really glow nicely!
Going to see where I can overclock it to soon
I'll keep you posted.I have two 3mm UV LEDs to light up the CPU water block, and two 5mm UV LEDs for the res. Got them on eBay, 12V ready with resistor, and wired them in. The block and res have pre-drilled holes for them. Going to braid the cables for them soon too, to make it look neater. The photos don't do the CPU block justice. You'll have to take my word it looks far better in real life. The lights aren't as bright, and it makes the coolant really glow nicely!
Associate
- Joined
- 22 May 2011
- Posts
- 1,173
- Location
- Manchester
Looks lovely, I really love loops in this case (I do love this case  )
)
)Deleted member 651465
Deleted member 651465
Currently building a water setup in the same case, and have a question..
Which way is the flow going? I see in the EK manual for the Supremacy that the left hole is the inlet, but I'm not sure looking at your pictures what's going on.
Sorry, complete noob!
Which way is the flow going? I see in the EK manual for the Supremacy that the left hole is the inlet, but I'm not sure looking at your pictures what's going on.
Sorry, complete noob!