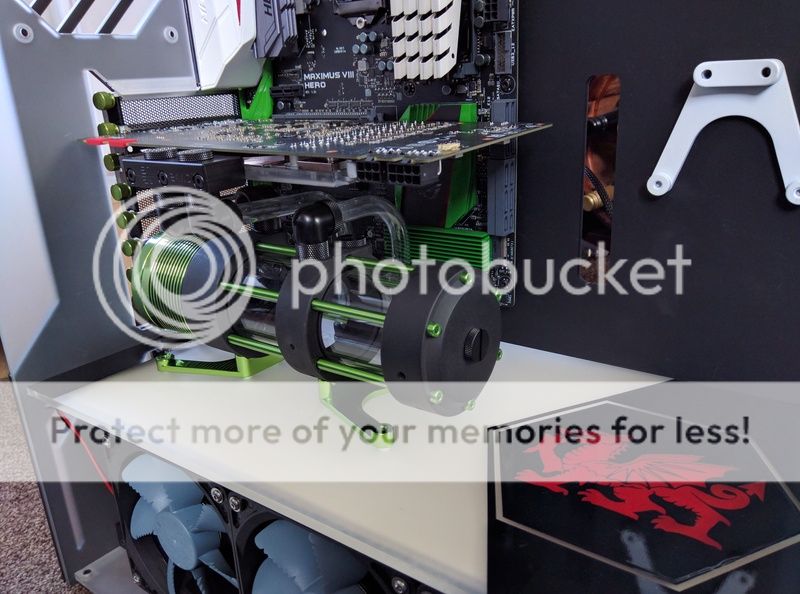
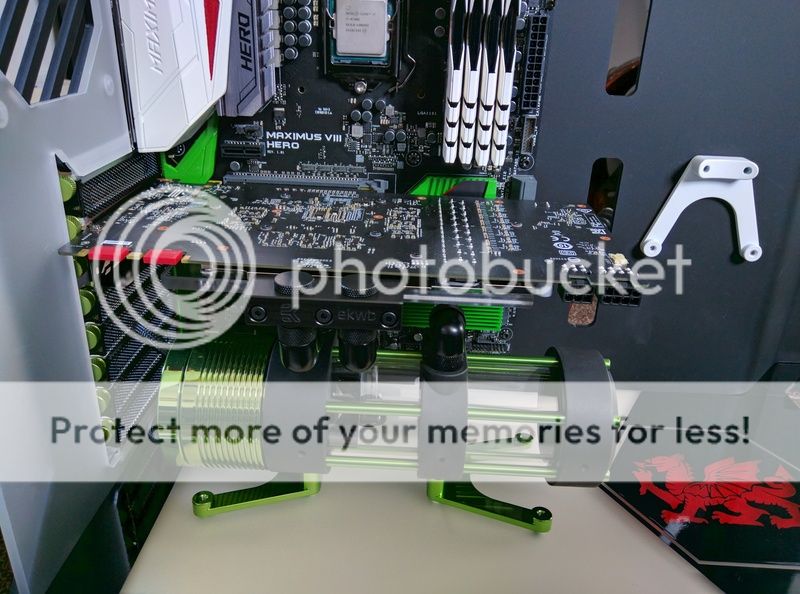
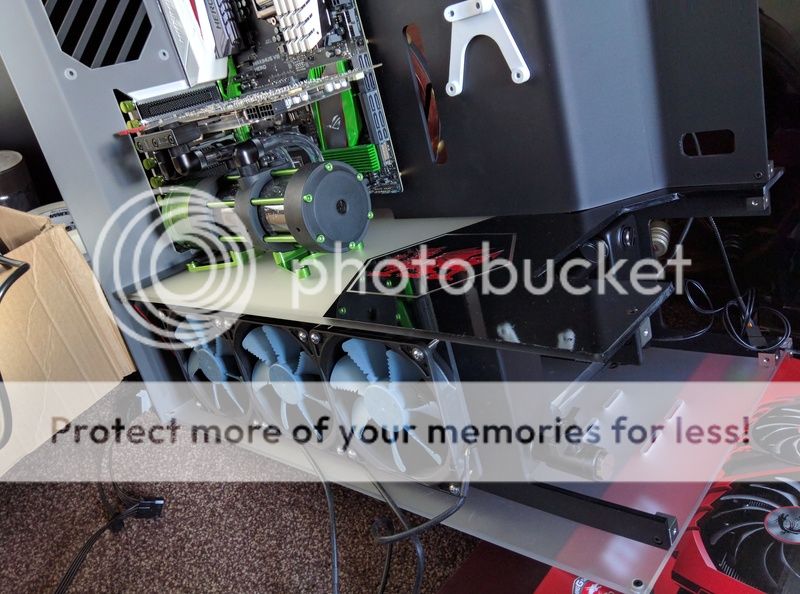
A Window To Wales

Decided I'd flush the 2 bottom rads out last night and it left me more confused than anything. It's the same model I used in 'Dripping With Style' and on that build it was near perfect from the first flush, this time however...

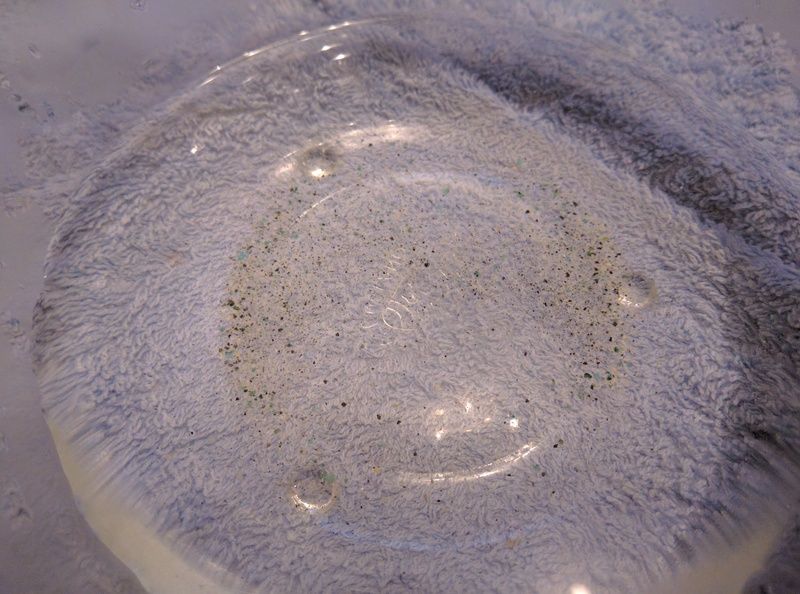
This is from the first flush of the one rad:
IMG_20170213_194647.jpg


Absolutely full of junk, and after 6 flushes I still feel it needs more before use.

The confusing part? The second identical radiator was nearly free from rubbish, but rather than bits of junk the water came out with coloured bubbles as if an oil was present. So 2 identical models bought at the same time: 1 full of junk and the other looks like it has been cleaned with washing up liquid. Only thing that's concerning me now is if whatever was in the second one causing the bubbles will react with the Mayhems coolant... Looks like more hours of flushing to be sure! Either way it's not too confidence inspiring :(

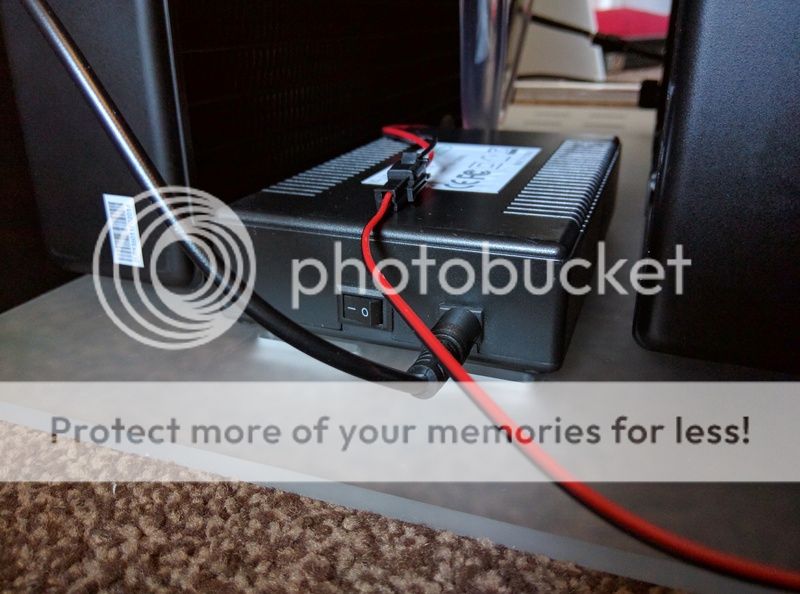
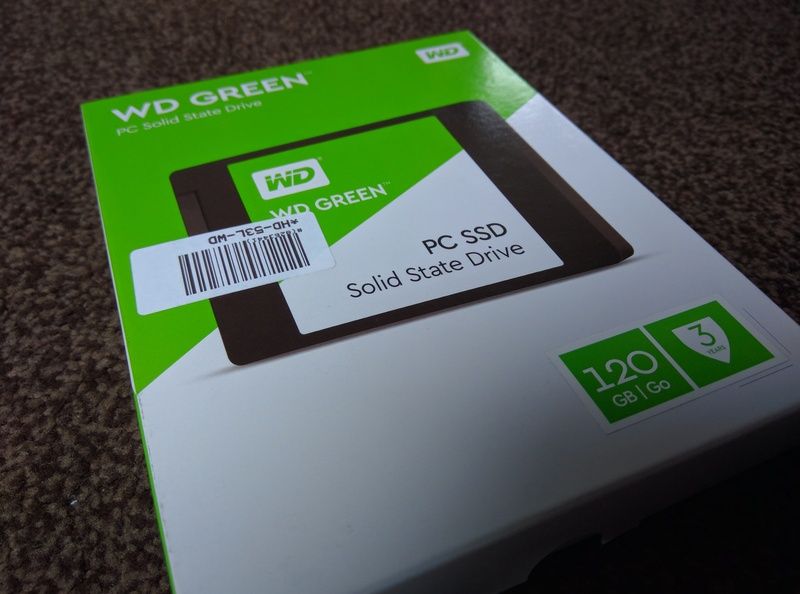
Second moan of the night? Yes, there's more! After years of using Western Digital HDD's without problem I thought I'd try this:
IMG_20170214_120717.jpg


You can almost feel the flimsiness from the picture.
IMG_20170214_120824.jpg


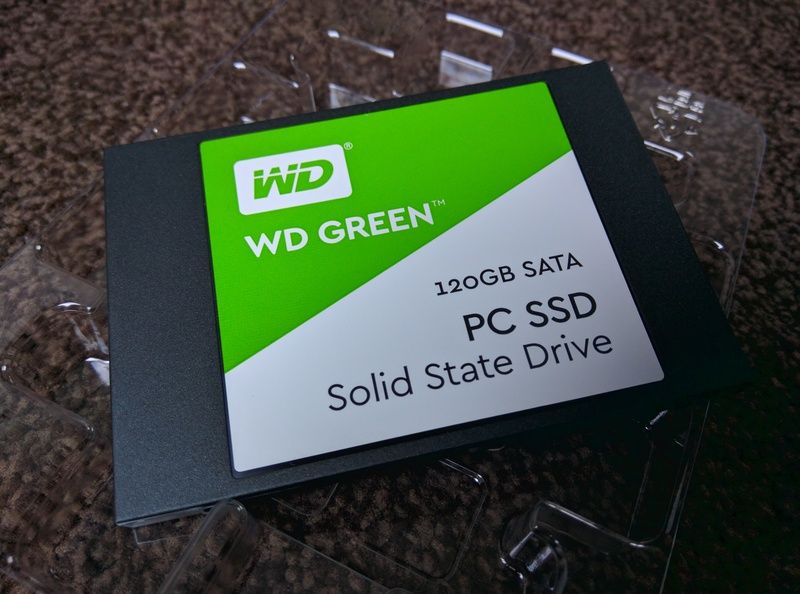
I know it was cheap and I knew it would be fugly (got plans for that ;)), but damn, it feels like the dash of an American car. Even pulling the equally cheap sticker off the whole thing was bending as if it was going to snap. On the plus side it is also VERY light... :D

Seriously though, if you're thinking of getting one don't, spend the extra couple of quid on a HyperX Savage instead :)

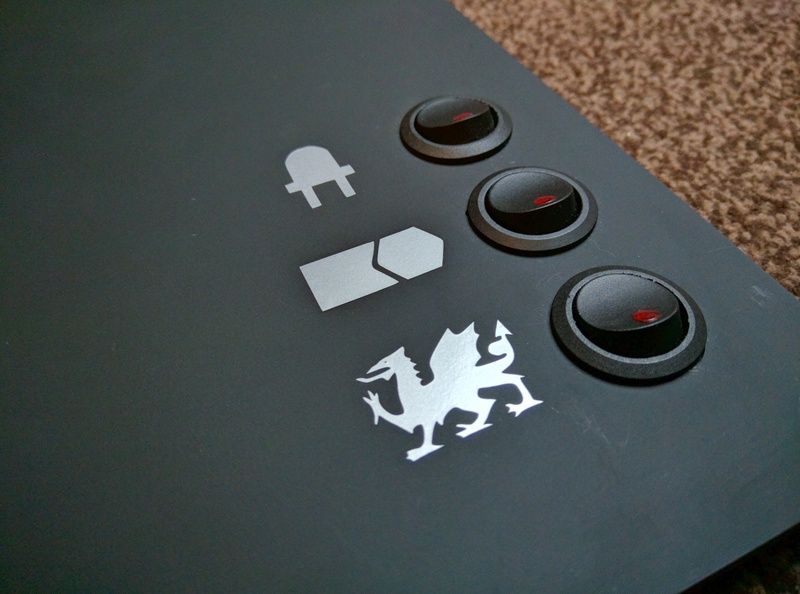
Don't worry, there was a positive... I now know what the switches are going to do :D
IMG_20170214_163022.jpg


Then back to a negative: Was going to fix the fugly SSD but can't find the vinyl I need... Time to get on the 'Bay and order some more knowing it'll probably reappear tomorrow morning :D
 
Would it look better without the case? Could you de-case it and then slap an unnecessary* slab of alu on it as a heatsink?

That's not a bad shout at all mate, will see what it looks like once I've replaced the awful sticker with some vinyl but if it still looks cheap & crap then removing the case could definitely be an option. Either that or hiding it behind the motherboard where the far better quality Samsung will be...!

You sure that picture's the result of rad flushing and not an empty can of paint?! Why is it too much to expect a rad to come ready-to-use these days?!

All the XSPC rads I used when doing the last build were brilliant, but it looks like they've taken a dozen steps backwards since then and have given up even attempting to ship clean rads.

It really can't be that hard for a large company making radiators to clean them before shipping. Just set up a system that blasts hot water through at a fairly high pressure and job done. Quick rinse with distilled water when it arrives and good to go...

Just waiting on the EL inverter to be replaced now so I can crack on with re-building. Was supposedly shipped Monday but no sight of it yet, and I don't really fancy cutting the panel up until I know it works! Never mind, should all go together quite quickly and smoothly once that arrives... He says, knowing he's now doomed the build :D
 
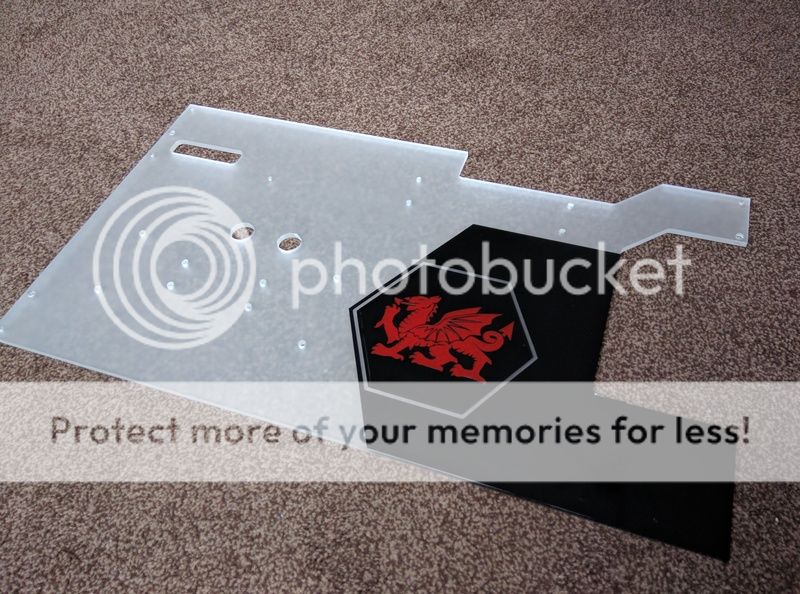
One sheet of black vinyl to play with. Couple of glasses of wine drunk. An hour or two to play with. Sounds like the perfect combination for a perfectly executed vinyl for the floor, right? Well it started OK...

Got floor?

IMG_20170215_151316.jpg


Yeah, I got floor :cool:

IMG_20170215_151408.jpg


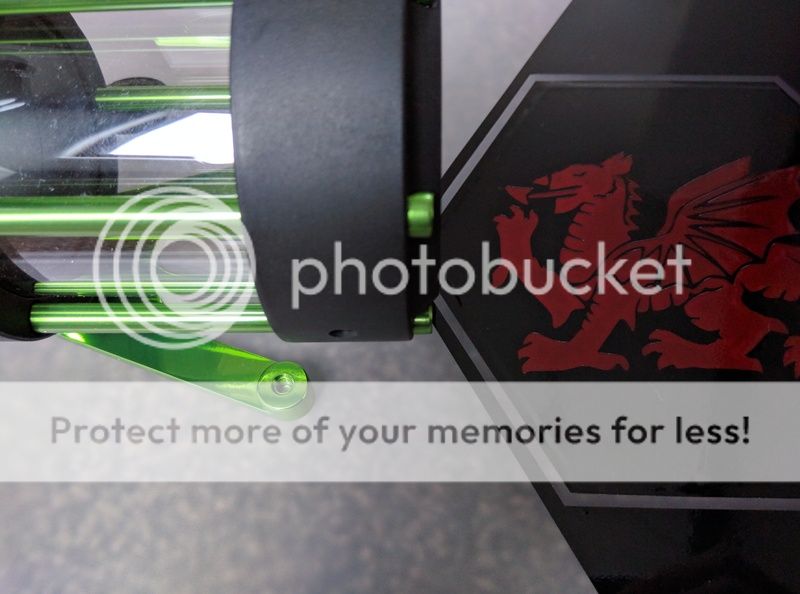
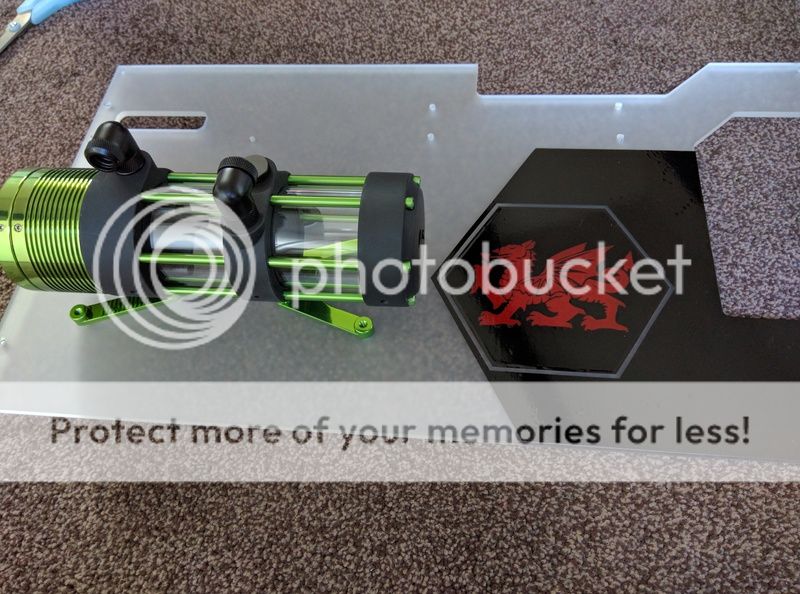
But then he remembered something... THE RESERVOIR!

IMG_20170215_153748.jpg


BOLLOCKINGHELL. Yep, all went 100% perfectly to plan. All, that is, apart from the fact that this muppet forgot that the reservoir overhang the mounting holes that I was using as a guide... Whoops! :mad:

More vinyl ordered for take 2, now back to twiddling thumbs waiting for deliveries :D
 
I'm not looking forward to cleaning my rads, especially as they're both 2nd hand and I went Fernox LSX crazy sealing up my UT60 with grub nuts rather than proper plugs. You could always go top-end killfest and grab a Mayhems Blitz kit to give those rads a good pummelling, I don't like the look of either thing that came out personally!

Worst thing is the second hand ones are probably ten times cleaner than the bloody new ones!

I'm more worried about the 'clean' one tbh as I know how weird the coolant can be reacting with things in the loop. Gonna have to give that one an extra few rinses I think just to be sure...

You're both looking at it so negatively! It's free pastel for your coolant! :D ;)

Haha well that would be brilliant for the top loop, but trying to keep this one clear!! :D
 
GOOD NEWS! The new vinyl arrived this morning, so time to crack on...

First up, fix the balls-up I made of the floor:

IMG_20170216_103040.jpg


IMG_20170216_103102.jpg


Ahhhhh, much better :D

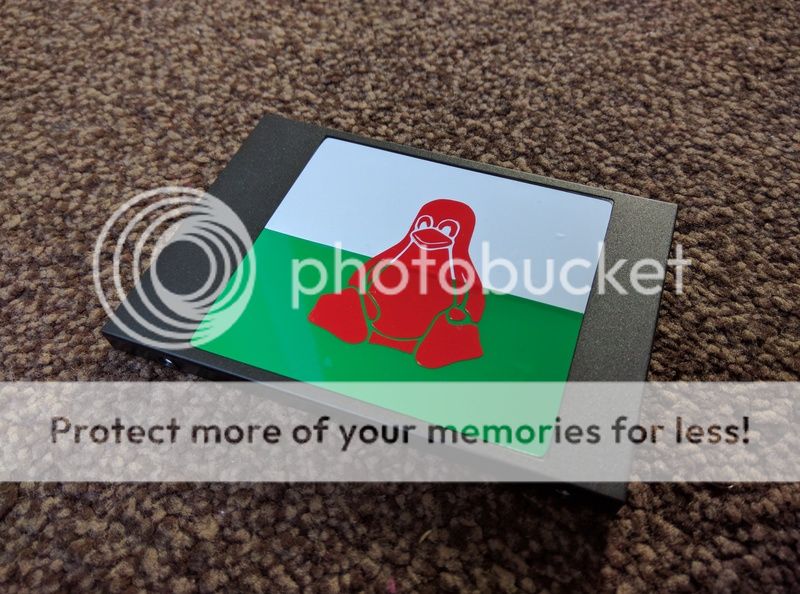
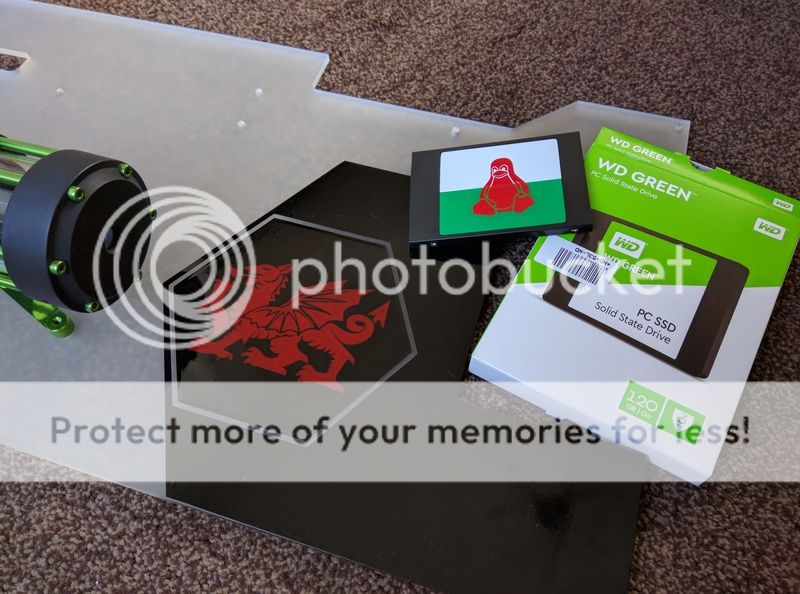
Next up, how to solve a problem like a fugly SSD: Welshify and Tuxify it :cool:

IMG_20170216_100449.jpg


IMG_20170216_104321.jpg


Not a bad mornings work and pretty happy with the results :)

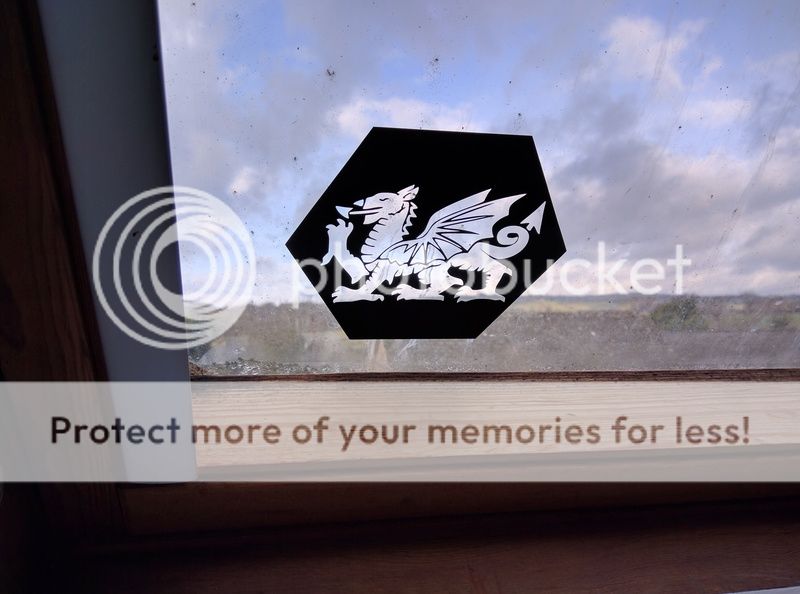
The good thing about making mistakes? I get to 'improve' our filthy dirty windows :D

IMG_20170216_103519.jpg


IMG_20170216_103537.jpg


Floor done, SSD done, windows improved... Time for a celebratory glass of Guinness!
 
Oh yes, it was dry for all of 10 minutes before the taking of those photos... Now drizzling again! Wouldn't be home if it wasn't overcast and drizzling :D

I might be slightly biased, but I reckon that SSD is a massive improvement over the standard one. Now to get Linux installed on it so Tux doesn't feel like a fraud :p
 
I've lost track, who's winning the build race mate? :) I've done some solid work today so close to the finish line...

All looking good with yours, you must be ticking a lot off the list and pretty close now? How to make 4 SSD look ok for me was strip the case to silver and then decide to get an Icy Dock 4 bay anyway which is just amazing.

I'm gonna go out on a limb and predict you're going to win easily mate as mines on hold again. Still haven't heard back about the EL Panel which is holding the build up and then I got lumped with this little rat for a week:

IMG_20170219_175600.jpg


Didn't really fancy the puppy chewing up an acrylic case so everything is stripped and hidden in the cupboard for now :(

Hopefully next week I'll get things back up and running, see if I can catch you up again :D

there's a build race? I better get de-rivetting rather than drawing out tube runs and bends in Photoshop...

The vinyl looks proper nice now, can't wait to see that bad boy lit up!

Better to plan it well than take an early lead then make balls-ups though, you'll be flying soon mate!

Thanks, hopefully they'll send the replacement inverter soon so I can try it out but not holding my breath...
 
Oh yes, they've certainly made some cash from this one. Although I have gotten a bit in return by putting in loads of small orders and stocking the cupboard up with Haribo...!

I know with this build I wanted to try some 'different' design ideas, but not sure 'chewed to **** by a mates puppy' wasn't one of them, so better safe than sorry :D
 
Ahhh...It all makes sense now. This is a very nice build I must say.

Thank you, I've certainly had to learn a few new things for this one! Only ever done 1 soft tube watercooled PC before so this one has definitely been a bit more of a challenge, just hope it doesn't leak when it's finally assembled :D

That dog could build this faster than you mate, maybe you should let it have a crack? :D

Haha you really aren't far wrong, got her until 7:30pm tonight so might just see what she can do :D

Just been looking at yours on my phone, that's some decent progress mate, will take a proper look when the mutt has gone and I can use the PC in peace!
 
Nice, enjoy an hour or 2 of swearing later trying to get the copper colour right! Will leave it until I see an update before jumping on the thread then, skip the spoilers and go straight to the porn at the end :D

I'm pretty sure I do mate but there's one slight issue: Until I bolt it back together I'm not sure how many extras I had! If you can wait until start of next week I'll quickly throw the case together and let you know :)
 
"Different solution" being... Cable ties? :D

Haha if I've got a few spares will happily post em to you free, just let me know by Sunday whether you want them and will bodge the case up quick to see.

Cheers, gonna miss the pup but going to be so nice getting the build going again, driving me crazy knowing it's all sat there ready to go!
 
Will do, cable ties won't compliment my large custom cut tempered glass side panel replacement I don't think :)

Out of interest roughly how much does it cost to get custom tempered glass cut? No worries if you'd prefer not to say, just wondering whether it was on the 'cheaper than you'd think' end of the scale or the 'I burned the receipt to avoid a divorce' end :D

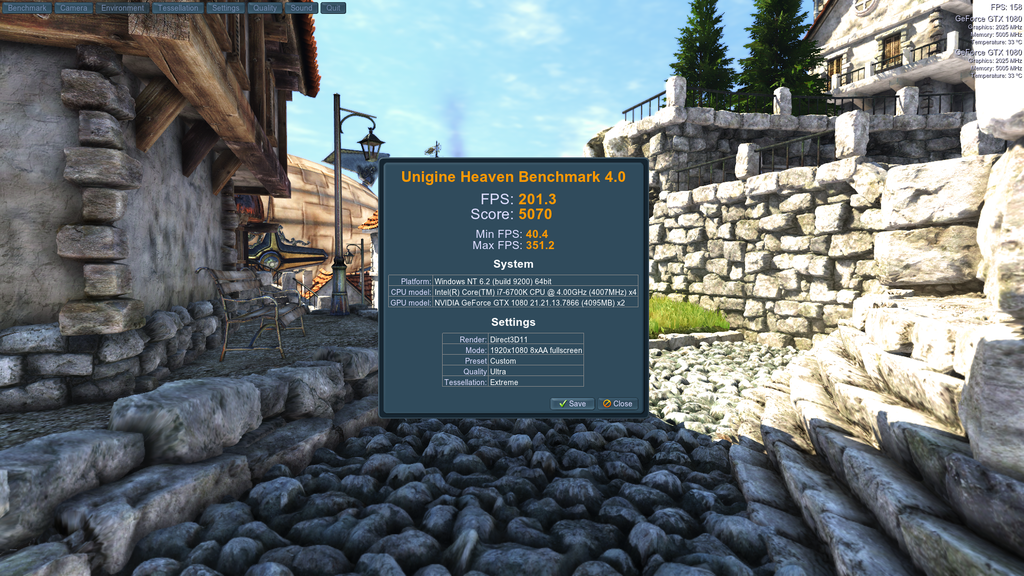
Just gonna leave this here... ;)

00005_zpsehfc8mel.png


I'm liking the load temps on my GPU which now max out at 33c... lol

Pfft, did you not realise every dragon in the case adds 40%? My single 1080 will smoke that... *Fires up Gimp to do a bit of editing*

Haha looking good though mate, that's a crazy low temp especially for an SLI setup. You sure you didn't fill it with crushed ice?! Bet you're glad the HexGear was crap now lol :D
 
Wow, that's really not a bad price at all. Not going to make any changes to this build but at that price it's tempting to do things a bit differently on 'Dripping With Style'. Thinking maybe a tinted glass front panel, edge lit with temperature controlled RGB LED's...

Ooh, another build log going to be appearing soon then? Look forward to dreaming up some more expensive and awkward ideas for you :D
 
Haha, finish this one first ey? :)

Will be ordering mine later on so we will see how it looks when it arrives...

Right you two, enough of the love in.....get some decent pc nerd pics up :p

Good news for both of you: The dog has gone, the PC (in a thousand pieces...) is back out of the cupboard and I have a few spare hours this week, so we should finally see a bit of that extremely rare but beautiful thing called progress :D

Actually got the EL floor panel cut and mounted late last night and must say the dragon looks pretty damn good. One slight issue but nothing that can't be fixed! Hoping to get the bottom rads / bottom of the case done today, then get the paint cans out again as well if there's time :)
 
Good luck. Still think you could have passed off any tooth-marks as the dragon's! ;)

Cheers mate, think we'd need a slightly bigger dog for that though :D

Get some dragon pics up then mate before you make a mess of it all with paint... I'm firmly in slacking off mode this week while work is crap.

Haha not starting on the painting yet so there's still a microscopically small chance it could go well!

Need a break now and again to keep your sanity mate, trouble is getting motivated again afterwards :D

Now the news literally nobody was excited for: A SMALL UPDATE!

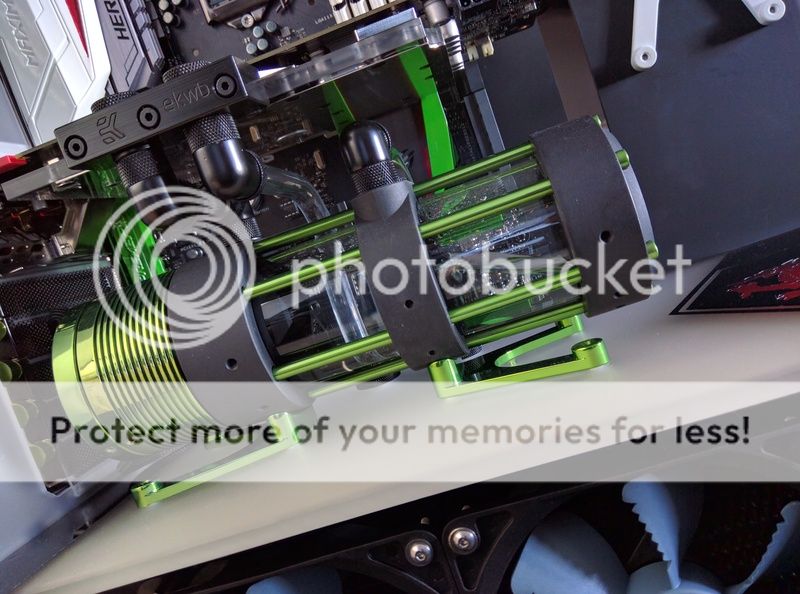
Cheated a bit under here and used left over soft tubing and fittings... Too damn fiddly to be messing around with hard tube when it doesn't even show :)

IMG_20170301_111720.jpg


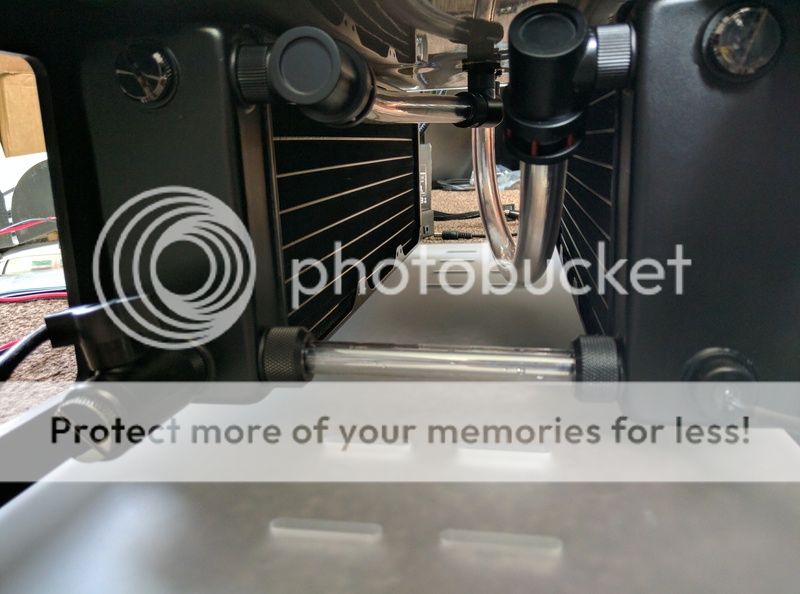
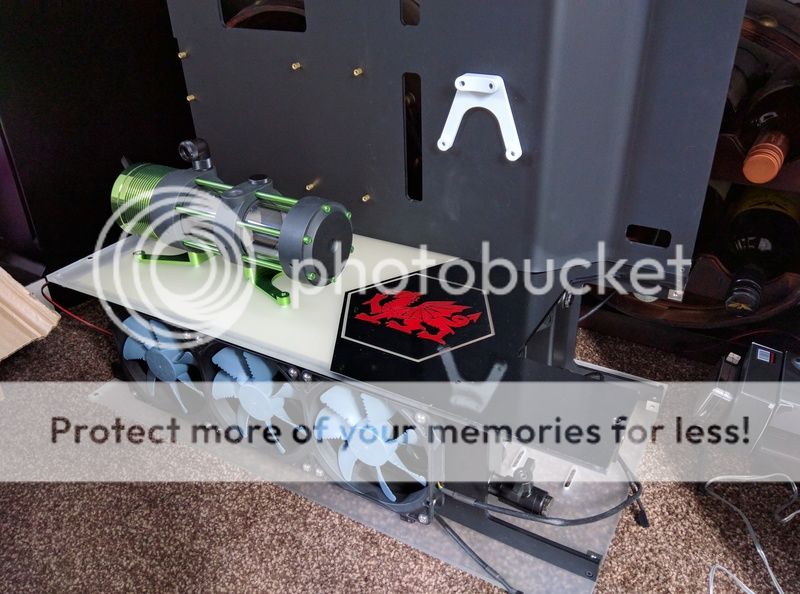
Inverter for the floor panel mounted between the rads. Should get some nice airflow now to keep it cool.

IMG_20170302_104100.jpg


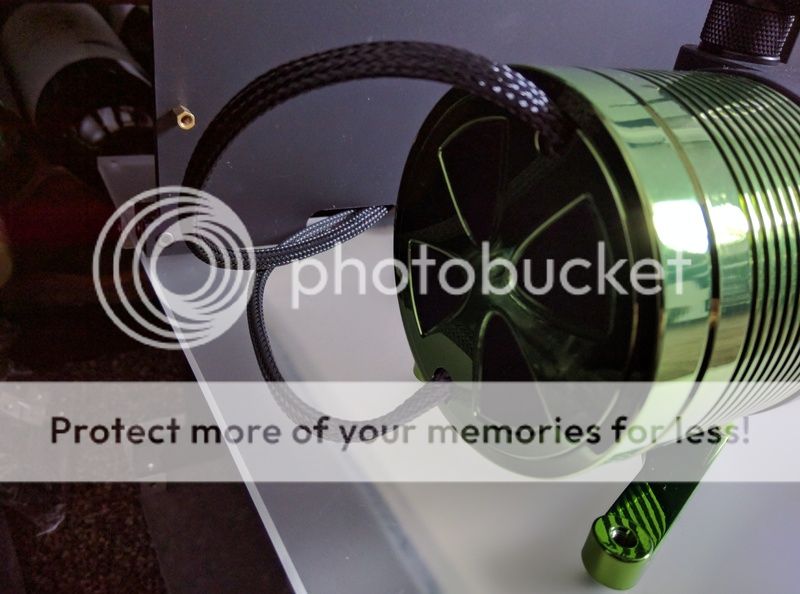
Power cable for the pump sleeved to stop it from being quite so fugly.

IMG_20170301_113915.jpg


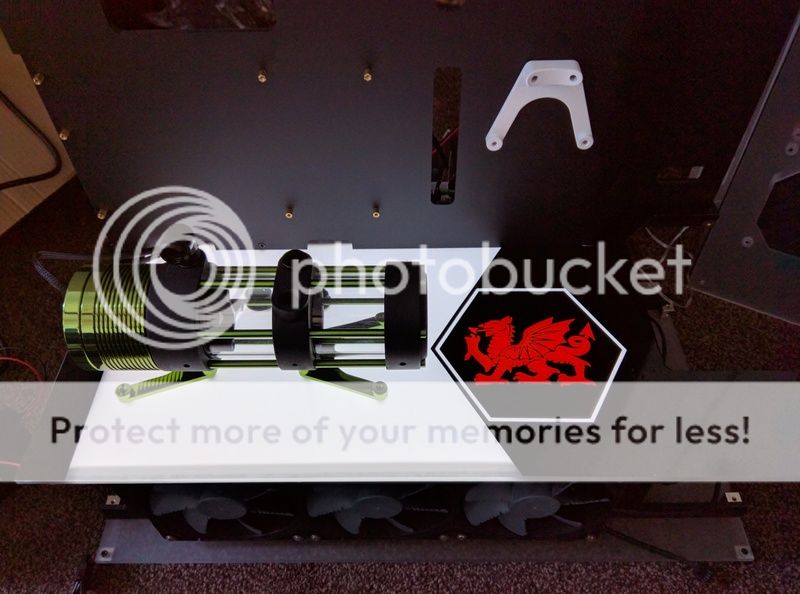
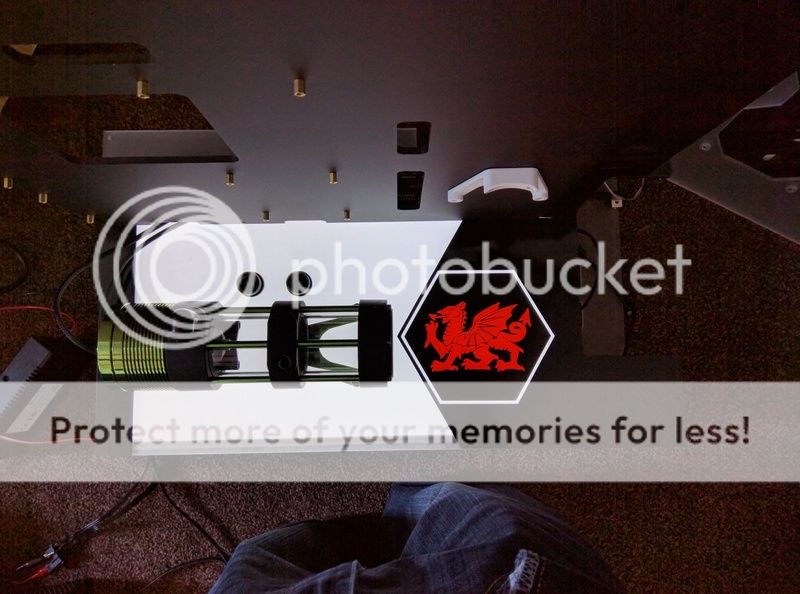
There be dragons!

IMG_20170301_113935.jpg


The dragon all lit up. Pity I couldn't get a custom sized panel but had to make do, so got a black strip down the left hand side :(

IMG_20170302_095857.jpg


Still, quite happy with how this has turned out. Have turned the brightness up a notch since this picture was taken :)

IMG_20170302_095908.jpg


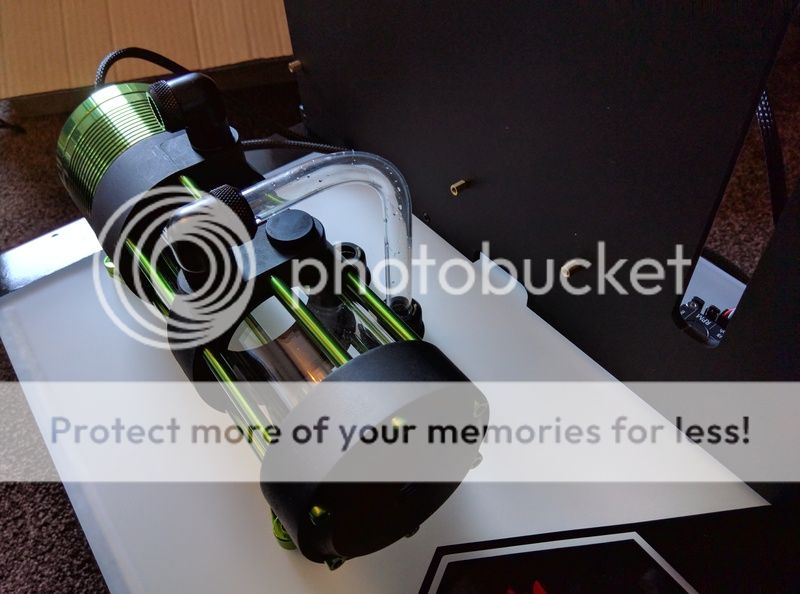
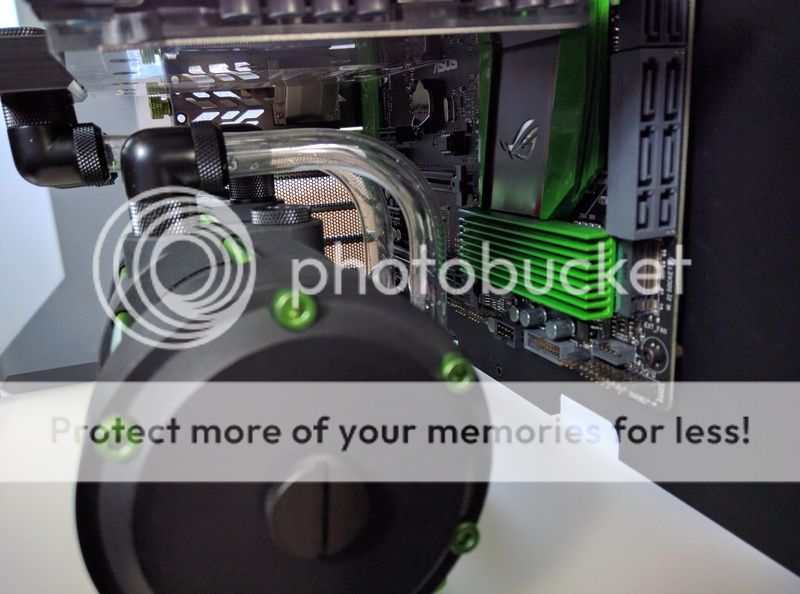
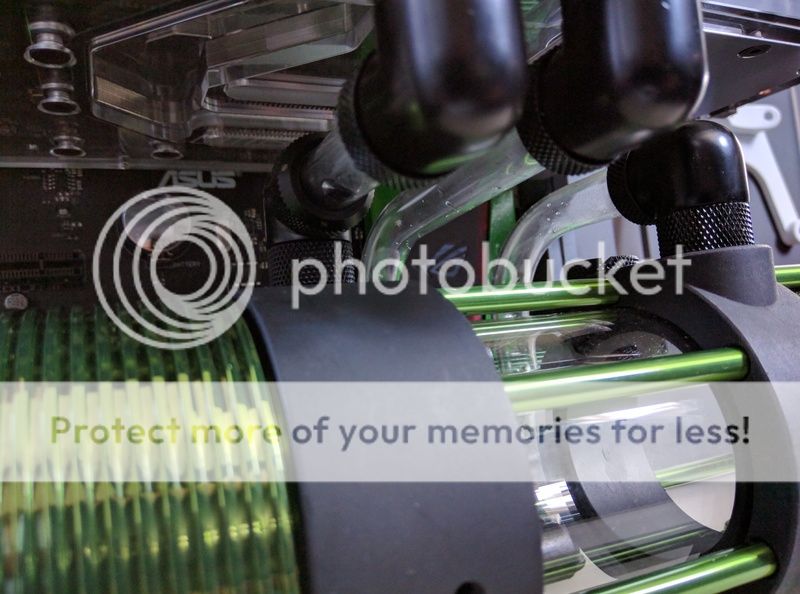
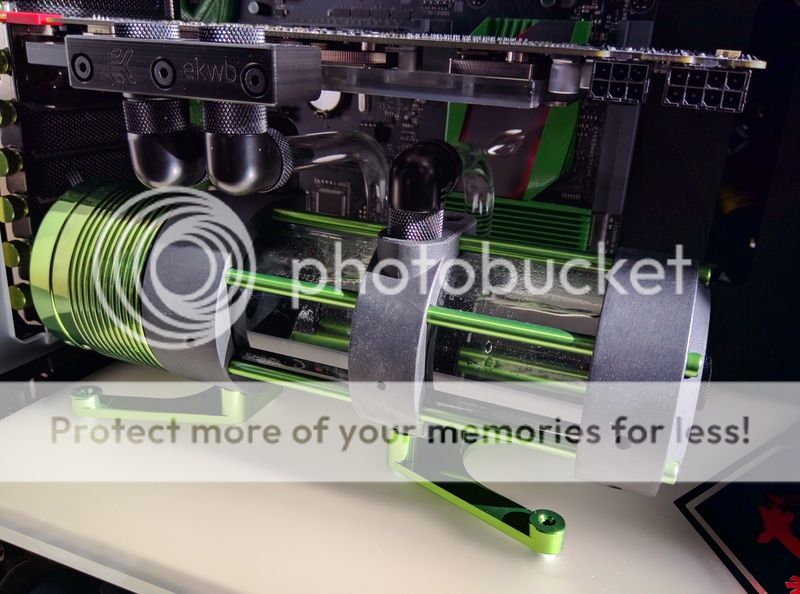
Time to plumb in the reservoir...

IMG_20170302_104049.jpg


Guessing this setup won't be to everybody's taste but must say I'm very happy with it, turned out just as I'd hoped :D

IMG_20170302_115551.jpg


IMG_20170302_115606.jpg


IMG_20170302_115619.jpg


Should hopefully look pretty decent once the backplate is on and the top loop is done :D

IMG_20170302_115709.jpg


Now a small update just for Cenedd... You can stop calling me a pansy now, I've manned up!!

IMG_20170302_095210.jpg


Doubt I'll have any spare time to do much else now until next week, but at least it's a start!
 
It was out of stock at Overclockers for ages unless you spent a fortune on a large one, finally came back in so grabbed one quick!
 
Looks great. The black strip will be where the PCI-E slots/bracket or side window bezel cover or shadow it anyway.

Cheers mate, would prefer it lit to the edge but unfortunately that was the only option I could think of that didn't look awful!

Looks nice, neat and parallel to me. What more could you ask for?

Neater and parralleler :D

See, it's that personal touch that keeps me coming back. Nice to feel special :-D
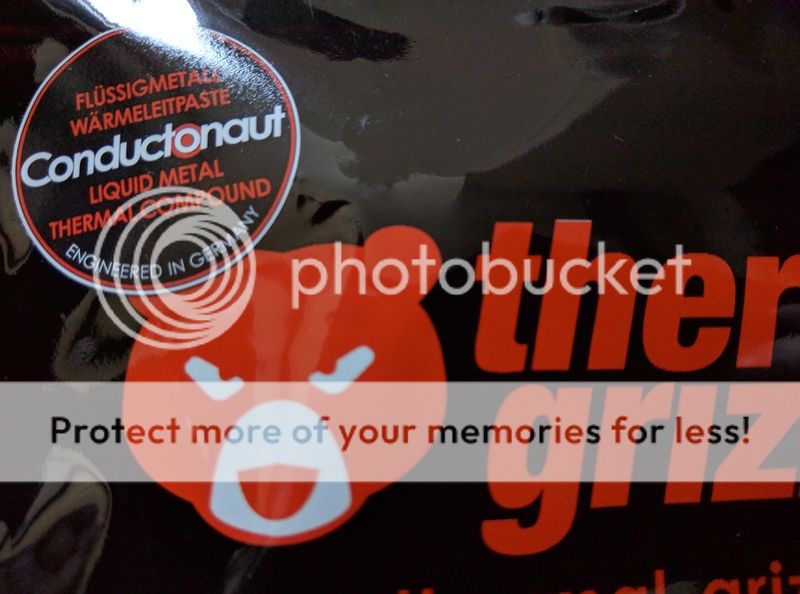
You'll be fine with it if it's anything like the CLU. On paper it's better conductivity-wise. I think I didn't go for it because it was just out and there wasn't any experience of how well it'd last or stay put whereas there was for the CLU.

Knowing how good their normal TIM is I thought I'd give it a go, but guessing performance wise it'll be pretty much identical to the CLU. Only one way to find out for sure though...!
 
That black stripe on the board....what has been seen, cannot be unseen :(

Outside of that, good job :)

I'm definitely going to look at other options for tidying up that end of the floor, I wanted a custom sized EL panel to avoid this issue but unfortunately they'd only make one that size if I ordered 15 of them.... Not sure I could justify the cost of 15 panels when I only have one PC to build! There are a couple of other ideas floating around my head though so hopefully one of them will look a bit nicer than the black strip :)
 
Just enough time to fill her up and run a quick leak test this morning. Spoiler alert: It leaked :(

First job: Tip the case up so I can use the end port of the reservoir to fill her up.

IMG_20170304_094325.jpg


Got a nice little lean on :D

IMG_20170304_094336.jpg


All looking good up here...

IMG_20170304_100649.jpg


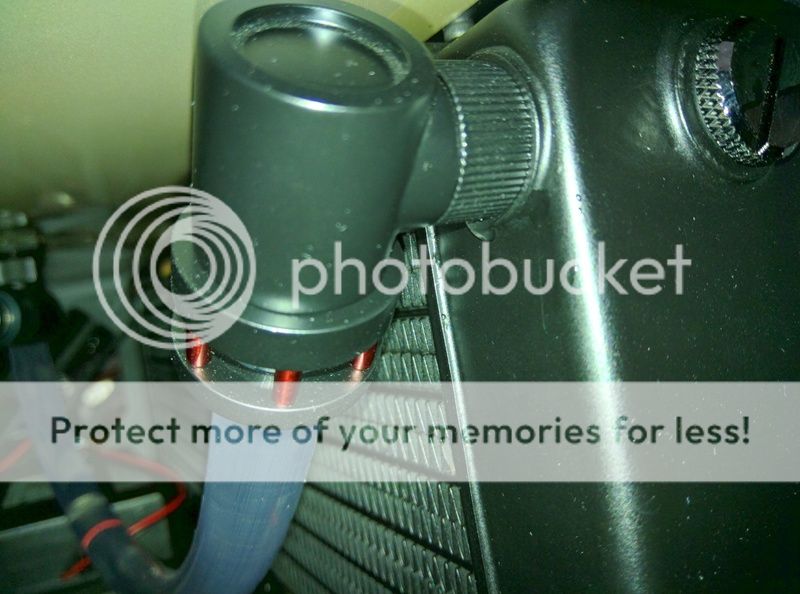
...****. One of the 90° fittings leaks where it's screwed into the radiator. Guess it could have been a lot worse so not going to complain too much!

IMG_20170304_095533.jpg


Only a tiny drip but quite annoying all the same. Oh well, I guess that's why we leak test these things!!


In better news I'm liking the effect of the water returning to the reservoir. Reckon once it's dyed green and lit up it should look pretty good :)

Will order a couple of Barrow 90°s to replace the 2 in the radiators and hopefully they'll be here for the start of the week, can get it filled properly then and make a start on the top loop.
 
Don't worry, I'm not just dossing around waiting for the 90° fittings... Made a start on the painting :)

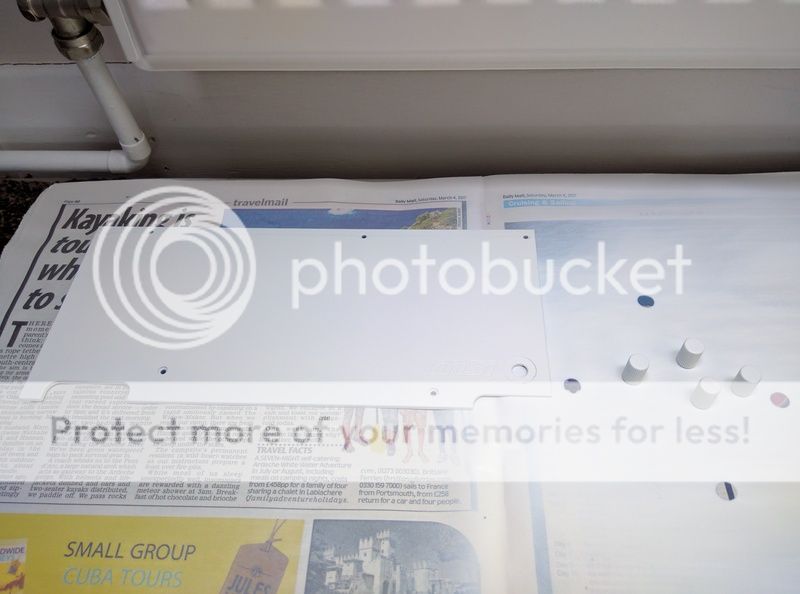
Undercoat:

IMG_20170305_144752.jpg


Shiny shiny! :D

IMG_20170306_160921.jpg


Once the white has dried properly the green will be painted, then will add the logo start of next week once it's all solid. Don't want to get the logo wrong then have it pull the not quite dried paint off when I remove it :D

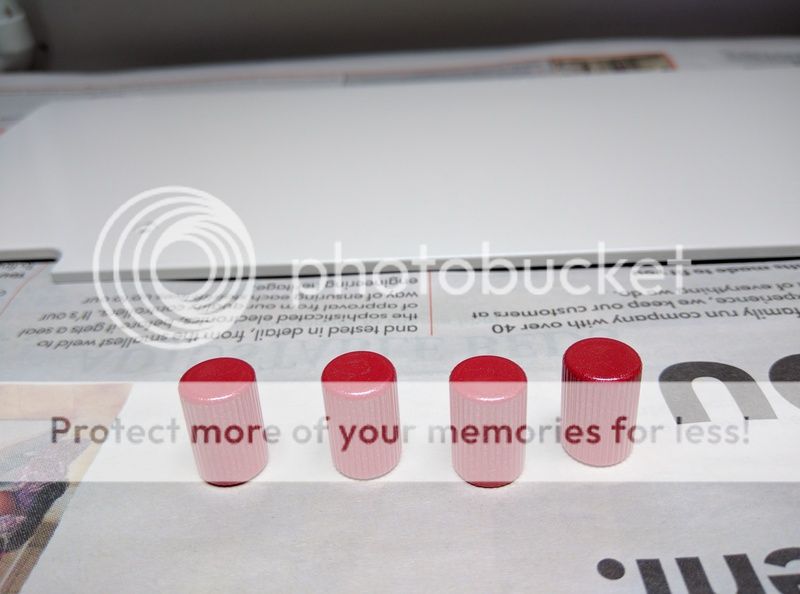
Also got a pack of these to replace the original sticker. It's so much better looking I really am baffled why this isn't used as the 'standard' sticker...

IMG_20170306_182019.jpg


With 4 spares to play with I might have a play at painting one with a light coat of the green window tint paint I used on the fans. Might be awful but cant hurt to see how it turns out :)
 
Back
Top Bottom