You are using an out of date browser. It may not display this or other websites correctly.
You should upgrade or use an alternative browser.
You should upgrade or use an alternative browser.
A Window To Wales
- Thread starter OJ46
- Start date
More options
View all postsIt's actually worse than that, it came with an instructional DVD... No chance that's going on!! 
Hoping if it all goes to plan I'll be able to put a black vinyl design onto the frosted floor and light it up from behind with an EL panel, then for any area that needs to be coloured I could put a film between the EL panel and the acrylic sheet. Bound to go wrong somewhere along the line but that's the current plan anyway lol
If you hear some welsh accent swearing drifting into Watford it has been plugged in

Haha that really is the kind of stupidity only an ISP could be capable of. Had similar with BT: "I can't get on line, the phoneline is down" "can you please go to bt.com and run a quick speed test..." 

Think today is going to be spent playing with Inkscape and swearing at inanimate objects


Think today is going to be spent playing with Inkscape and swearing at inanimate objects

Another small delivery, but the important thing about this one? It contained a component! No, not a fan. Not something for the loop. Not a tool. It's an actual, needed for the PC to actually work bloody component! 
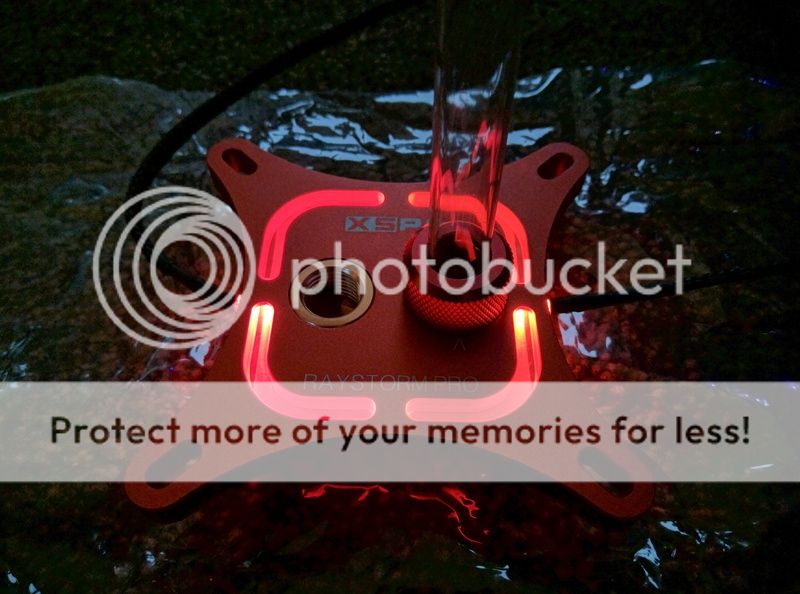
Also got a chamfer tool and some red LED's after XSPC were rather idiot with their choice of lights in the block...
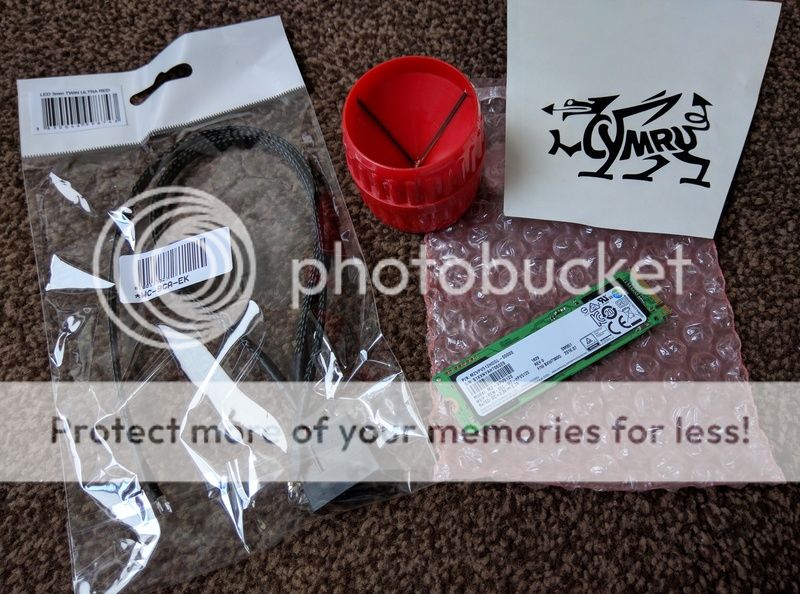
Hopefully the PETG should arrive in the next day or 2 (OcUK somehow messed it up again though so it's coming in 2 separate orders. Was corrected quickly mind so all good cheers guys ).
).
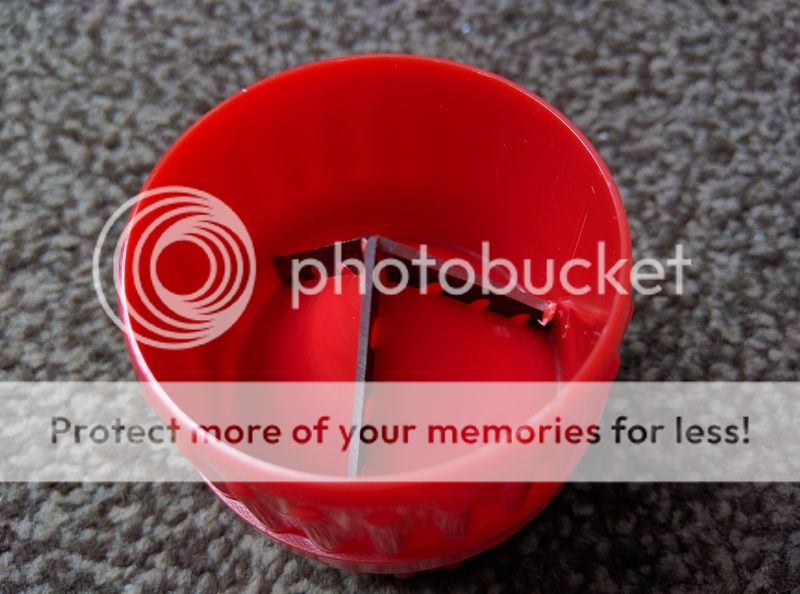
Then I can actually try bending it, play with this device that looks like it was designed to kill small rodents and check the Barrow fittings are nice and tight.
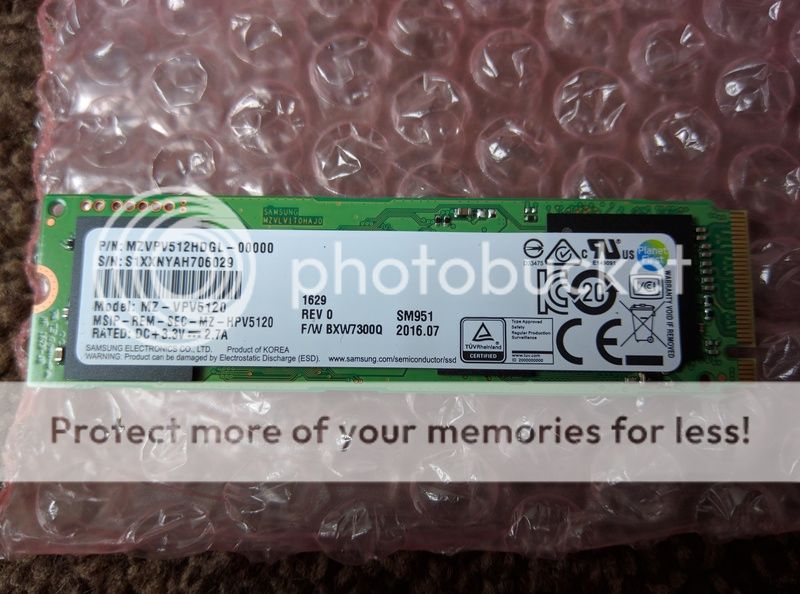
Right, the ACTUAL COMPONENT: Samsung SM951 512GB M.2 PCI-e 3.0 x 4 NVMe. Should make the system nice and 'snappy', with room for the OS and a couple of my most played games
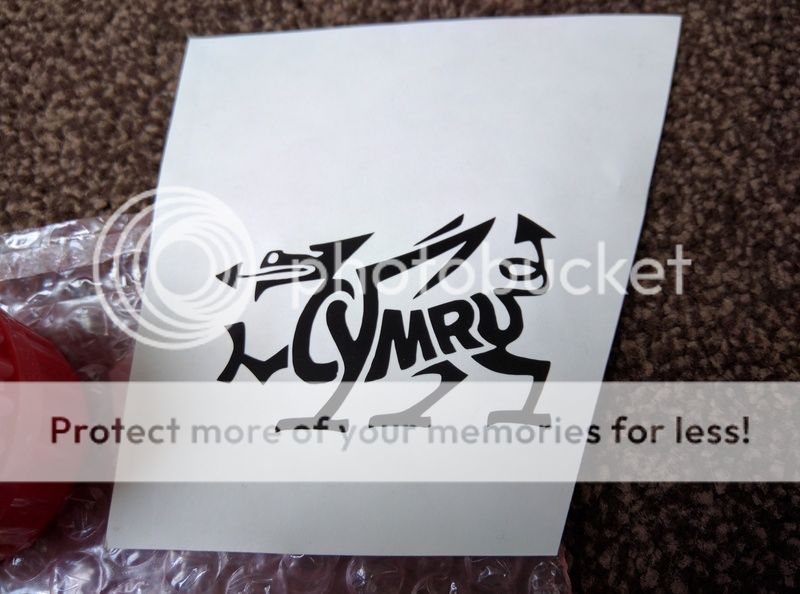
Also fired up the plotter just for a quick play and to make sure it worked. Pretty happy with how simple it was. Forgot to cut out the nose, middle of the R and middle of the tail on the first attempt but second time lucky...
This should make any future mods one hell of a lot simpler, especially once I figure out how to use it properly!

Also got a chamfer tool and some red LED's after XSPC were rather idiot with their choice of lights in the block...

Hopefully the PETG should arrive in the next day or 2 (OcUK somehow messed it up again though so it's coming in 2 separate orders. Was corrected quickly mind so all good cheers guys
 ).
).Then I can actually try bending it, play with this device that looks like it was designed to kill small rodents and check the Barrow fittings are nice and tight.

Right, the ACTUAL COMPONENT: Samsung SM951 512GB M.2 PCI-e 3.0 x 4 NVMe. Should make the system nice and 'snappy', with room for the OS and a couple of my most played games


Also fired up the plotter just for a quick play and to make sure it worked. Pretty happy with how simple it was. Forgot to cut out the nose, middle of the R and middle of the tail on the first attempt but second time lucky...

This should make any future mods one hell of a lot simpler, especially once I figure out how to use it properly!

Haha think I might just be the first person in the history of ****** green PCB's to add a heatsink with the sole intention of making it MORE green!
As much as I love RGB LED's (actually have a spare one for the Aquaero ) after seeing your build there's no way I'll be attempting to wire em up like you have, far too fiddly and far too much swearing would be involved! Bet you're proper happy with it now it's done though
As much as I love RGB LED's (actually have a spare one for the Aquaero
 ) after seeing your build there's no way I'll be attempting to wire em up like you have, far too fiddly and far too much swearing would be involved! Bet you're proper happy with it now it's done though
Oi, stop copying my power button ideas *shakes fist* Damn, that does sound like one heck of a lot of work just to light up a tube of water... just buy a load of Aquaero's and RGB modules 
Would be rude to do all that work for the CPU block and then ignore the GPU, so guess you're kind of committed now...!
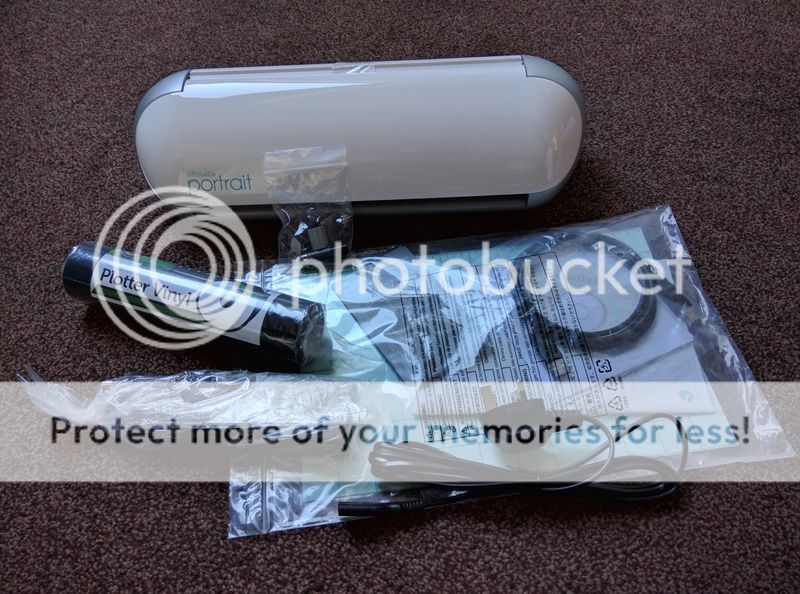
A Silhouette Portrait, nice early birthday present off the missus. Impressed with how easy everything is to figure out using the supplied software, always expect it to be crap and lead to an hour on Google trying out better alternatives but happy to stick with this one for now

Would be rude to do all that work for the CPU block and then ignore the GPU, so guess you're kind of committed now...!

A Silhouette Portrait, nice early birthday present off the missus. Impressed with how easy everything is to figure out using the supplied software, always expect it to be crap and lead to an hour on Google trying out better alternatives but happy to stick with this one for now

I would imagine it uses the same software as mine, so fire away if you have any questions dude.
Awesome, cheers mate. Will try not to bombard you with a million things as soon as I start ballsing it up in a couple months time

Well, once I'd changed the Phanteks one for the supplied blue LED and then run the Aquaero LED past it to light up the pump top (which should eventually disappear into a combined block) it started to bug me.
You'd have to have loads of Aquaeros to do that as you say. One header is only spec'd to power one LED and on the Aquaero it's Common Cathode (+R, +G, +B, Gnd) as that's the common type of single RGB LED. The Farbwerk which is rated to power more LEDs is set up for Common Anode (-R,-G,-B, +V) since all the RGB strips are wired that way. So the pre-wired Aqua Computer RGB LEDs wouldn't work. I had to import common anode single RGB LEDs from China - couldn't find them locally at all. It does mean I've currently got 90-odd spare if you start feeling the need to wire some up!
It's just so much more useful there isn't it, especially with the nice long bar on the Evolv. A quick glance and you know to within a couple of °C what the temps are

That sounds brain fryingly complicated for a plug and play general like myself, so think I'll leave that kind of messing to you and Andy cheers mate

Happy with that, glows a lot brighter / more evenly IRL and definitely hides the difference in colour 
Reckon with some Ice White in the tubes she'll be good to go
Can also confirm that the EK PETG is a very good fit in the Barrow fittings, no way she's gonna leak


Reckon with some Ice White in the tubes she'll be good to go

Can also confirm that the EK PETG is a very good fit in the Barrow fittings, no way she's gonna leak

The photo's companies like XSPC use to advertise these blocks though are bloody awful, the RAM and IO shield end up glowing more than the CPU block... Surely they can afford the 30 seconds it takes to cover the arse end of the LED to make it look 20x better?! Even a bit of vinyl over the end would improve it massively. *Gets off the box for the evening...* 

So I ordered a couple of ML 120's to see if they could be made green and erm... Stupid question: How the hell do I get them apart?!
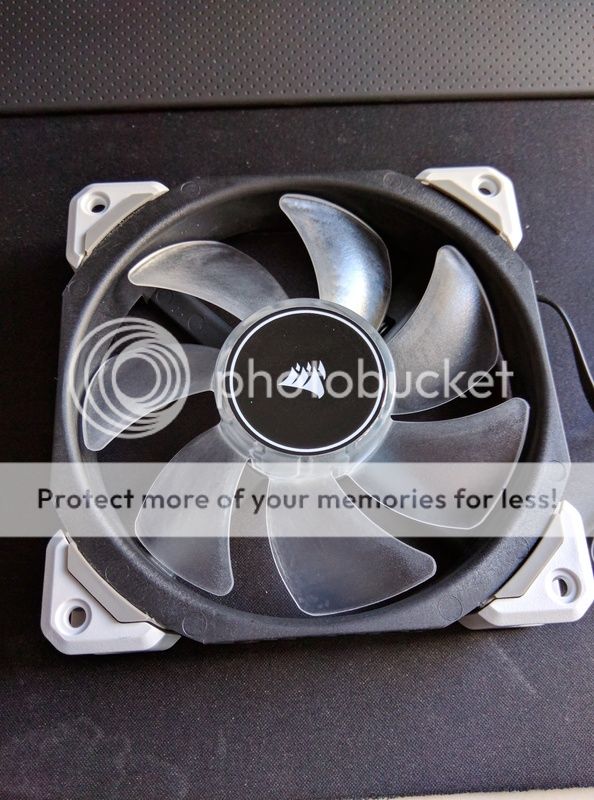
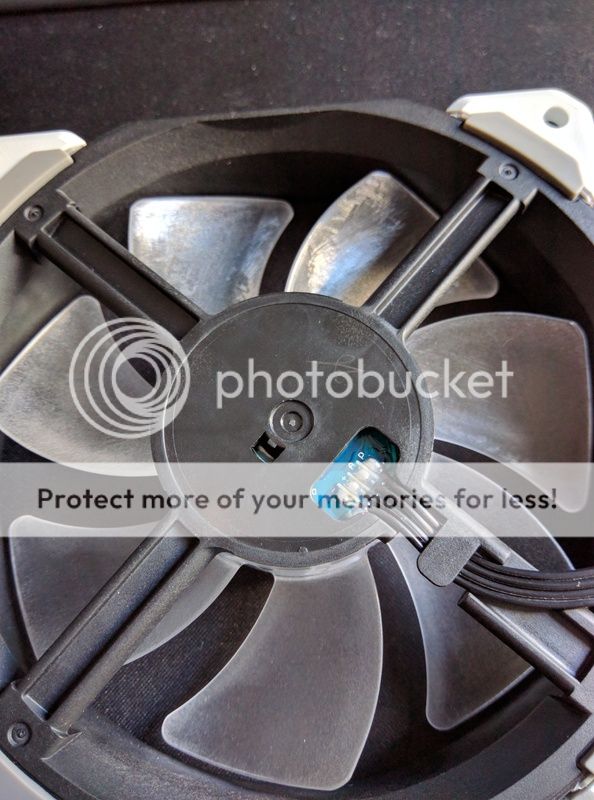
I know I'm probably being a complete tool and missing something incredibly obvious / simple, but after a birthday weekend of alcohol abuse even simple fans are confusing today! Someone please save me from myself before I break the damn thing


I know I'm probably being a complete tool and missing something incredibly obvious / simple, but after a birthday weekend of alcohol abuse even simple fans are confusing today! Someone please save me from myself before I break the damn thing

Damn, trust me to buy the one fan that can't / shouldn't be taken apart!! Guess it's plan B and have some non LED fans in the front instead, won't look as good but never mind, will keep these to go on the roof mounted rad instead. :/
It's a right pain, can see the LED's but can't get good enough access to do anything with them. Was going to stick some green window tint film over them as that sounded like the simplest solution but never mind, that looks like a definite no go now! Only thing that would worry me painting them is how much it cuts the brightness down, as they aren't all that bright to start with. Still, looks like it's the only option left so will give it a go! Cheers 

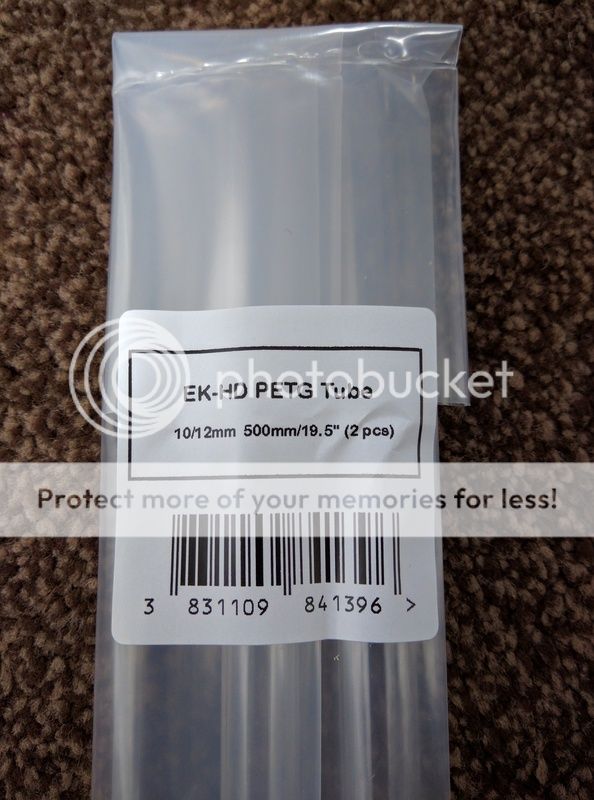
Woohoo, more parcels! Was expecting a delivery from OcUK but for some reason unknown to myself I actually received two... Yep, first up was another pack of (not ordered and unpaid for) PETG! Gave them a quick shout on Twitter to ask if I could send the money via Paypal instead of bothering to post it back, was told to just keep it, so cheers guys 
Then today the other pair of radiators arrived
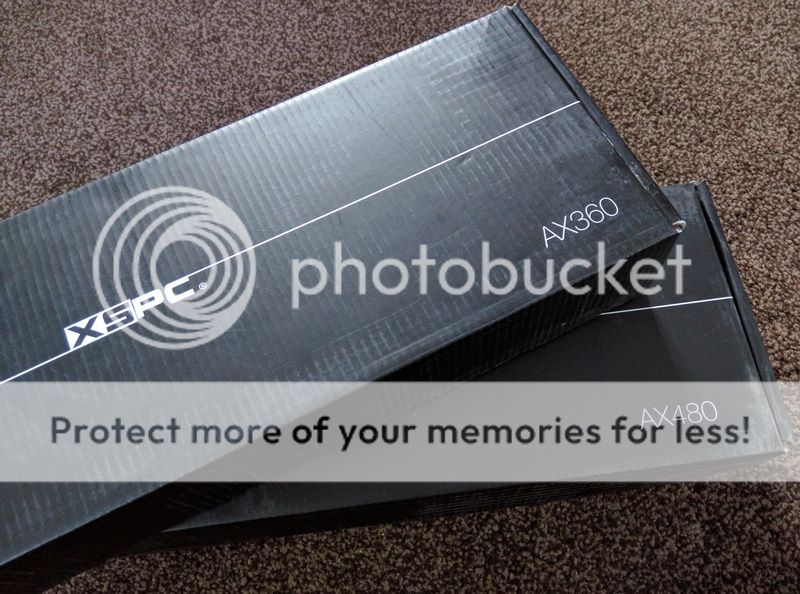
An XSPC AX360 in white and a black AX480. Liking the look of these, bit of class about them
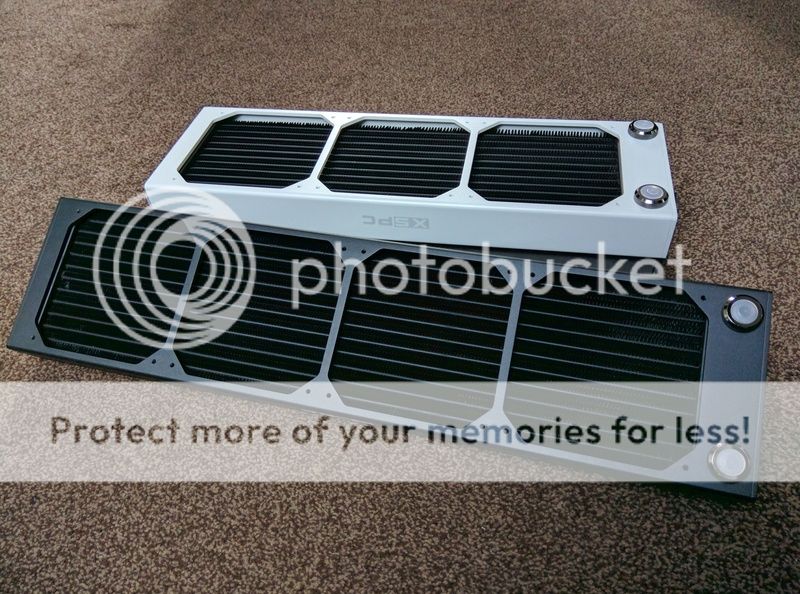
Together with the pair of XSPC RX360 V3's I already had. Ooh yes, reckon that's more than enough cooling capacity for now
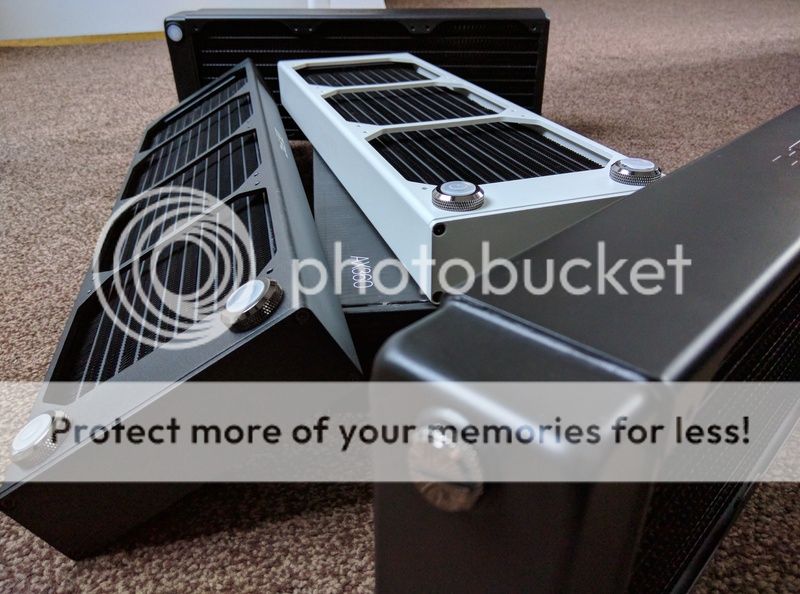
The dog, admiring the awesomeness of the radiators and generally dossing around like she owns the place
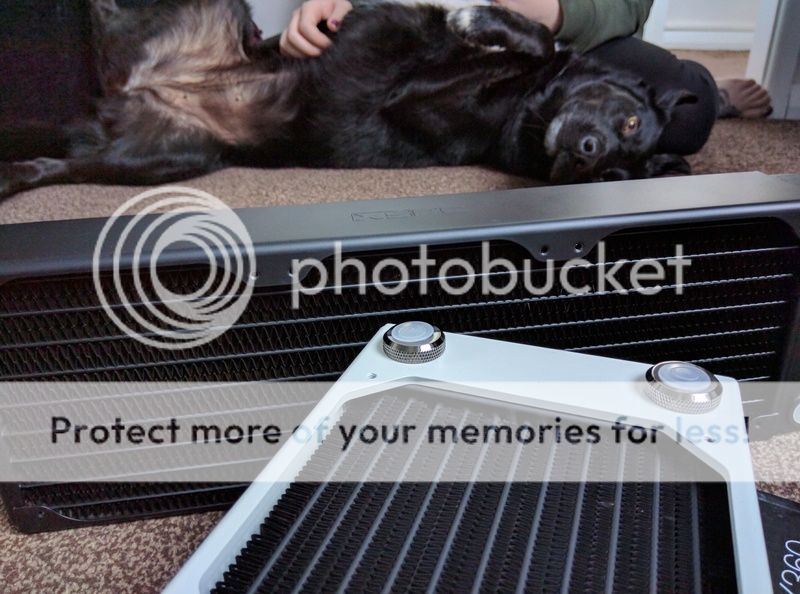
The white AX360 will be for the roof with the black AX480 in the front. Thinking behind it was to keep the front part of the case darker and to put more emphasis onto the actual components... Will soon see whether it works or not
The fatter but fuglier RX360 V3's are to go in the hidden bottom part of the case to cool the GPU. Yes, the plan is starting to come together... And the case should hopefully arrive next week


Then today the other pair of radiators arrived


An XSPC AX360 in white and a black AX480. Liking the look of these, bit of class about them


Together with the pair of XSPC RX360 V3's I already had. Ooh yes, reckon that's more than enough cooling capacity for now


The dog, admiring the awesomeness of the radiators and generally dossing around like she owns the place


The white AX360 will be for the roof with the black AX480 in the front. Thinking behind it was to keep the front part of the case darker and to put more emphasis onto the actual components... Will soon see whether it works or not

The fatter but fuglier RX360 V3's are to go in the hidden bottom part of the case to cool the GPU. Yes, the plan is starting to come together... And the case should hopefully arrive next week

Yeah I'm definitely gonna have sore arms after that marathon, think I might do the 2 for the GPU loop first then leave it a few days for the muscles to recover!
Was surprised by how much thinner the actual core is compared to the RX360 V3's (core of RX is 6mm fatter than total thickness of AX) but not sure that's going to be an issue with a 360 + 480 just for the CPU. They do look far neater though so definitely worth the trade off on the ones that are actually on show
They might feel a tad inadequate next to yours, but I reckon 1560mm of radiator space should be more than enough for a modest overclock
Was surprised by how much thinner the actual core is compared to the RX360 V3's (core of RX is 6mm fatter than total thickness of AX) but not sure that's going to be an issue with a 360 + 480 just for the CPU. They do look far neater though so definitely worth the trade off on the ones that are actually on show

They might feel a tad inadequate next to yours, but I reckon 1560mm of radiator space should be more than enough for a modest overclock

Believe it or not I actually run the current setup (1 x 360mm + 1 x 240 X-Flow) completely passive most of the time. Will run Netflix etc and some light gaming no problem at all in this weather with the fans only spooling up occasionally during games like Metal Gear. They run constant and fairly high on games that hammer the GPU though, so that was one aim for this build: Make Project Cars on this quieter than Metal Gear on the old one 
Did go with the fatter but fuglier rads for the GPU as I know they're good, and they would be more than capable of future SLI configurations without sounding like a jet. But putting them on display? Not too keen when XSPC also make far better looking radiators! Do wish the better looking ones were the same thickness though...
Can't remember the exact water temp the fans kick in at on the current build (one rad kicks in slow, then the other does a few degrees higher) but think it was around the mid to high 30's, so still well within any safety margins. That's if I'm right in thinking anything under 50°C is all good...?!


