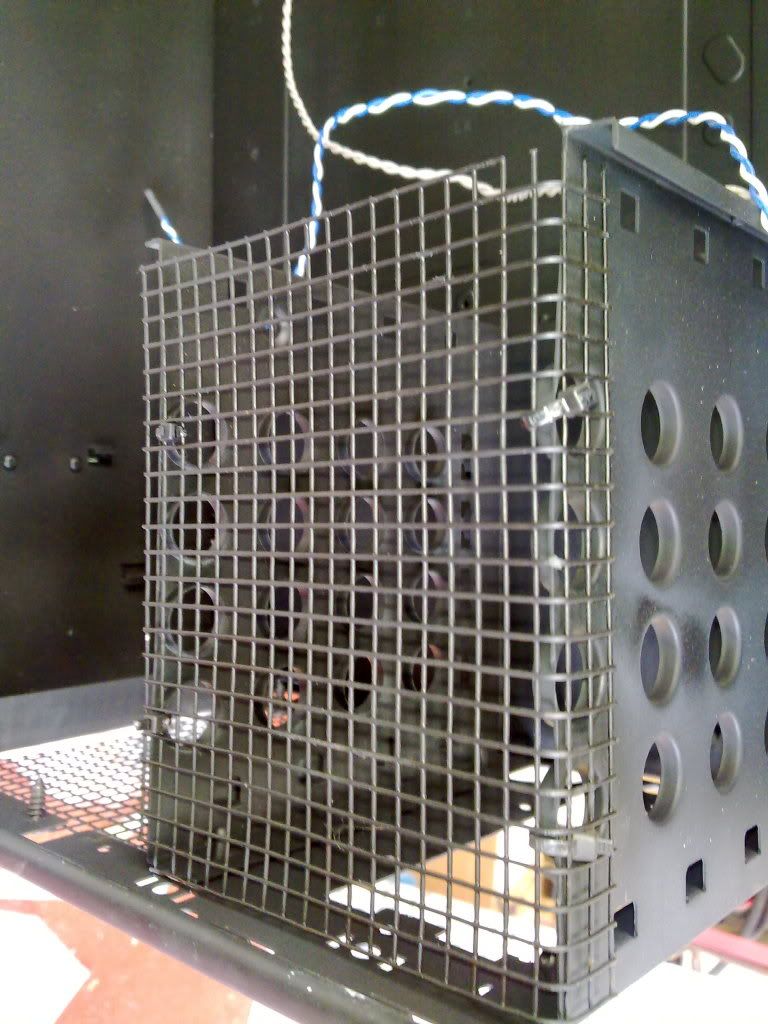
A380 Mod

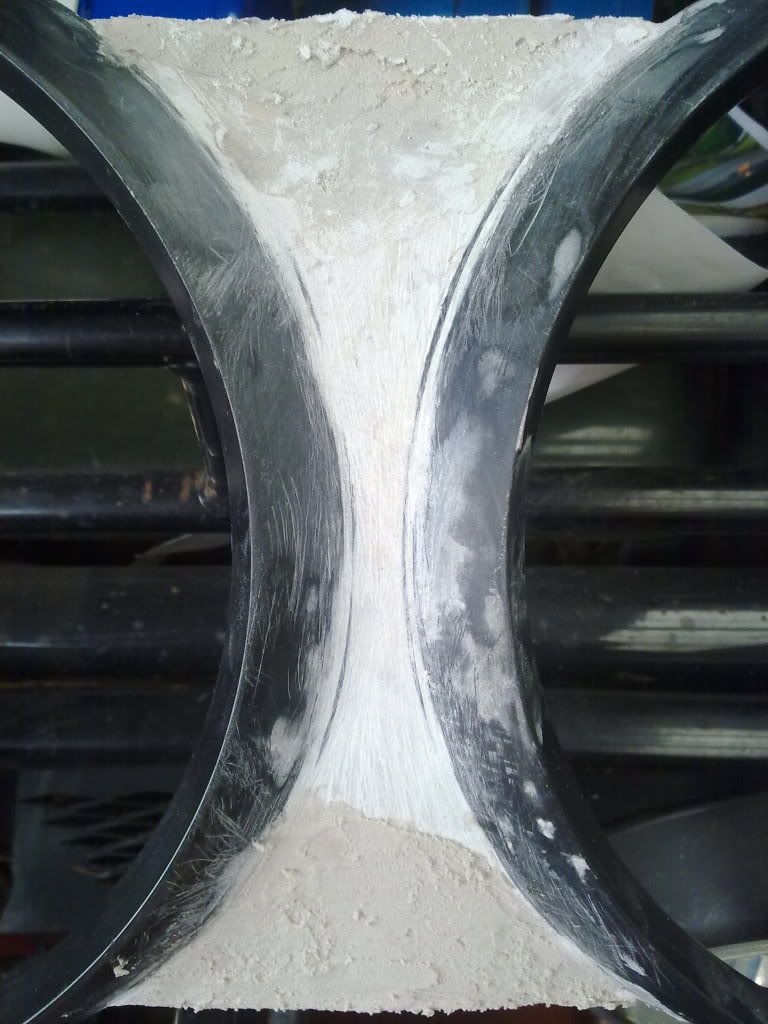
Some more pics. I'm still trying to smooth off the body filler on the front, I can't seem to get it smooth, not sure what grit to use, only got 320 and 800 atm.

This is another coat of body filler, which i havn't sanded down yet.
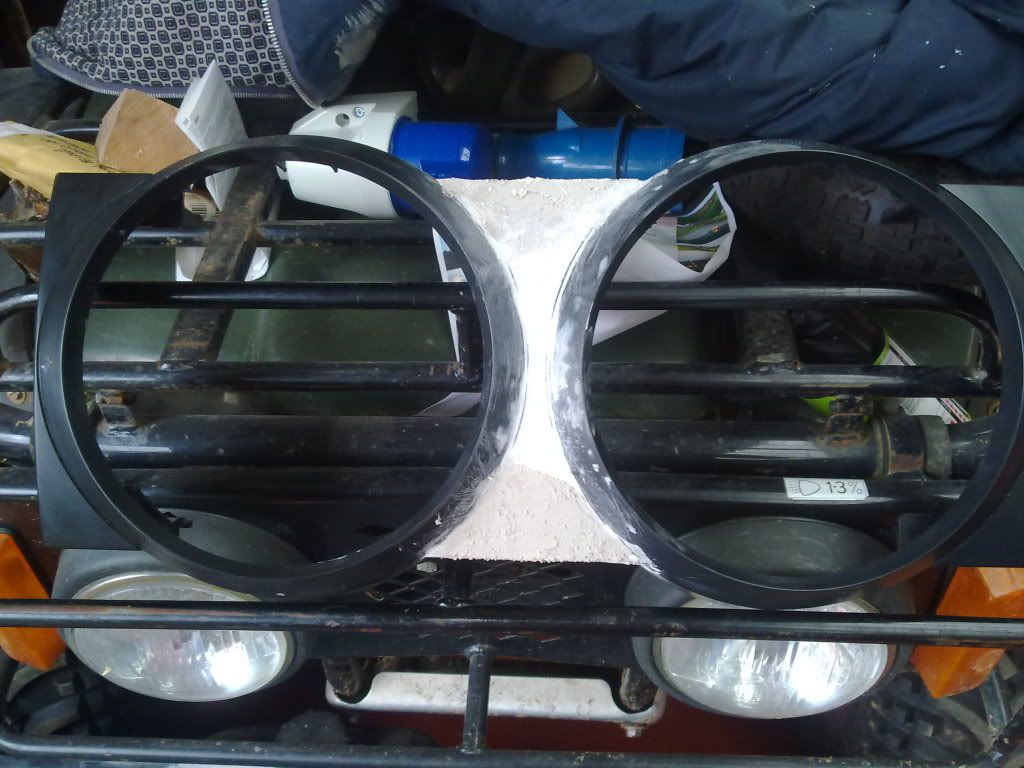
20082010038.jpg

Btw, thats a quad it's on :P
20082010039.jpg


I put some more fibreglass on the old whole on top.
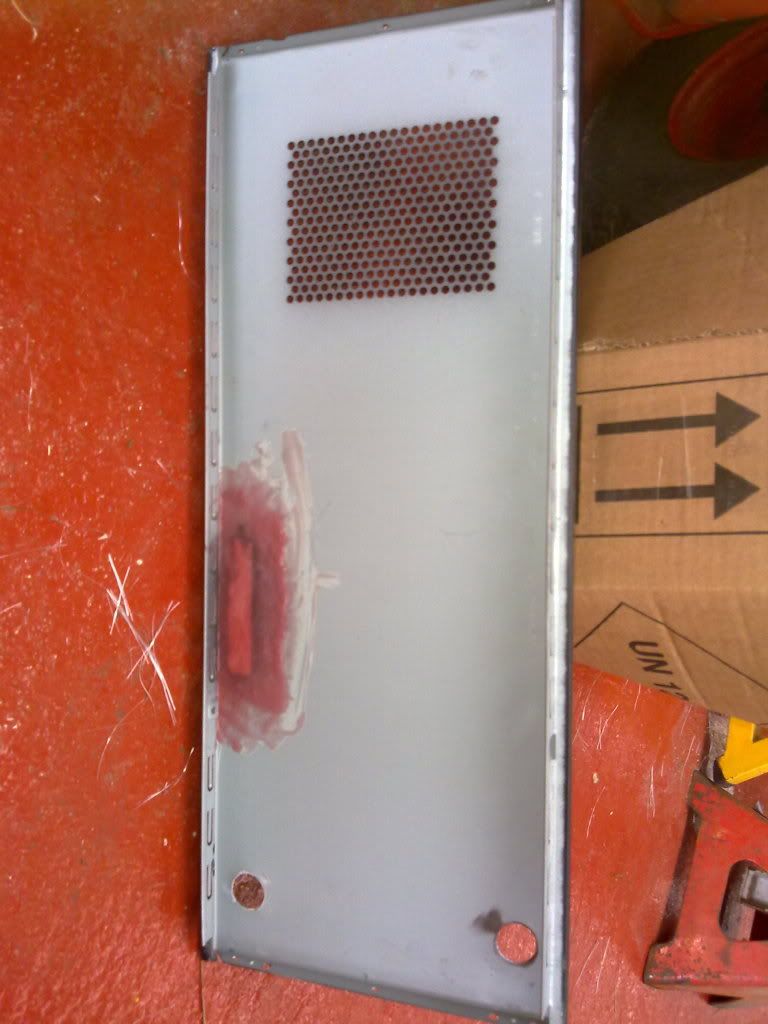
20082010040.jpg

And I've used body filler on the other side to fill it in.
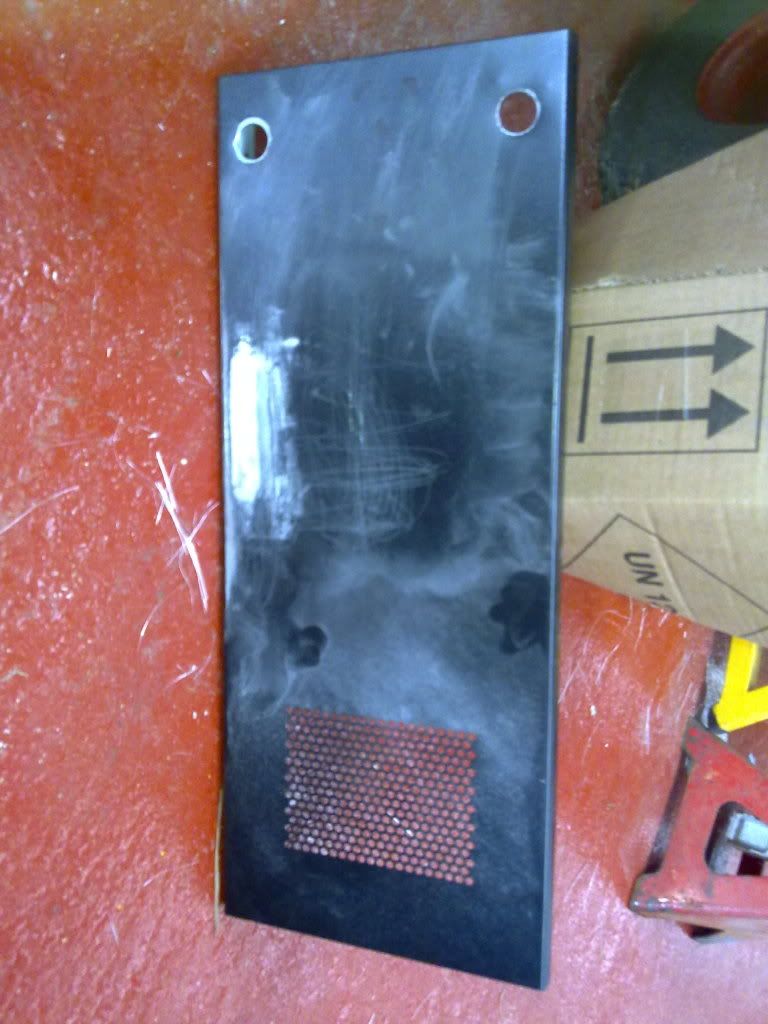
20082010041.jpg

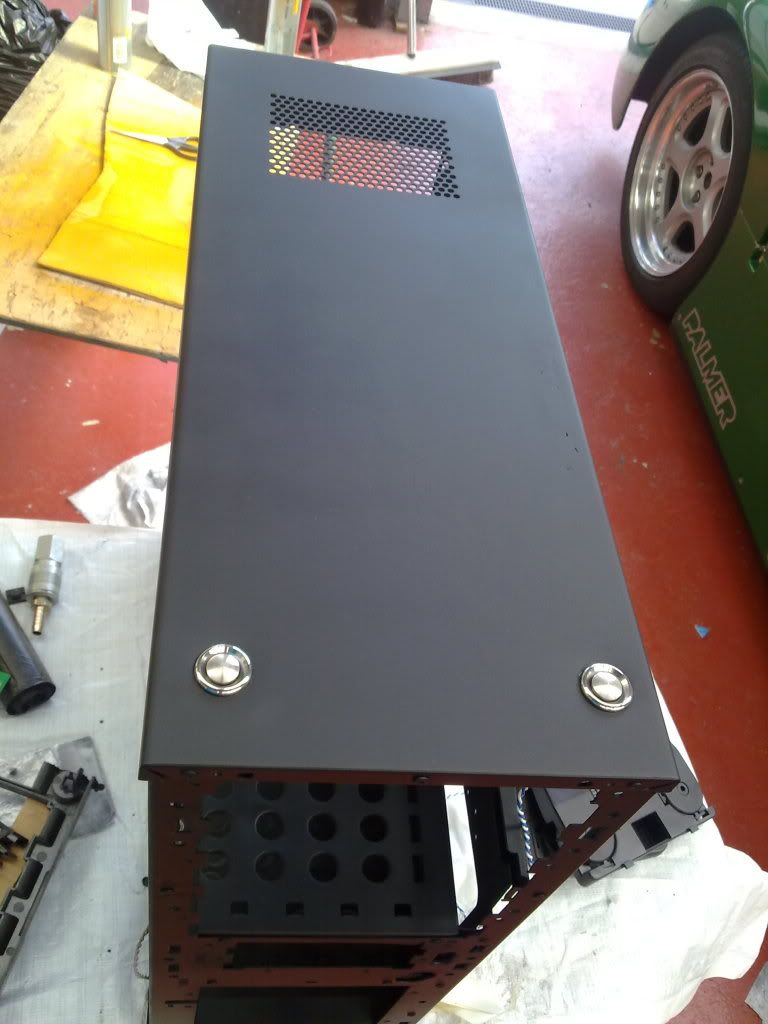
Also I have cut two holes for the on off switches.

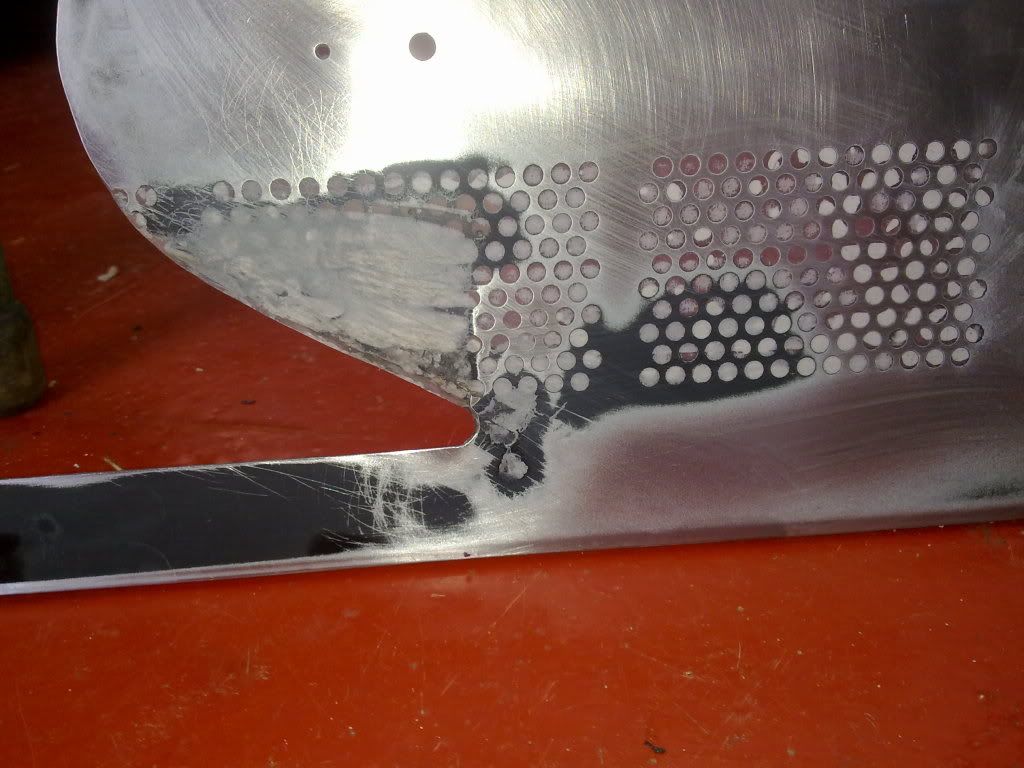
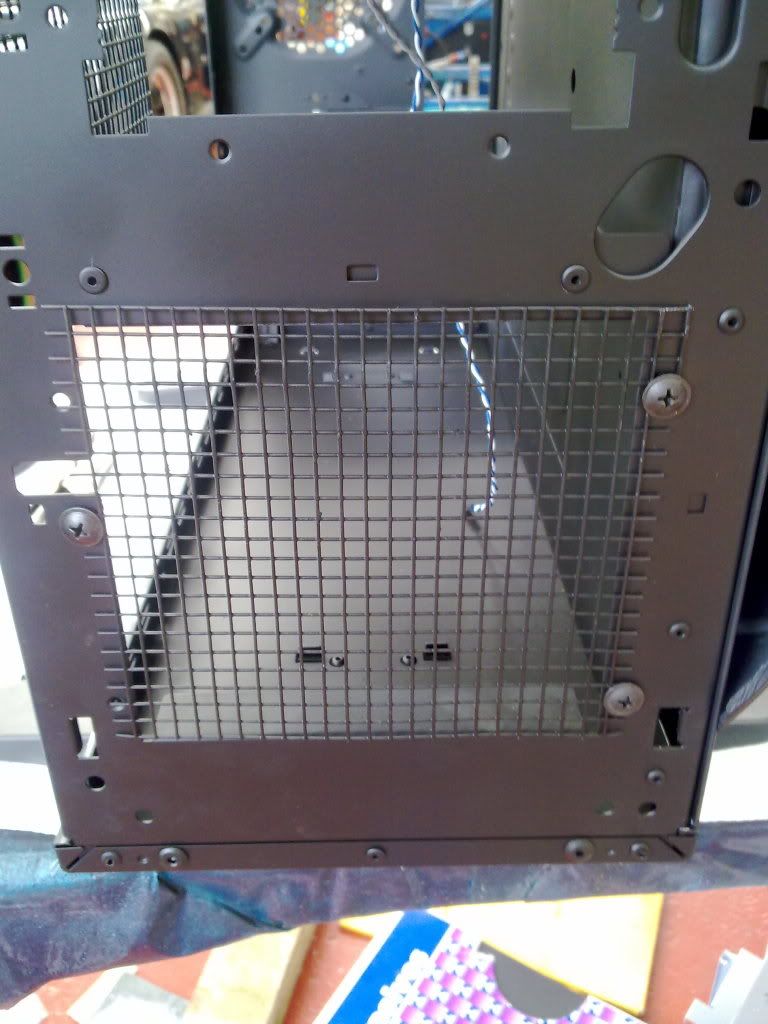
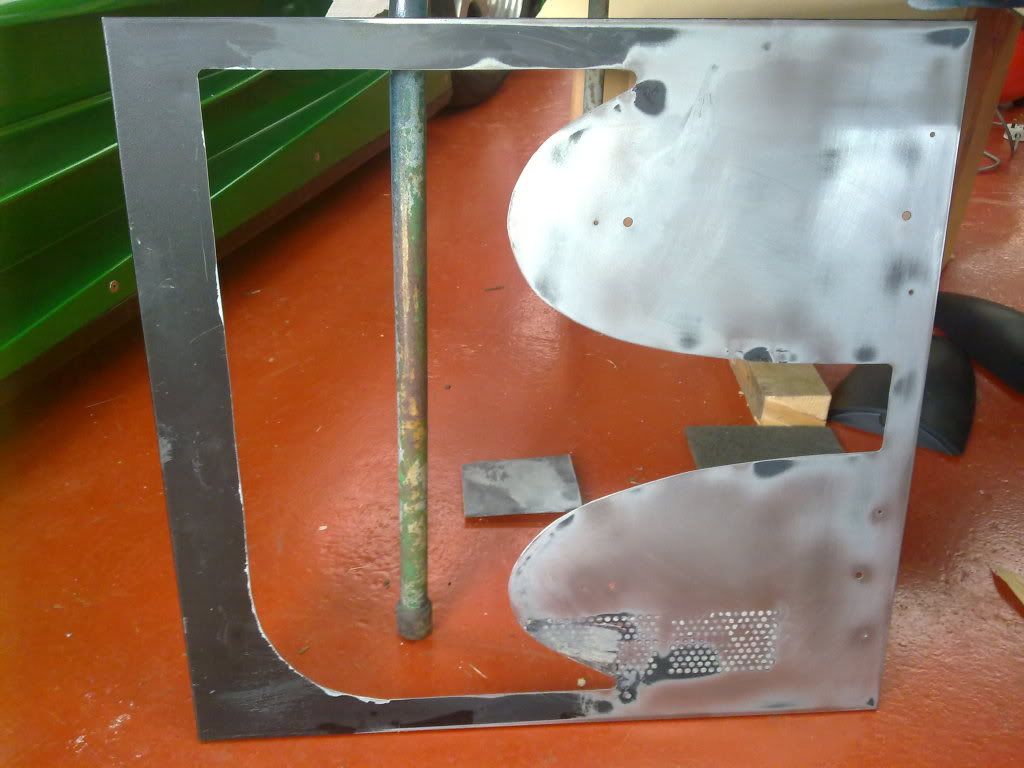
Side panel has been filled, looks a lot better down at the grill.
Also started sanding it down, It's taking a while though, took over an hour to do that part. Is this normal? I was using 320 grit and some water.
20082010042.jpg

20082010043.jpg

On that pic, the holes look see-through, but it's kinda pinky from the resin for the fibreglass.

What you guys think, whats best way to sand and with what grit?
 
Last edited:
I would start with 120 grade first to get the ridges off then when you get to the shape/smoothness you want use the finer grades to get rid of the 120 grade scratches.

Nice work btw.
 
Ok, i sanded 3 of the panels and primed them, but on one i forgot to drill some holes,lol. and i ran out of primer on the last 1, only an inch left to do aswell,lol.
Will i need to sand the primer? and again what grit? lol.
Thanks!
 
Yes you need to sand primer with the finest grit you have.Use some water with it as i presume its wet and dry your using.No need to go too mad with it but bare in mind primer will hide some imperfections but the top coat will show them up if it has any kid of sheen.
Make sure you clean the dust off well with a damp lint free cloth after.
 
looks similar to one made by a guy called roboduck

those fans normally blow onto this :eek:
DSC_0298.JPG


how many dba are those massive fans in comparison to the cfm :confused:

cool idea :D
looks unique(ish)

also seems there is a lot of work involved, hope it turns out good
 
Yeah, i saw his mod and it gave me inspiration, I've been talking to him about it, hes going to steal my HDD mount idea, lol.

CFM - min, max
47.95-95.90

DB - min,max
16.43/32.86

Roughly same db as 120mm, but about 30-40 more cfm.
 
Ok, I've sanded the primer down with 1200 grit, maybe a little too much, and theres some tiny holes that need filling on some parts, should i do another primer coat and sand down again?
 
Ok, I've sanded the primer down with 1200 grit, maybe a little too much, and theres some tiny holes that need filling on some parts, should i do another primer coat and sand down again?

Thats likely to be air pockets in the filler (from not being mixed fully) i'd guess thats why you have tiny holes.

To answer your question...
If you want to be fussy and do it right i would just give it a very light dusting of primer just so you know the filler has a key and will stick.

I have not used car filler so i dont know if it adheres well to itself.
The advice i'm giving is from being a painter so i would presume it would still apply to car filler.
 
Yeah, i find the filler is very hard to smooth off, and went i try to sand it, it just flakes in some areas, not filling gaps. The worst place is the front panel i had done. Will matt black hide these imperfections?
 
Yeah, i find the filler is very hard to smooth off, and went i try to sand it, it just flakes in some areas, not filling gaps. The worst place is the front panel i had done. Will matt black hide these imperfections?
If it flakes,its either gone off (has gotten damp or just old) or the surface wasn't rough enough to adhere to.
Matt certainly will help hide imperfections.

I've done 3 coats of matt black on everything, apart fromt the front panel, which needs sorting out :P
so how is it looking now?
 
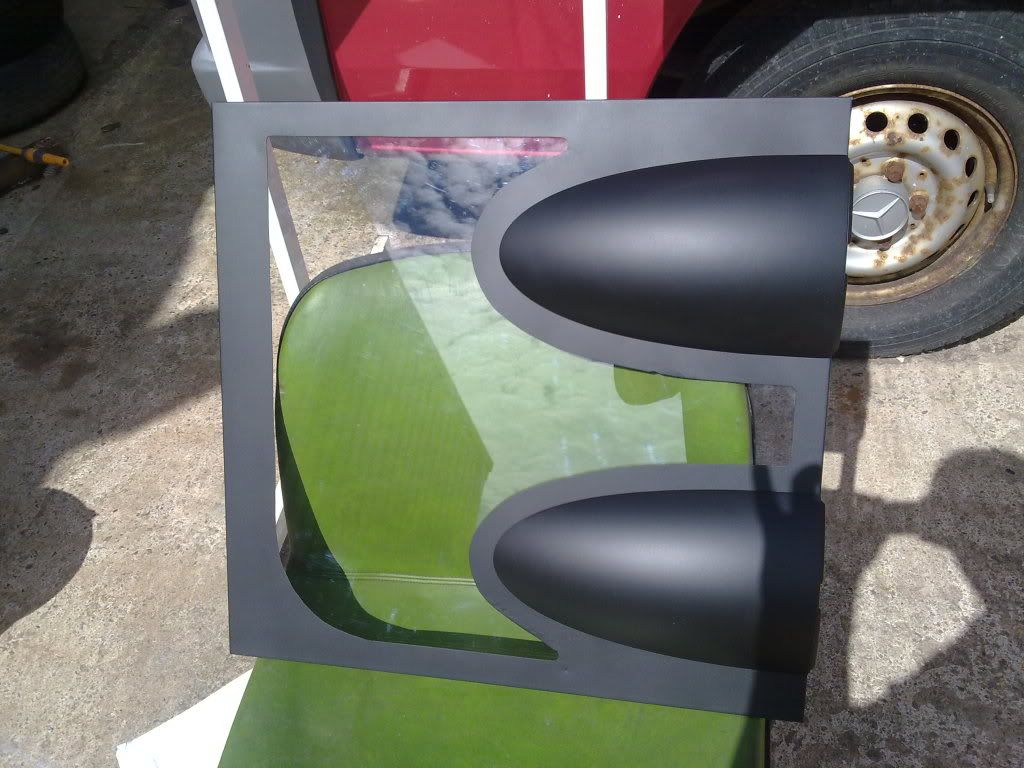
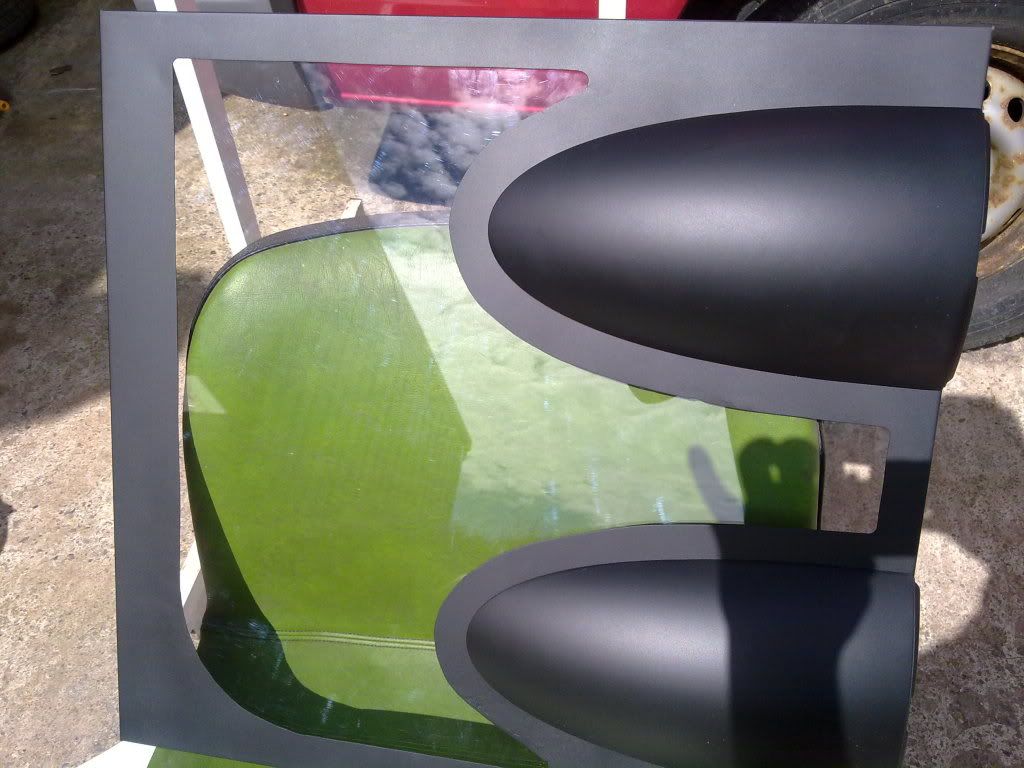
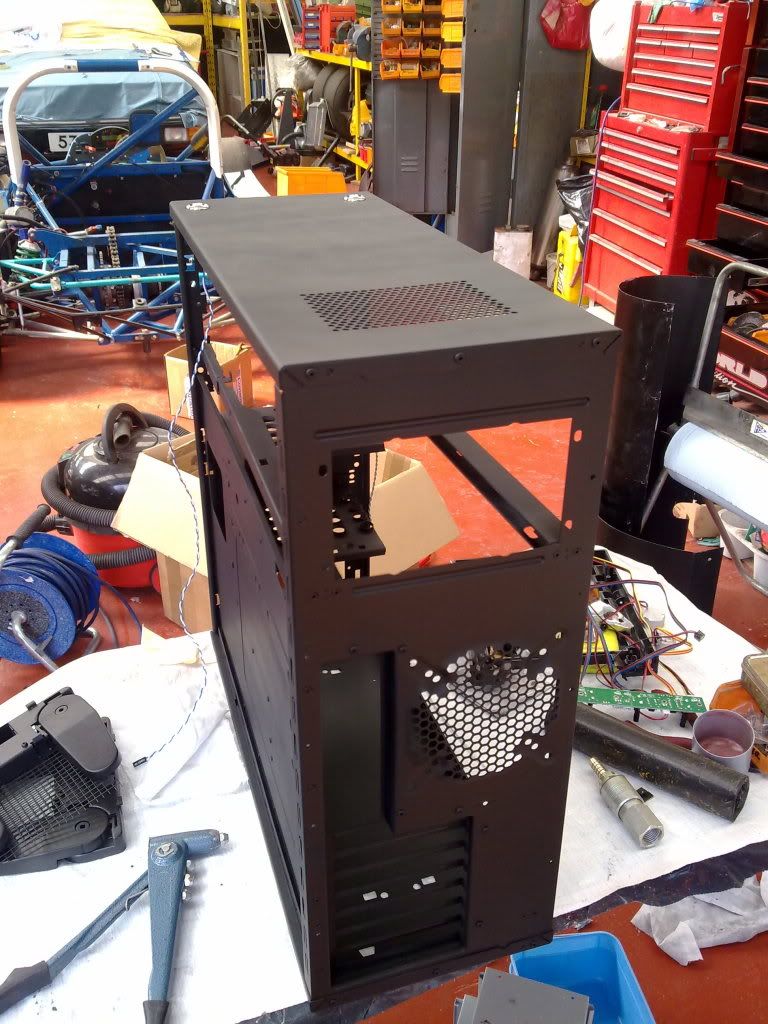
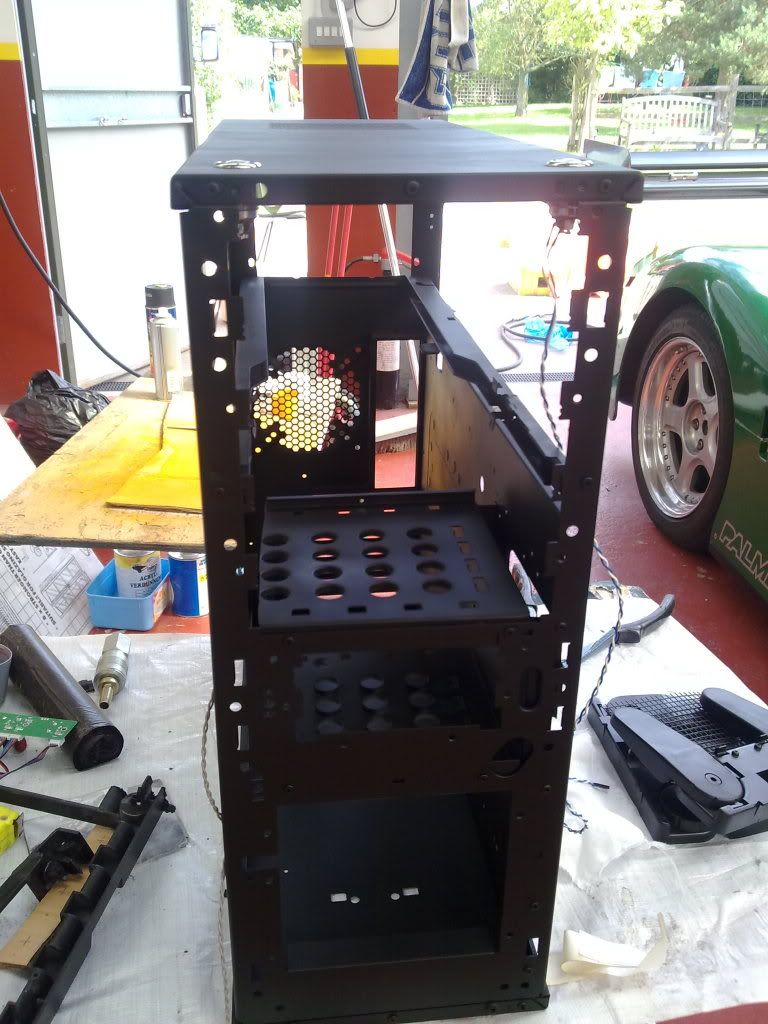
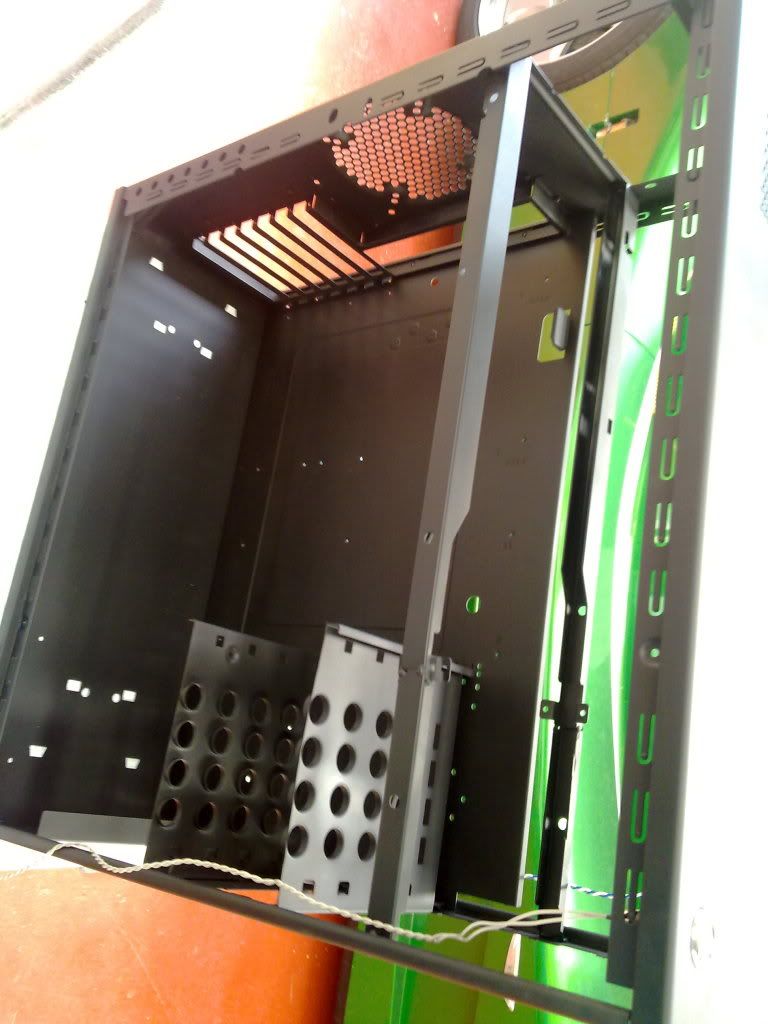
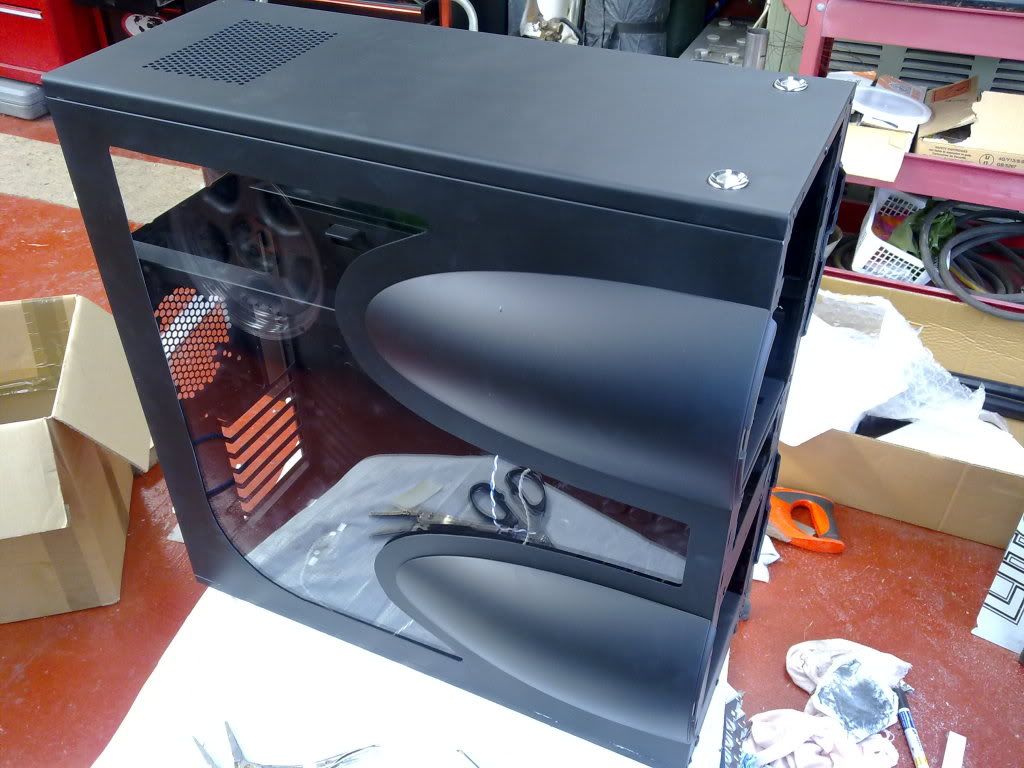
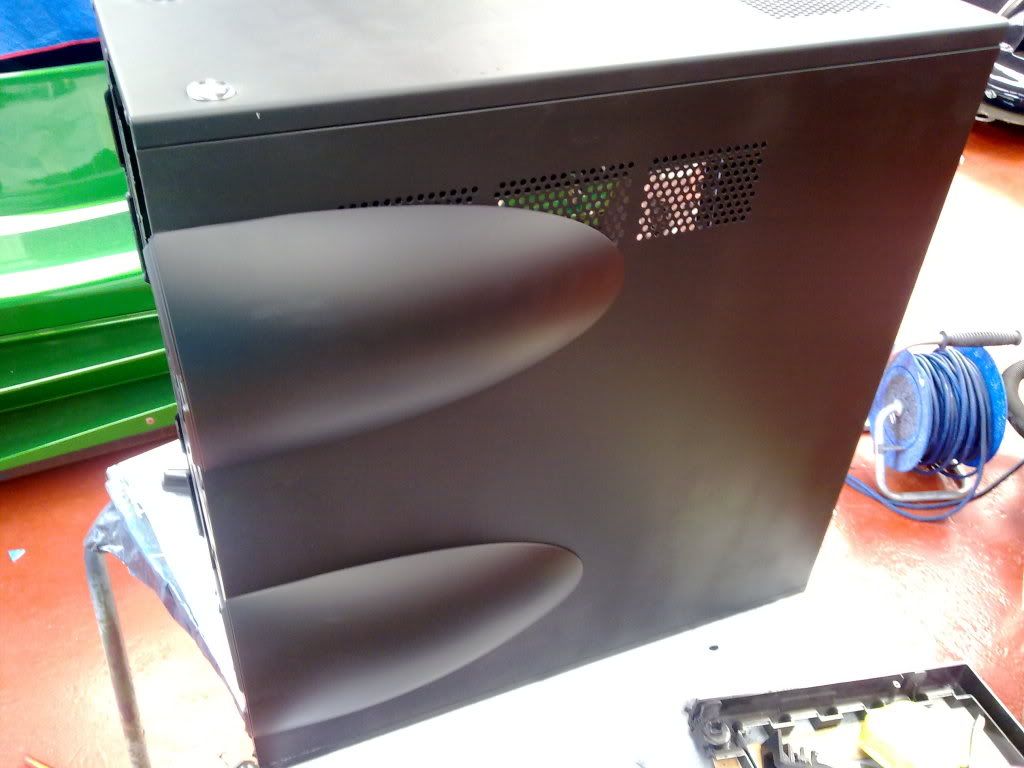
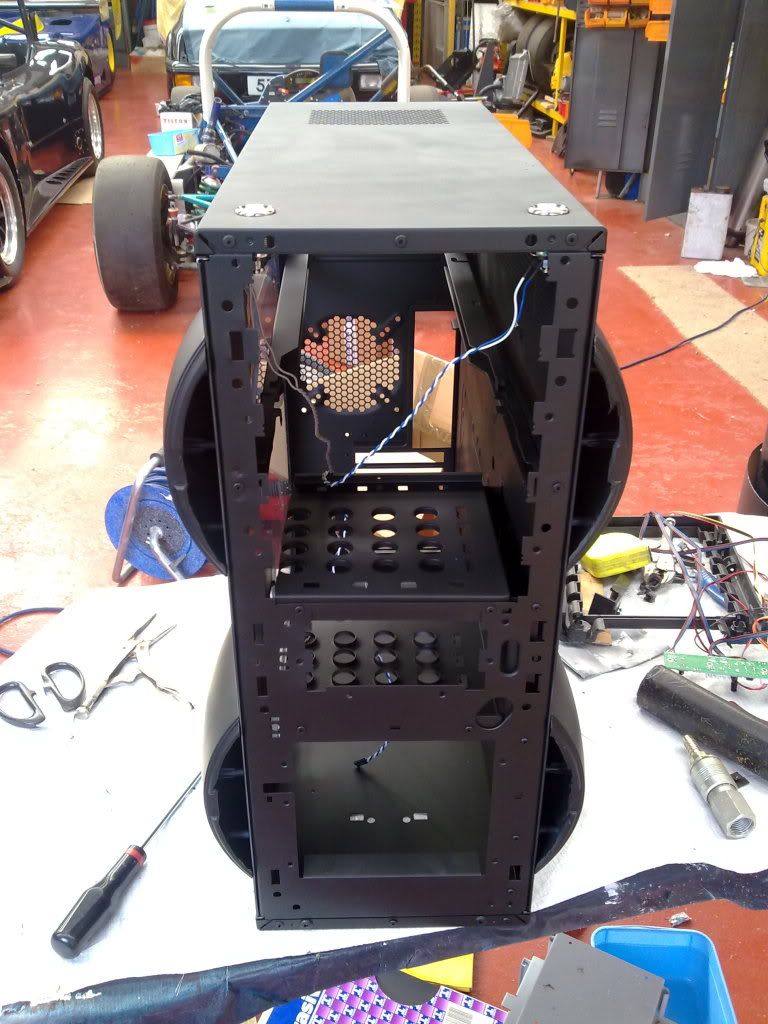
Ok, finished most of the painting, I've used some primer filler on the front panel, which I'm waiting to dry and sand back before painting that. I've started putting things back together, put new switches in. Just re-cut the plastic window. Need to put feet back on soon, I also riveted the top panel back on.

22082010045.jpg


22082010046.jpg


22082010047.jpg


22082010048.jpg


22082010049.jpg


22082010050.jpg


Theres a few bits on the paint which isn't perfect, a couple scratches and a couple of tiny holes on top where i filled it in, but overall I'm pleased, it was quite a rushed job, cus of citylink, had less than a week to get it ready :P
 
Heres some more pictures, Just tried to fit it all together, and had a problem with the acrylic being too big, had to cut that back a couple of times in order to get it to fit.

22082010051.jpg


22082010052.jpg


22082010053.jpg
 
Hmmm nothing really new and expensive :P

E8400 o/c to 4ghz
4gb ram
Palit 2gb GTX 460
corsair 650W
Got couple of SSDs
Its an oldish pc (apart from graphics card), but still fast to me :P
 
Back
Top Bottom