You are using an out of date browser. It may not display this or other websites correctly.
You should upgrade or use an alternative browser.
You should upgrade or use an alternative browser.
BeQuiet Dark Base Pro 900 Watercooled Build
- Thread starter Bone9
- Start date
More options
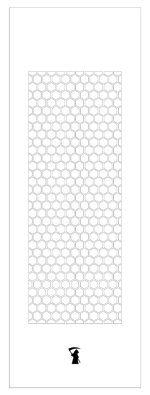
View all postsLooks good but maybe a bit bigger? Brings to mind Terry Pratchett's Death-of-Rats otherwise
It's only going to be lit with the one rgb led. Also I'm a bit tight on space there and don't want to weaken it too much.
If you mean spread over the whole front, no, I wouldn't think so. Maybe countersink them so they don't need the counter-sunk washer. If you're talking about for just the logo, then no, too much.
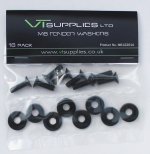
I meant one at each corner just out side of the hex's and one half way down each side. They can't be countersunk as it's only 1mm thick alu.
I'm trying really hard to get it cut out so shouldn't have to bolt it.
Last edited:
Hexes in RGB gives you the option of changing colour either to preference or by temperature. Currently my pump, GFX and CPU blocks each change colour according to their temperature and the res and front light change colour based on the coolant temperature. Hit the max of 4 RGB controller channels the Aquaero 6 can manage. Could hand some of them off to the Farbwerk I believe if necessary but prefer not to have any USB connection to the Farbwerk that I'd need to configure it.
Farbwerk will give you four channels of RGB strips. Go for the light water resistant type (there's a heavier one that's sort of set in plastic like a rope light but the lighter one just has a gel covering set onto the strip) not for the water resistance - although that could be useful in a worst case scenario! - but because on the non water resistant versions the contacts are exposed every 3 LEDs so that you can cut to length. Problem is that you can short them out fairly easily if you're a klutz....like me
Ordered the LEDs last night. Got the same ones as I use on my desk. Had them over a year with no problems so should be good. These won't be controlled by the aquaero 6 as can't justify the extra cost of farbwerk for now. They will be controlled via remote. They are the water resistant ones. Got the clear hex panel and that looks great but still trying to find someone to cut the door.
This weekend I emptied the coolant and used Mayhem's blitz cleaning kit. Flushed the system, fitted a water temp sensor in the res, removed the cpu block (more on this is a sec), fitted a 140mm high speed be quiet silent wings 3 fan as an air intake in the front and finally filled with fresh Mayhem's Pre mixed X1 clear uv blue coolant.
The old (1 month) coolant had some small particles and what looked like oil in it and the ph was off.
I decided to strip and clean the cpu block while it was off and found out that the micro channels were facing the wrong way! When I first installed this I just reassembled the same way it was in the box but with he correct plates etc. I assumed the block was built correctly in the first place. While looking at it I just though that didn't look right so a quick look up online confirmed that I had the base plate on the wrong way. The channels were going up and down rather than left and right.
Rebuilt the system and everything is so much better. Much better flow, loads easier to bleed and the temps are now brilliant.
This is with the door open, not tested with it closed but am still working on the airflow door.
Realbench 100% load
CPU max 63.2c with no rad fans spinning. 57-58c max with rad fans on.
GPU max 48c with no rad fans spinning. 42c max with rad fans on.
So happy, that same test hit 84c with max fans in a lot less time and continued rising till I shut down the test with the old cpu config. 26c difference!!!!
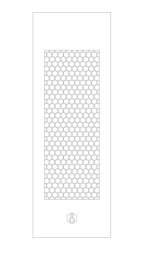
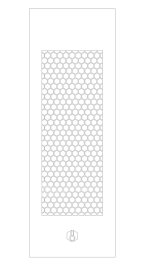
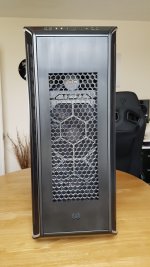
Front door update  Sort of happy with it. Think I'd of preferred to just have the thermometer lit and not the hex's. Rather have a white or silver hex mesh behind the black front I think. I ended up making a whole new complete door from acrylic. The bottom thermometer logo changes colour according to the coolant temperature
  It's full RGB so I can have any colour I need or just turn it off. Here's some pics...
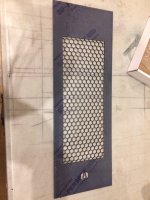
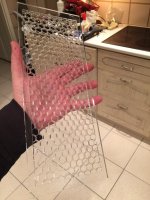
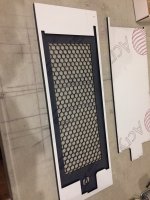
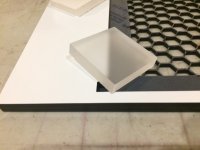
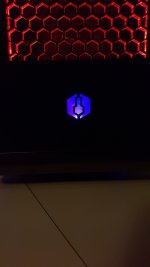
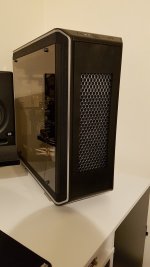
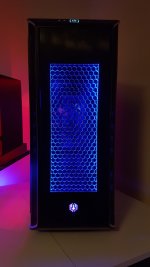
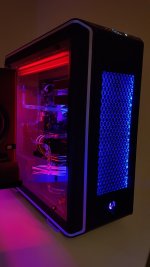
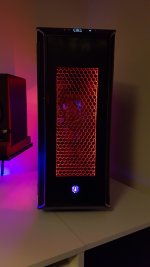
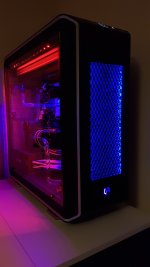
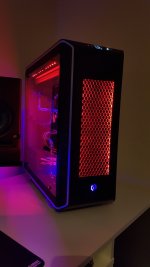
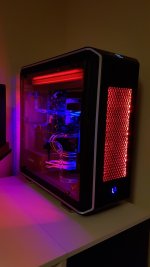
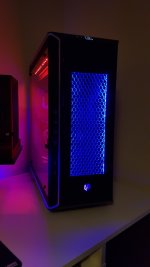
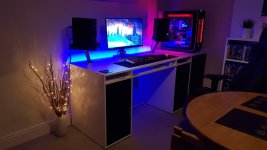
 Sort of happy with it. Think I'd of preferred to just have the thermometer lit and not the hex's. Rather have a white or silver hex mesh behind the black front I think. I ended up making a whole new complete door from acrylic. The bottom thermometer logo changes colour according to the coolant temperature
  It's full RGB so I can have any colour I need or just turn it off. Here's some pics...


Last edited:
Thanks mate. The temps are just as if the door was openVery nice, front panel looks very well done mate. How much difference has it made to the temperatures now you've got some decent airflow?
 see the temps listed above the door pics. Very happy now.
A lovely glow without being too gaudy. Good job squire
Thanks gentsTop work here man. Stunner

It's a 1.5m rgb led strip stuck to the rear of the desk made by brightlightz.What's the lighting behind the desk? How did you do that?
Any chance of trusting me a source?

Right guys, had a bit of an issue with my GPU giving me black screens. So I paid for an advanced RMA for a new card.
As I had to do a strip down I thought I'd rebuild the GPU with thermal grizzly pads and paste
https://www.overclockers.co.uk/thermal-grizzly-minus-pad-8-20x-120x-0-5-mm-2-pack-th-015-tg.html
I also flushed the system with 5lt of de-ionised water and filled it with mayhems pastel uv white.
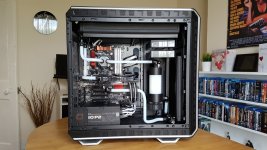
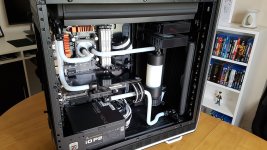
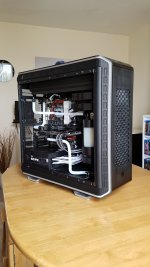
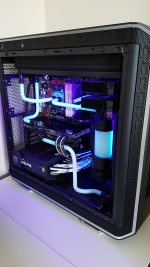
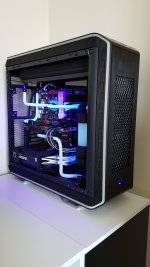
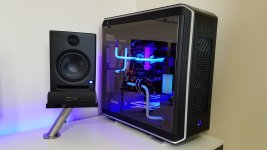
During the rebuild I thought to my self that I've increased the air flow coming in but not coming out. Off came the roof and modding commenced.
I cut out most of the vents in the roof to large holes instead of the small slots and I also cut out the rear of the roof for a large exhaust.
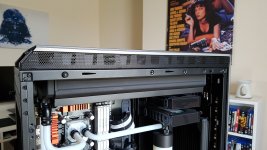
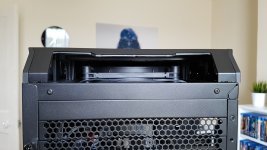
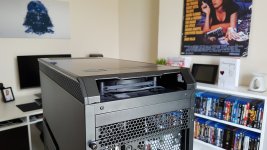
Temps are now great and it adjusts back down so much faster now with the extra flow Very happy.
As I had to do a strip down I thought I'd rebuild the GPU with thermal grizzly pads and paste

https://www.overclockers.co.uk/thermal-grizzly-minus-pad-8-20x-120x-0-5-mm-2-pack-th-015-tg.html
I also flushed the system with 5lt of de-ionised water and filled it with mayhems pastel uv white.


During the rebuild I thought to my self that I've increased the air flow coming in but not coming out. Off came the roof and modding commenced.
I cut out most of the vents in the roof to large holes instead of the small slots and I also cut out the rear of the roof for a large exhaust.


Temps are now great and it adjusts back down so much faster now with the extra flow
 Very happy.
Last edited:


