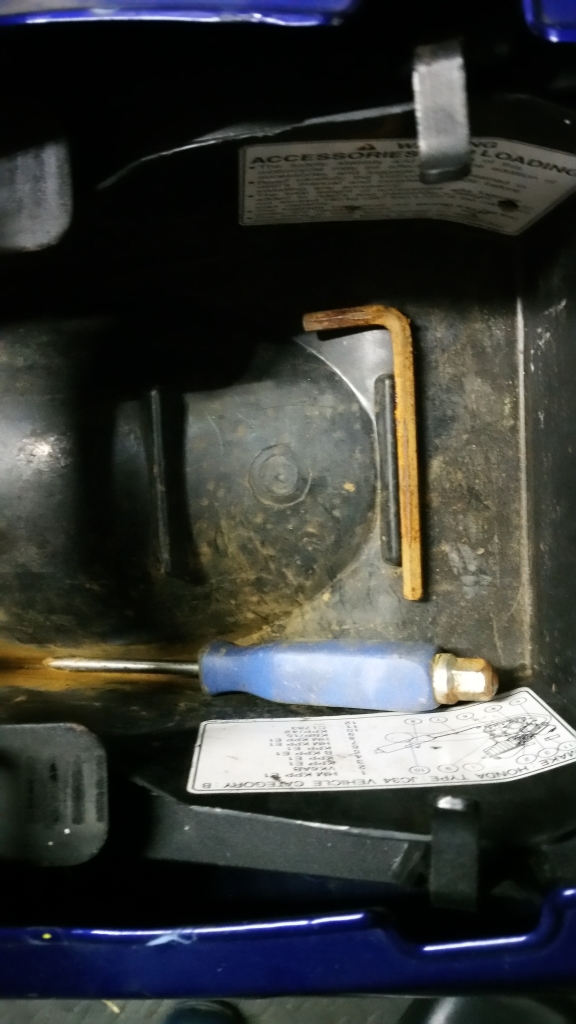
The rest of your future life thanks you!
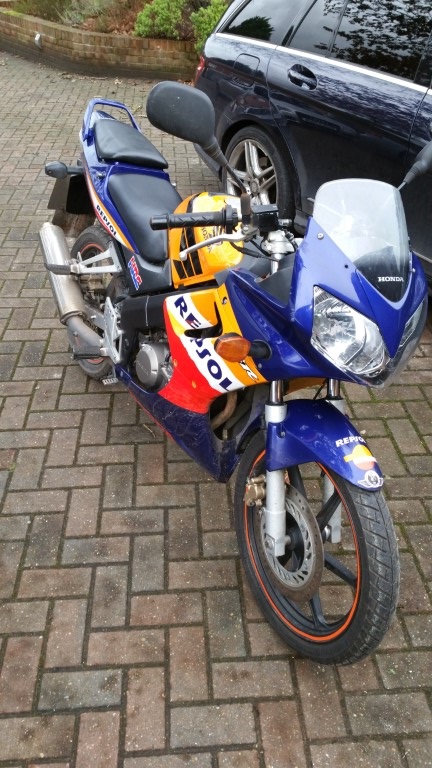
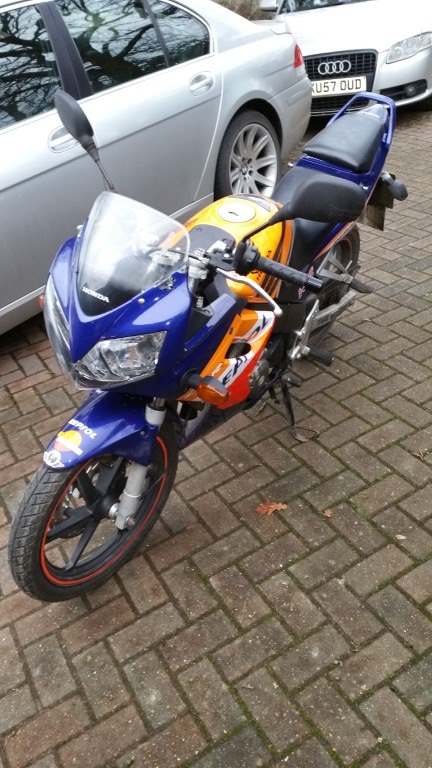
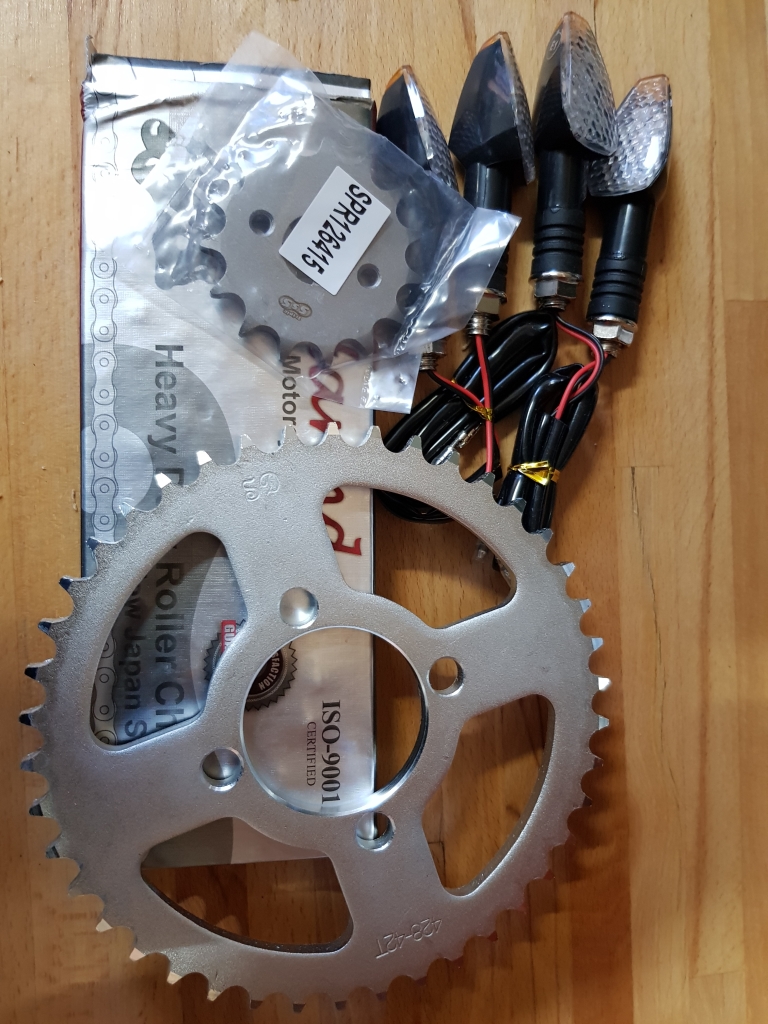
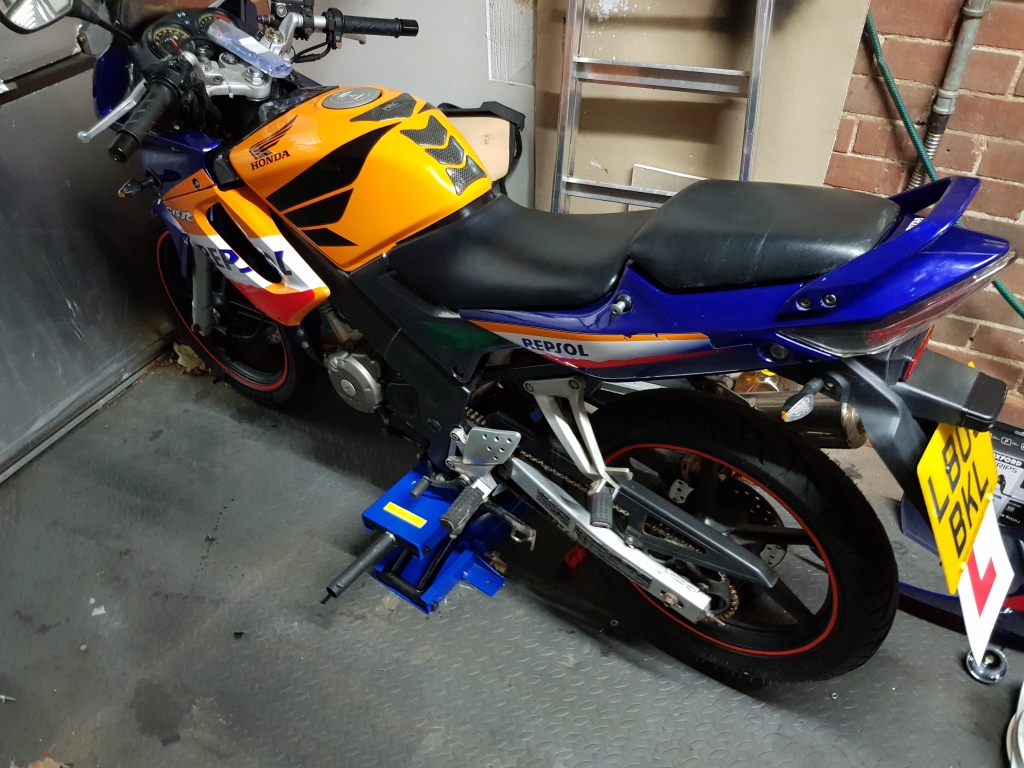
Quite! These arrived over the weekend
")
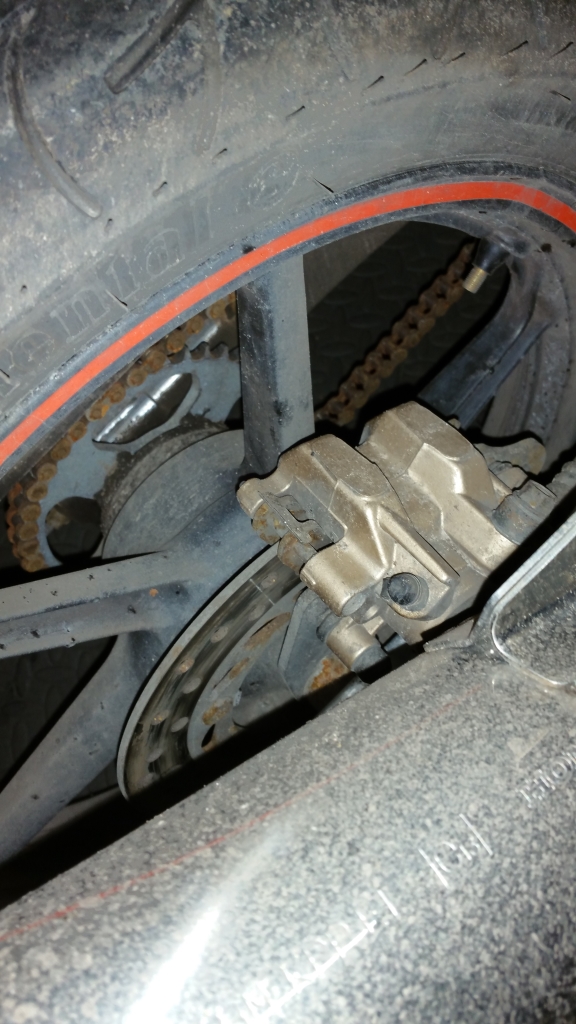
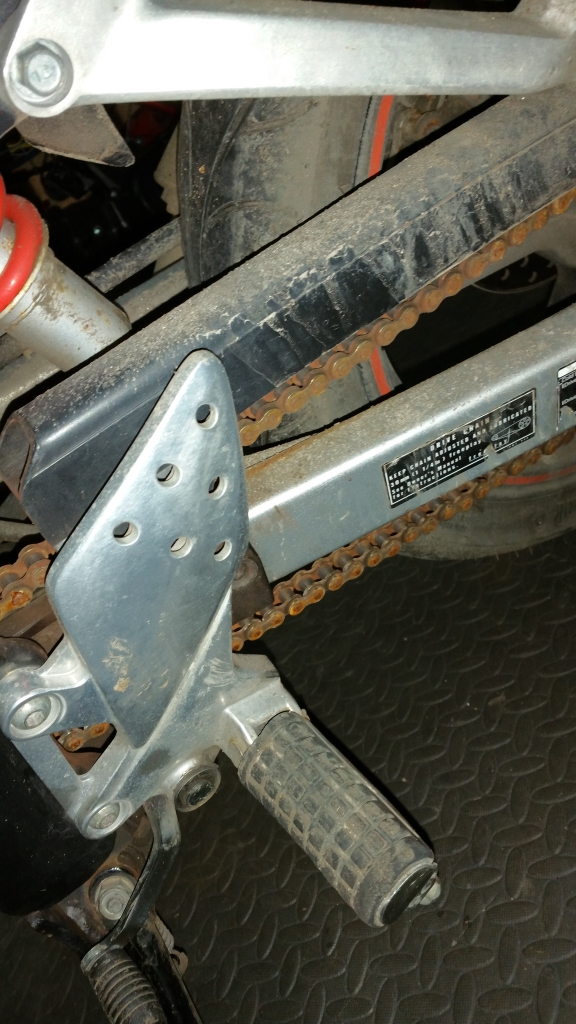
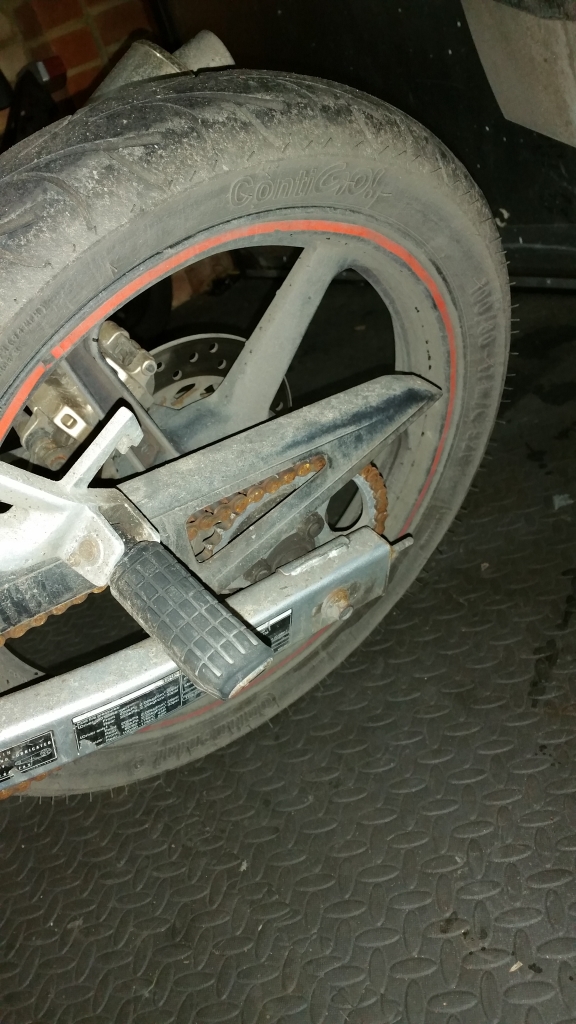
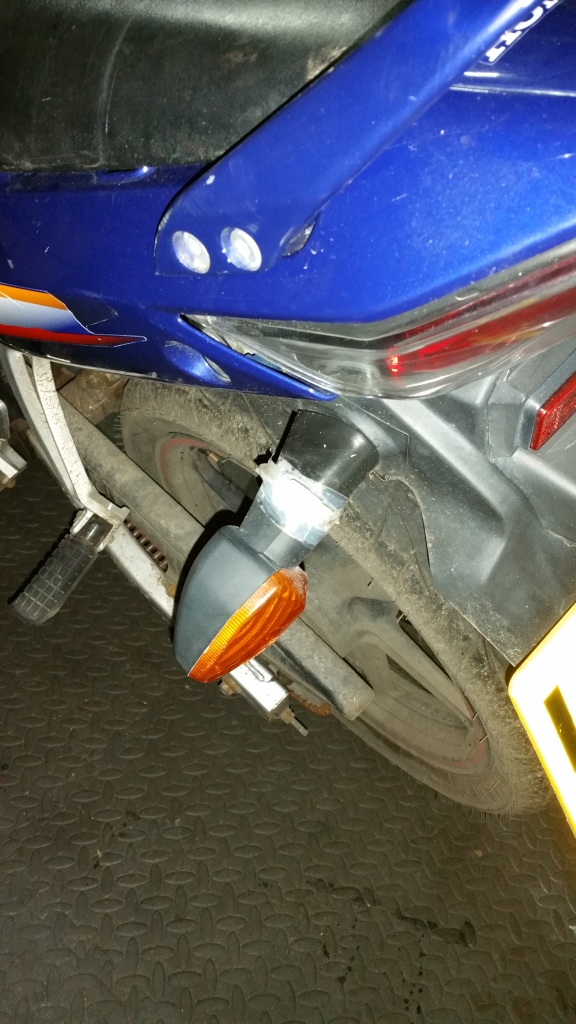
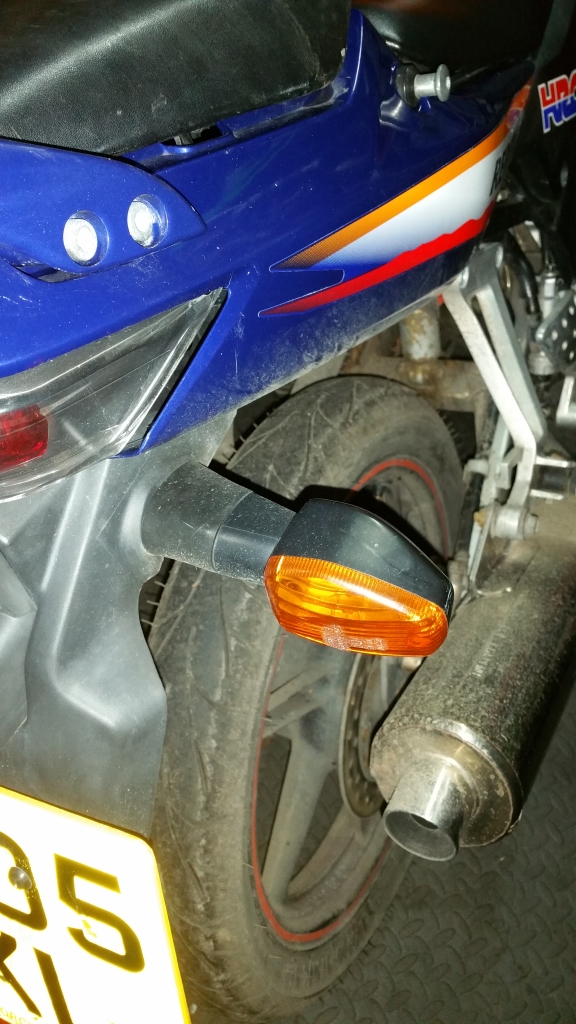
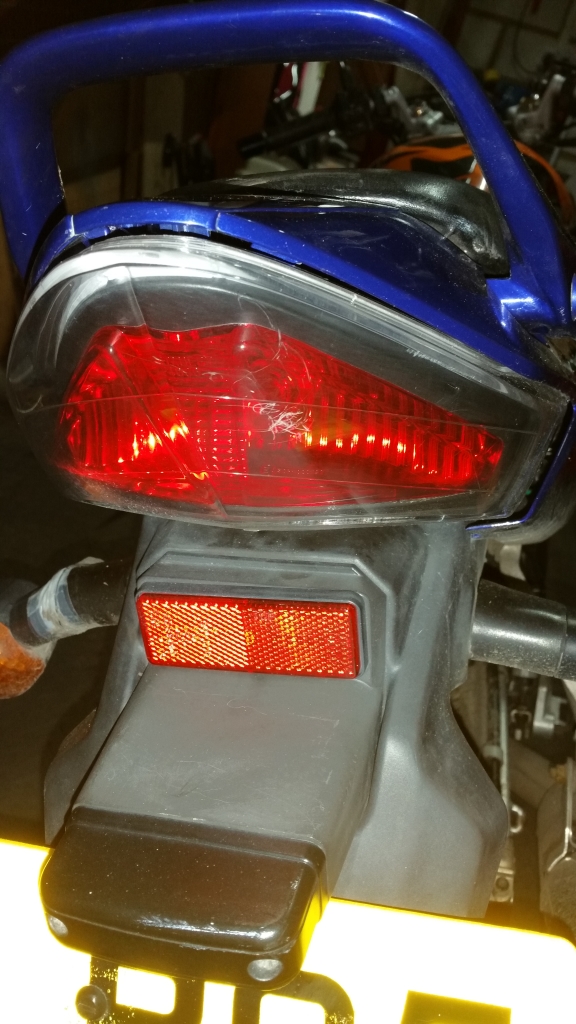
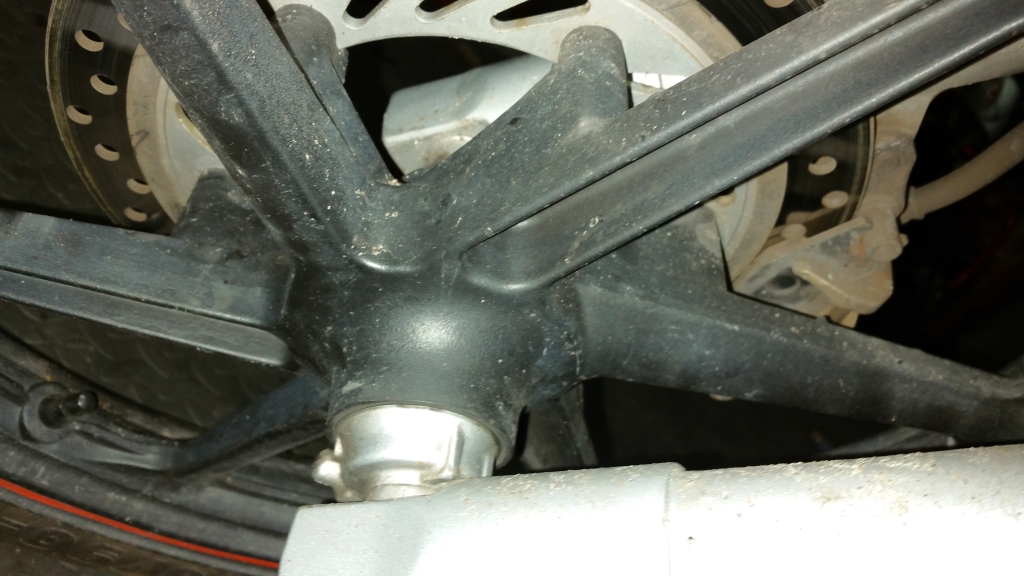
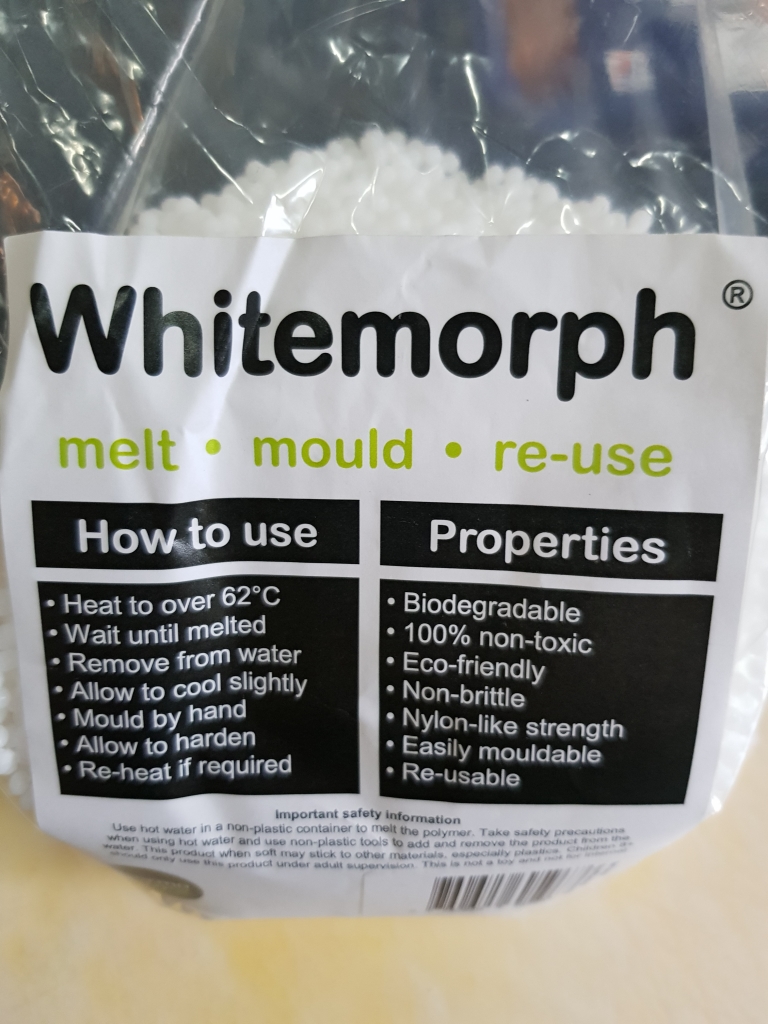
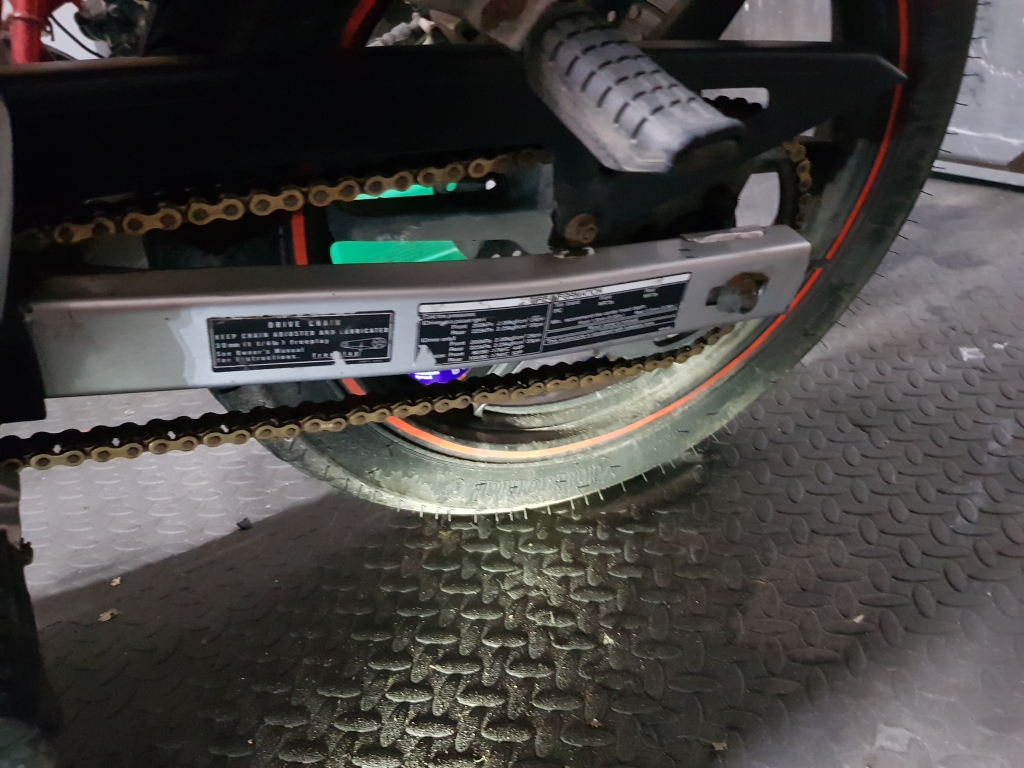
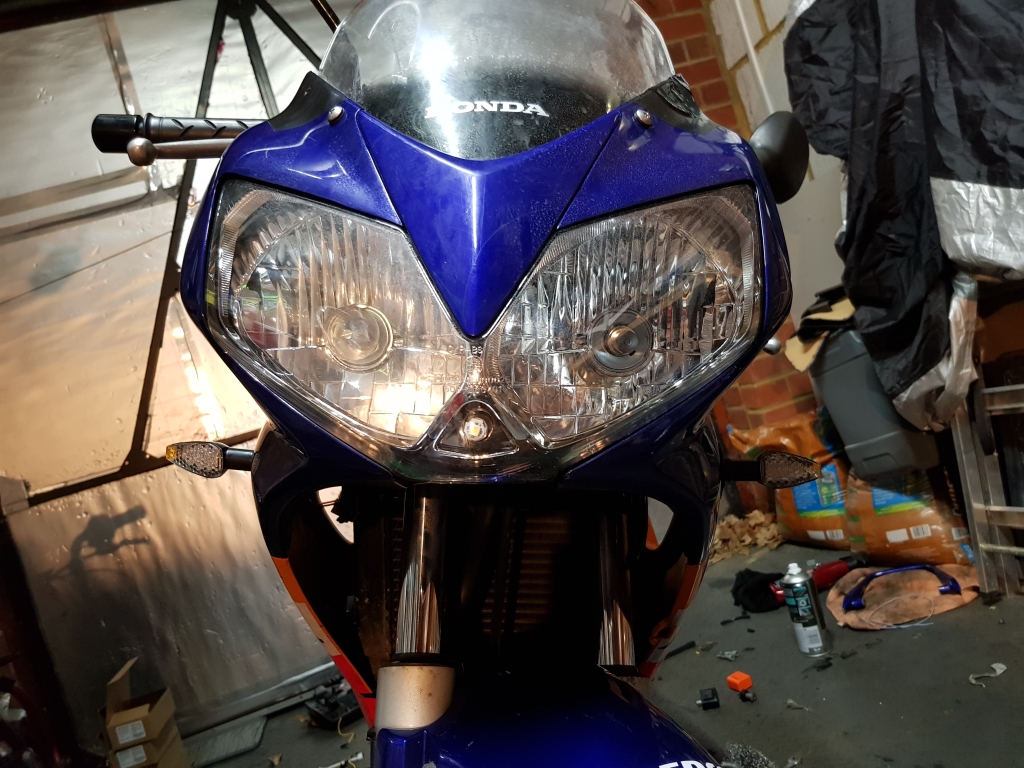
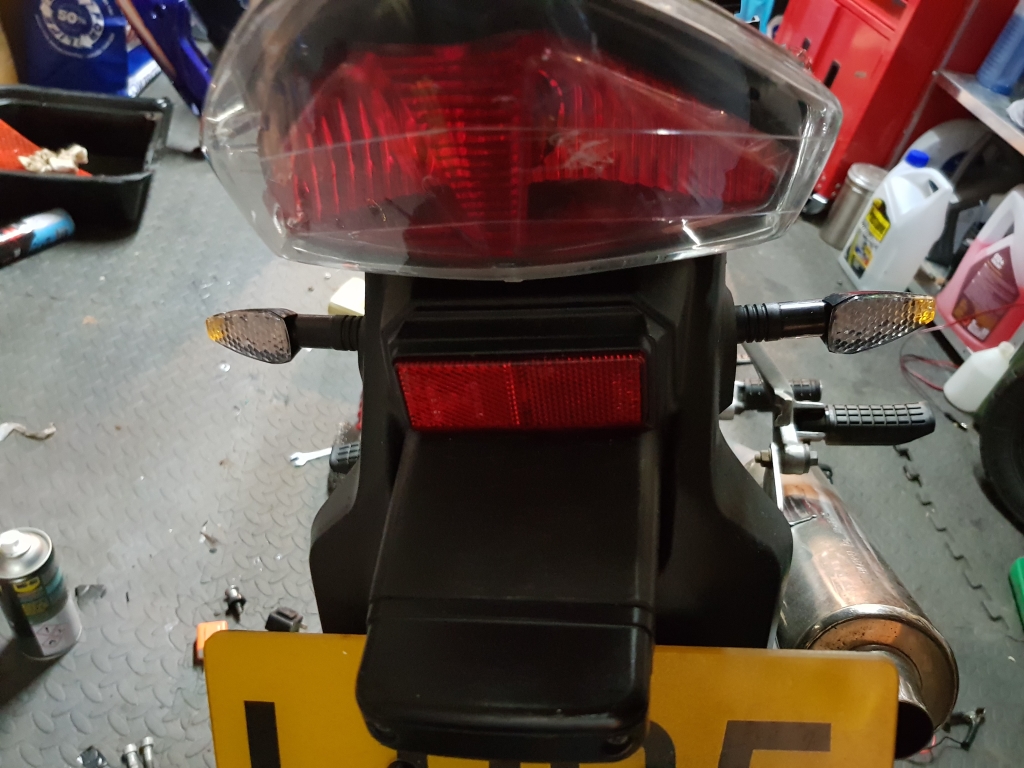
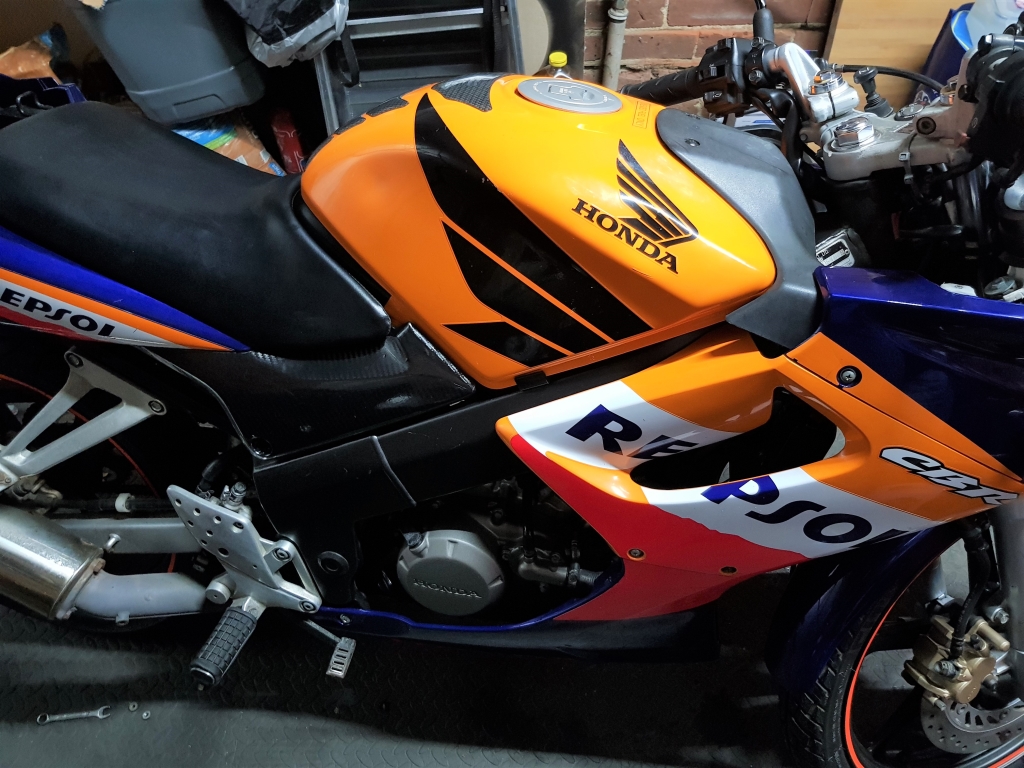
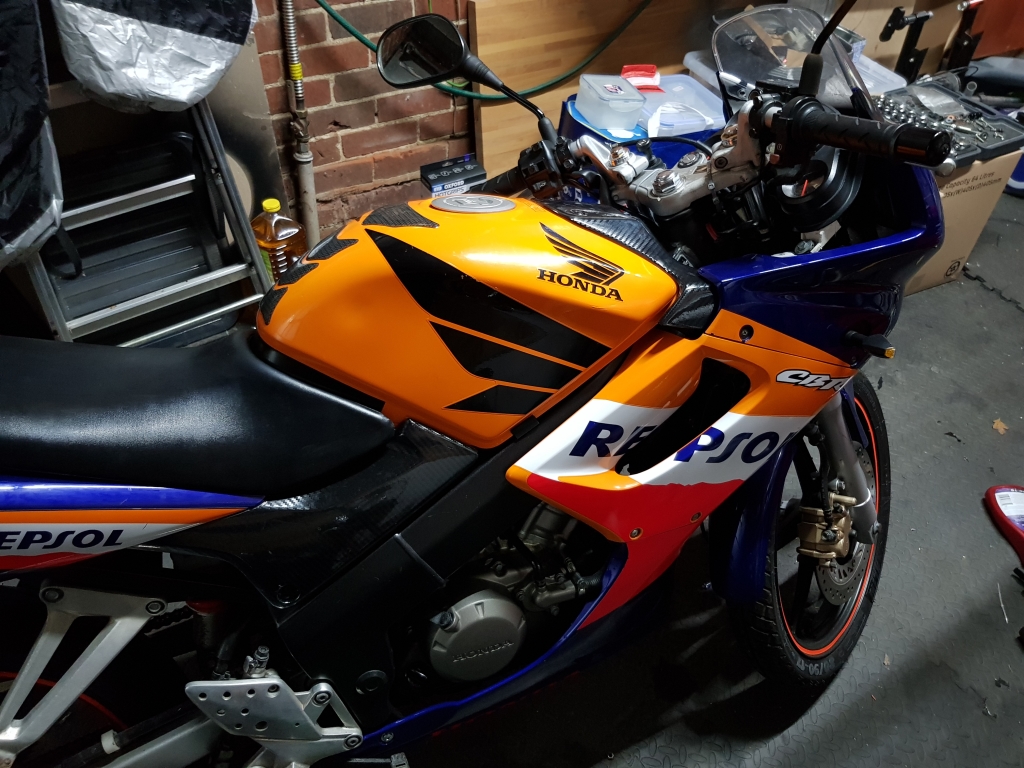
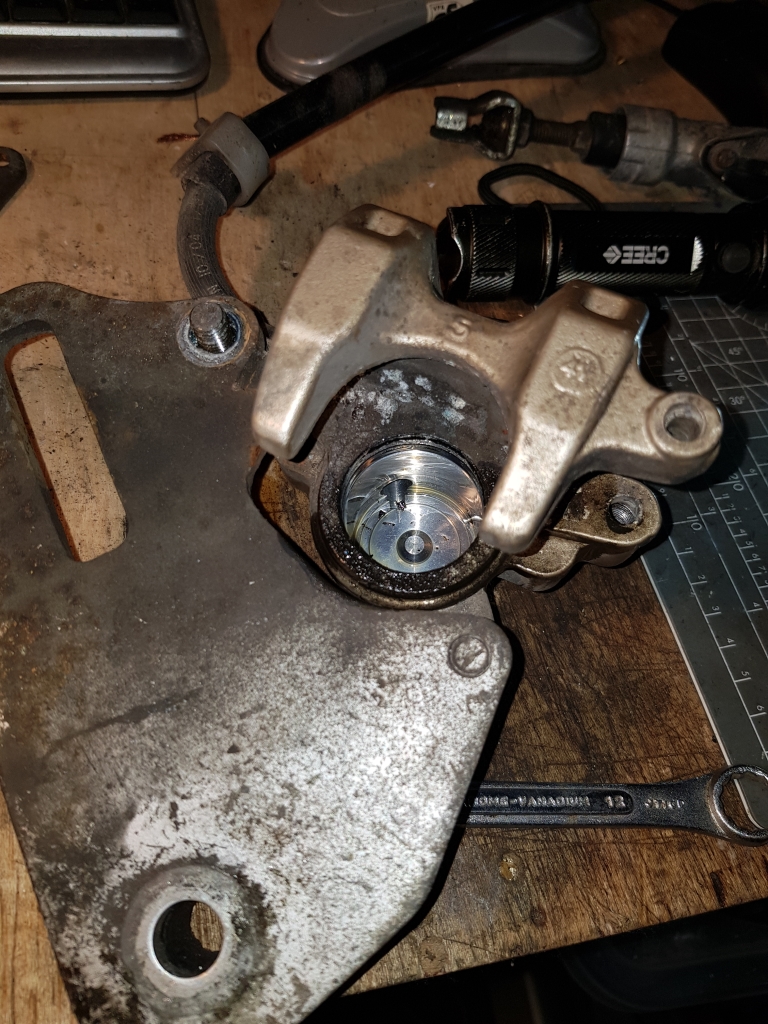
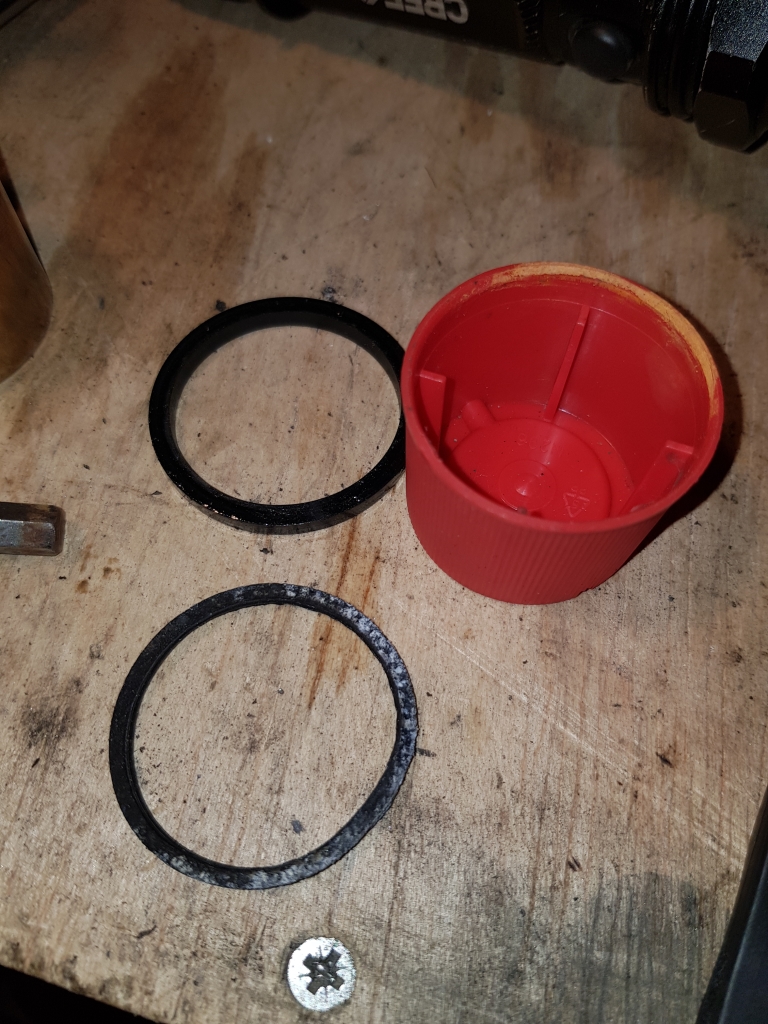
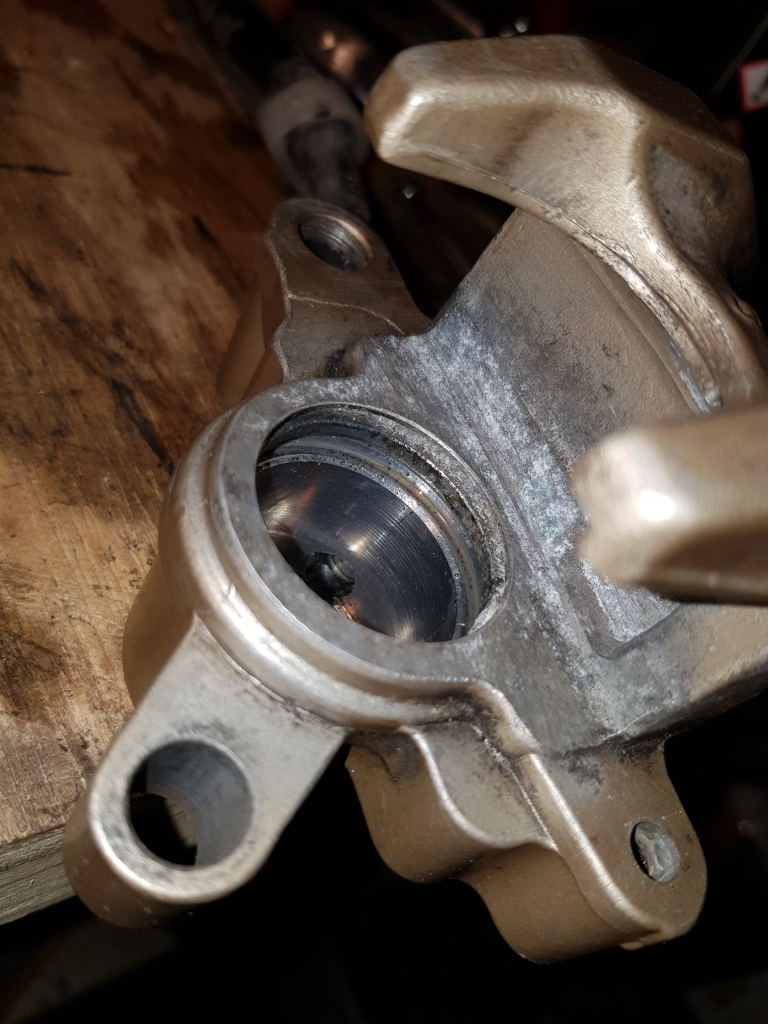
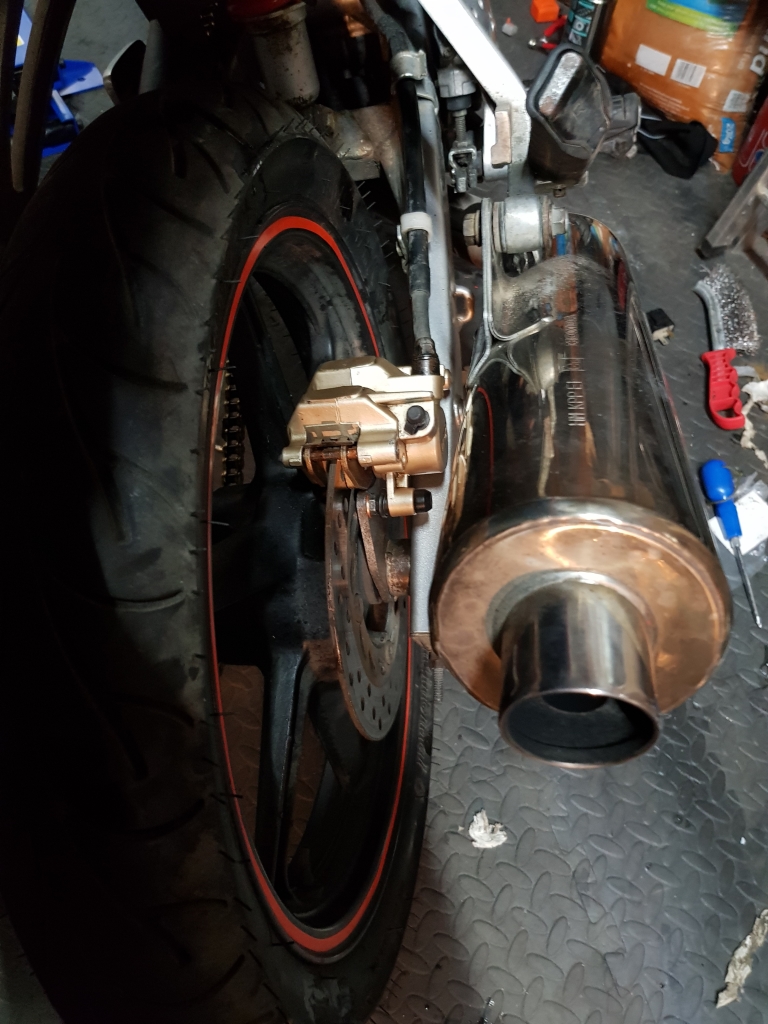
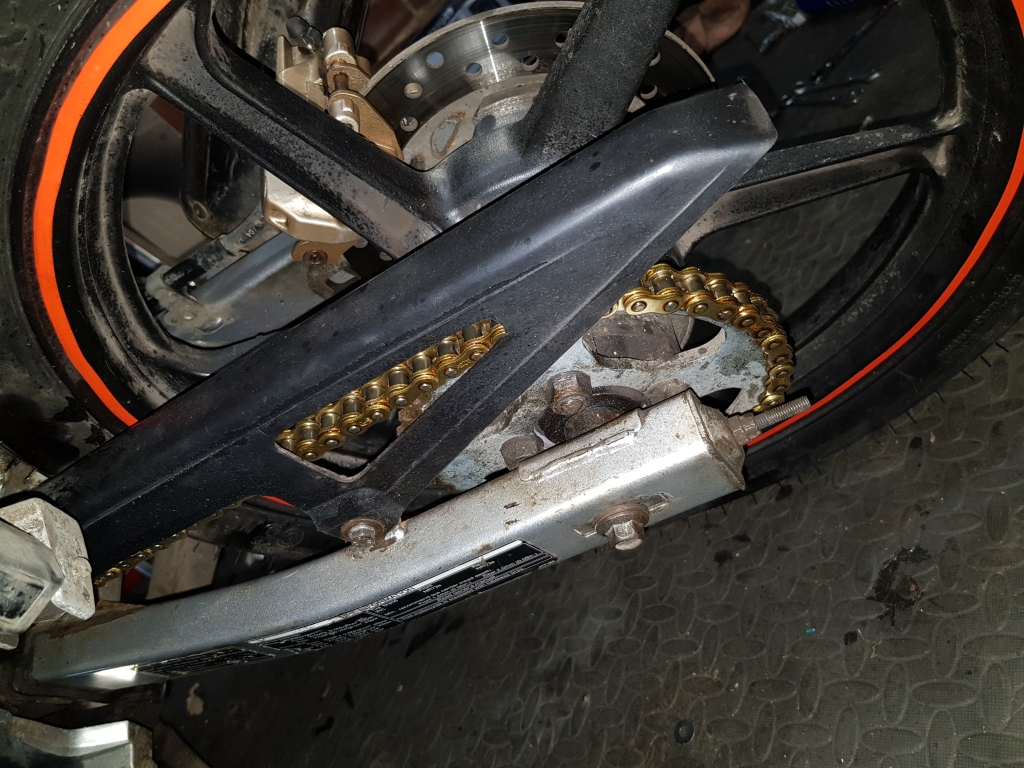
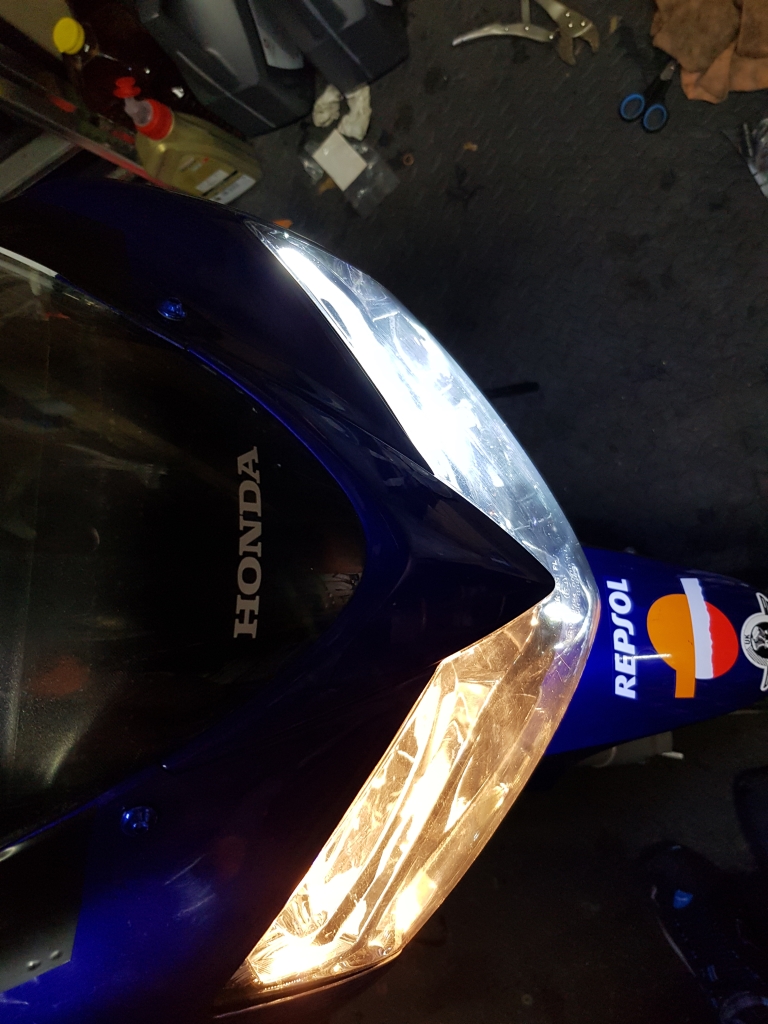
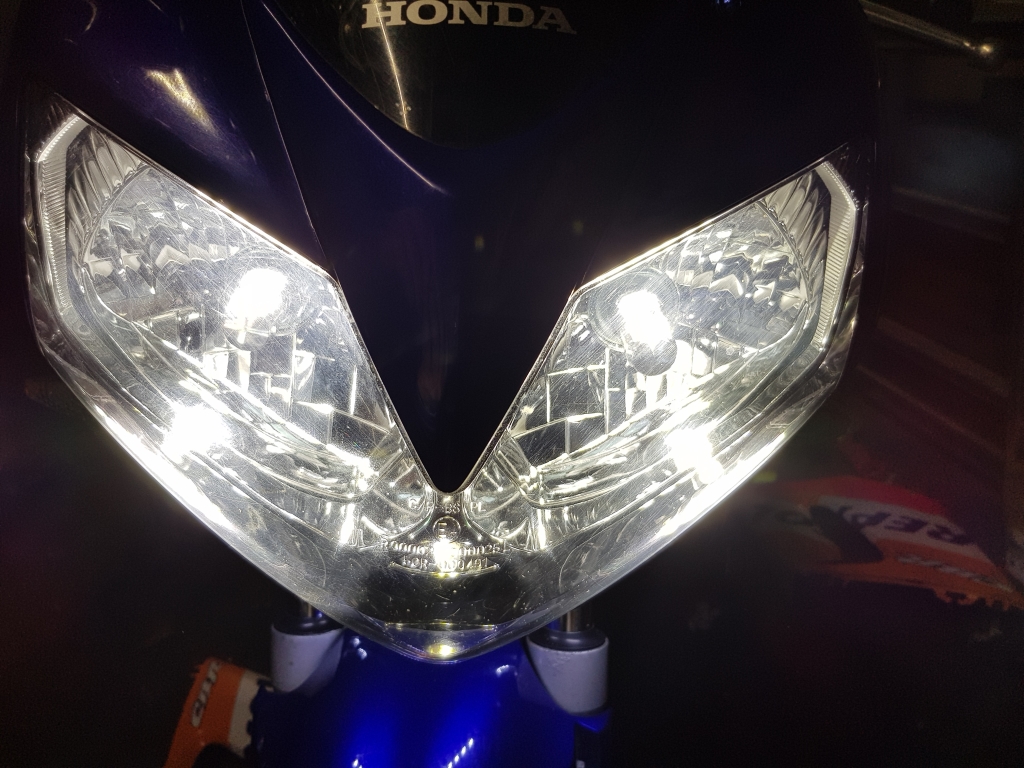
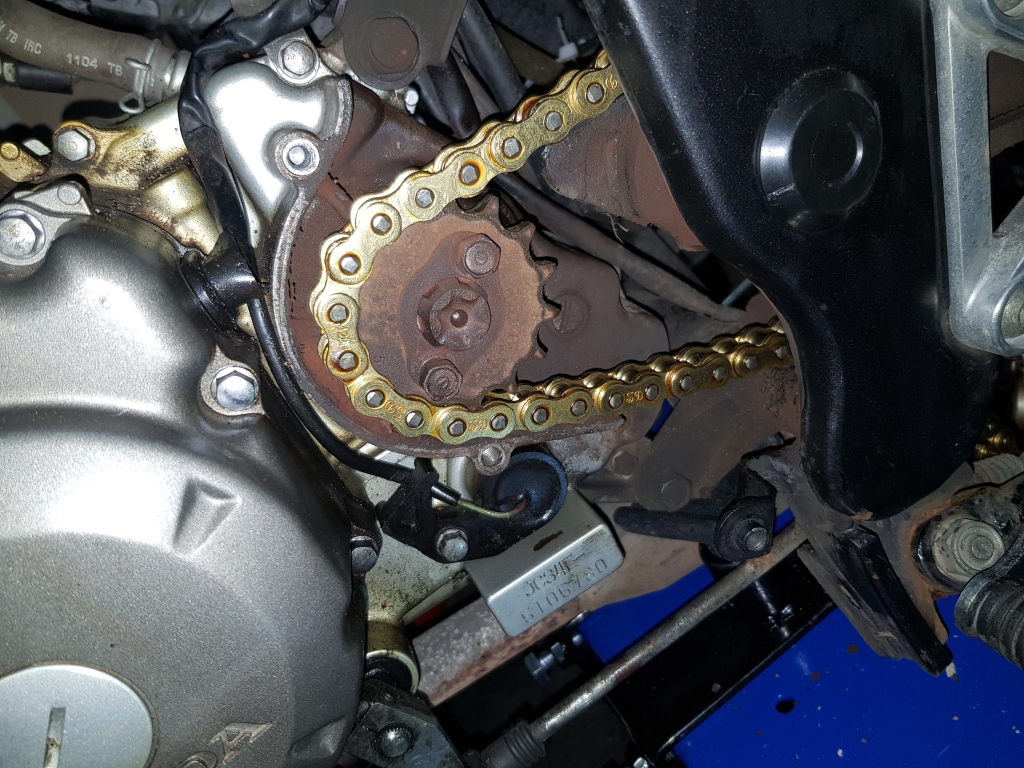
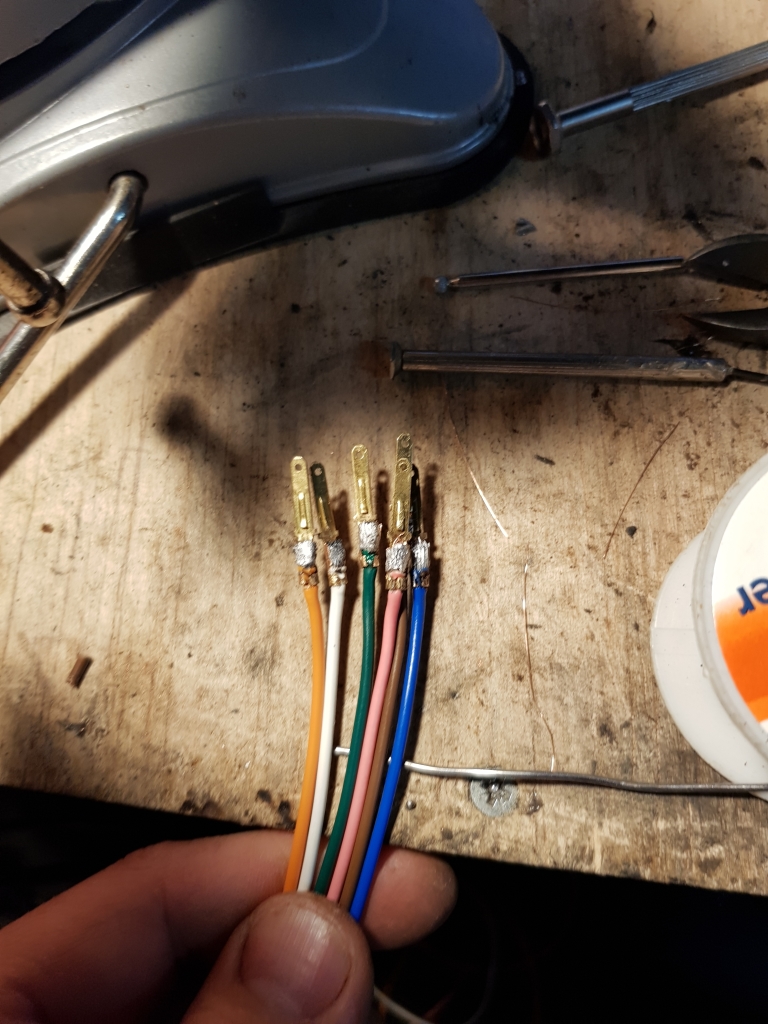
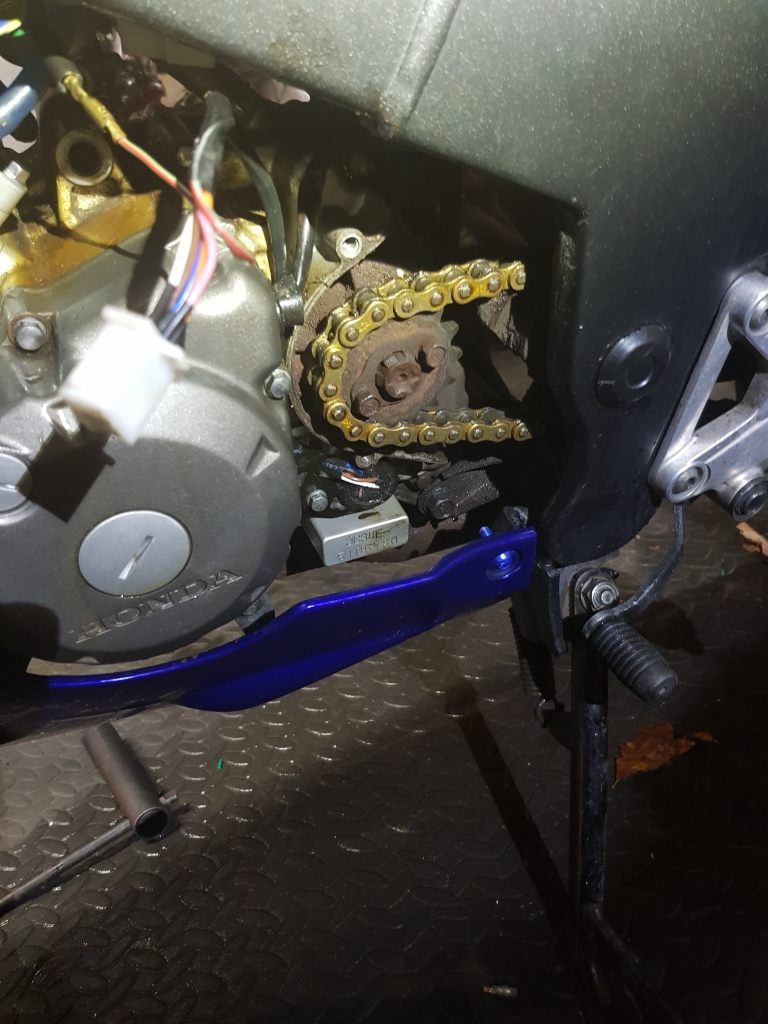
LED indicators, much smaller and neater than the originals. Some new sprockets and a chain. Gives me a few more bits to get started on.
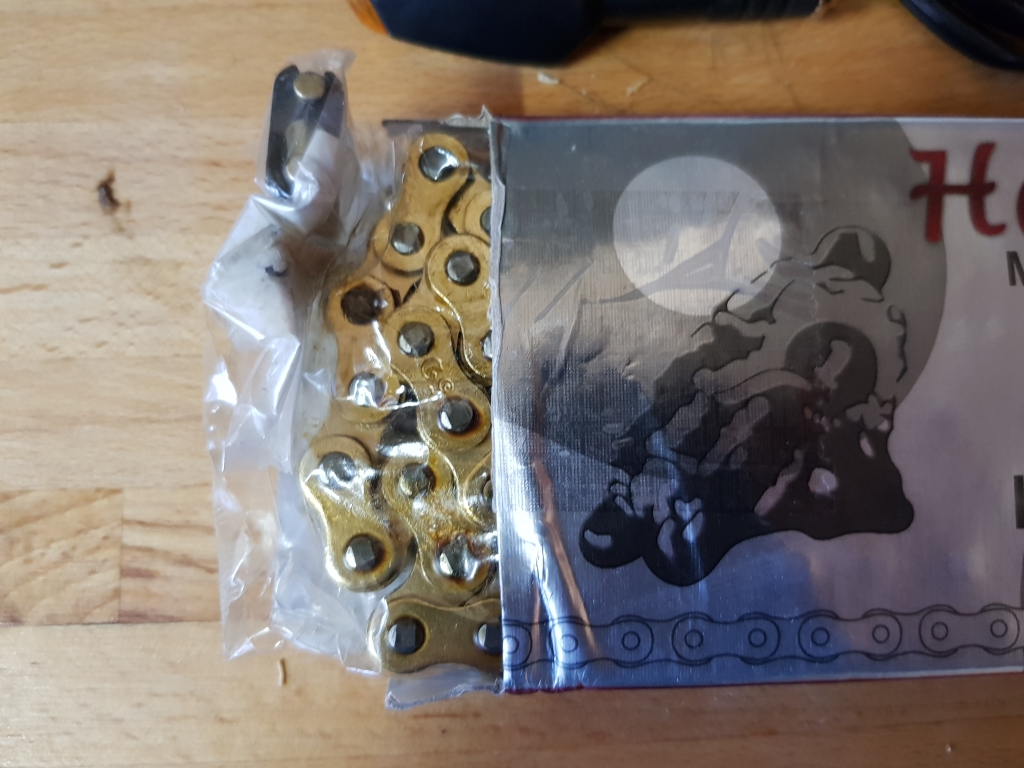
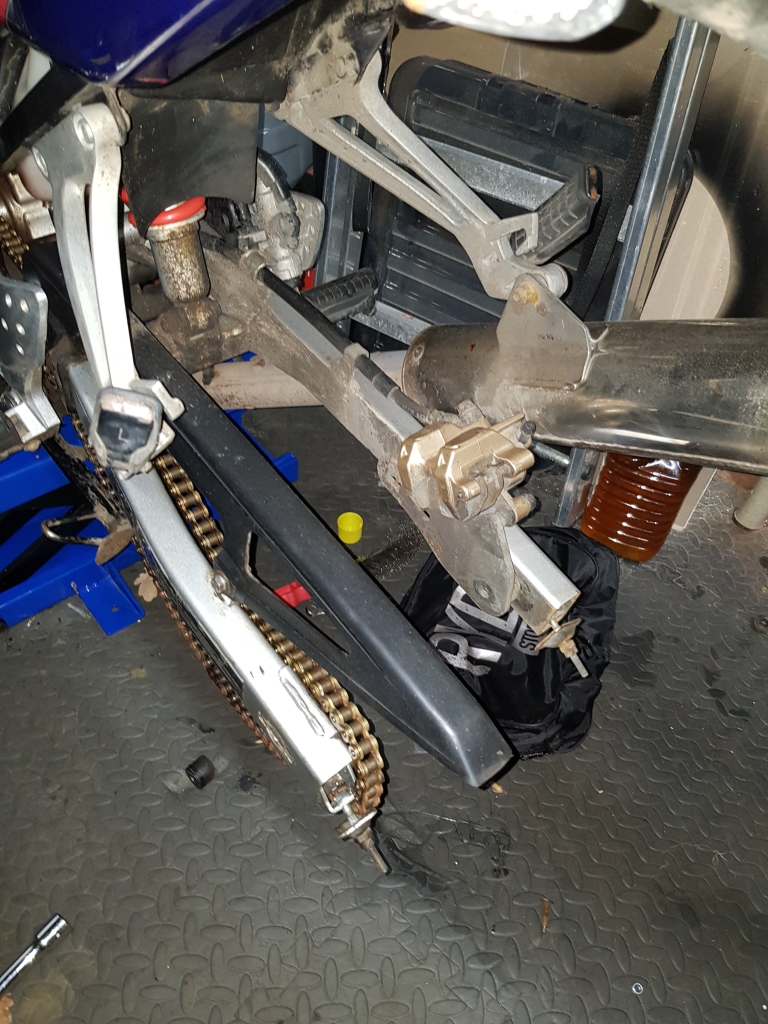
The chain is a little better looking than the dead old one.
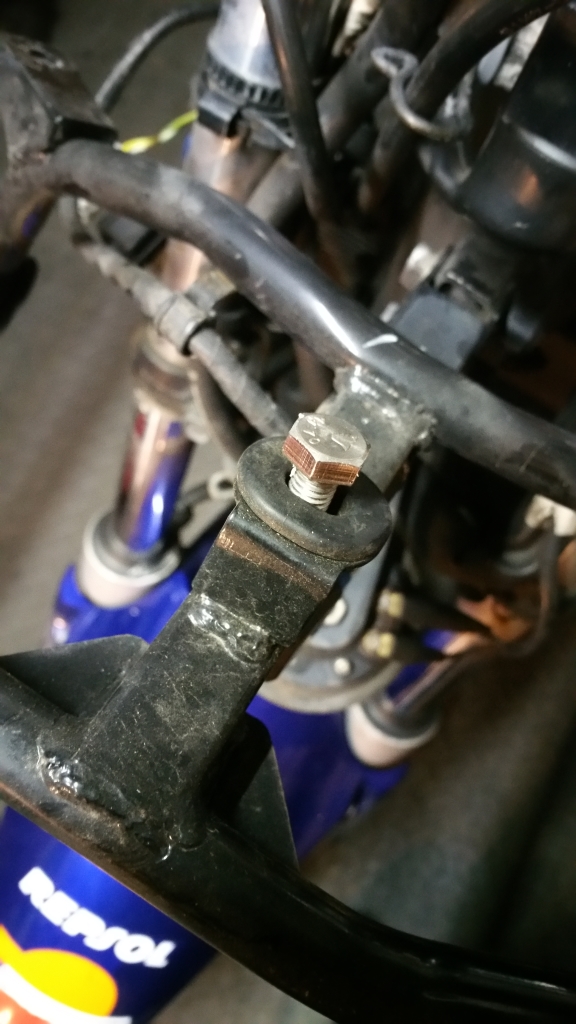
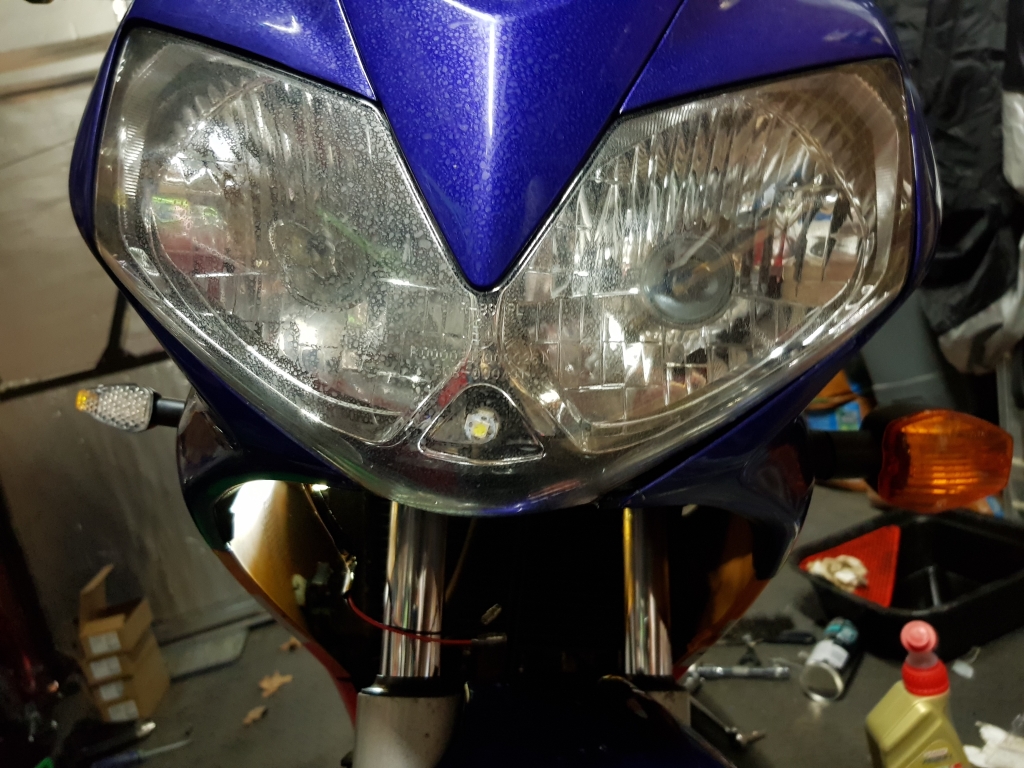
Fitting them is easy enough, and they are a lot smaller, and neater, and look a little more modern.
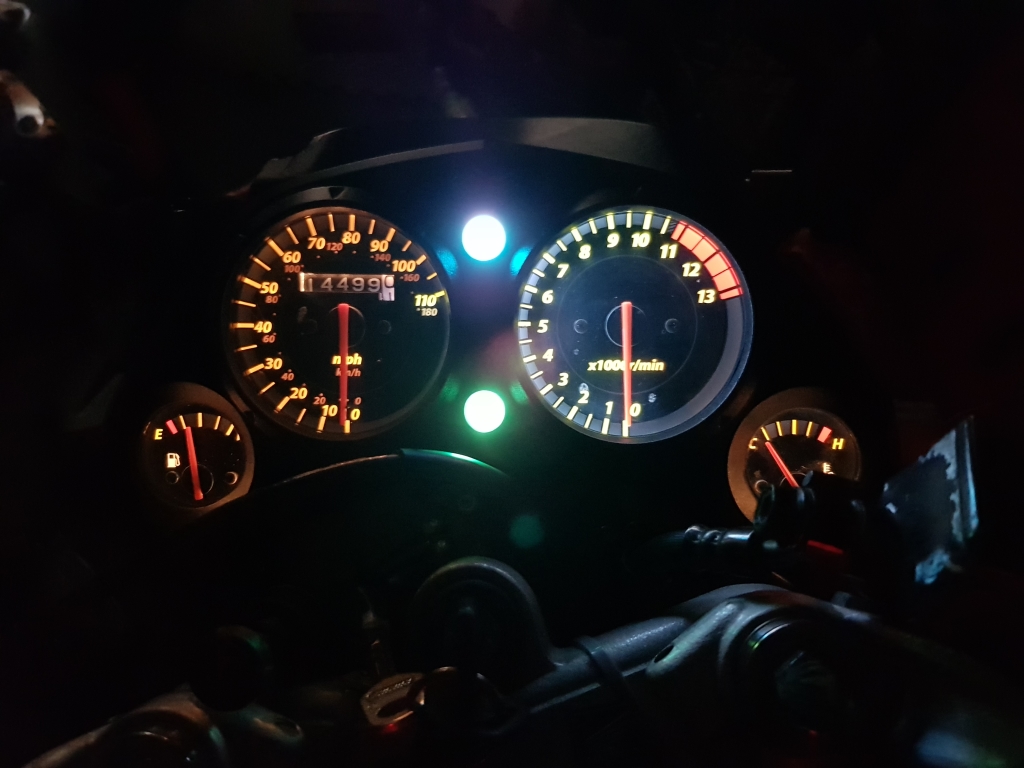
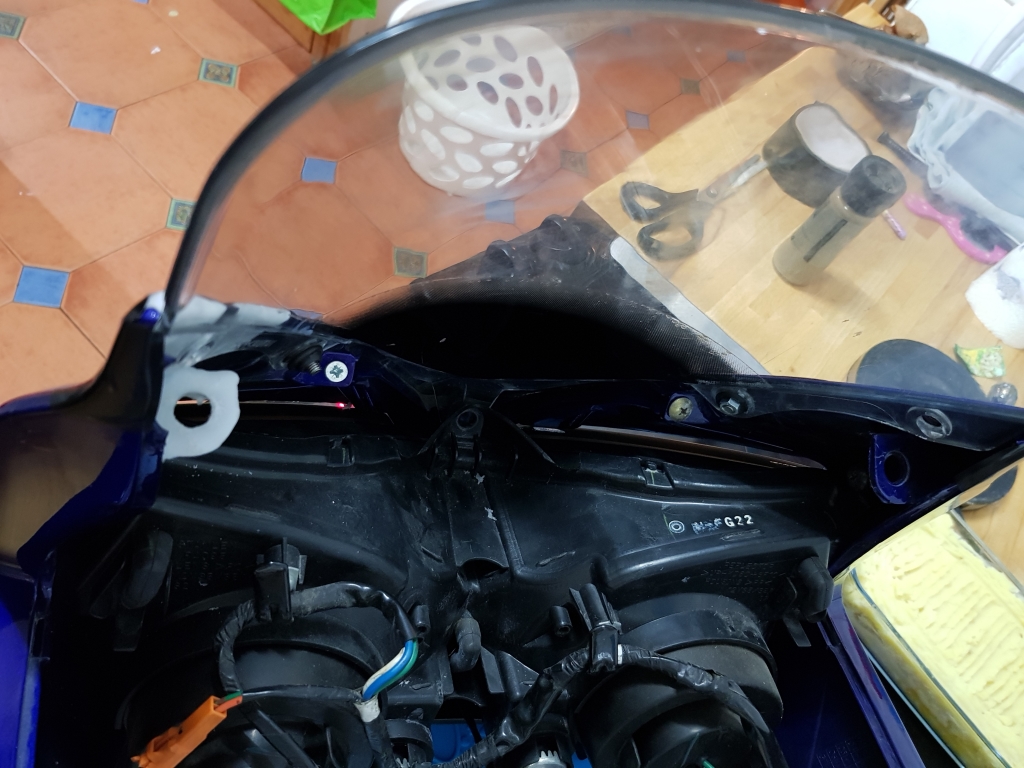
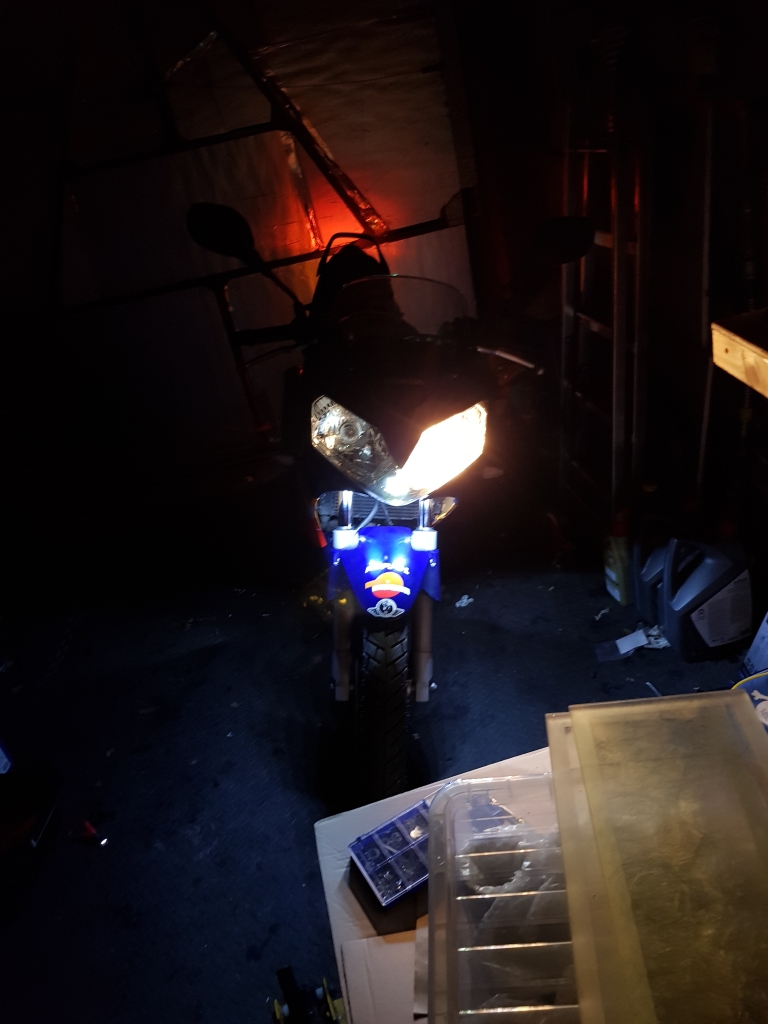
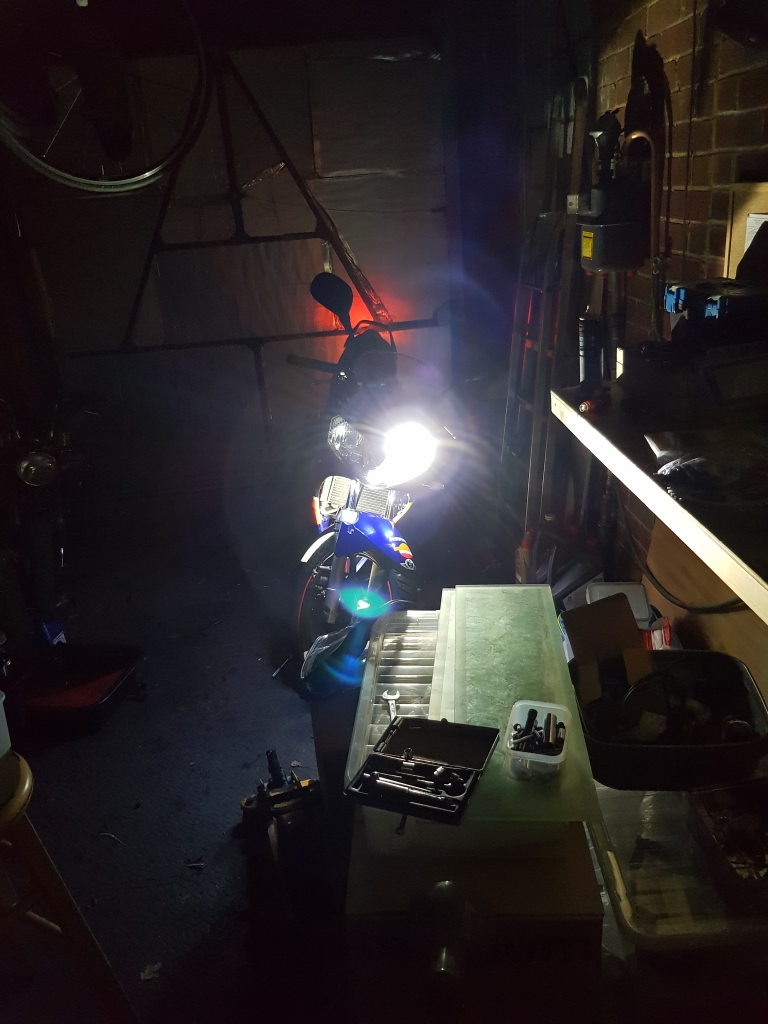
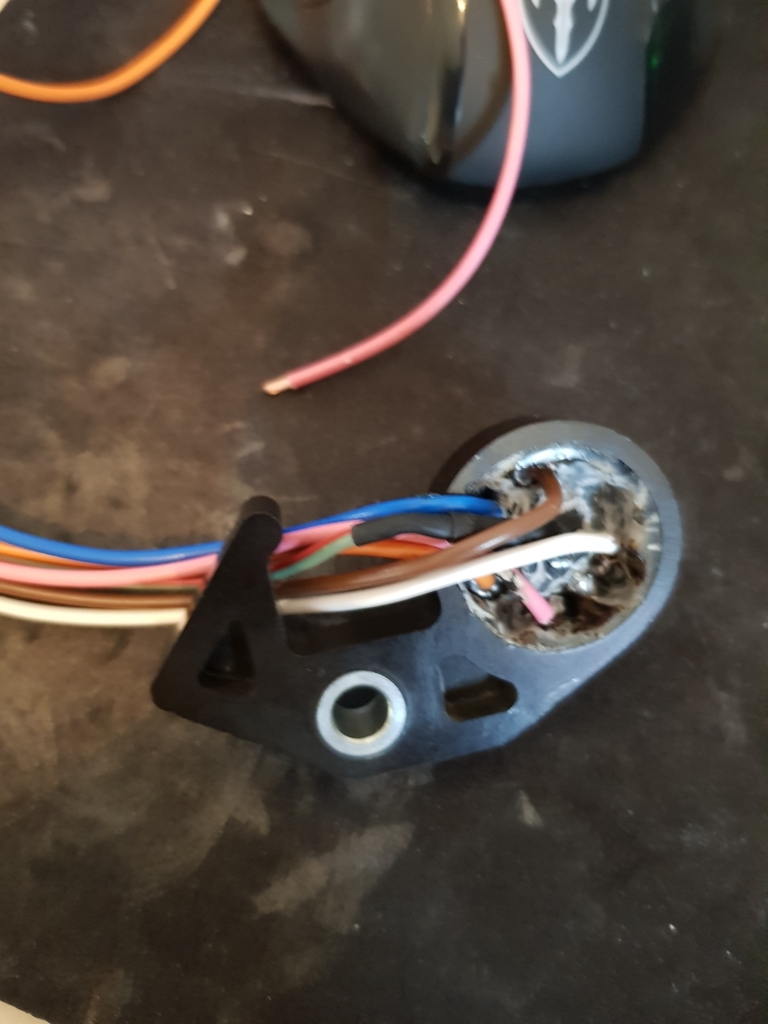
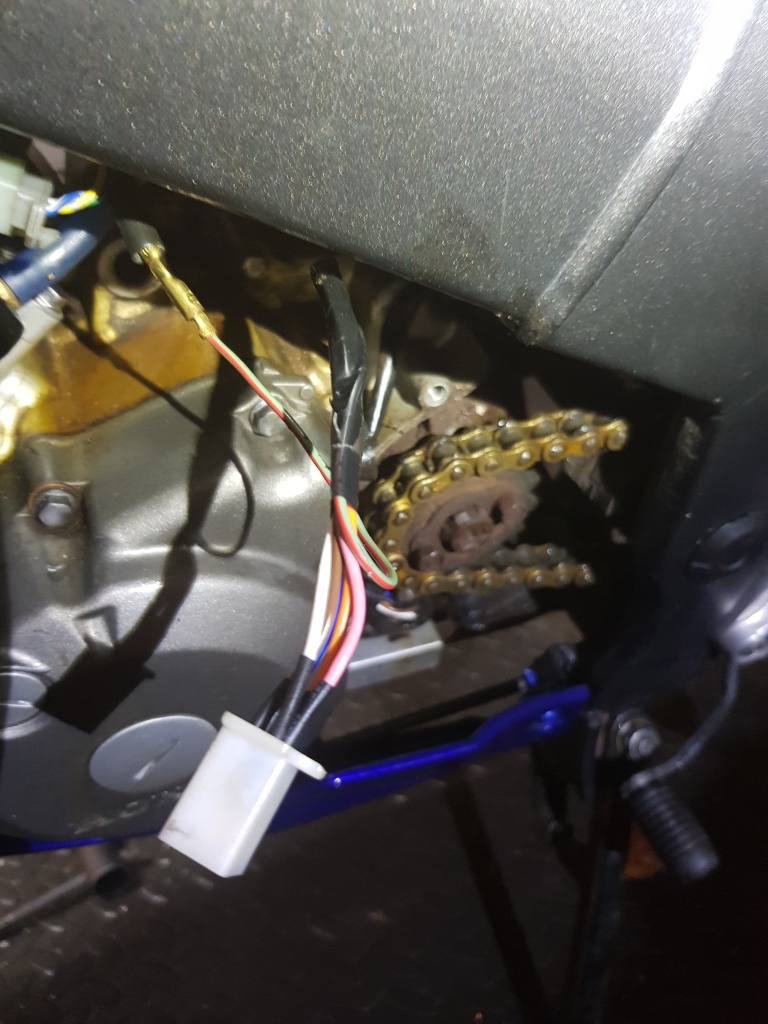
So, I decided to get on with getting the indicators working. However, as you will all probably know. Adding LED indicators is never quite as simple as it should be. I wanted to maintain my idiot lights on the dashboard, and simply adding the LEDs into the loom make them either flash too fast, not at all, or they all flash when only one side should. You can counter this with an LED specific Indicator relay in most cases but not here

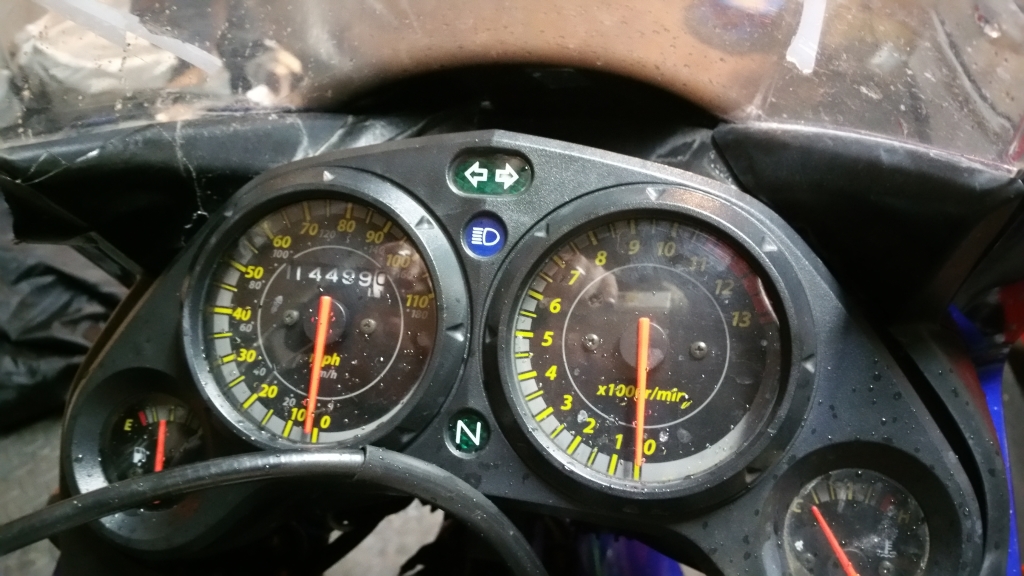
It seems that on this bike, the idiot light for indicators in the dashboard are a bit off. They share a bulb for both sides, and as such, the Positive / Negative flip according to which side you use according to my testing. Not a problem on an incandescent bulb, but having that in the circuit with the LED indicators with an LED indicator relay swapped in seemed to stop them flashing altogether, and they just ALL lit very dimly when I hit the switch, and the idiot light was not lit at all.
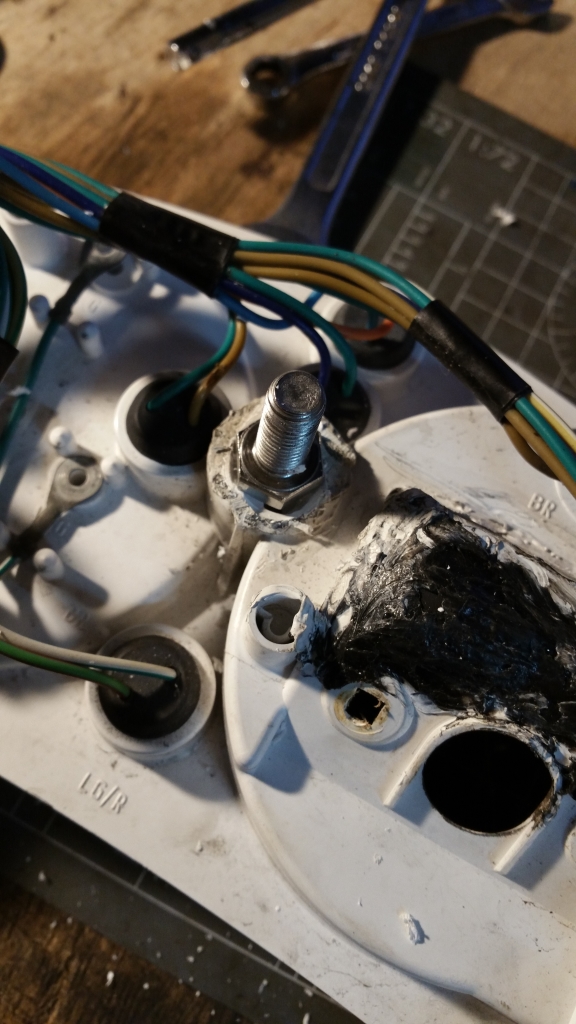
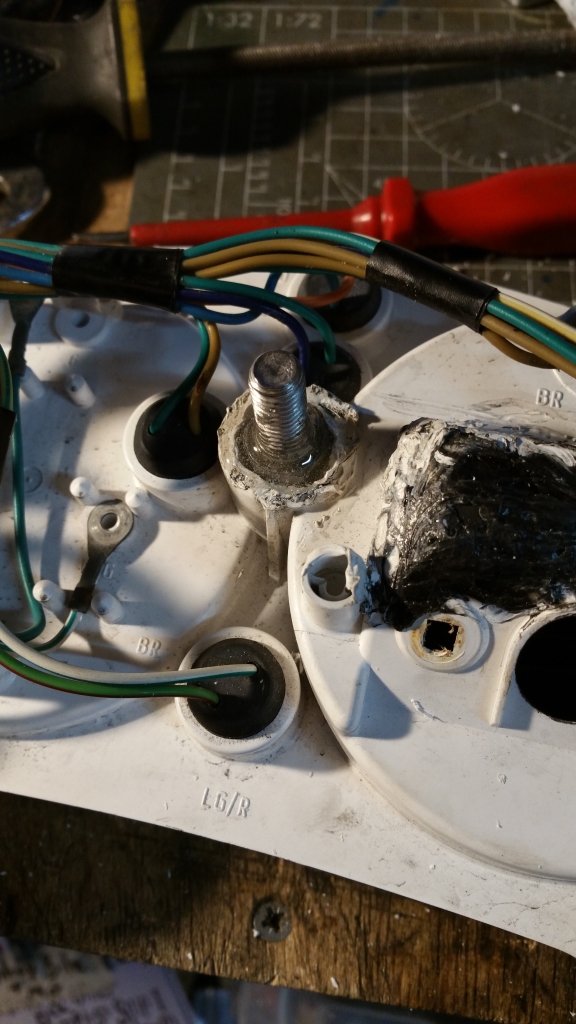
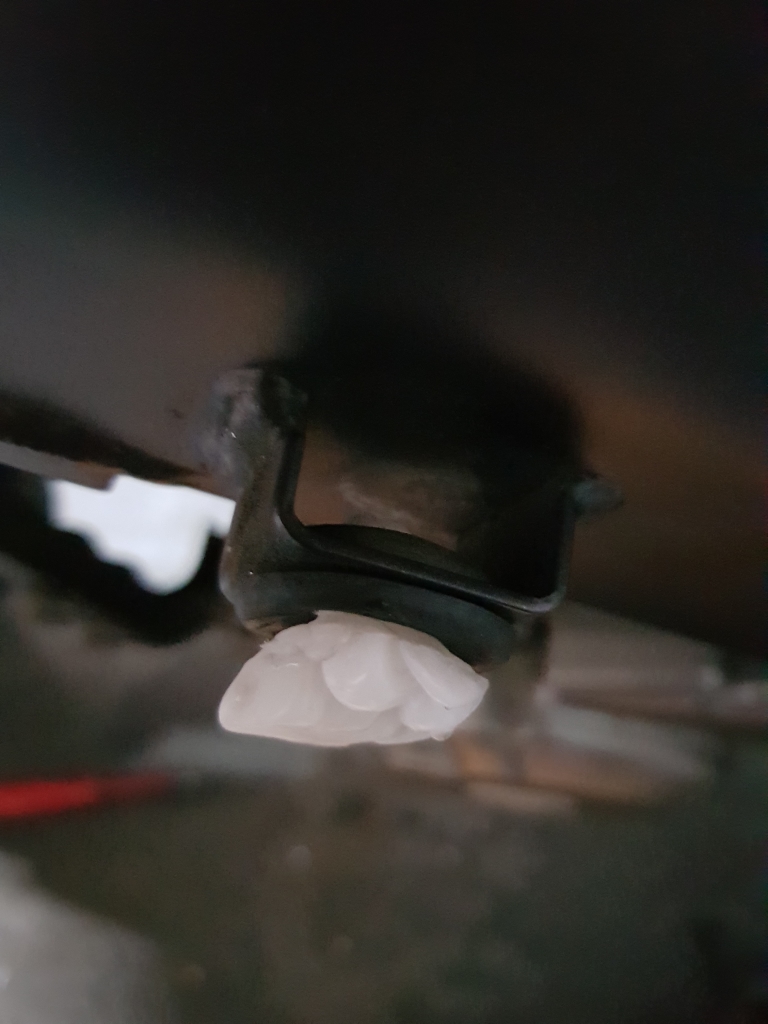
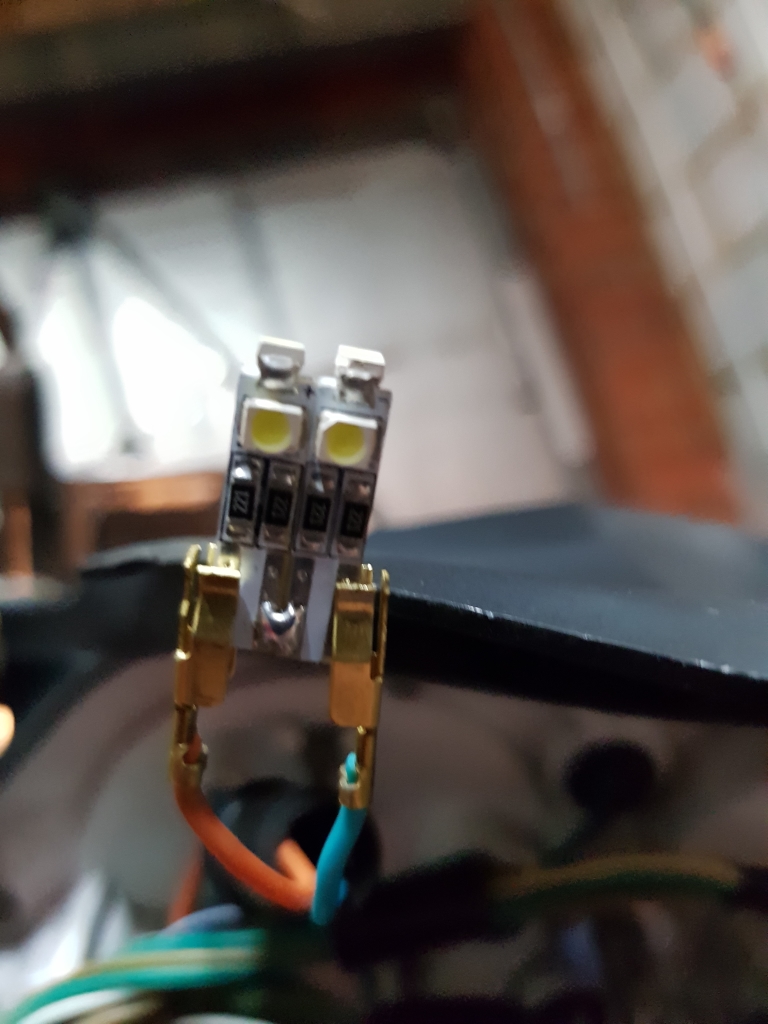
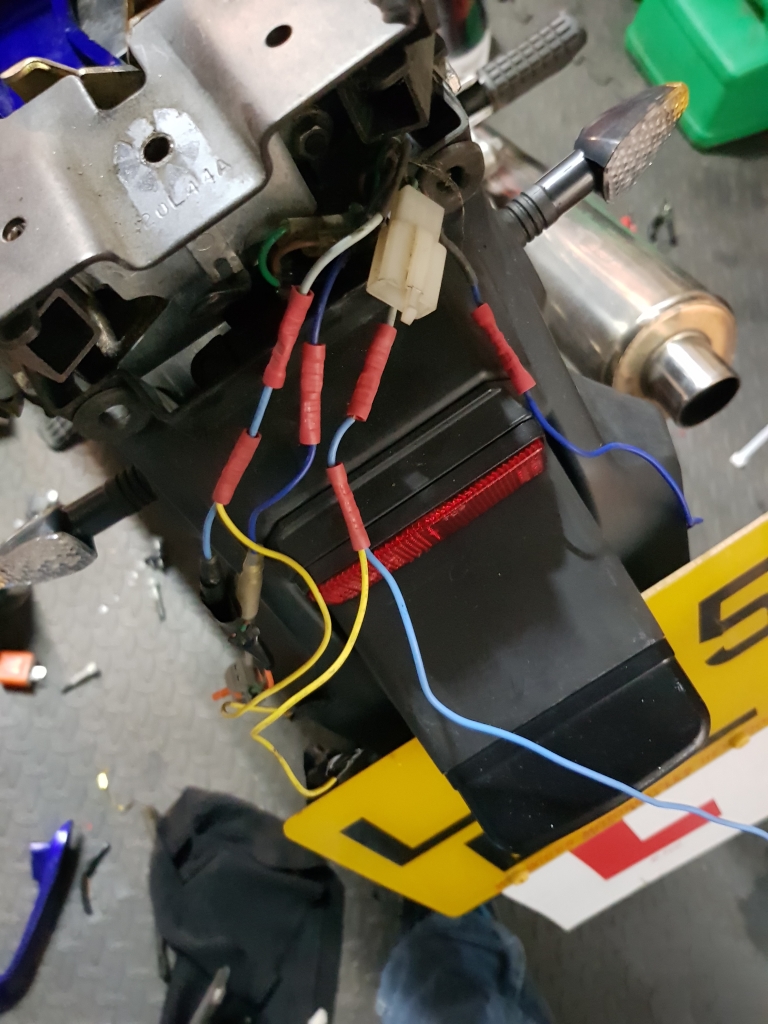
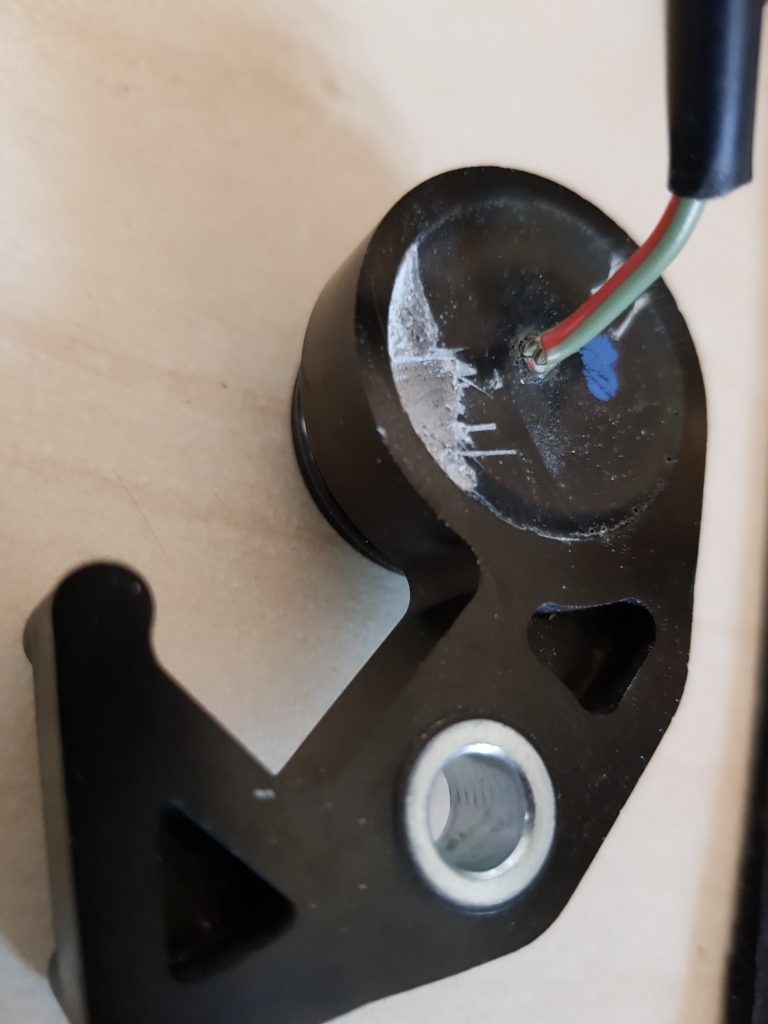
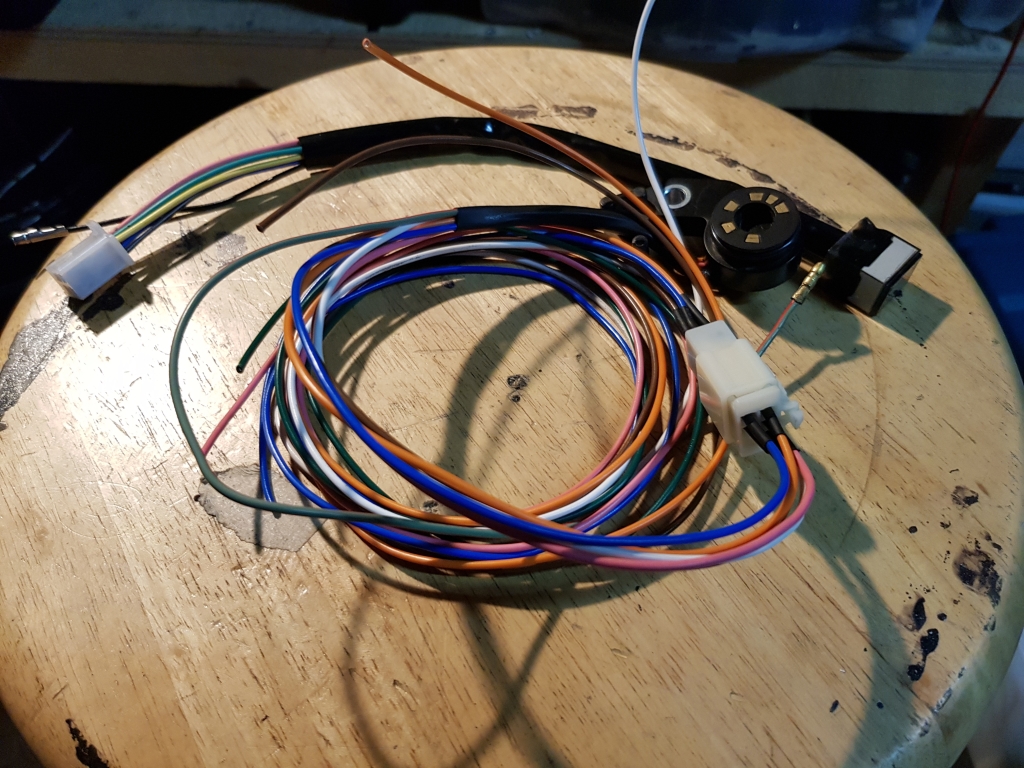
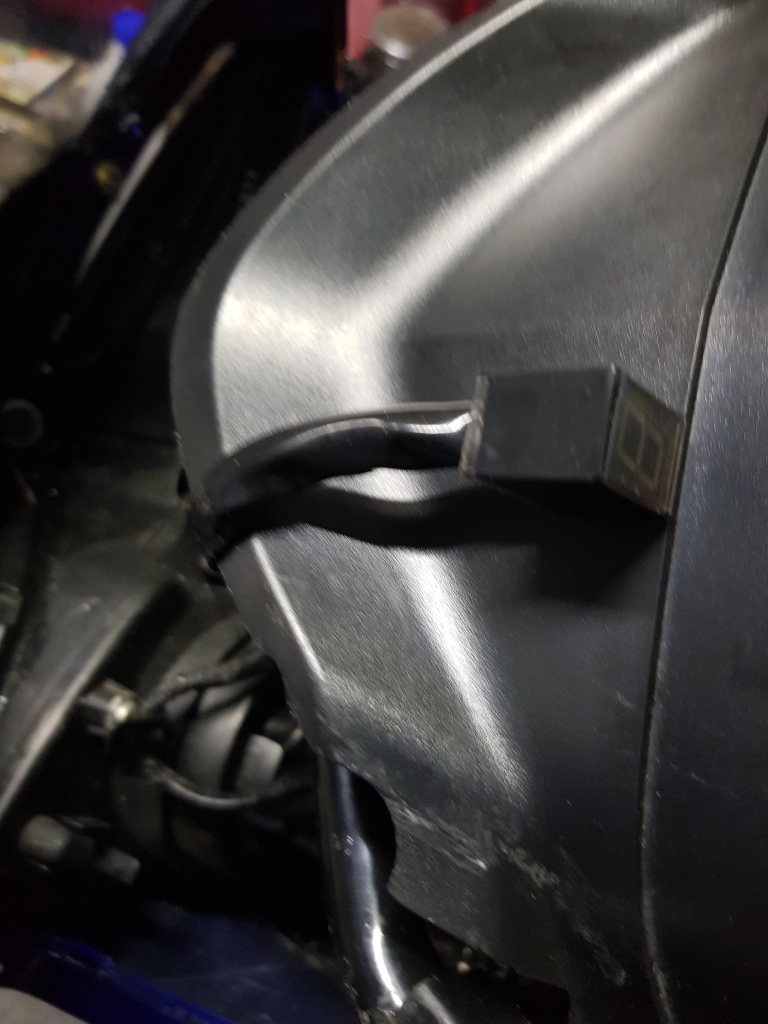
Then I had an idea... The bulb was T10 size, and I happened to have some LED T5 bulbs. I figured I could use them in the original housing. If i joined the negatives together, and used the existing positives with a shared earth which I would have to add to the loom.
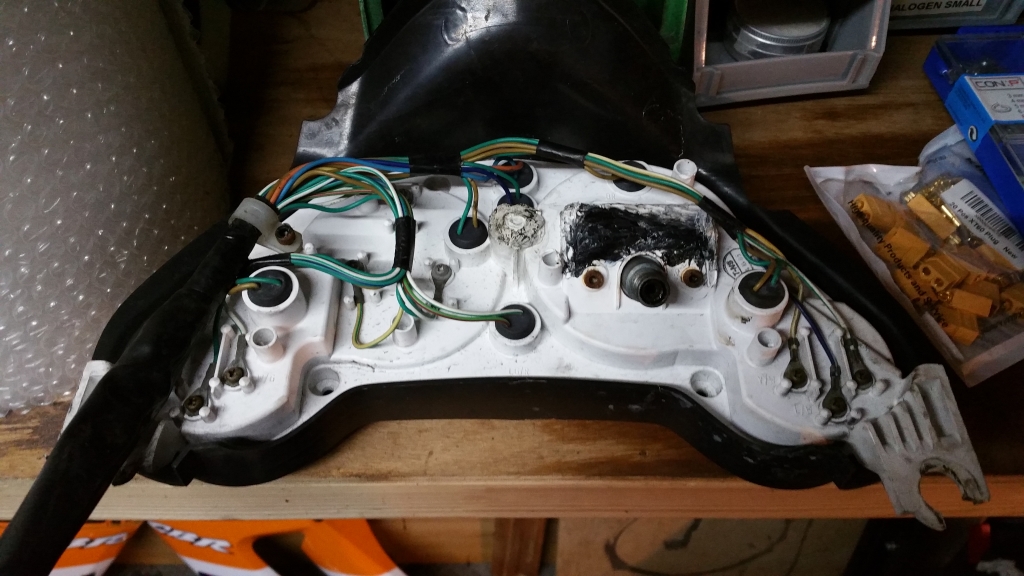
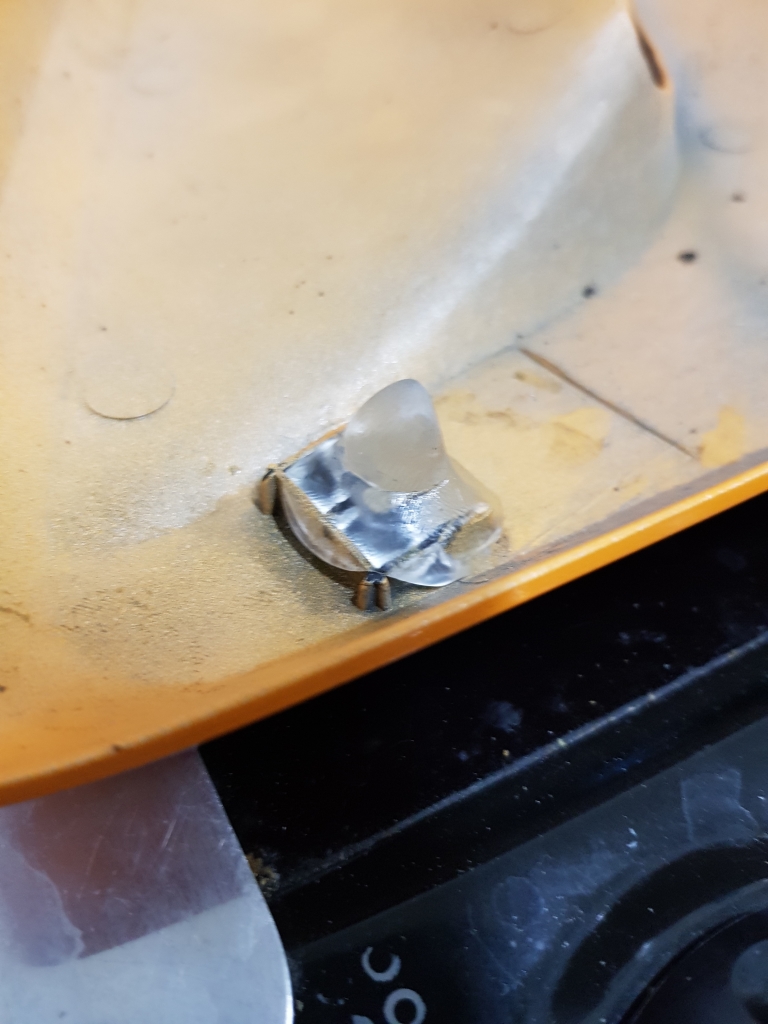
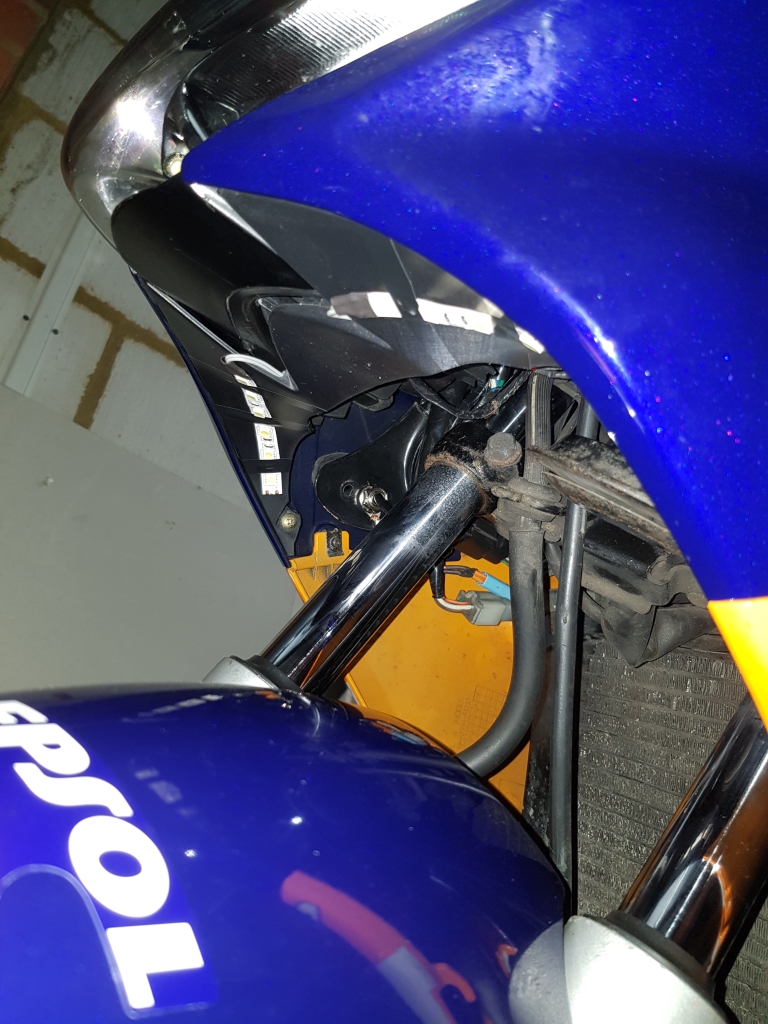
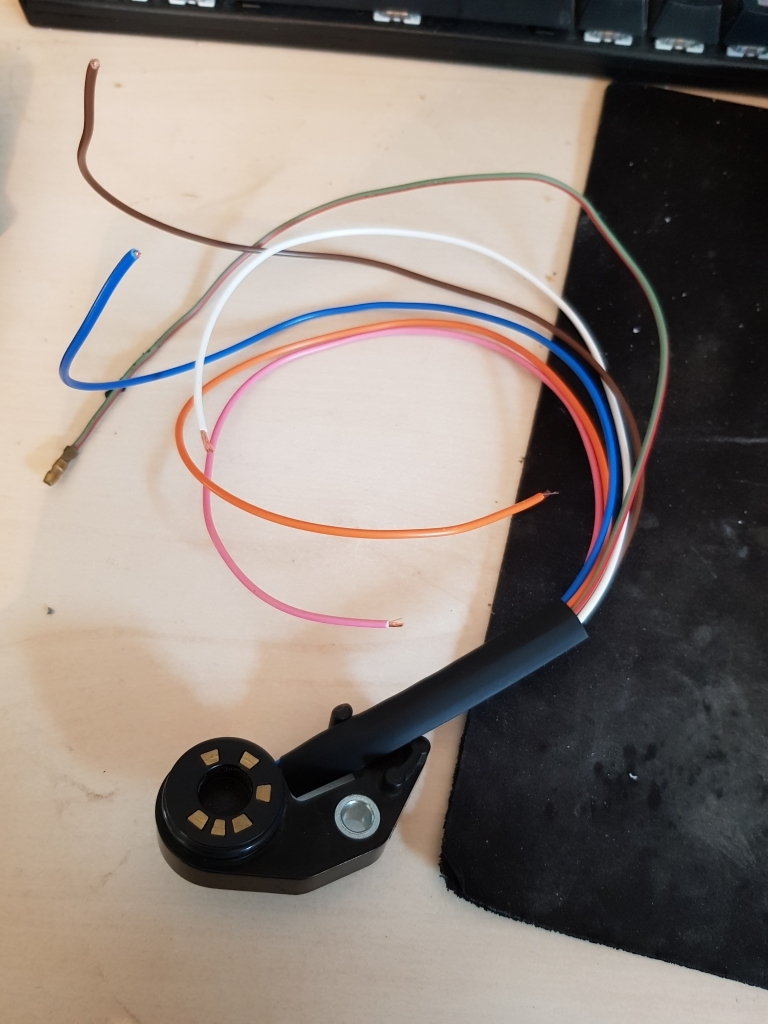
Its easier to explain in the picture:
Here you can see the two "positives" pulled from the rubber holder in the background, and the two T5 bulbs blob soldered together on their negative contacts. Now, when i indicate right, and apply an earth cable to the blob, the right LED flashes, and then if I press the left indicator, the left one does! Voila!
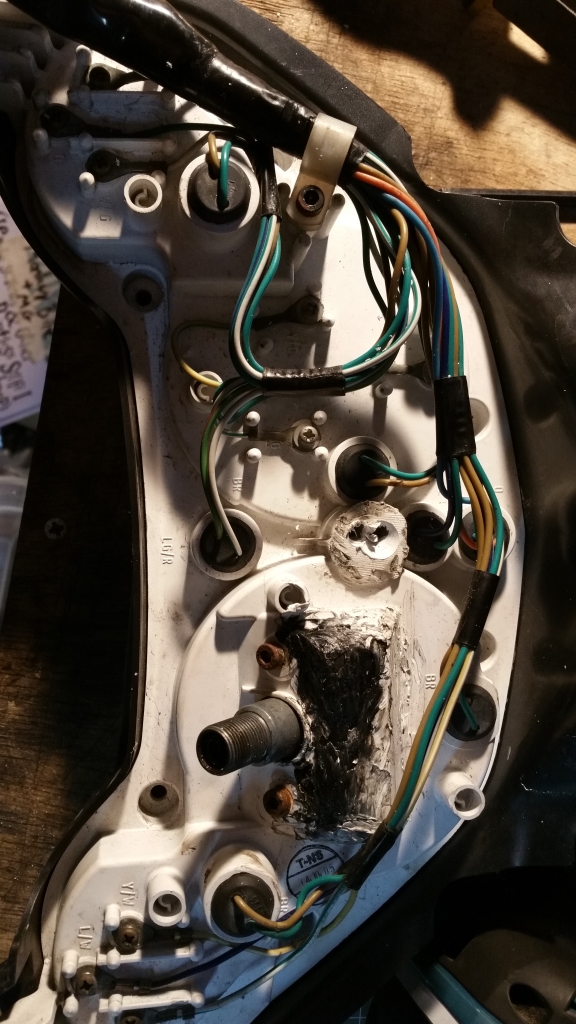
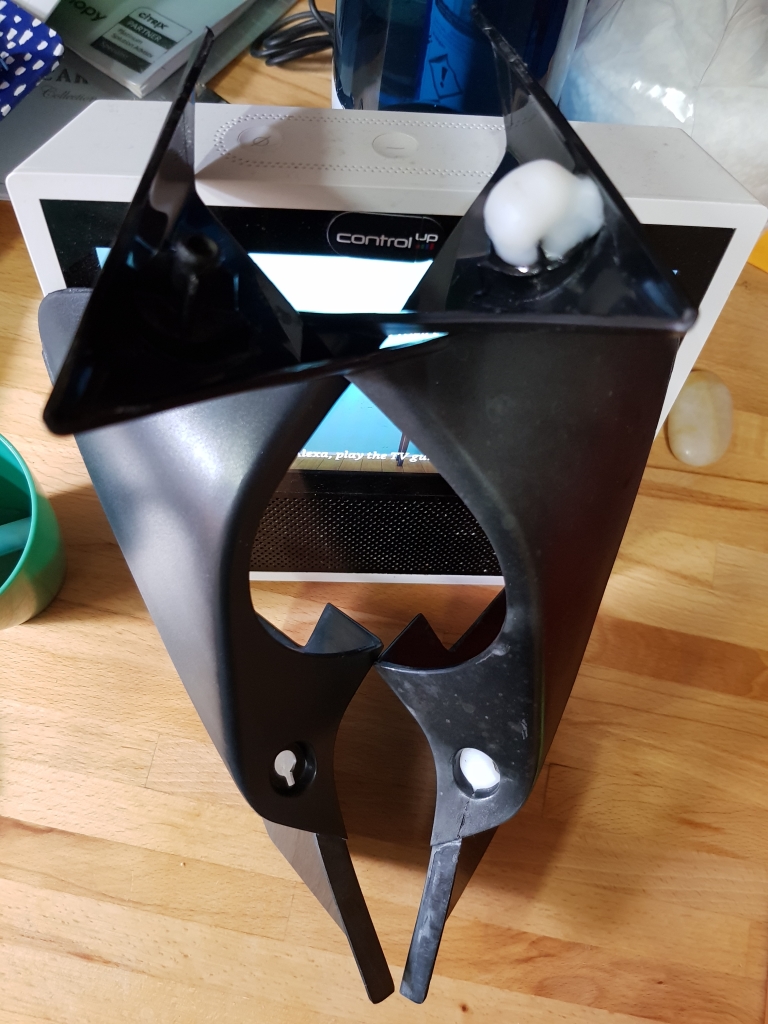
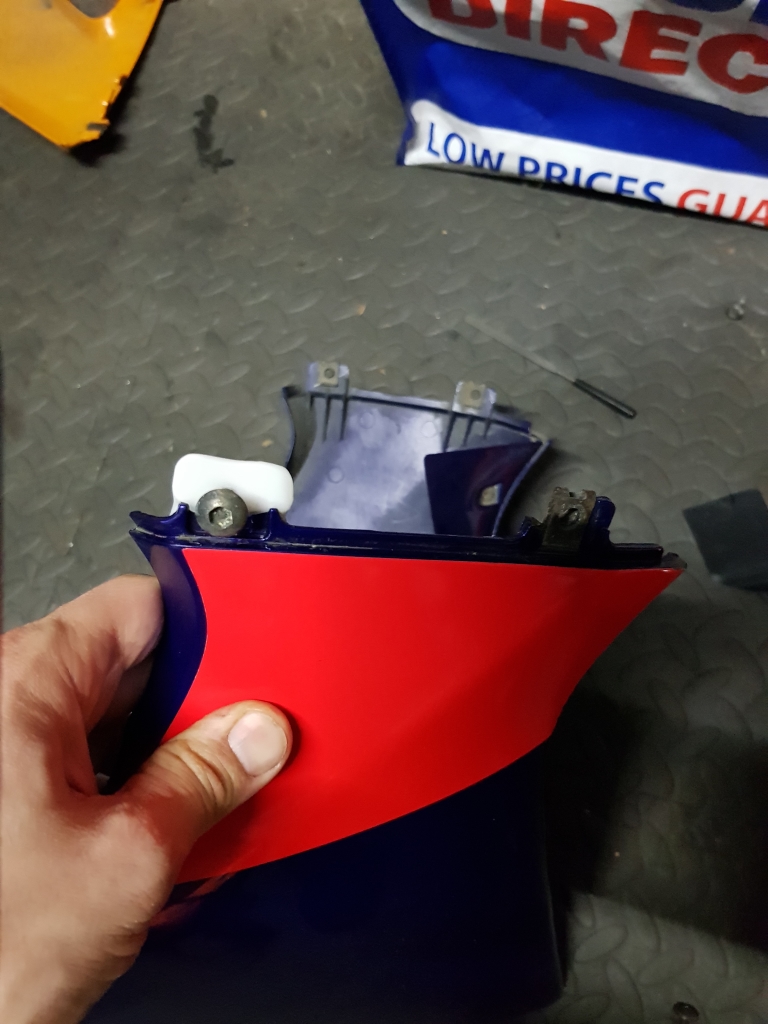
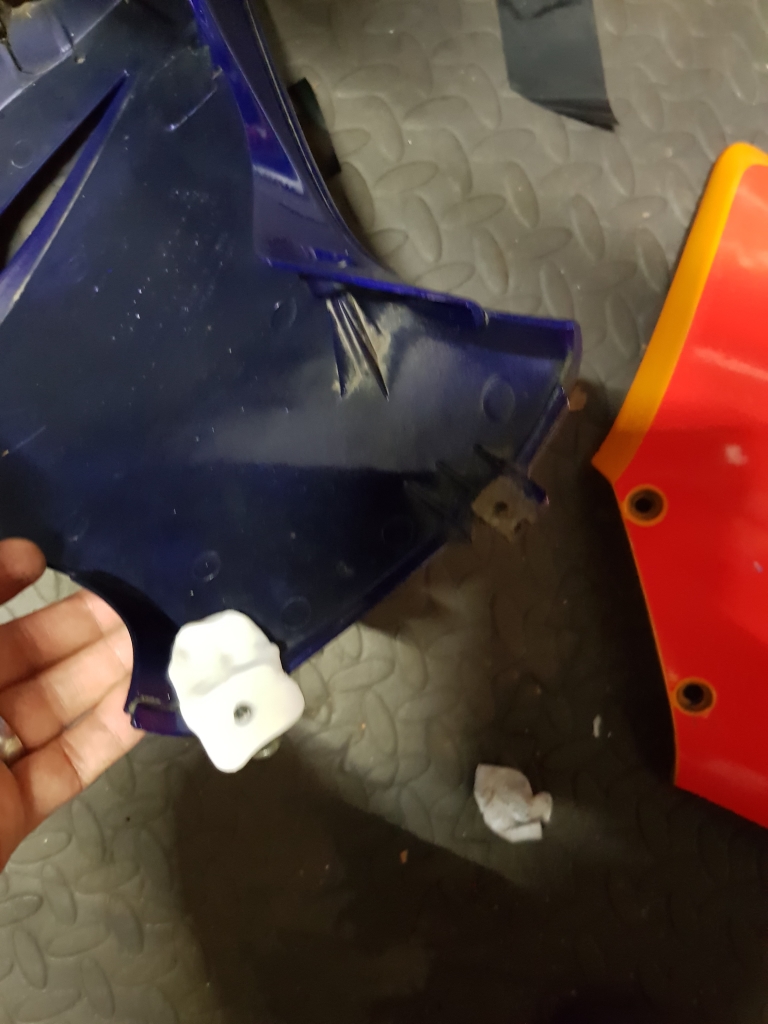
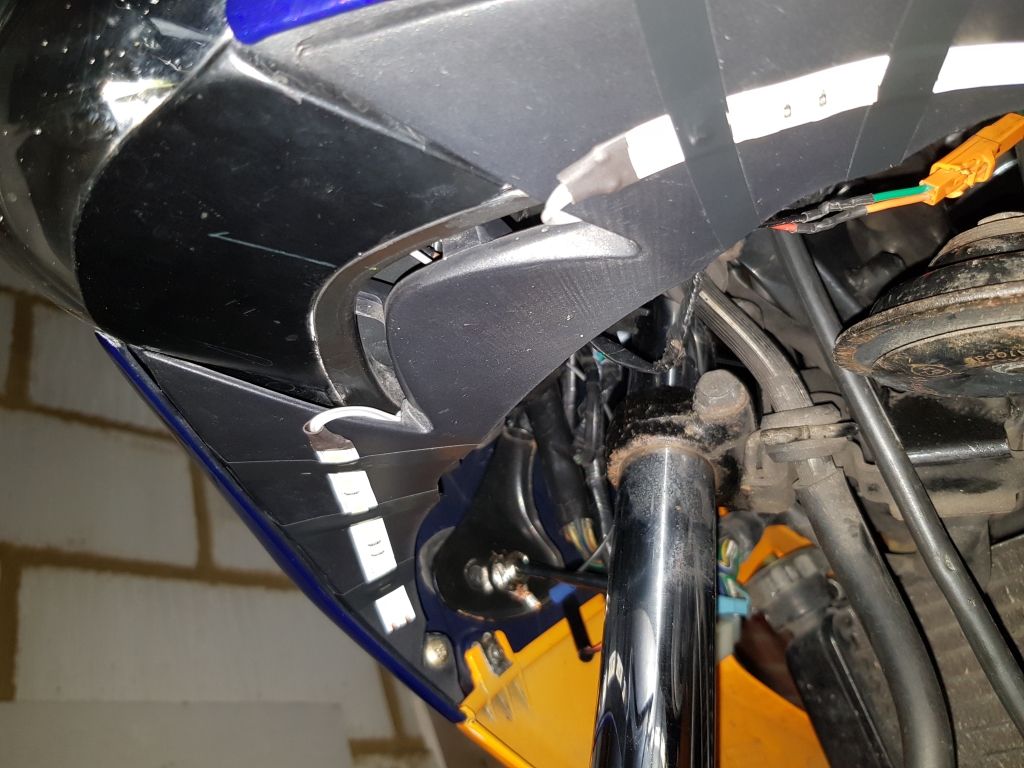
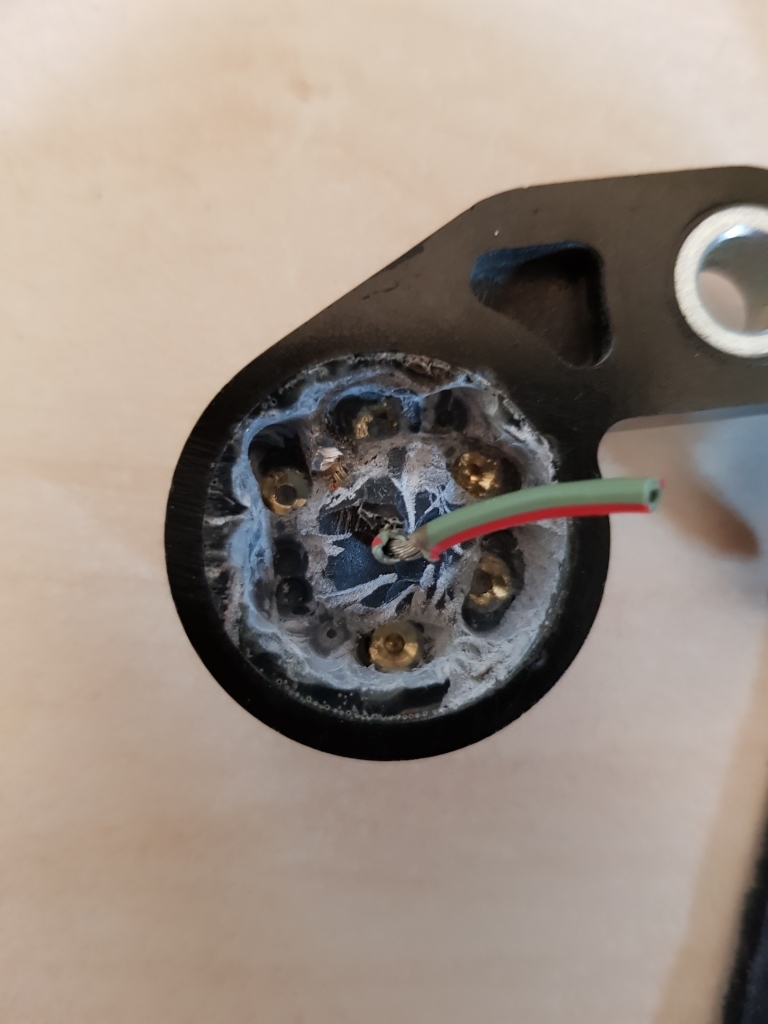
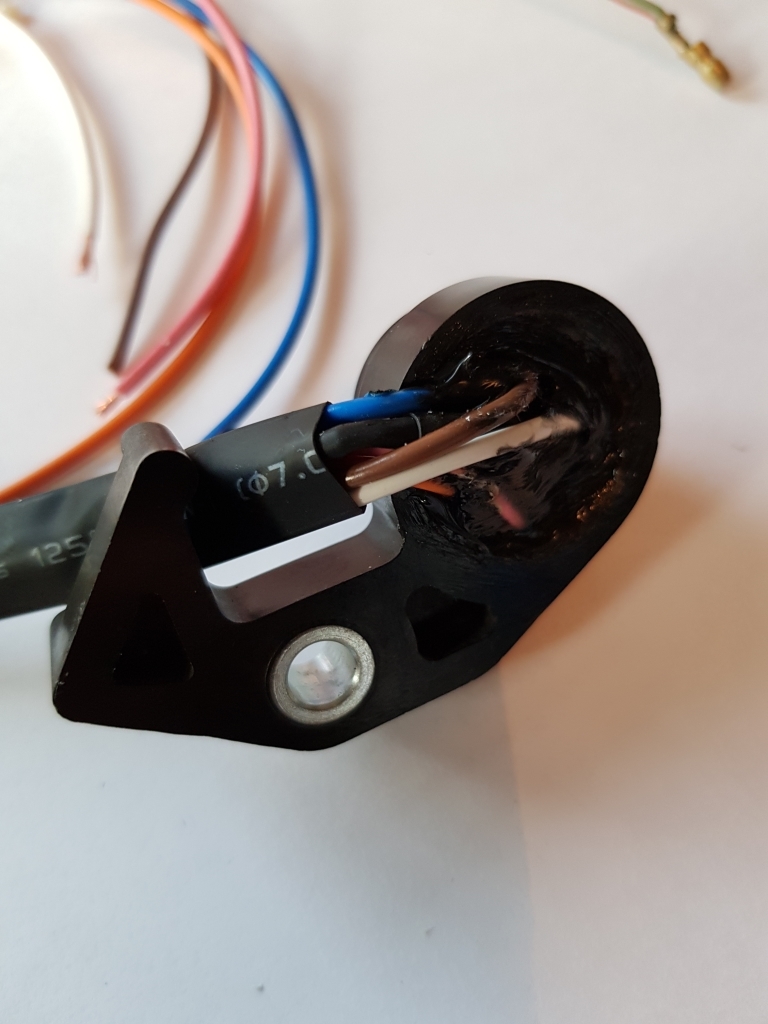
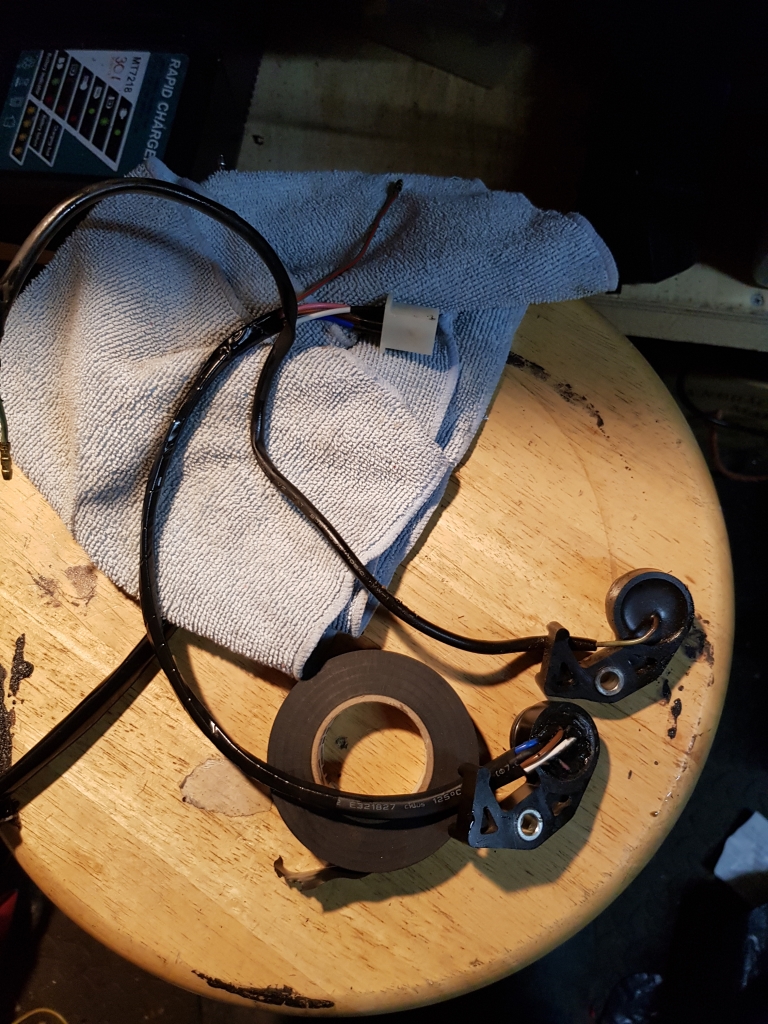
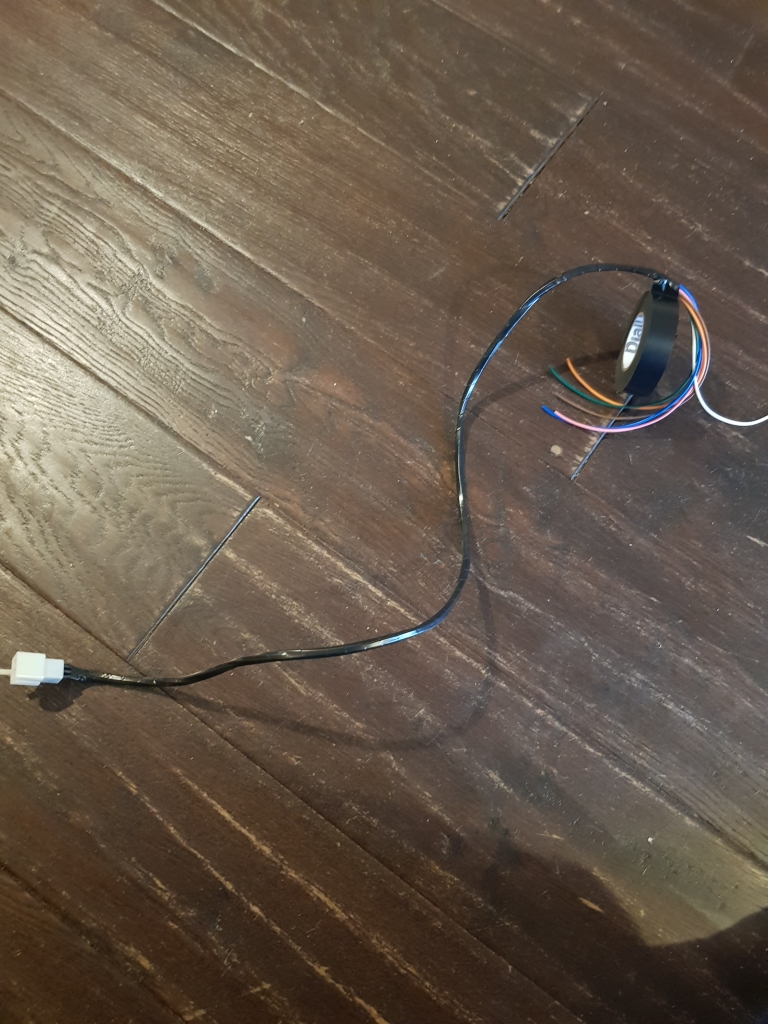
Now to make them fit into the original housing:
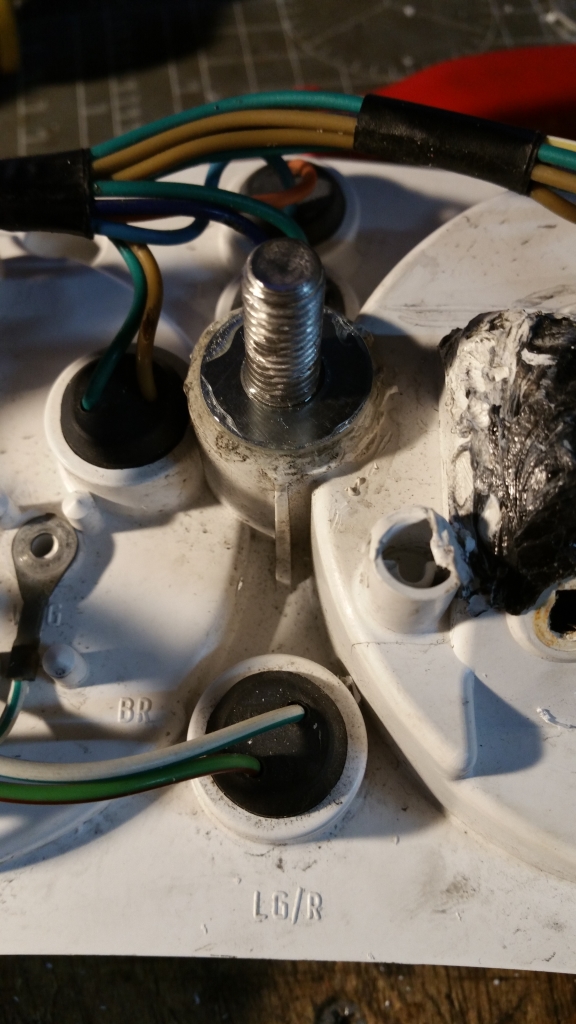
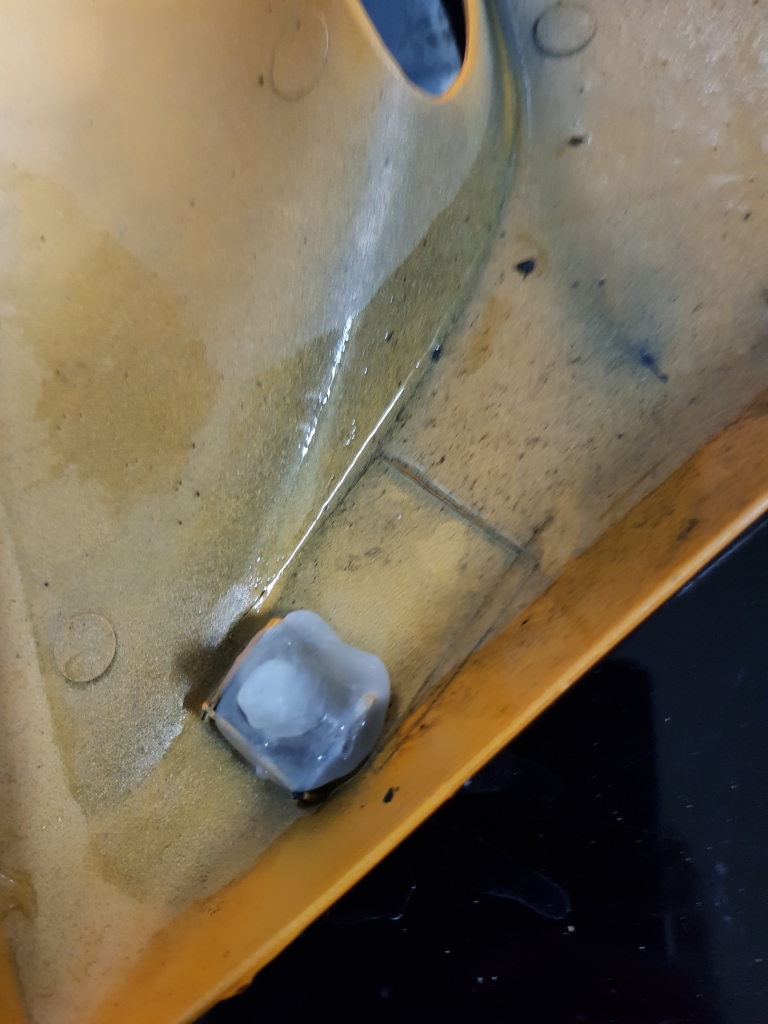
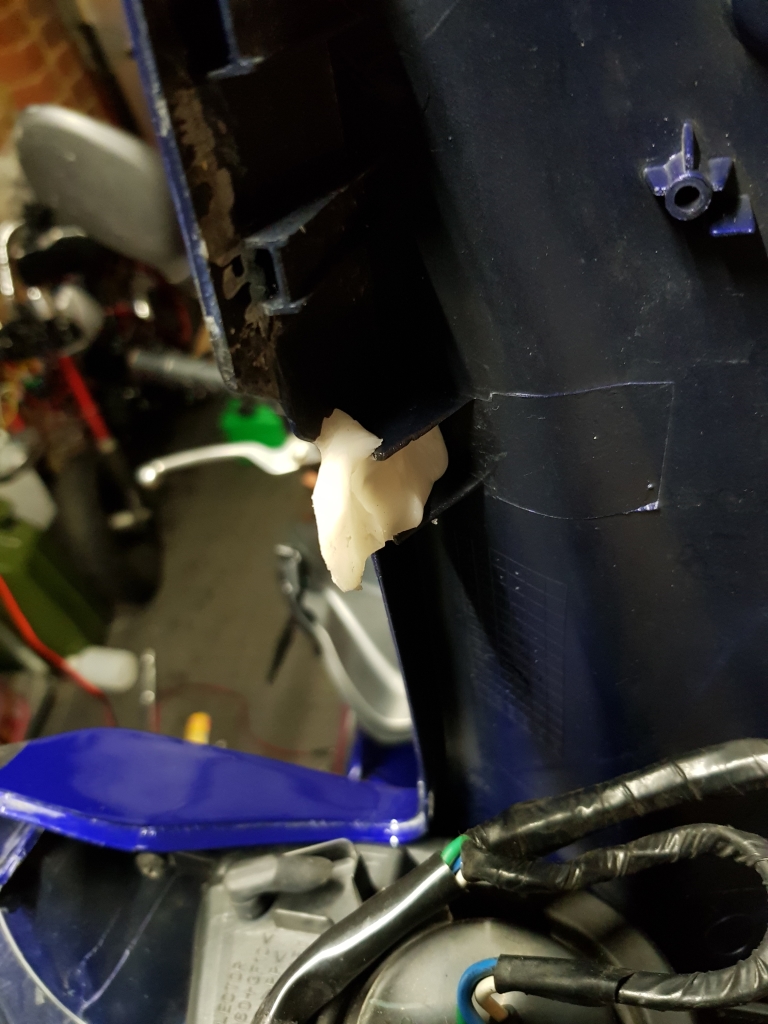
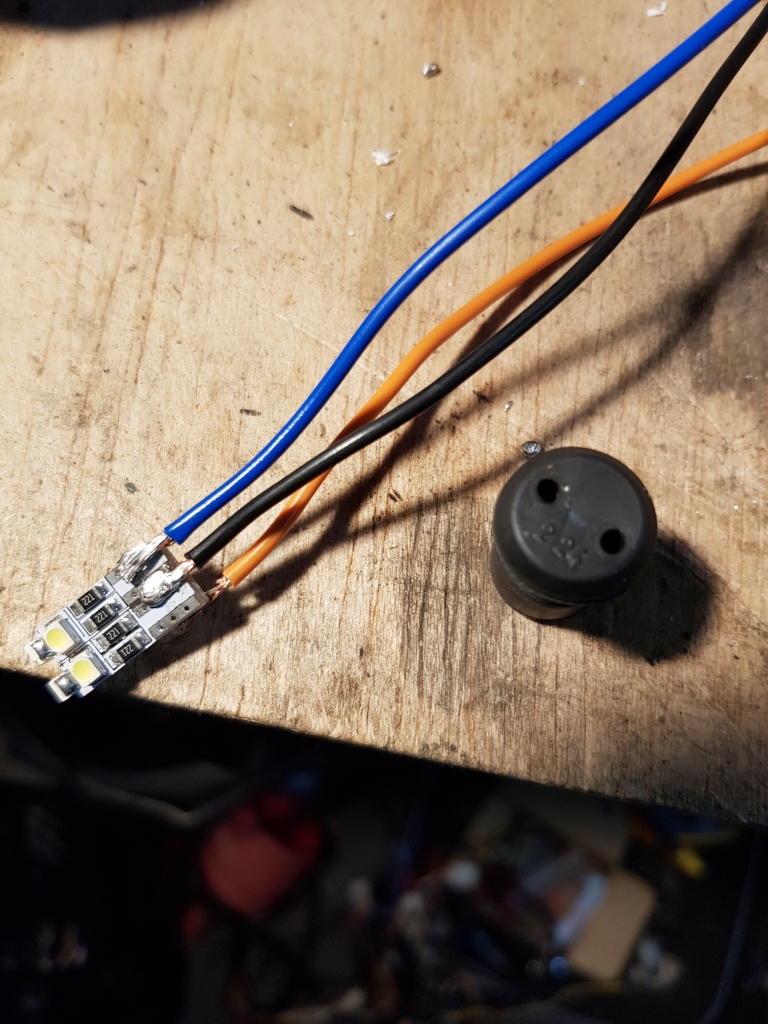
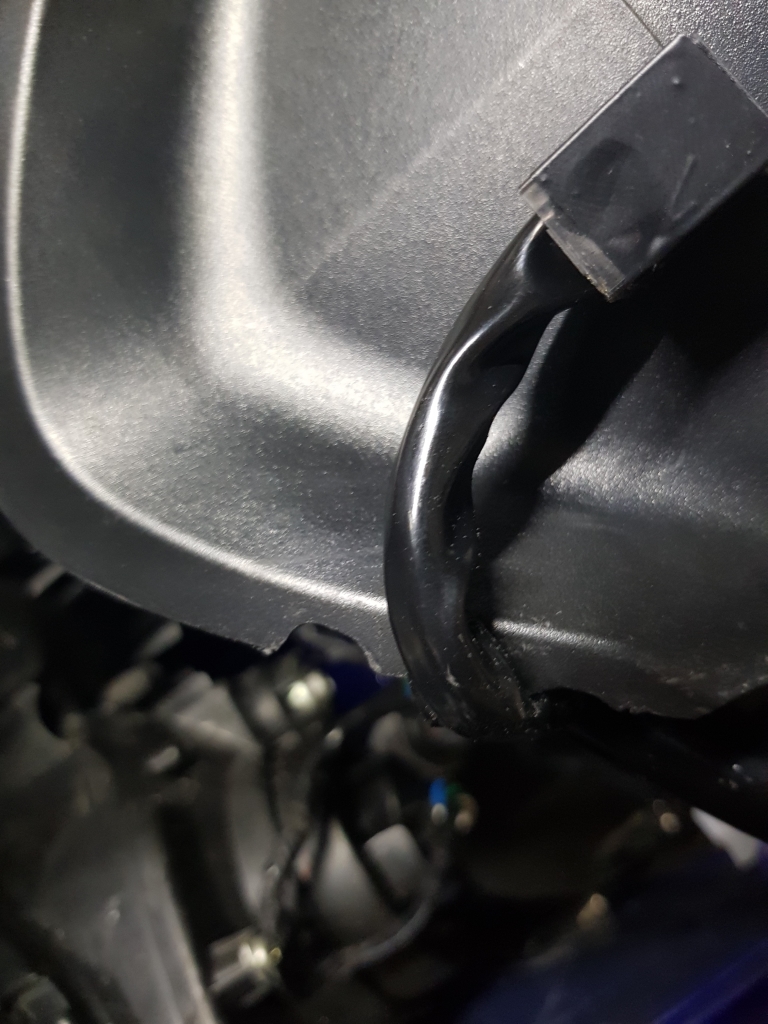
This rubber housing now needs three holes to include the new earth wire. So i heated up a small screwdriver with a mini blowtorch, and poked it through the middle. I had tried using a small drill bit, but the rubber does not drill nicely, and just closes up when the bit was removed. This however, made a nice wider hole.
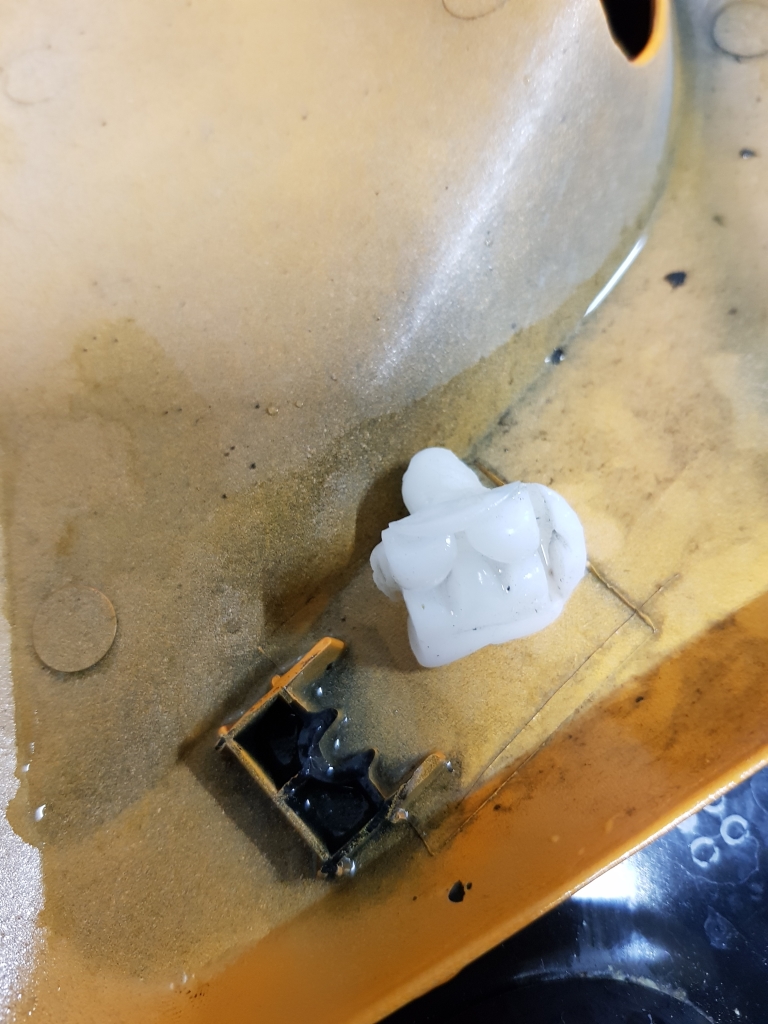
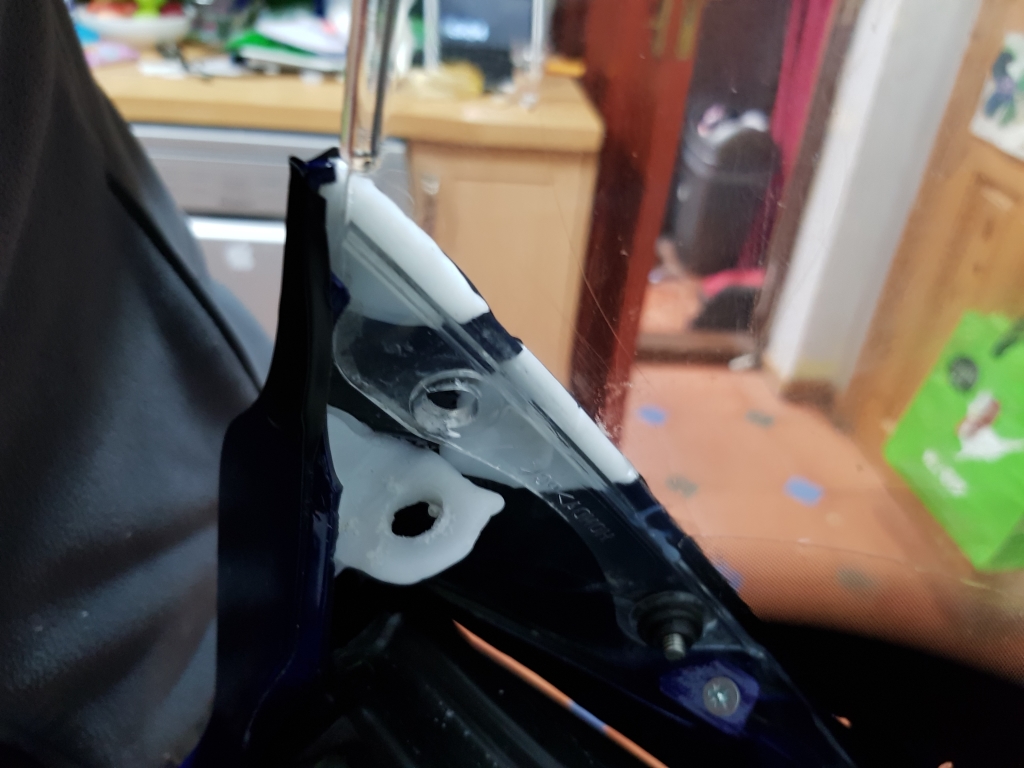
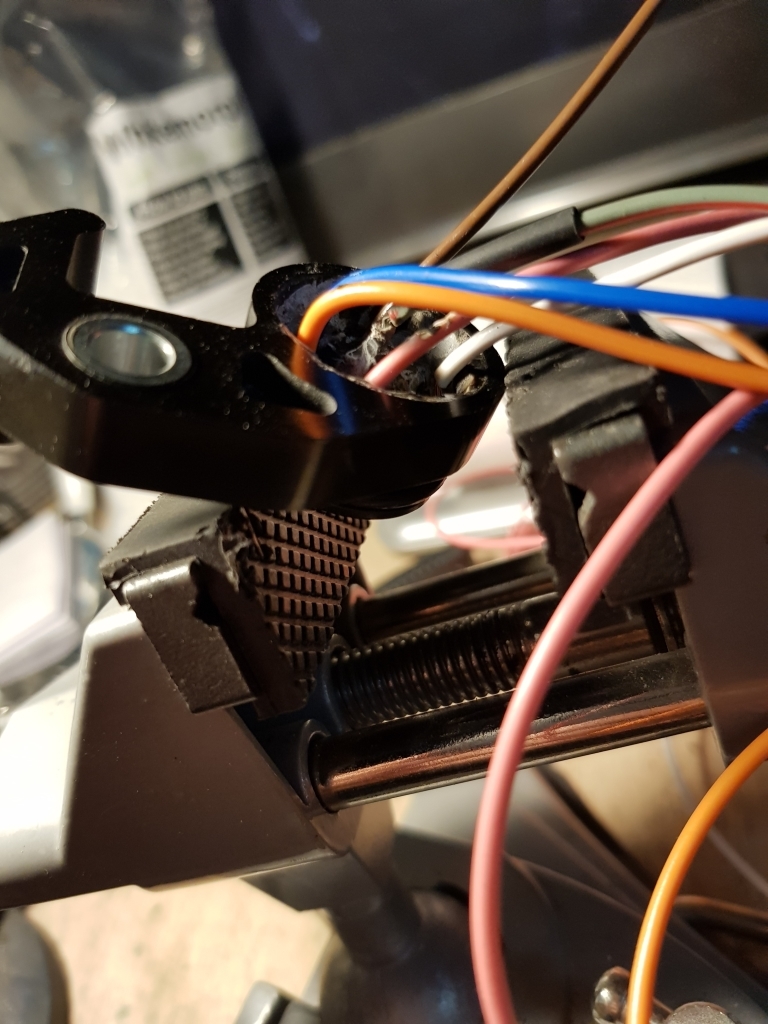
I tidied up the soldering a bit just after this was done, as I had actually blobbed it all together for testing on the bike initially. Its a little neater, and narrower, with wider gaps between the wire ends to make it safer before I installed it.
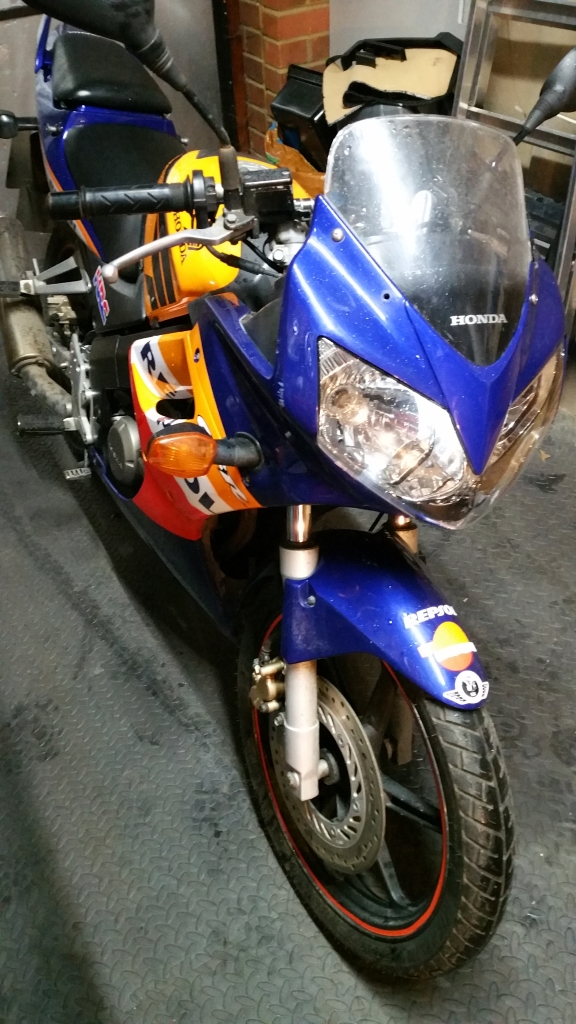
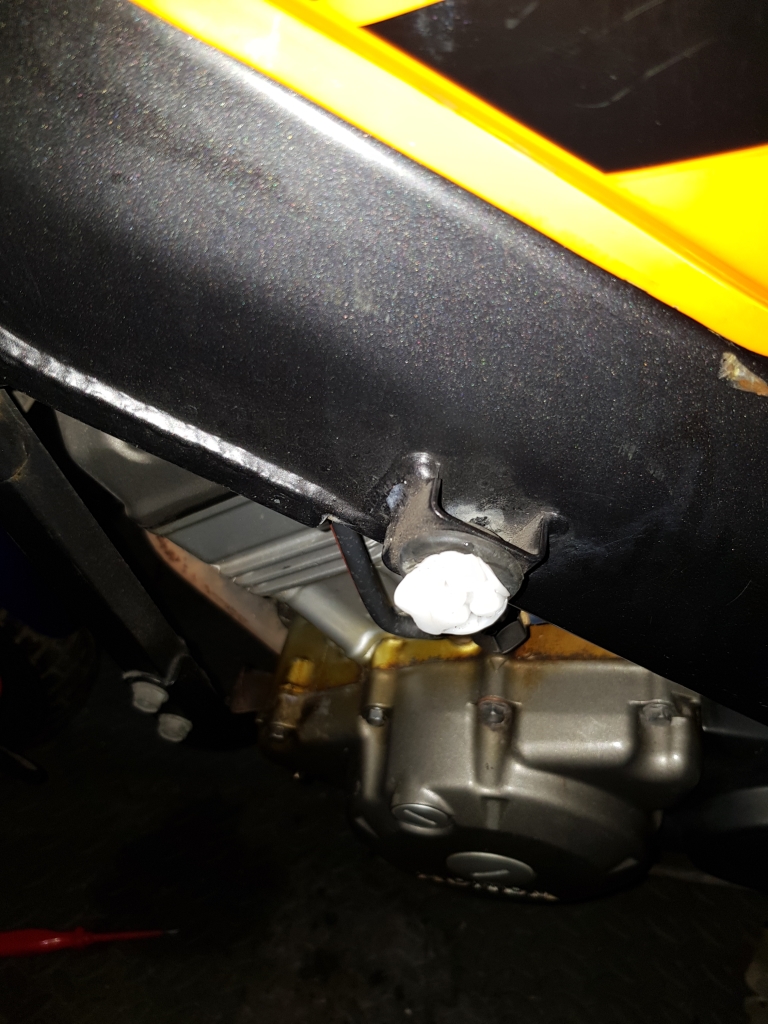
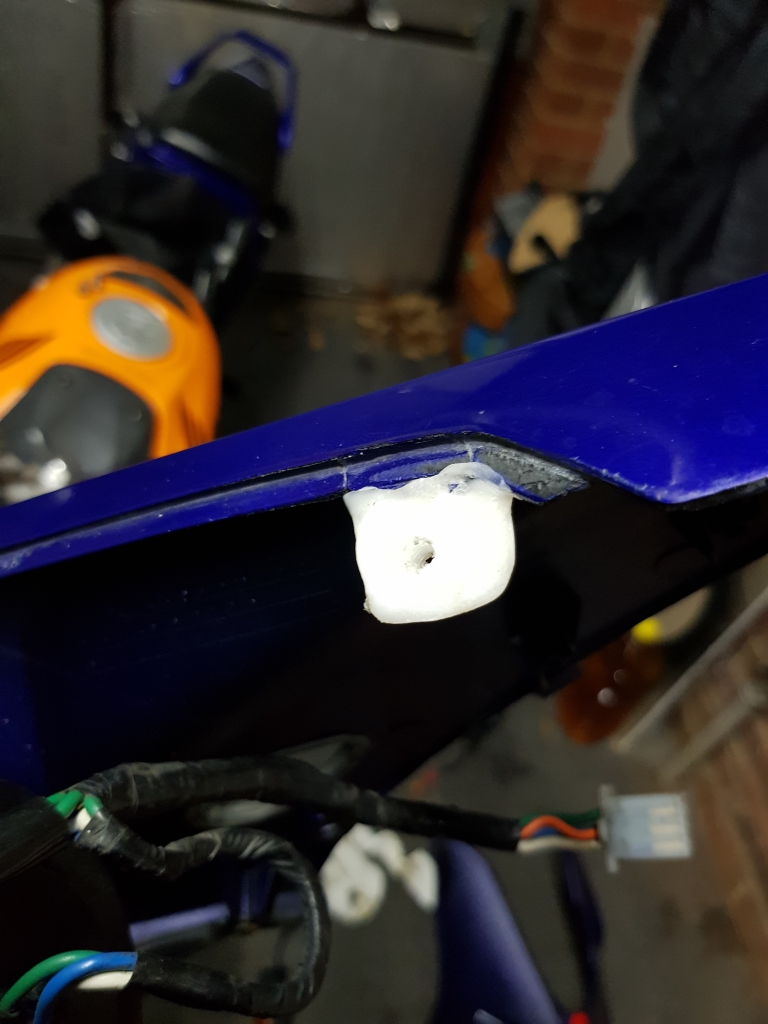
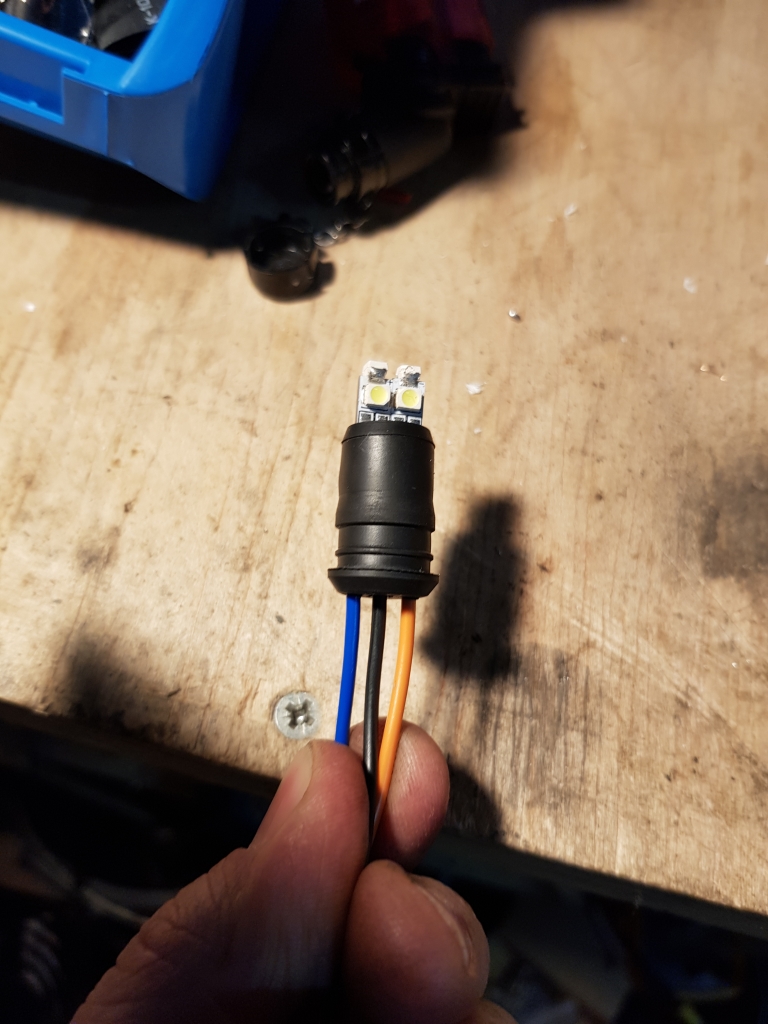
Now we have something like this! Connected up the the bike, and it worked fine.
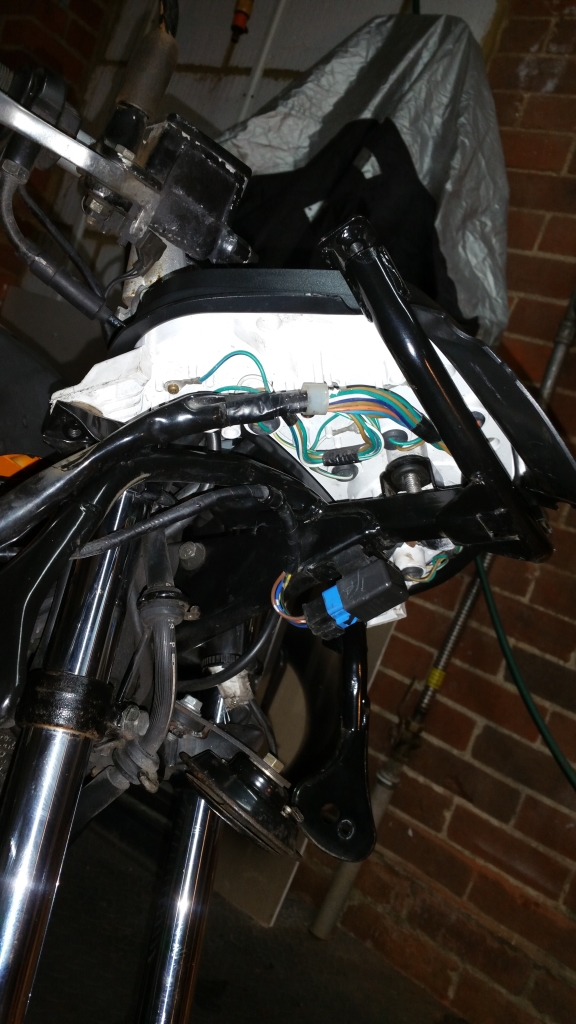
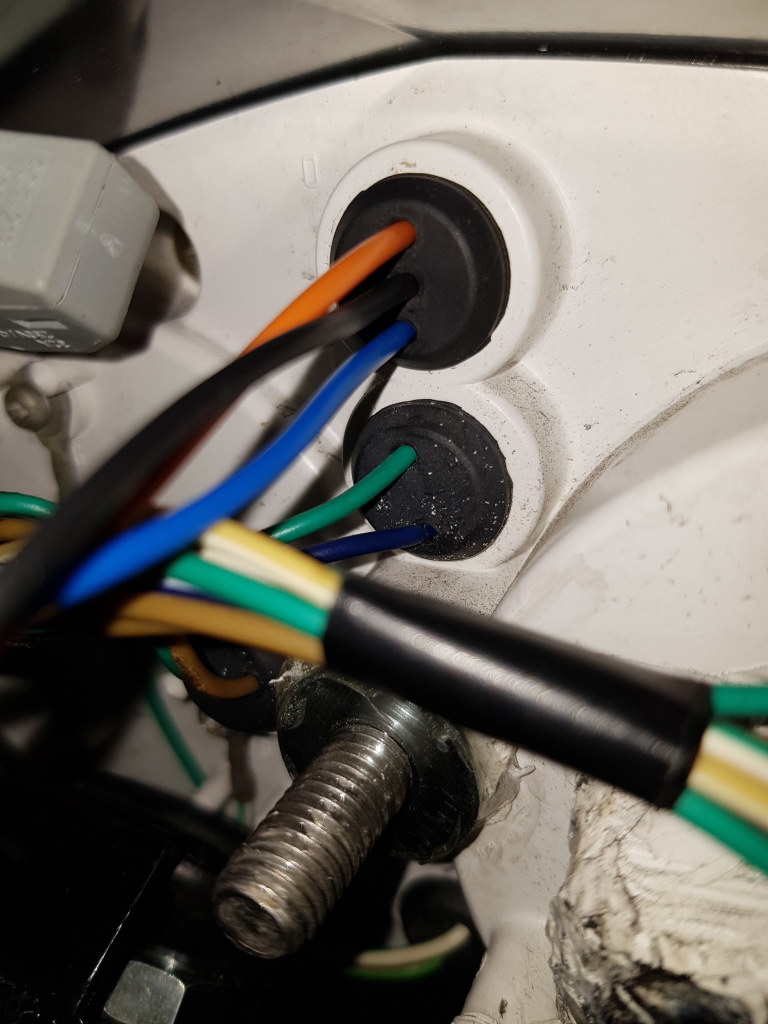
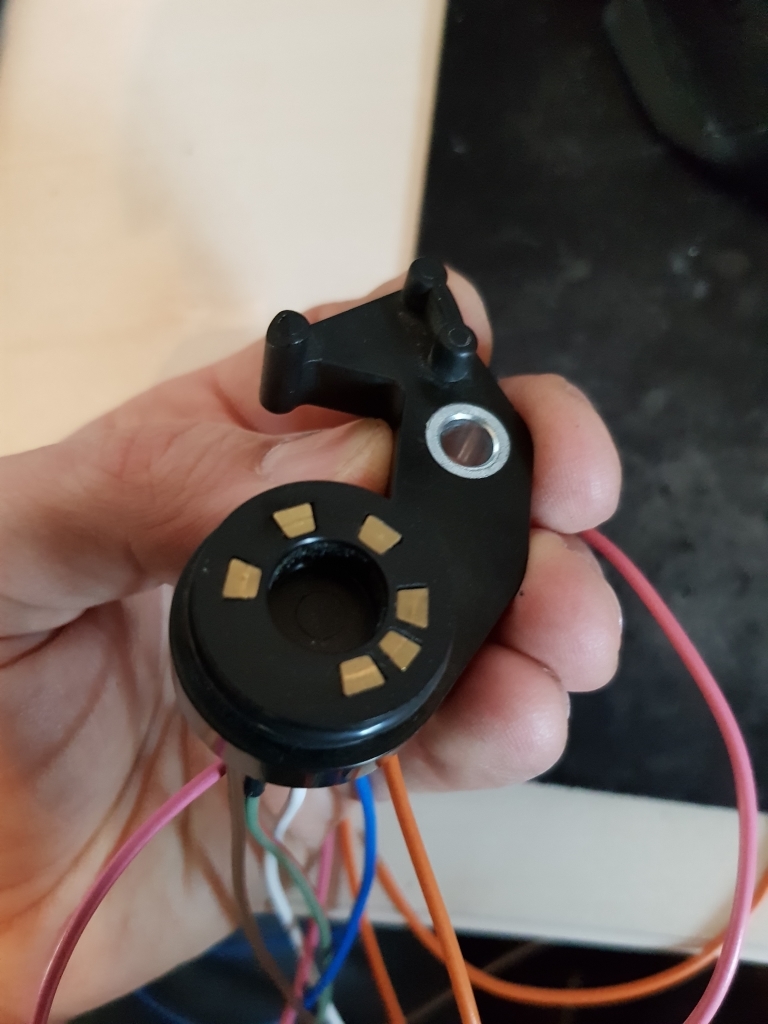
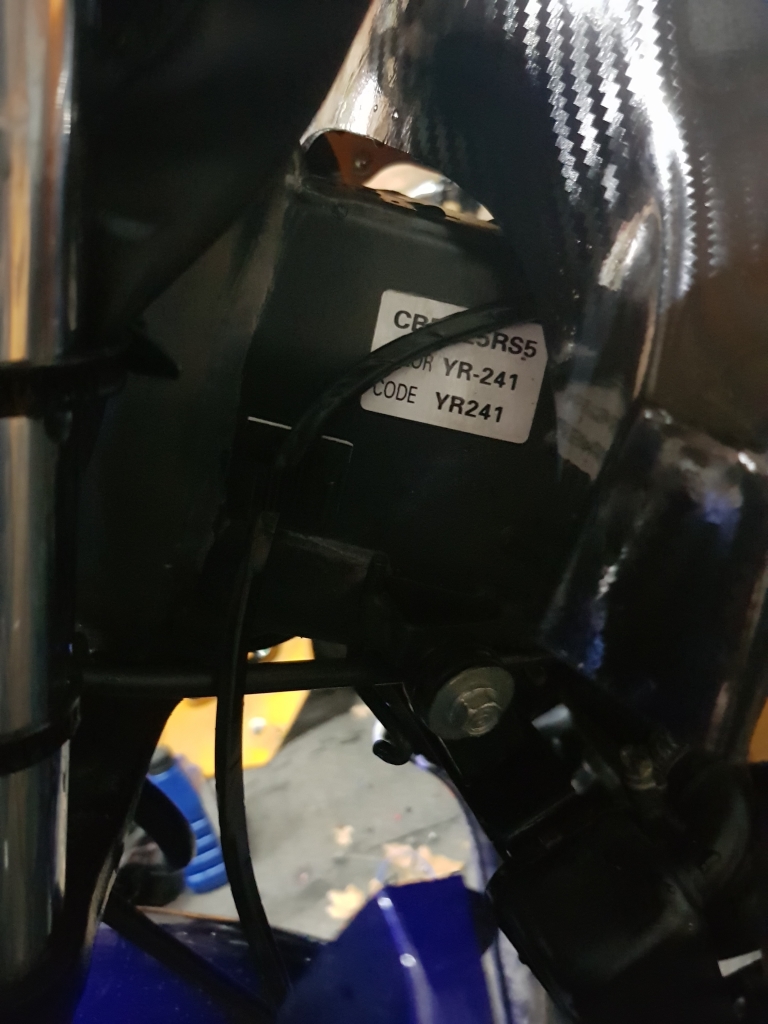
Installed back into the dash, and it works great! I also kept the factory wire colours to help keep it as easy to figure out what I have done if anyone else ever gets back here to find it.
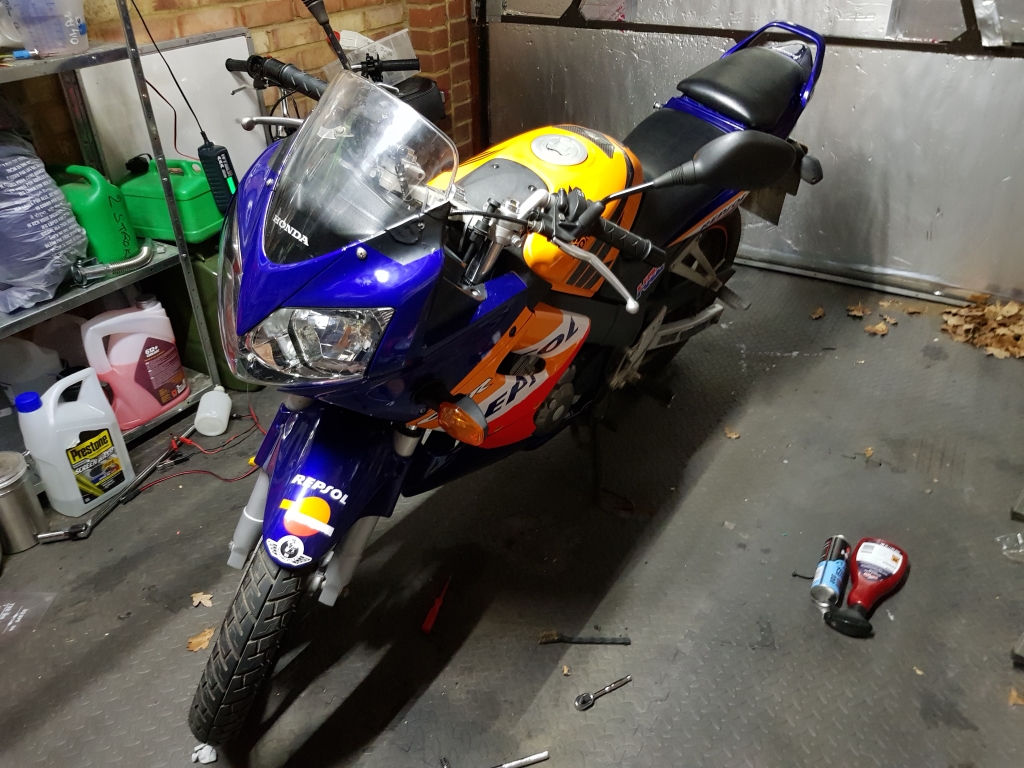
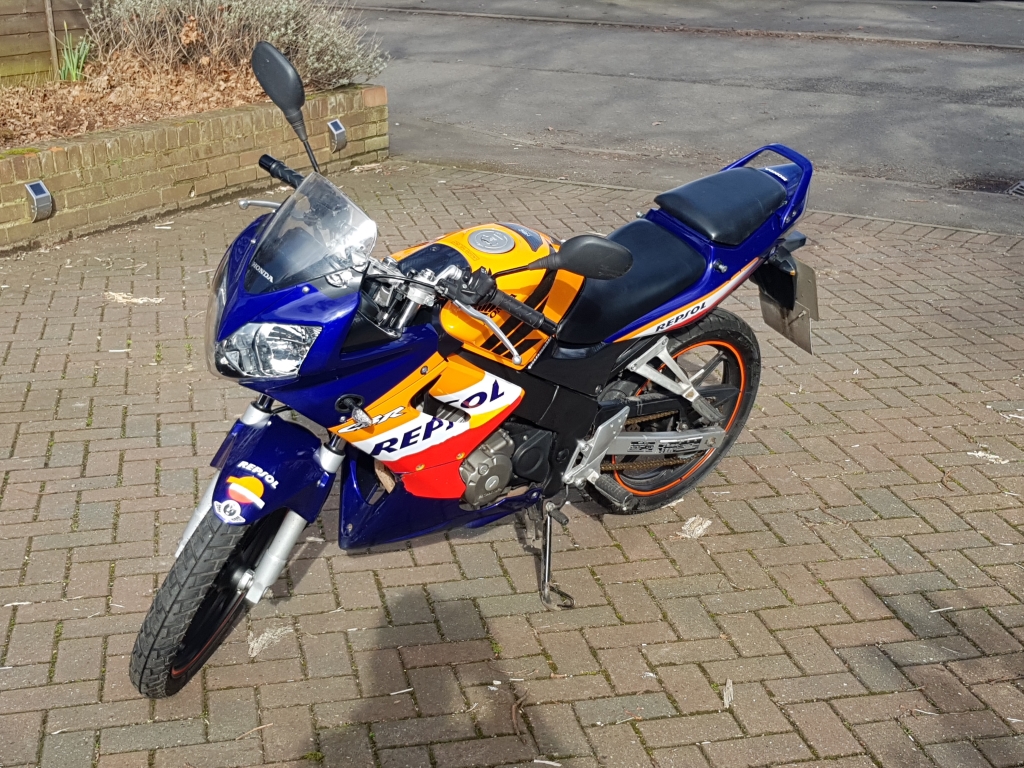
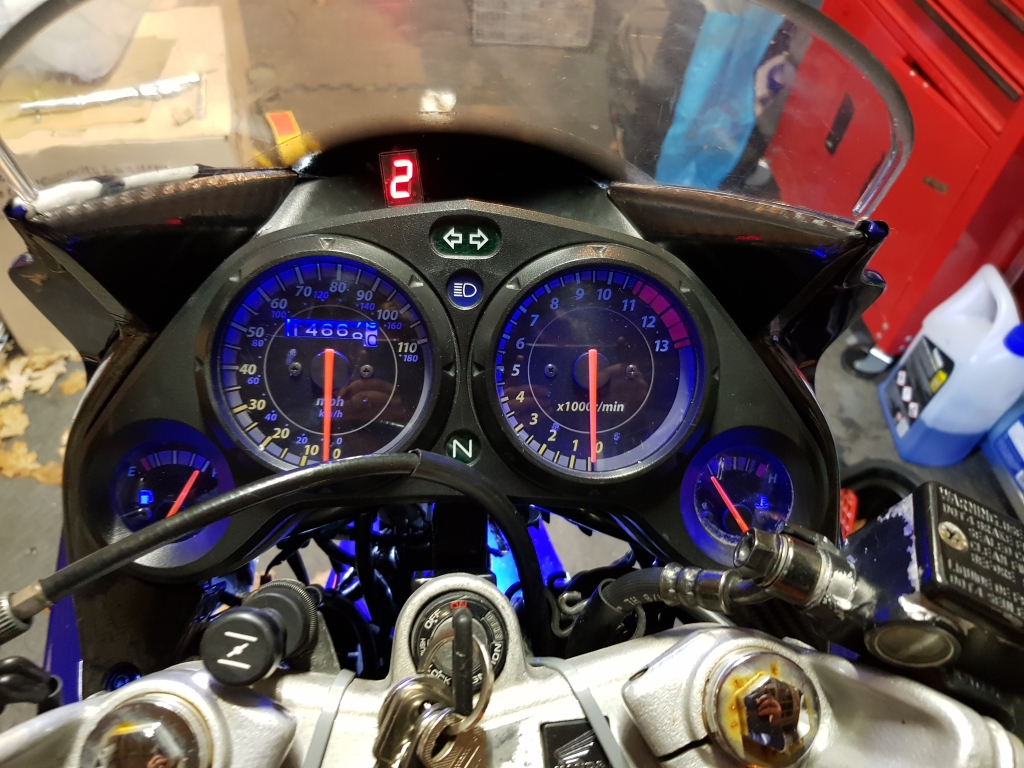
Now I have flashing indicators, and a much neater look!
I have to admit, I had a bit of a schoolboy error at one point.. I kept finding the flash rate of the bulbs getting slower and slower, and each time I adjusted the screw in the LED flasher, it worked for a few seconds then got slower and slower again till it stopped... Turns out the battery of the bike was running low... I had forgotten to hook it up the tender, and ASSUMED I had a knackered LED flasher unit, bad earth or something else... Suddenly it all made sense, as the voltage dips, the flash rate lowered. DOH!
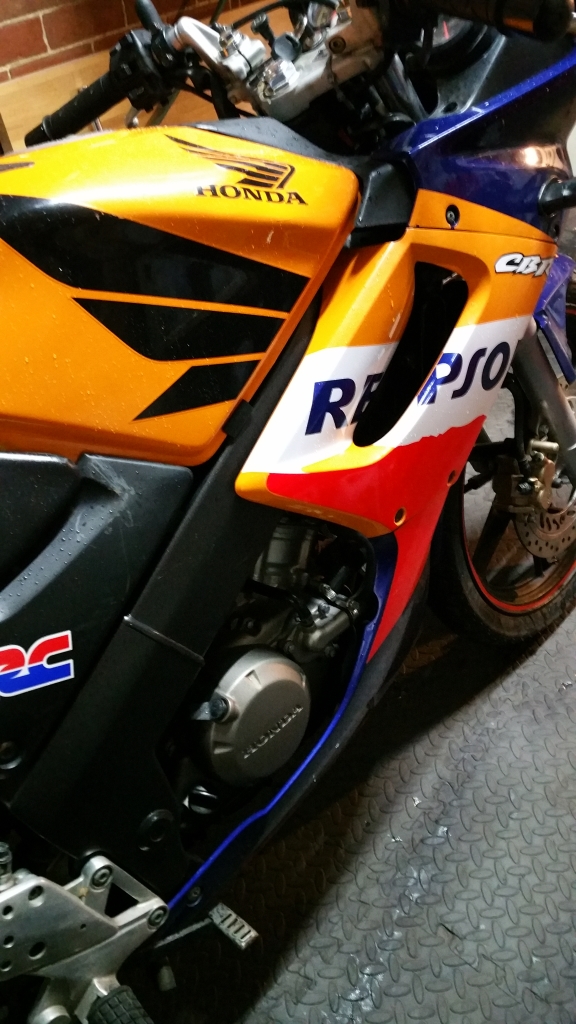
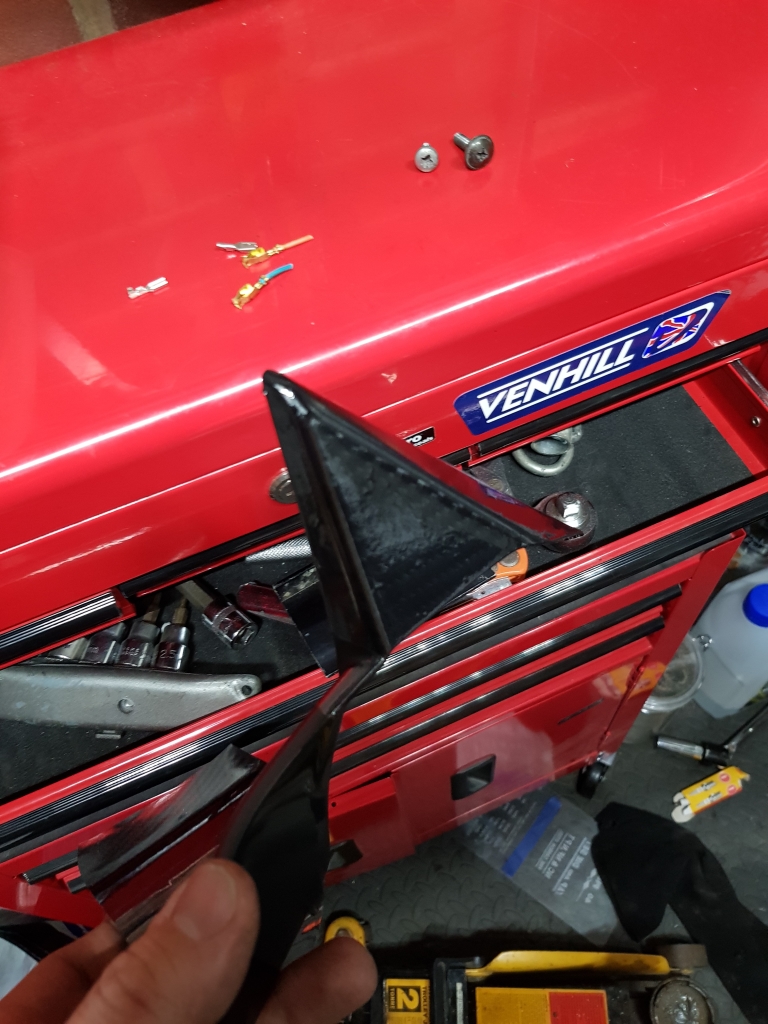
Changing tack a bit, I decided to have a go with some carbon "look" wrap I had found cheaply online, mainly because I had a new heatgun a few weeks ago, and little cause to actually use it.
Here I am starting my journey on a bit of the black plastics on the rear panels. I left the sticker for HRC underneath as a fall back incase I had to remove it all and start again, but actually quite likes the look of it once I started, so went with it. I may re-add the stickers over the top later if it proves to stand up the punishment of that spot.
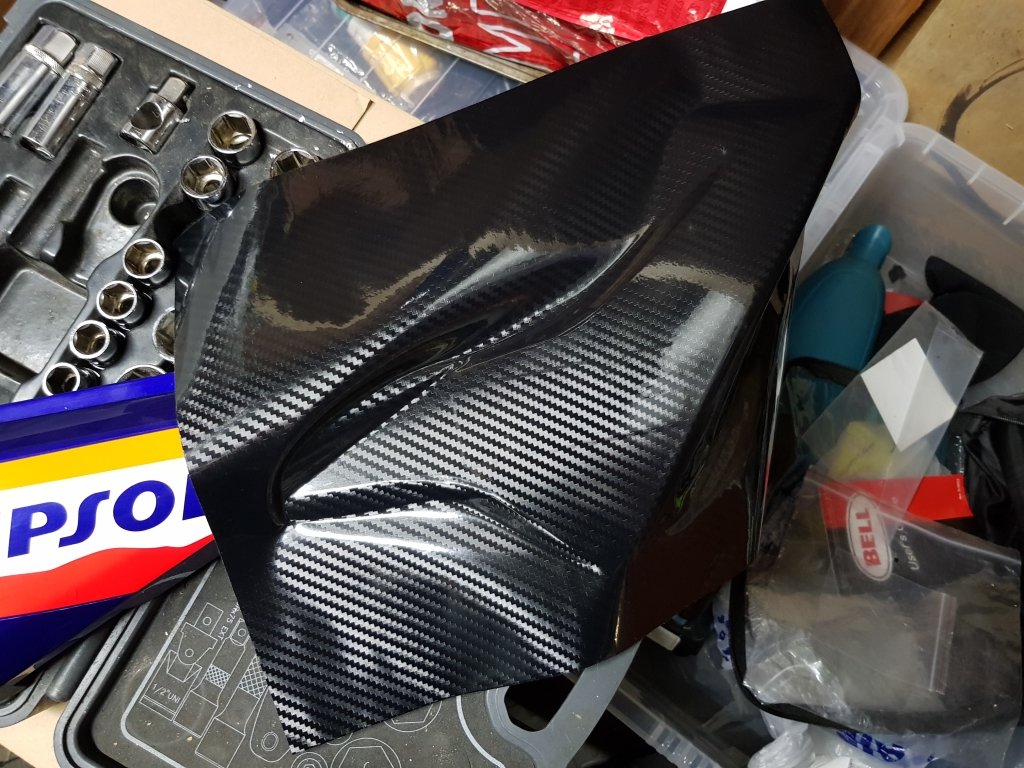
And, a few heat gun applications, some relief cutting, and a bit of stretching and folding later, I had this! I was quite pleased with this, and only had a couple of issues to deal with:
1 - The cutting of the edge along the painted panel was nerve-wracking, as I was using a craft knife to try and get into the edge.
2 - The fairing bolt hole needed quite a bit of relief cutting, and was not as tidy as I would like - However, its hidden under a bolt
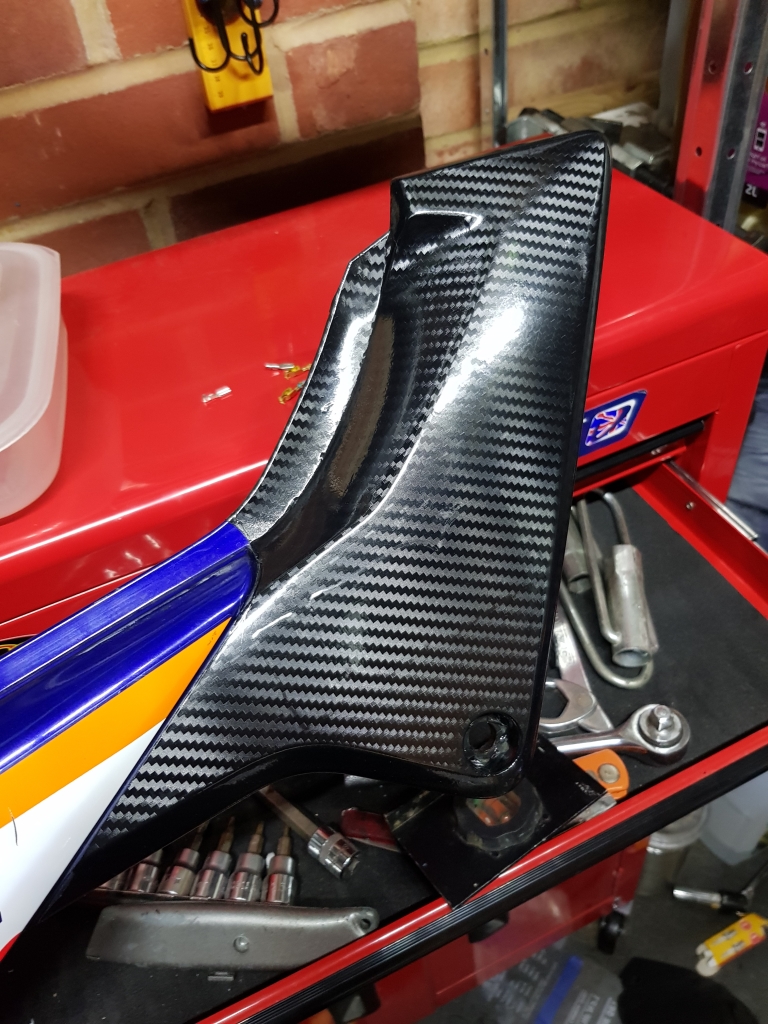
Closeup
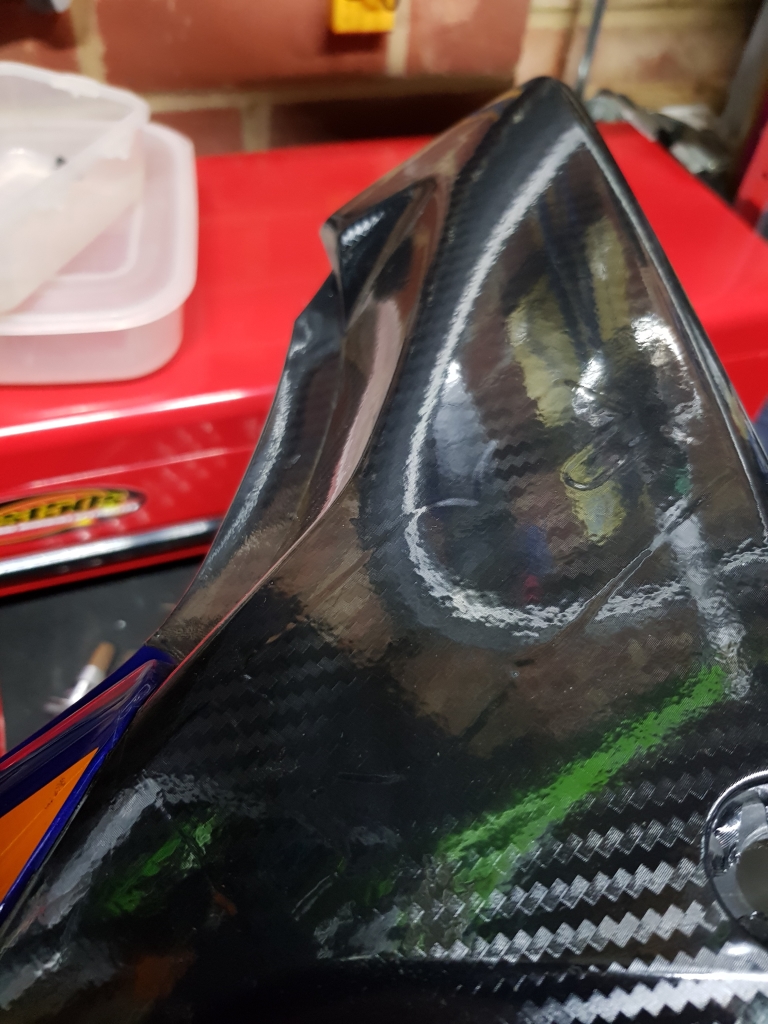
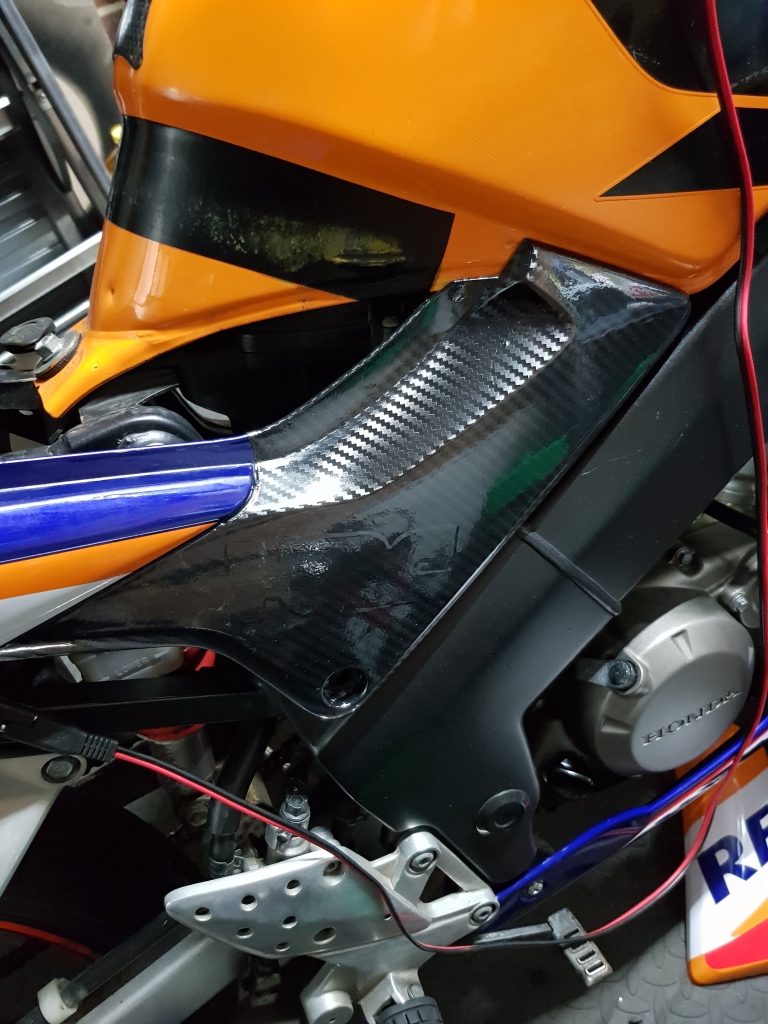
Loosely back on the bike.
I think I can do a better job next time having done this, and I also had a go with an offcut (so it was a bit dirty on the backside causing some imperfections) on a small trim part to see how I might go about doing more complicated parts, where using more than 1 bit of the wrap would be more practical..
I think this will work ok, and I will upwrap, and re-wrap this part later when I have more time and patience to see how it will work in these areas!
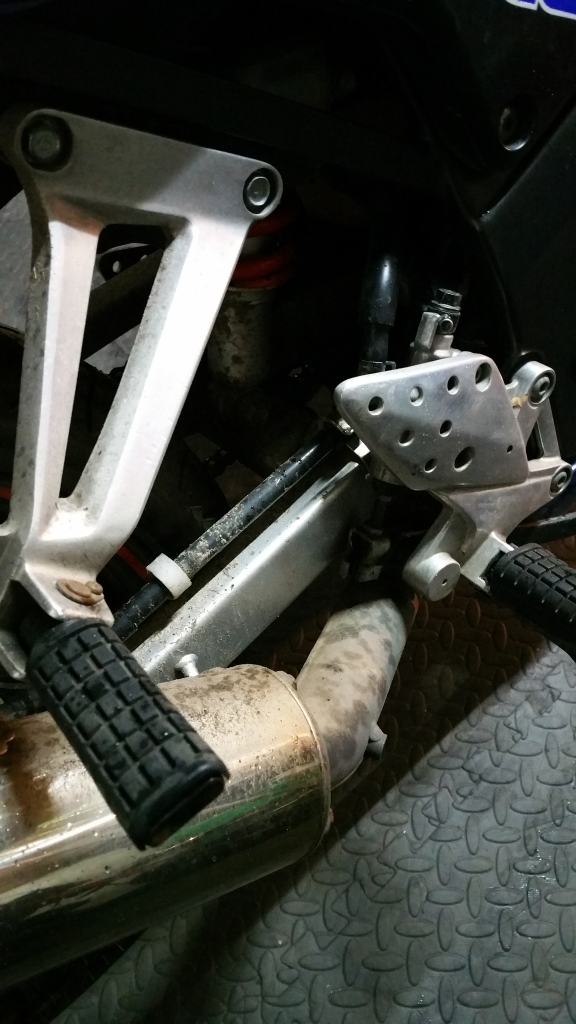
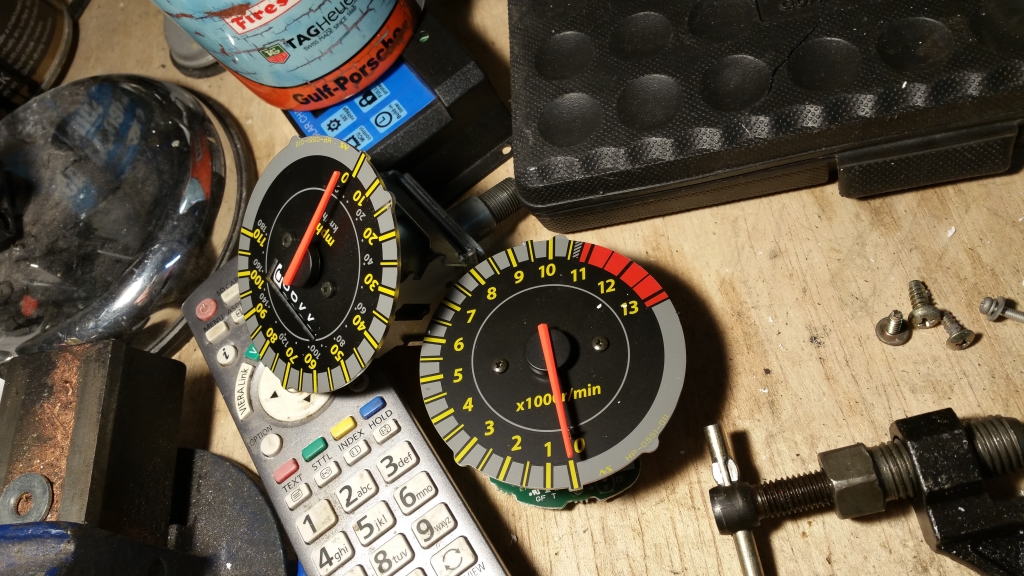
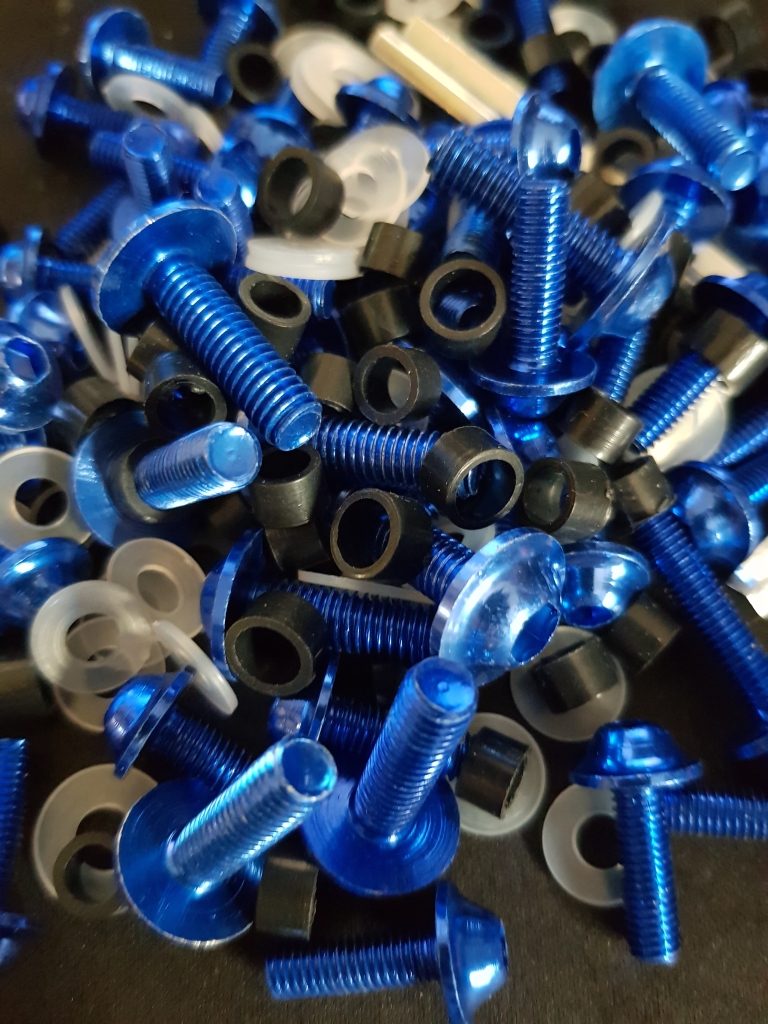
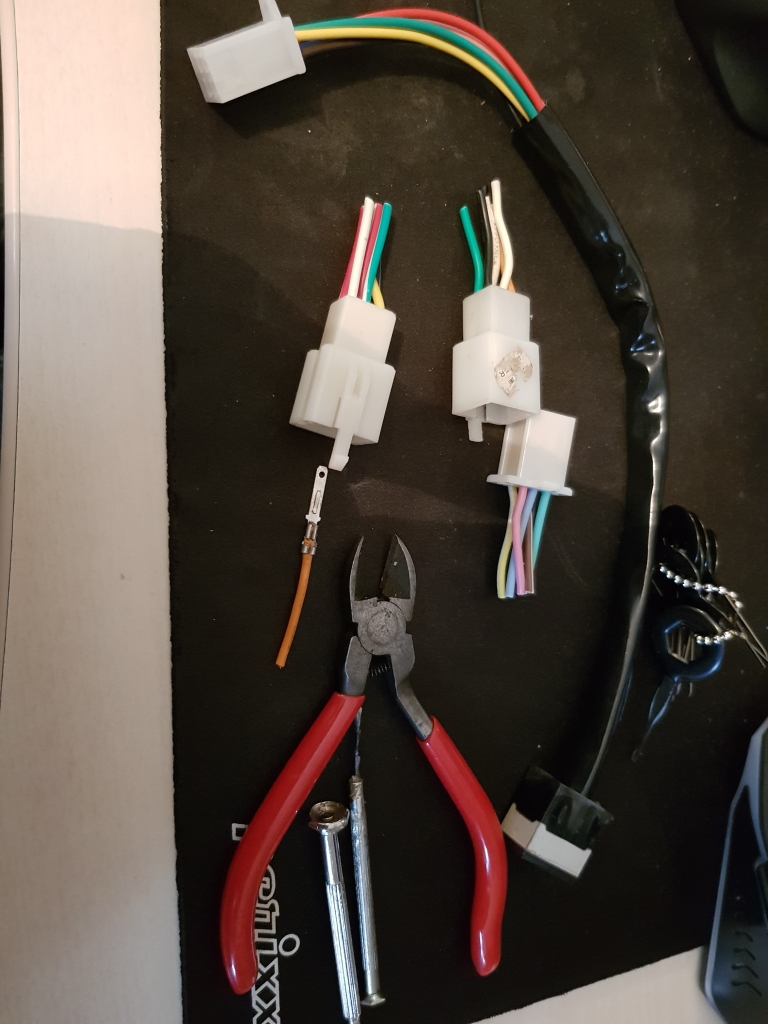
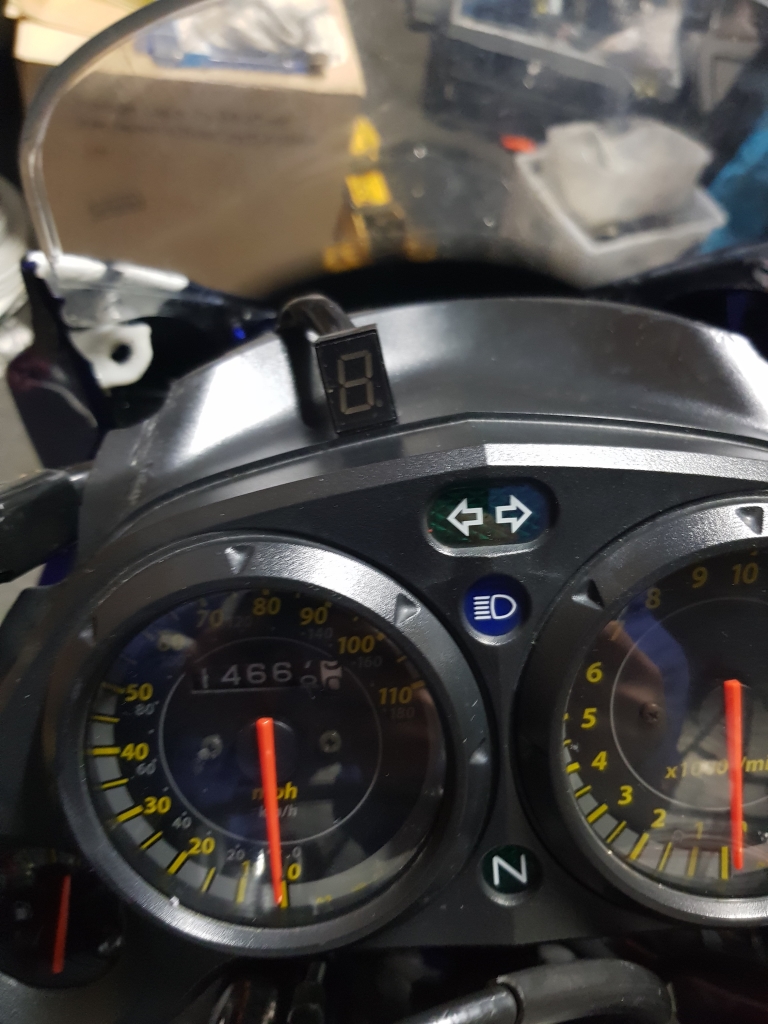
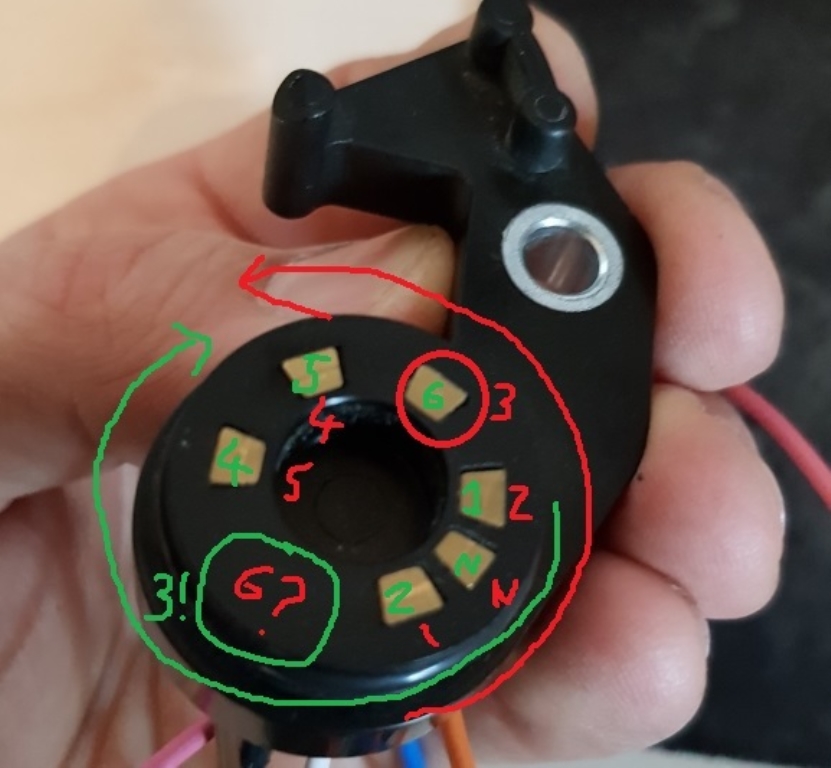
next up is to tidy up my new wiring a bit, shorten the cables, and make it look as stock as possible, then I want to see about adding a couple of things to the dash. Mainly a clock of some sort, and hopefully a gear indicator also! I think it makes sense to try these things whilst the bike is back in bits at the front again. I also want my fairing bolt kit to turn up from China so I can get rid of all these mis-matched bolts!