Puts my TJ07 to shame. I was recently thinking that I might get a new case for my next build (one with easier cable management) but looking at this I'm not so sure. How would one go about getting some custom grilles like these?
You are using an out of date browser. It may not display this or other websites correctly.
You should upgrade or use an alternative browser.
You should upgrade or use an alternative browser.
[Buildlog] GAME HARD, FOLD HARDER
- Thread starter Hukkel
- Start date
More options
Thread starter's postsSoldato
- Joined
- 7 Mar 2013
- Posts
- 3,321
- Location
- Caistor
Any updates recently?
Can't wait for the final look of my favorite color theme!!!
Can't wait for the final look of my favorite color theme!!!
I am in kind of a rush tonight sorry guys.
I want to thank all of you guys for your positive reactions since my last update. It makes doing this even more rewarding.
-------------------------------------------
Time for an update.
After many weeks of labour finally my attic is now the bedroom for my youngest daughter. She has left the babyroom and now has her own bedroom with floorspace to play with toys and such. And now sleeps in a big bed. My girls are getting big
On the bright side. Now I could finally start transforming her old babyroom into my stash and modifying / sleeving room
I put up my first (of 2 or 3) desks and finally took my baby home. I can now finally work on her much easier and faster. Room for storage, room for building, not having to clean up everything everytime.
I am in modding heaven
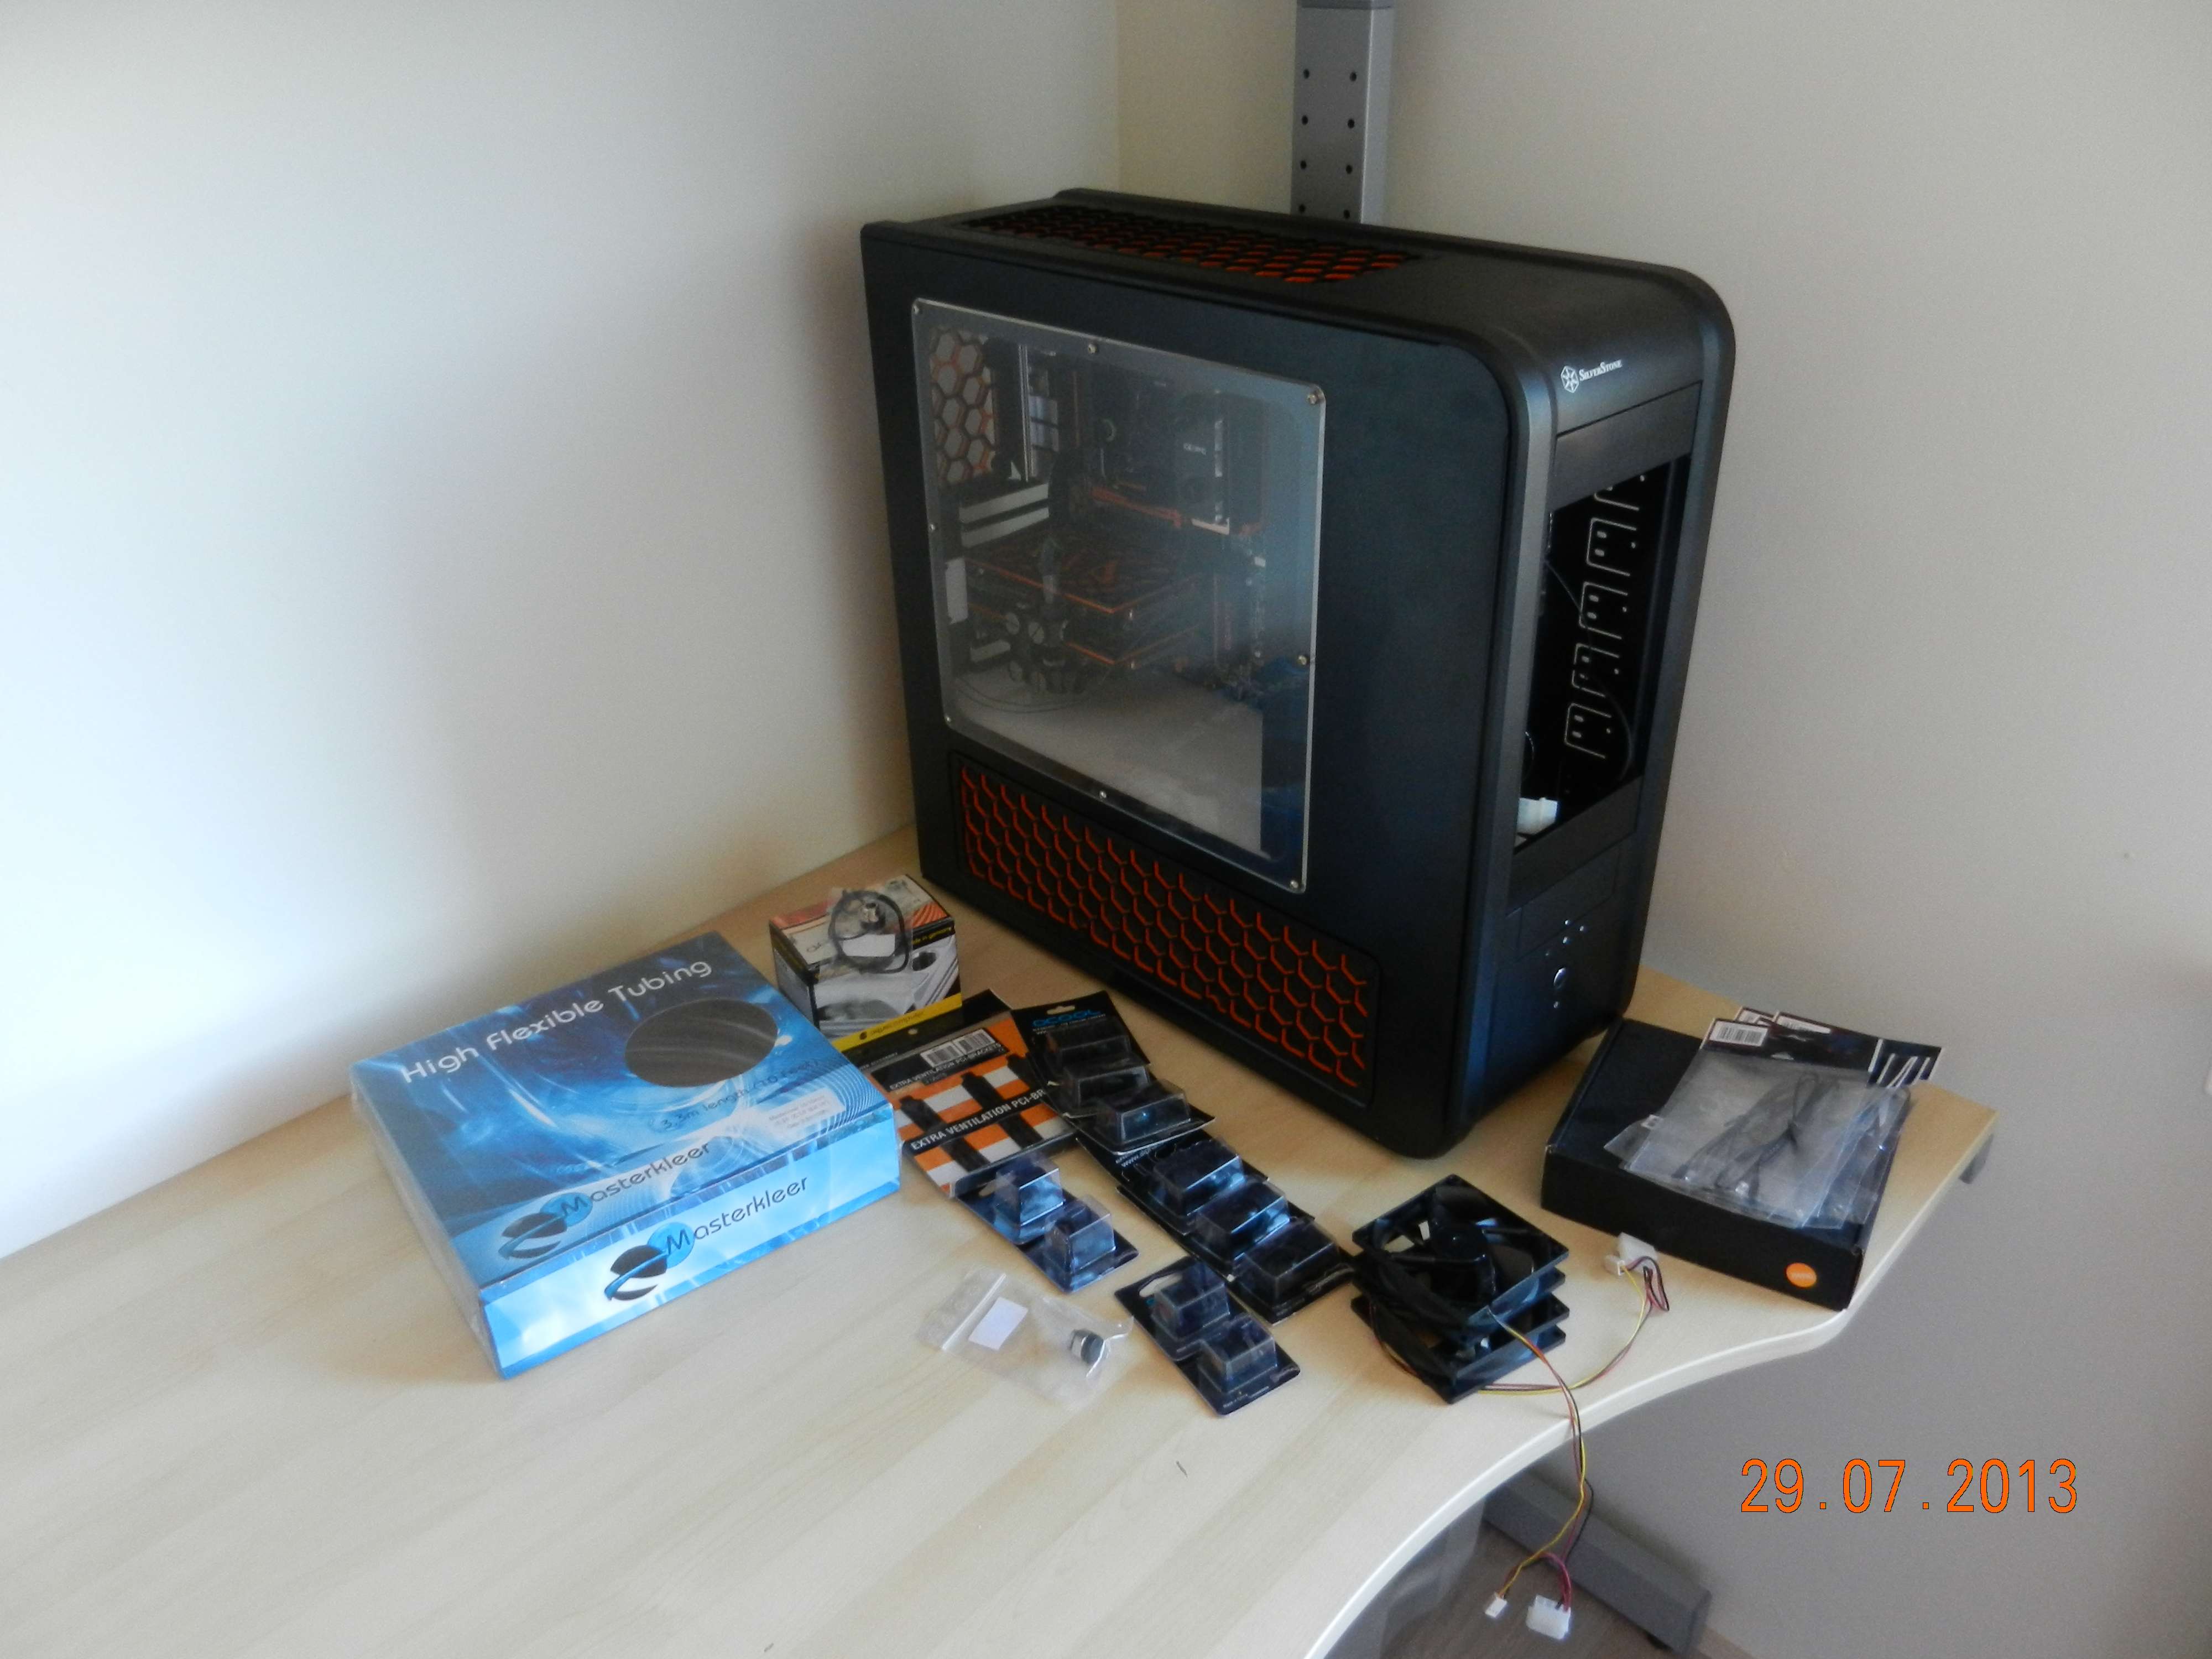
I have done some stuff on the build I forgot to take photos of. Here are a few things.
Last time I fitted my custom made extension cables for the fans. I now have no wiring in sight from the side. Al nicely tucked under the radiator stand Muderbox-style. Awesome design guys, I love it!
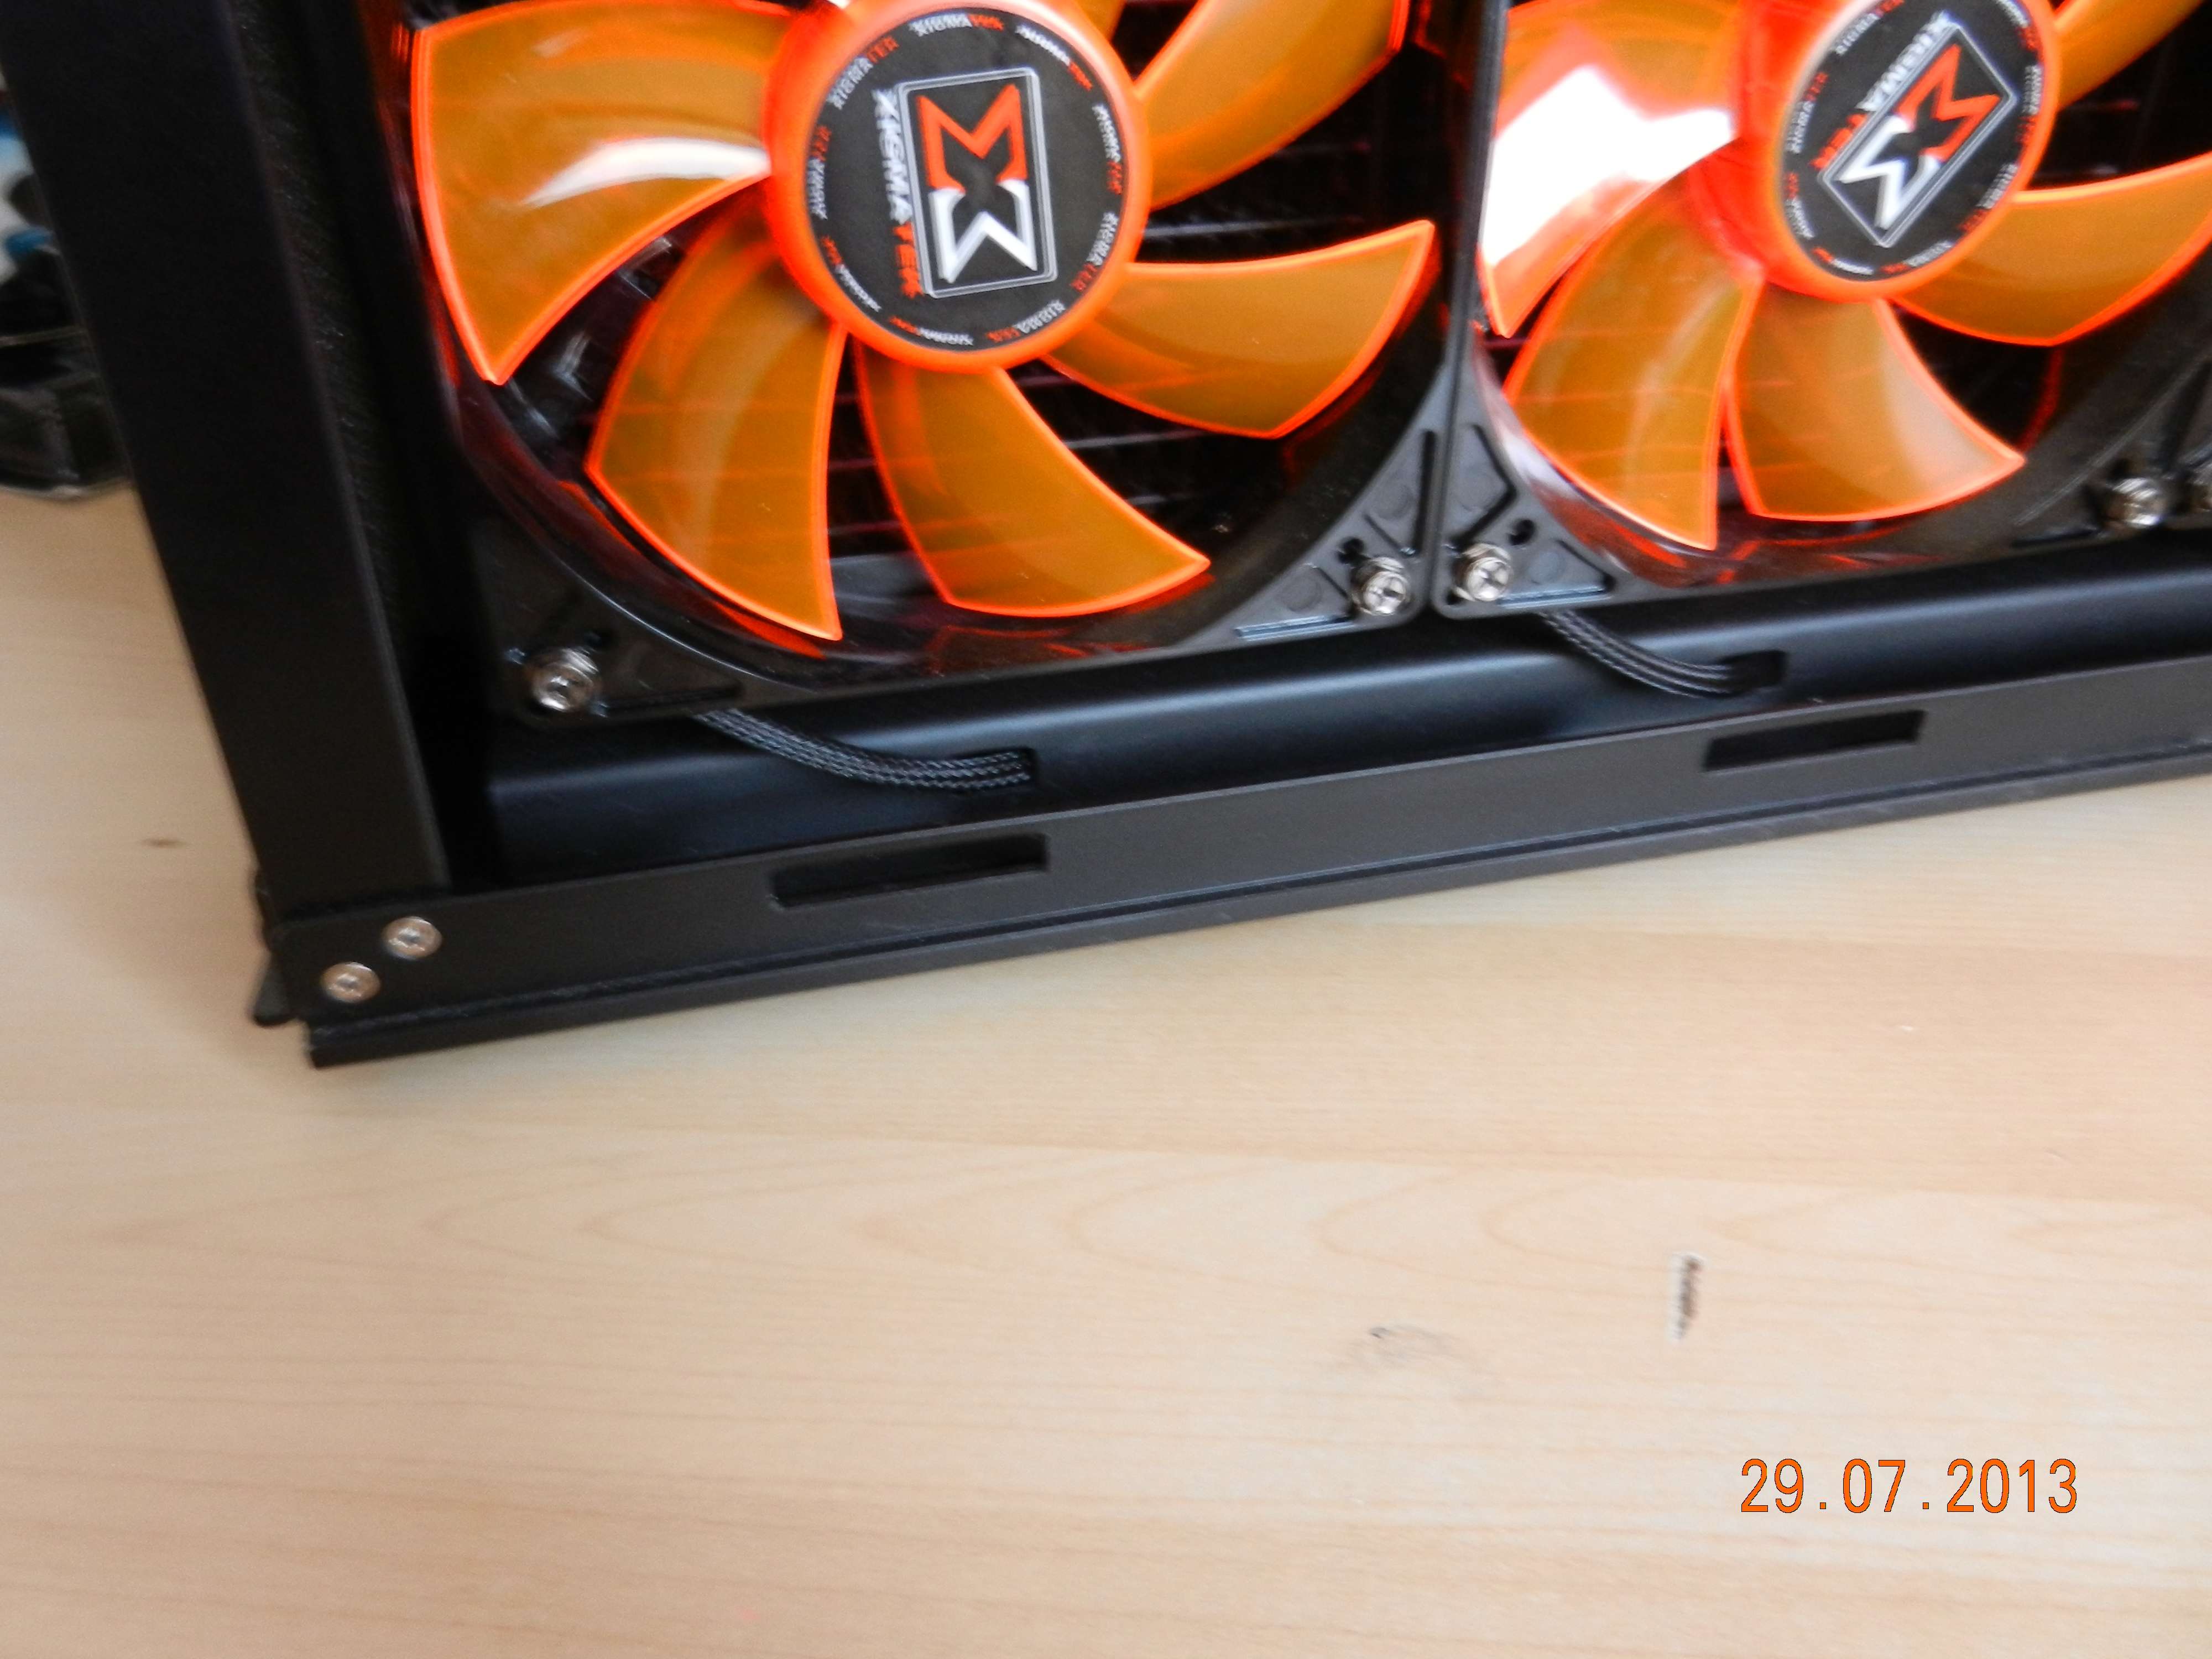

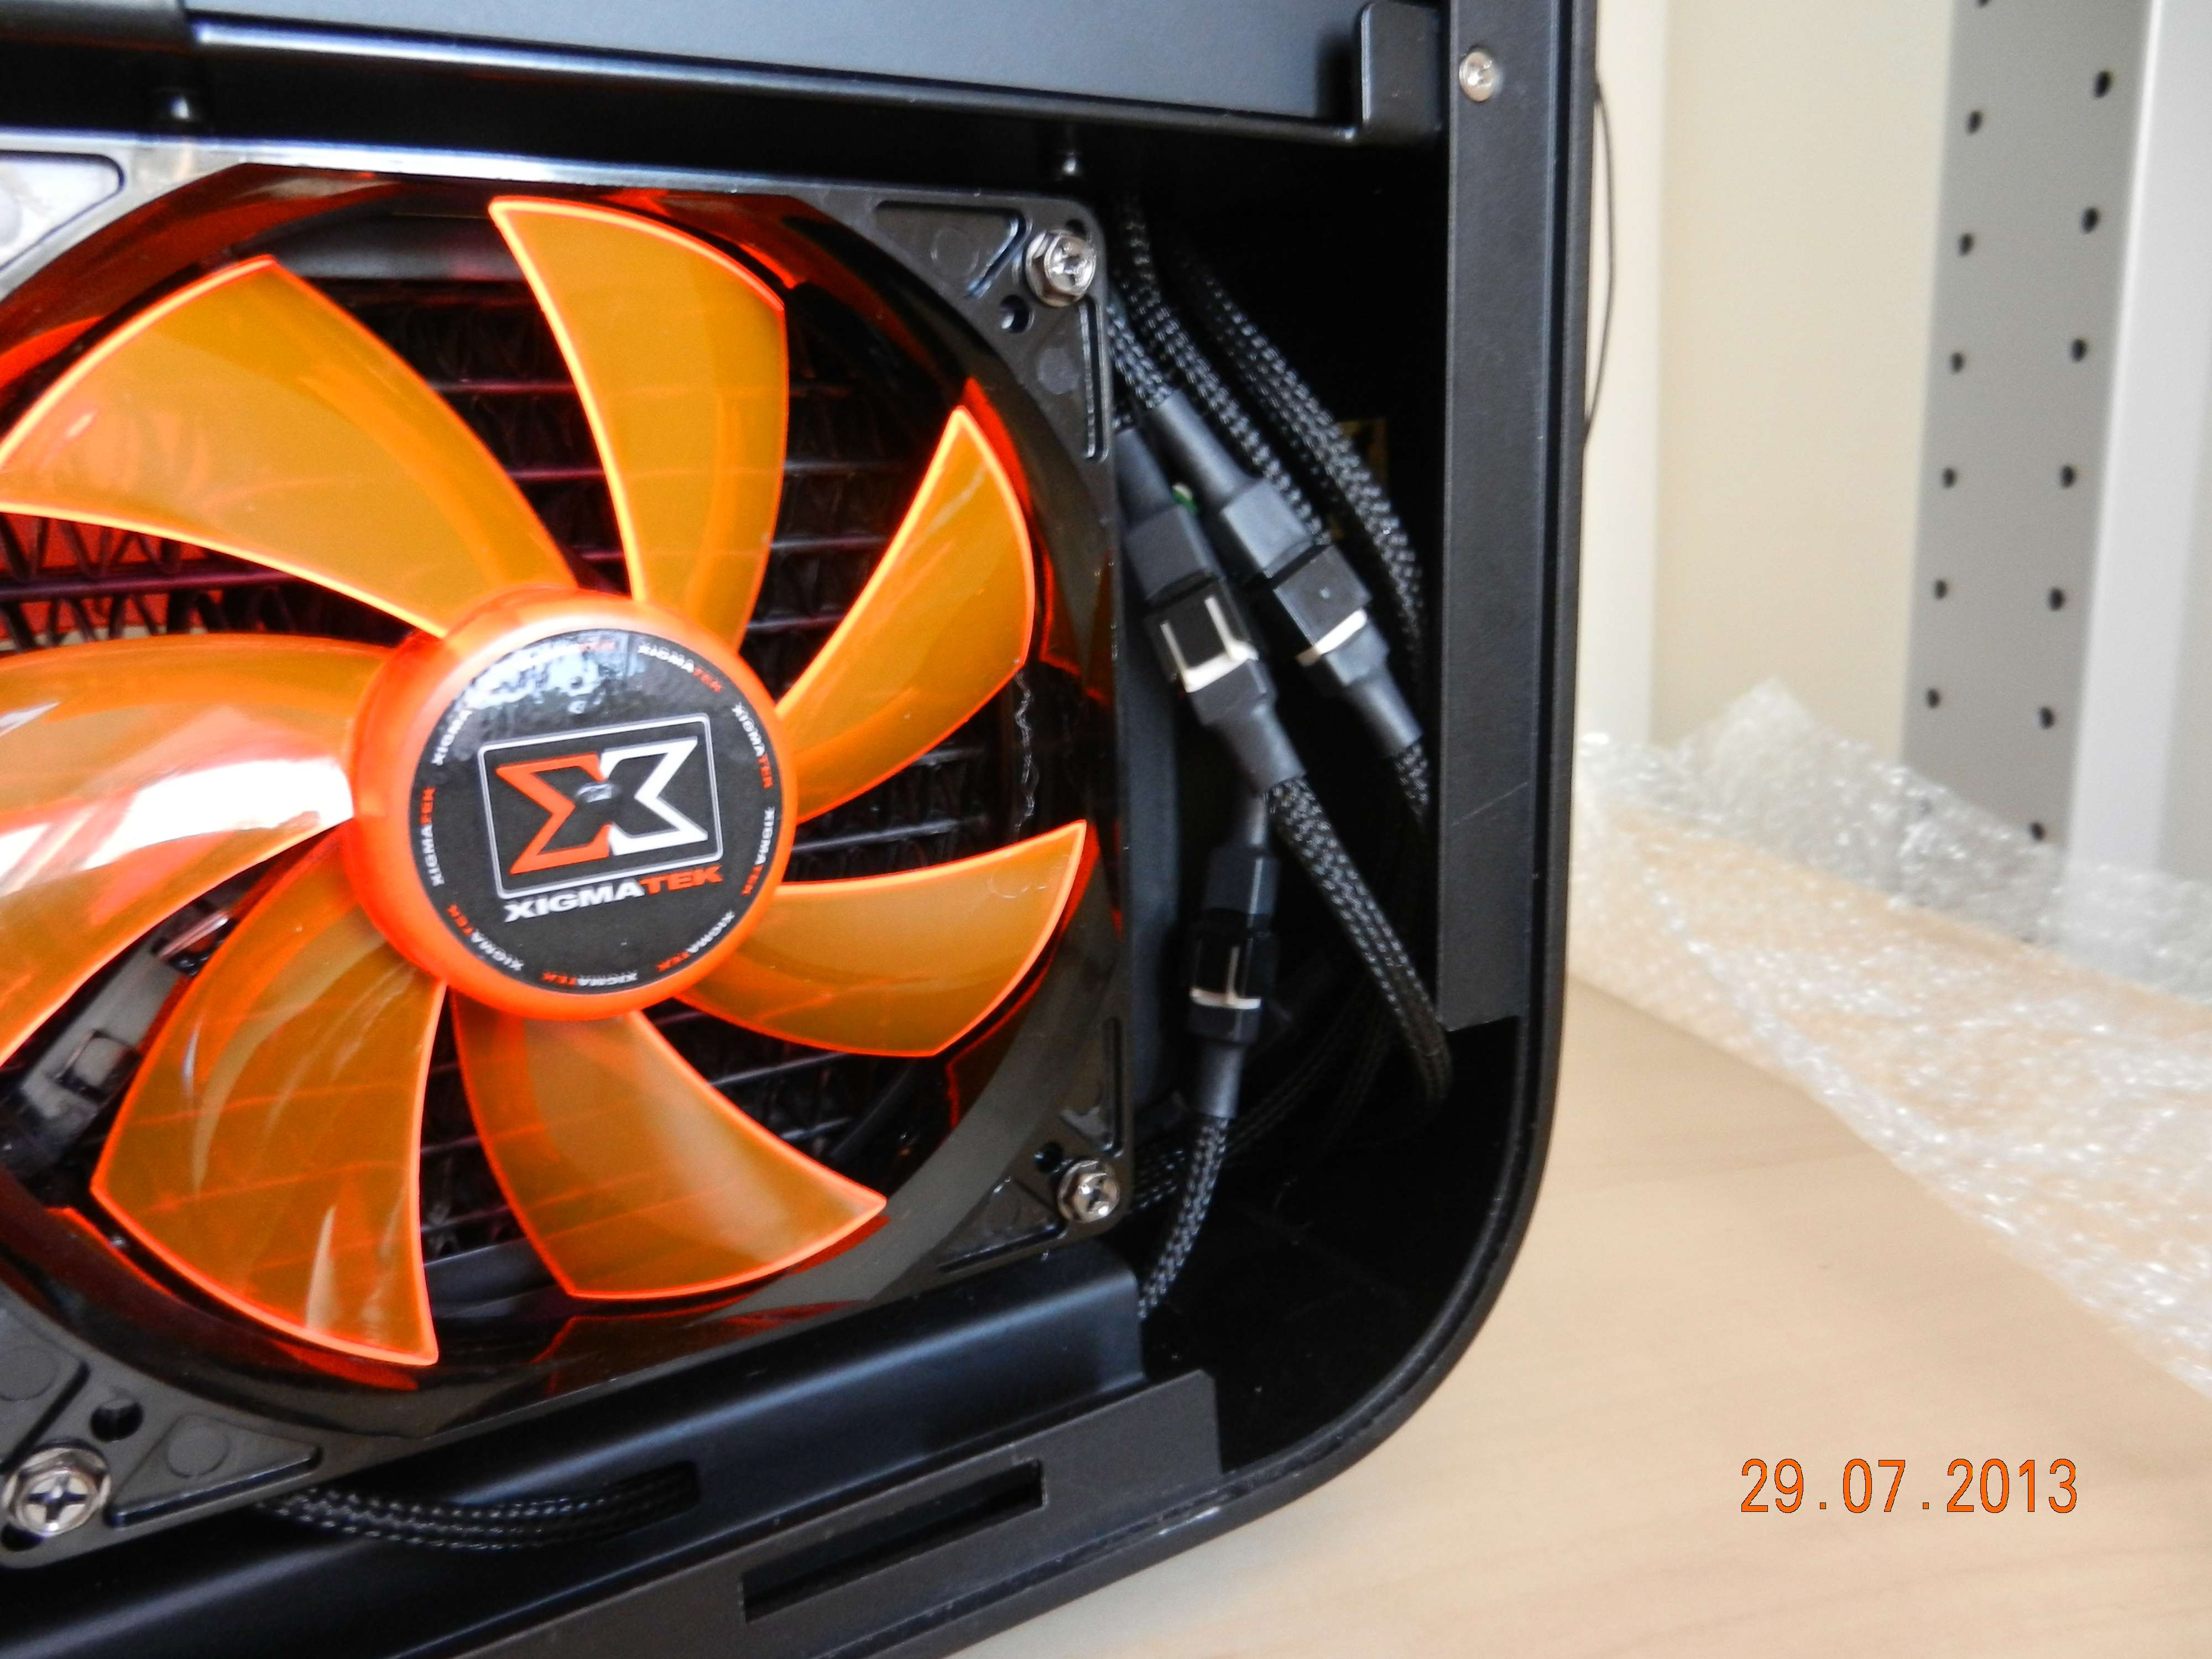
Now they all come up on the frontside of the case. You can still see some sleeved wiring there but I will make a small plate to hide them all.
They have been fitted to the fancontroller. As well as the 3 top fans. I need to do some cablemanagement but cannot find the cable-management-clips I bought a year ago. Poooooh. I need to find them
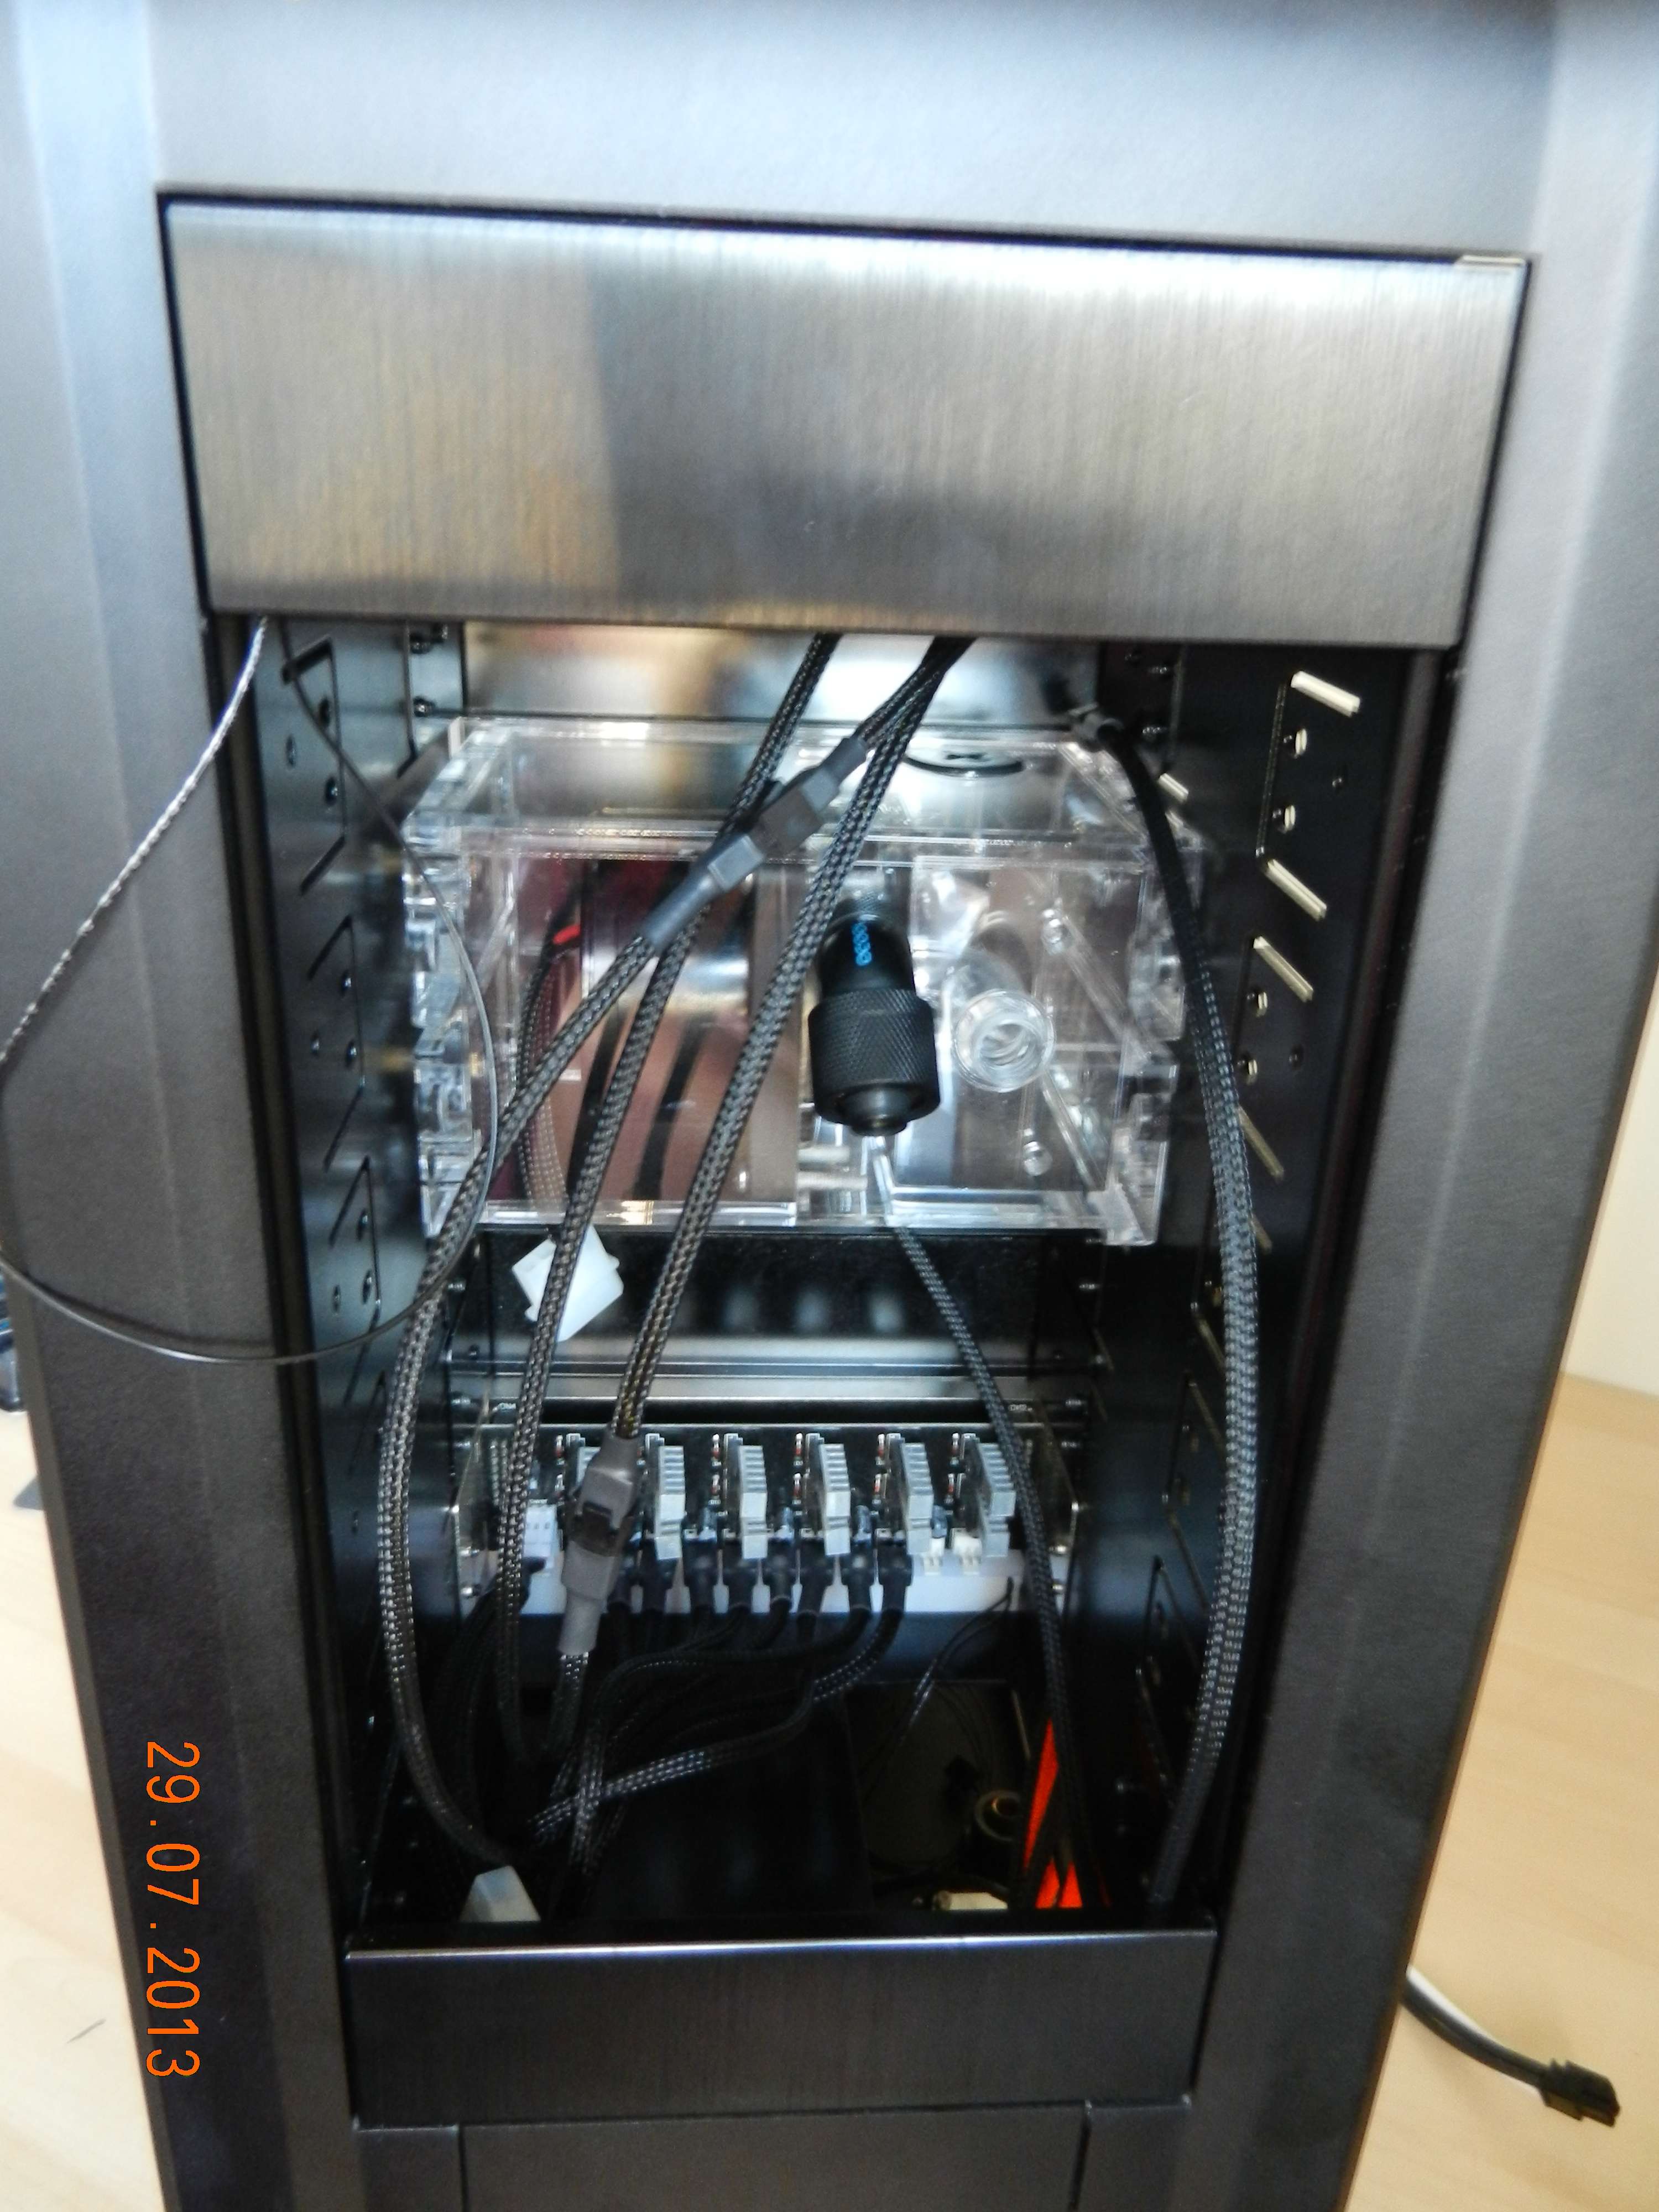
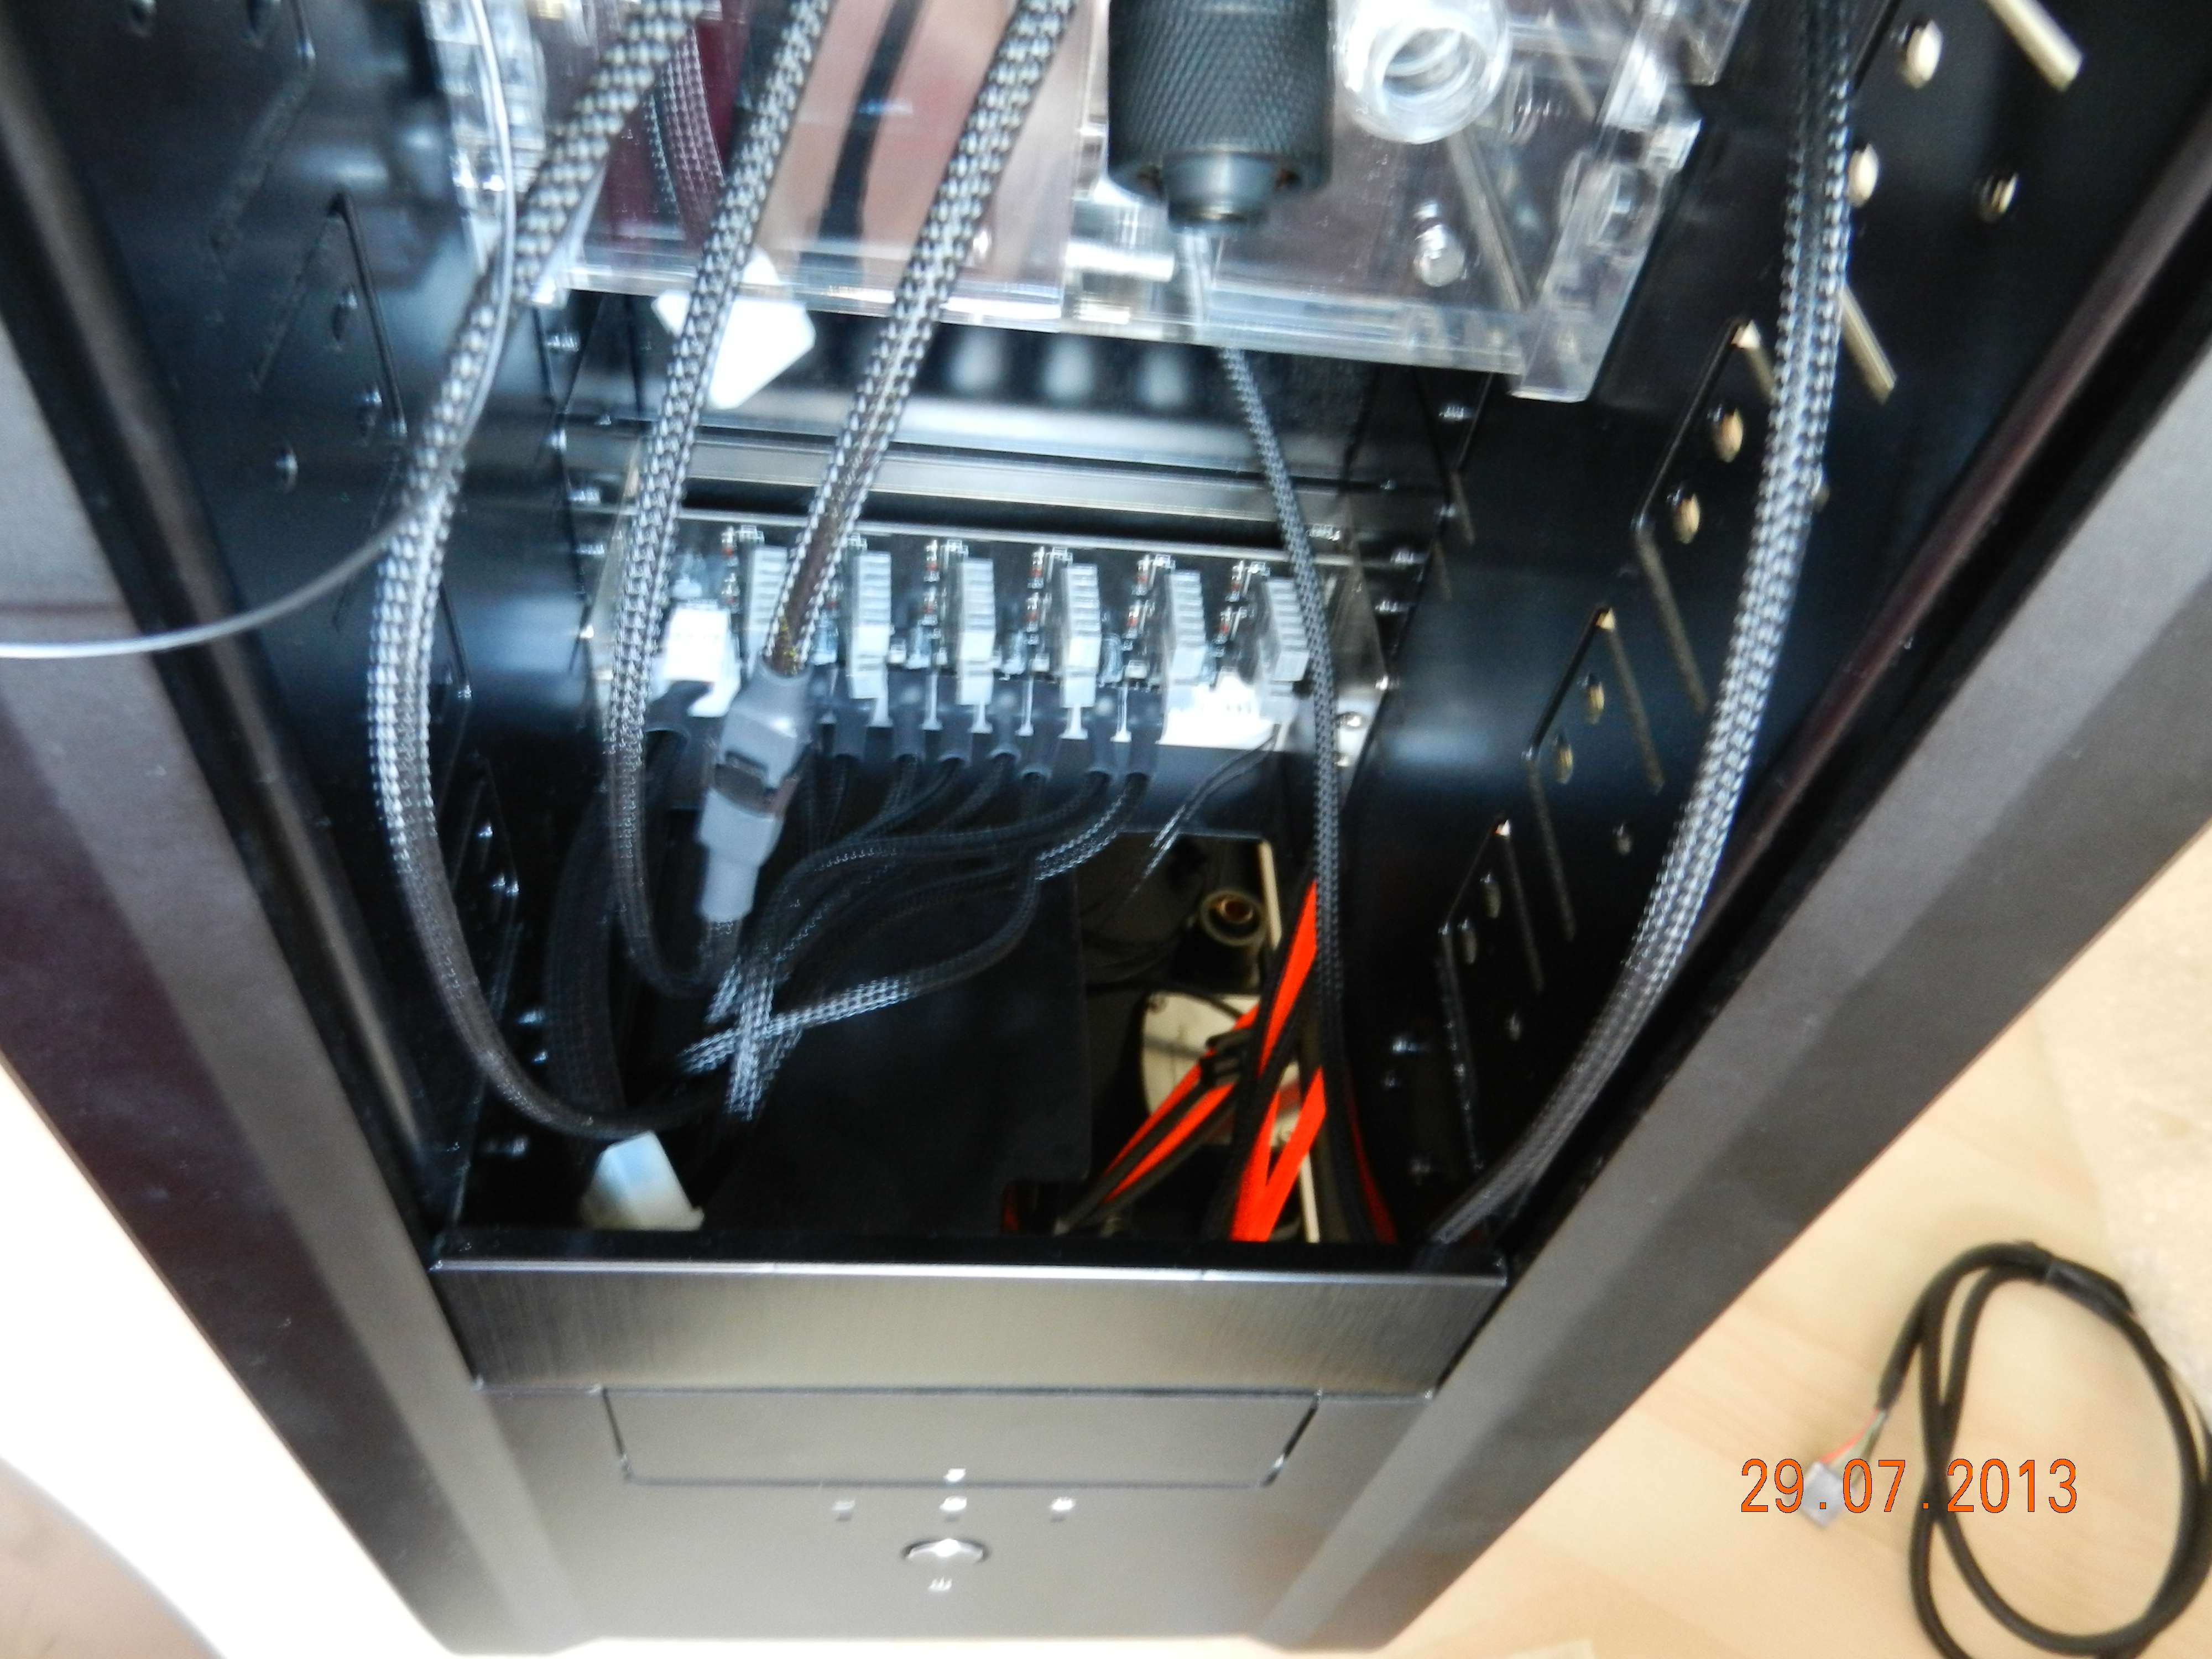
I also started figuring out the hose routing. Fitted some fittings to see if I have enough and the correct type.
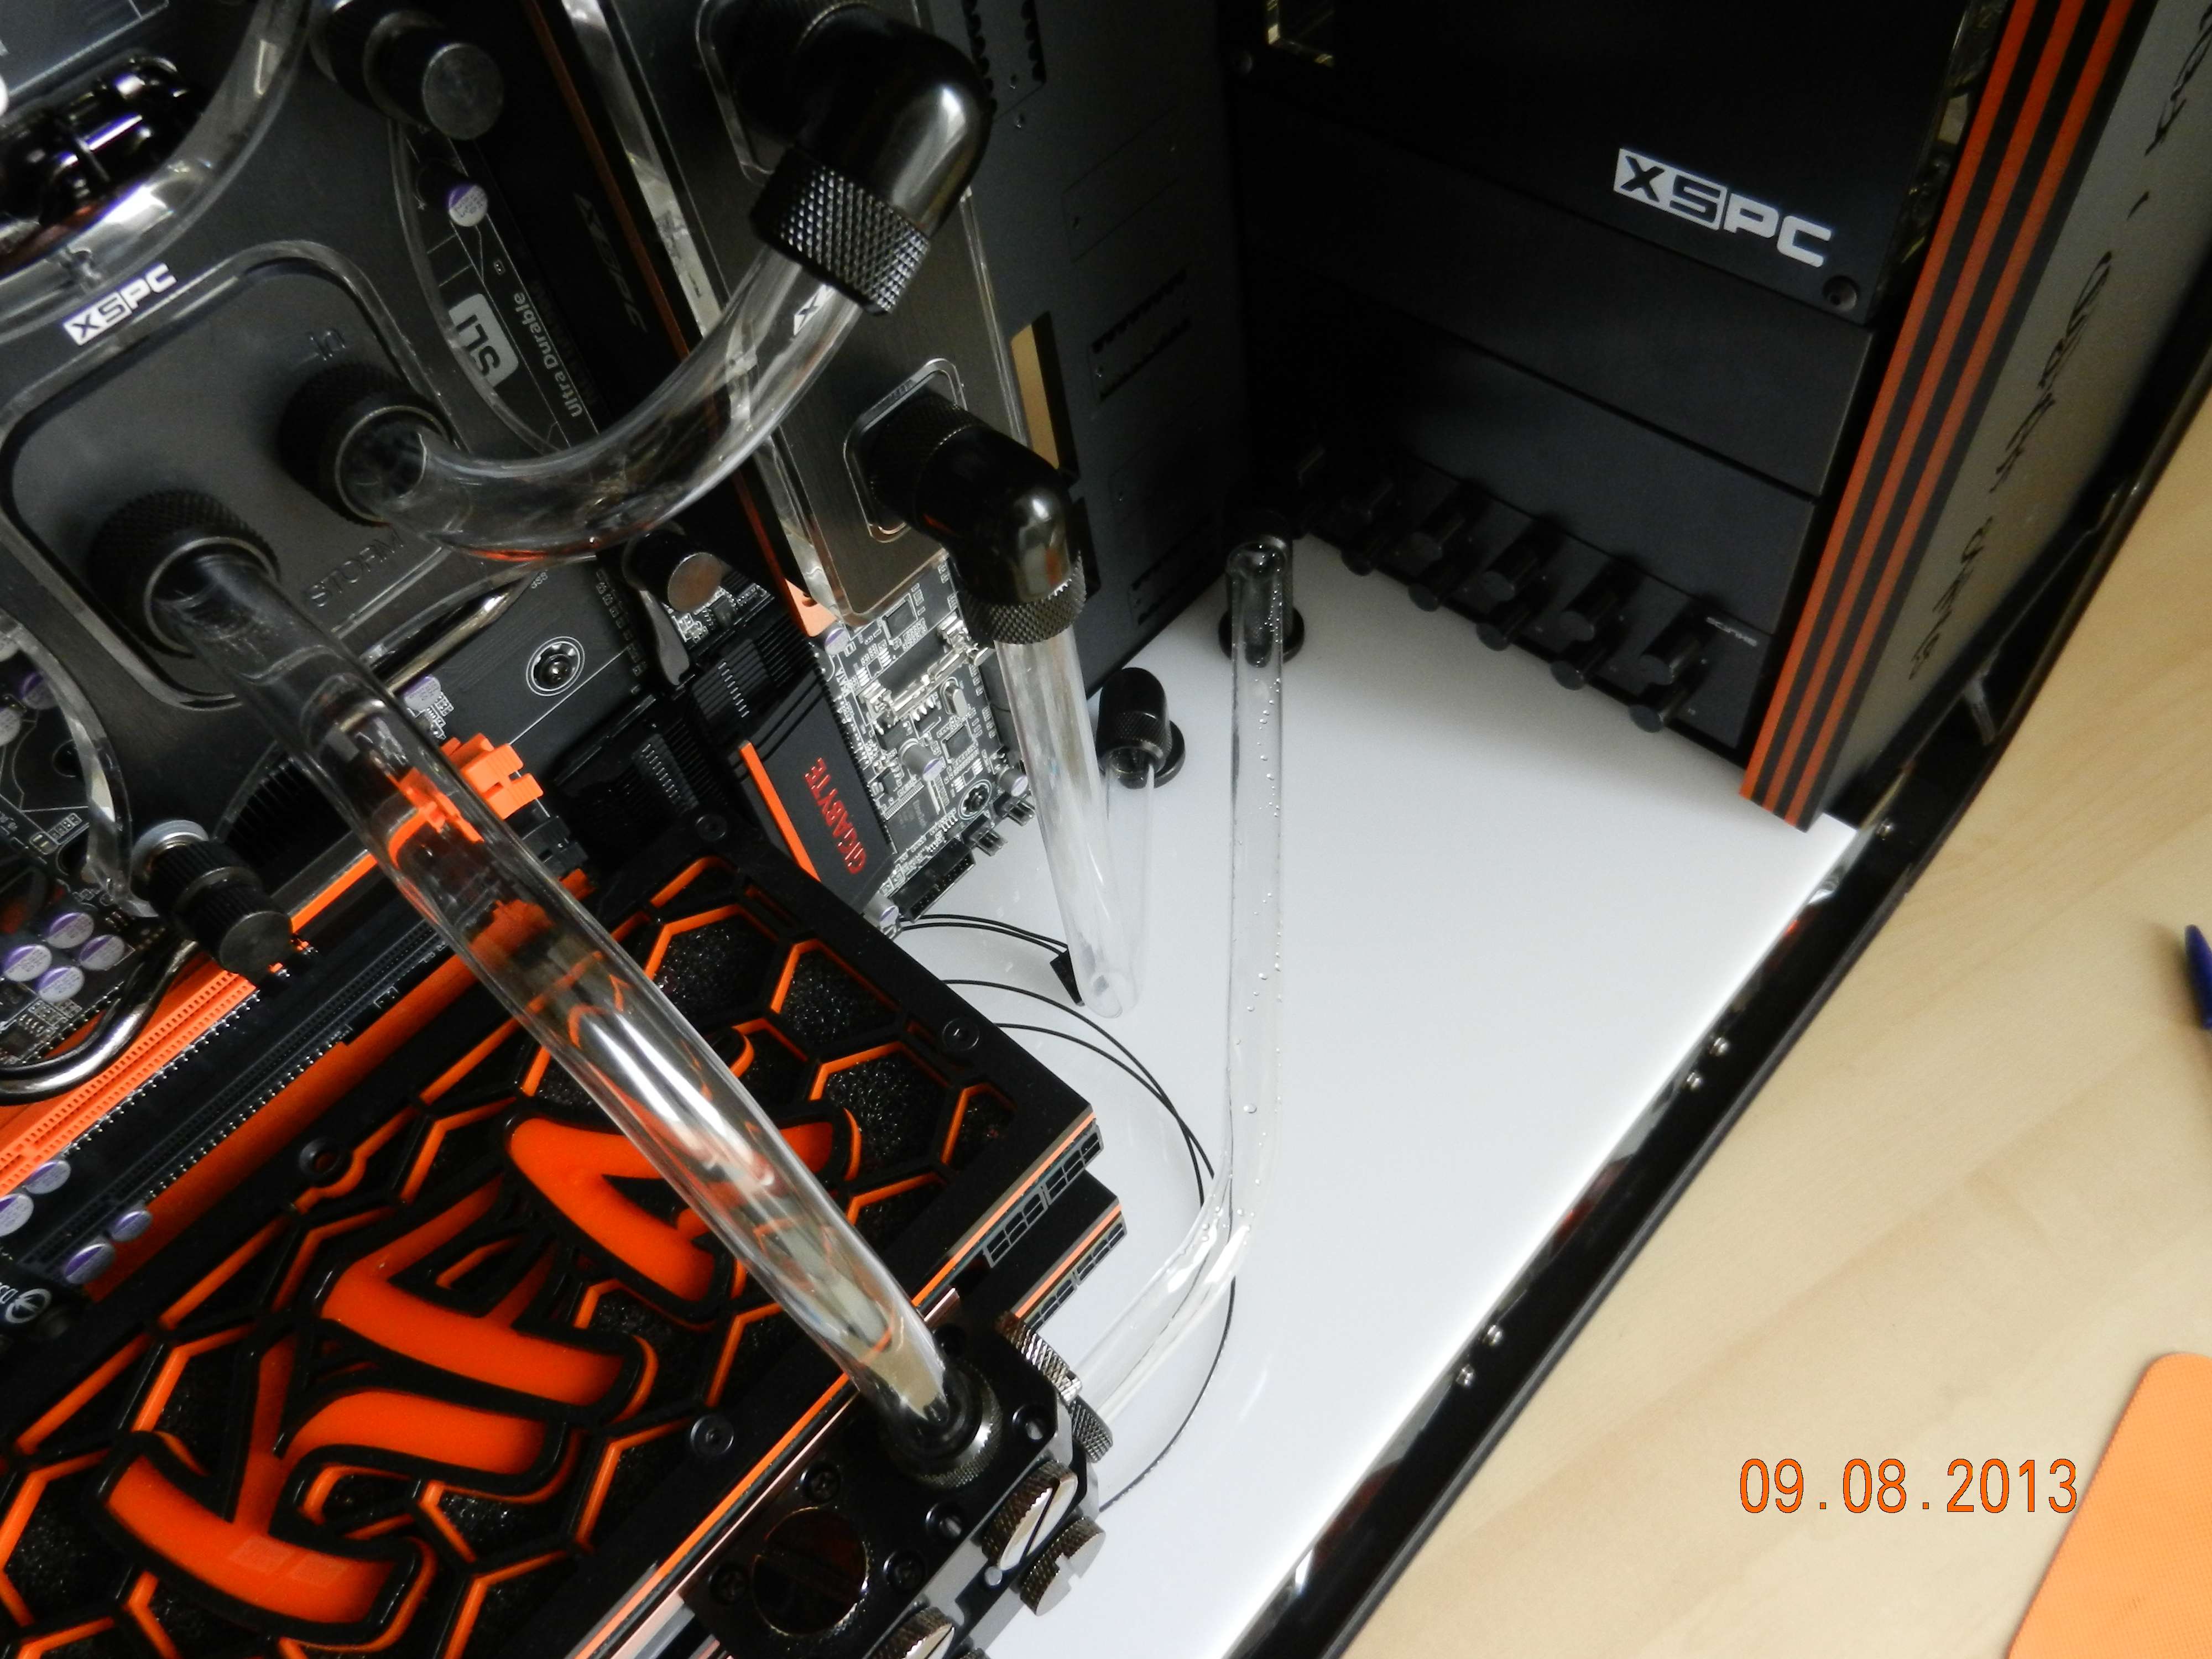
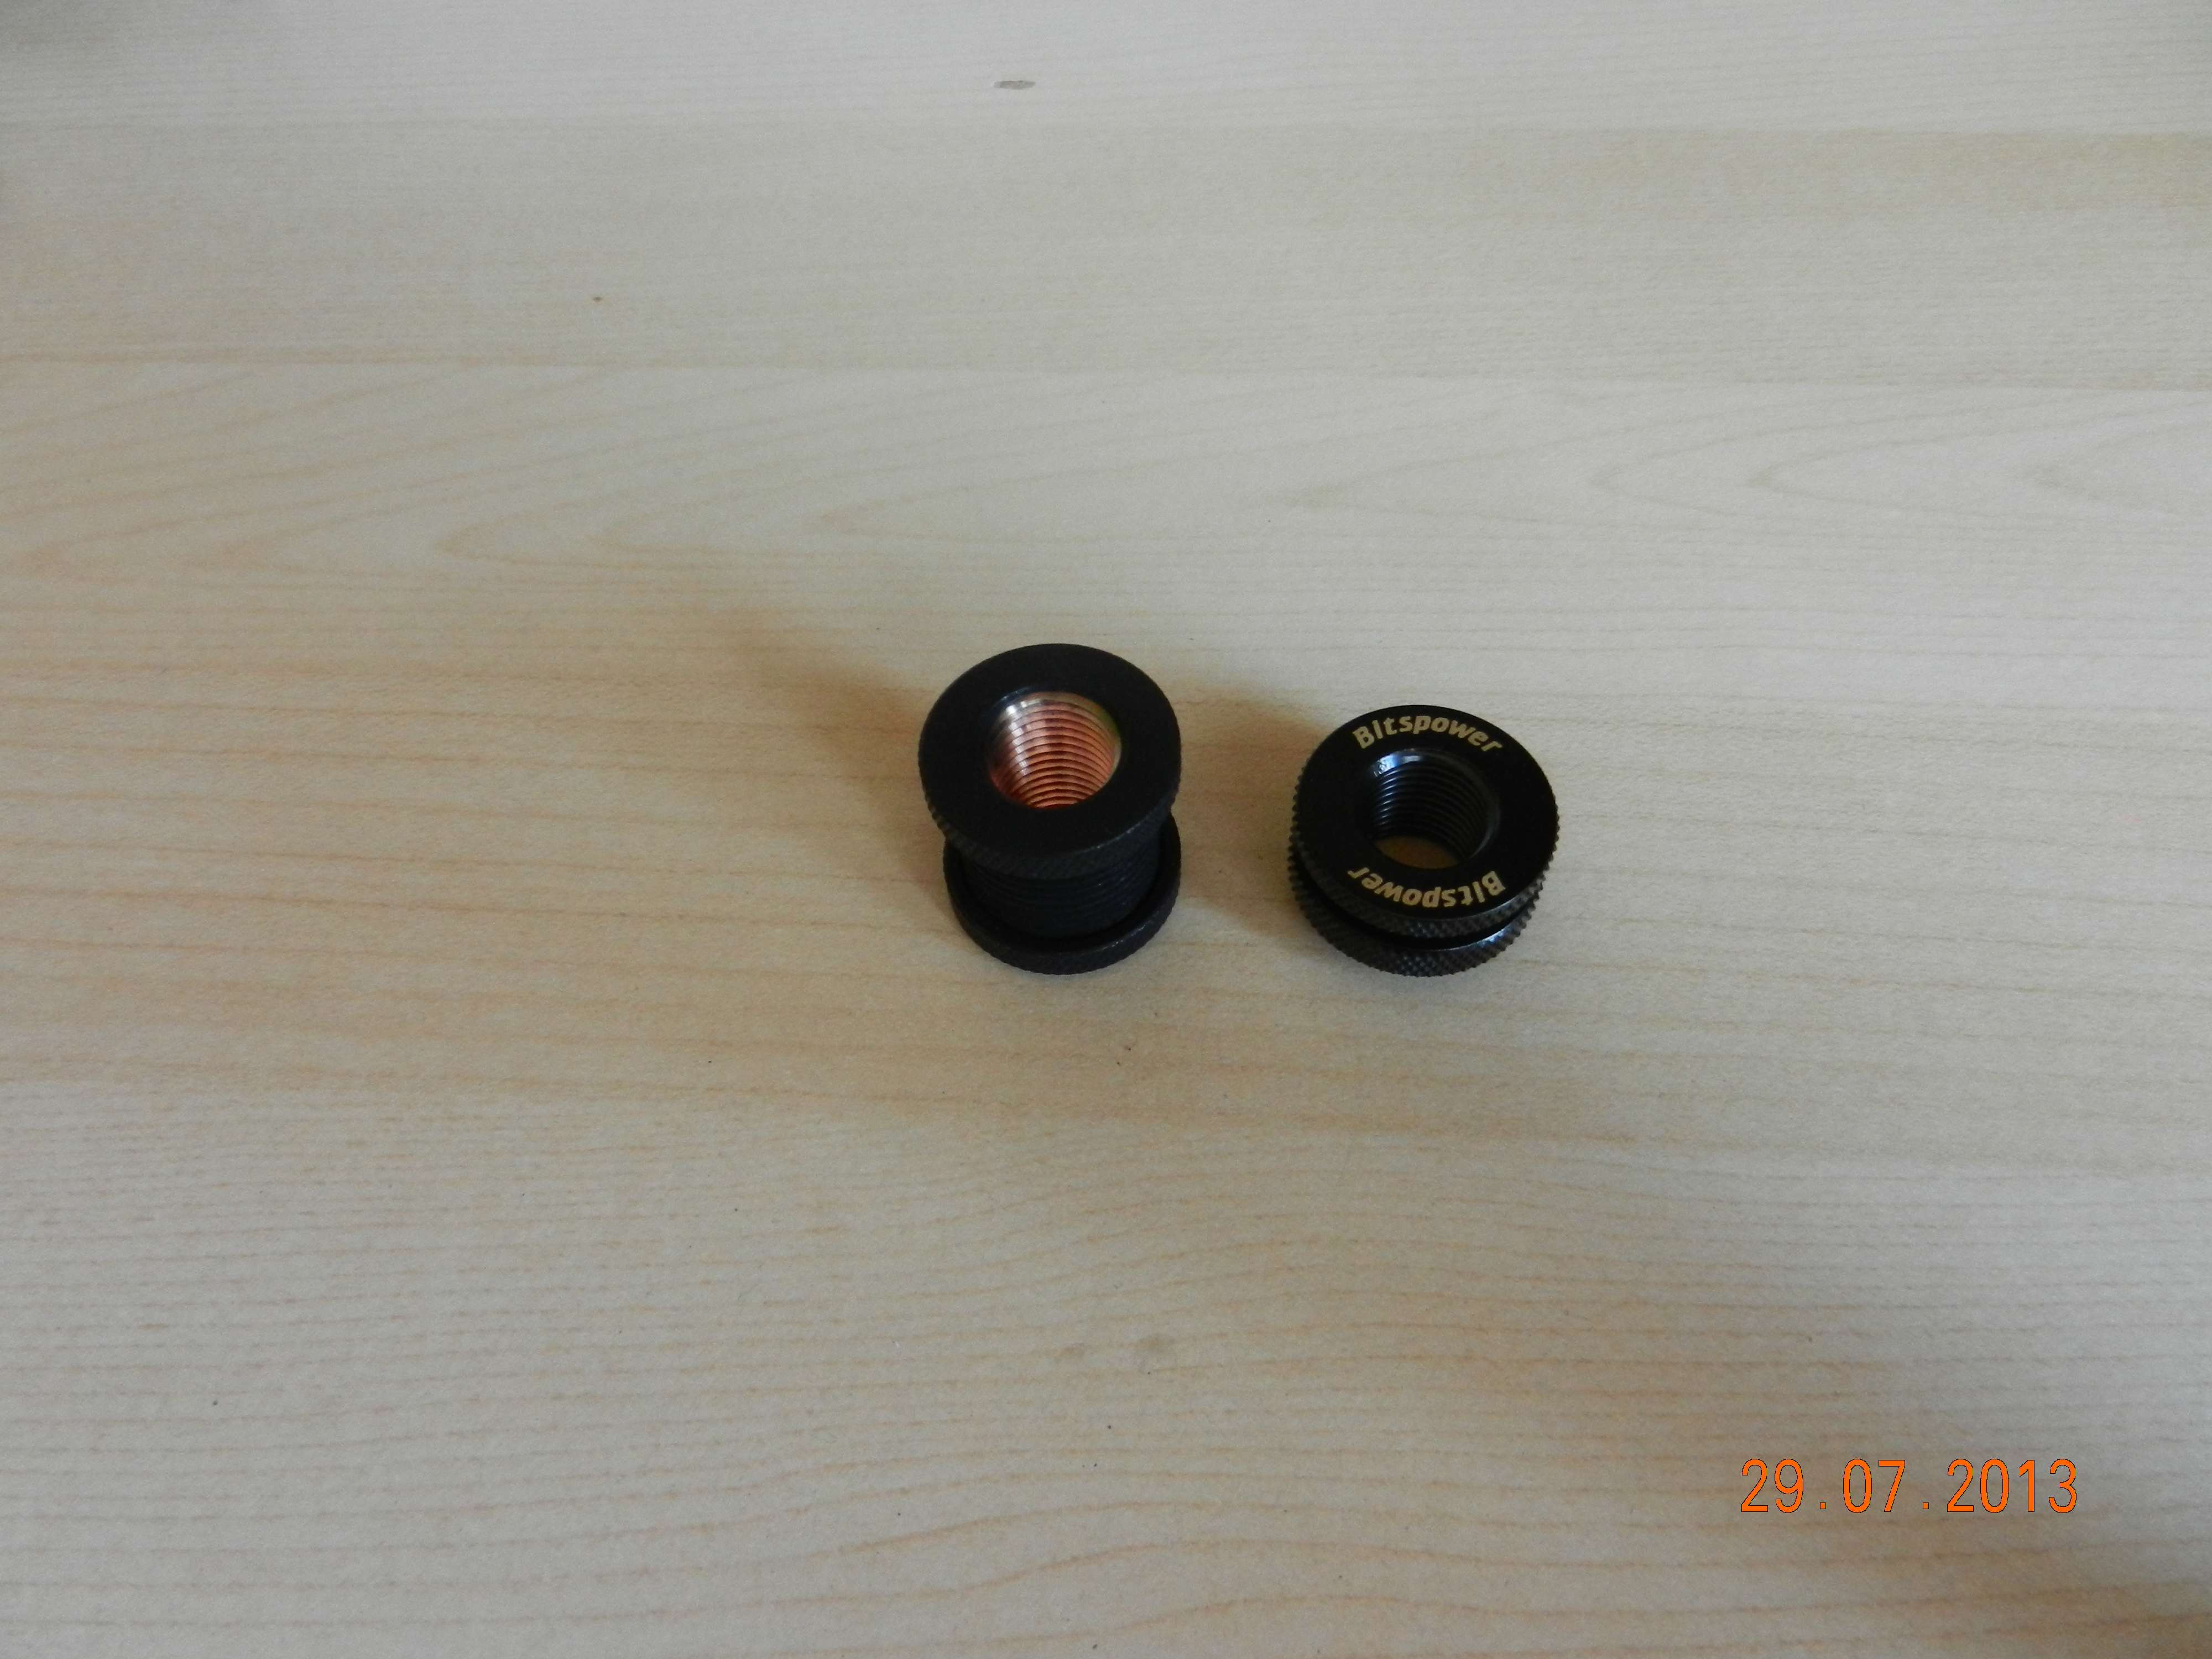
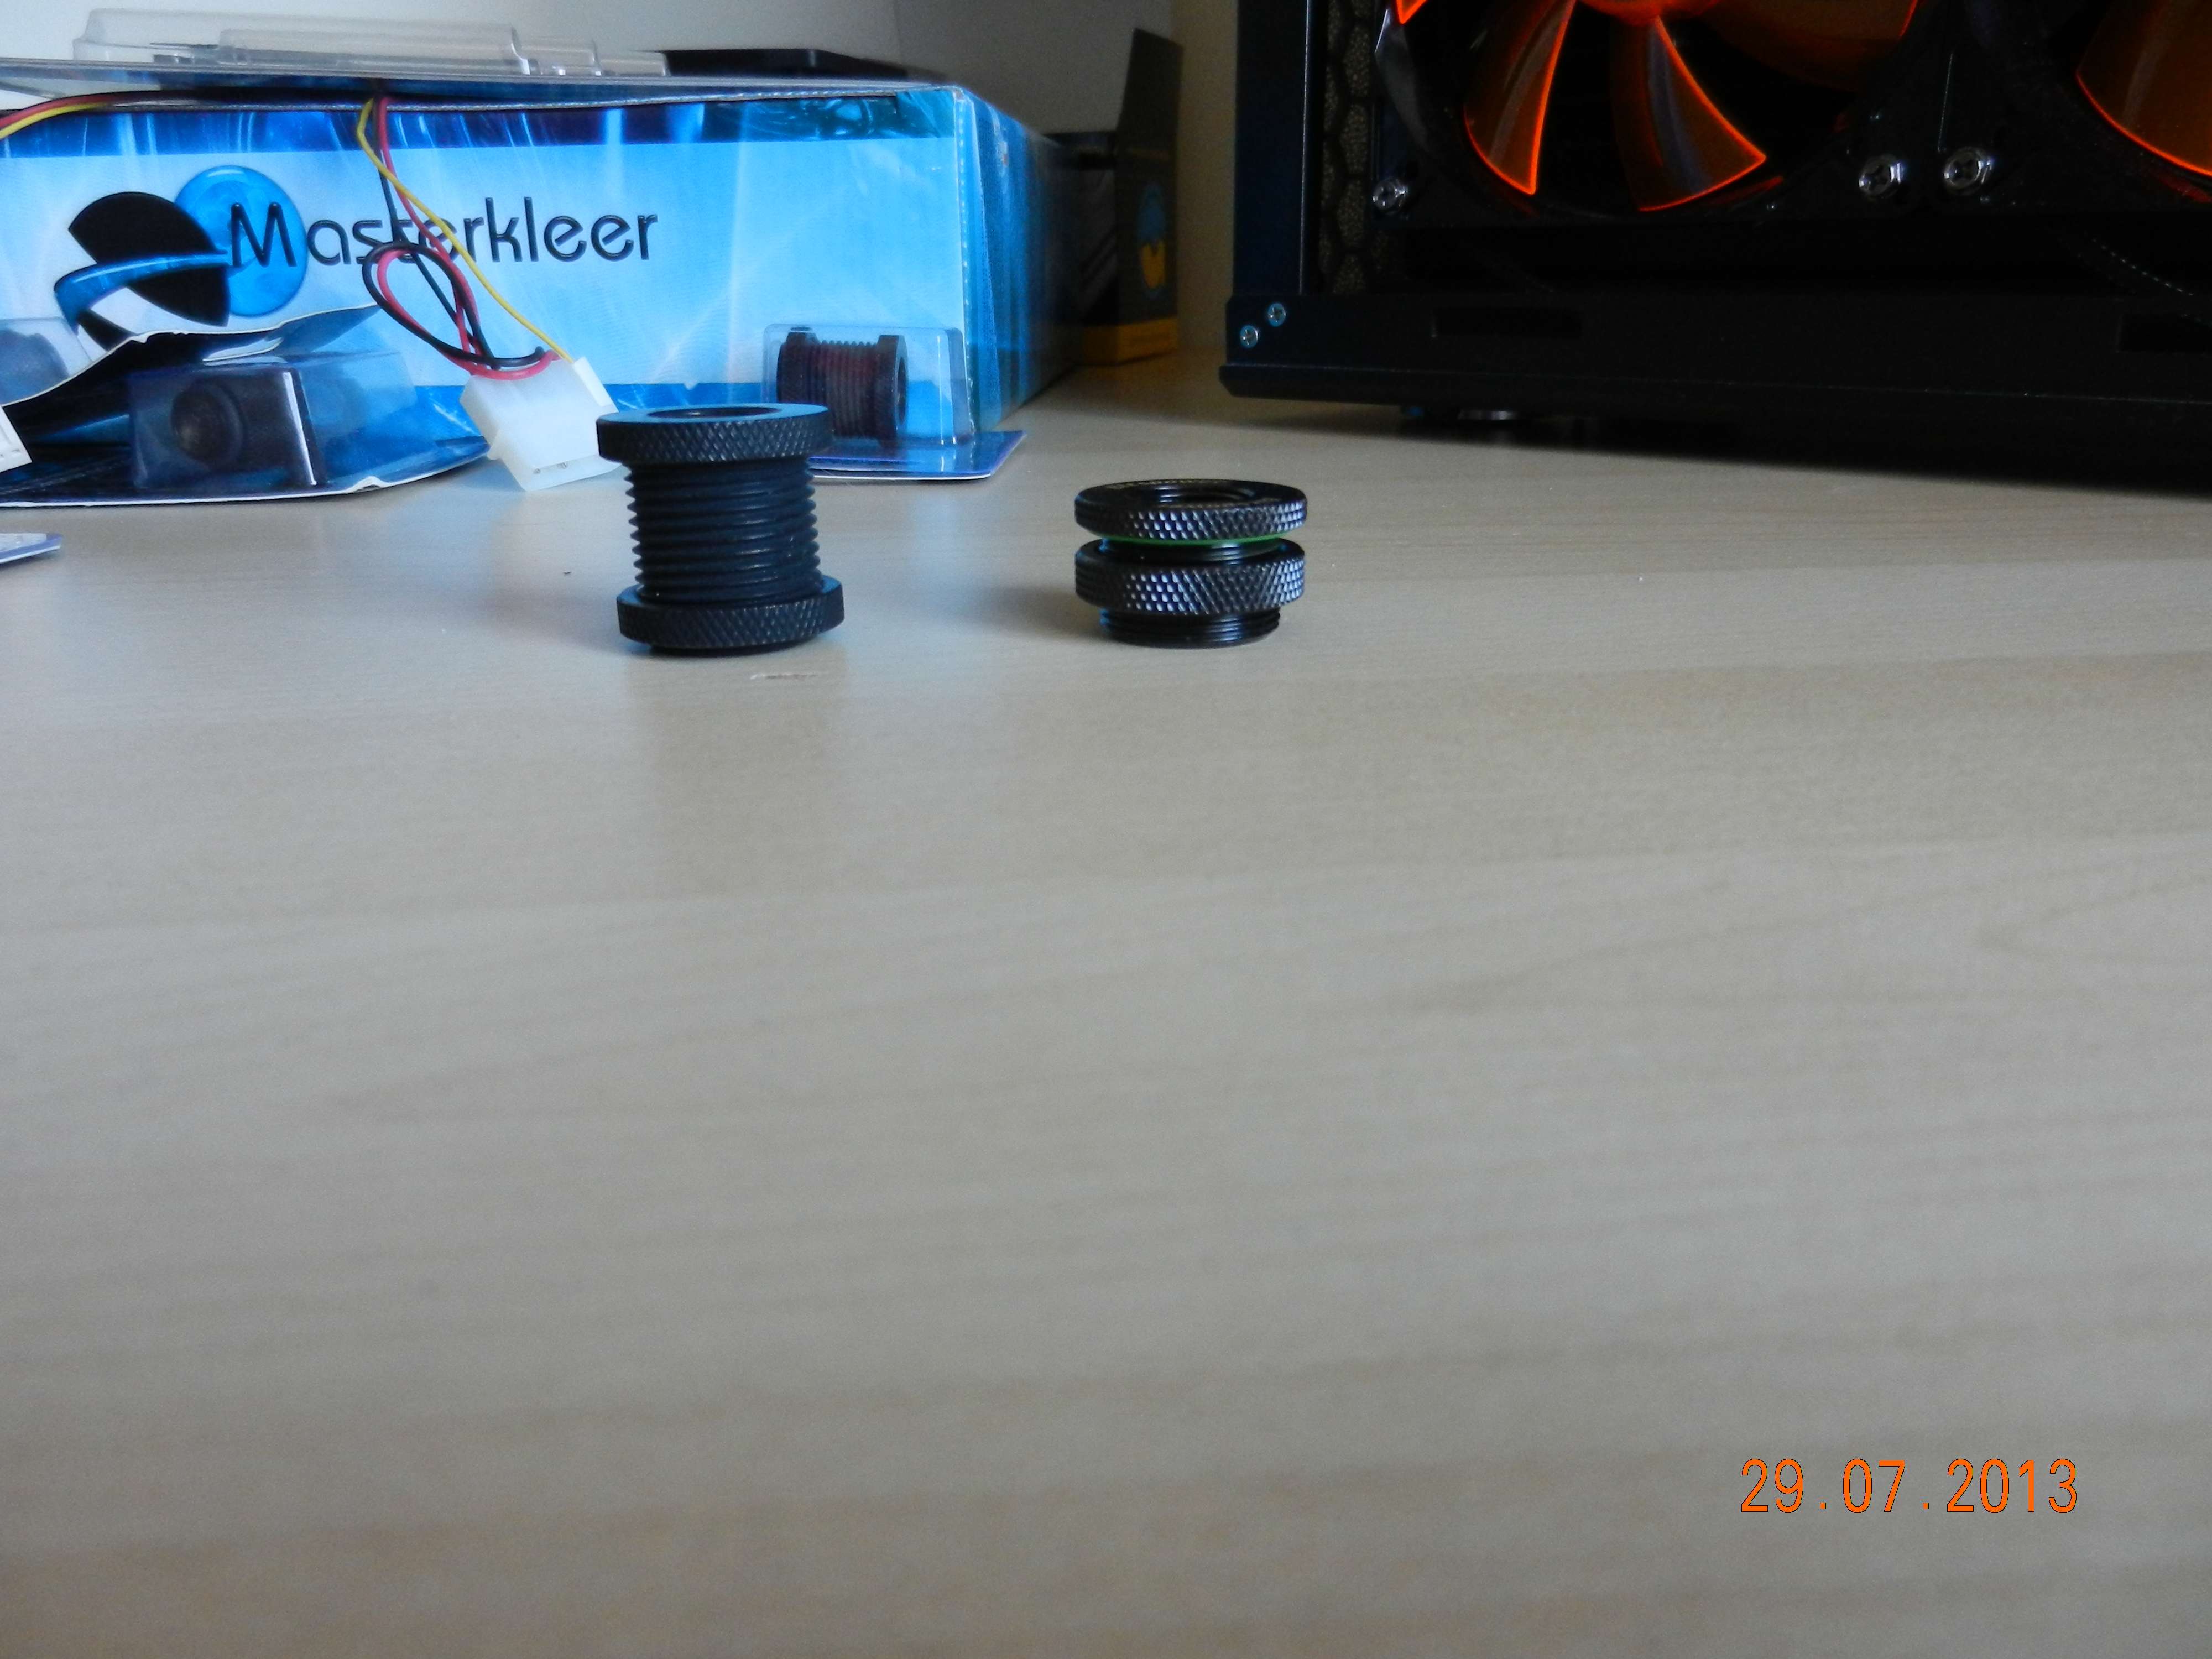
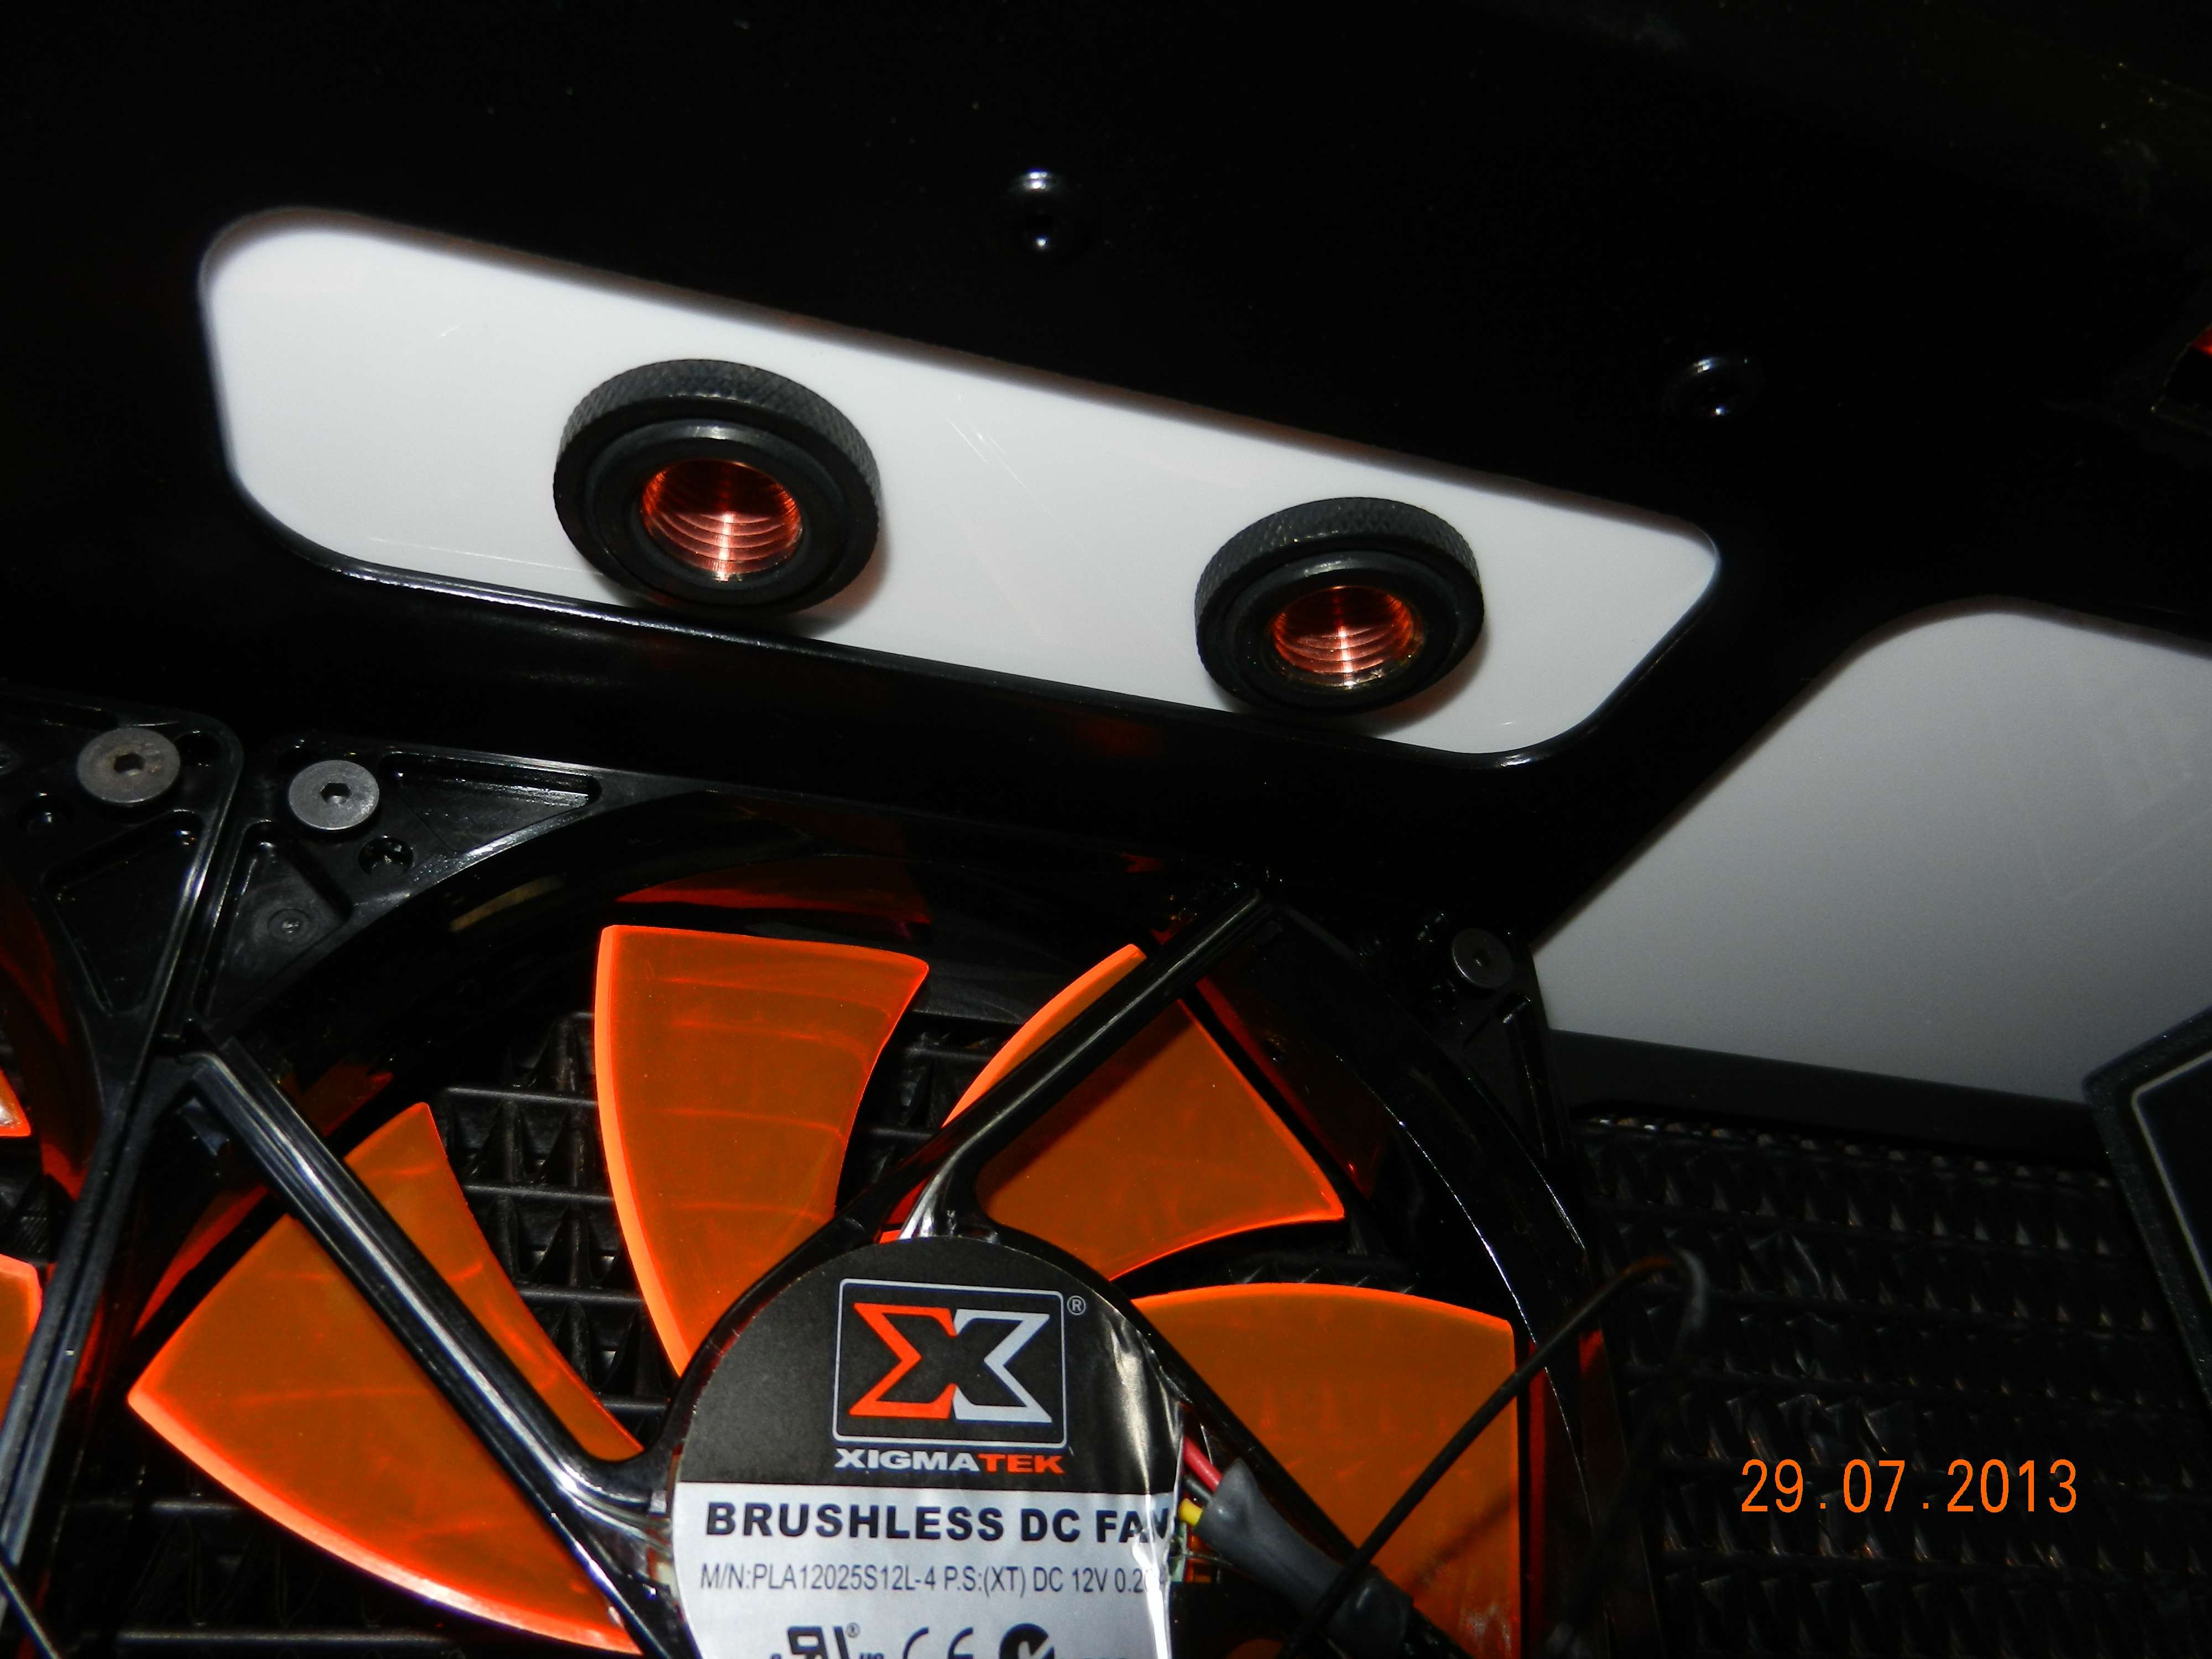
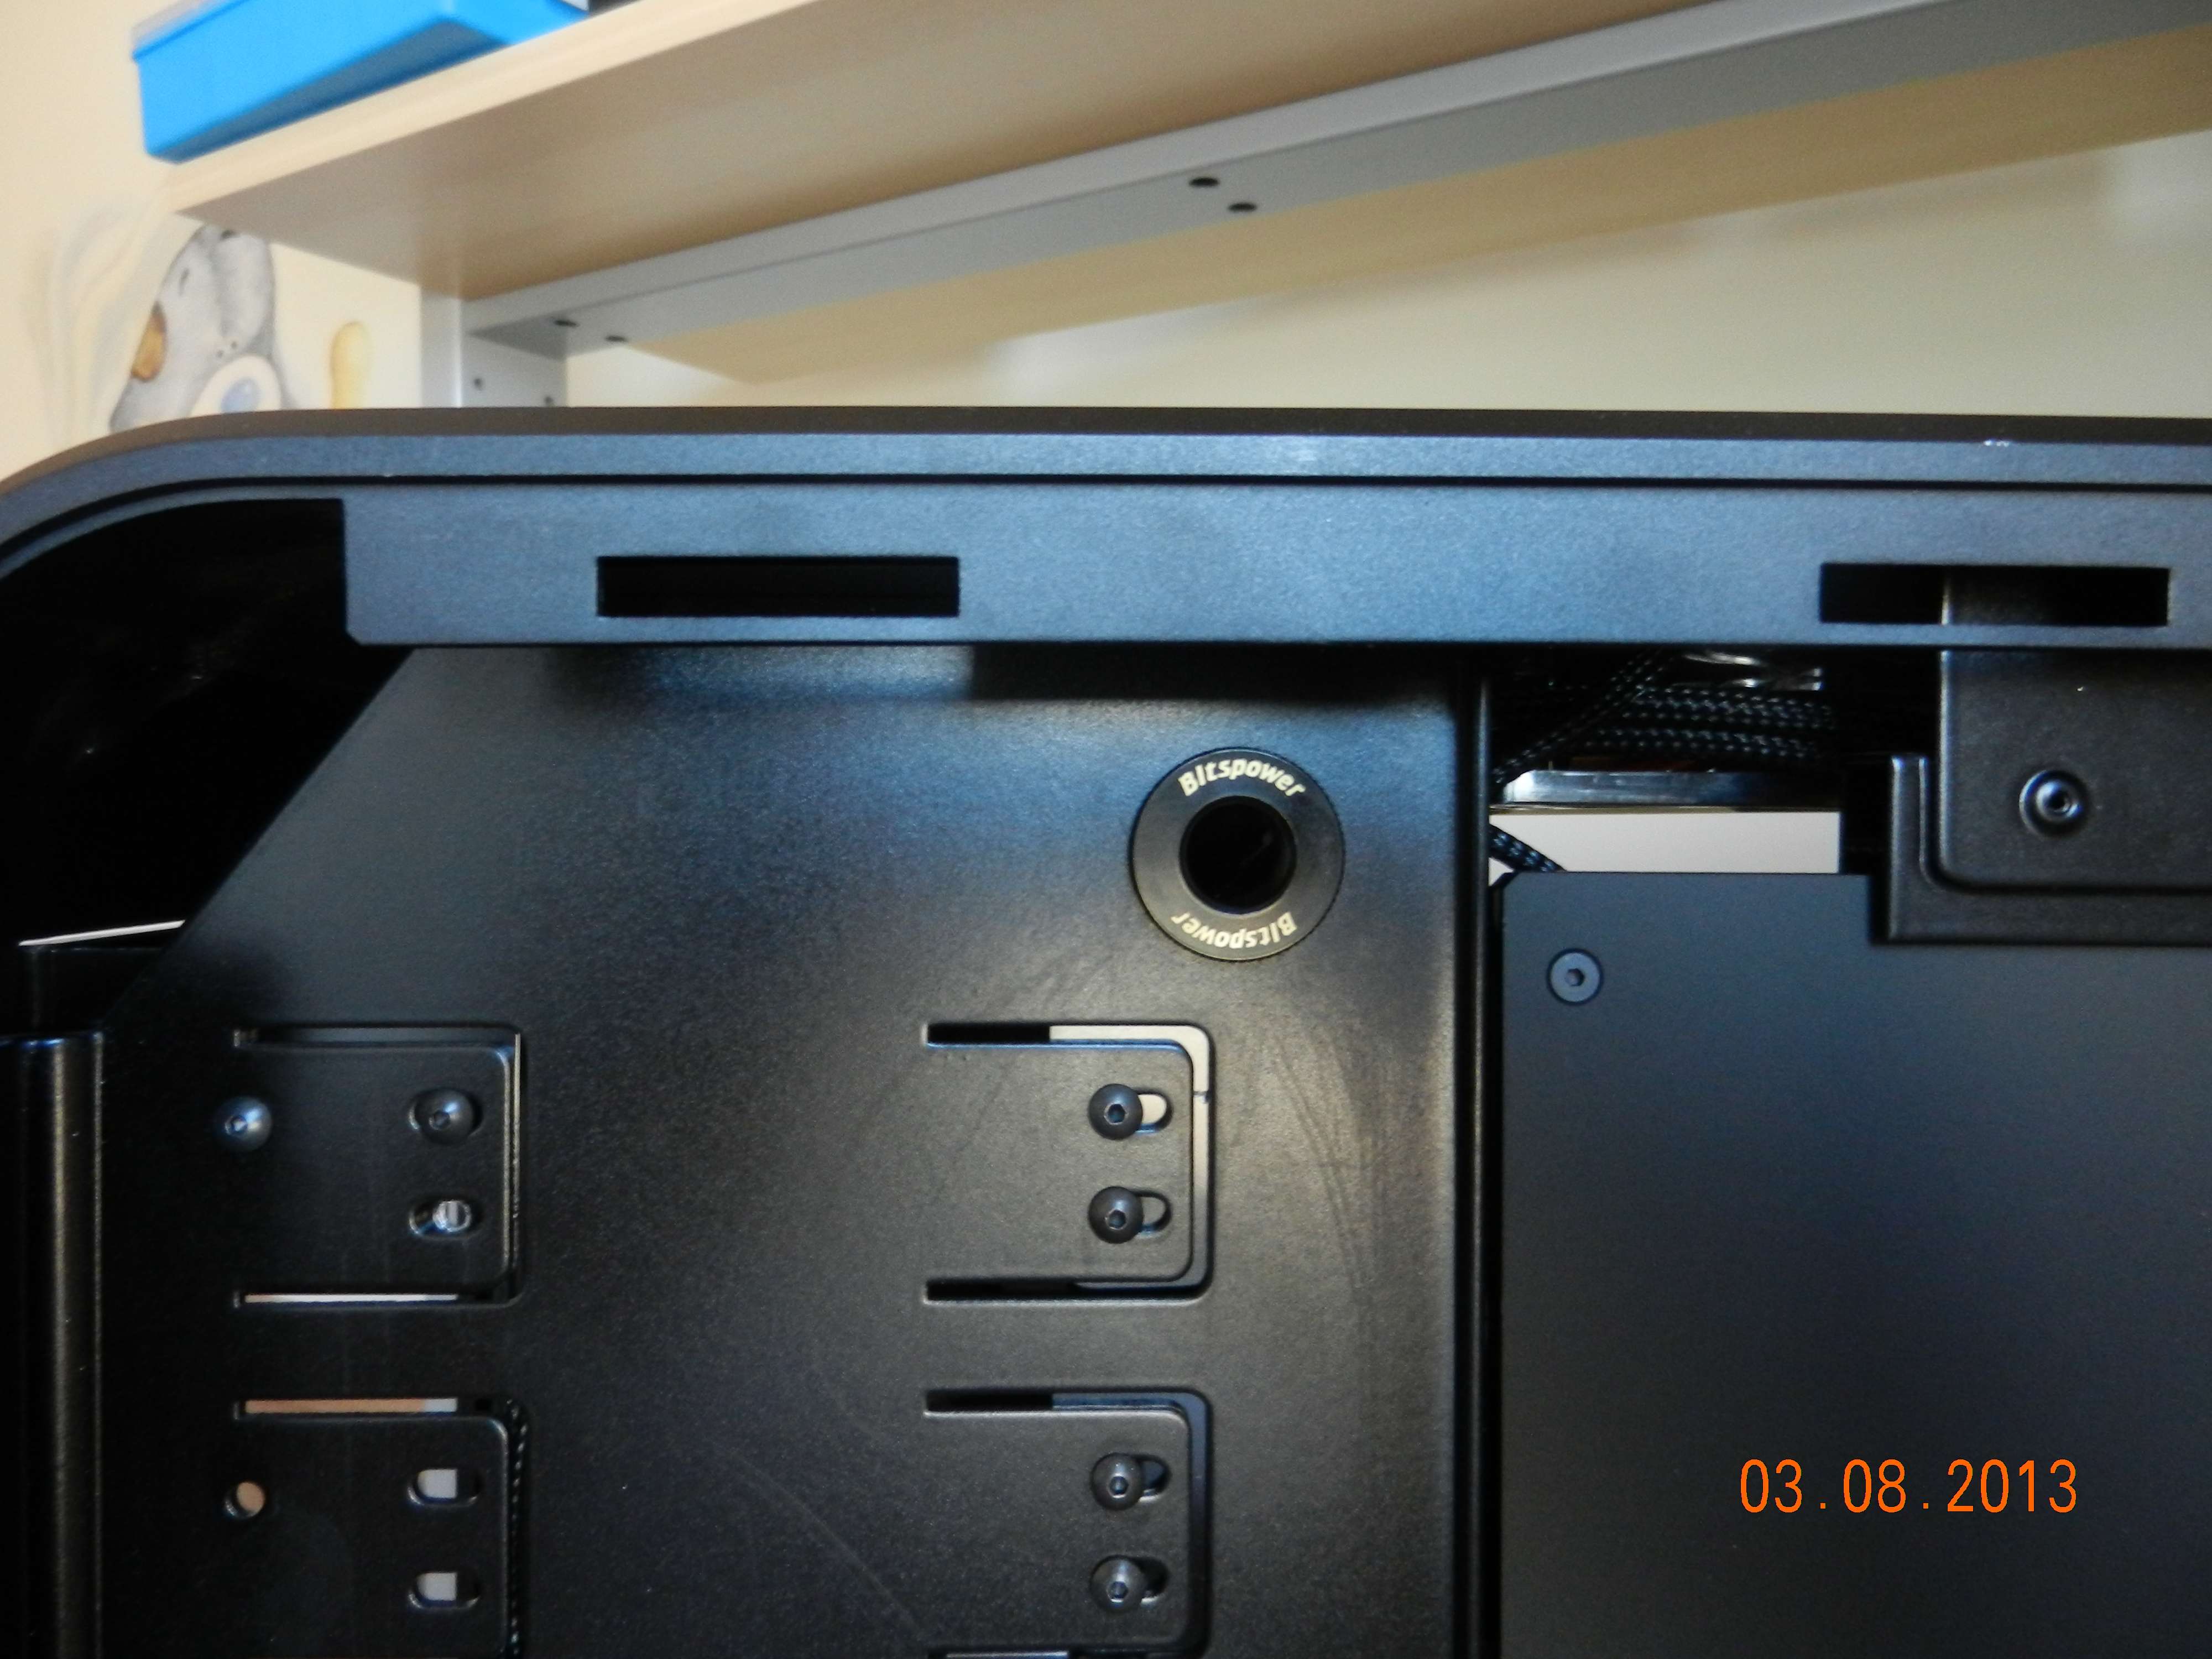
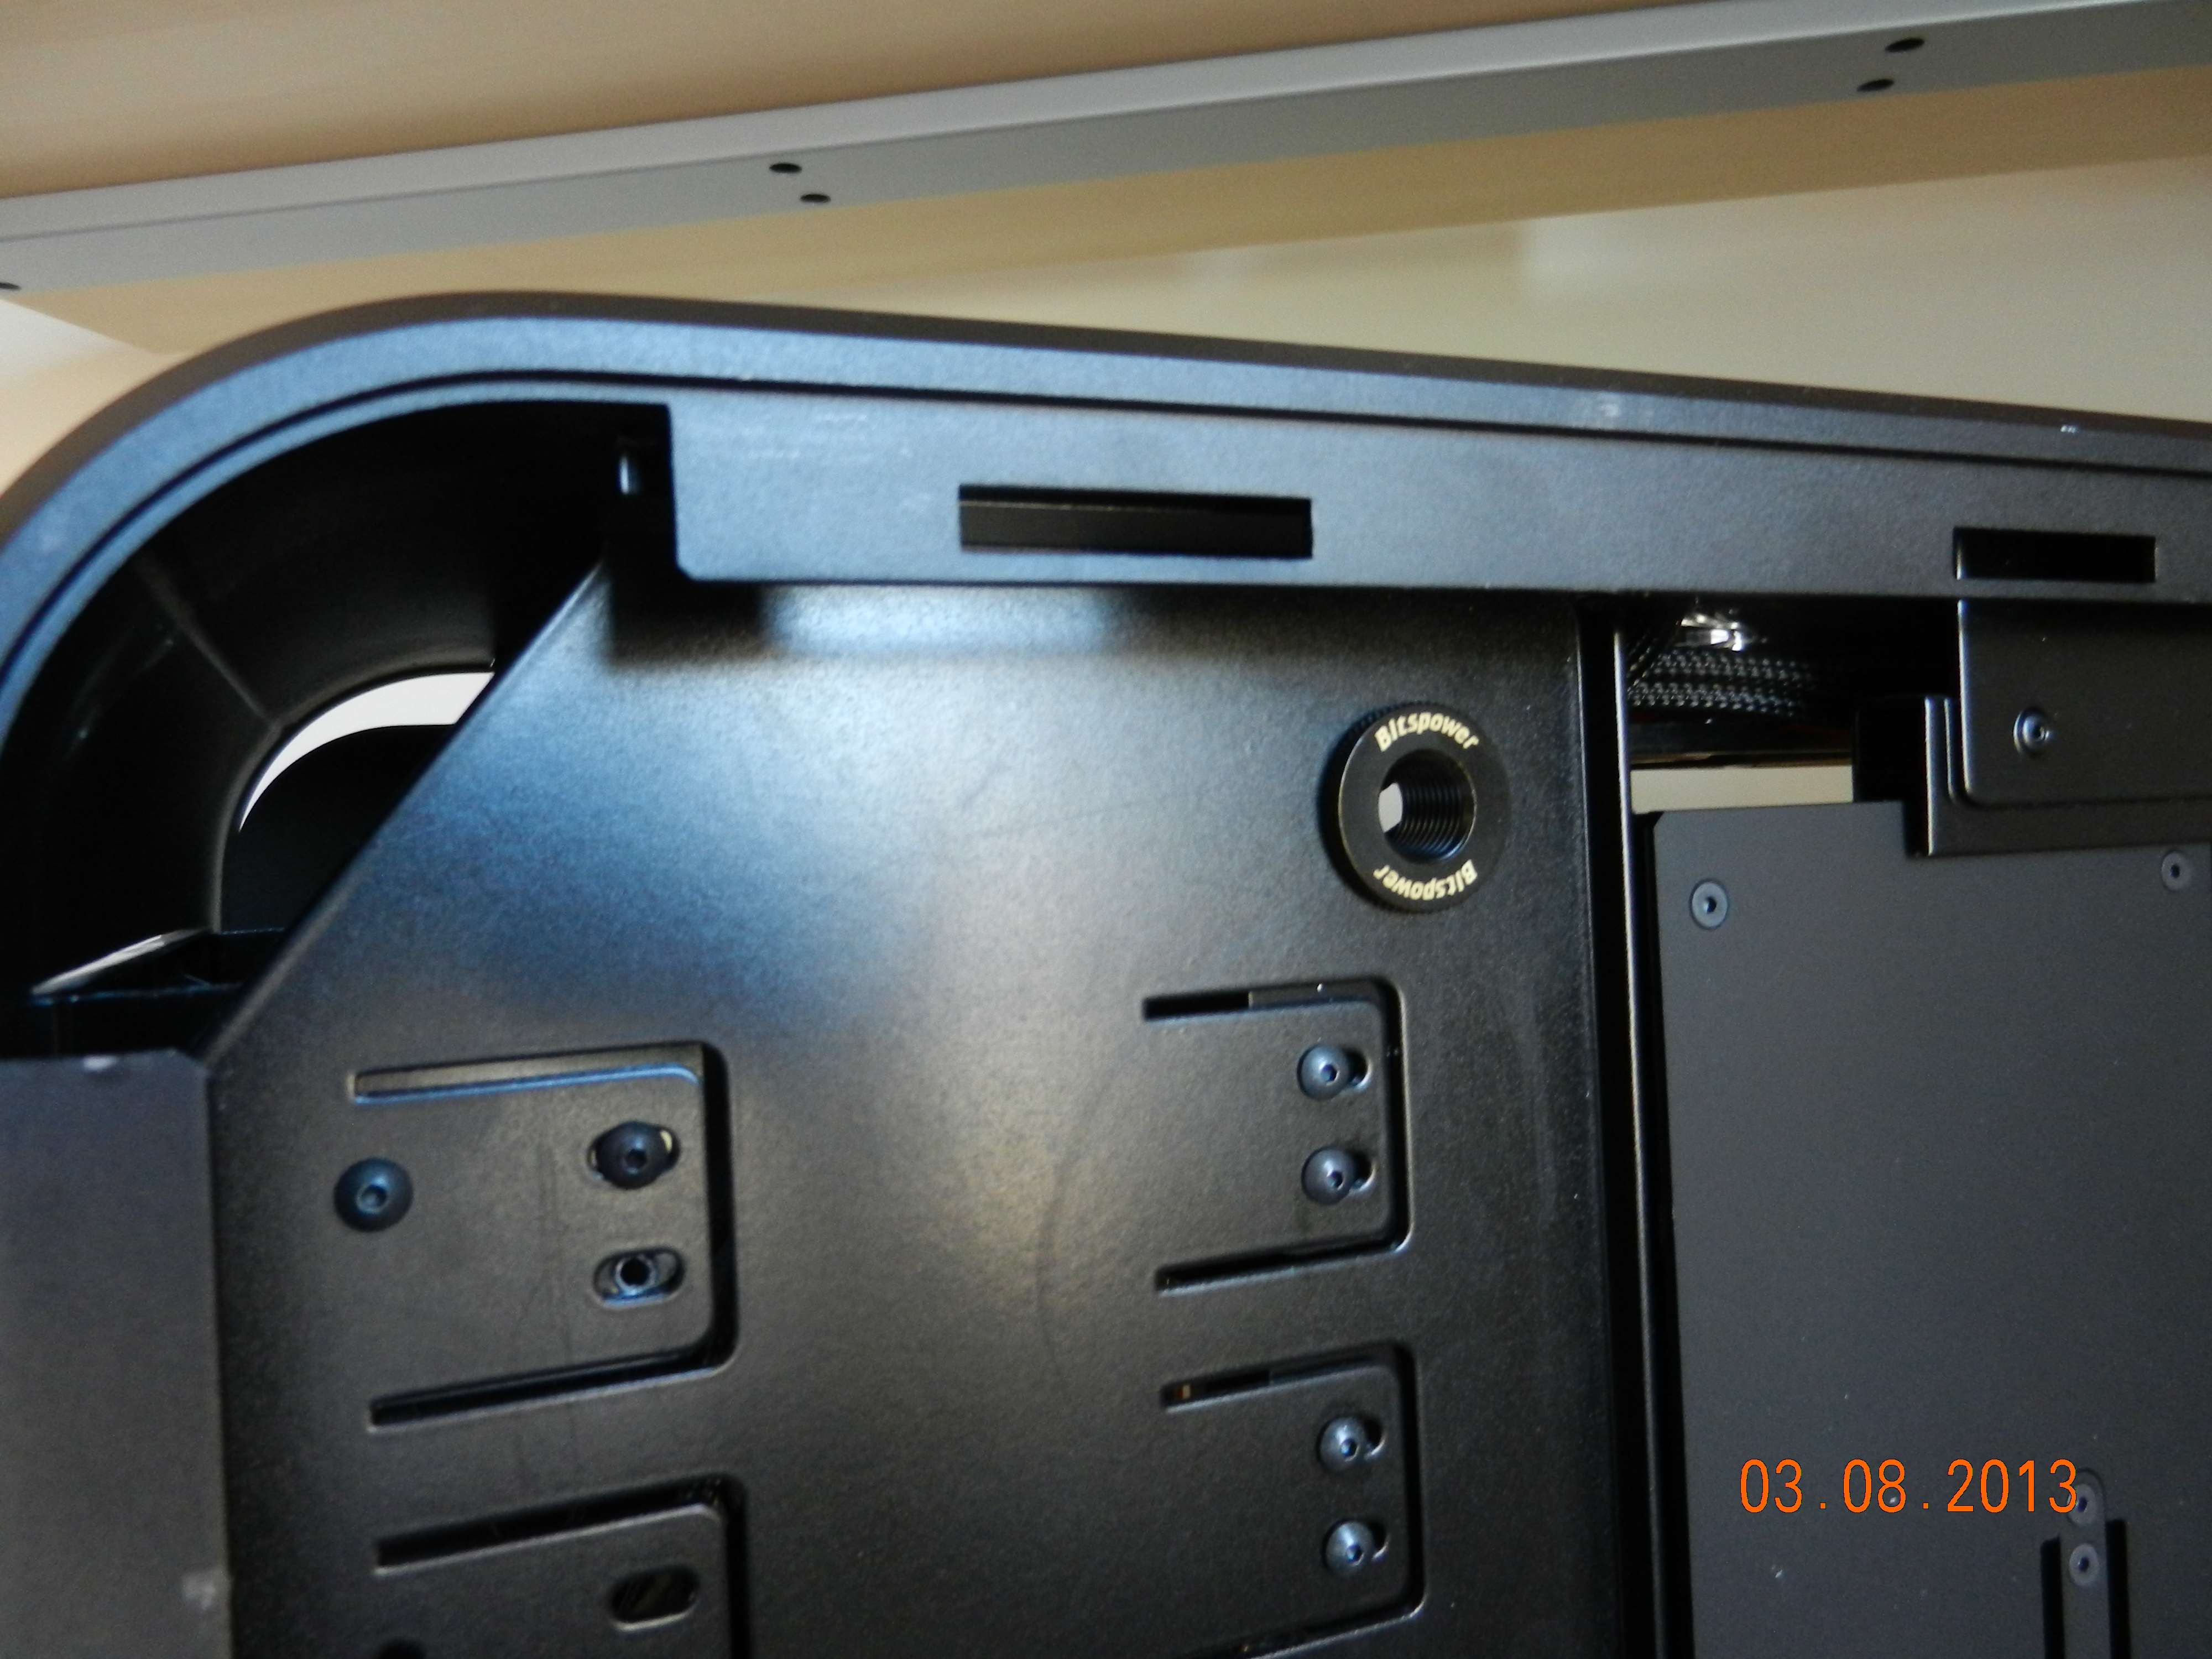
I had to change the very nice looking Bitspower fillports for far less good looking Alphacool ones. In the pictures you can see why.
I am just glad Alphacool sells them. No other brand has such long fillports. Ideal for midplates as you can see.
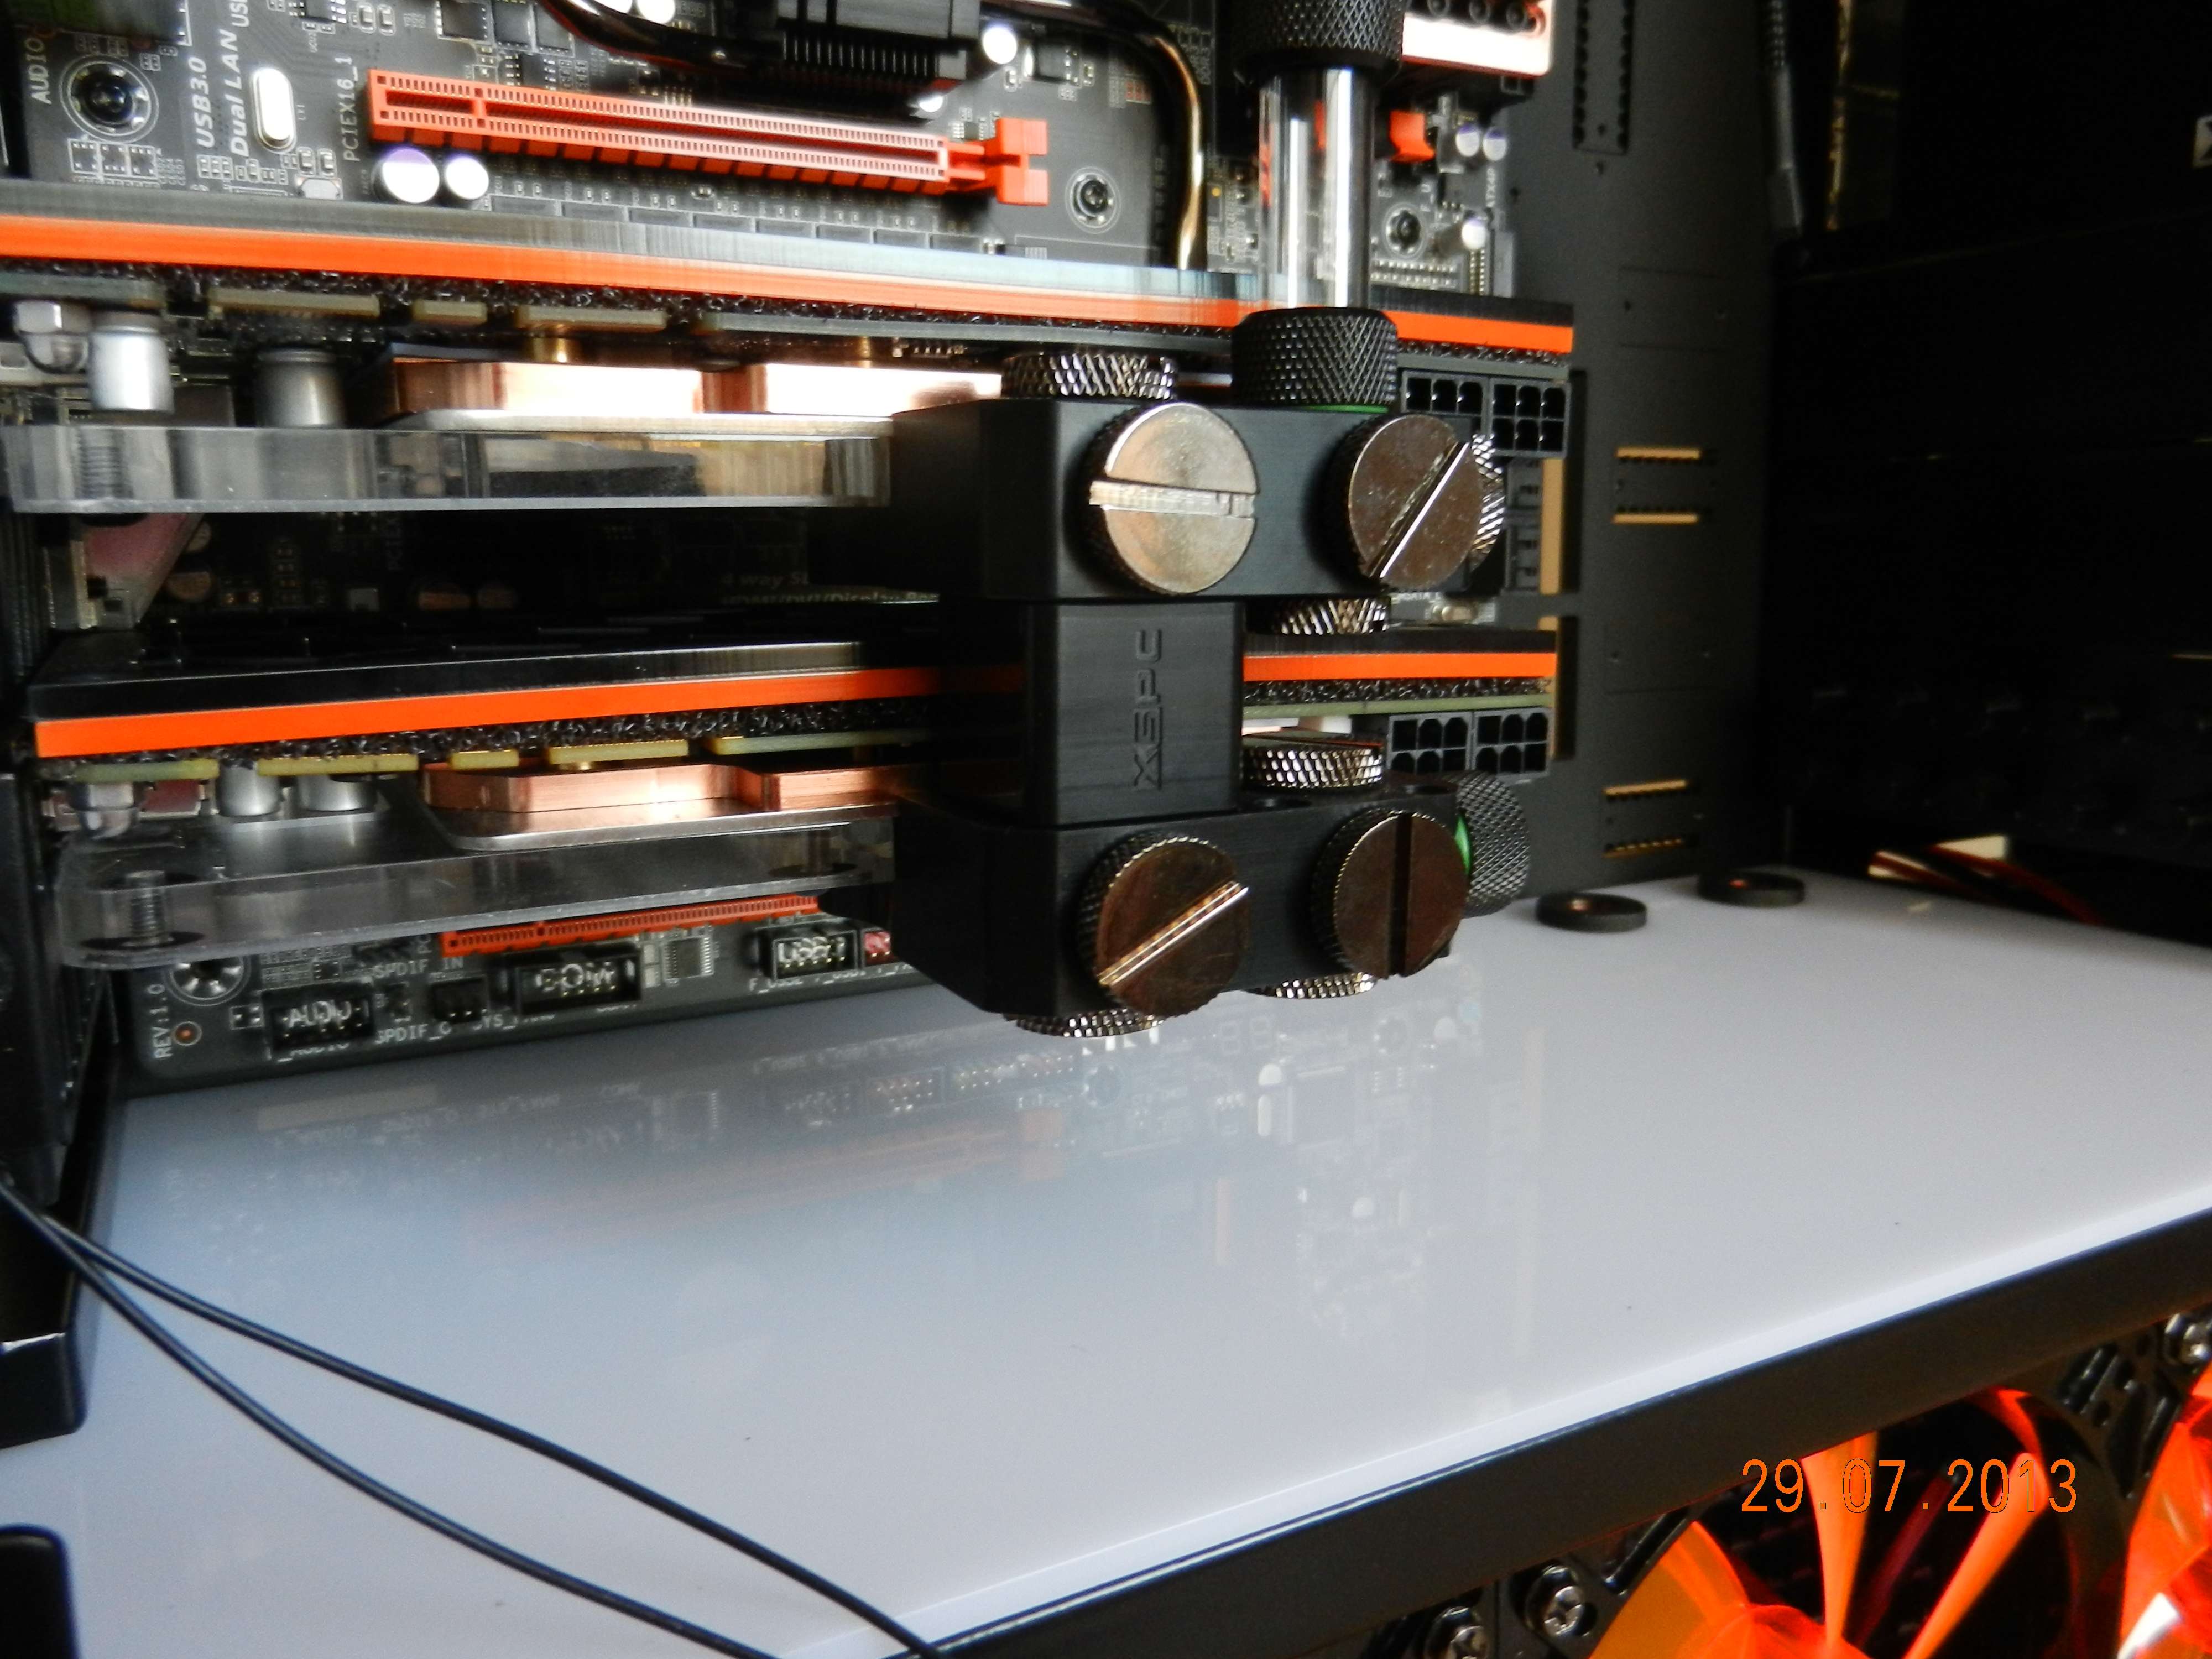
I also fitted the XSPC SLI fitting. Looks very nice and stealthy. Now lets hope it doesn't leak.
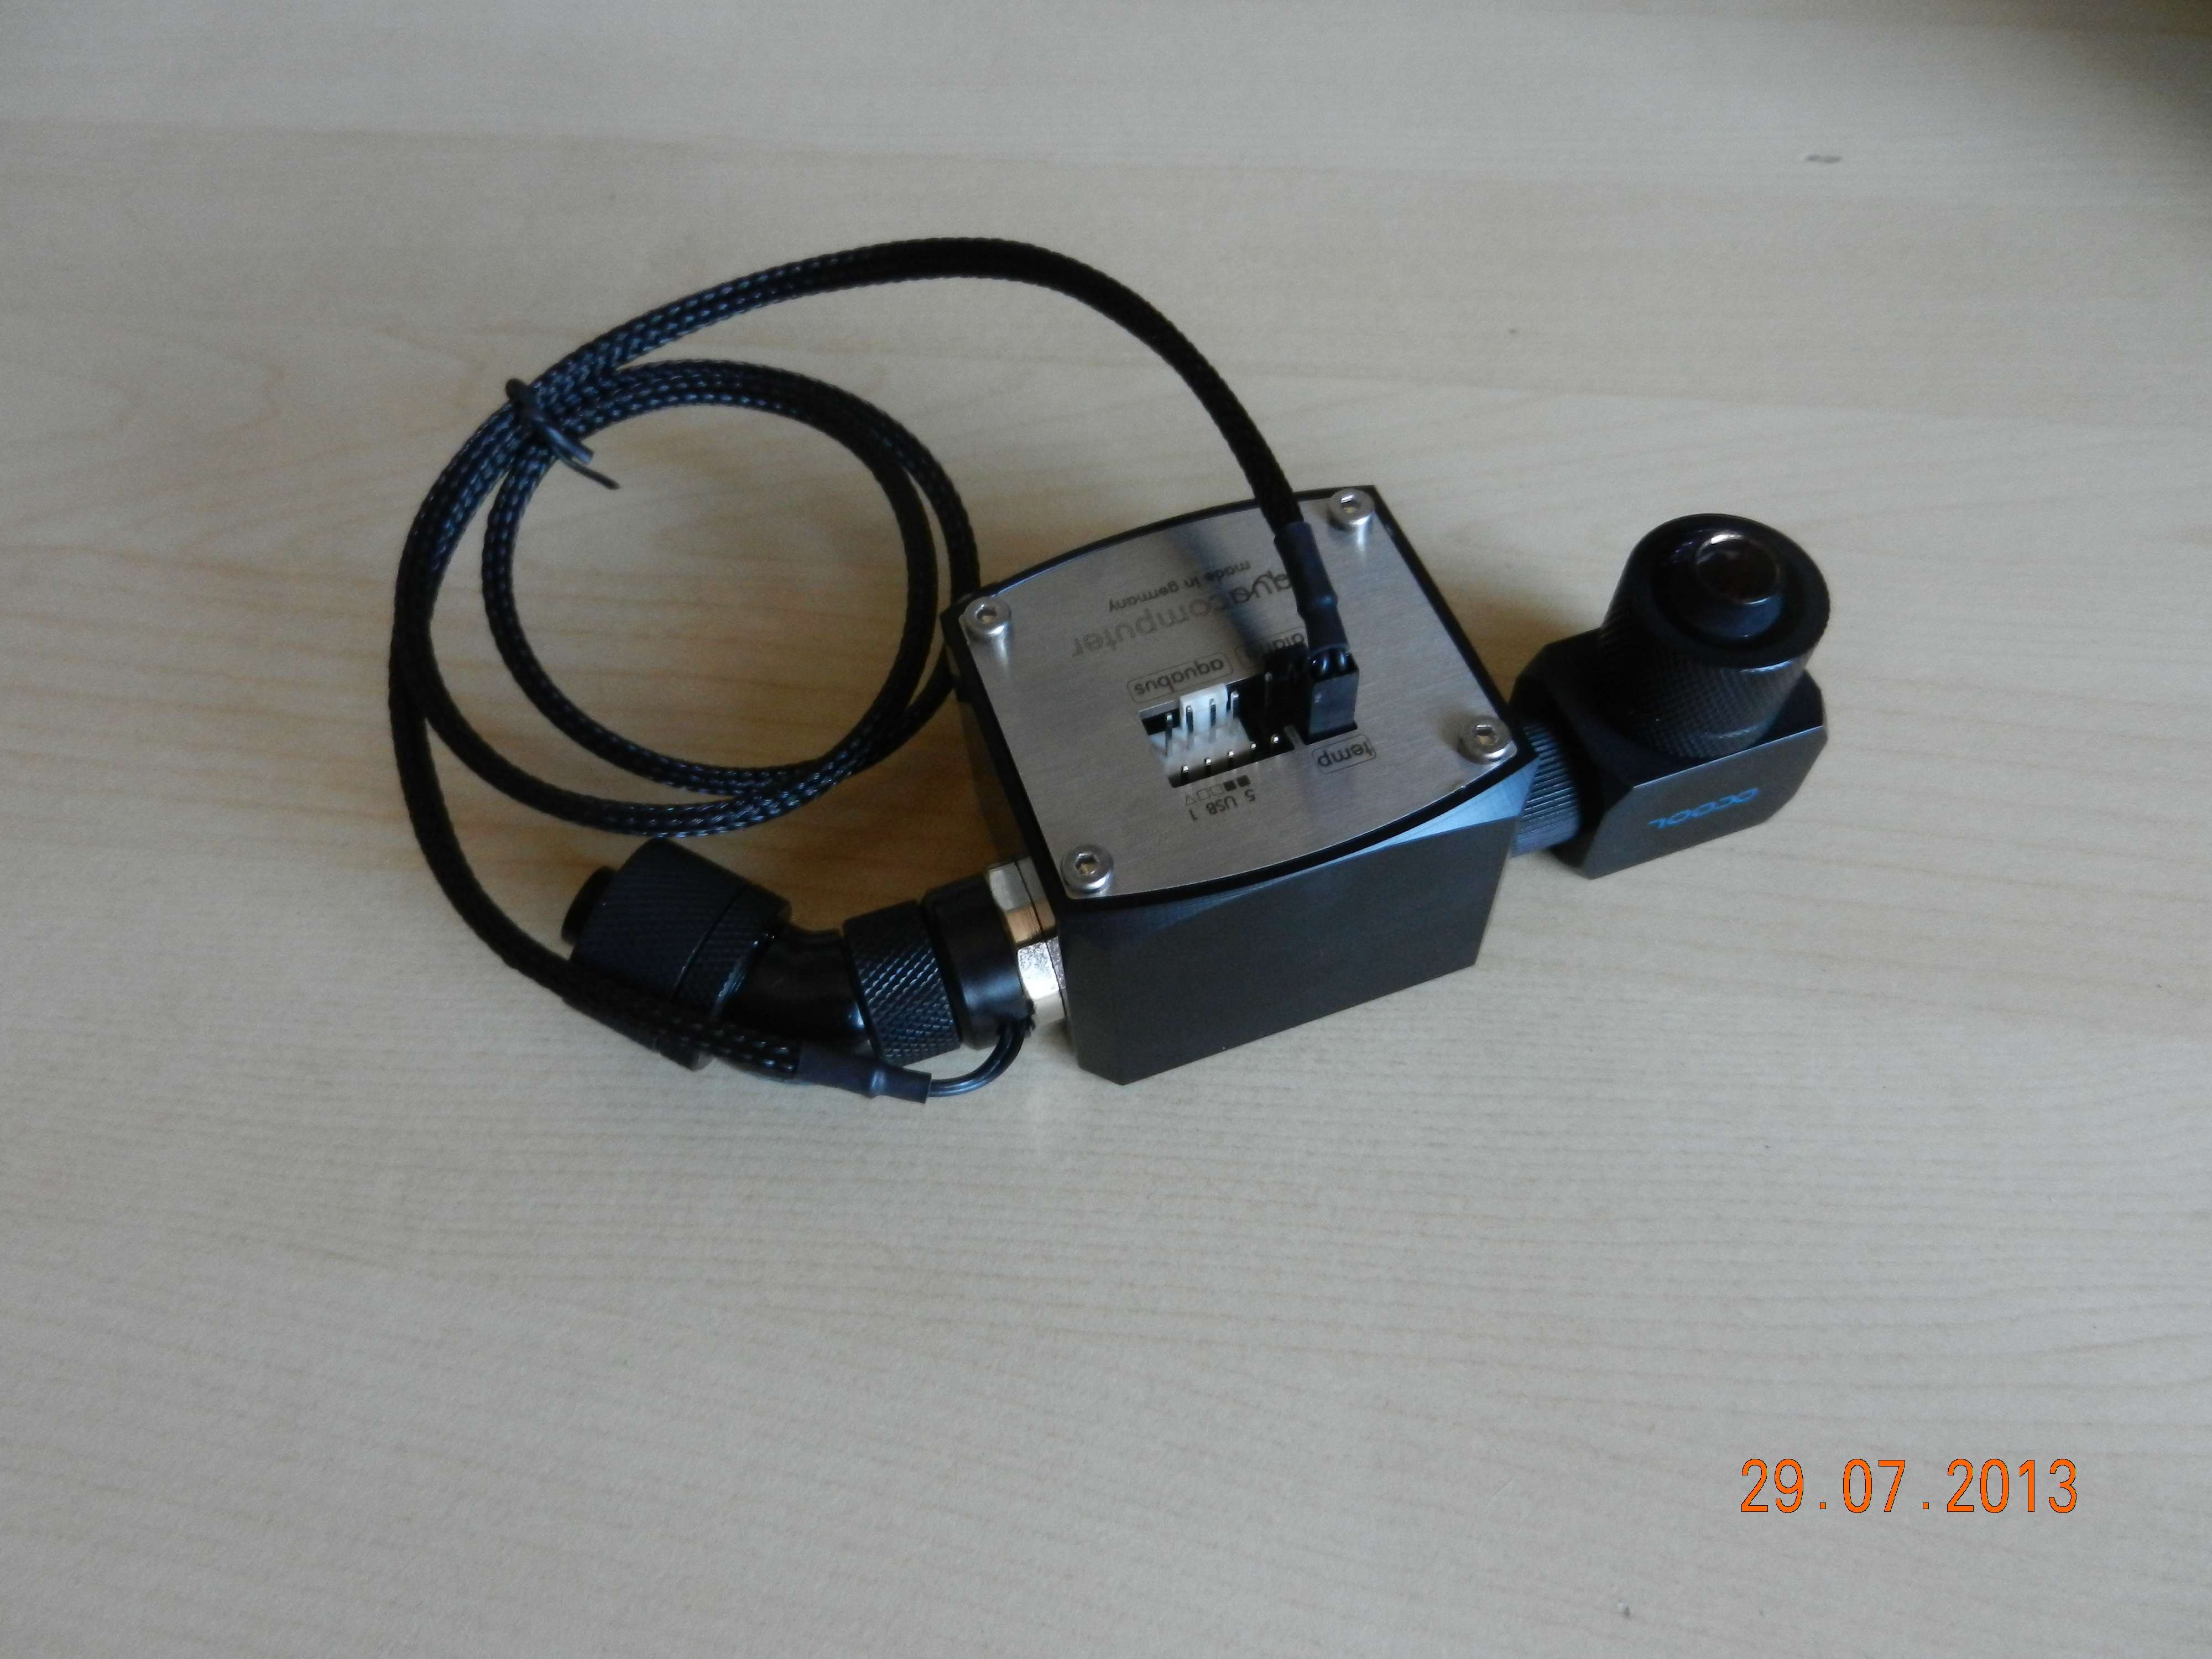
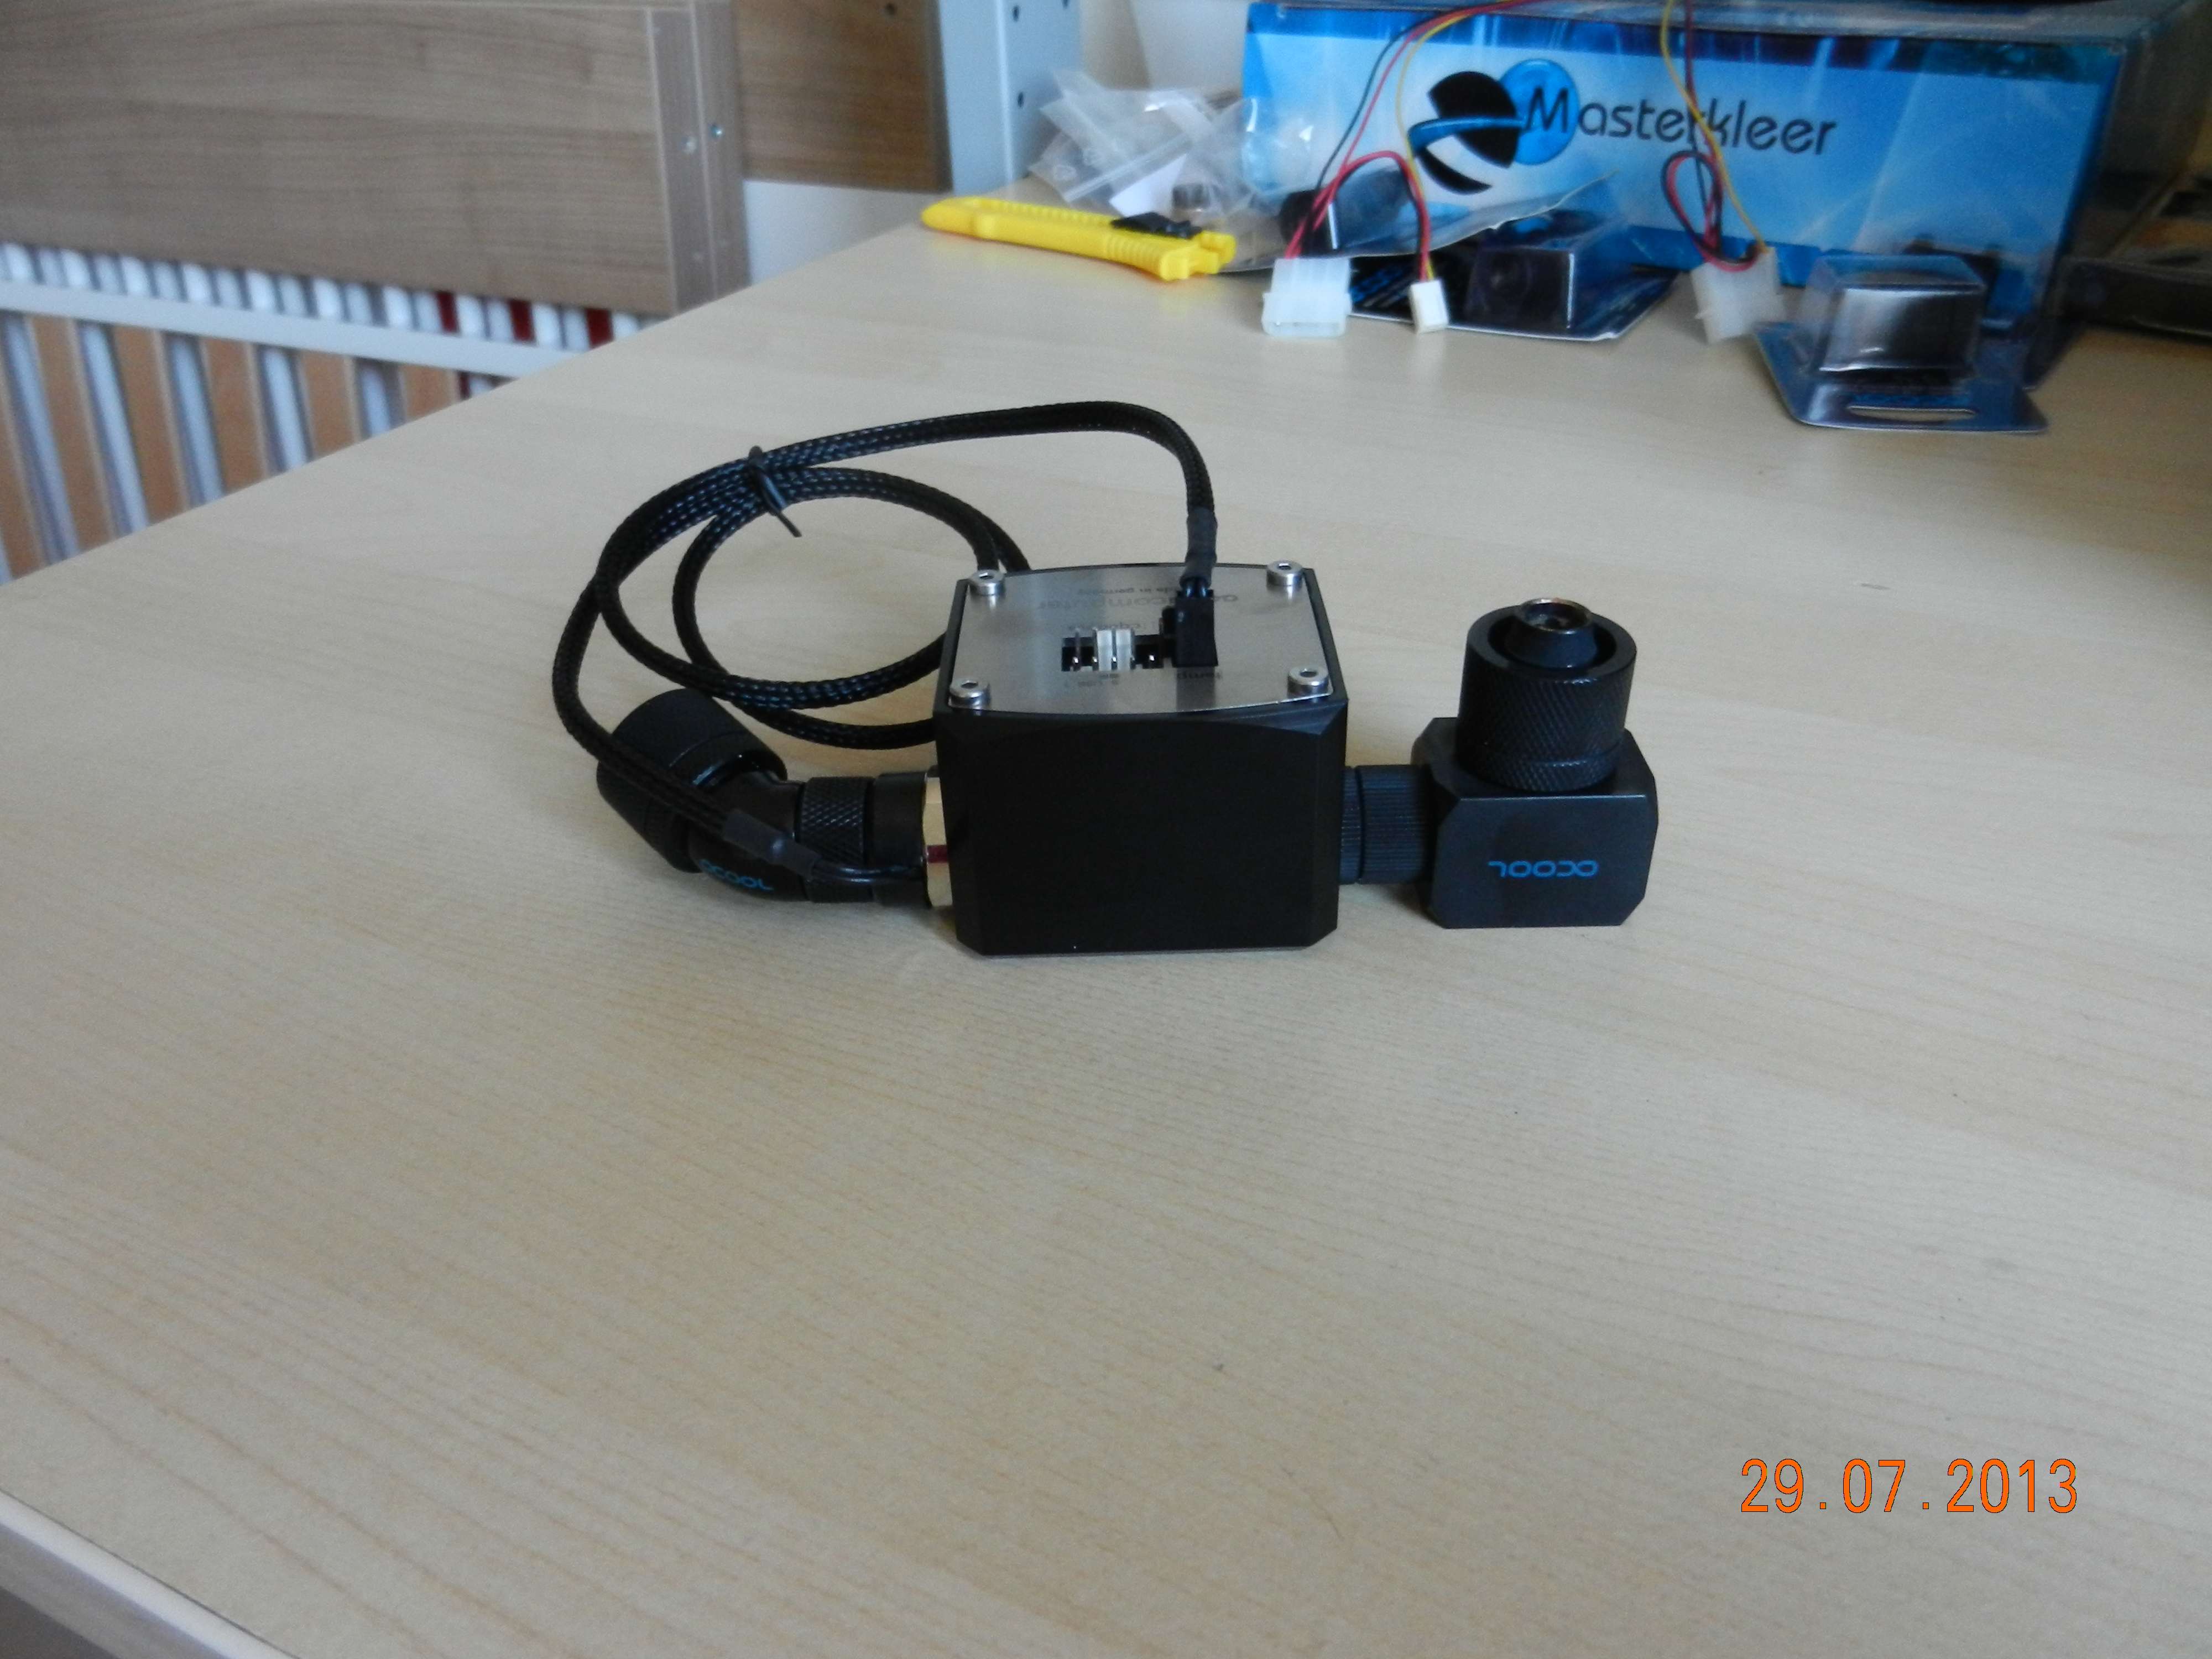
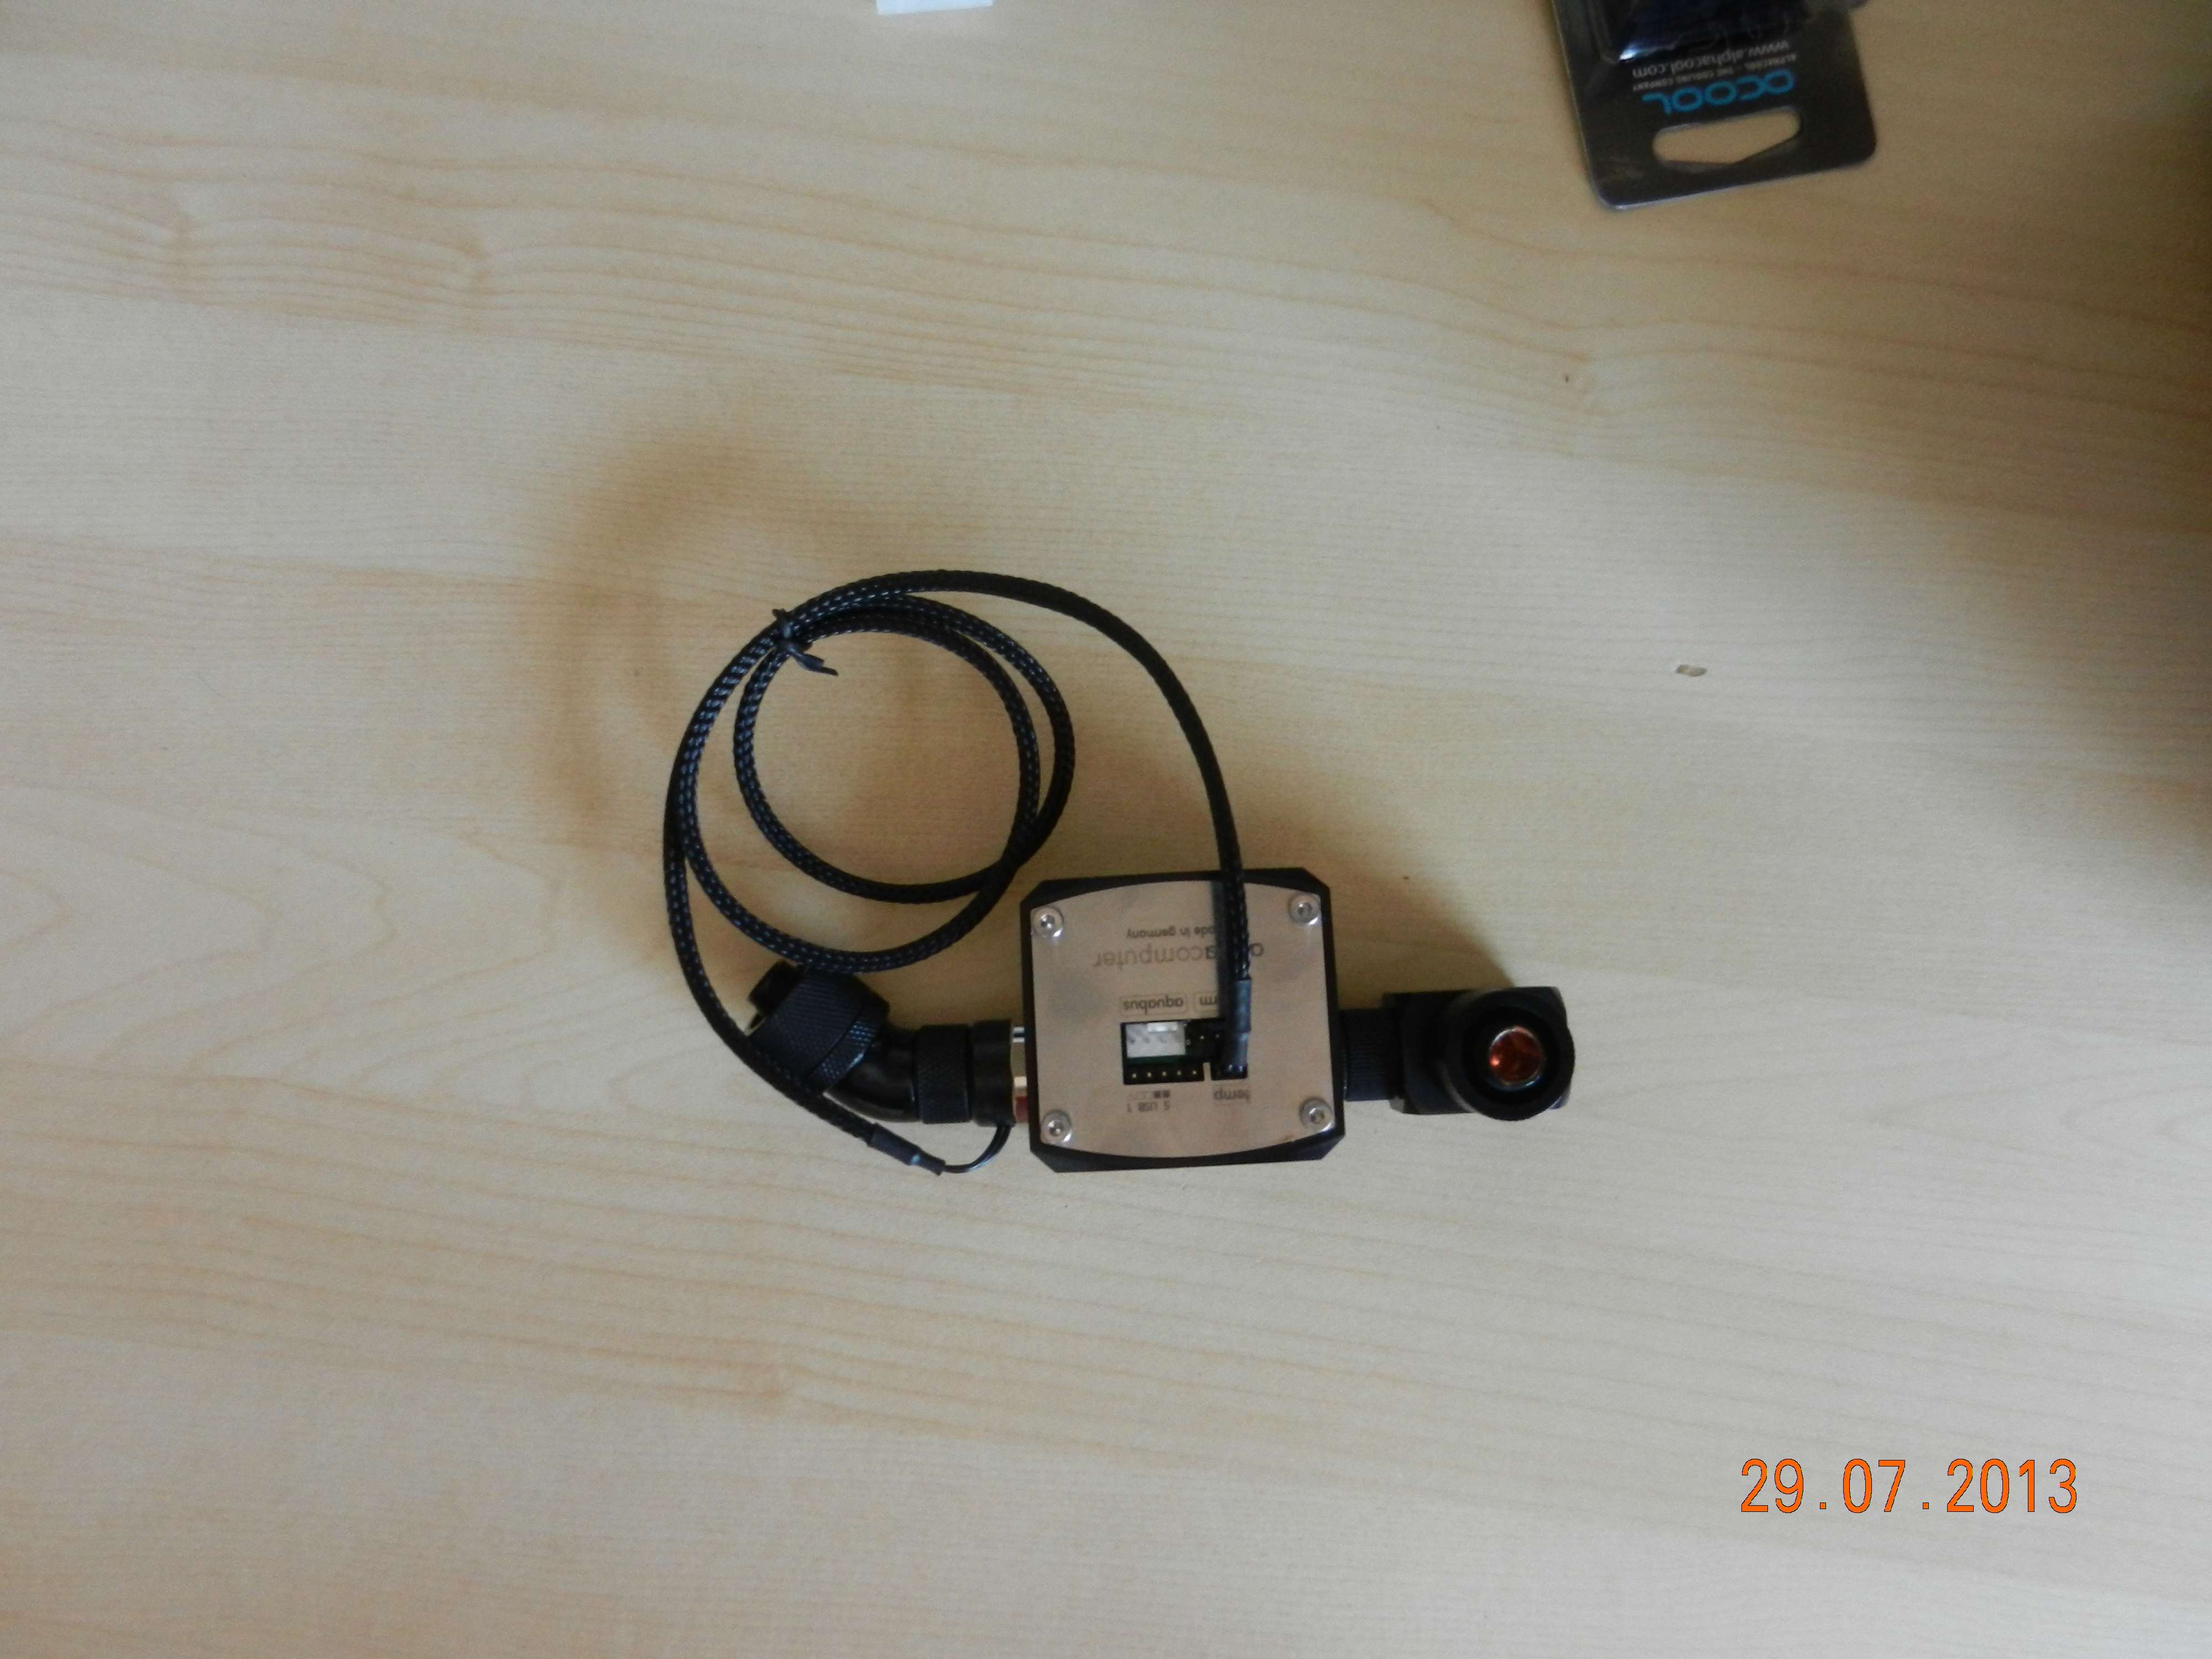
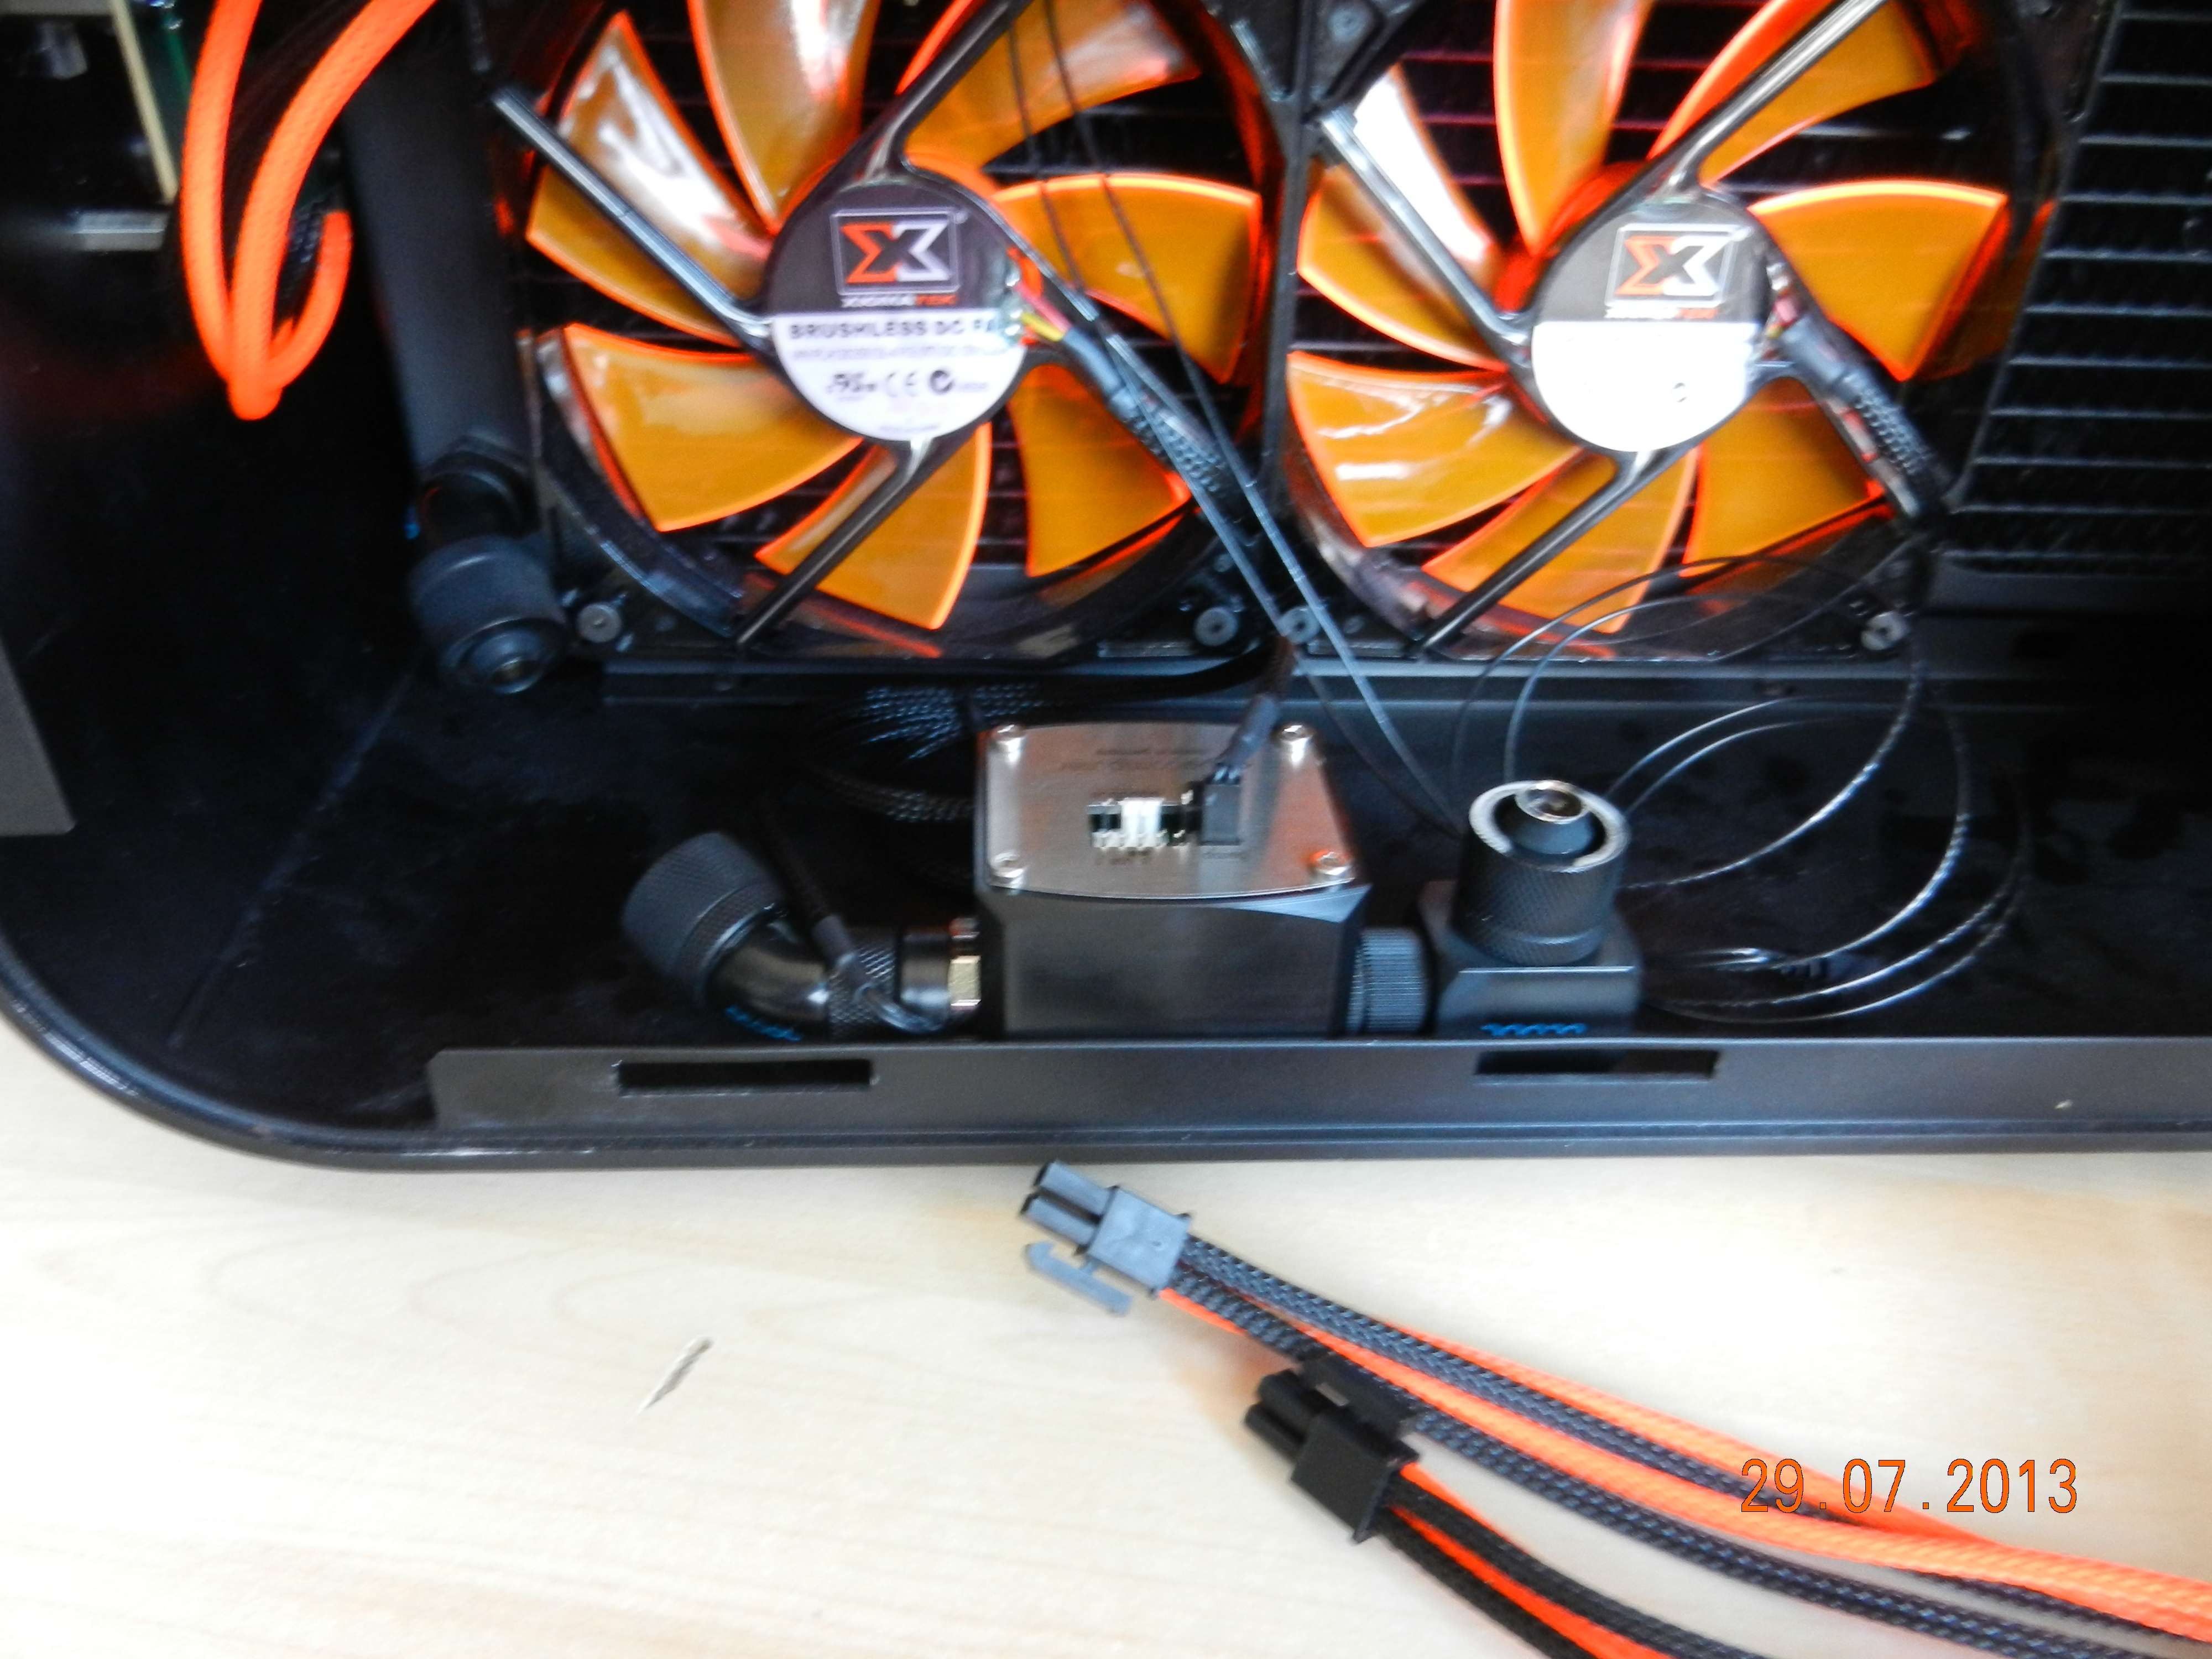
Finally I have been busy building a small monitoring block. A USB Aquacomputer flowmeter and tempsensor. They will be placed in between the radiator and the midplate going to the waterblocks. Going to use them with the aquasuite software.
That is it for tonight everyone. Expect more updates soon!
I want to thank all of you guys for your positive reactions since my last update. It makes doing this even more rewarding.
-------------------------------------------
Time for an update.
After many weeks of labour finally my attic is now the bedroom for my youngest daughter. She has left the babyroom and now has her own bedroom with floorspace to play with toys and such. And now sleeps in a big bed. My girls are getting big

On the bright side. Now I could finally start transforming her old babyroom into my stash and modifying / sleeving room

I put up my first (of 2 or 3) desks and finally took my baby home. I can now finally work on her much easier and faster. Room for storage, room for building, not having to clean up everything everytime.
I am in modding heaven


I have done some stuff on the build I forgot to take photos of. Here are a few things.
Last time I fitted my custom made extension cables for the fans. I now have no wiring in sight from the side. Al nicely tucked under the radiator stand Muderbox-style. Awesome design guys, I love it!


Now they all come up on the frontside of the case. You can still see some sleeved wiring there but I will make a small plate to hide them all.
They have been fitted to the fancontroller. As well as the 3 top fans. I need to do some cablemanagement but cannot find the cable-management-clips I bought a year ago. Poooooh. I need to find them


I also started figuring out the hose routing. Fitted some fittings to see if I have enough and the correct type.
I had to change the very nice looking Bitspower fillports for far less good looking Alphacool ones. In the pictures you can see why.
I am just glad Alphacool sells them. No other brand has such long fillports. Ideal for midplates as you can see.


I also fitted the XSPC SLI fitting. Looks very nice and stealthy. Now lets hope it doesn't leak.

Finally I have been busy building a small monitoring block. A USB Aquacomputer flowmeter and tempsensor. They will be placed in between the radiator and the midplate going to the waterblocks. Going to use them with the aquasuite software.


That is it for tonight everyone. Expect more updates soon!
Associate
- Joined
- 20 Feb 2013
- Posts
- 203
- Location
- Carnoustie
Lutro0 Customs on YouTube and practice I think... Oh and asbestos thumb and index fingerprints helps as well.
How do you sleeve so nicely?
I started modding actually with sleeving. It was the first thing I wanted to learn. So after a build of my own I started doing sleeving jobs for others to both get some cash to buy more sleeving equipment, but also get a lot of experience.
You can see a bunch of my sleeving job op here: https://www.facebook.com/pages/Dutch-Lion-Customising/438394219534591#
Lutro0 Customs on YouTube and practice I think... Oh and asbestos thumb and index fingerprints helps as well.
You are correct. Lutro0s videos were the basics for me. He is a sleeving master. All his sleeving is perfect ones he is happy with it.
I'd like those thumb and index fingerprints

I now just have sore fingerprints and blisters on my thumb

But it is just practice and patience like any other thing in life. You don't need a uni degree to do this.
Associate
- Joined
- 20 Feb 2013
- Posts
- 203
- Location
- Carnoustie
T345 - Heatshrinkless paracord is the easiest way to start. This is my first attempt using it on a 24pin.


Last edited:
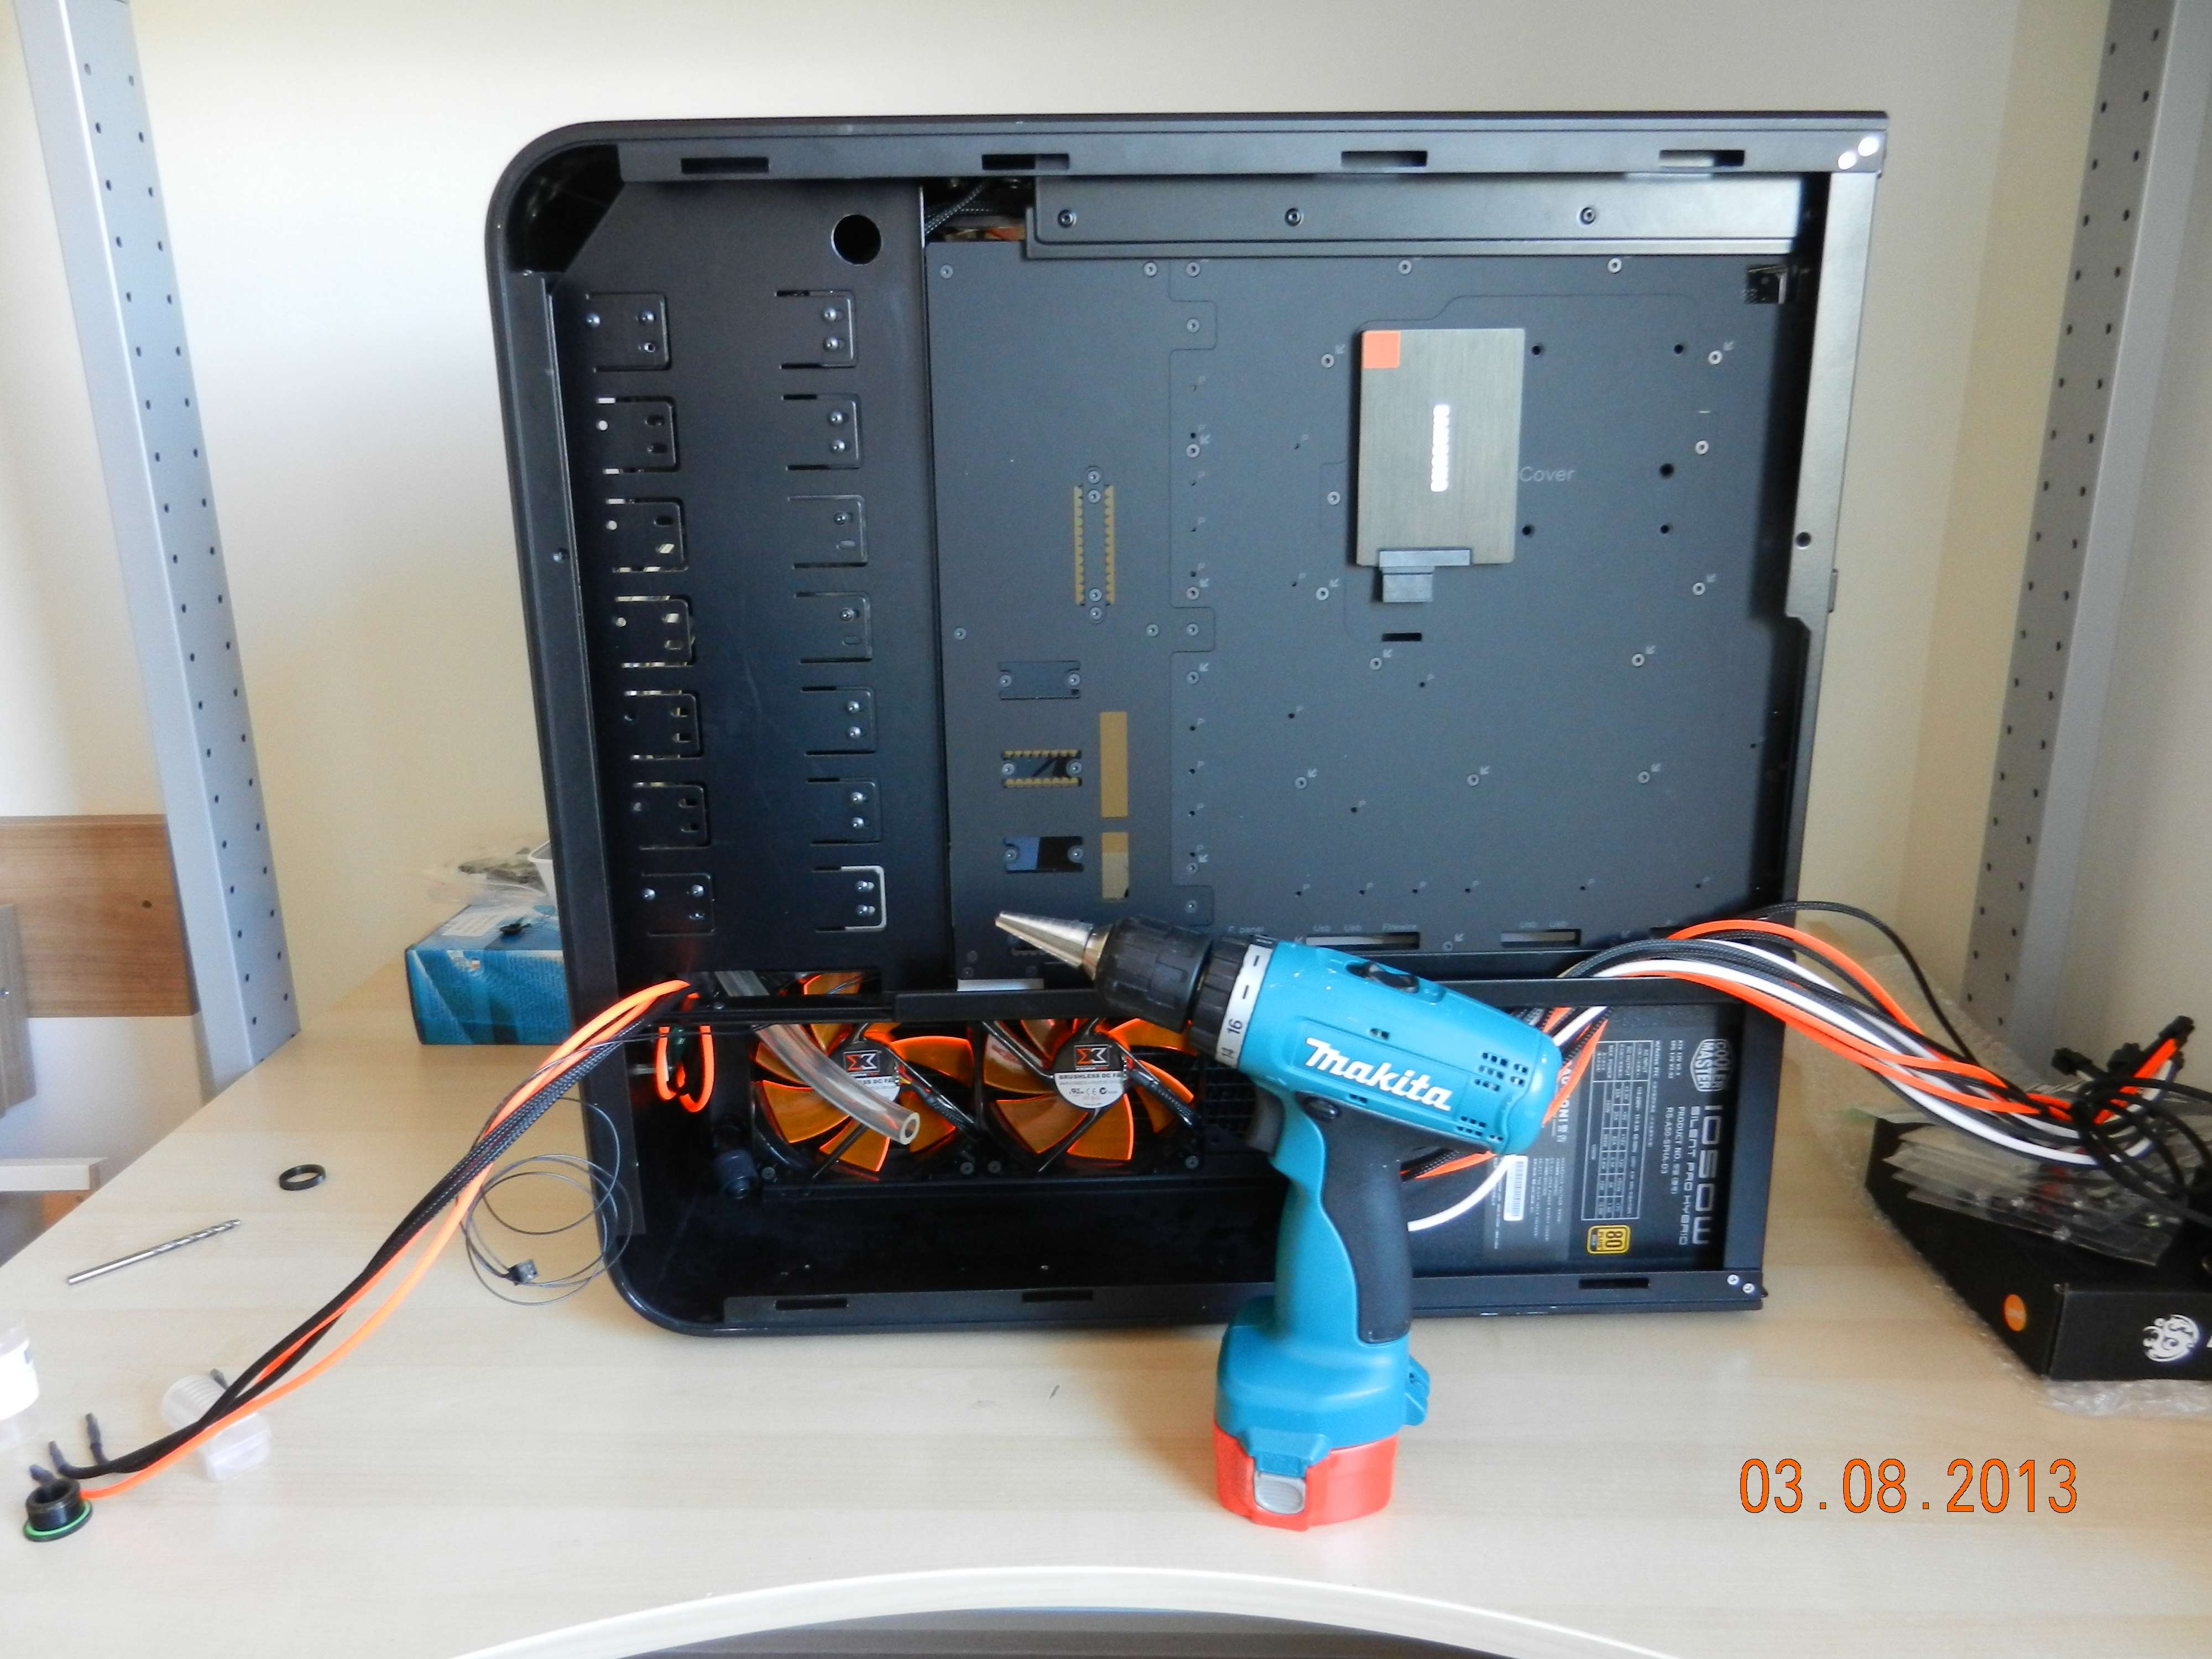
Did some more work yesterday. Yesterday I realised I cannot fill the loop when I have closed the front end completely. And I have to close the front end completely to fill the loop.
PARADOX!!!
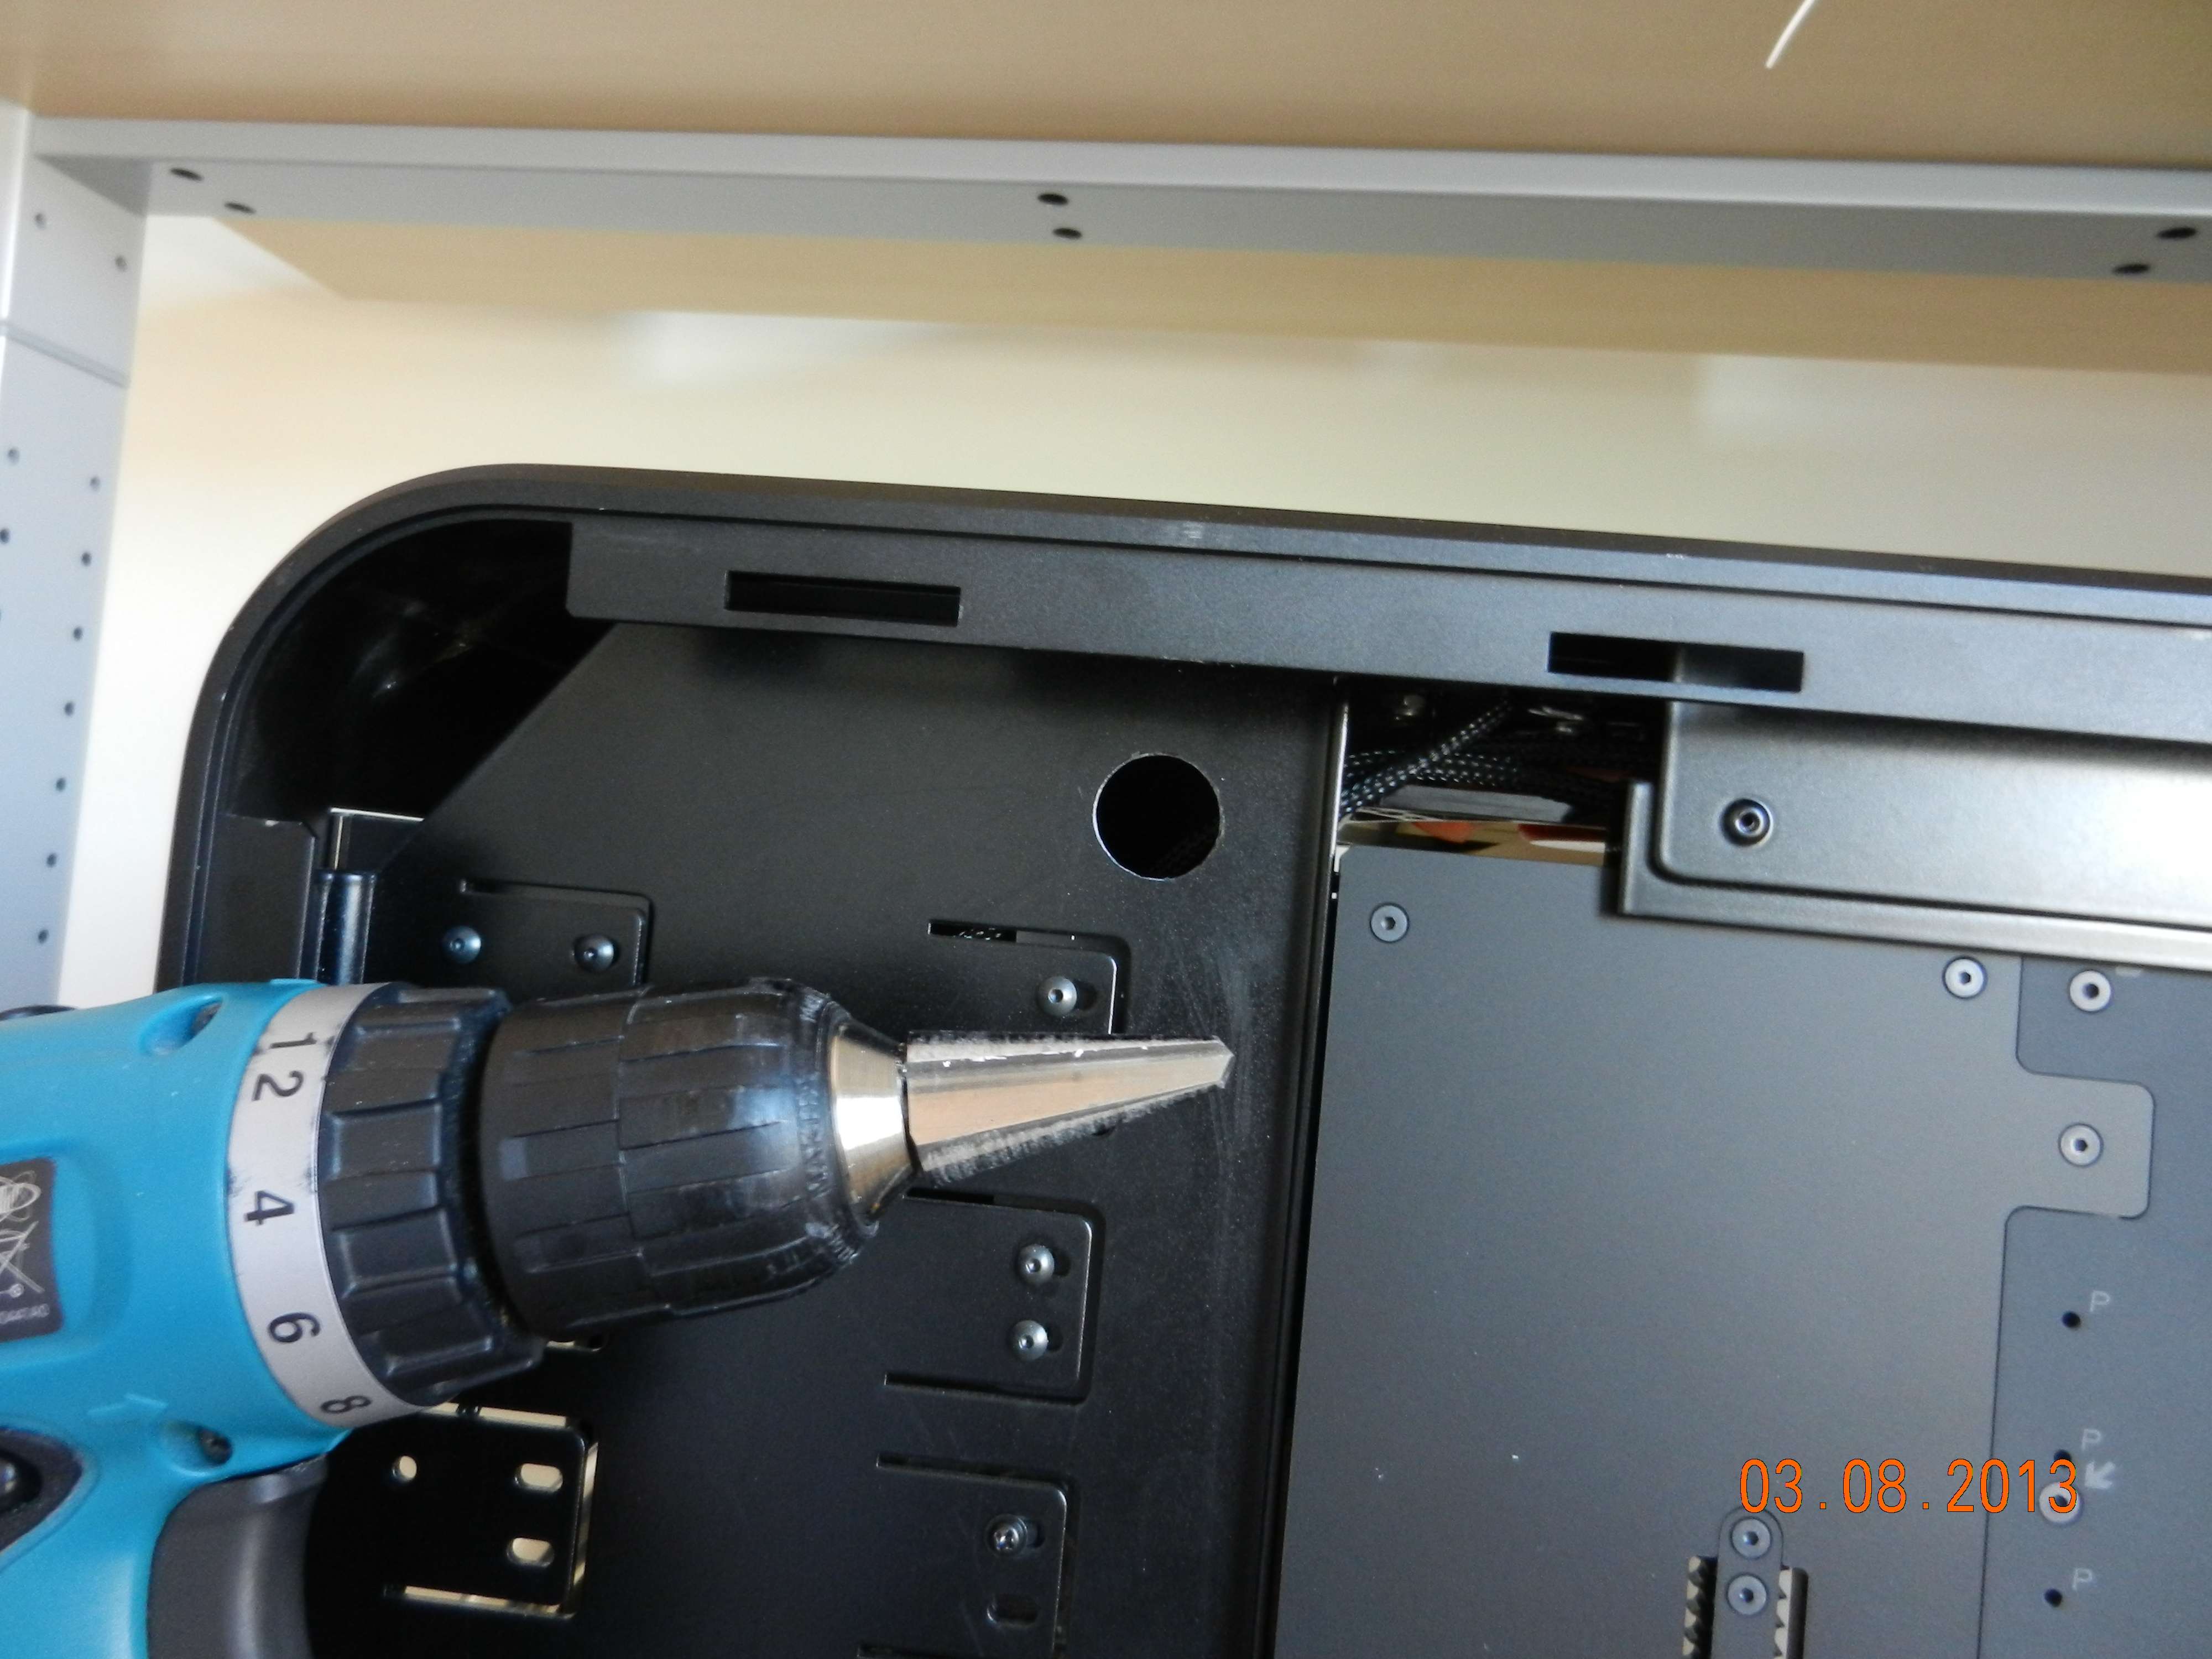
I did not want to mutulate the outside of the case to create a fillport. So I instead wanted to create one on the left side 5,25 inch bay.
I had ordered a tool for some decent hole making for fillports from Aquacomputer.
I first drilled a hole with a regular metal drill, then used the tapped drillbit and man it went like the sidepanel as if it was butter.
But the bits of metal were flying all over the place. I used a vacuum cleaner under it but still missed a lot of bits flying. I had to vacuum the inside of the case as well
Finished the fillport off with an Aquacomputer pressure equalisation membrane.
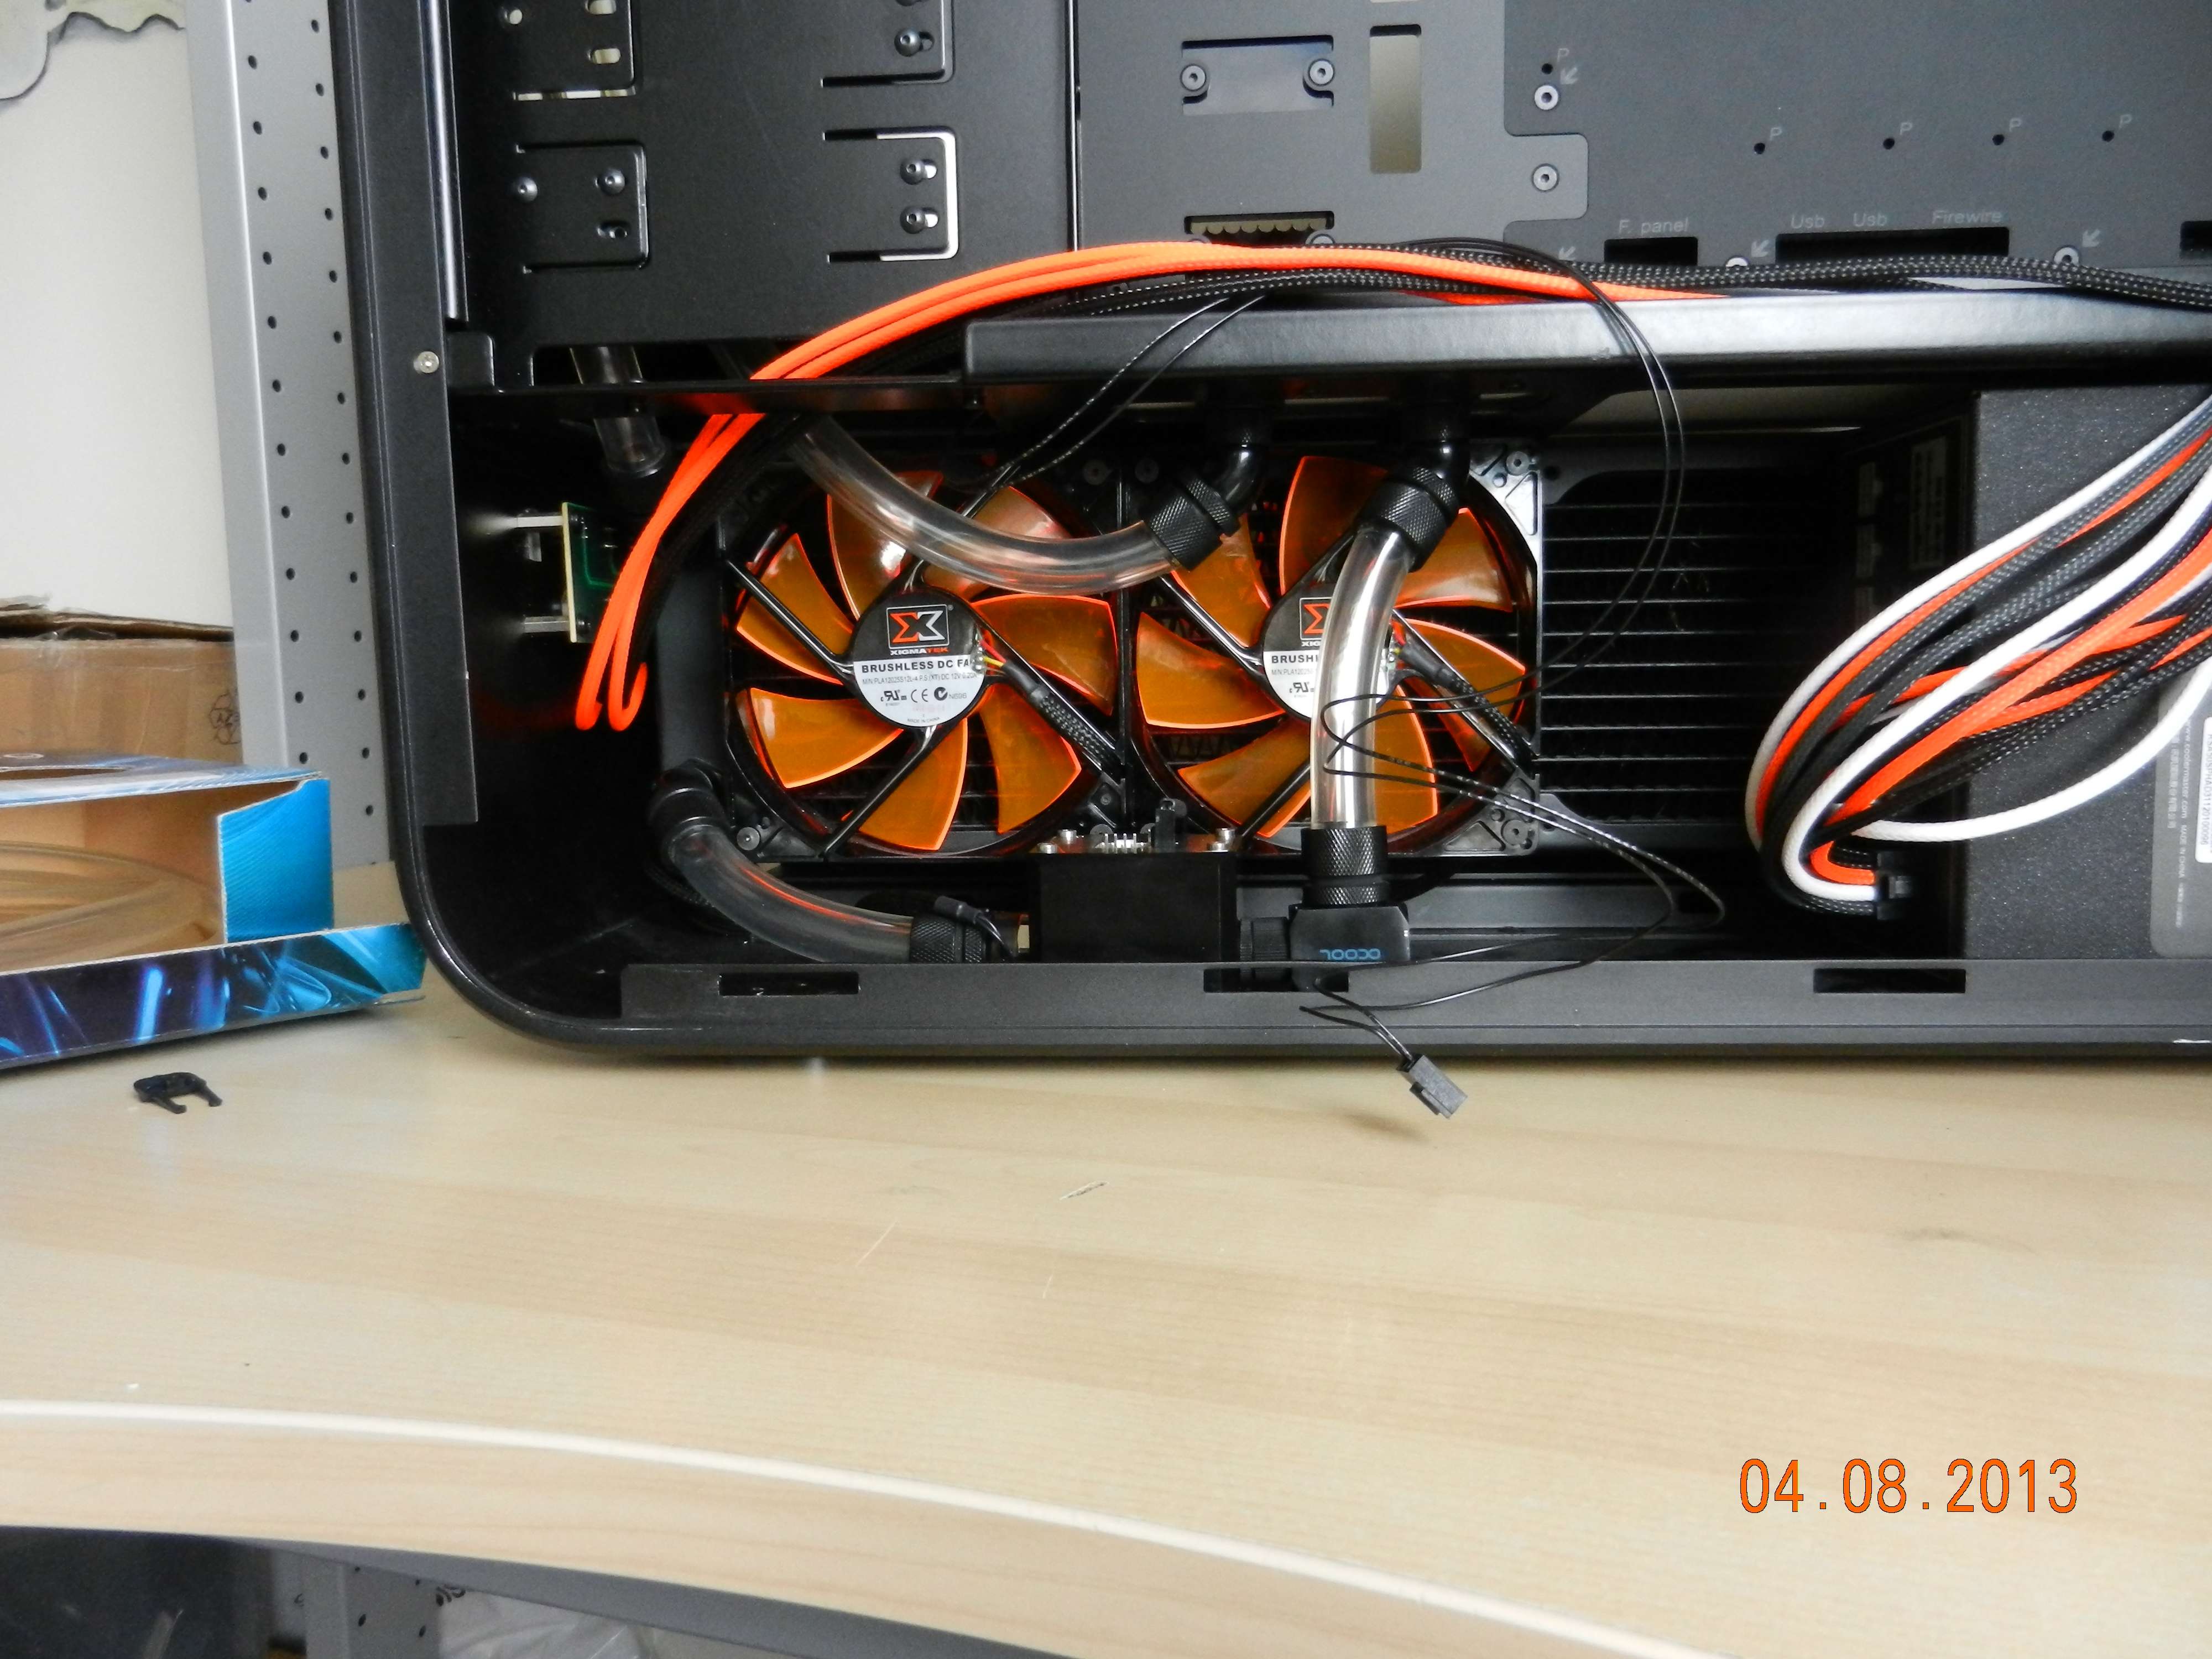
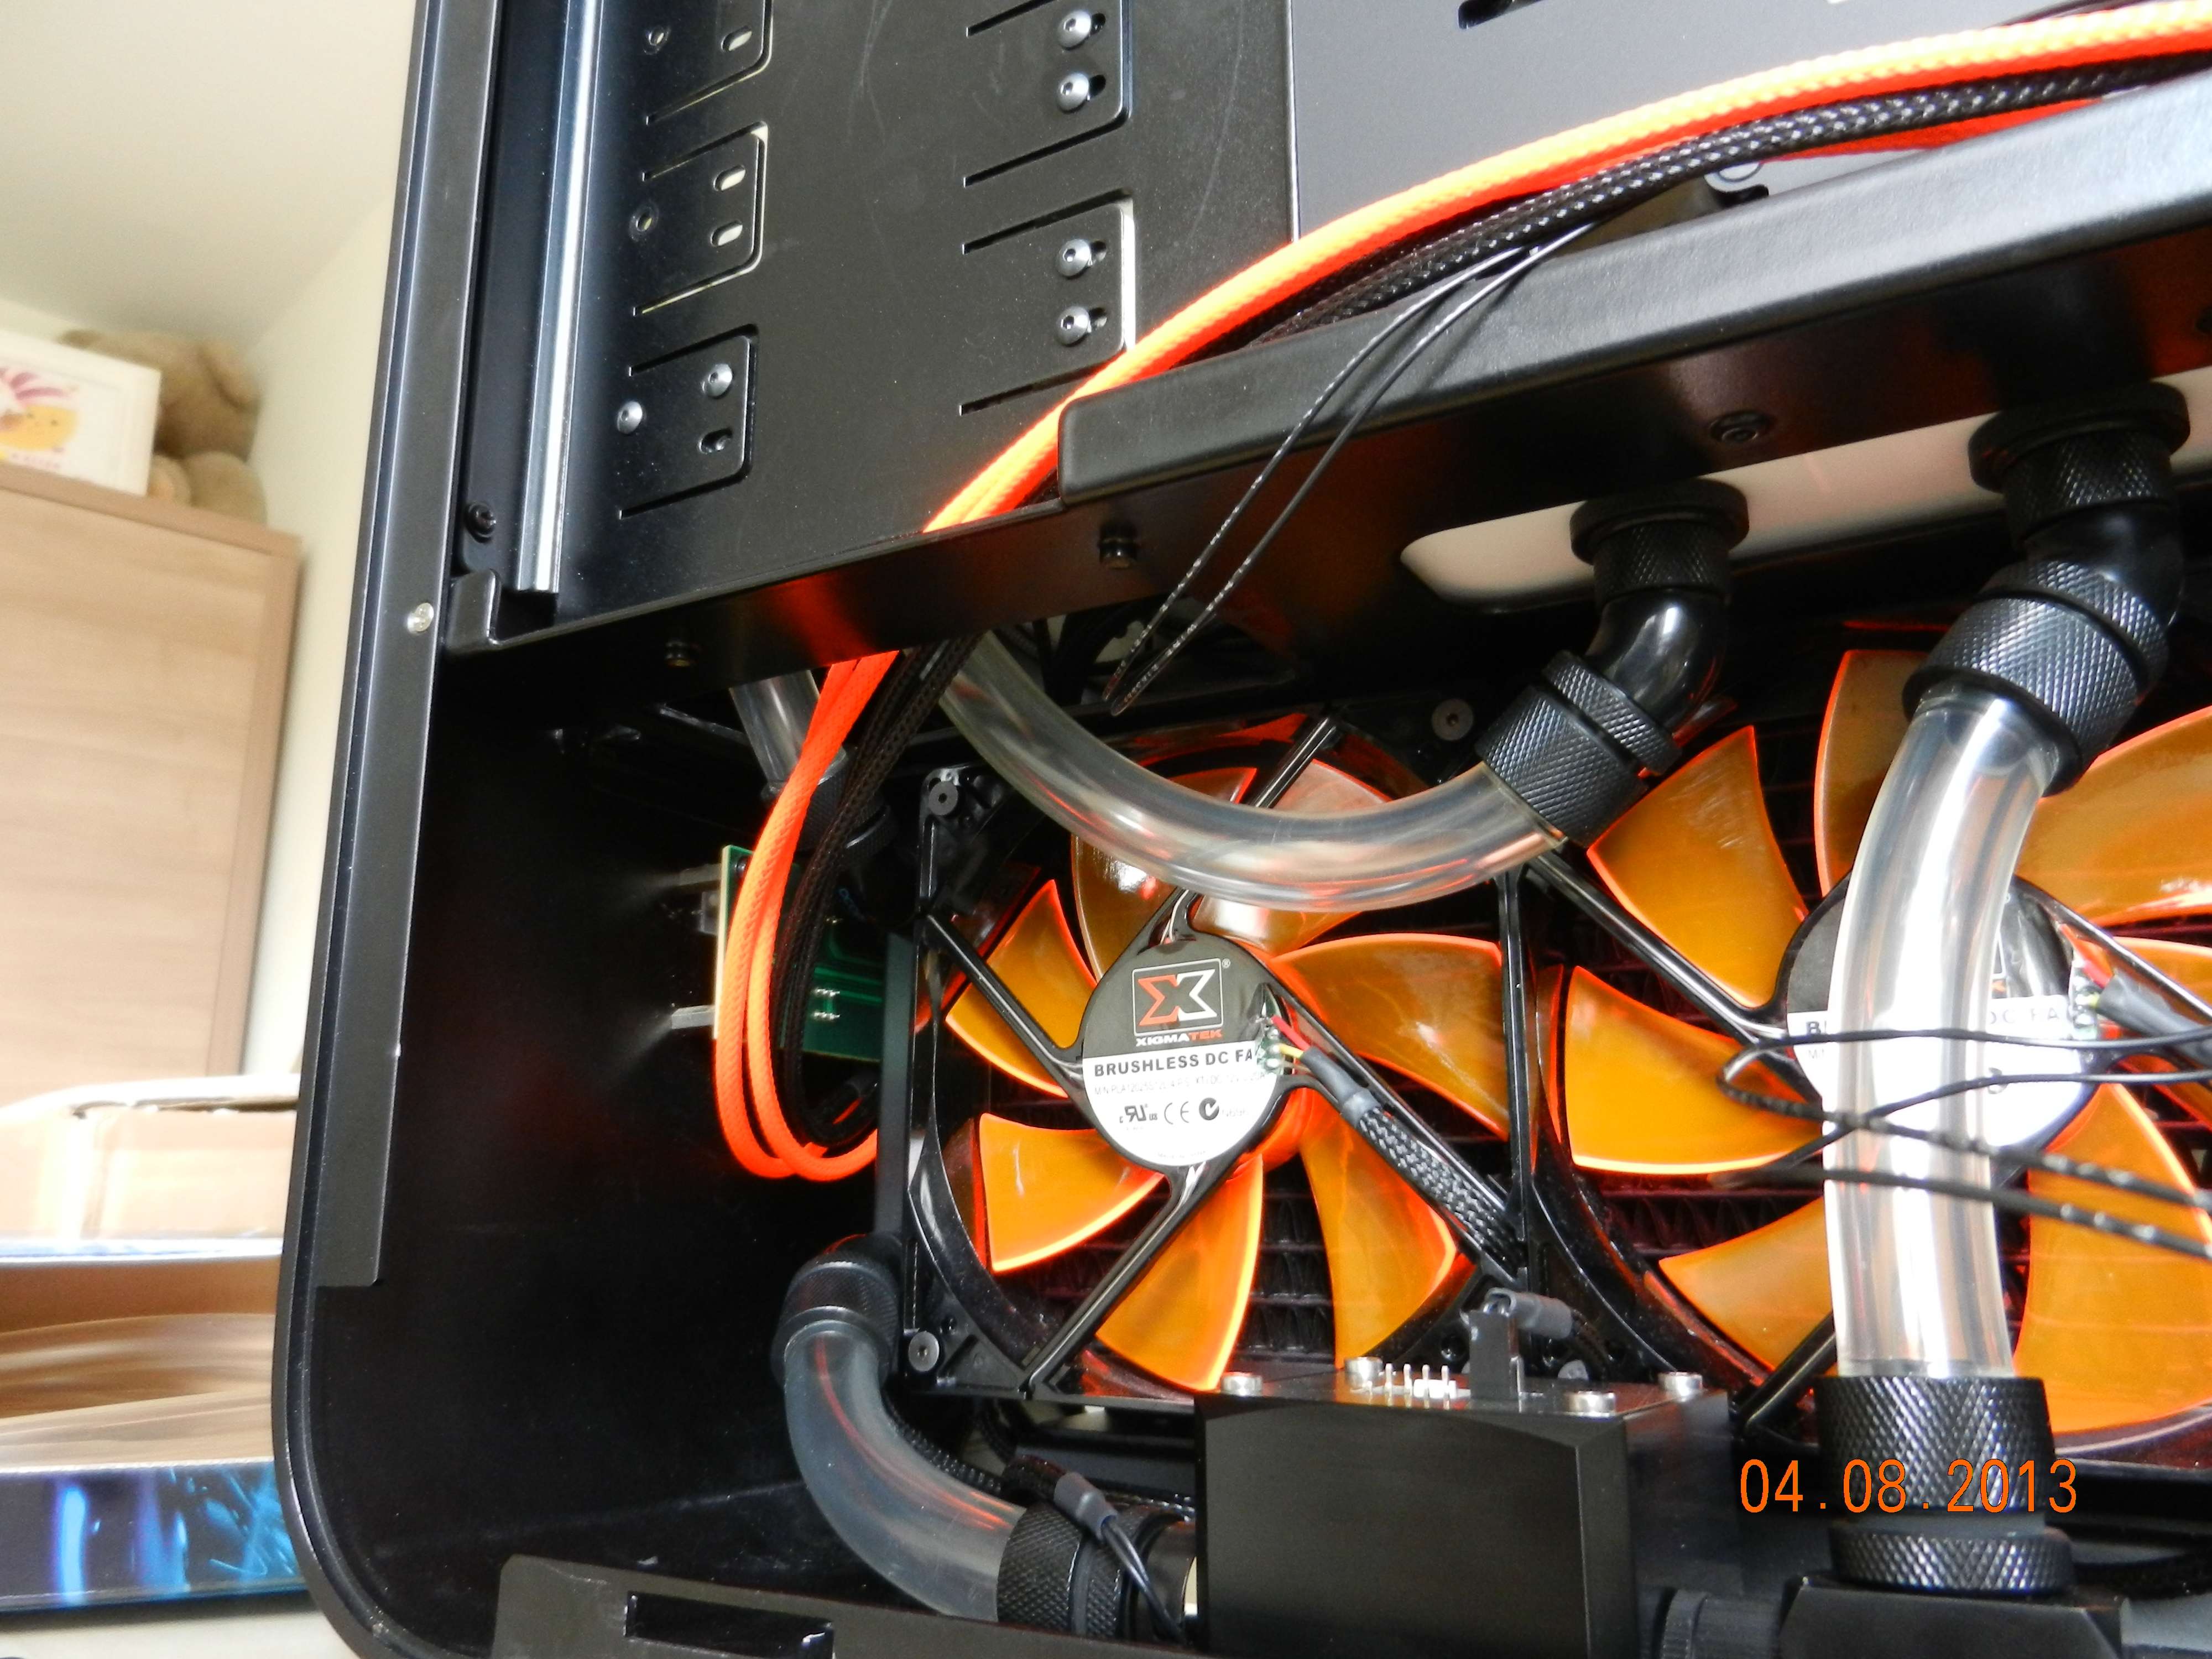
I also started to create the loop in the front and bottom part. I have a 90 degree fitting coming in for the left fillport through the midplate. It will let the tubing block the fan less.
I put soft pads for under chars etc and stuck it under the flowmeter and Alphacool square block. No scratching and no noise.
I have found another xspc annoying thing; their top reservoir screw is an M20 one. Which means it is incompatible with any other brand fitting. And yes I used the Bitspower fillport as well, but the thread are smaller.
So I had to order an XSPC fillport for their reservoirs. Which of course didn't come in black so I have to use a shiny one instead. And NO ONE has one in the listing let alone in stock in Holland. So I had to order from the UK again. Which means again a long wait before I can move on. Stupid me for thinking I was almost done
AAARRGGHHHHHHHHHHH
Oh well, I started on doing some cable management as well. Making sure some wiring will be nice and out of sight using cable clips.
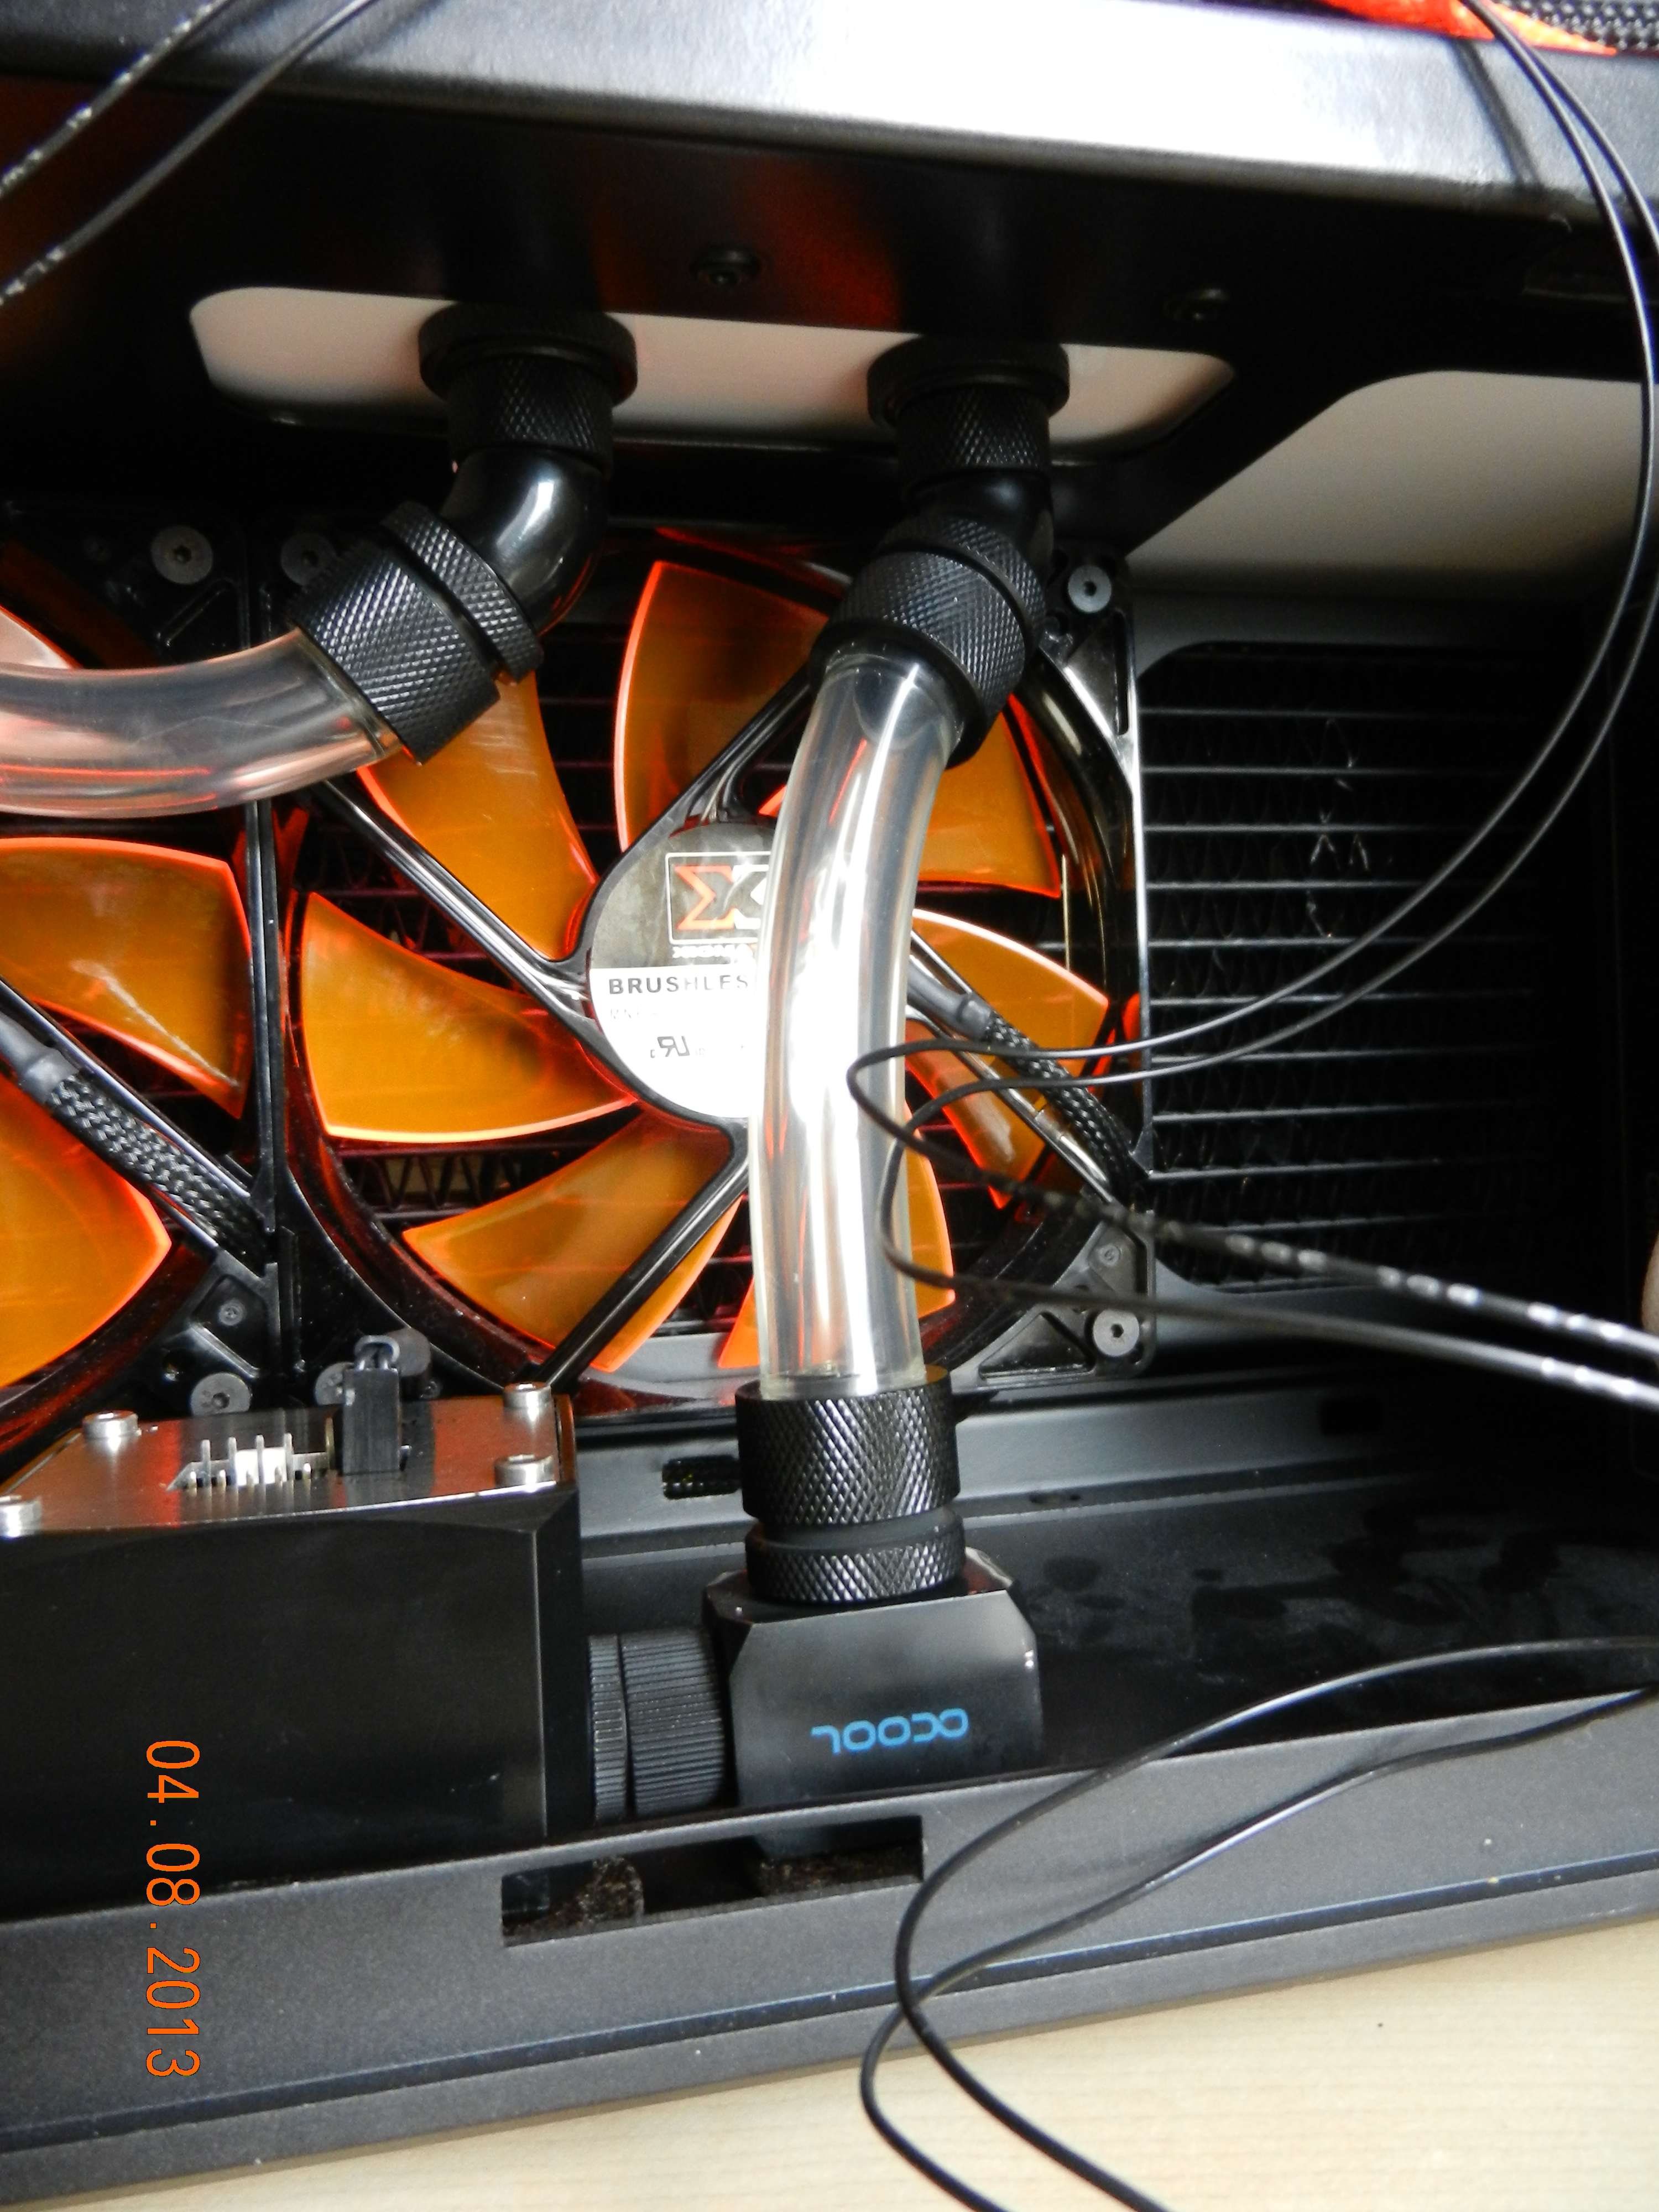

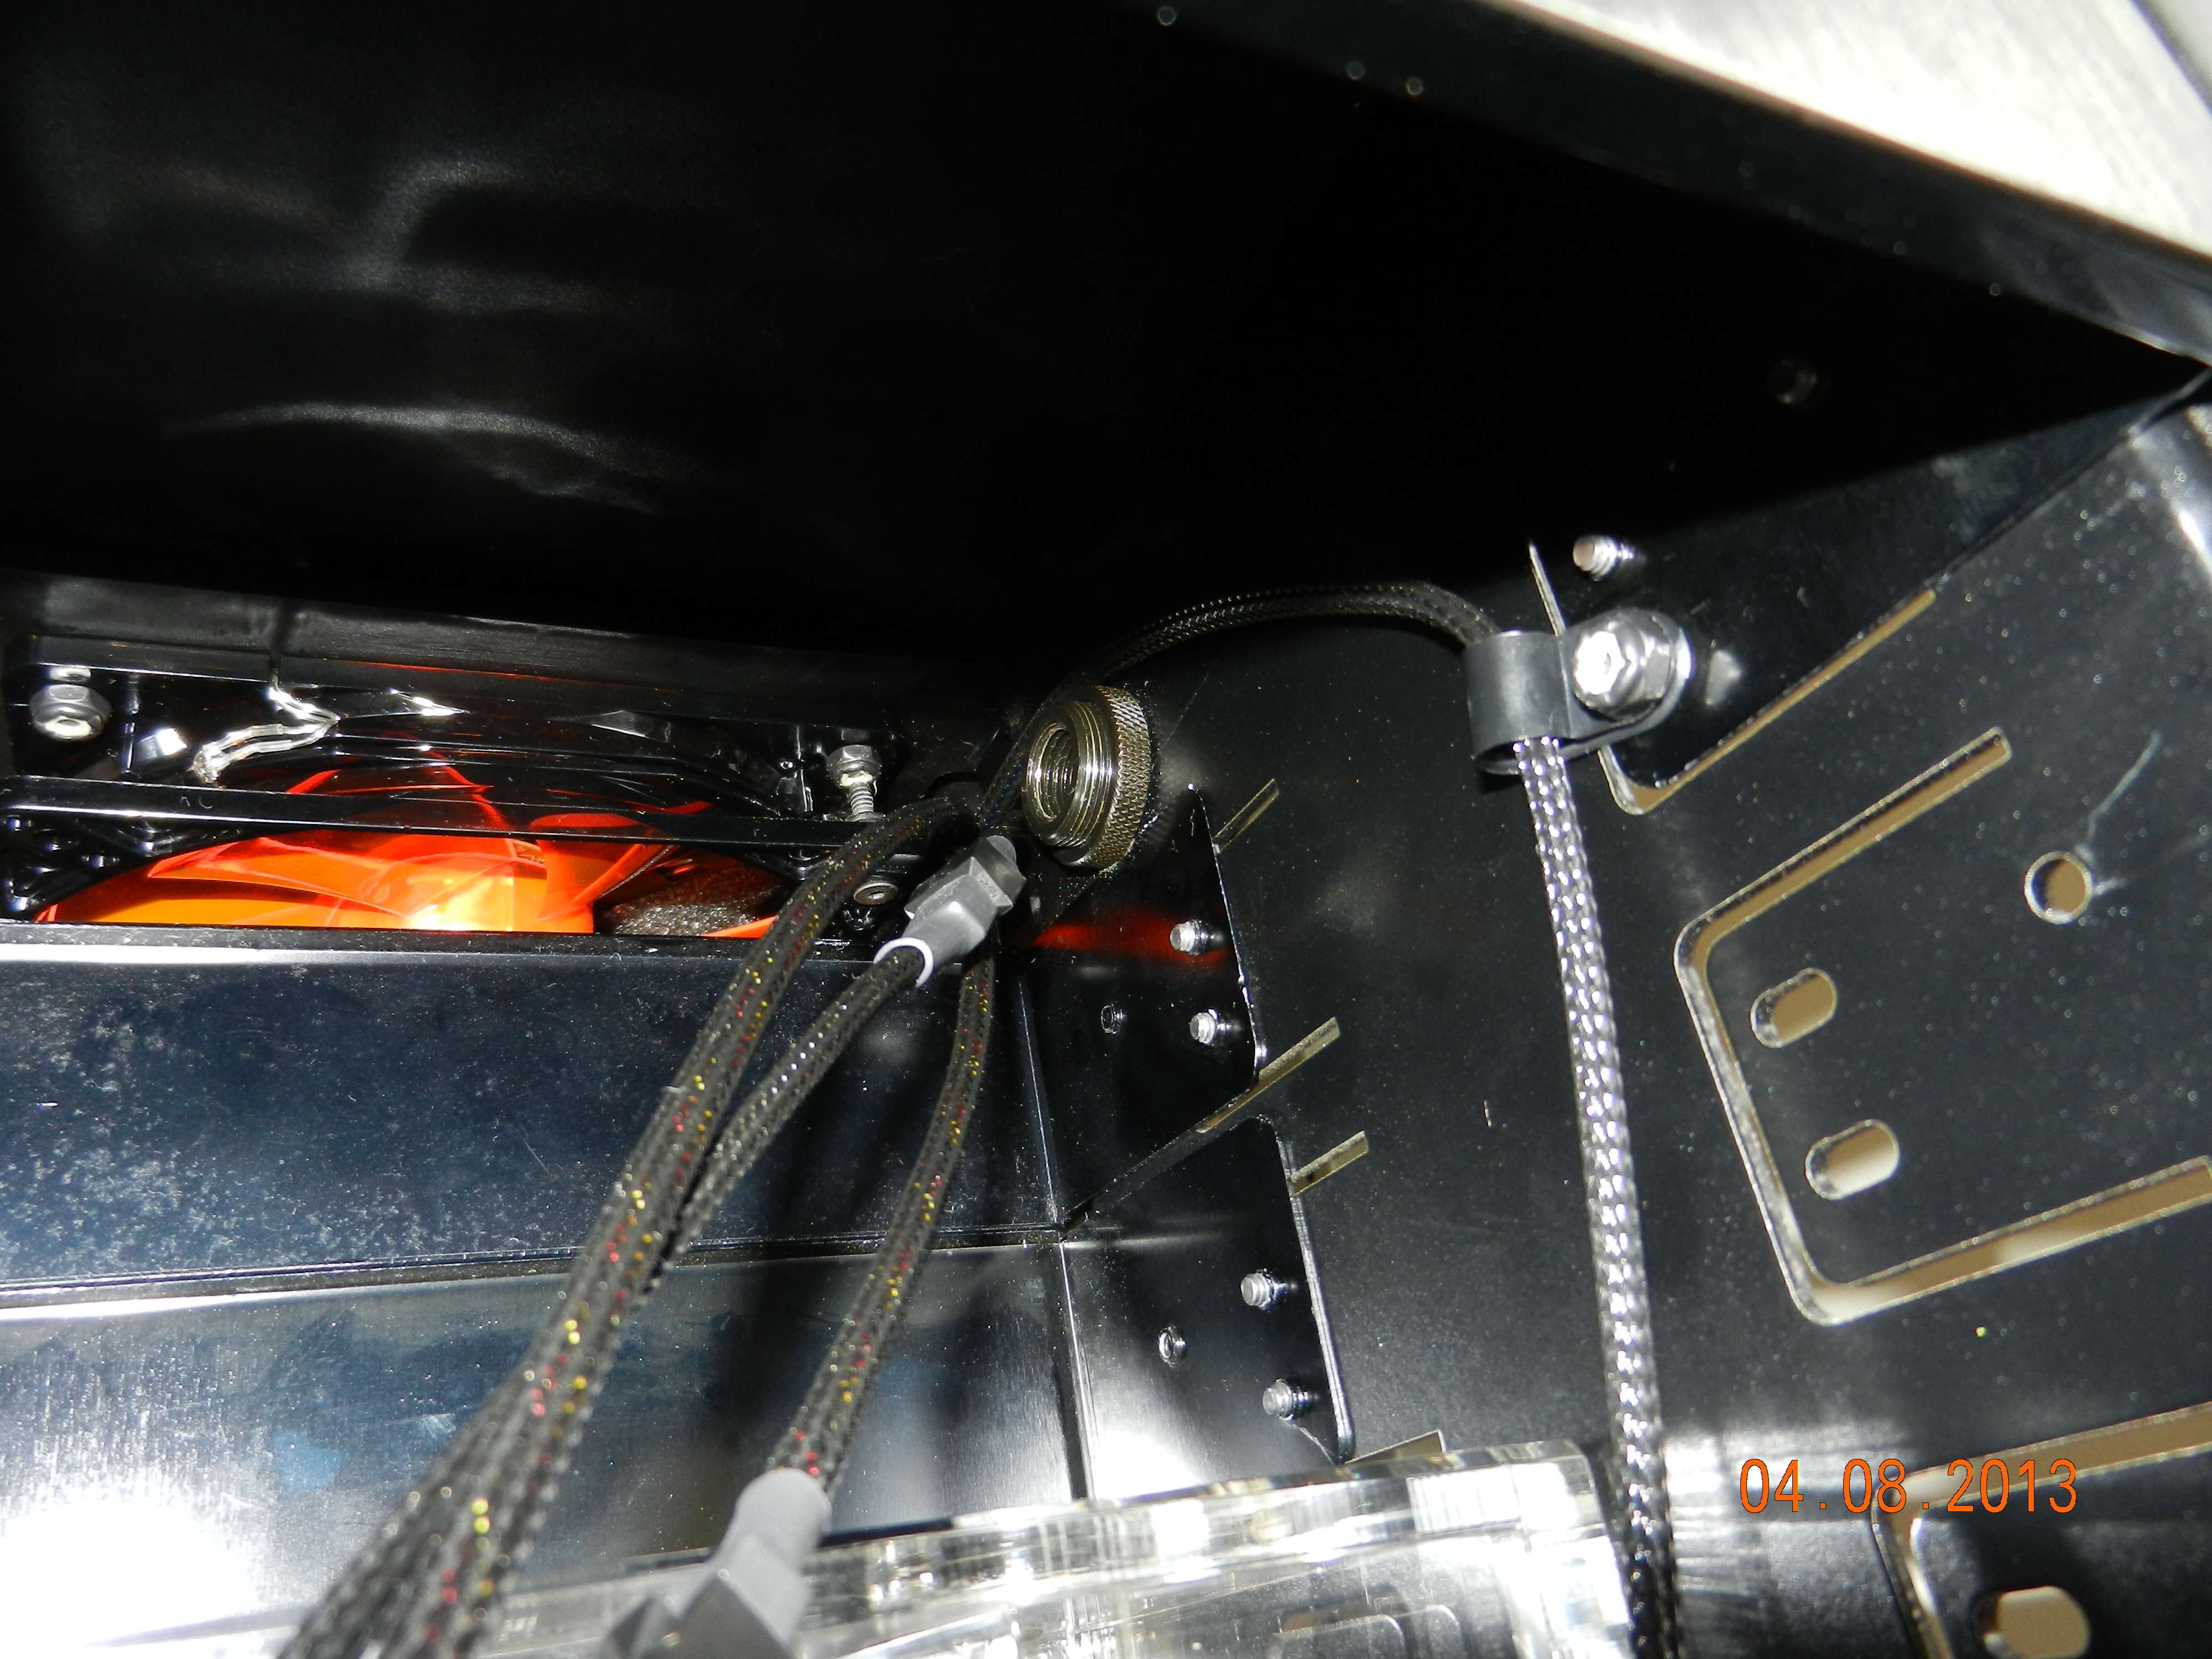
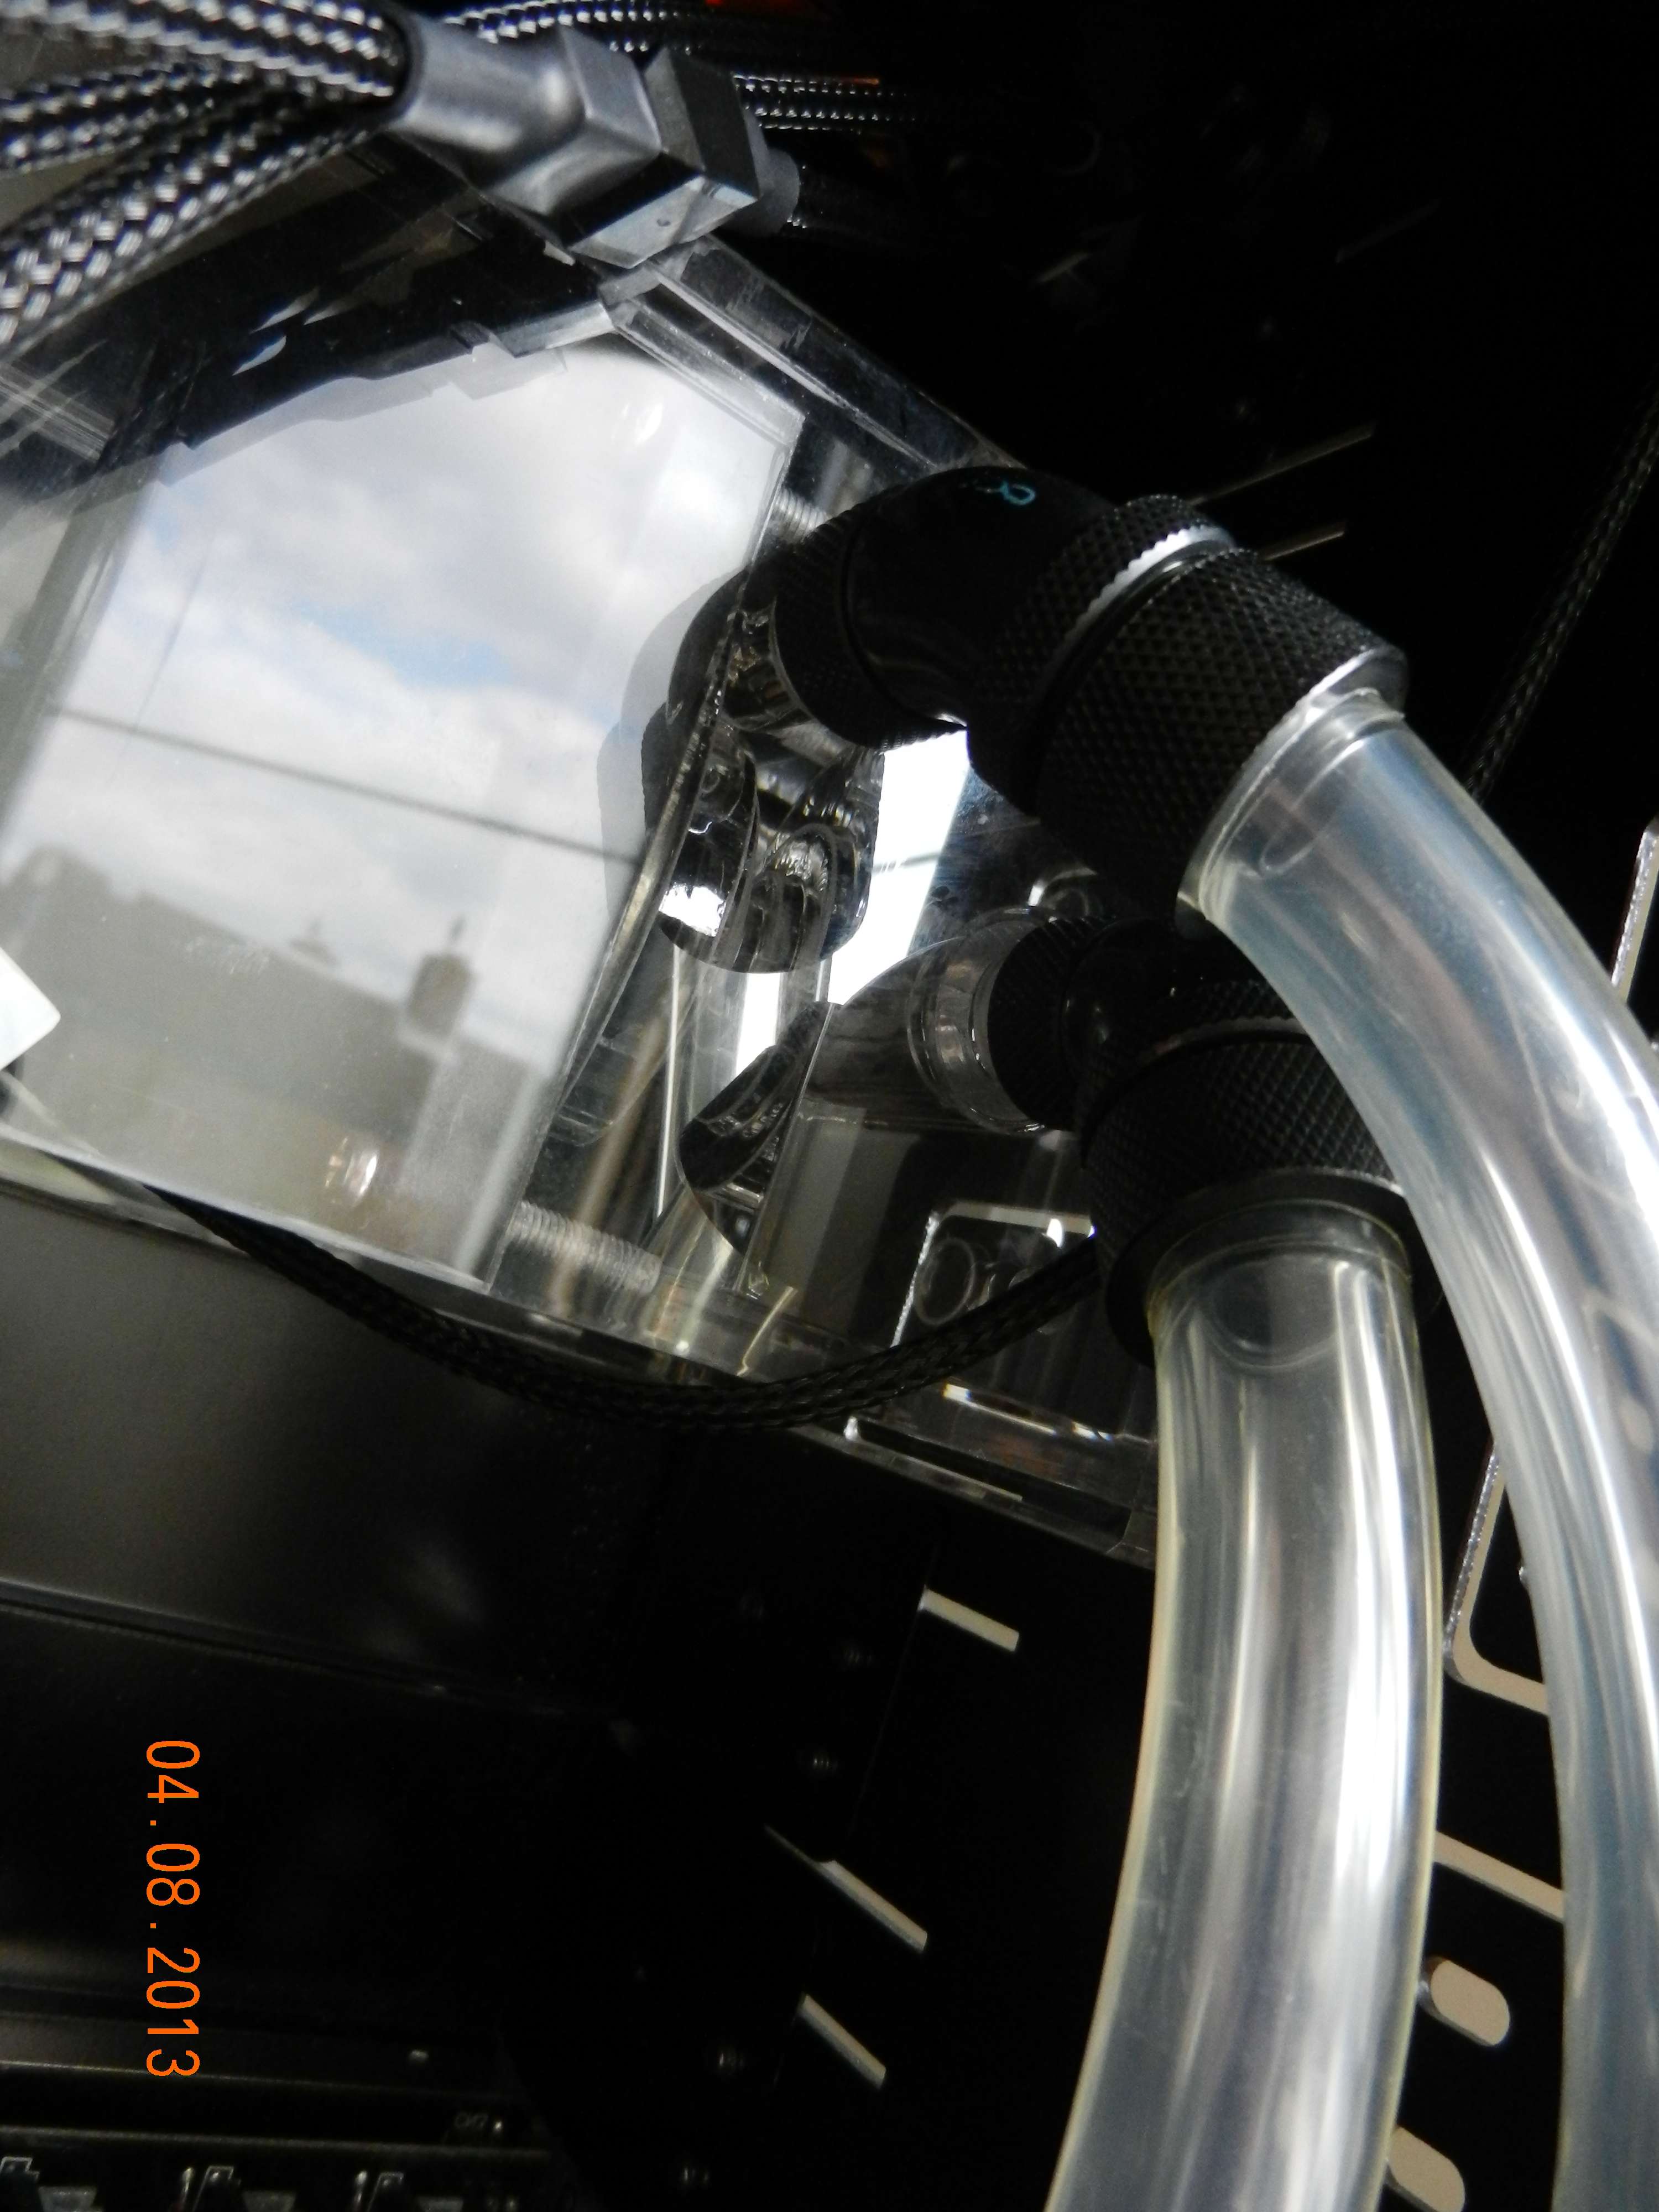
PARADOX!!!
I did not want to mutulate the outside of the case to create a fillport. So I instead wanted to create one on the left side 5,25 inch bay.
I had ordered a tool for some decent hole making for fillports from Aquacomputer.
I first drilled a hole with a regular metal drill, then used the tapped drillbit and man it went like the sidepanel as if it was butter.
But the bits of metal were flying all over the place. I used a vacuum cleaner under it but still missed a lot of bits flying. I had to vacuum the inside of the case as well

Finished the fillport off with an Aquacomputer pressure equalisation membrane.
I also started to create the loop in the front and bottom part. I have a 90 degree fitting coming in for the left fillport through the midplate. It will let the tubing block the fan less.
I put soft pads for under chars etc and stuck it under the flowmeter and Alphacool square block. No scratching and no noise.
I have found another xspc annoying thing; their top reservoir screw is an M20 one. Which means it is incompatible with any other brand fitting. And yes I used the Bitspower fillport as well, but the thread are smaller.
So I had to order an XSPC fillport for their reservoirs. Which of course didn't come in black so I have to use a shiny one instead. And NO ONE has one in the listing let alone in stock in Holland. So I had to order from the UK again. Which means again a long wait before I can move on. Stupid me for thinking I was almost done

AAARRGGHHHHHHHHHHH
Oh well, I started on doing some cable management as well. Making sure some wiring will be nice and out of sight using cable clips.


Associate
- Joined
- 28 Feb 2013
- Posts
- 1,710
- Location
- Leeds
Mmmm sexy 

Mmmm sexy
Thank you Jonnyp.
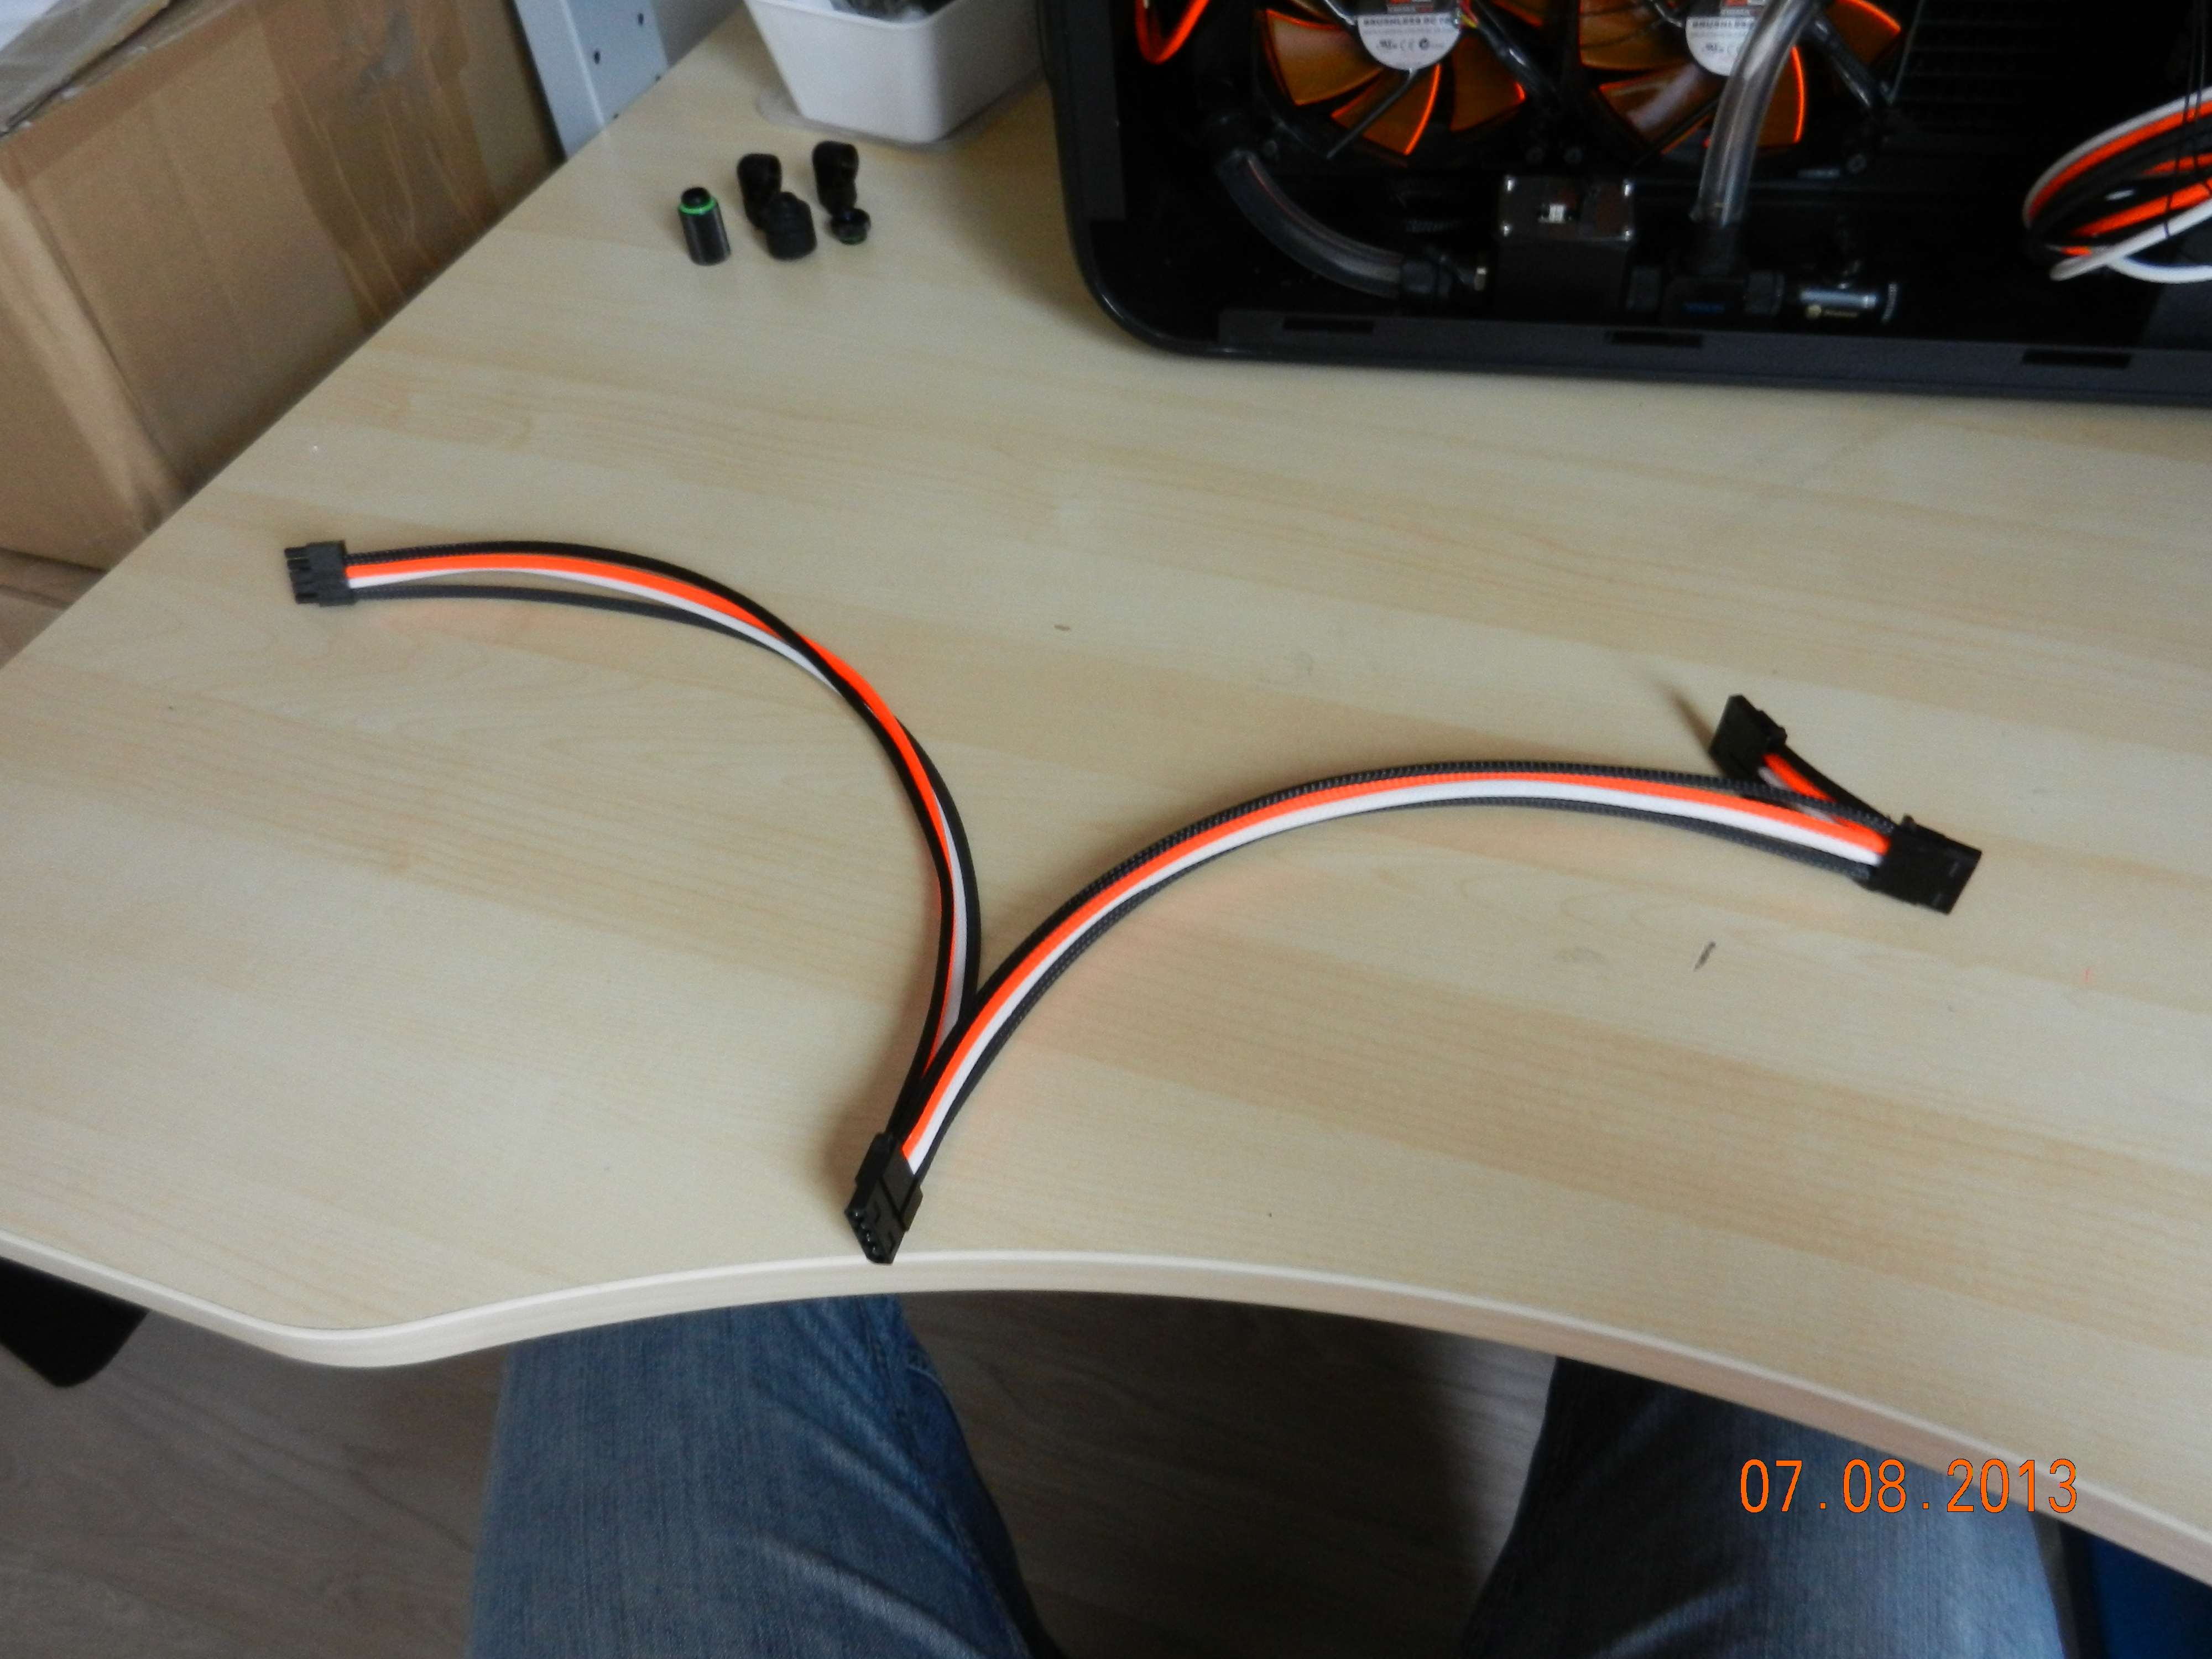
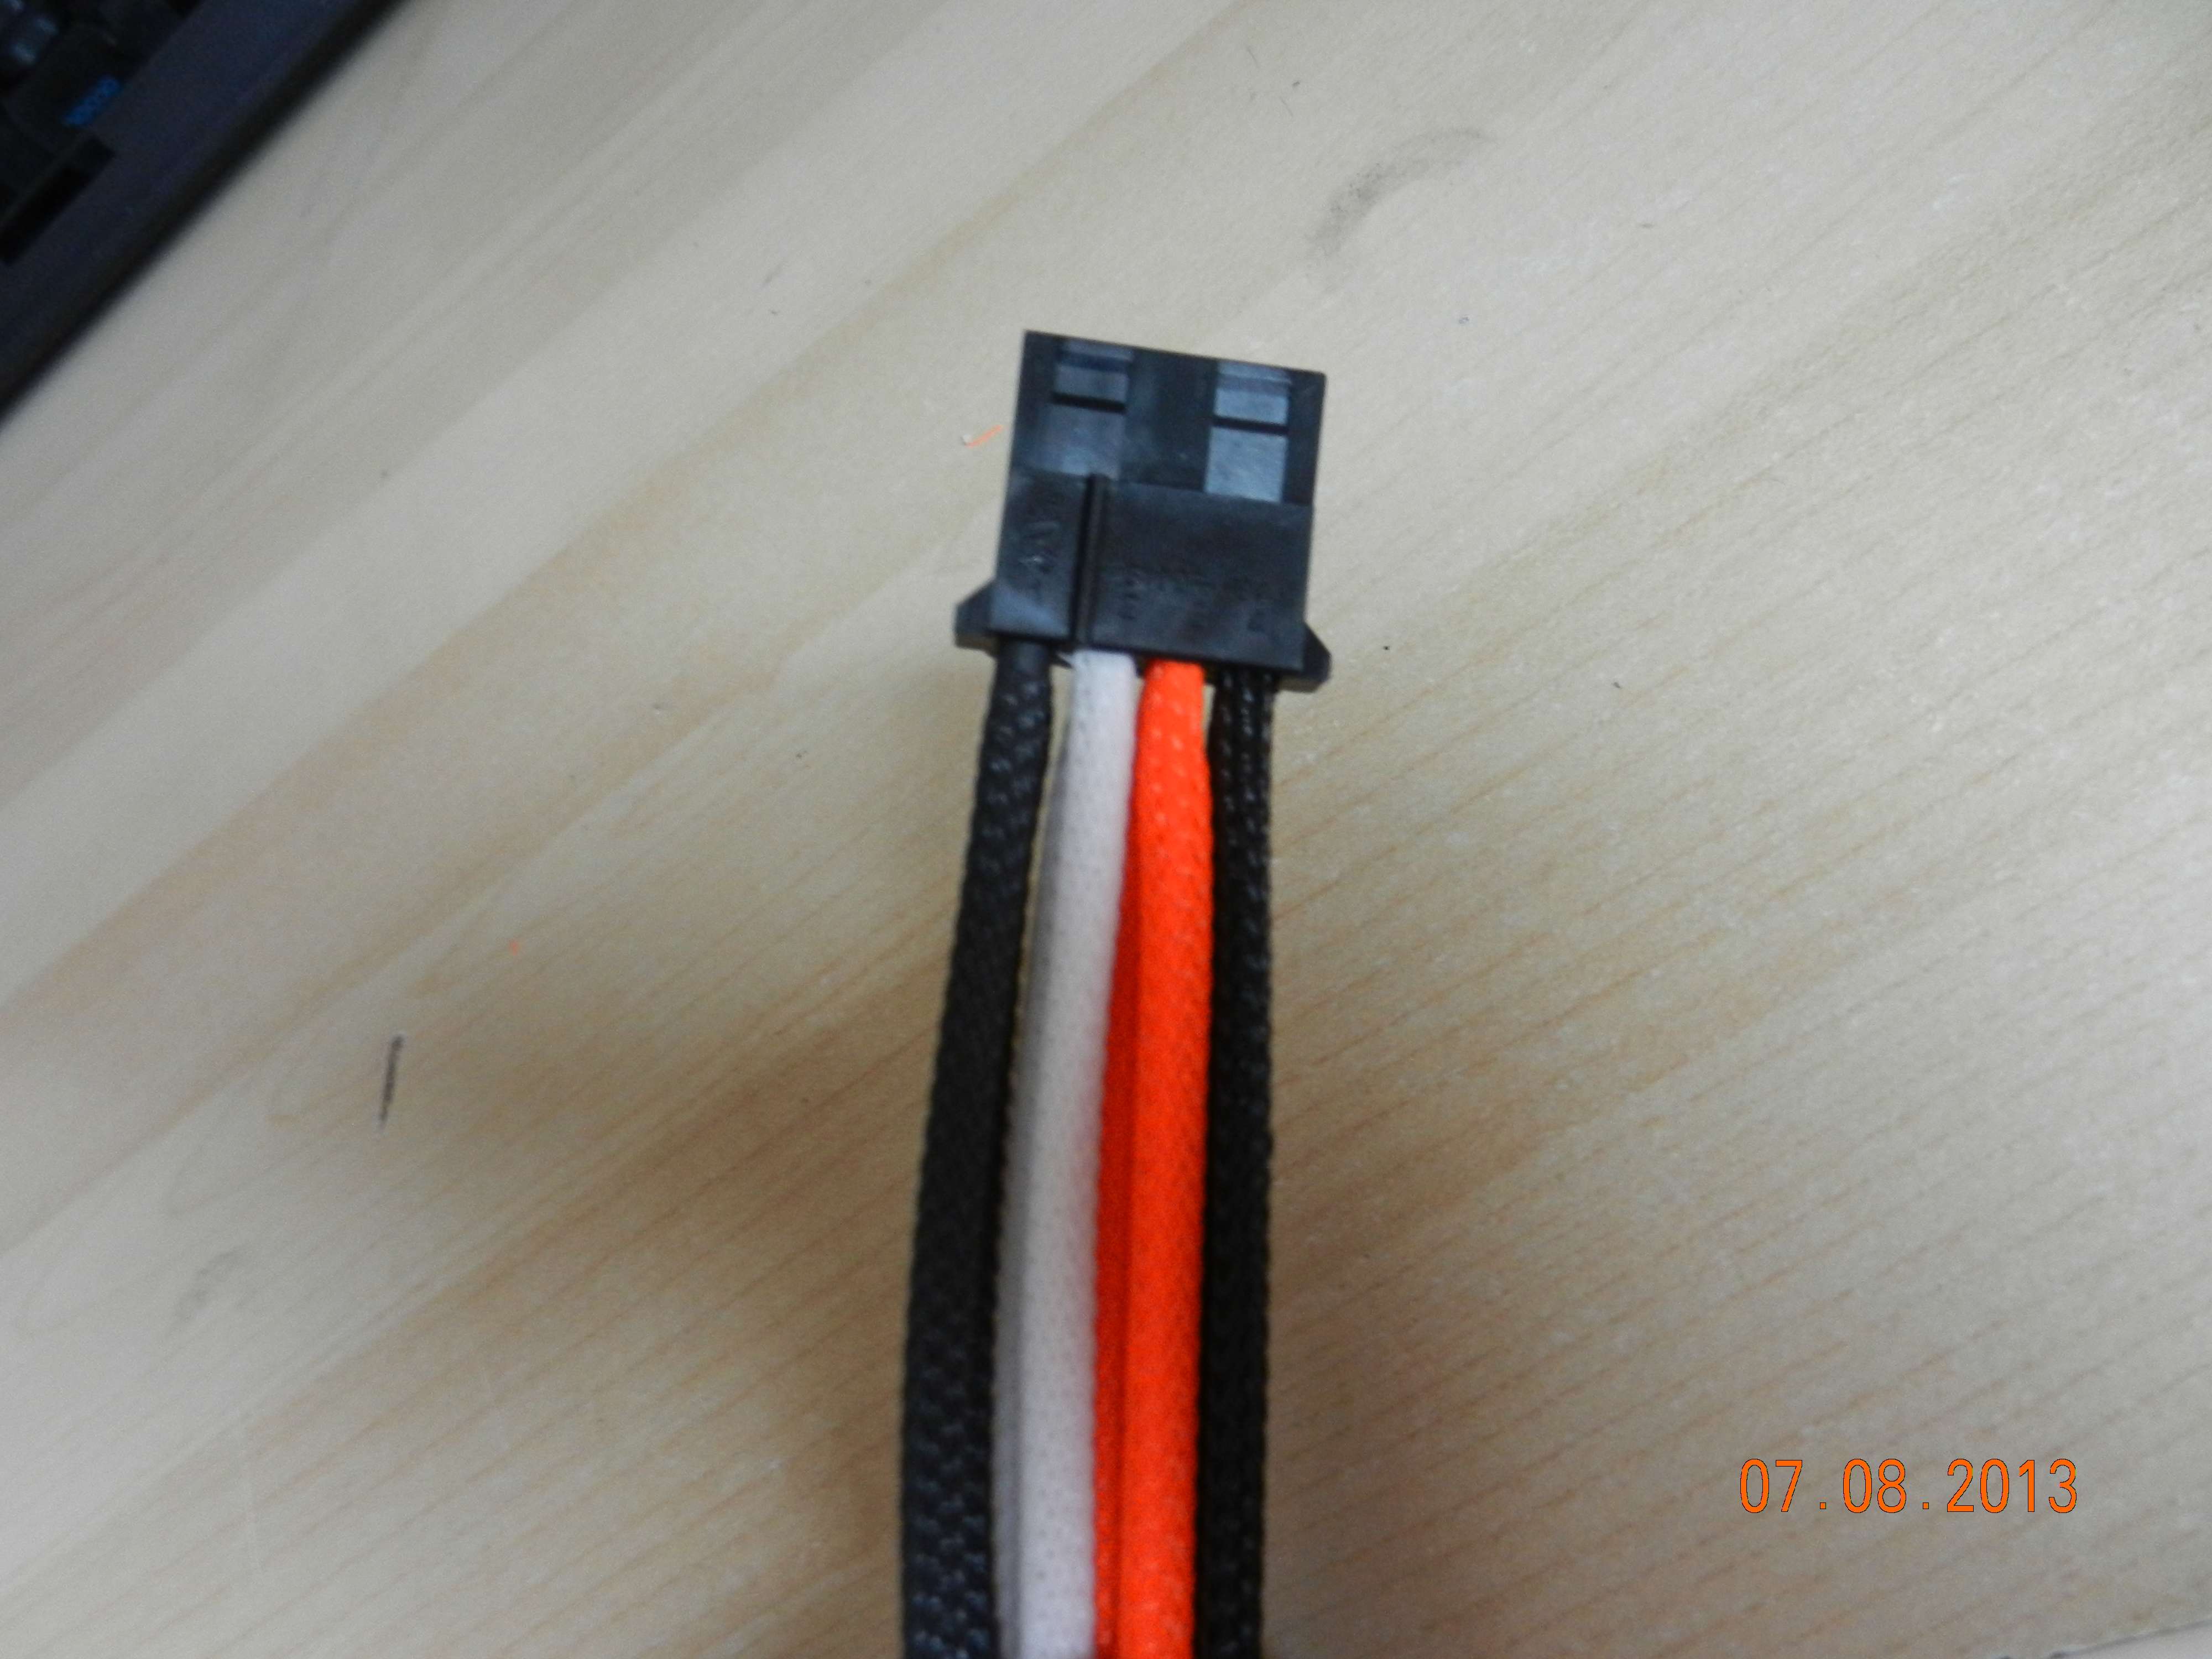
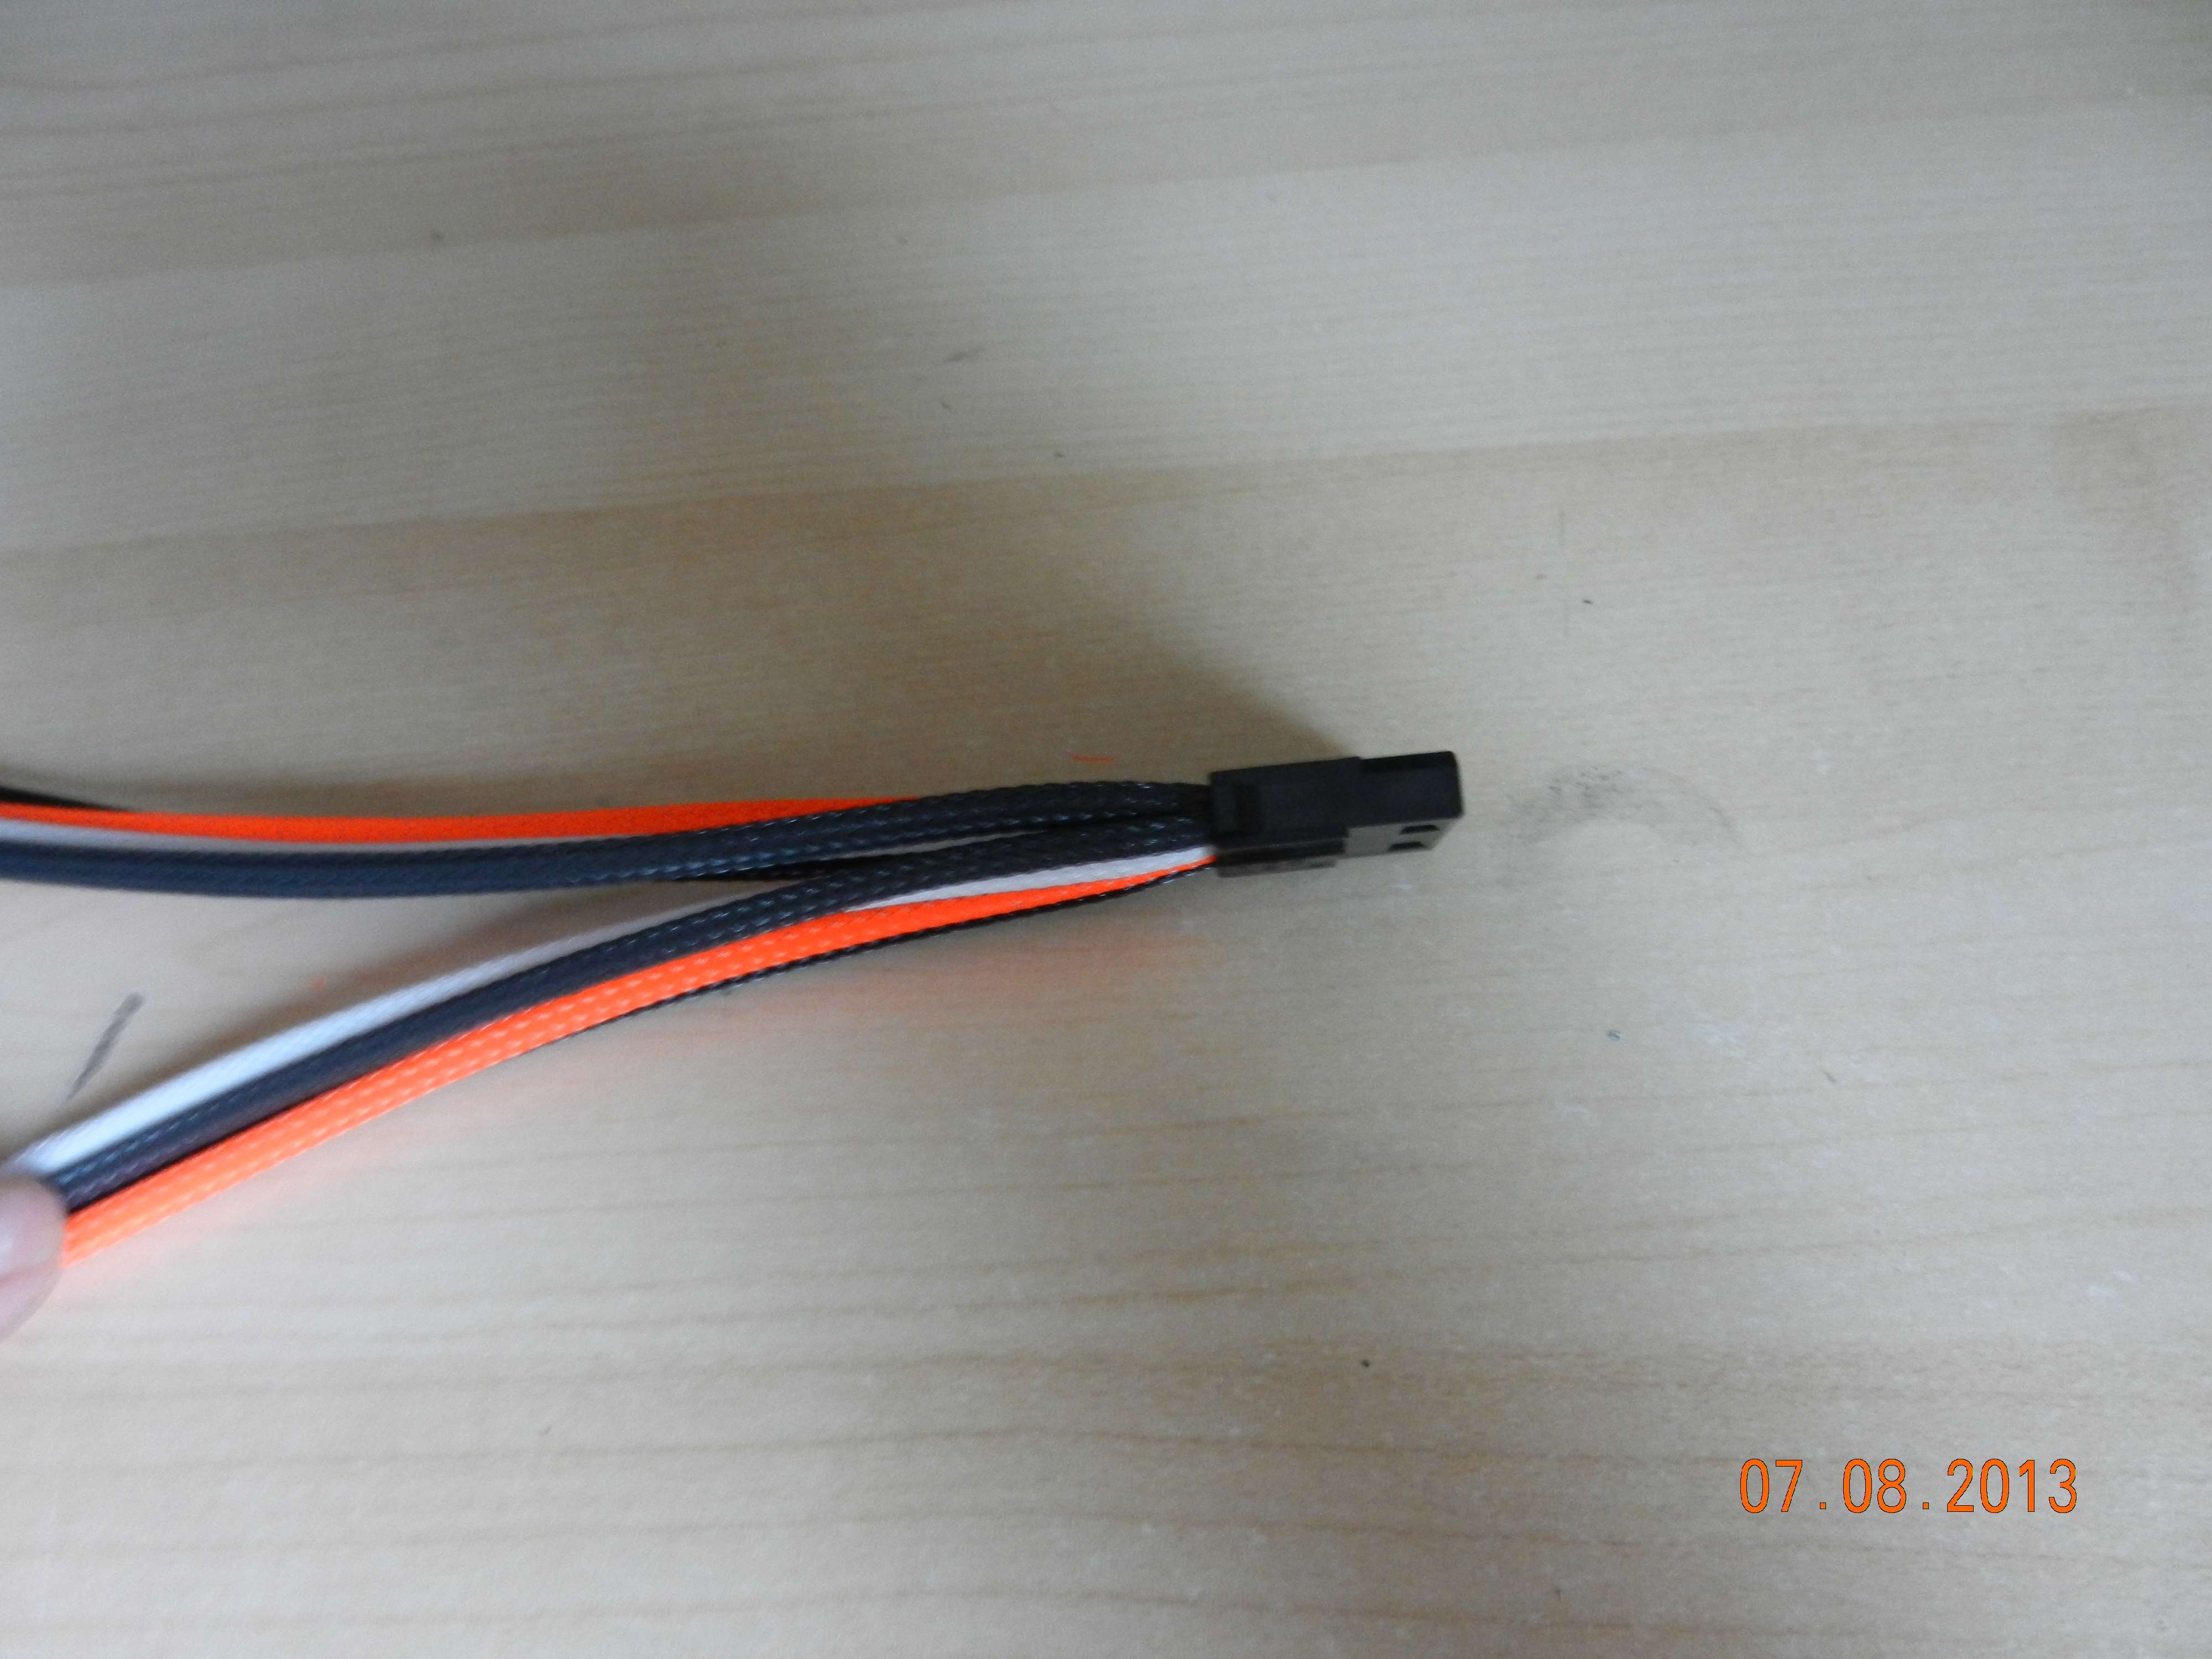
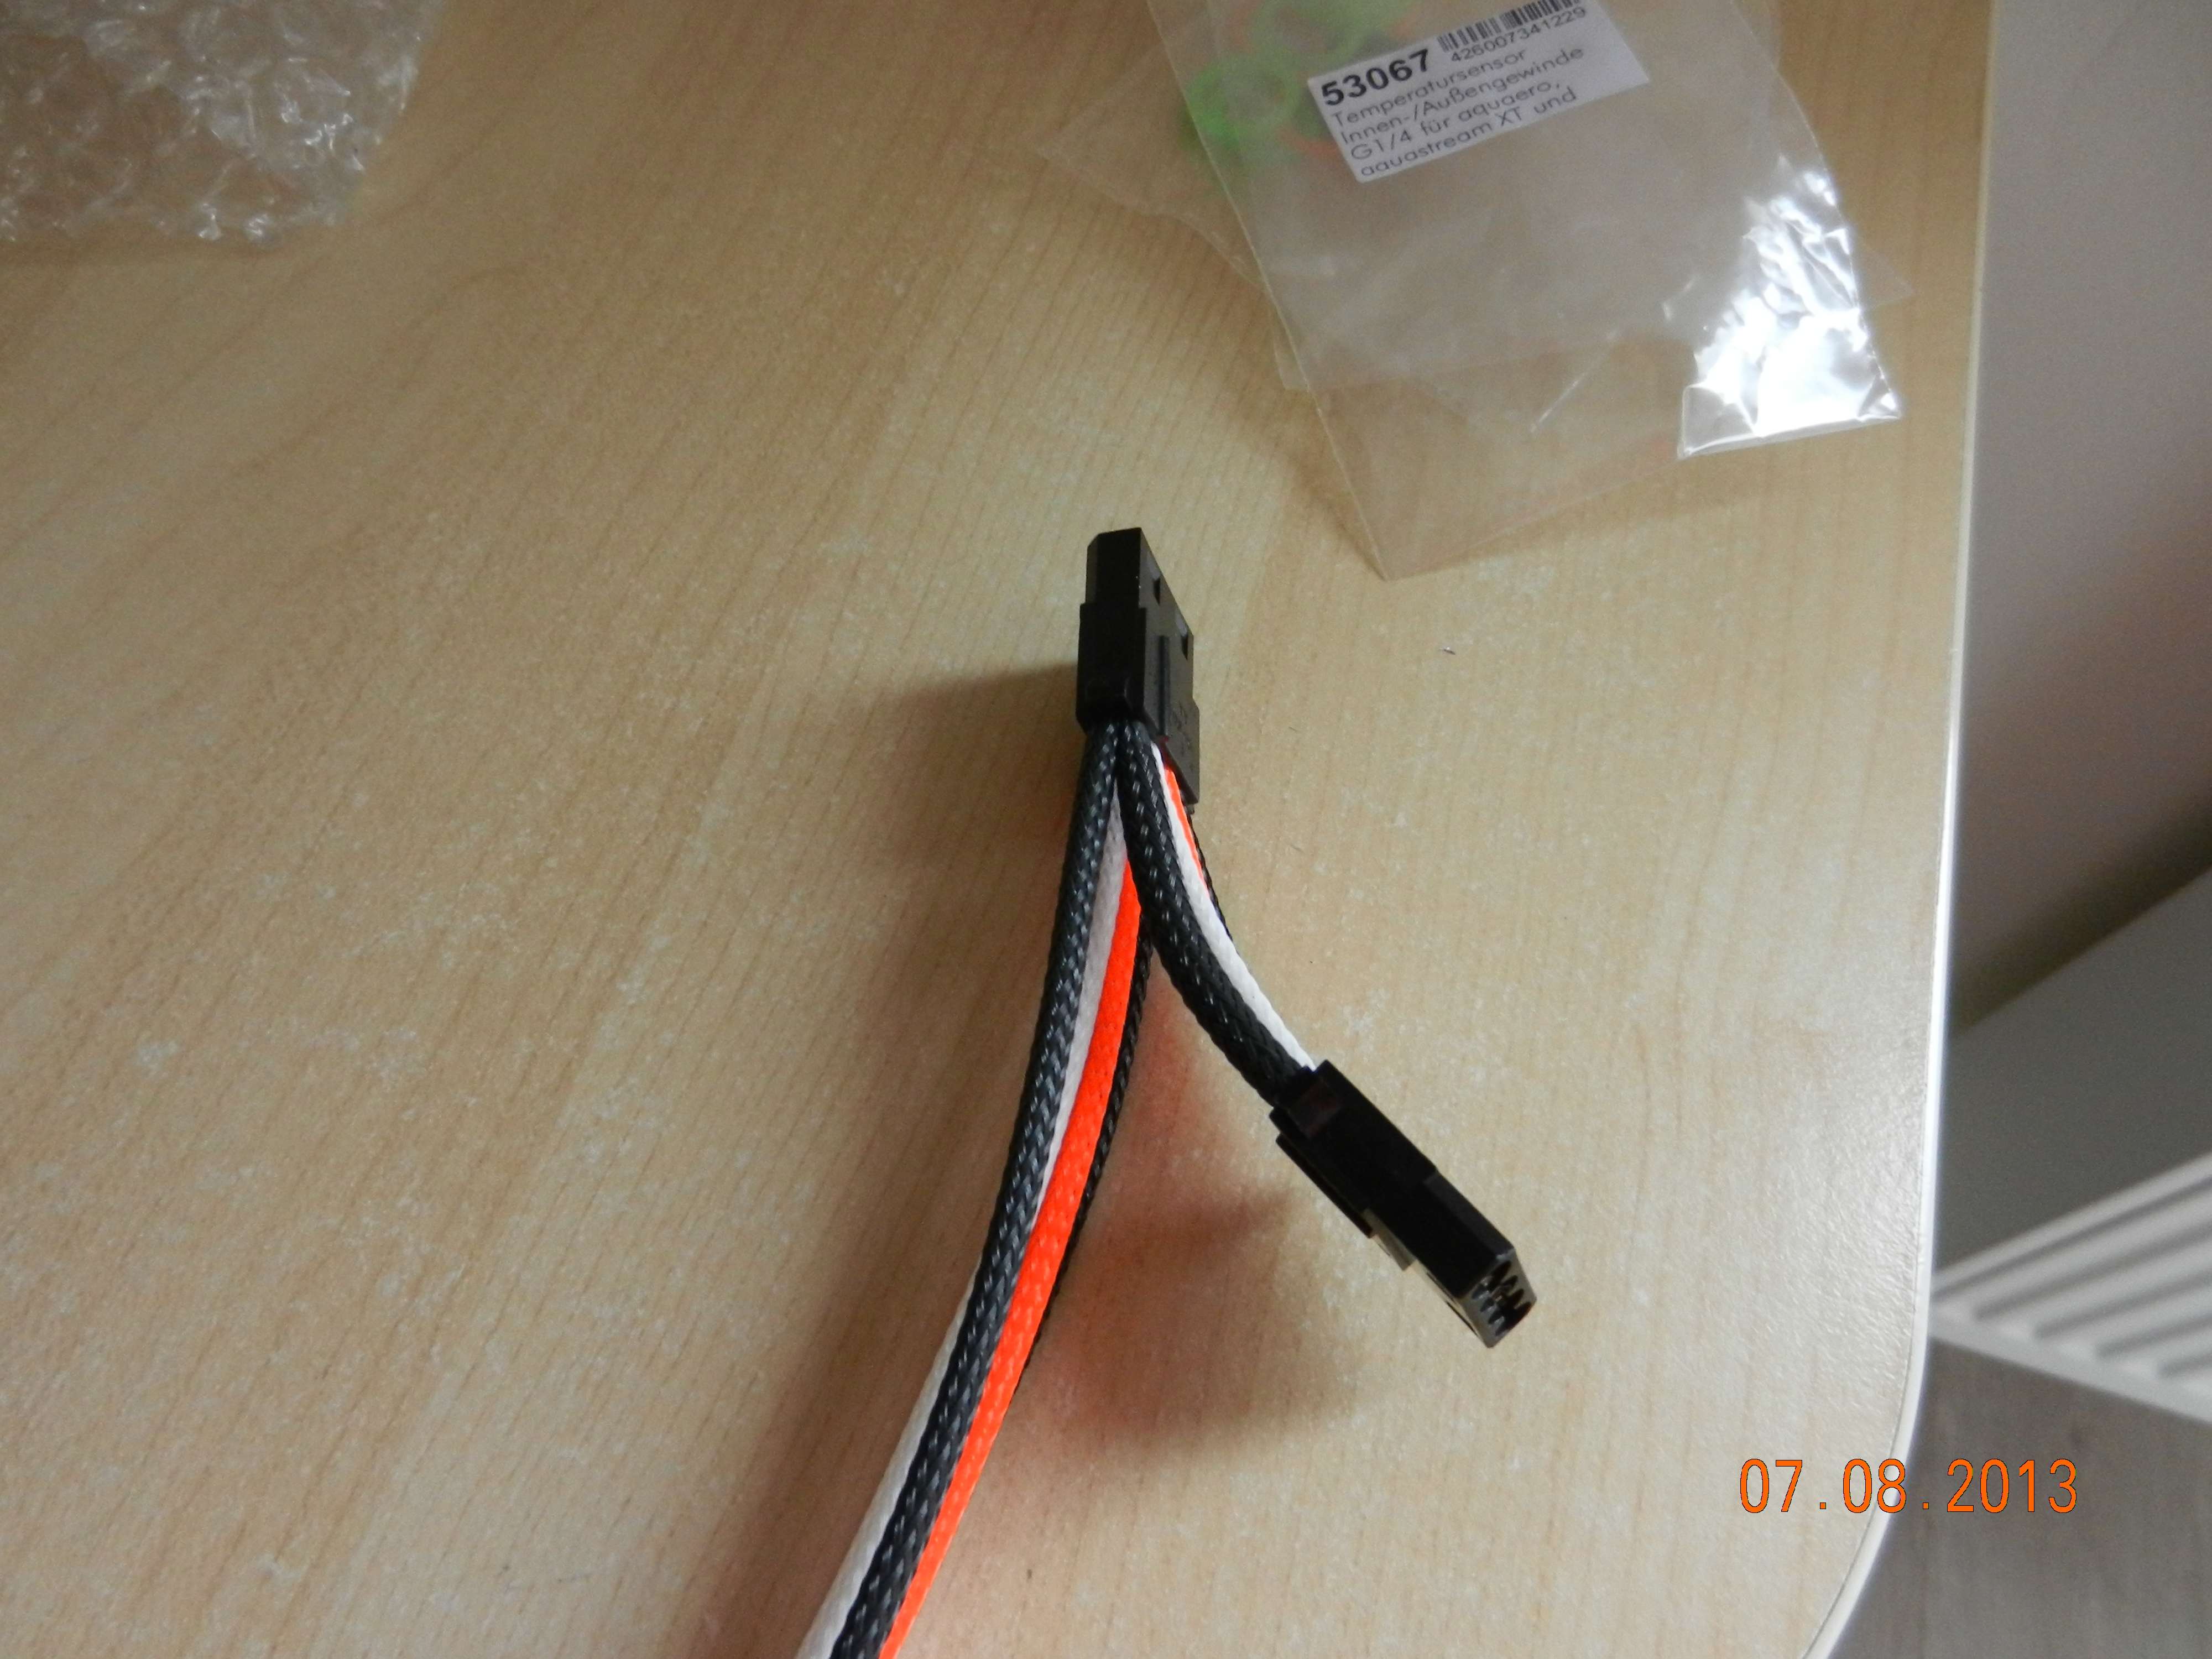
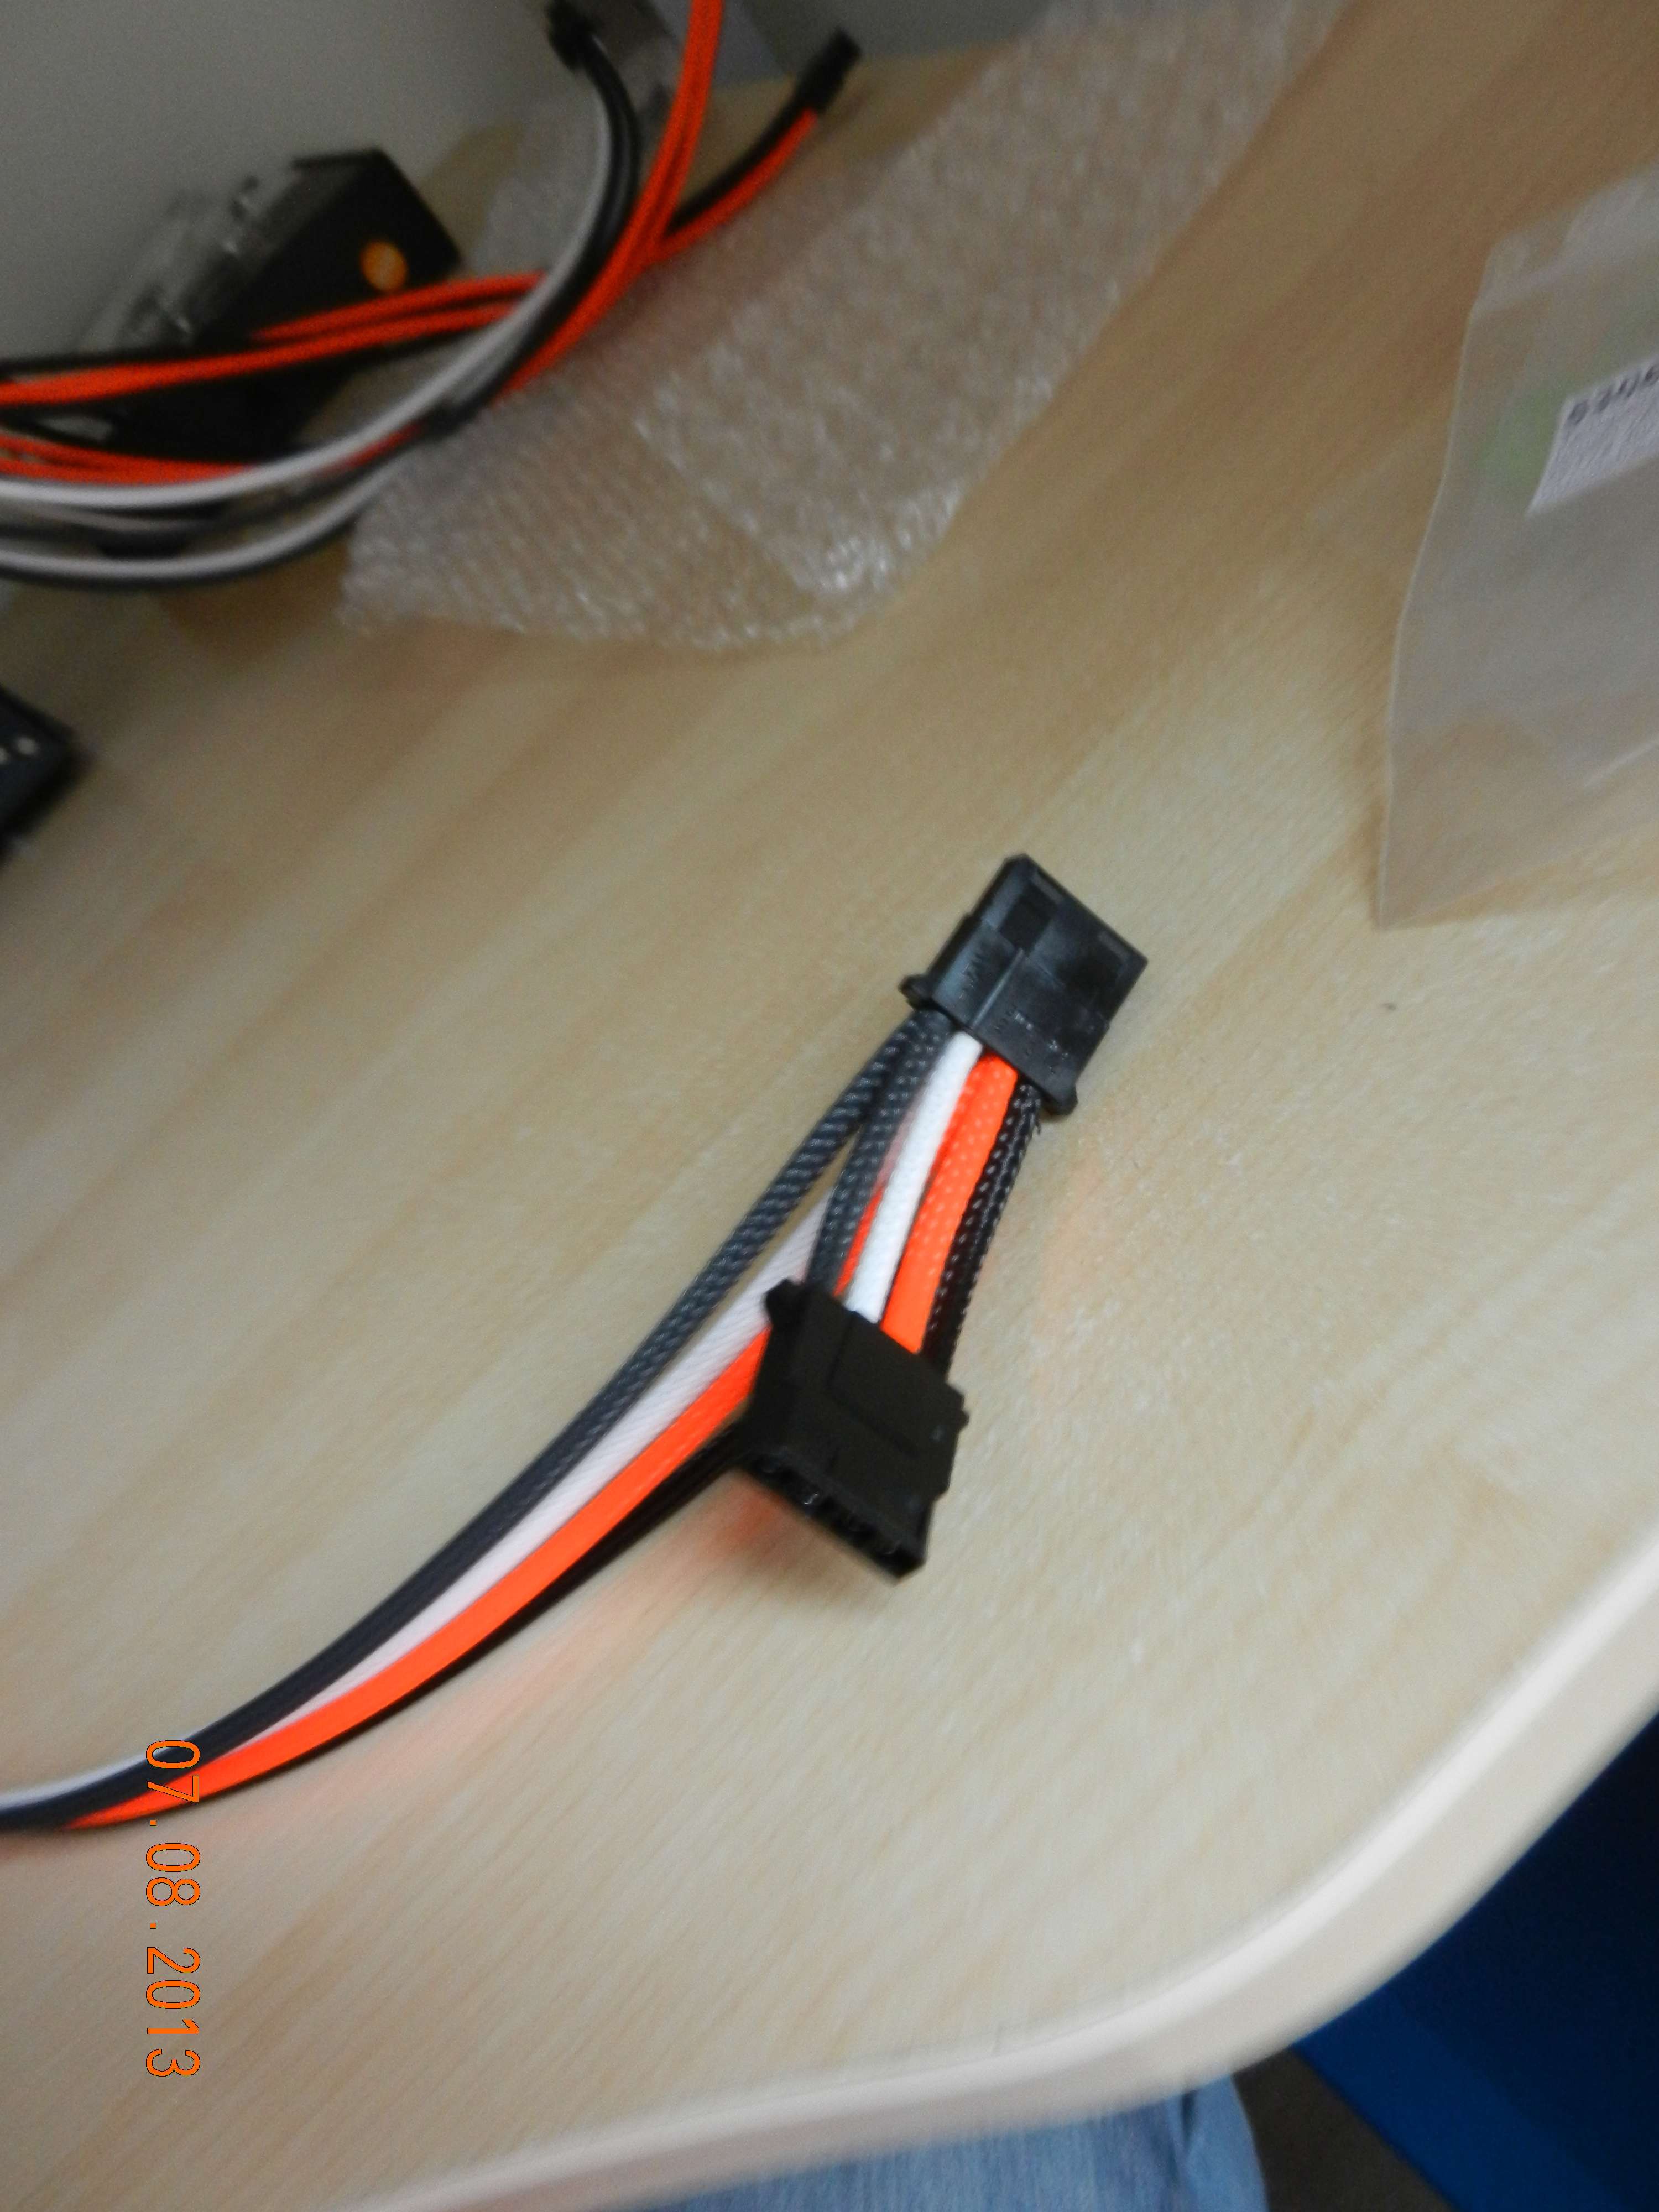
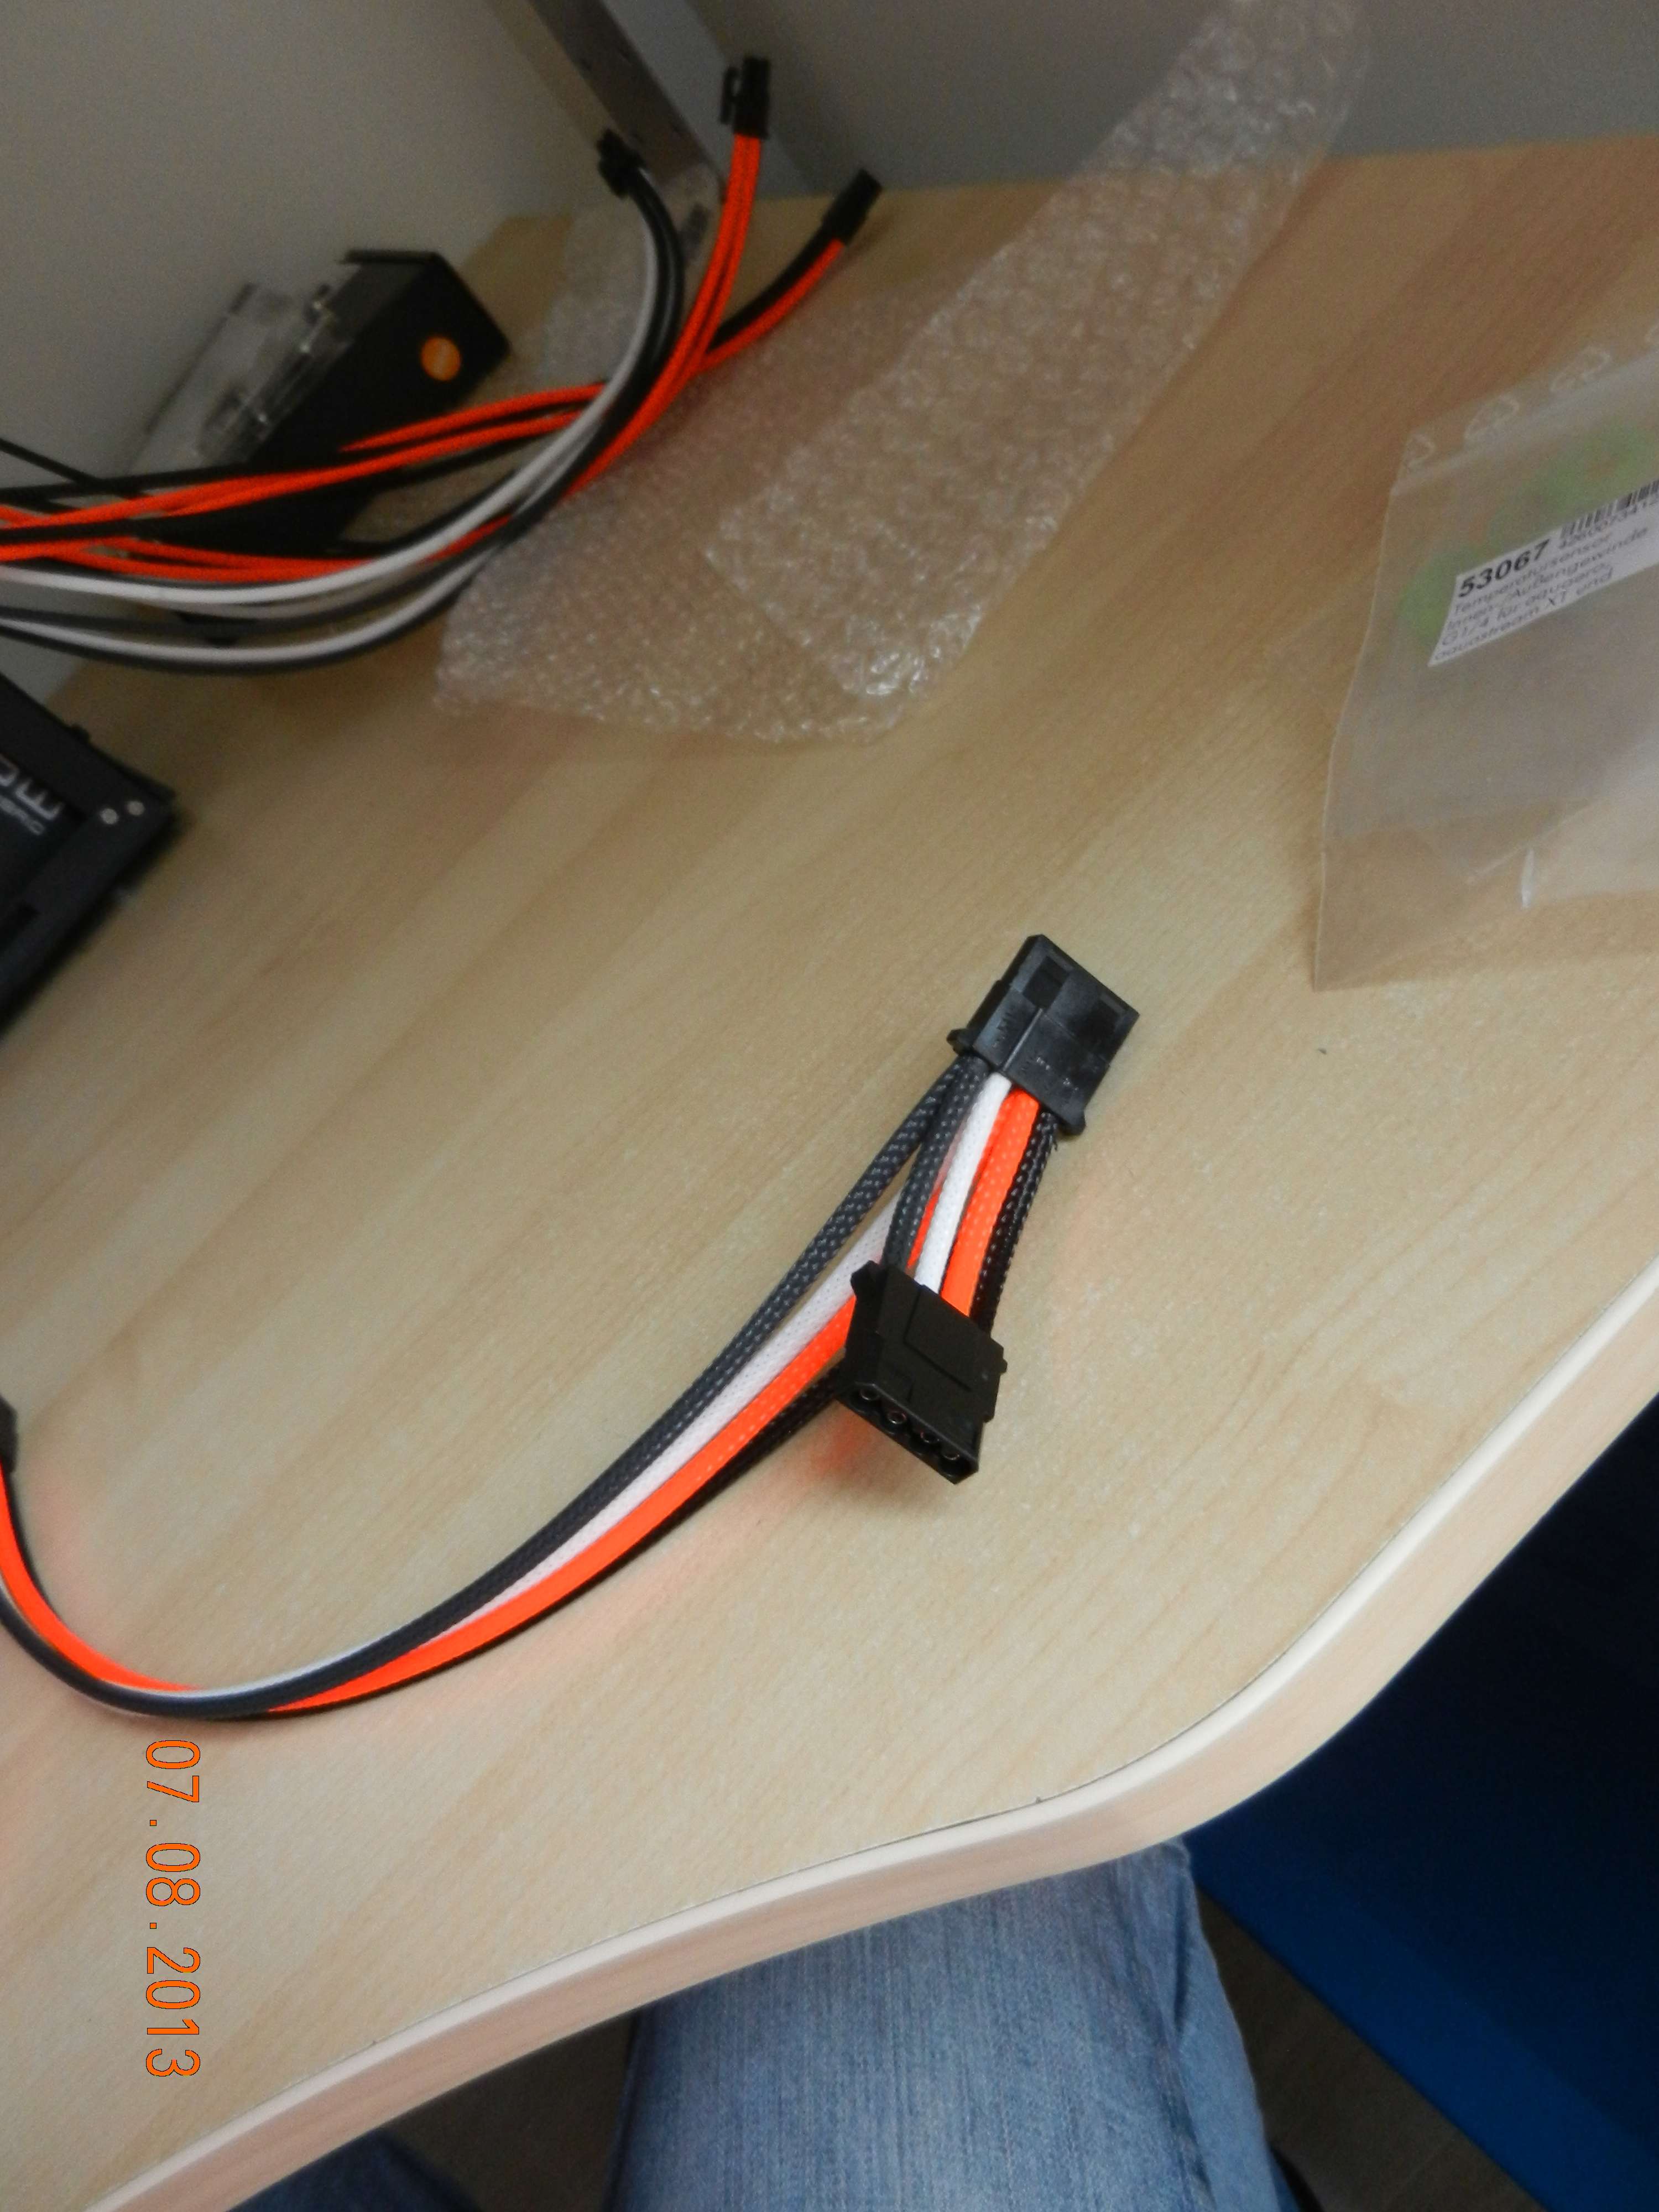
Yesterday I finished a custom made and sleeved 4 pin molex cable for the fancontroller, pump and LED station.
I also received 5 meters of E22 plexi tubing and a bending cord. I expect fittings today. After this I need to make the custom SATA power cables. The day of the start-up is coming soon. I can smell it!
Associate
- Joined
- 20 Feb 2013
- Posts
- 203
- Location
- Carnoustie
The day of the start-up is coming soon. I can smell it!
Igor! Raise the Lightning rod.... *insert maniacal laugh here*
Associate
- Joined
- 20 Feb 2013
- Posts
- 203
- Location
- Carnoustie
haha nice
haha nice

--------------------
If all goes well 2 updates tonight. First off:
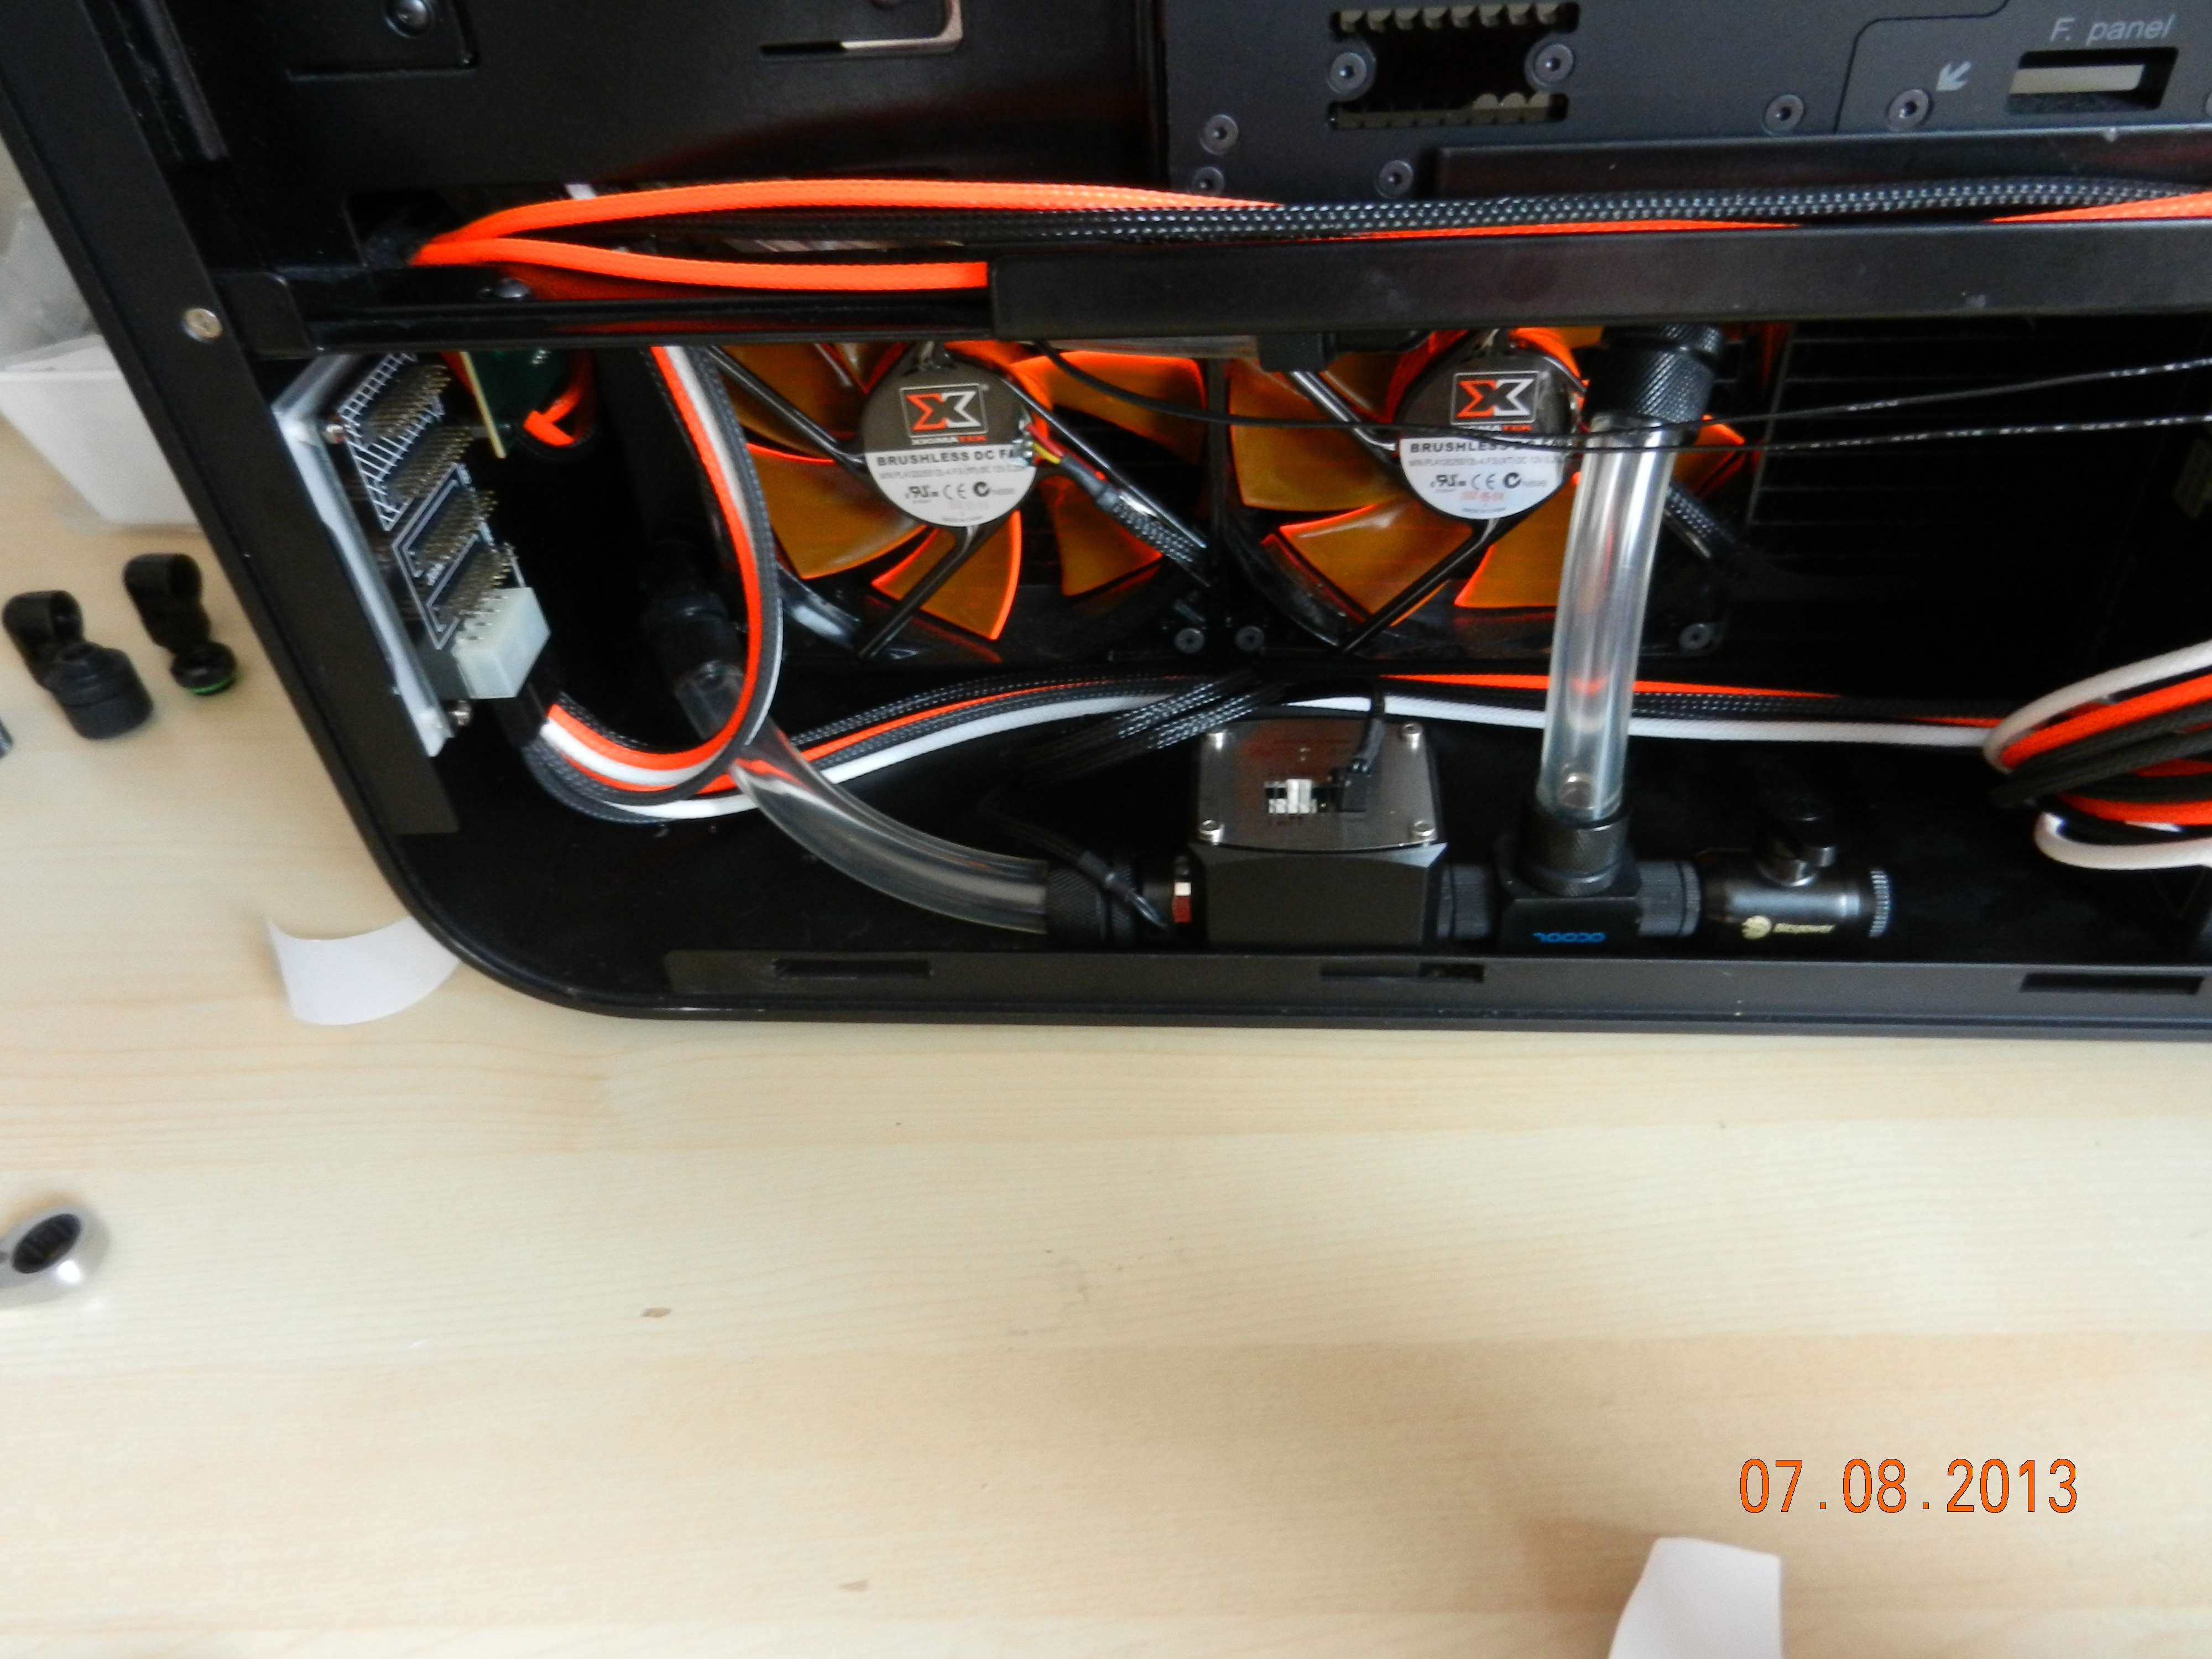
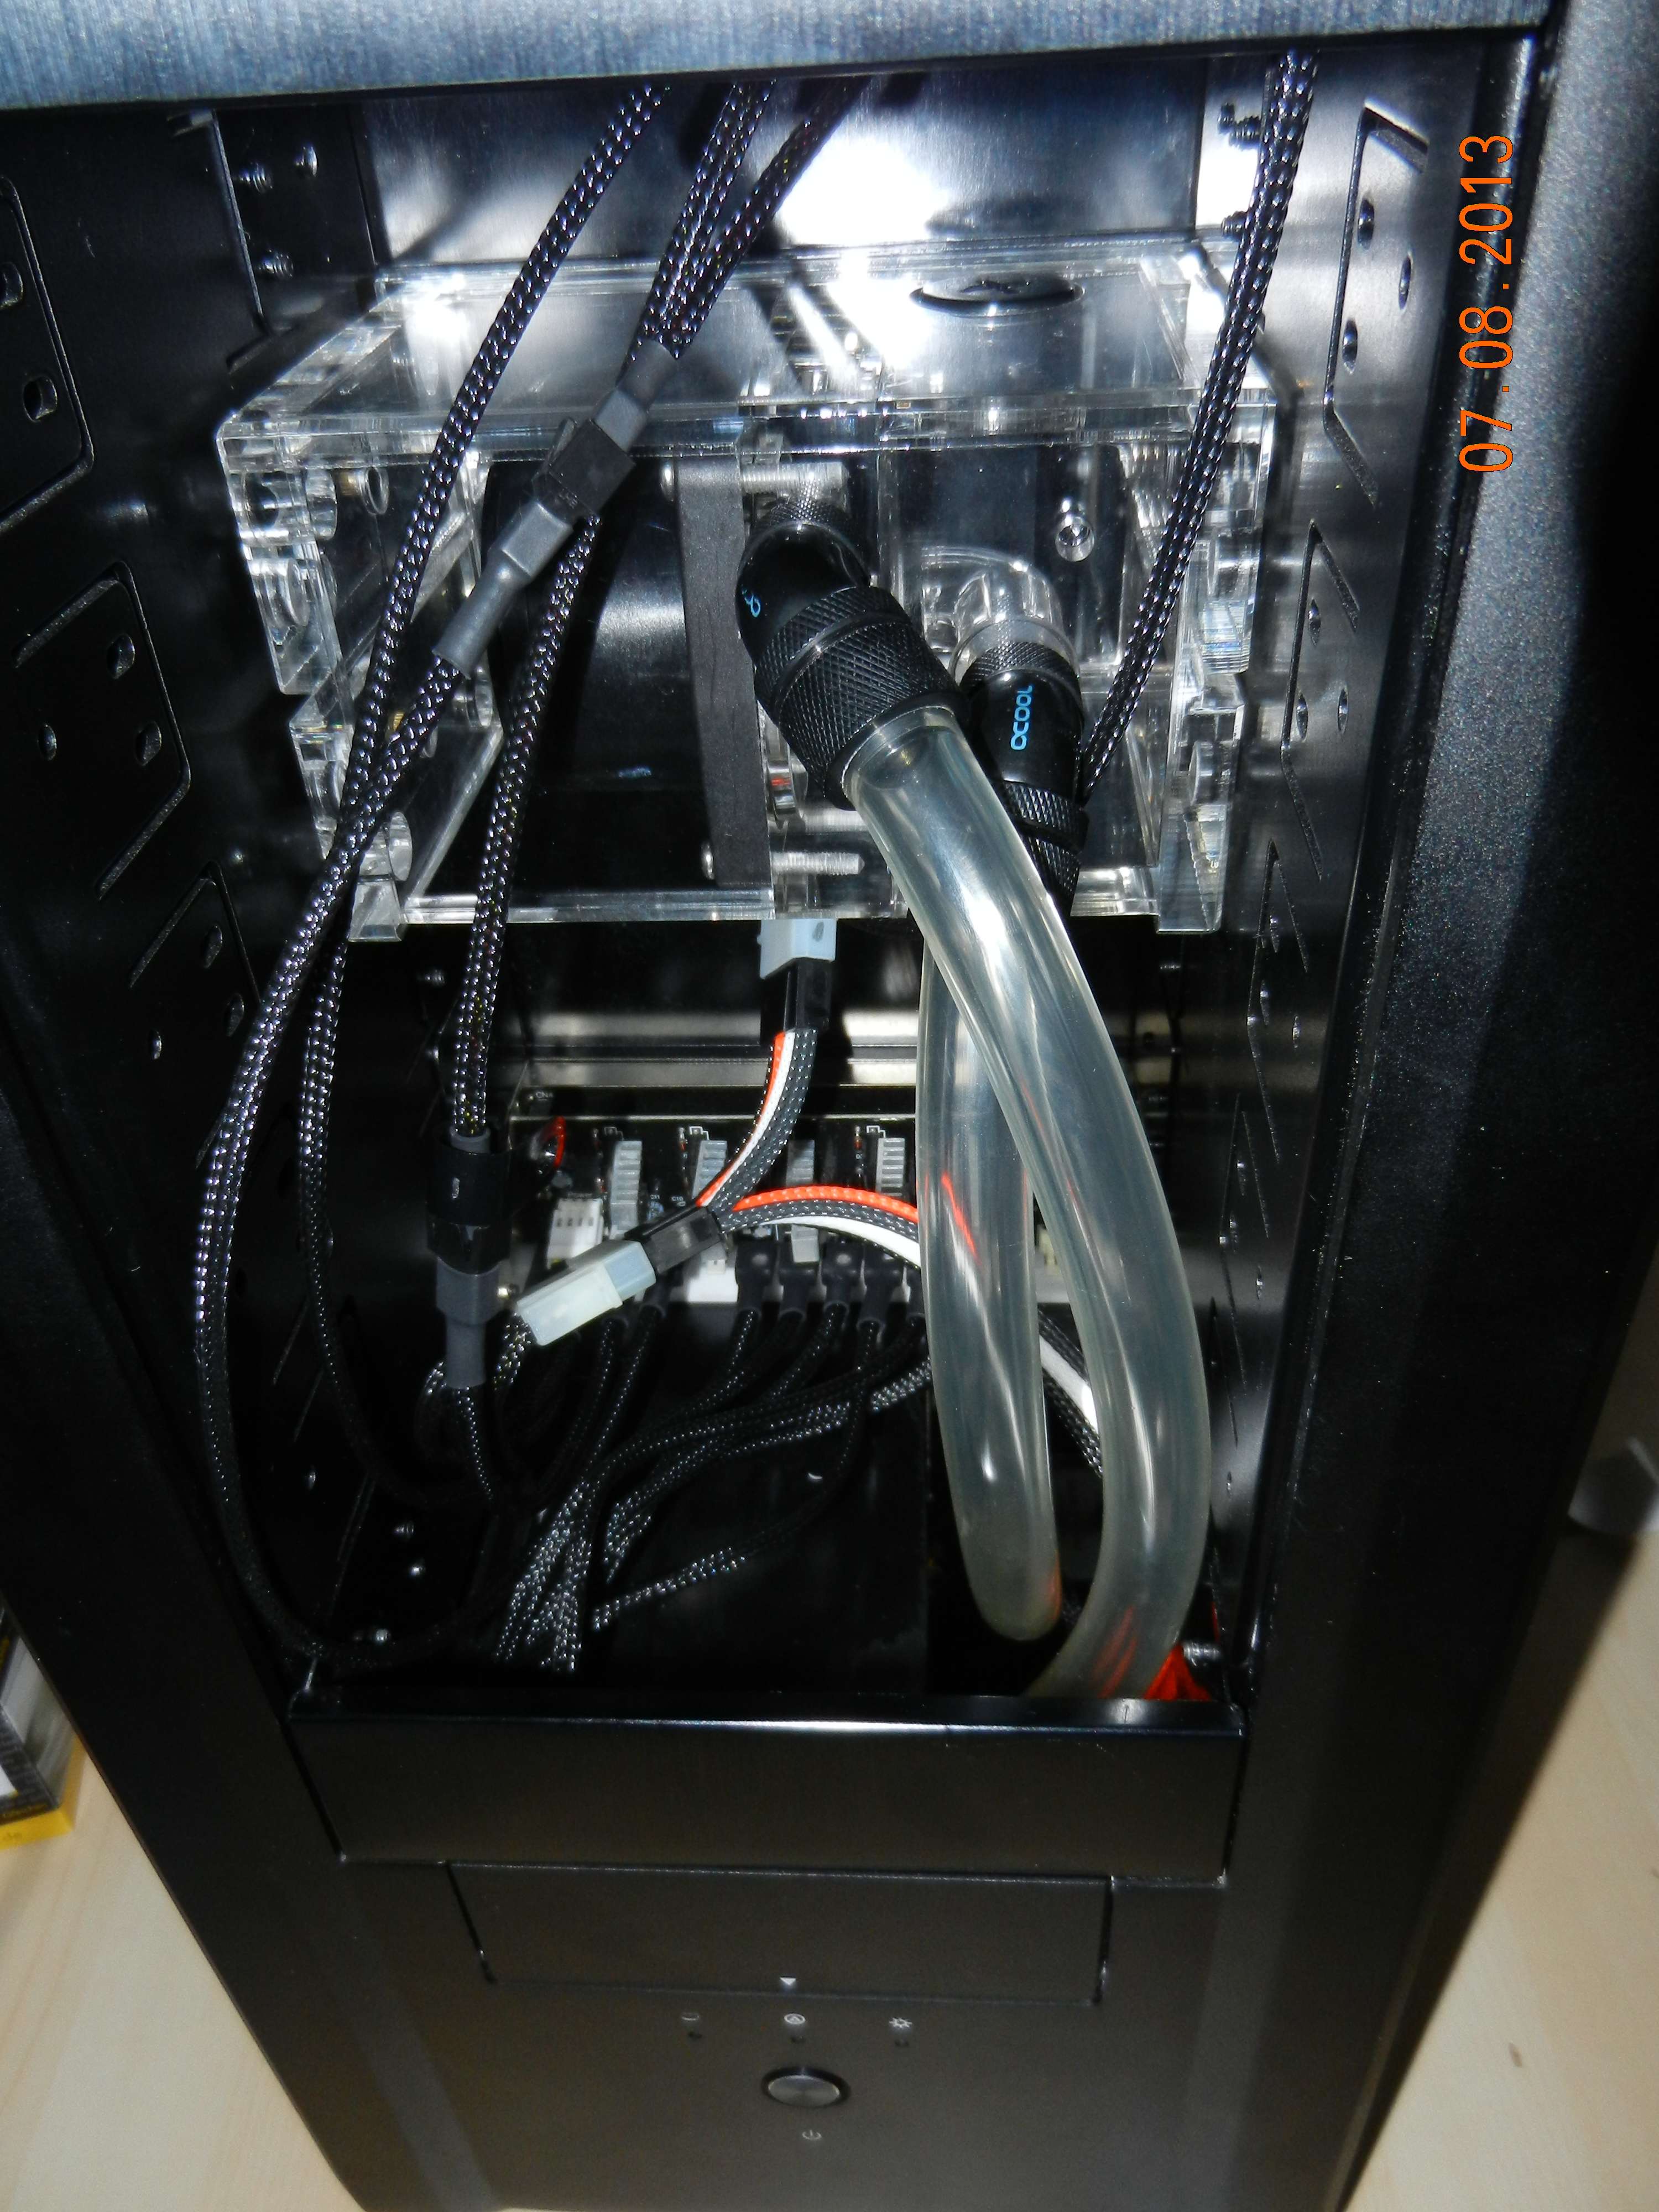
I fabricated a custom 4 pin molex cable to feed the pump, the fancontroller and the LED station. I am also installing the LED station at the same time.
Received a few fittings. I thought I had everything I needed now. But I miscalculated on the 1/4 extender. So had to order a smaller one right away UURRGGHHHH it will hopefully arrive in the mail tomorrow.
I got to fit the loop drain valve now to the monitoringstation. Another thing on the list I can cross now.
Also fixed the molex cable on the inside of the bays to keep the wiring nice and tidy.
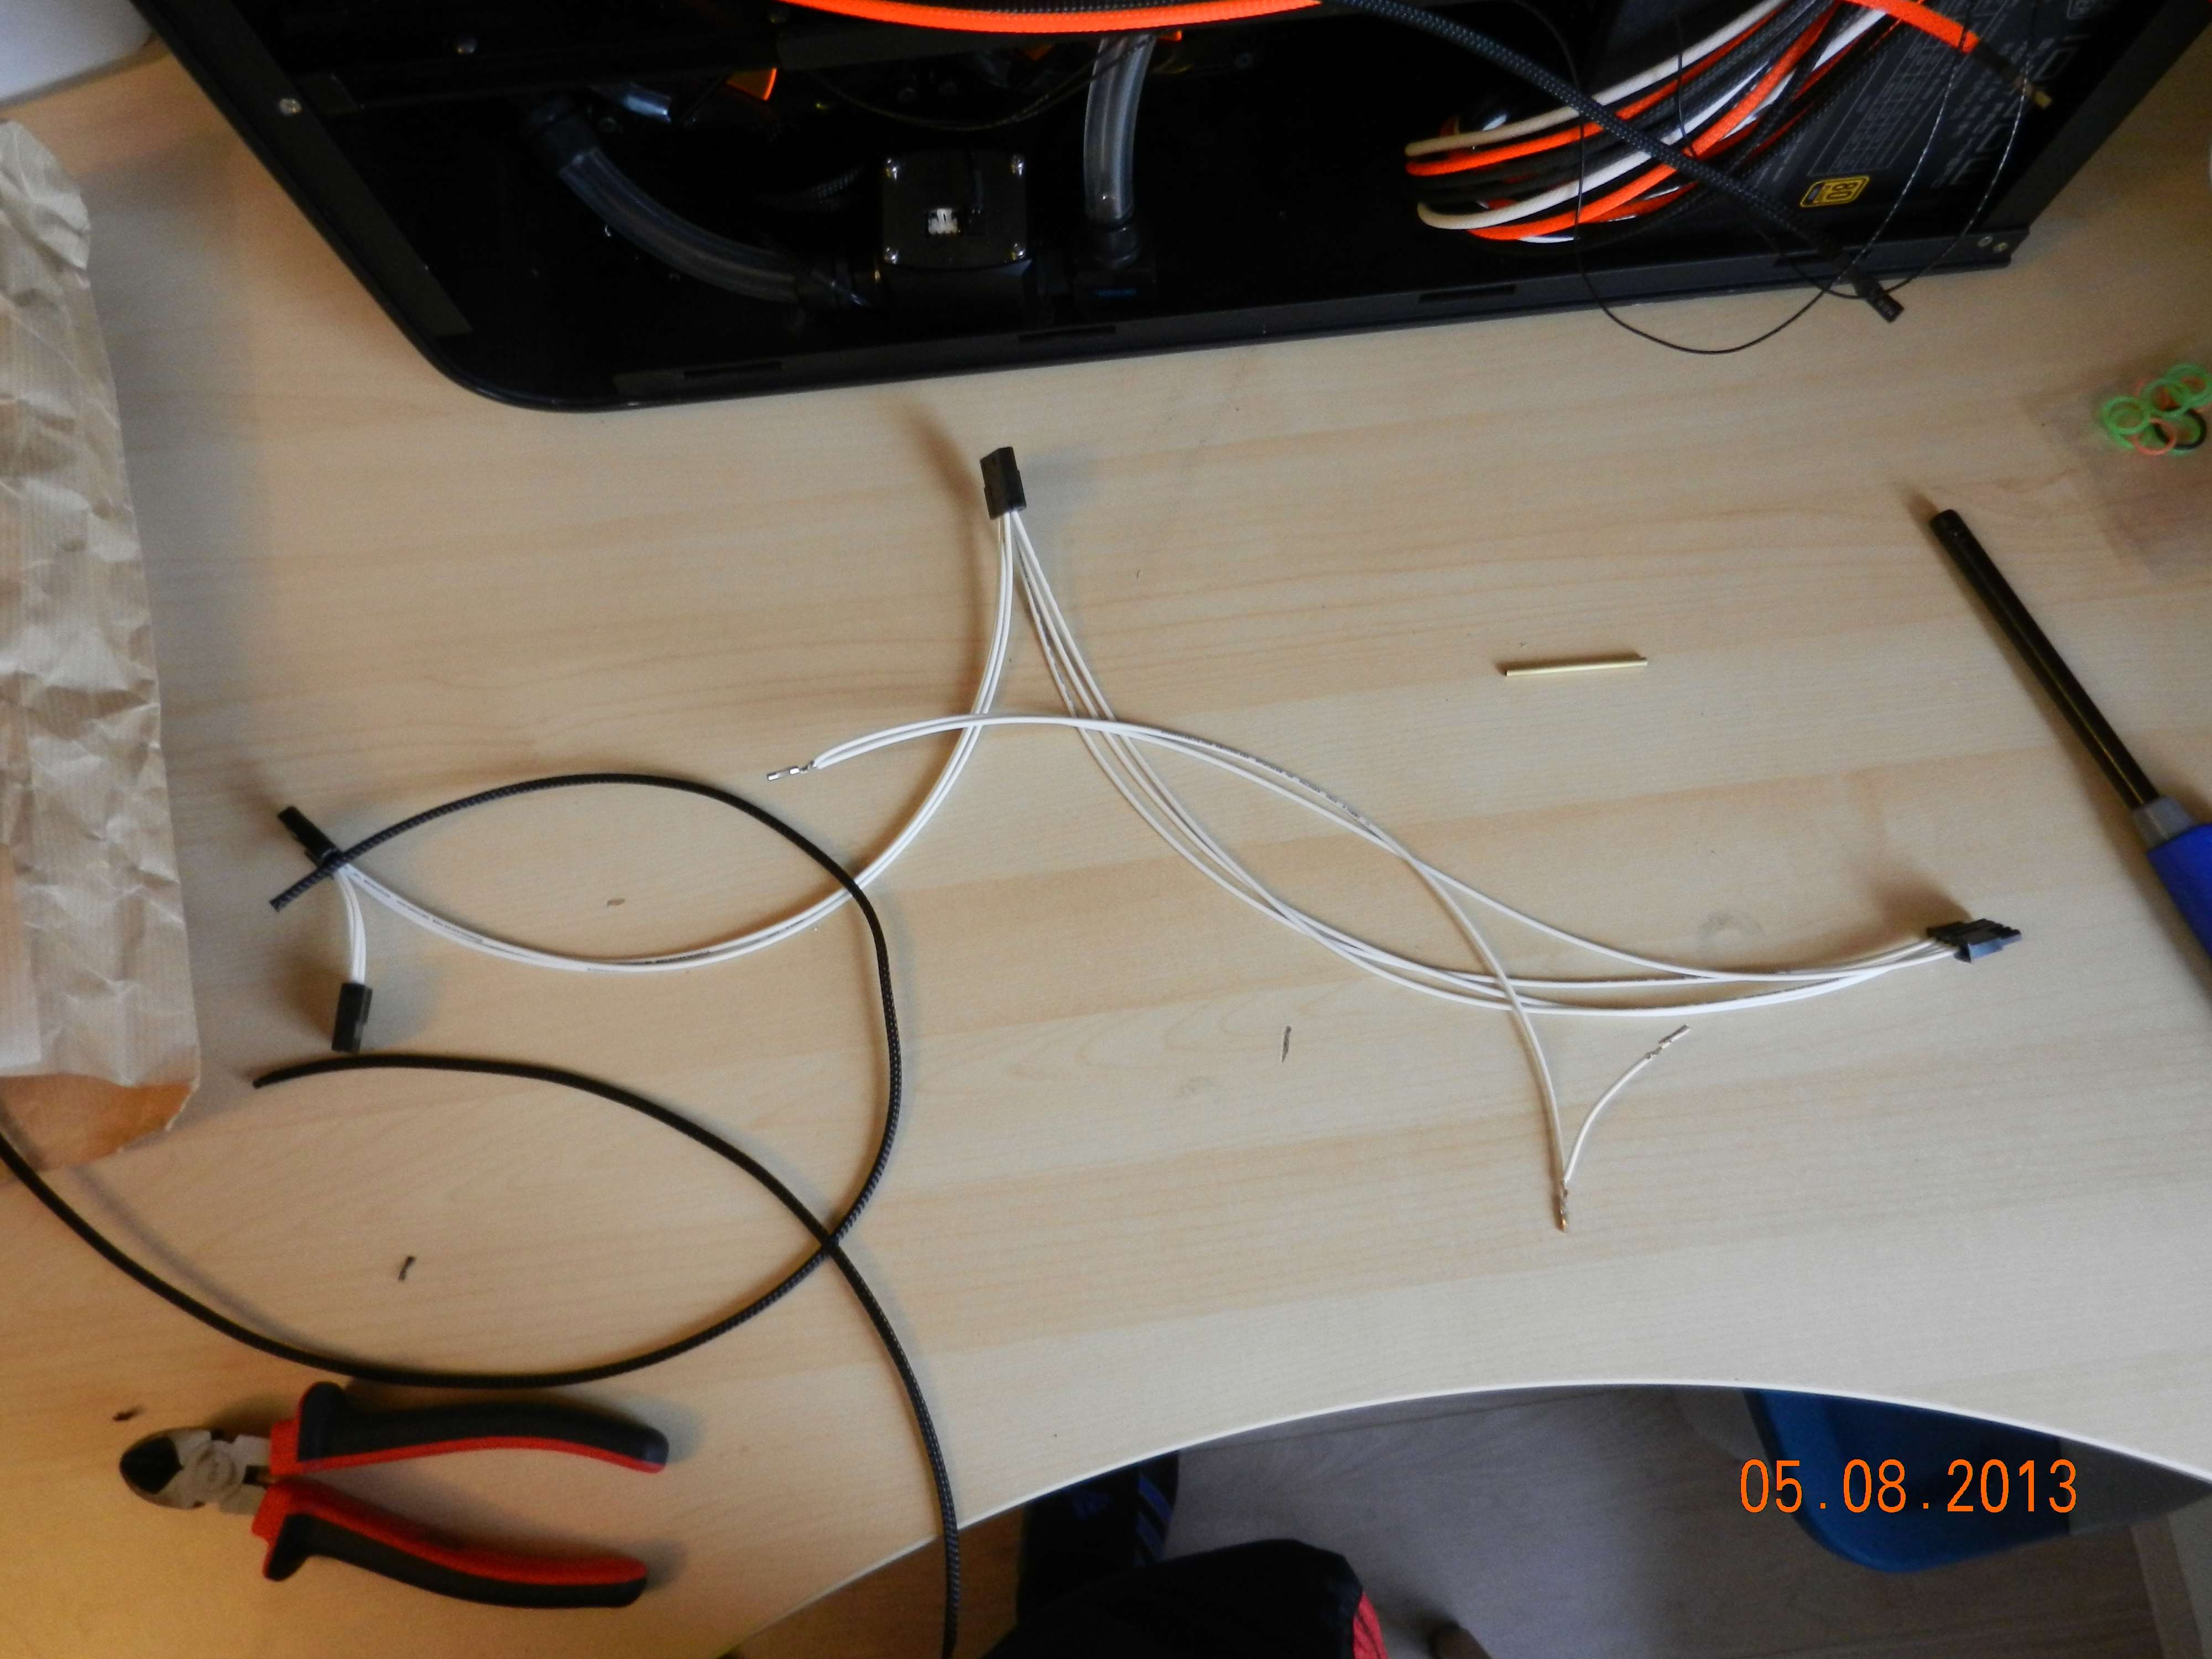

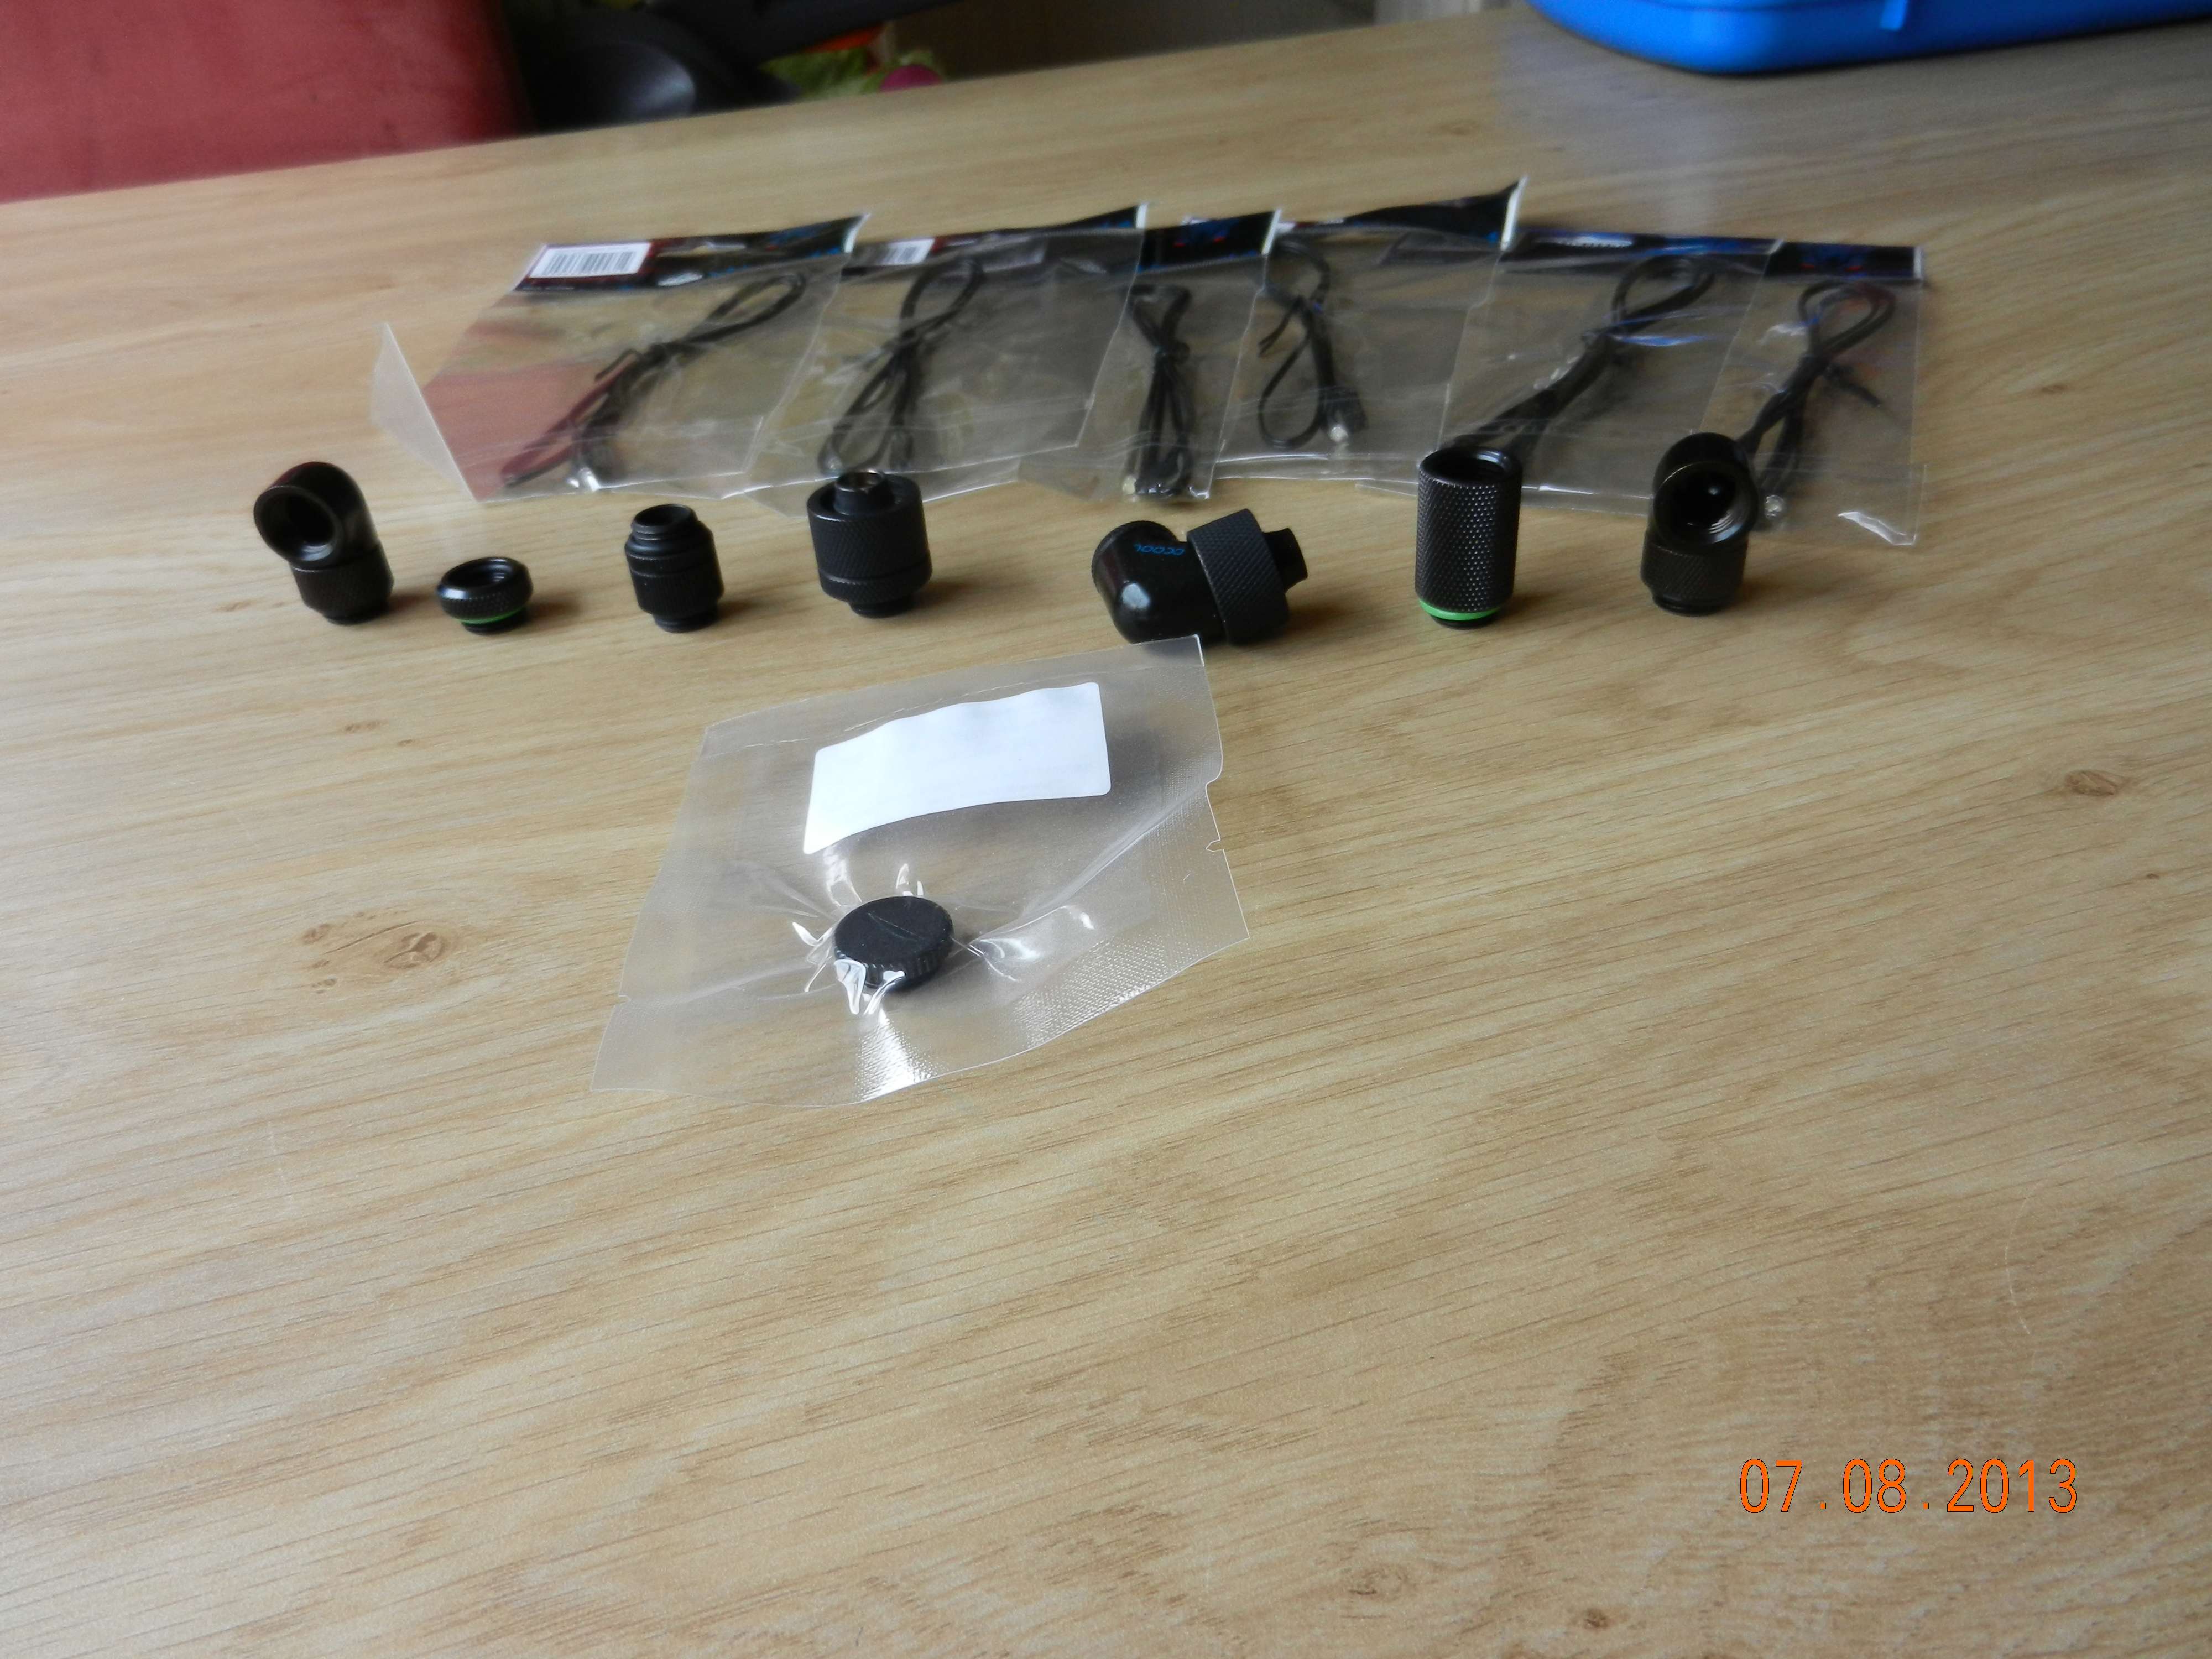
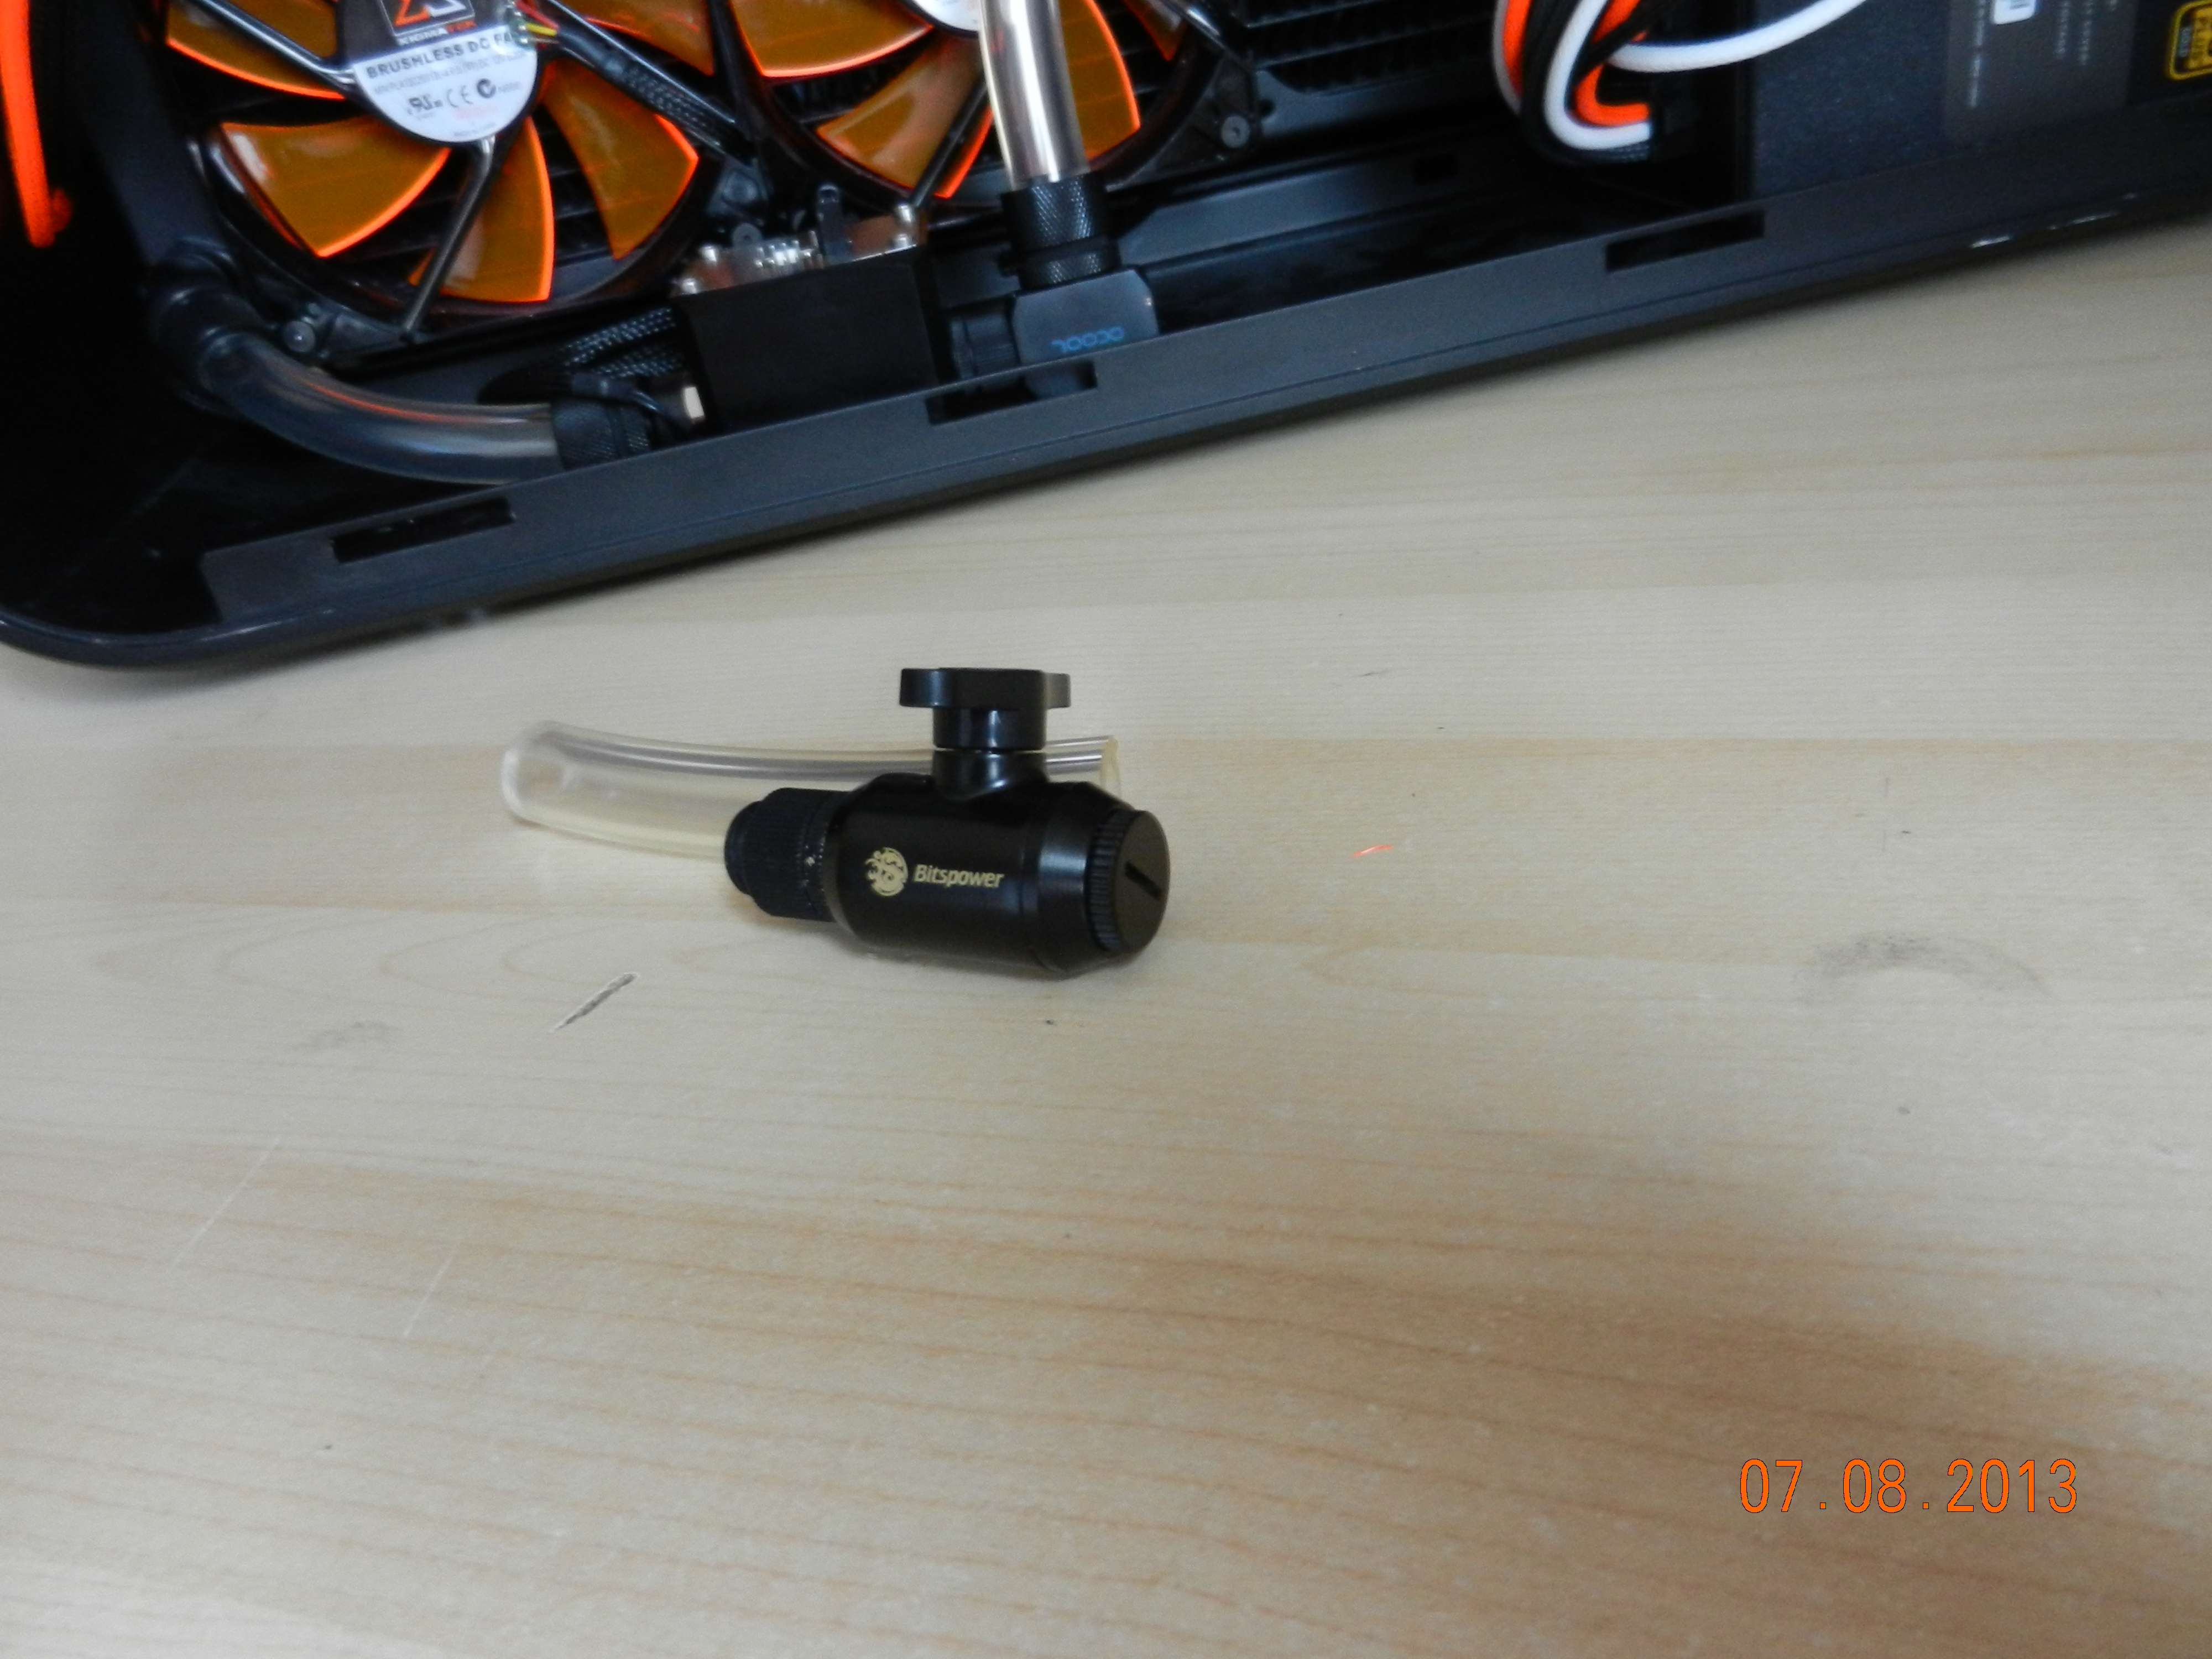
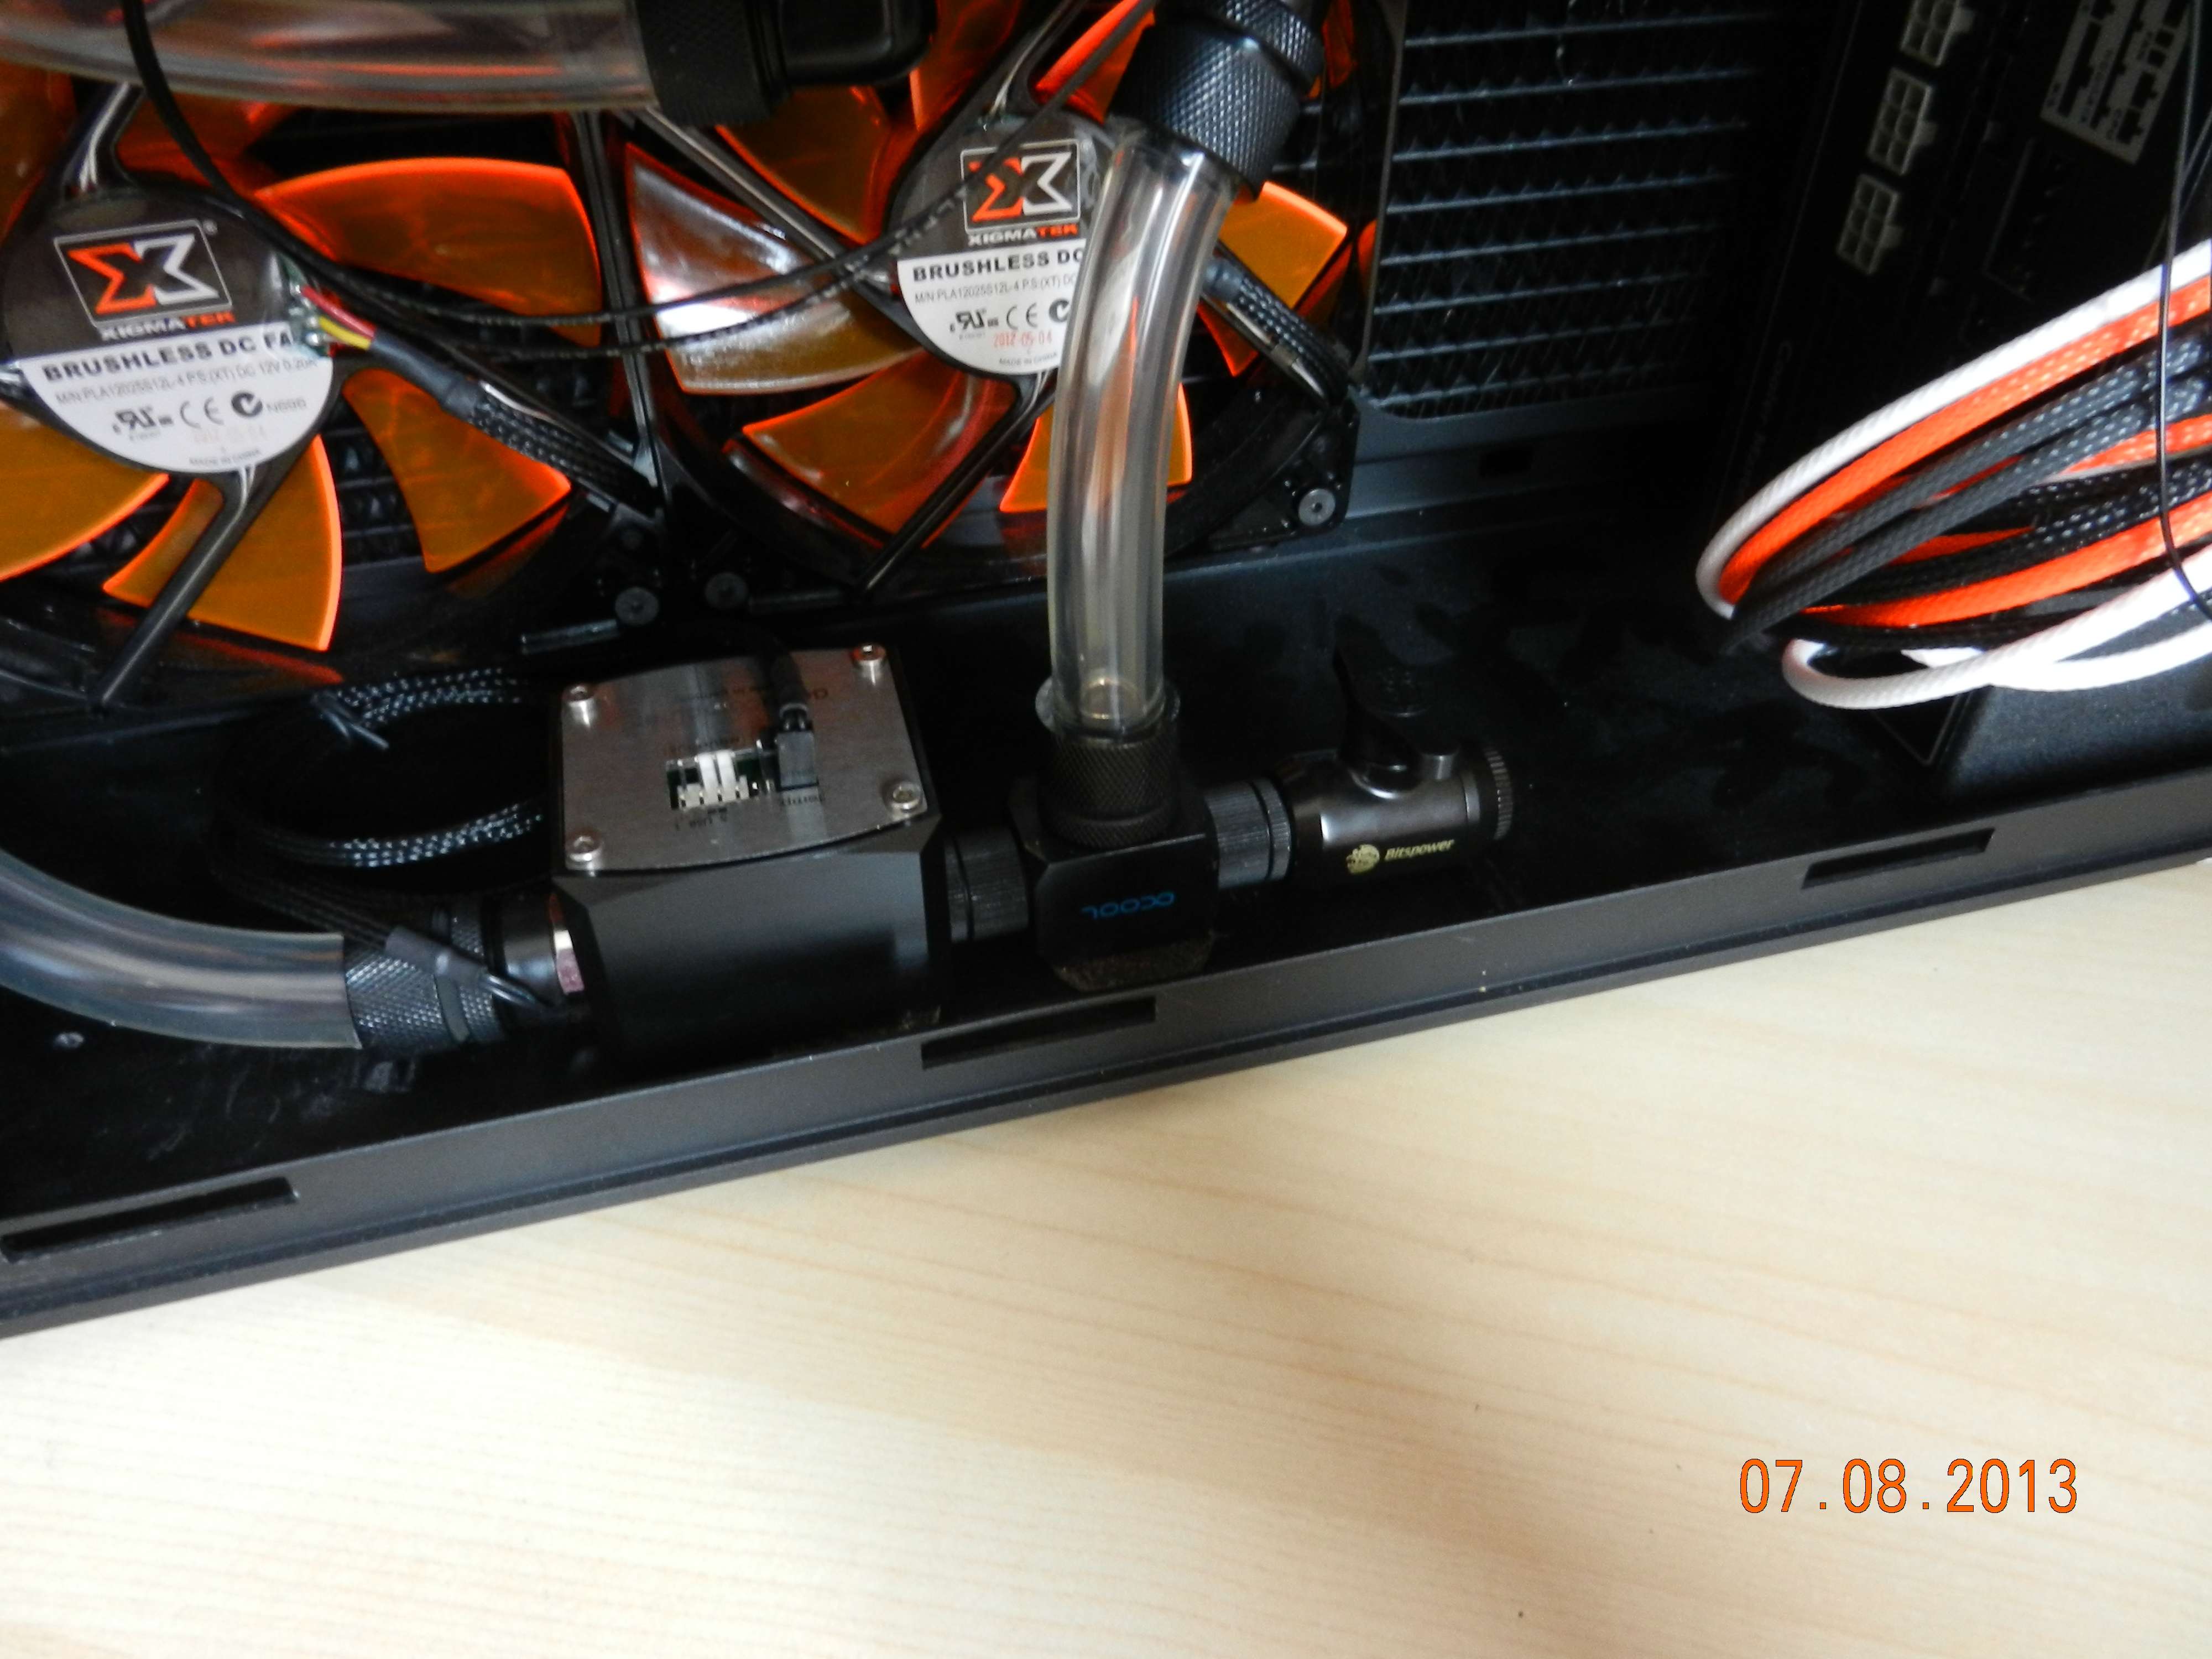
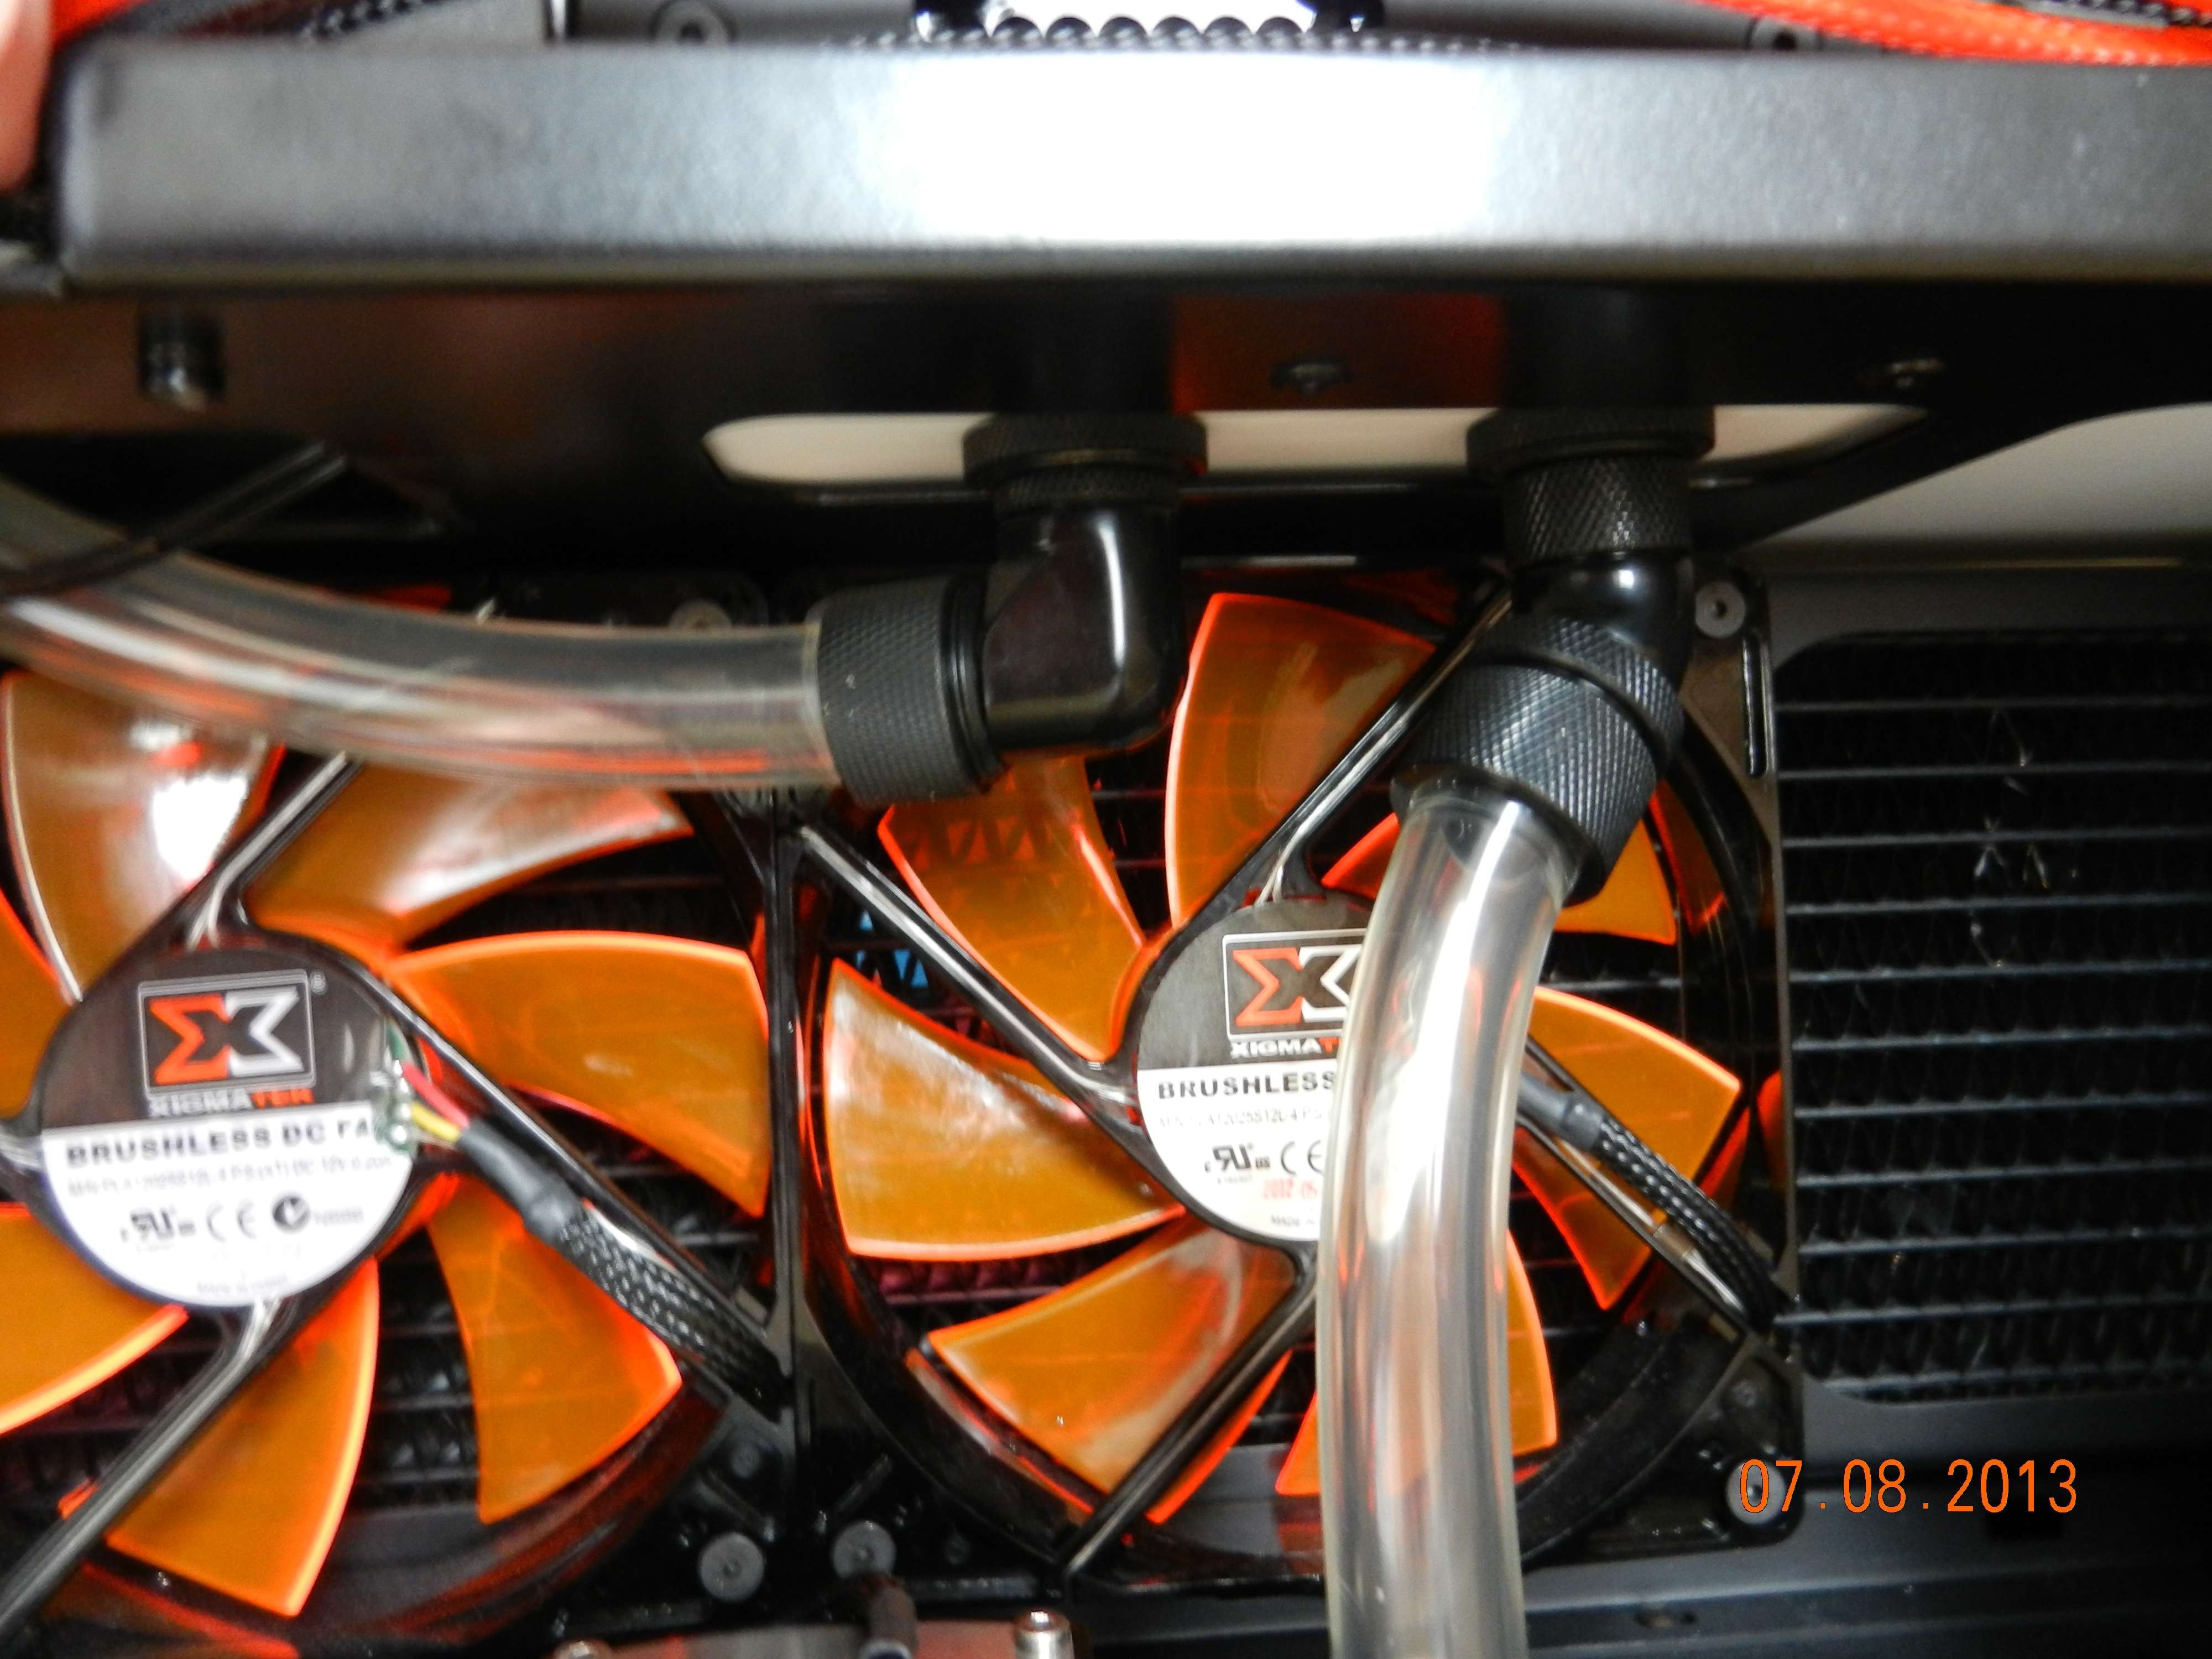

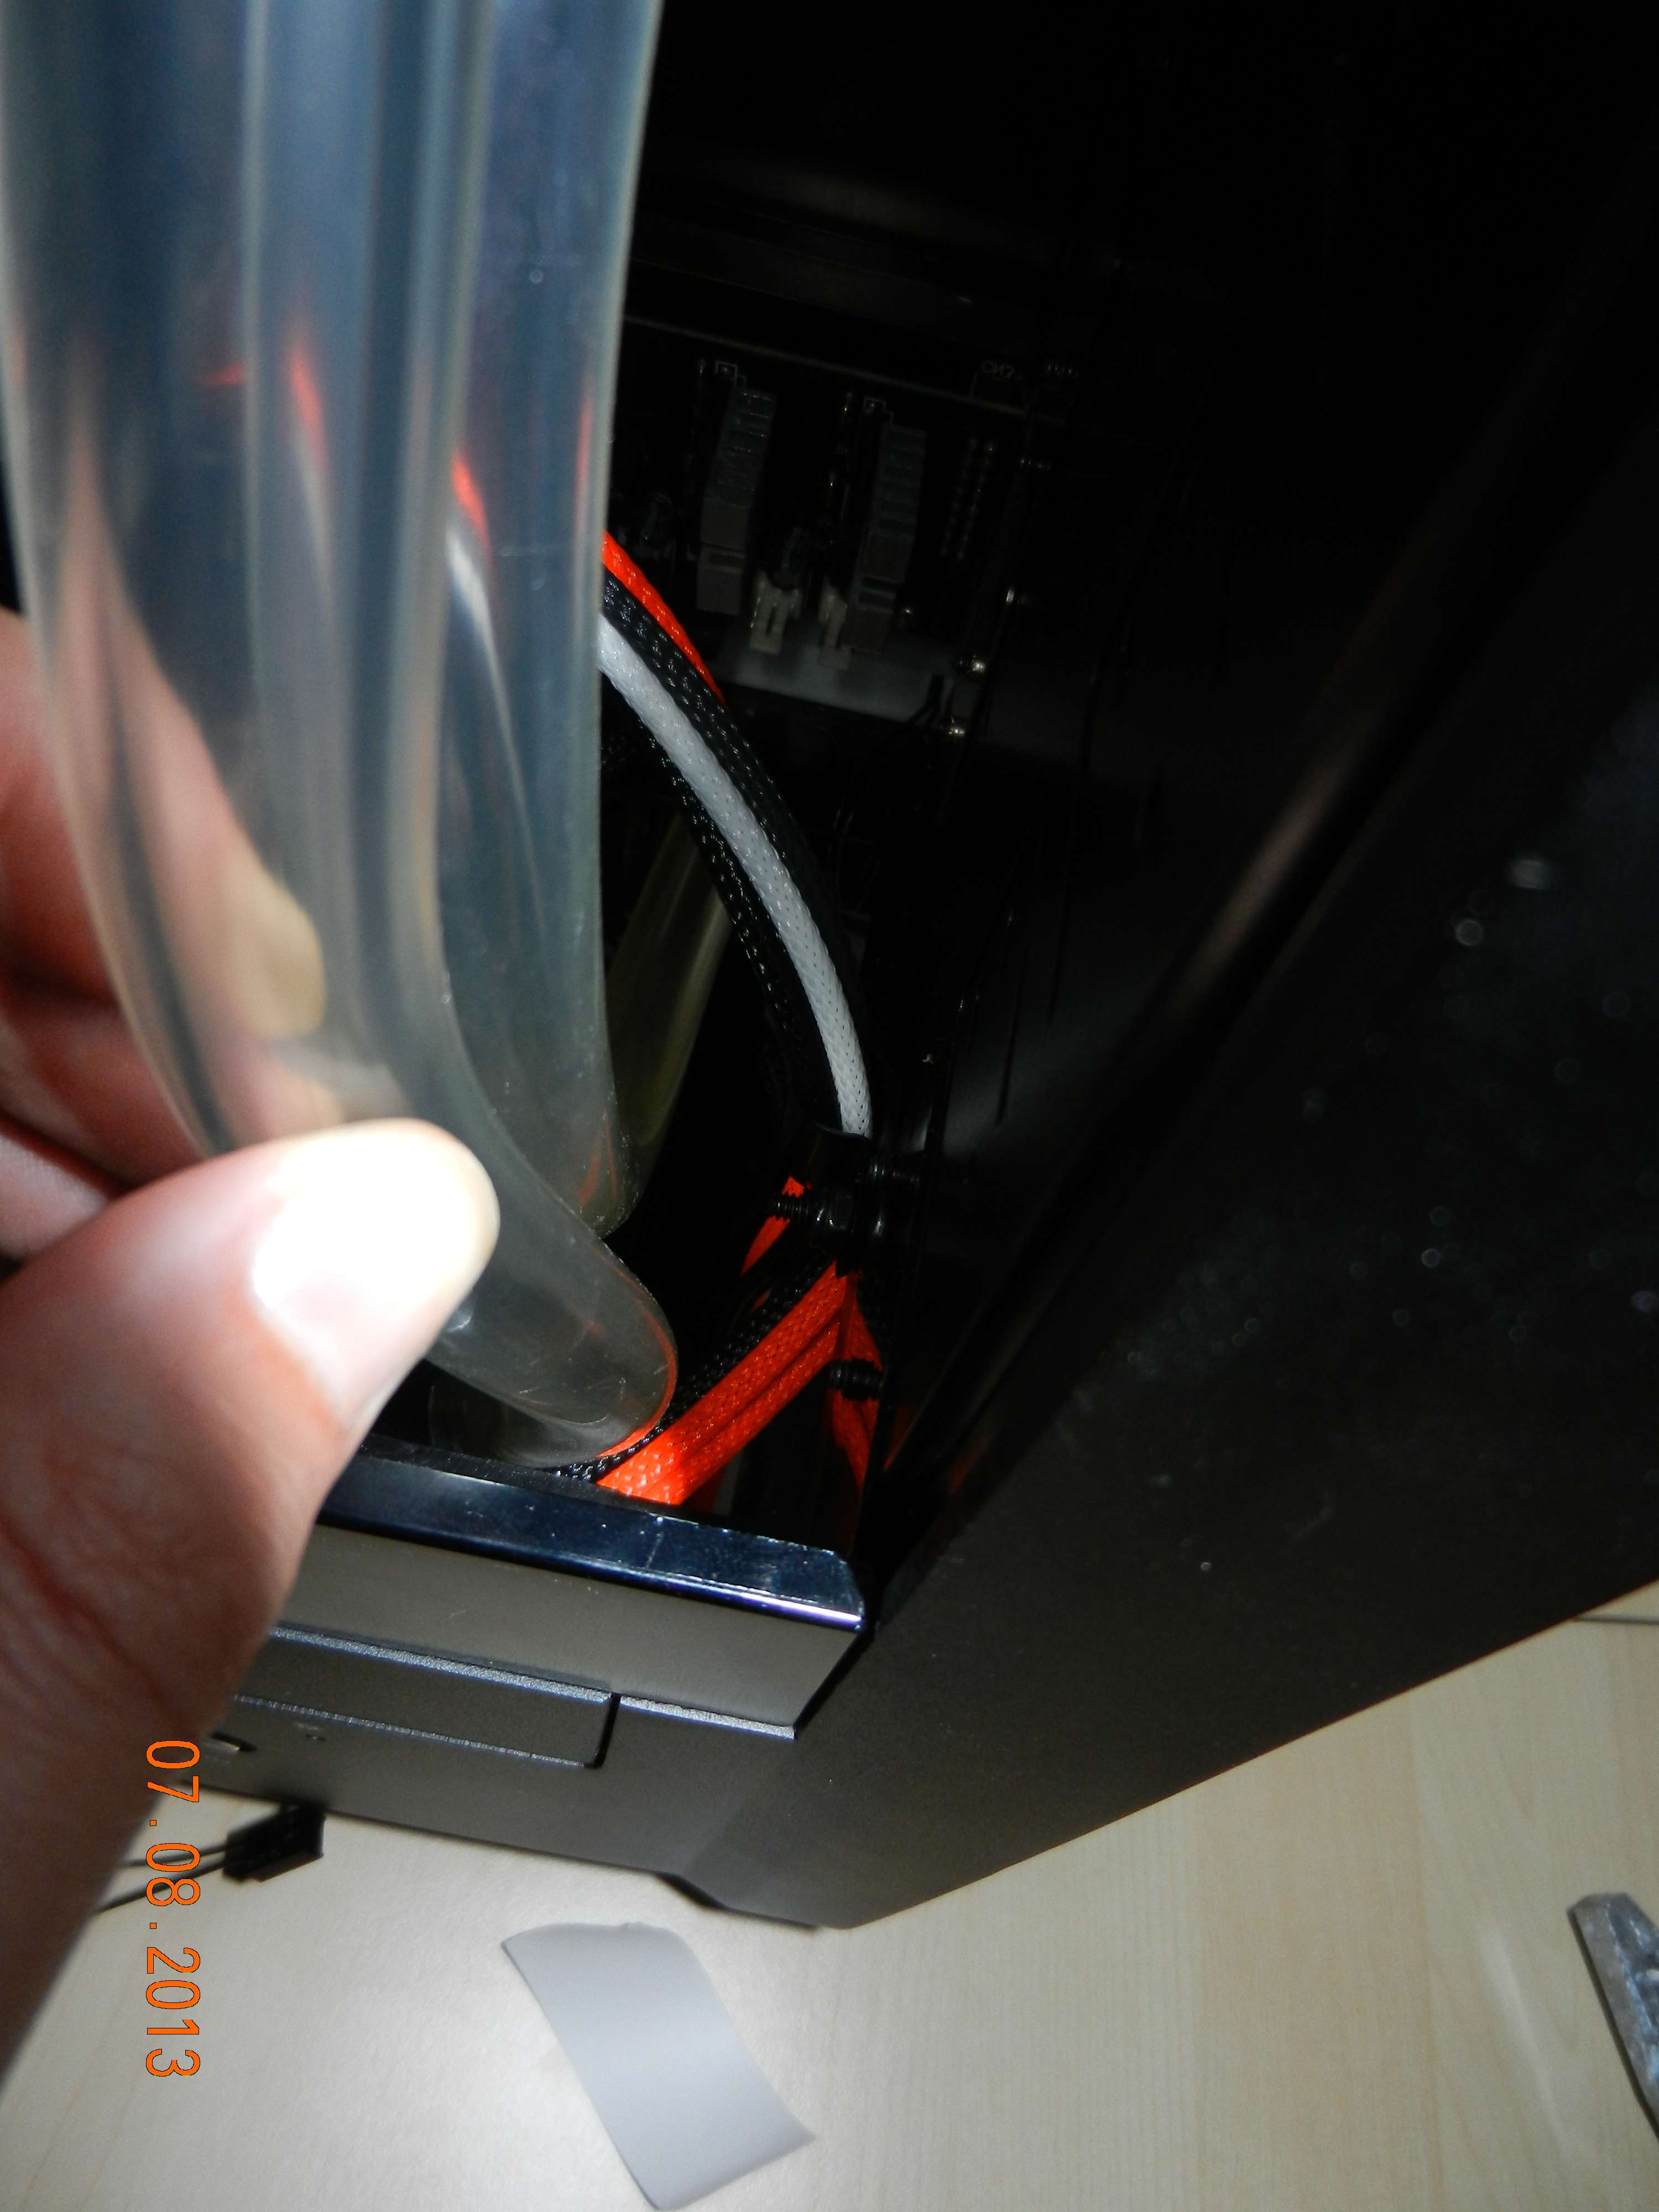
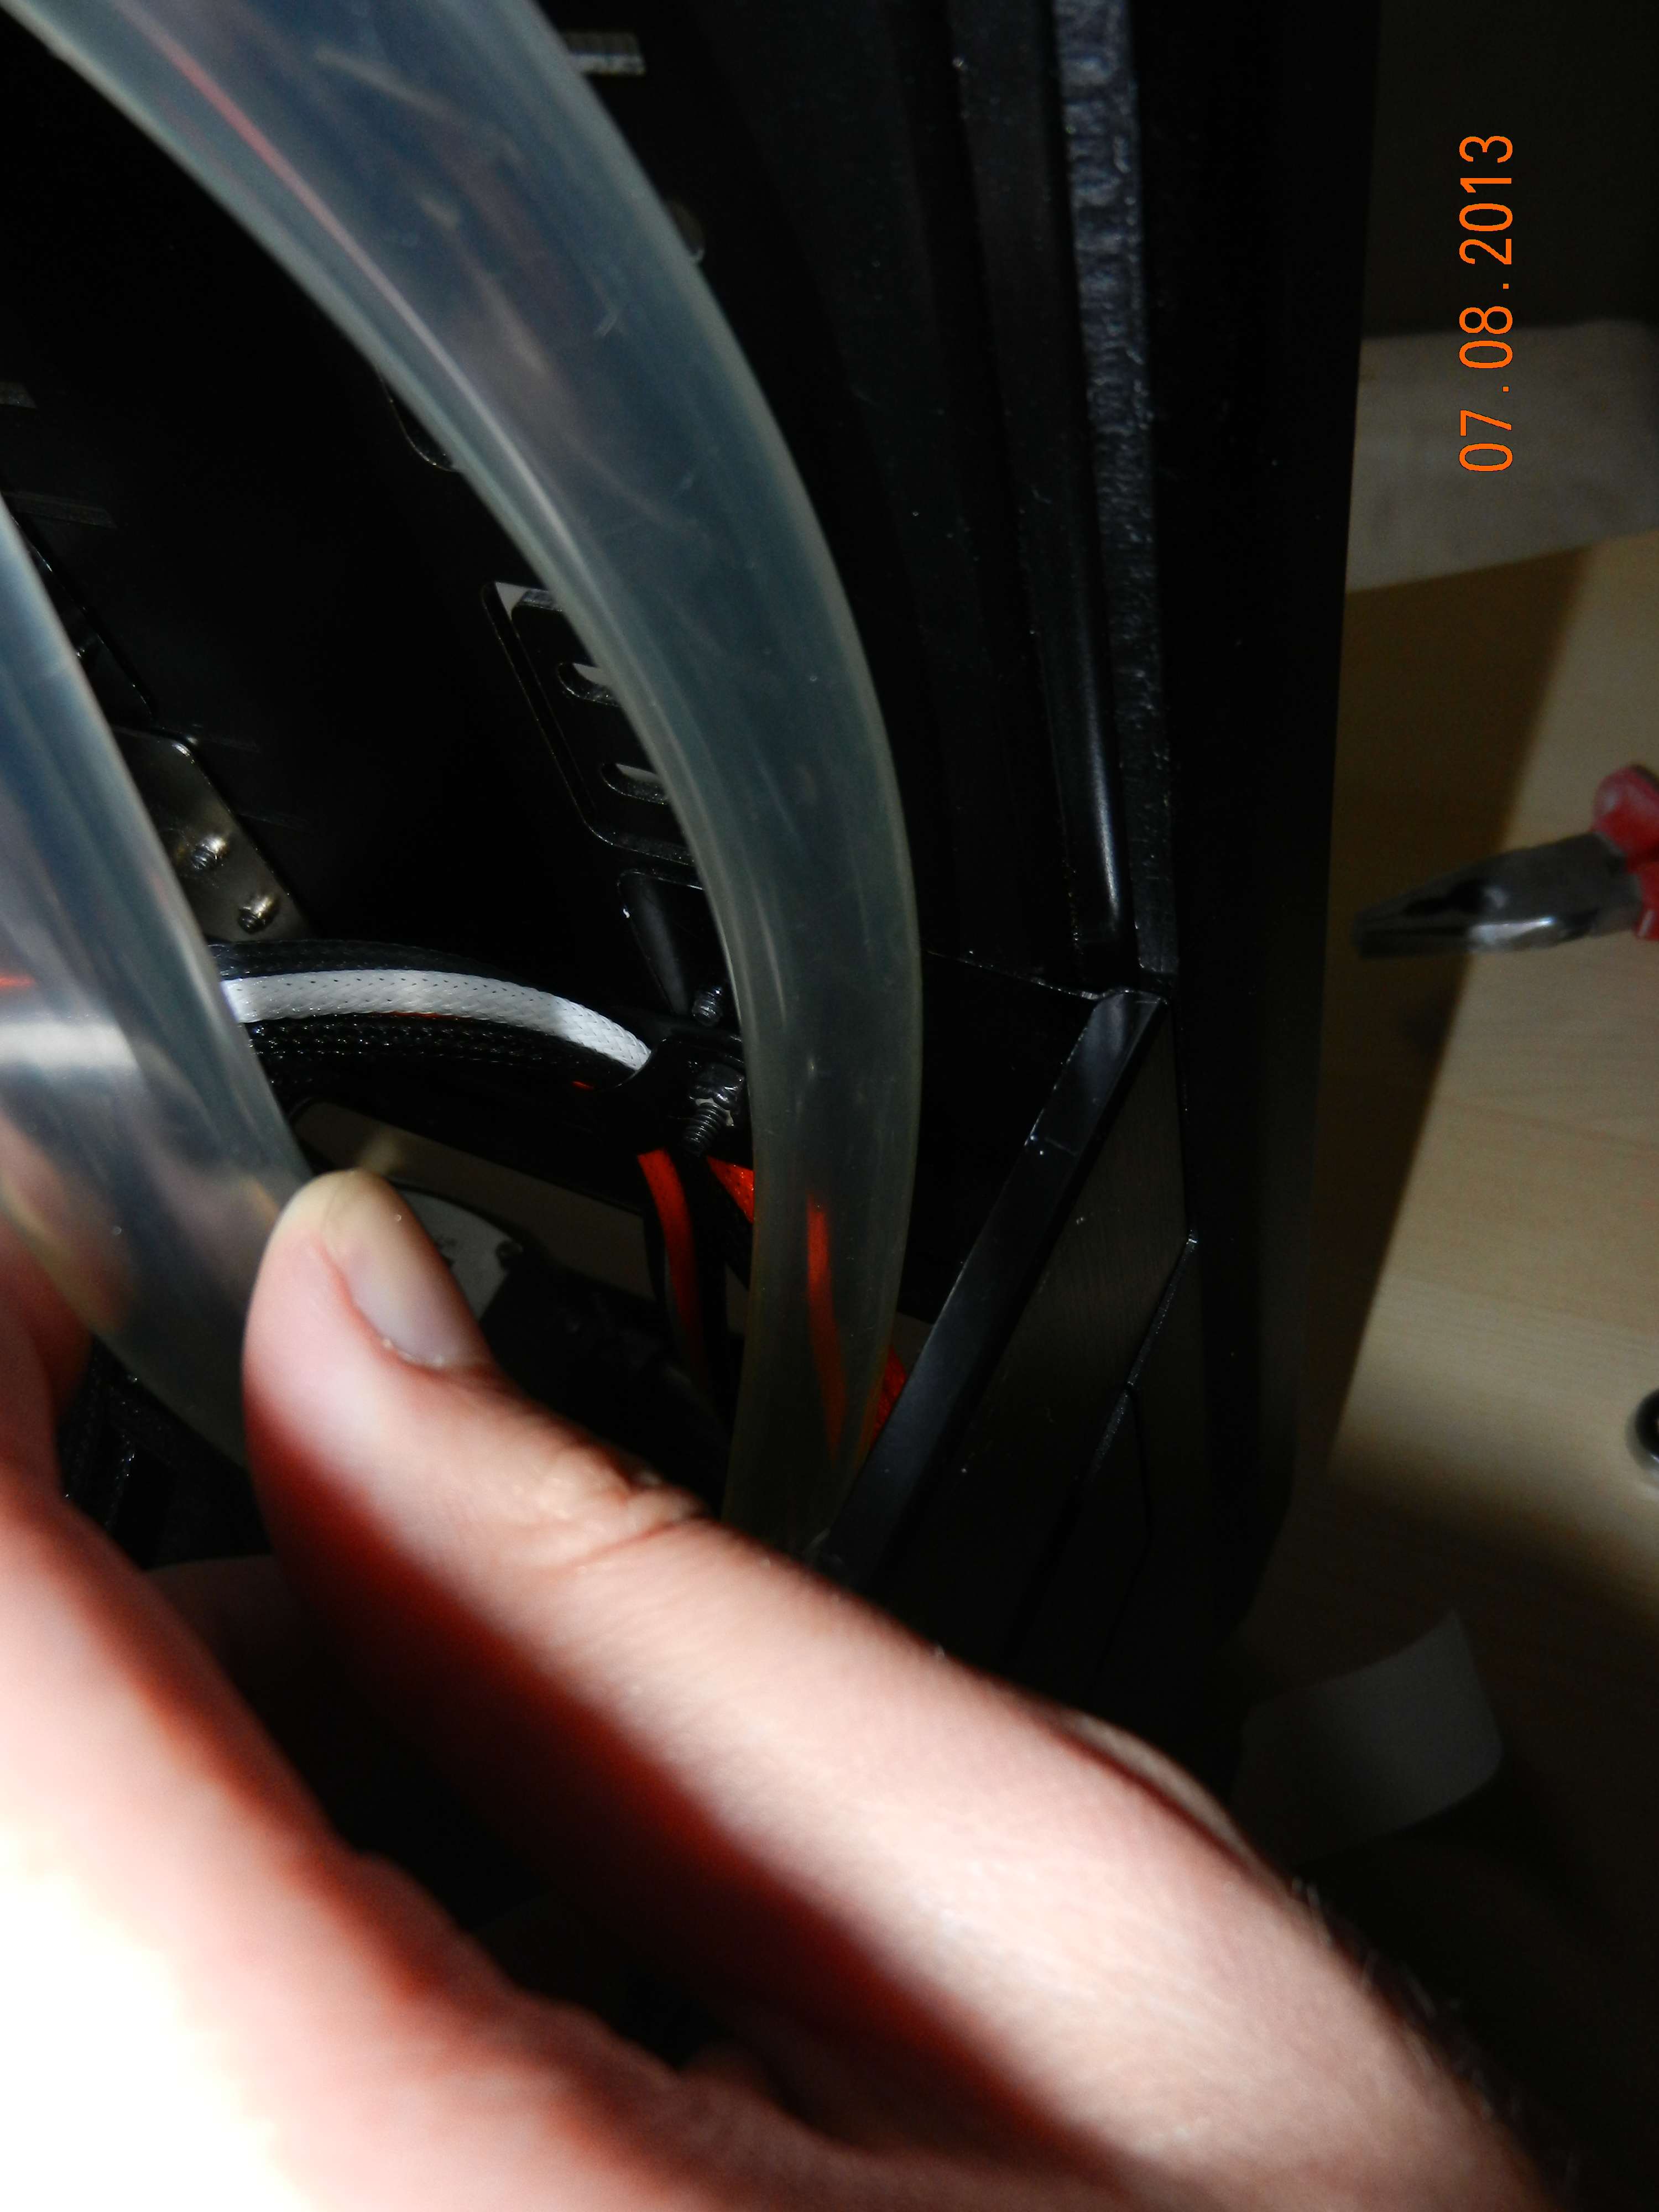
And here is the second update.
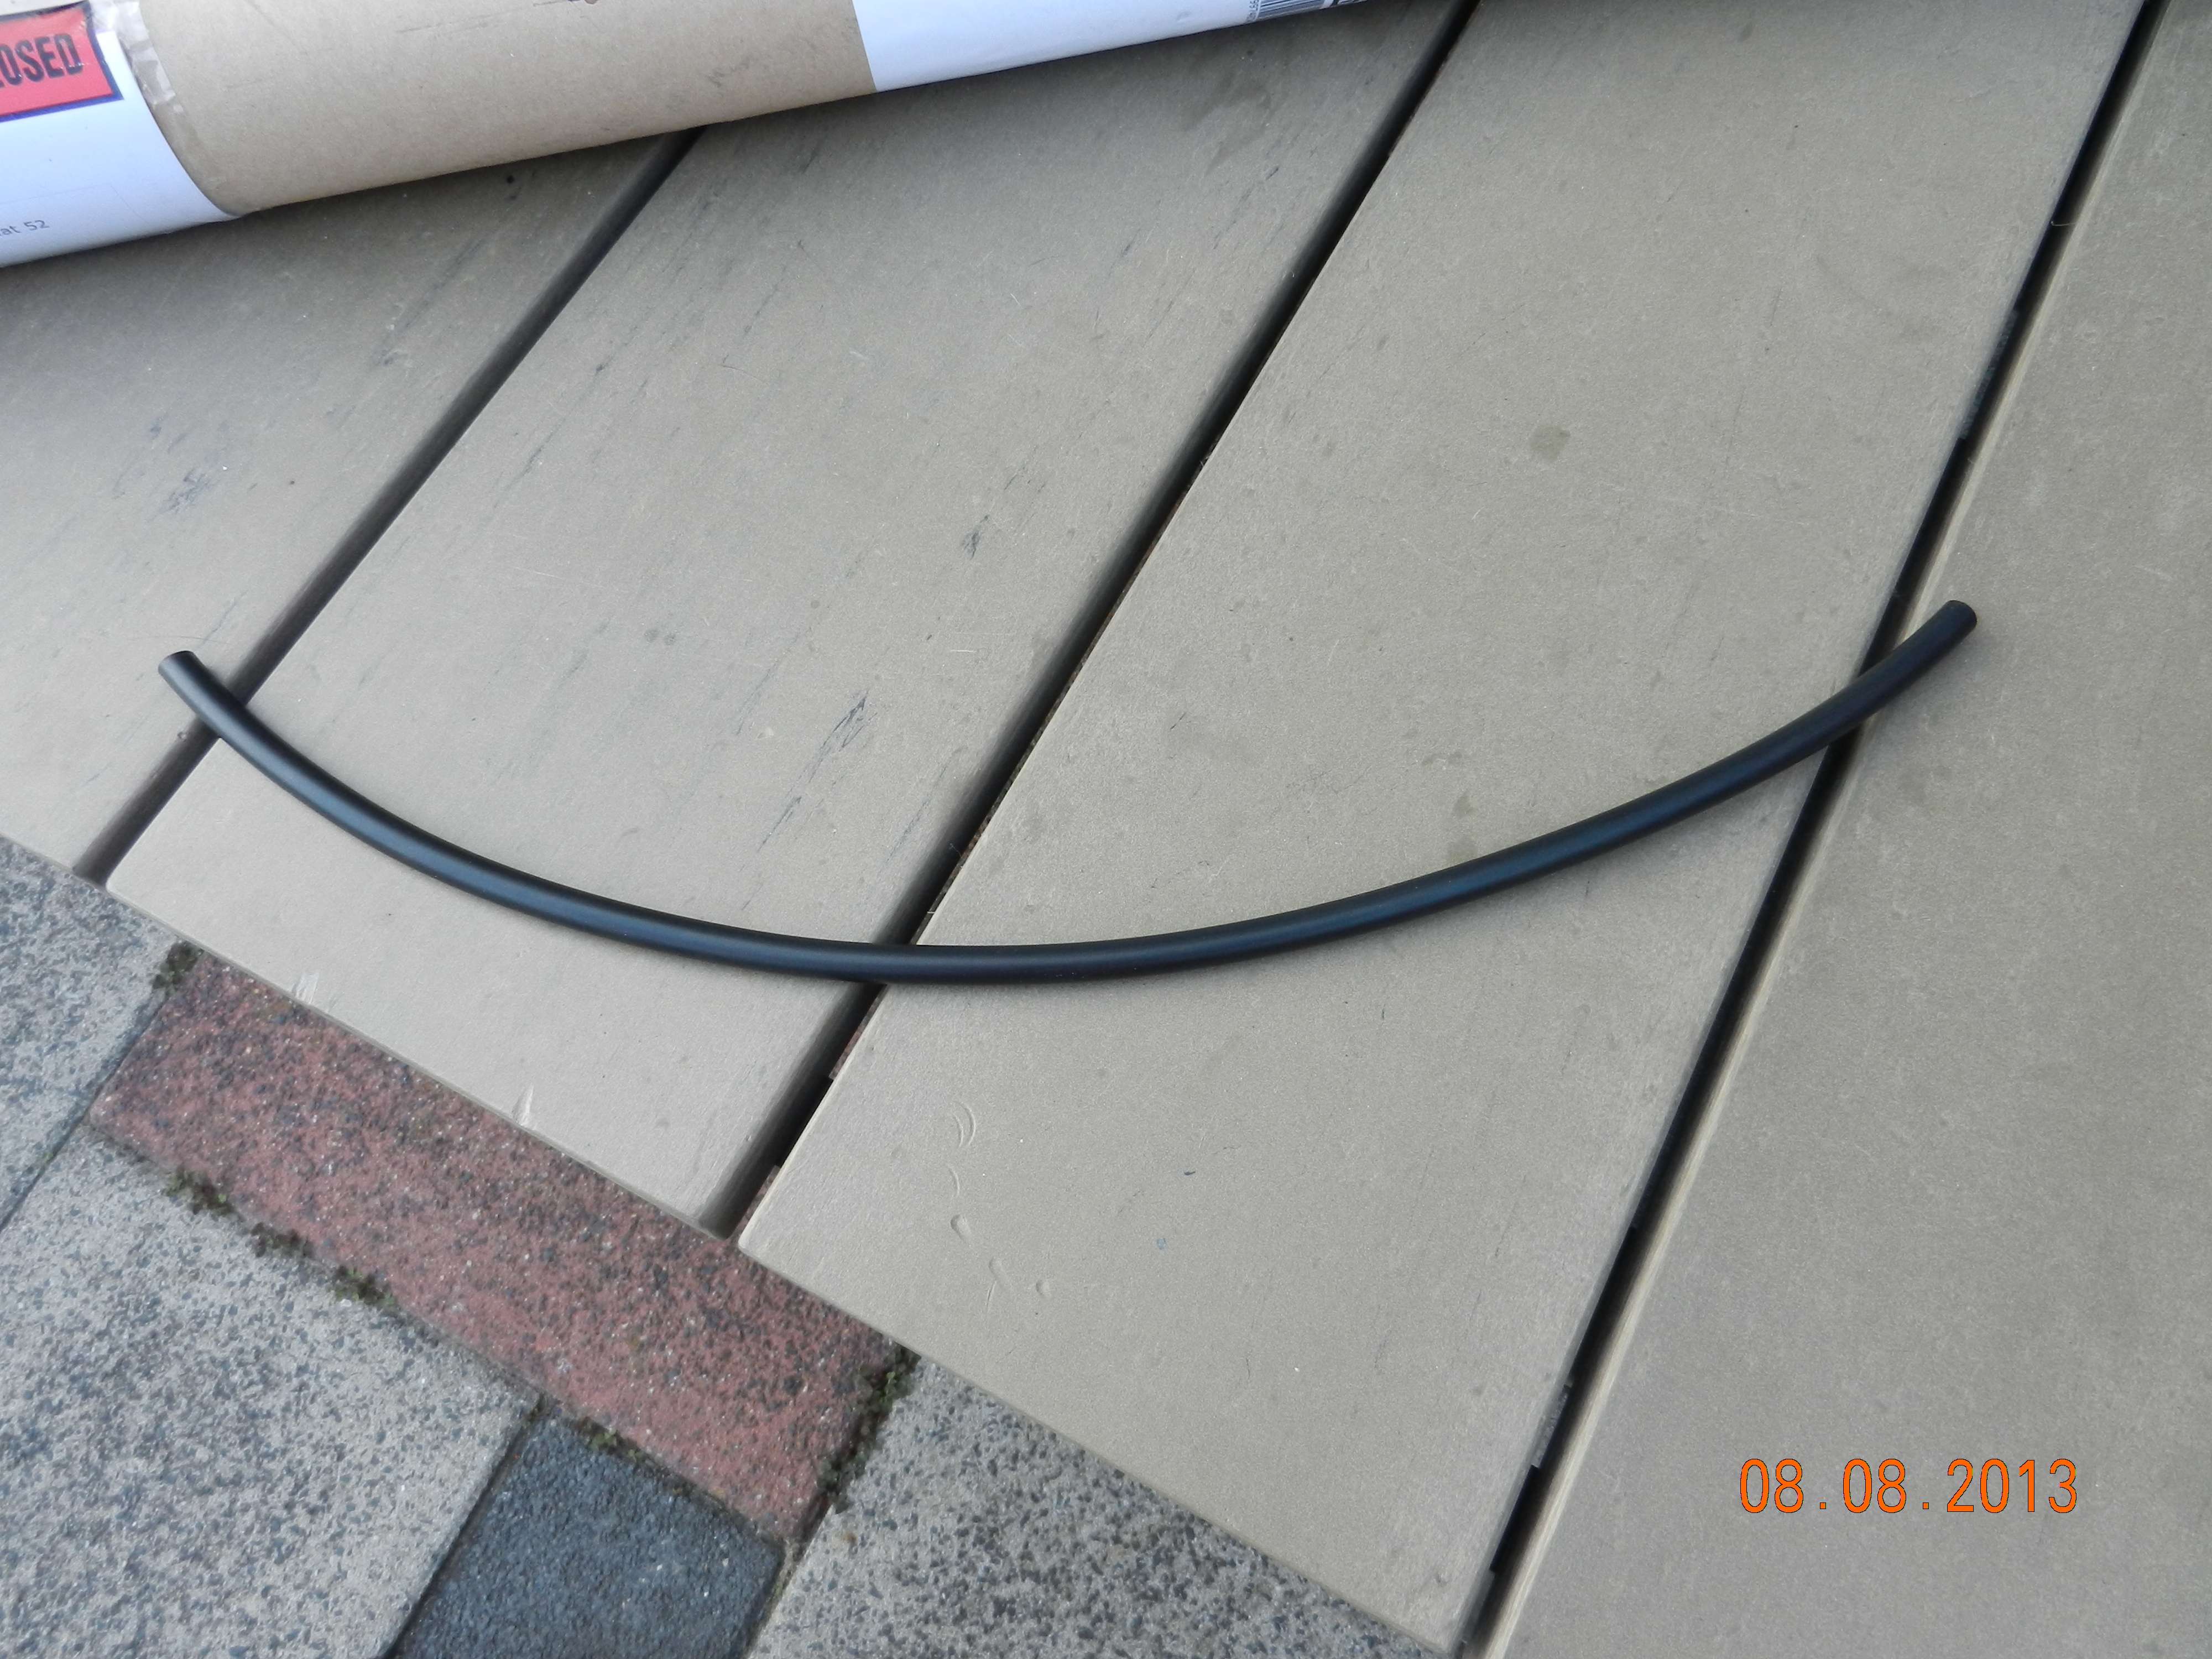
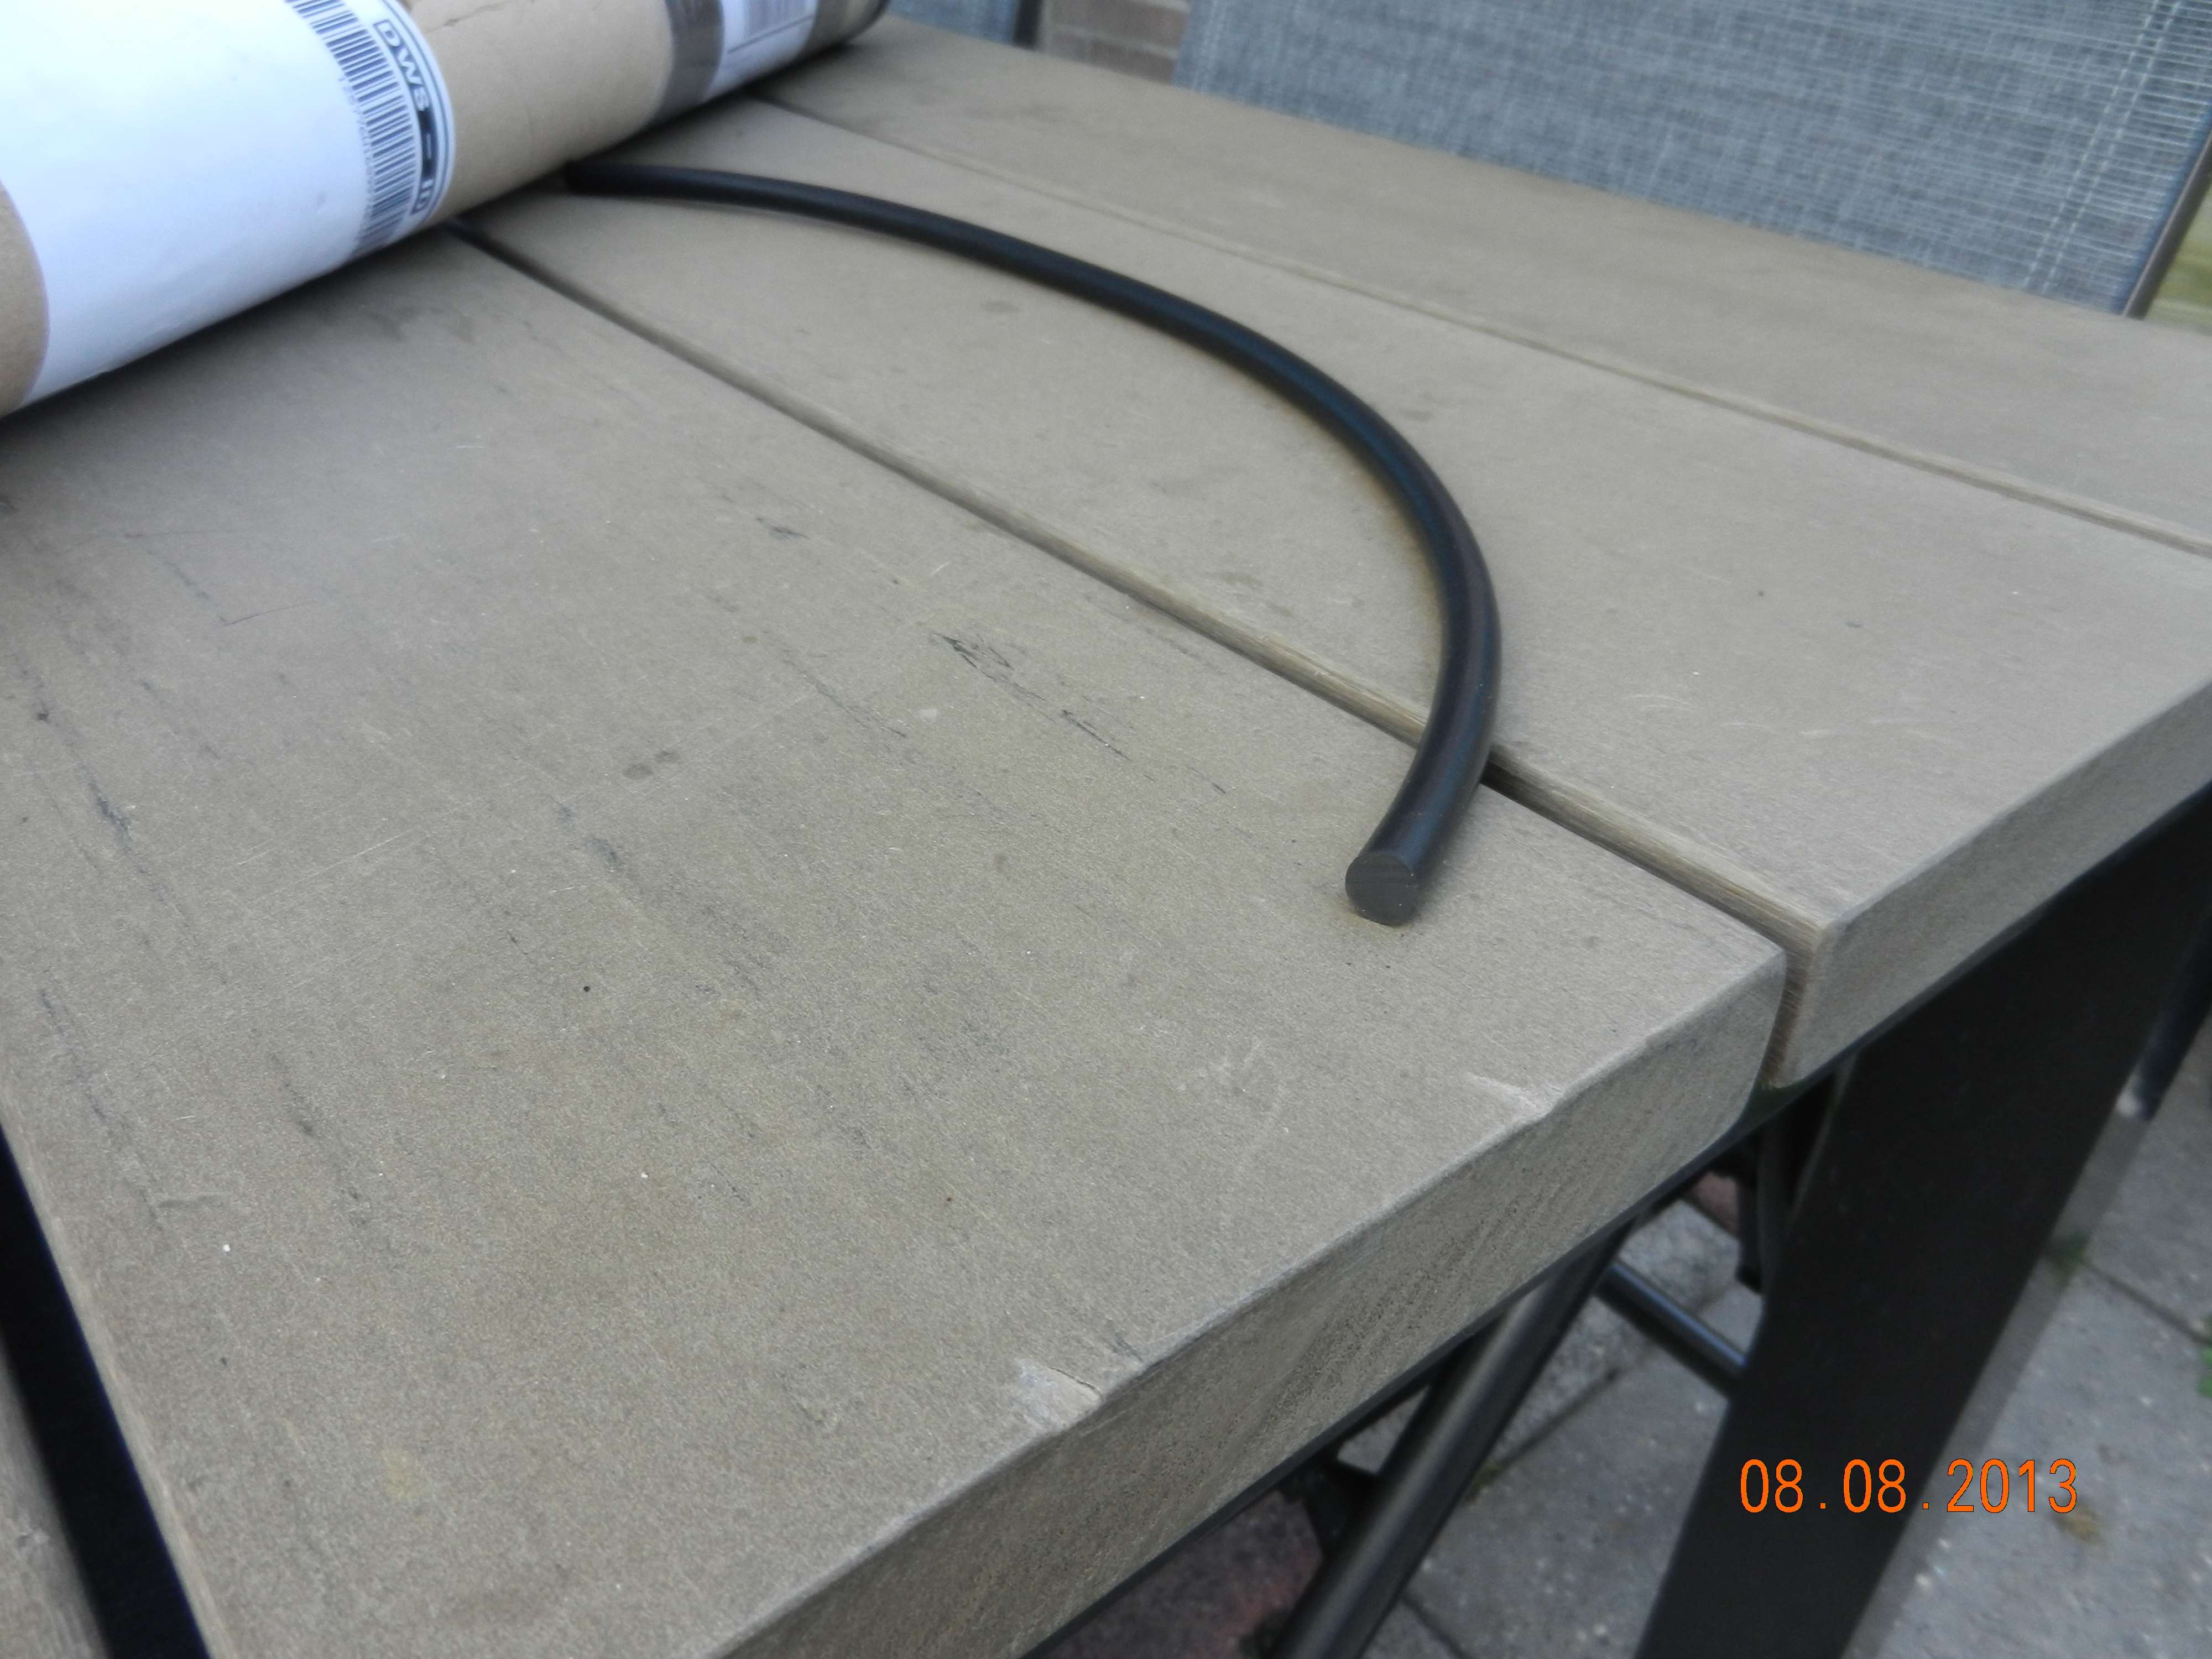
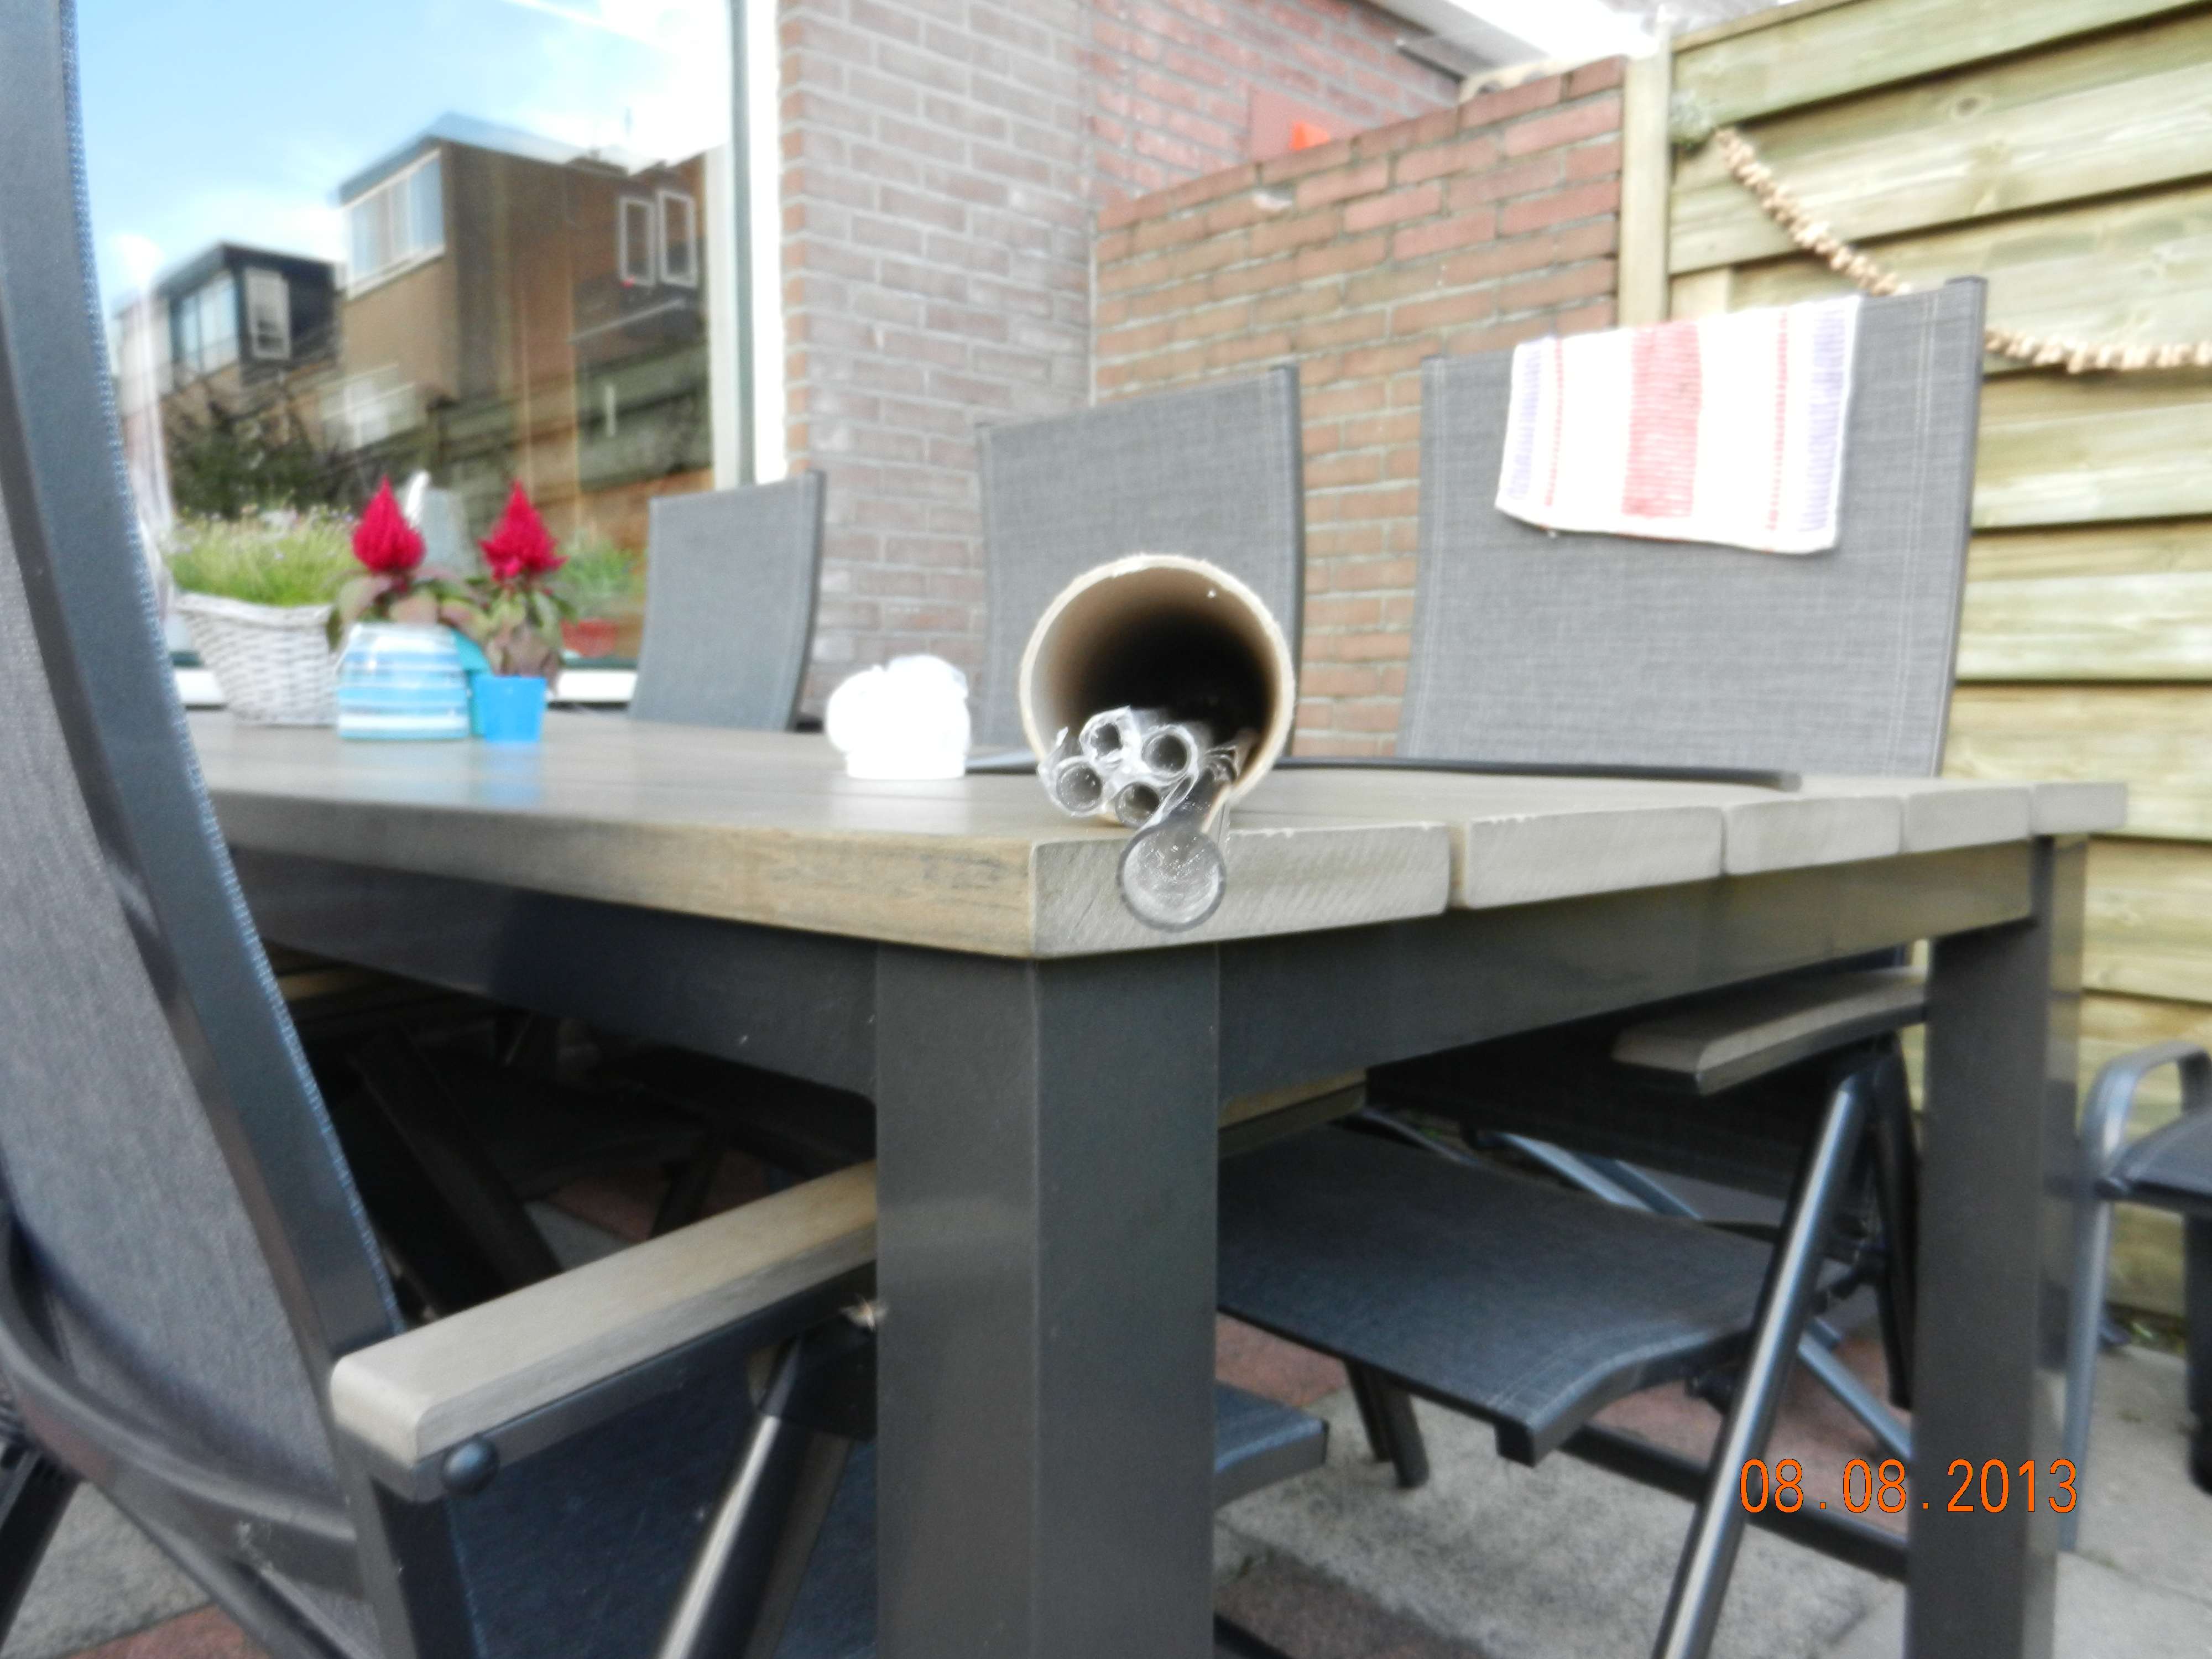
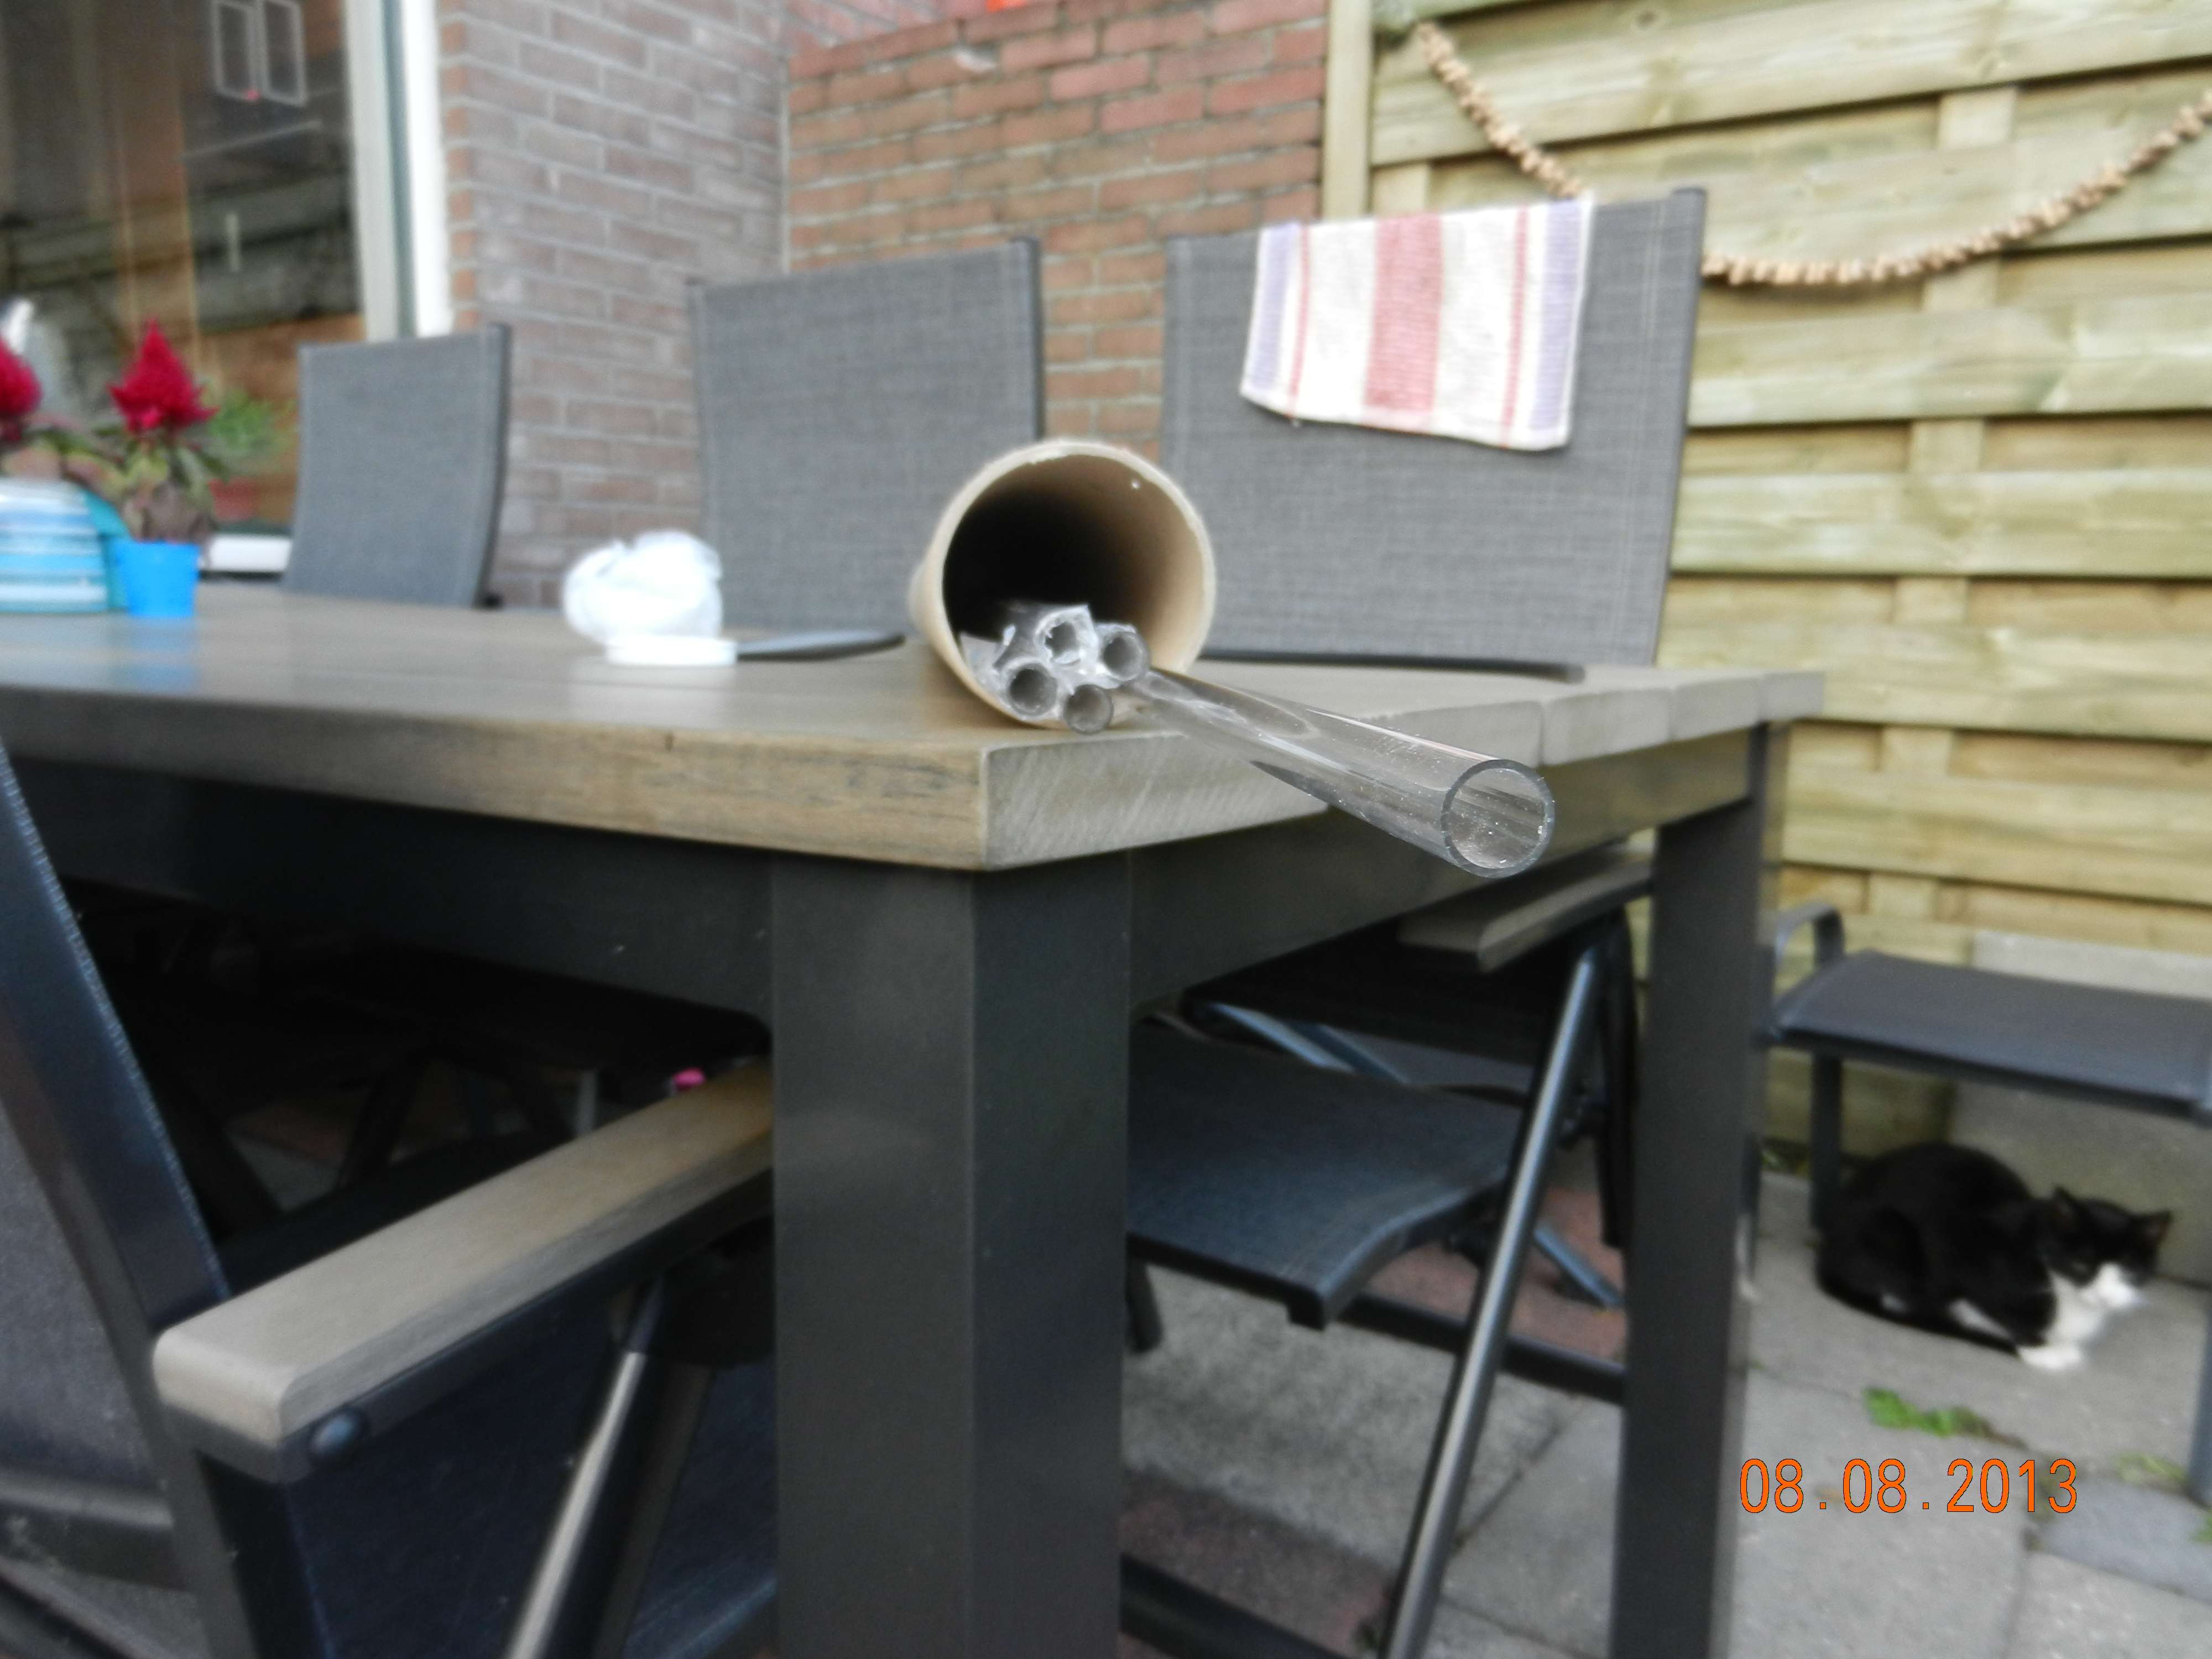
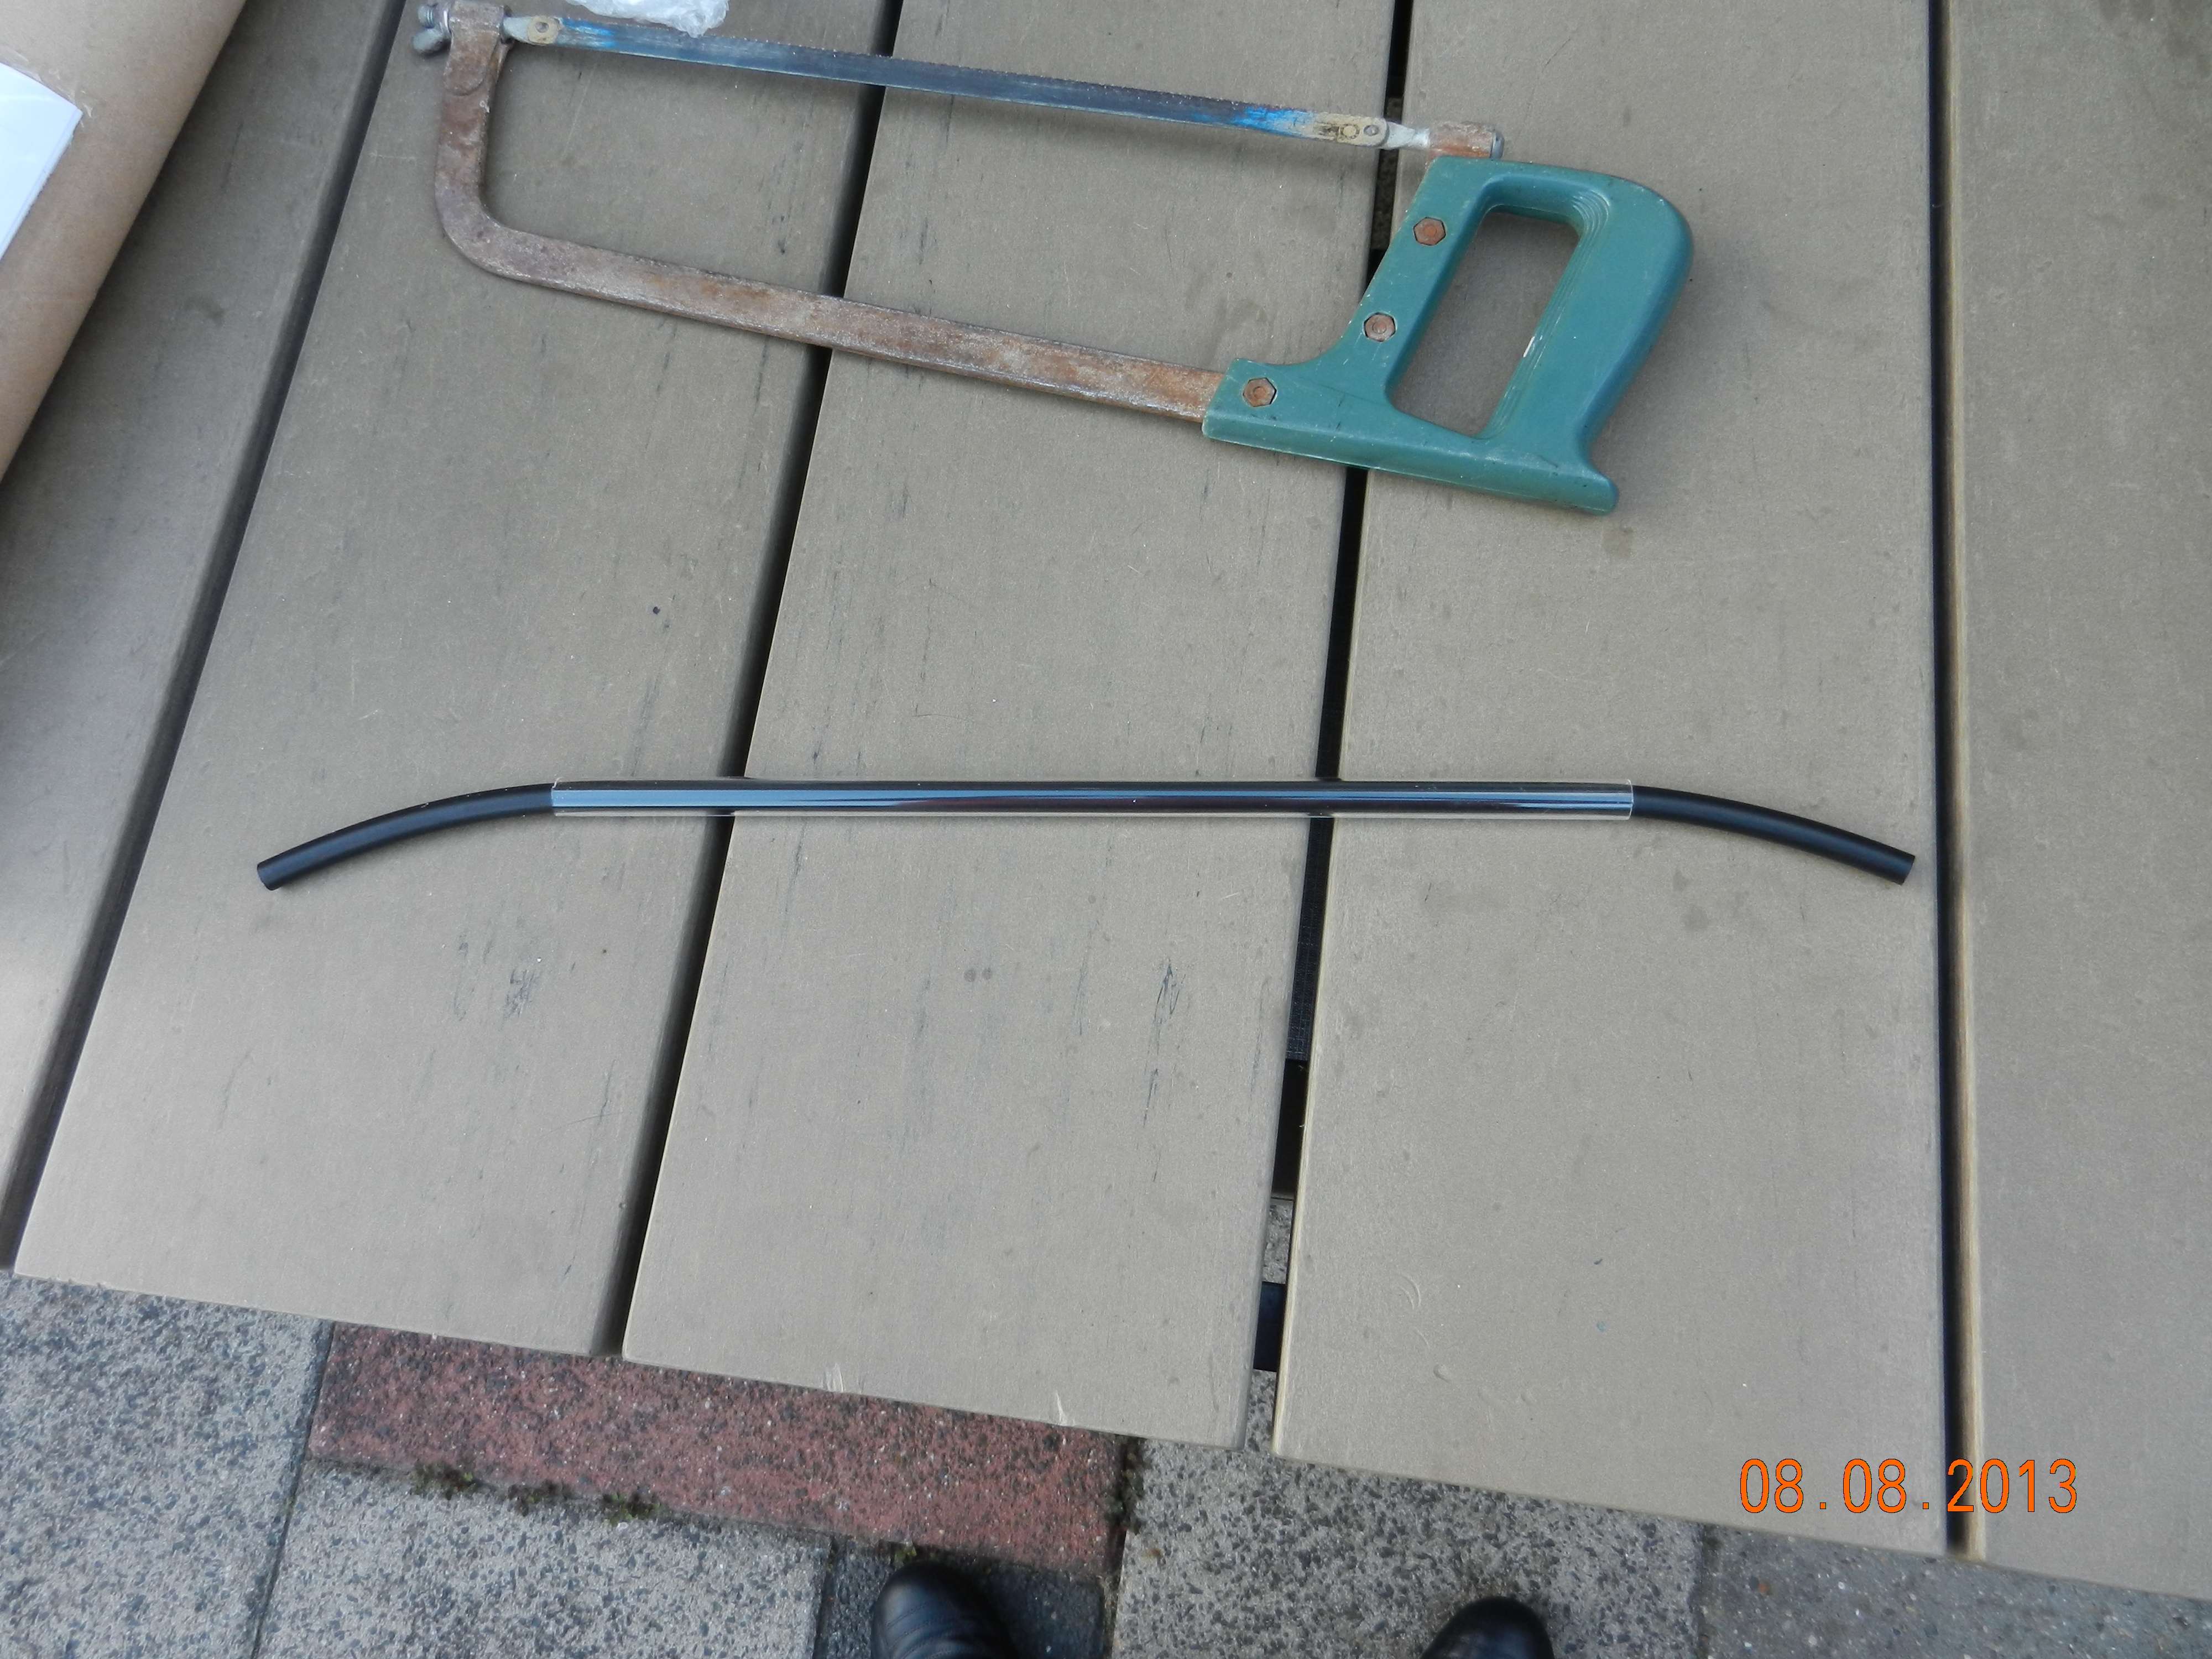
I was giving this a try tonight and I am so hyped I needed to show you guys this.
I ordered 5 meters of 12/10 acrylic tubing and a bending cord.
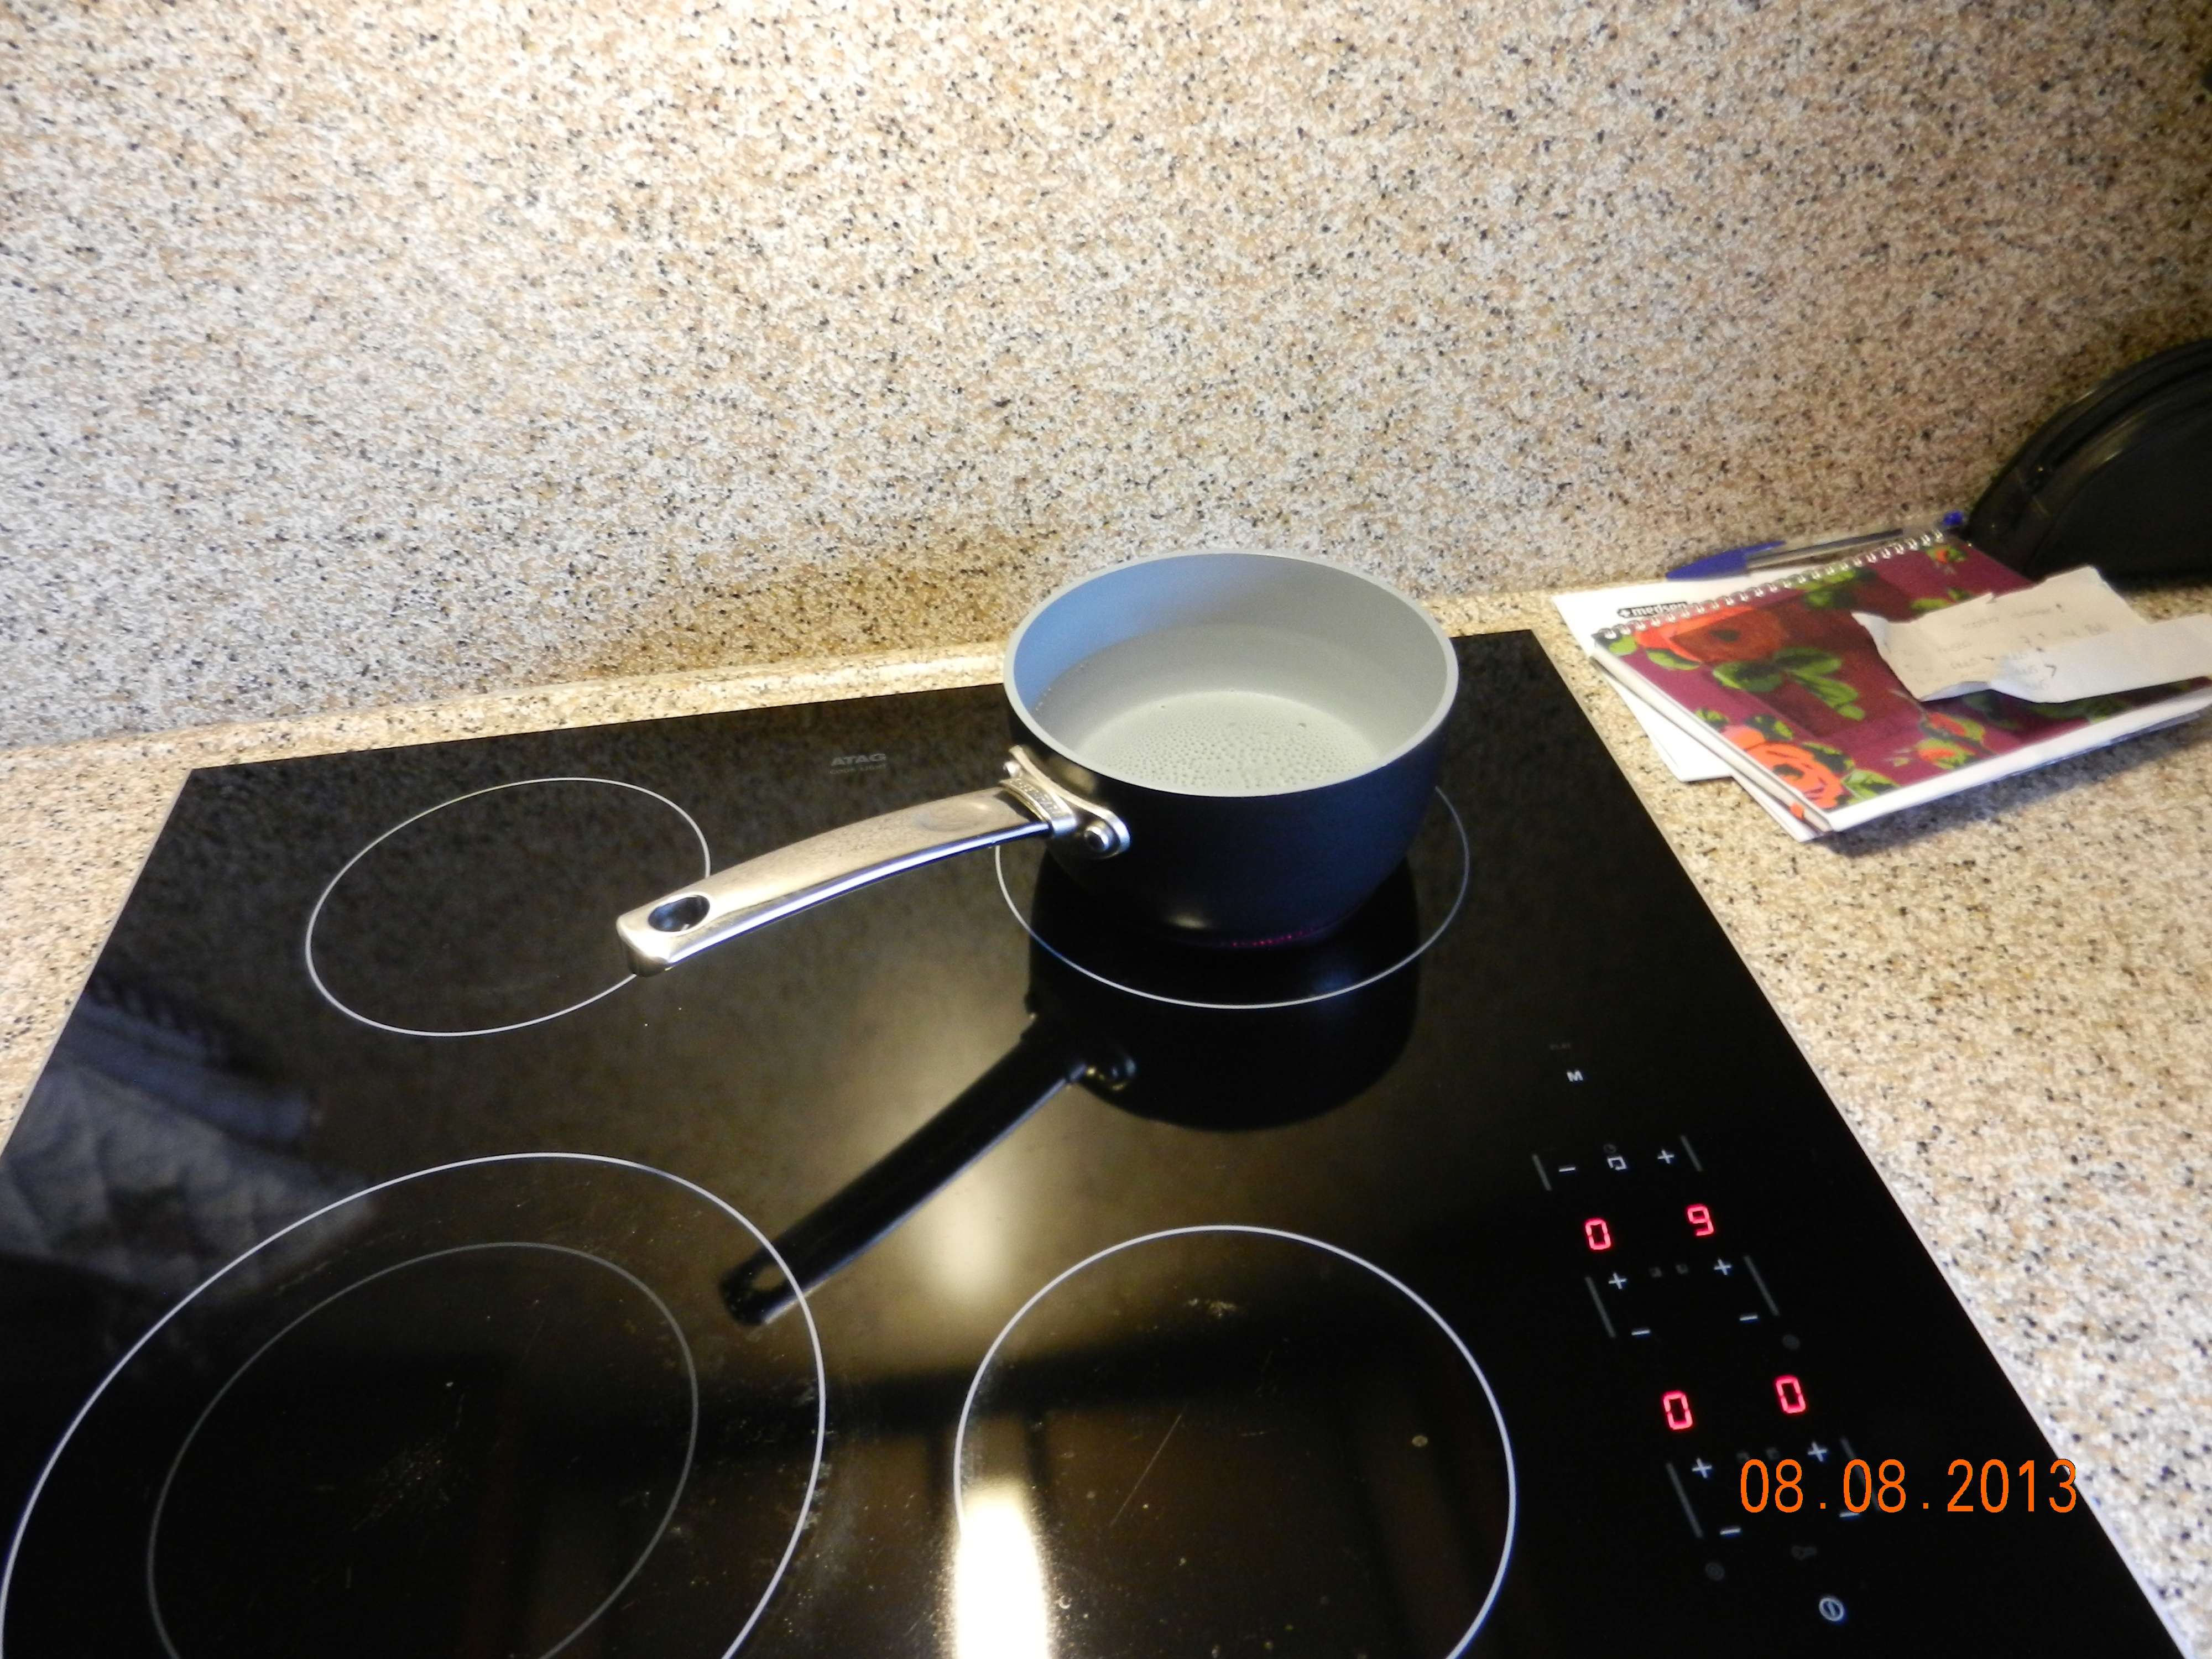
At first I wanted to see if I could do it without a paint removing hot air blower or open flame.
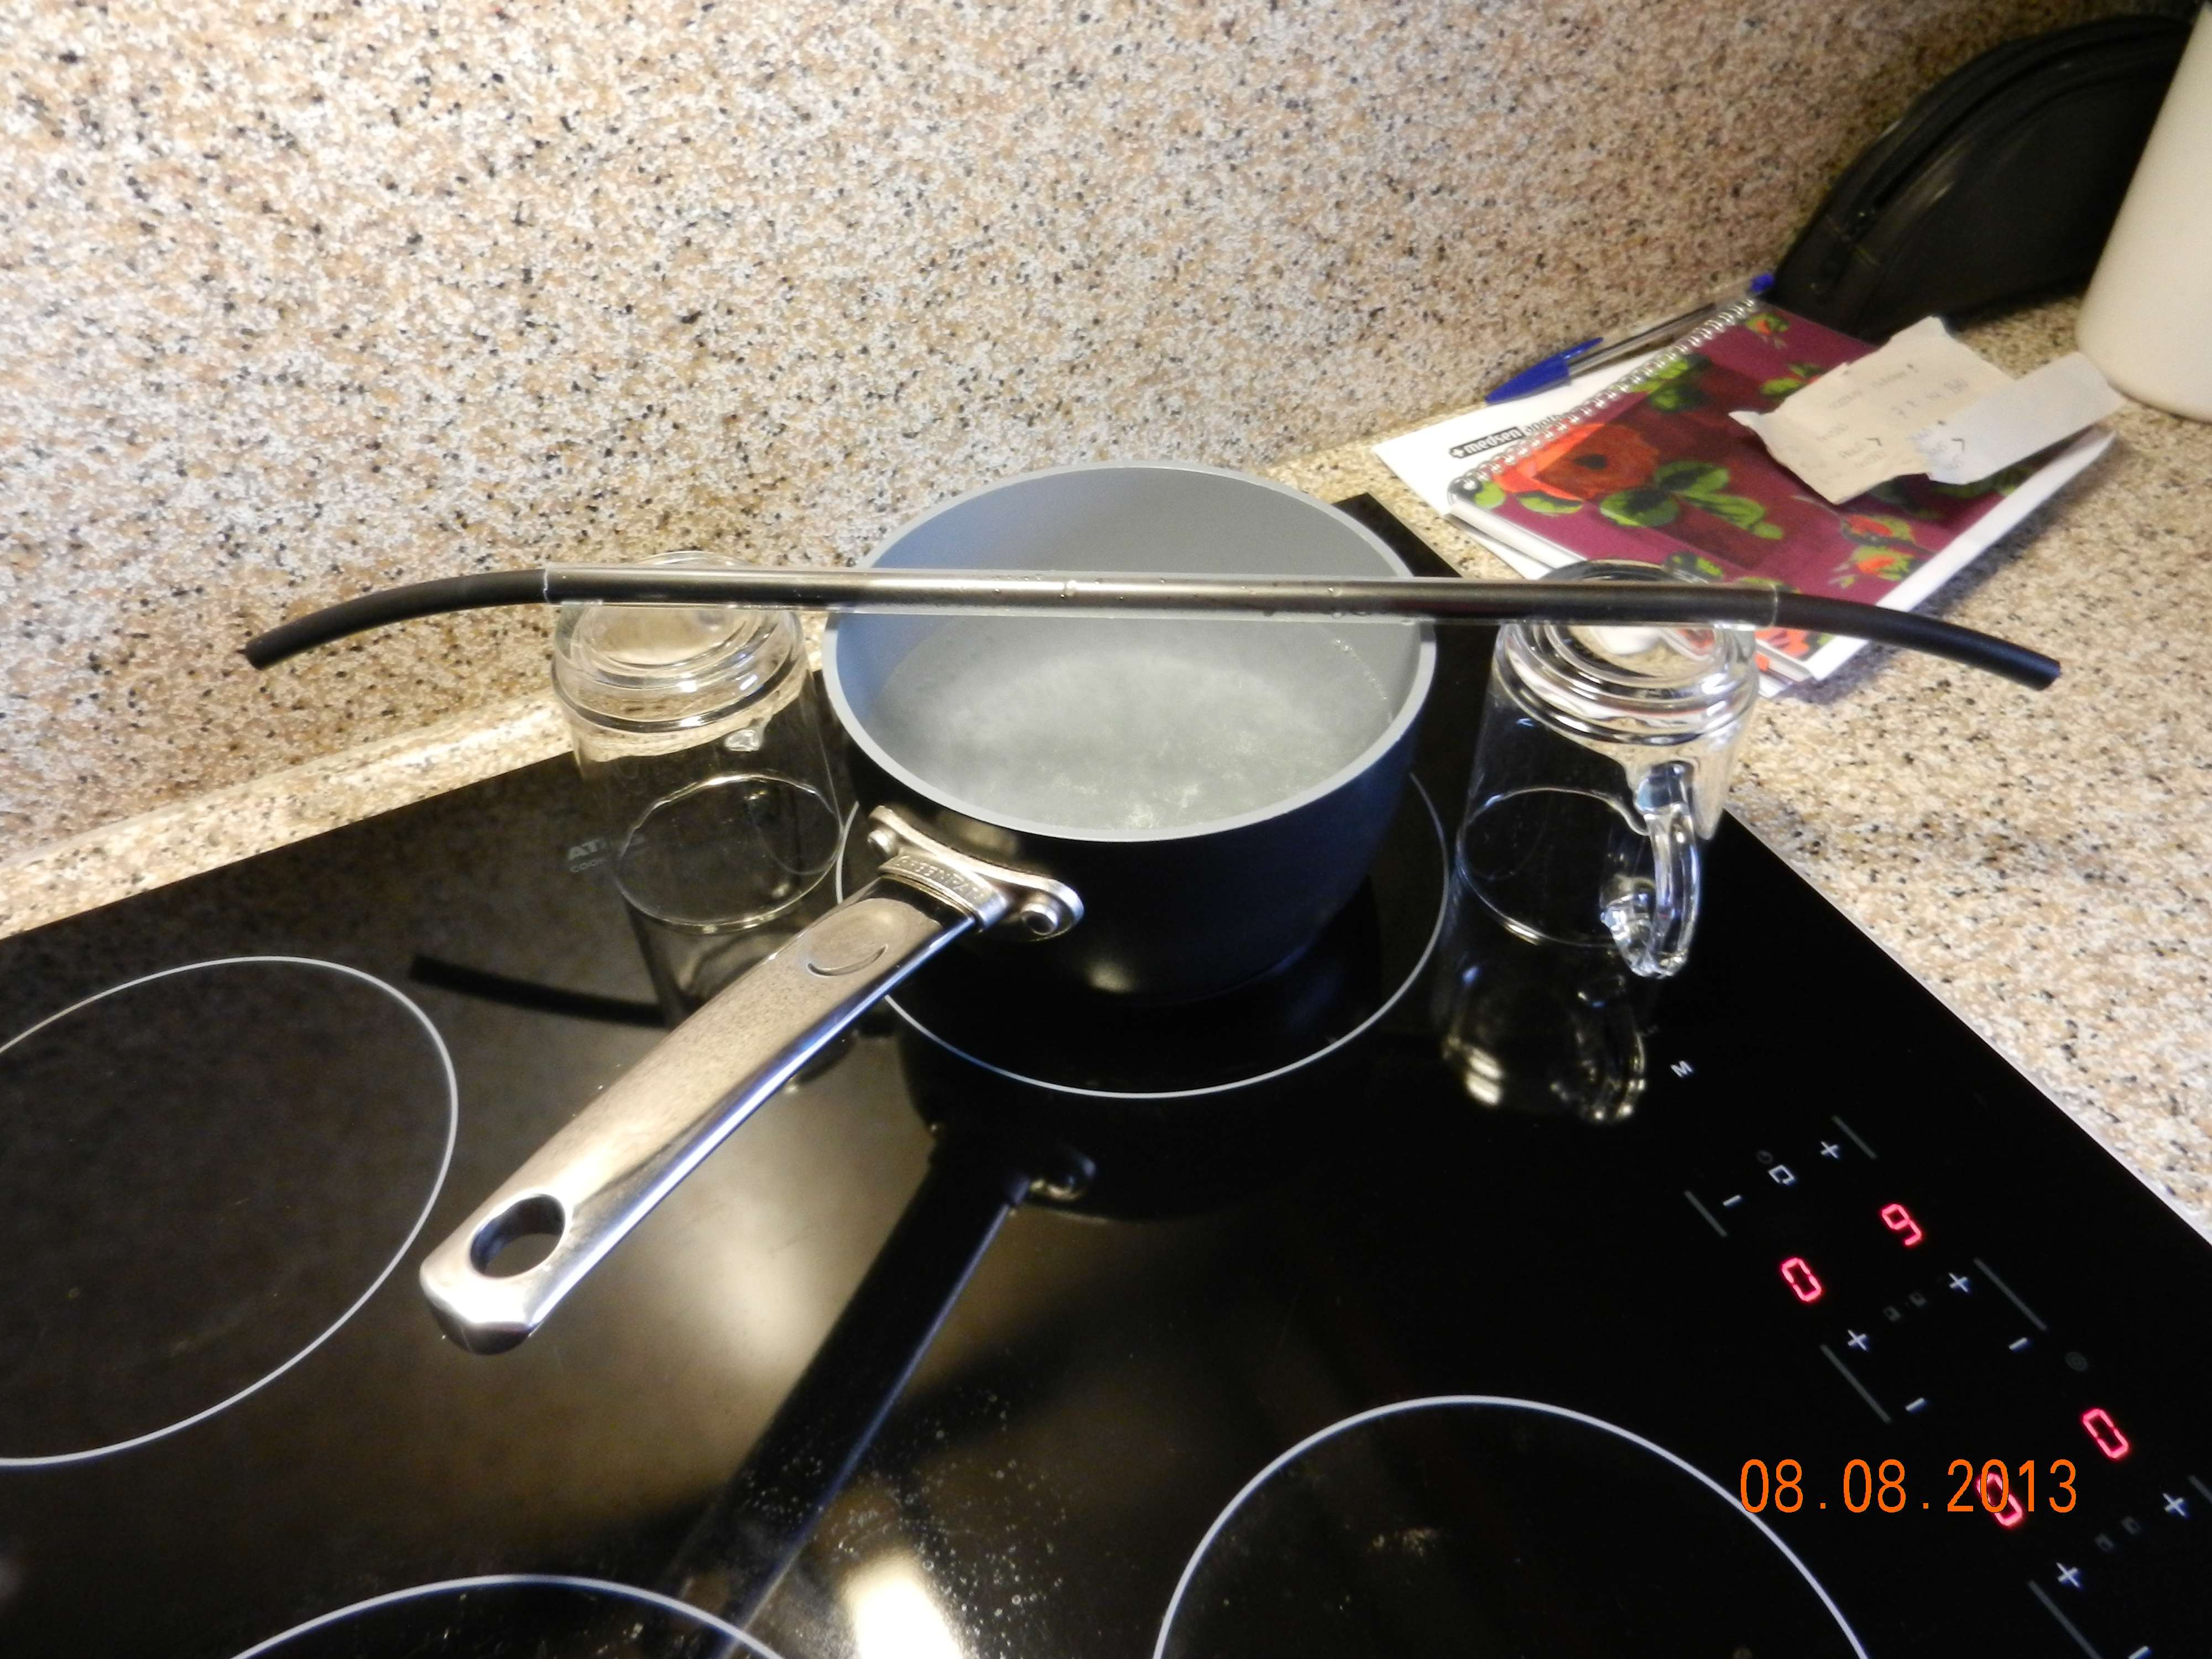
So I thought; water boils at 100 degrees celcius. The plexi bends earlier. Maybe I can bend it with the steam coming from it.
So I put a pan with water on the stove, hit maximum firepowah!!!
The steam is hot enough to burn the skin from your hands.....but the tubing won't get warm/hot. You can still put your hand on it and it will not bend.
PLAN B!!!
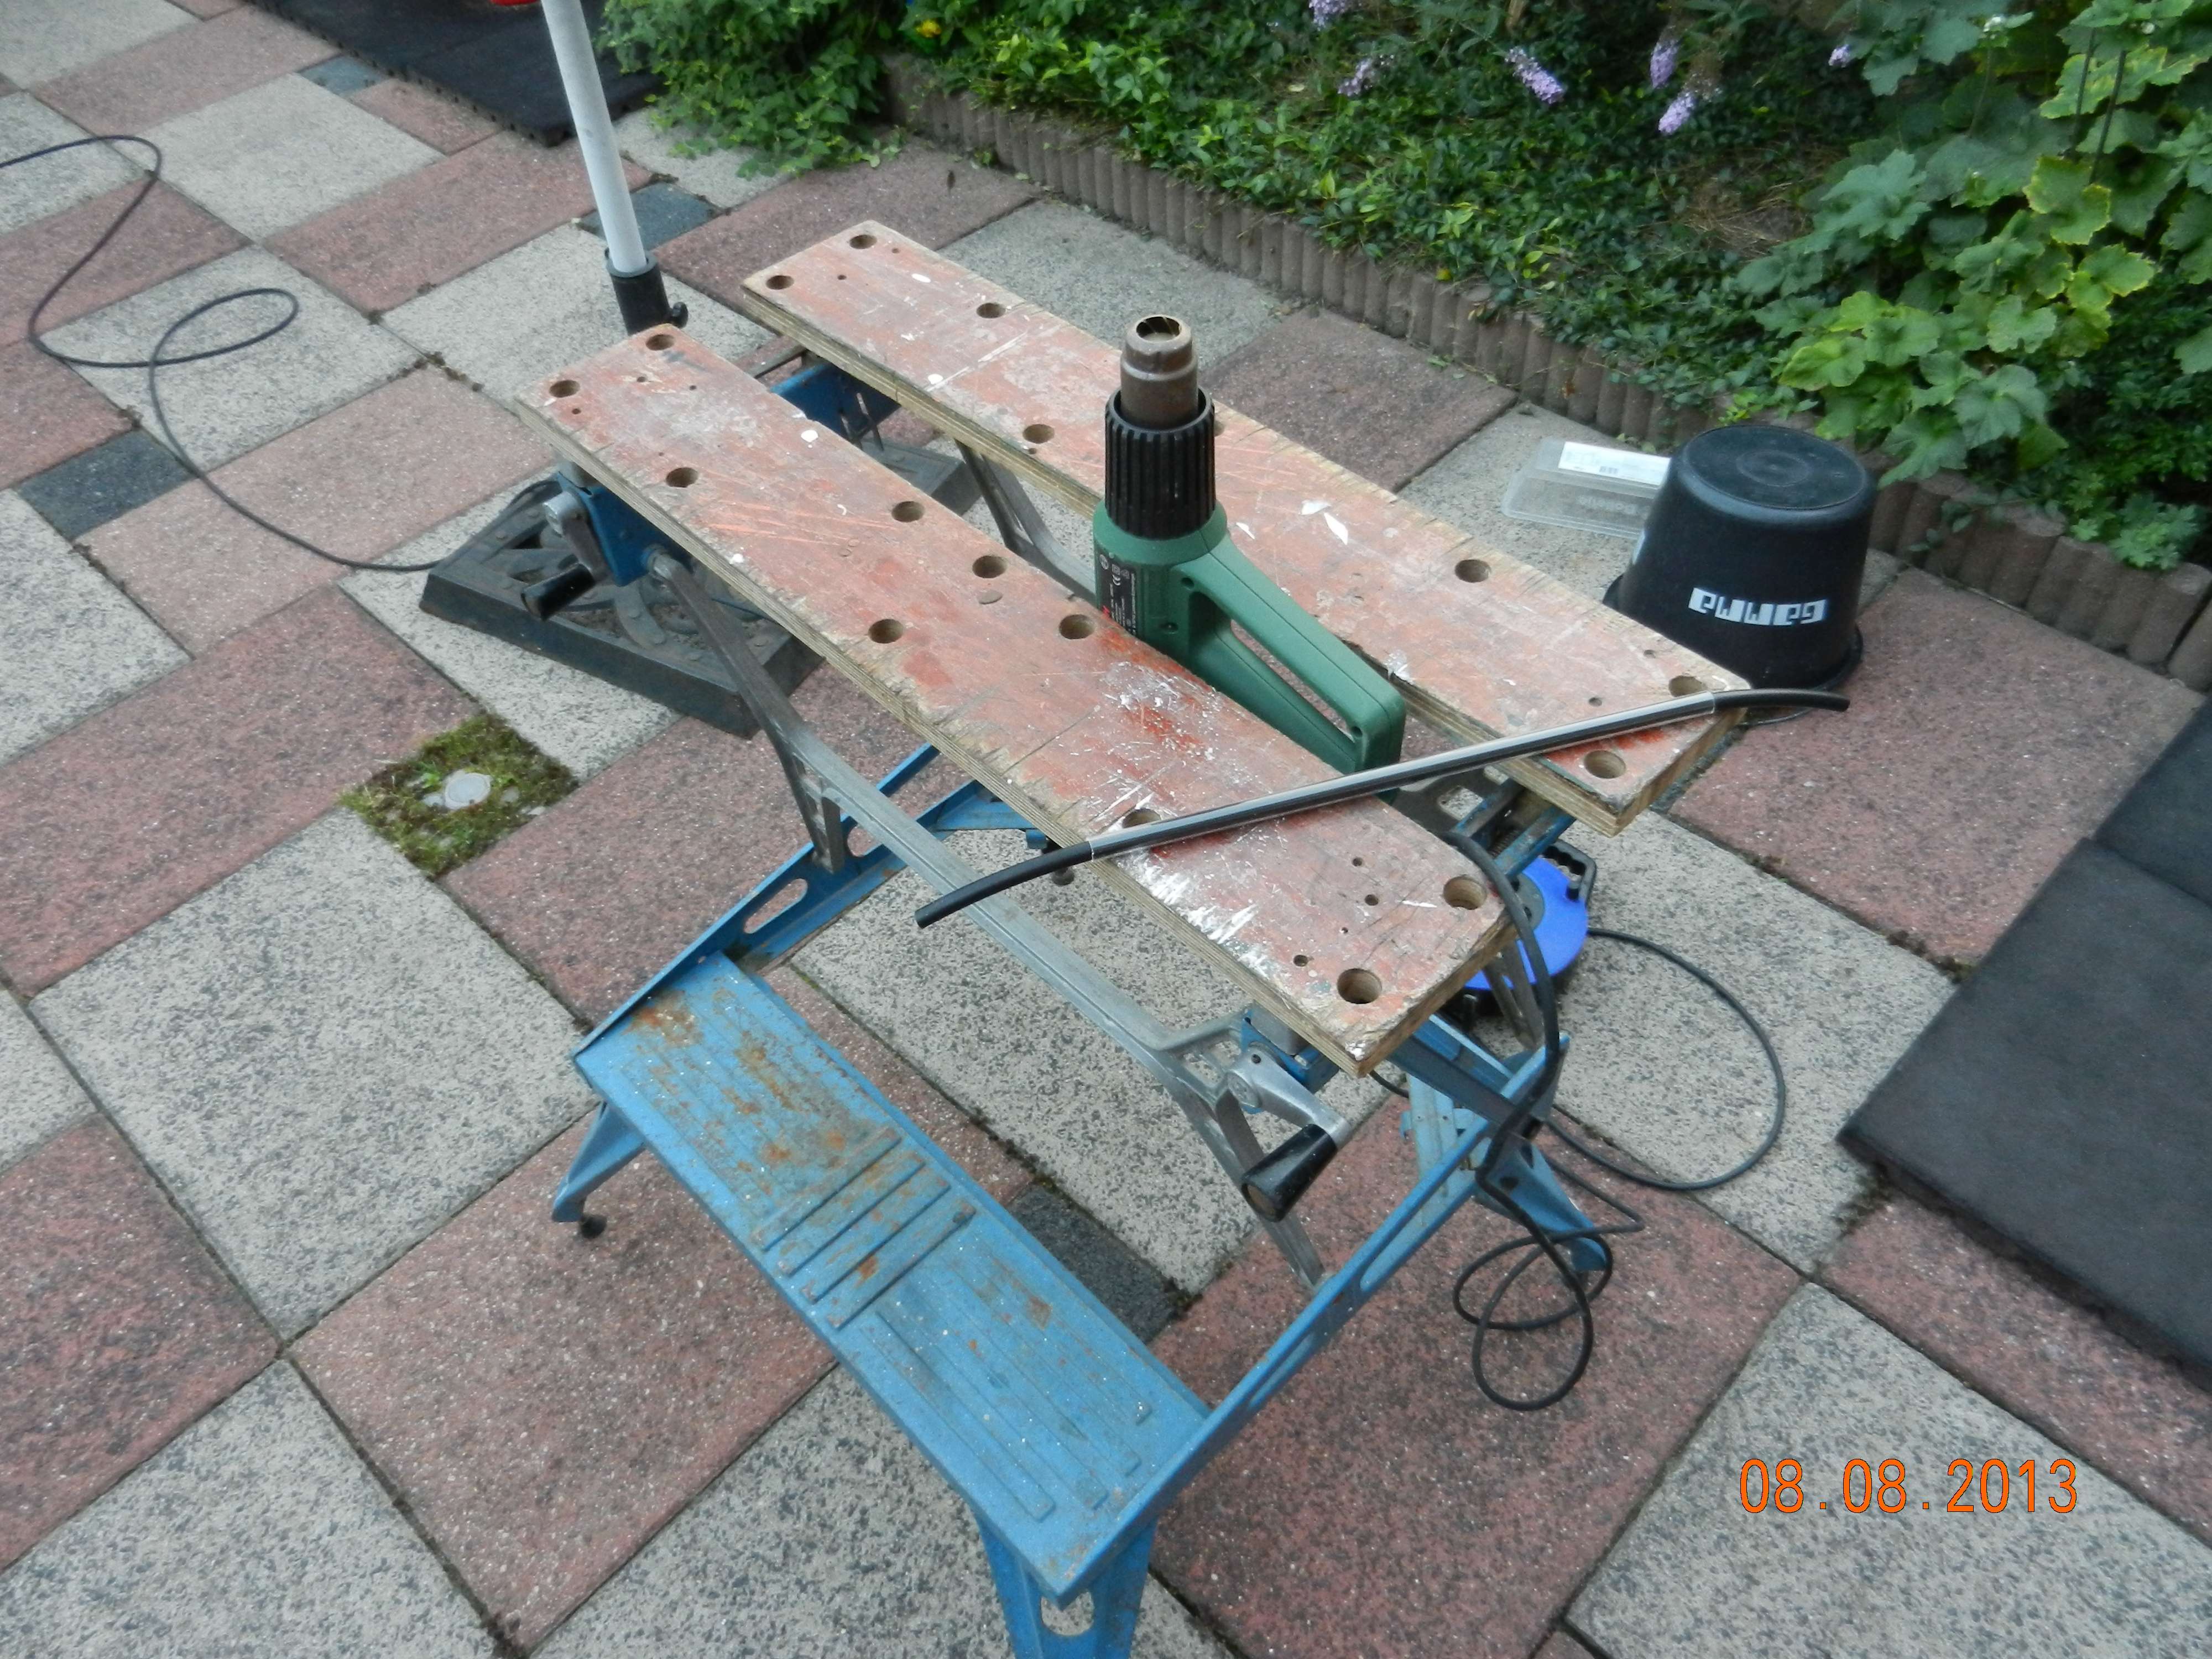
I grabbed my bike and cycled to my parents like a good Dutch boy. Grabbed the hot ar gun and cycled back.
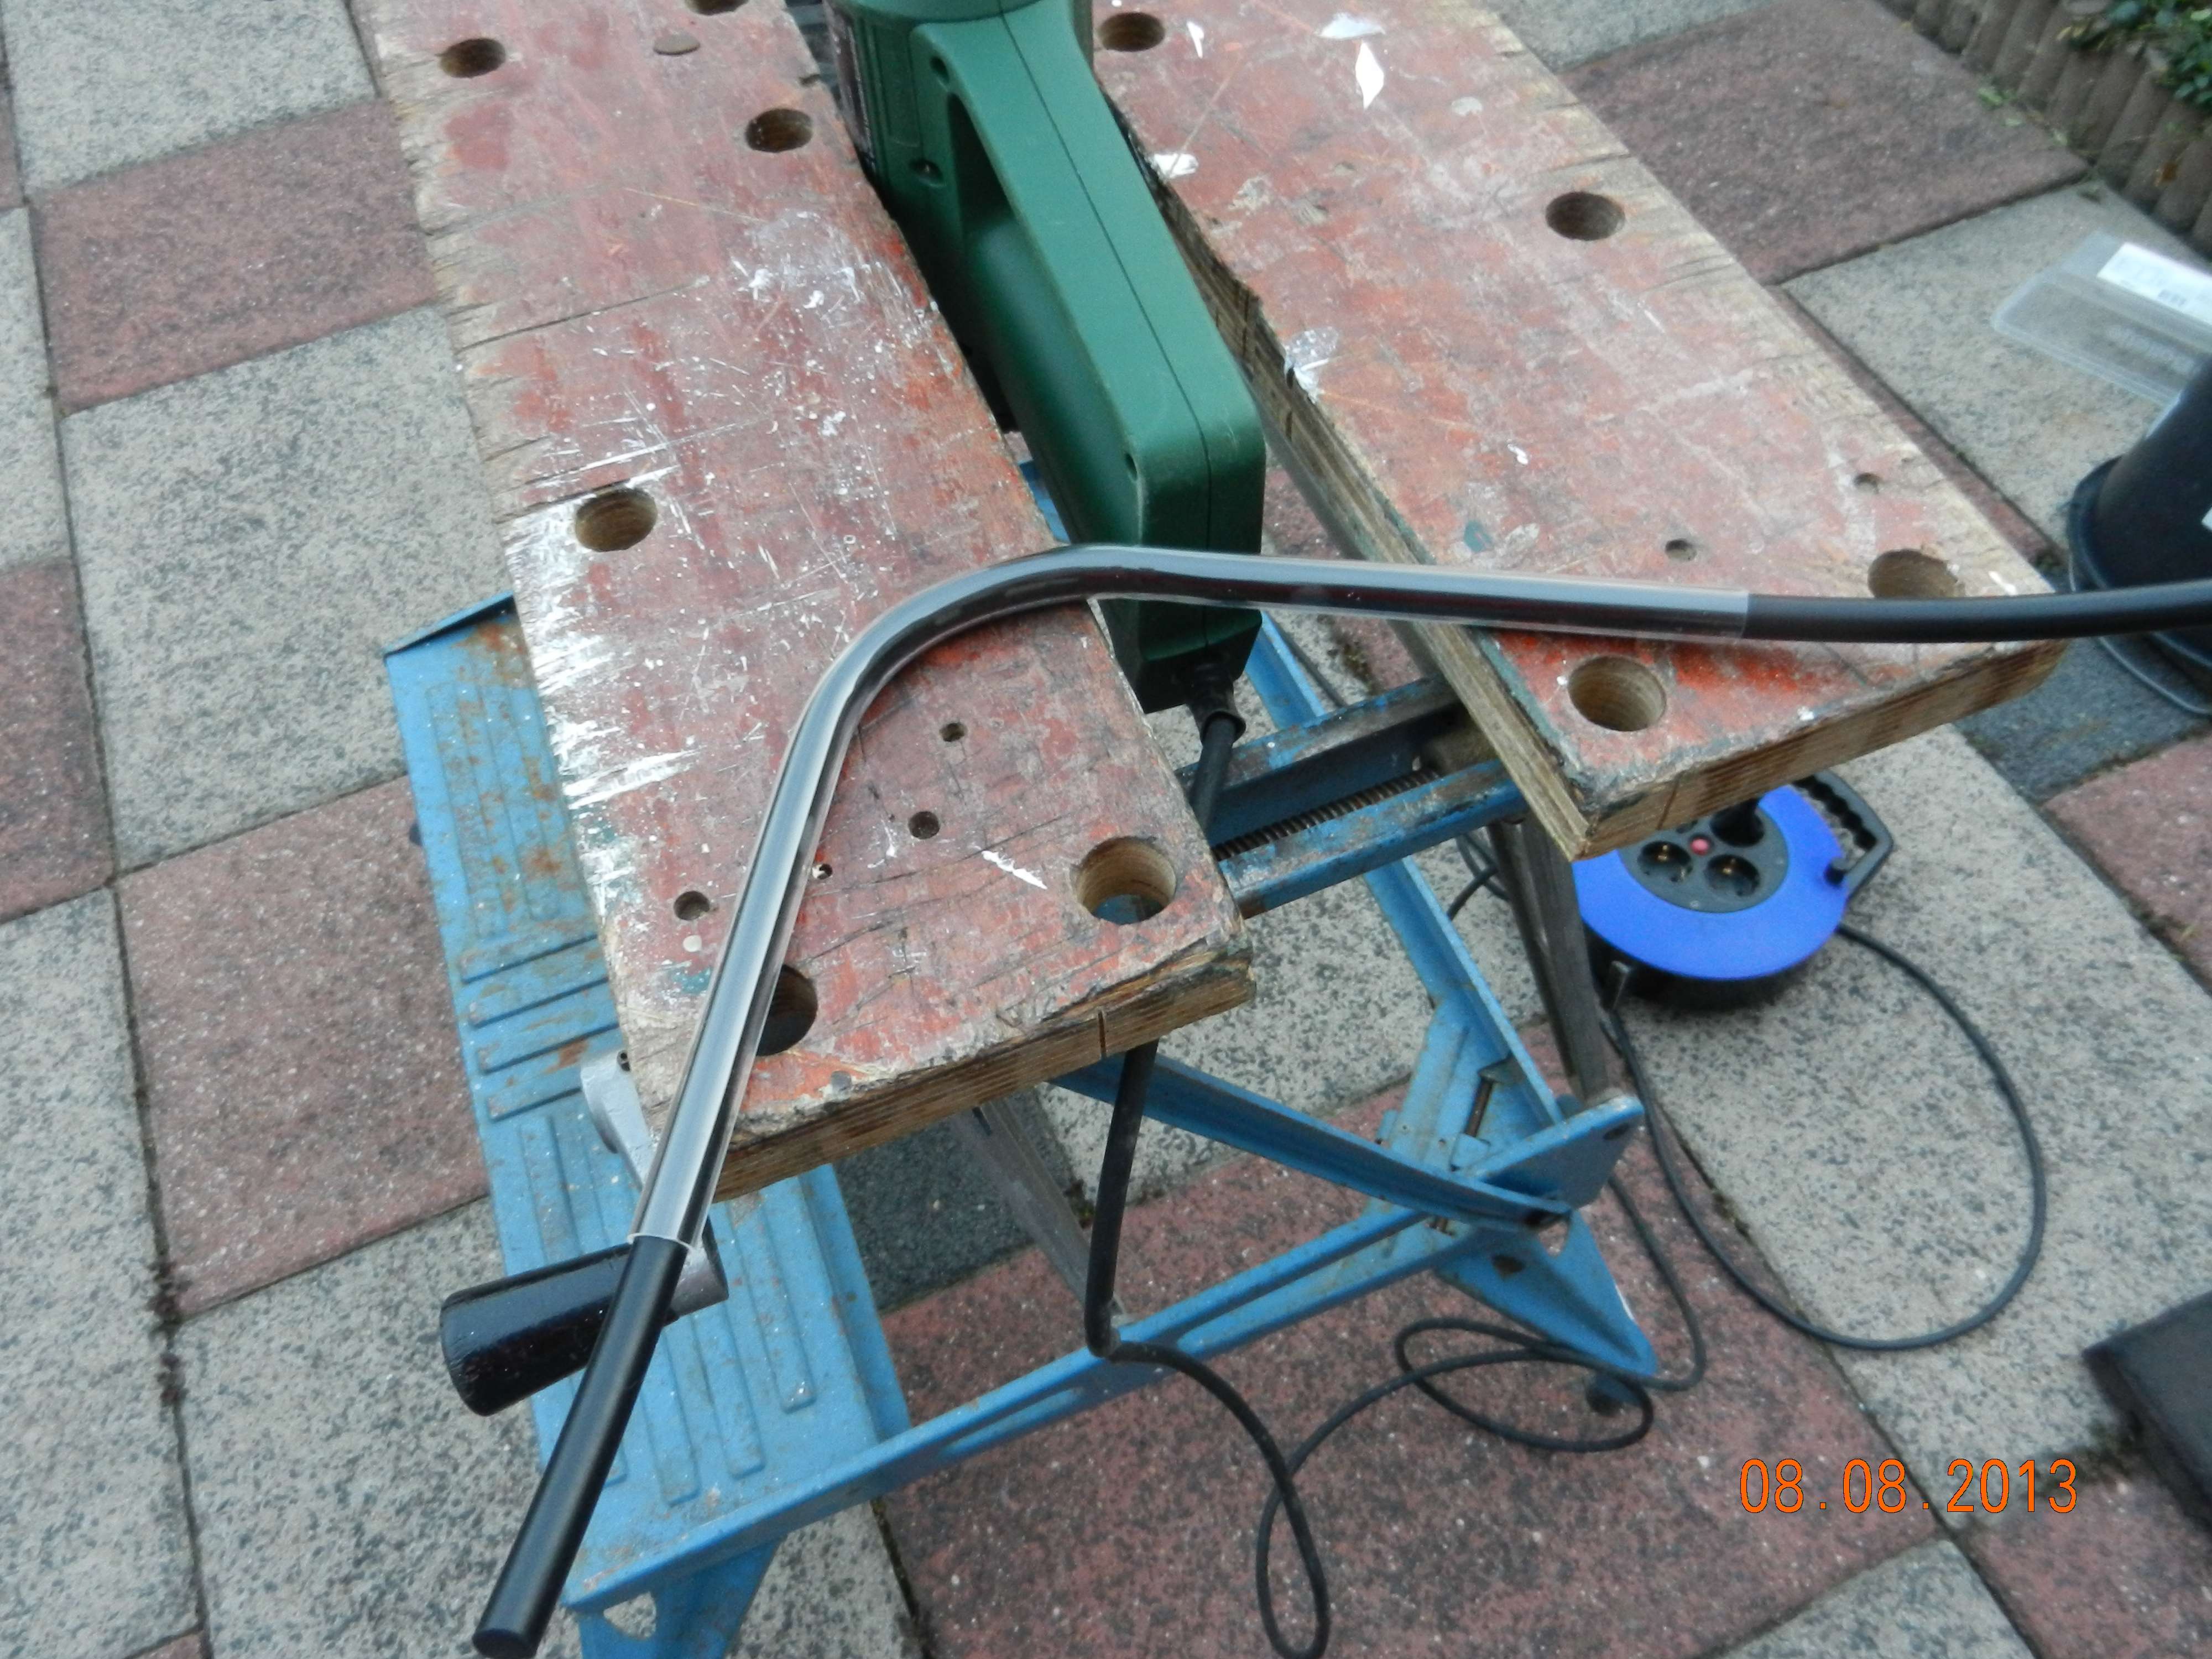
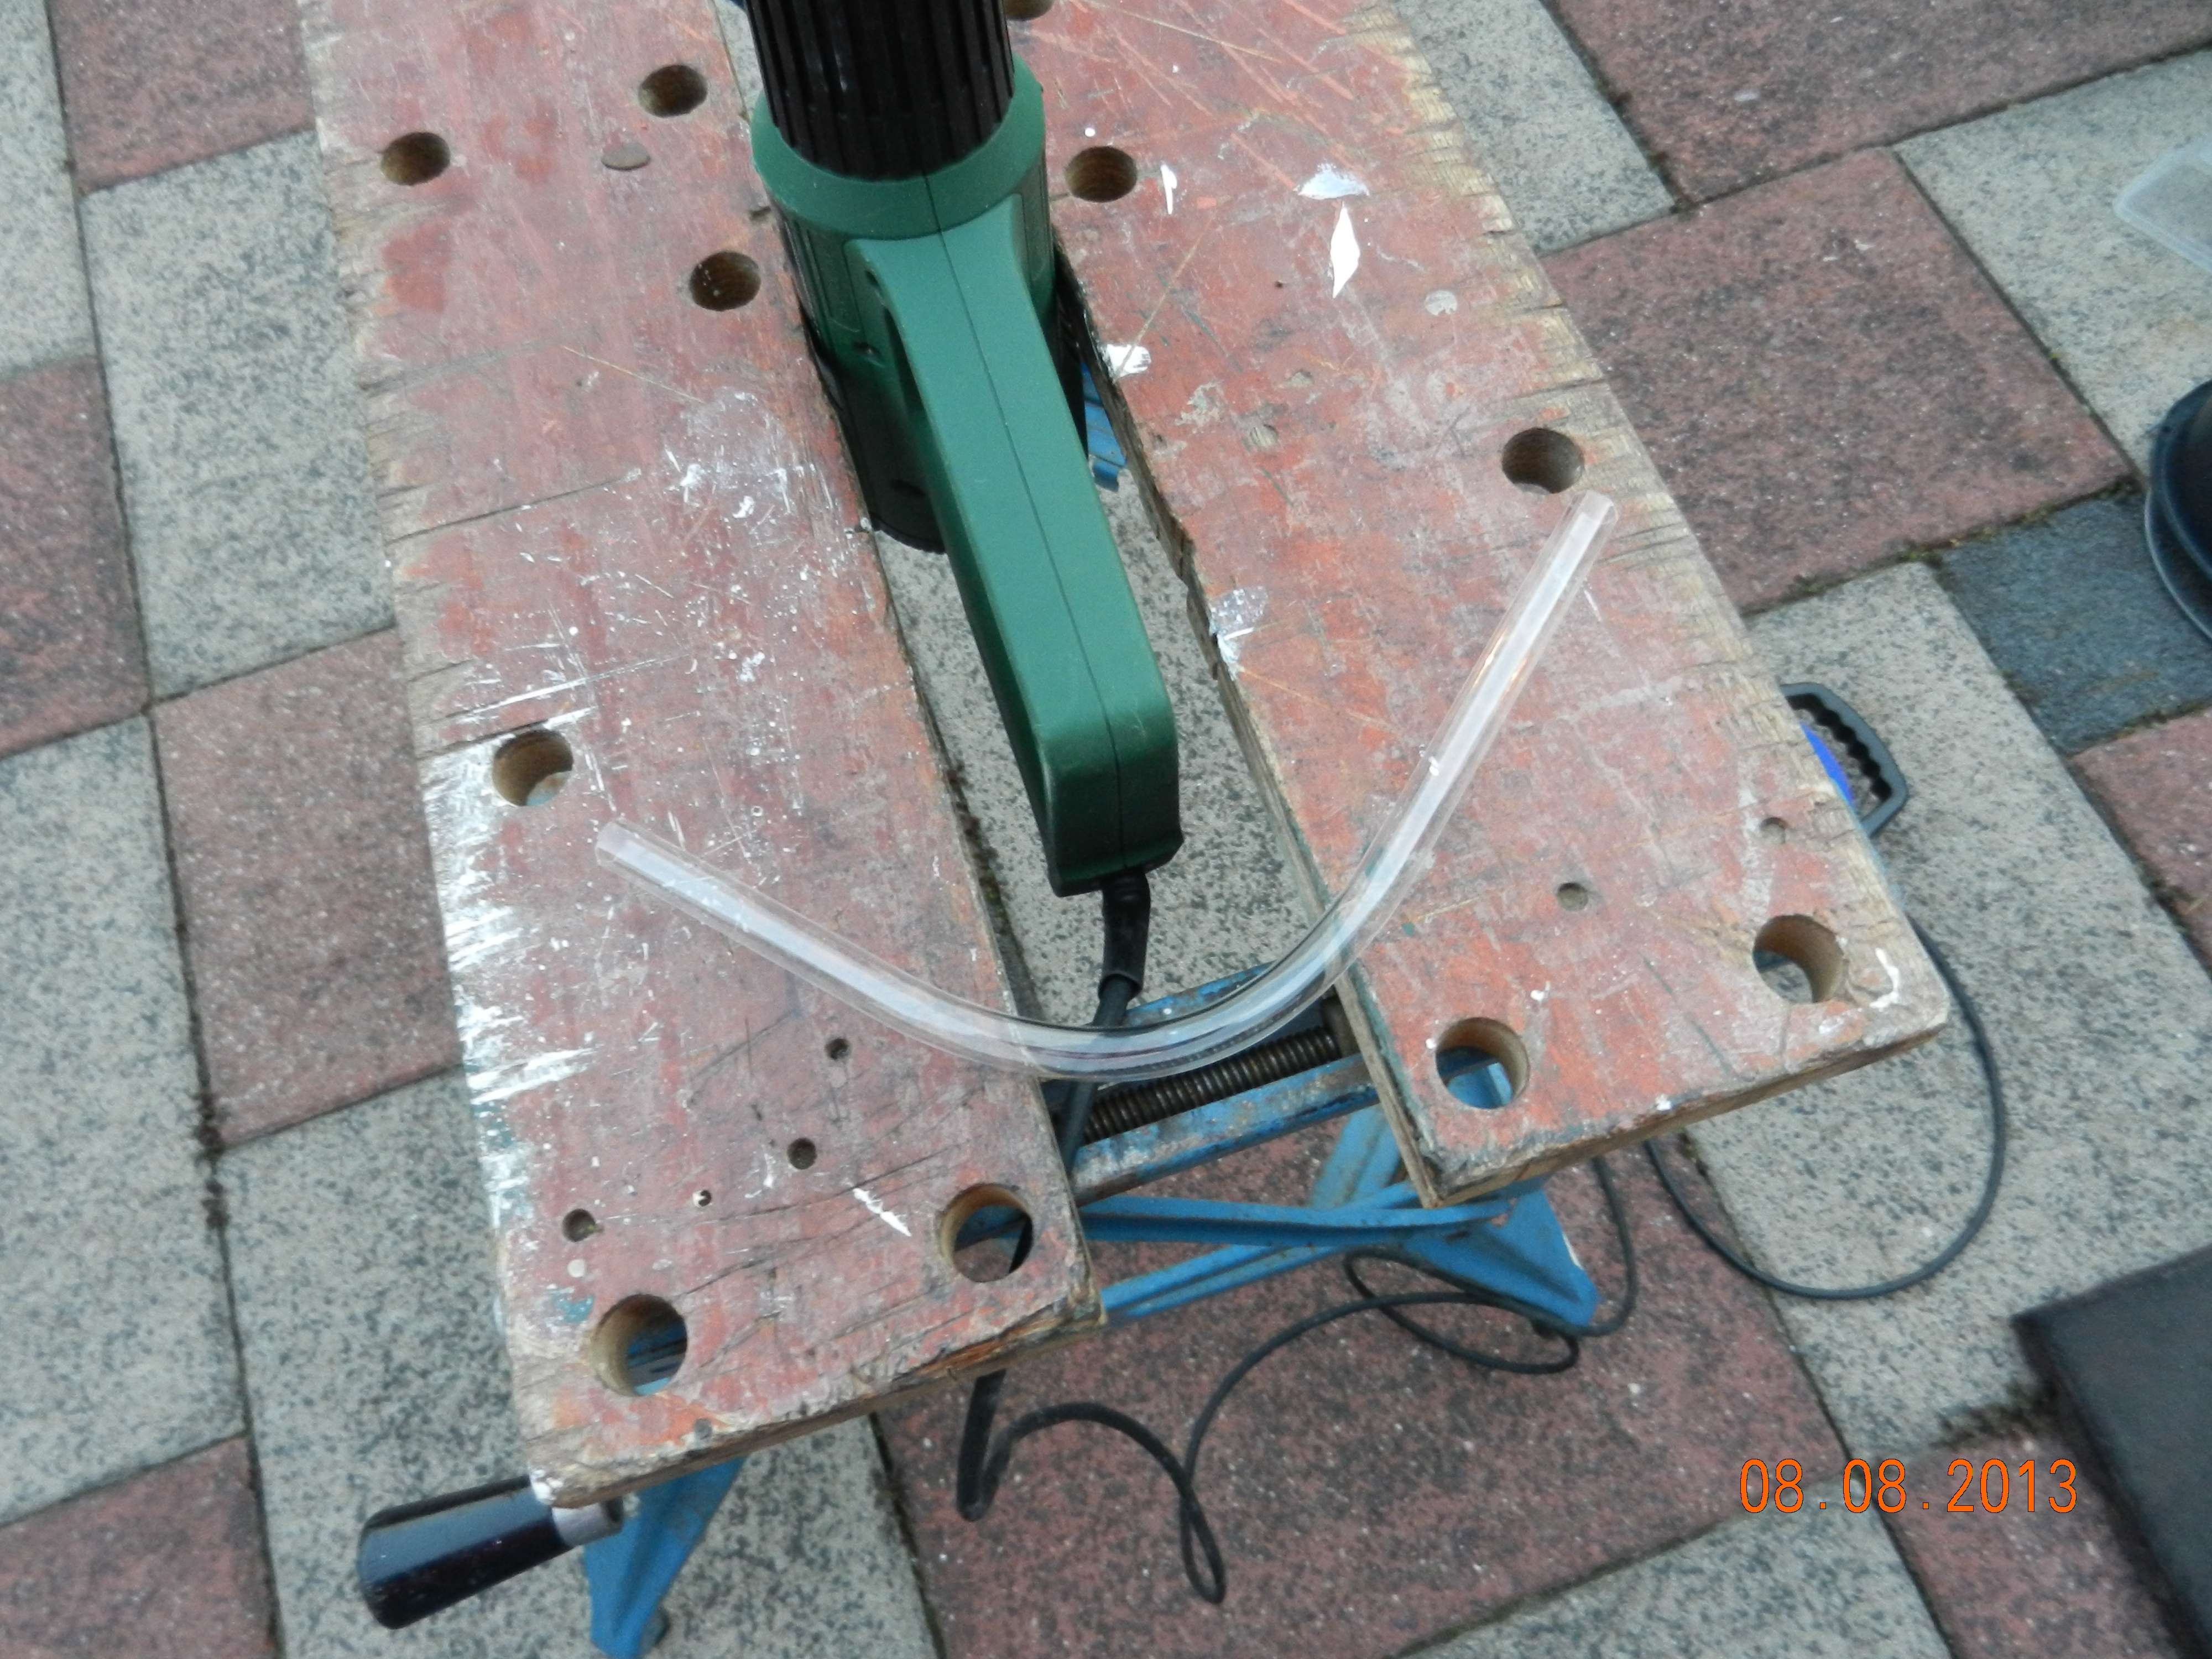
Put the heatgun in my 20+ year old Workmate upside down. Put it on setting 1 first; meh no heat, then setting 2 out of 3. PERFECT!!!
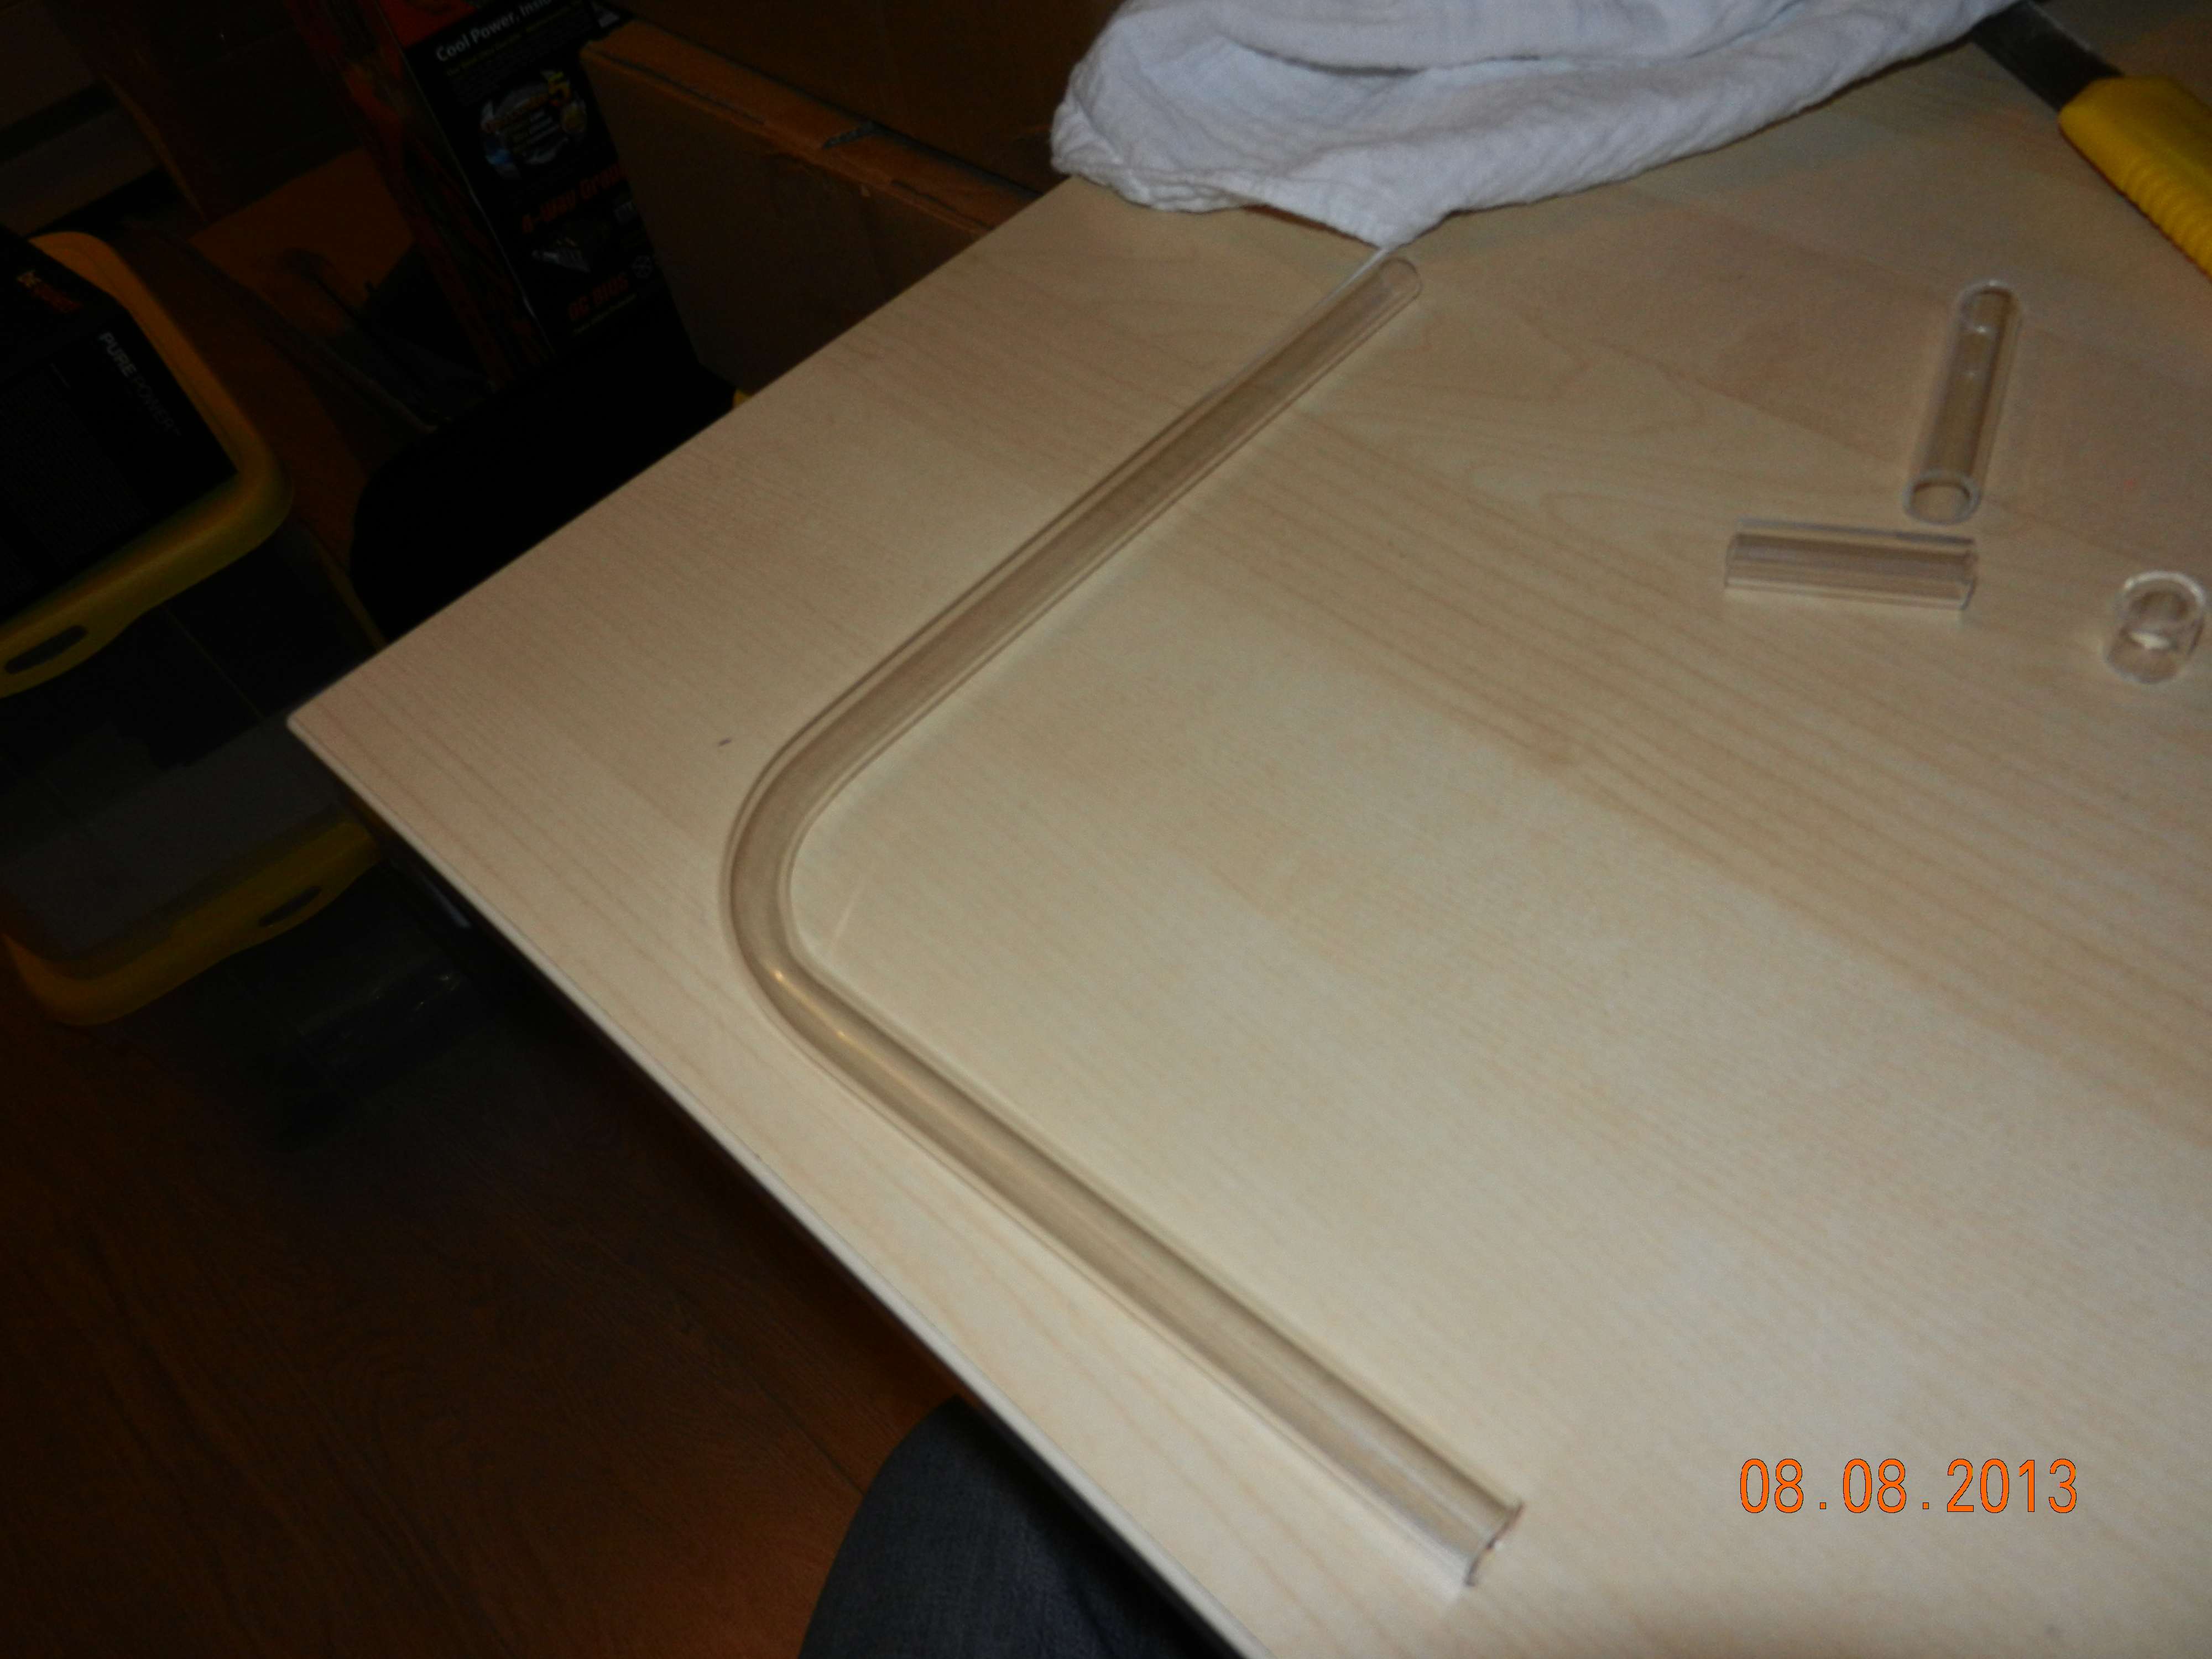
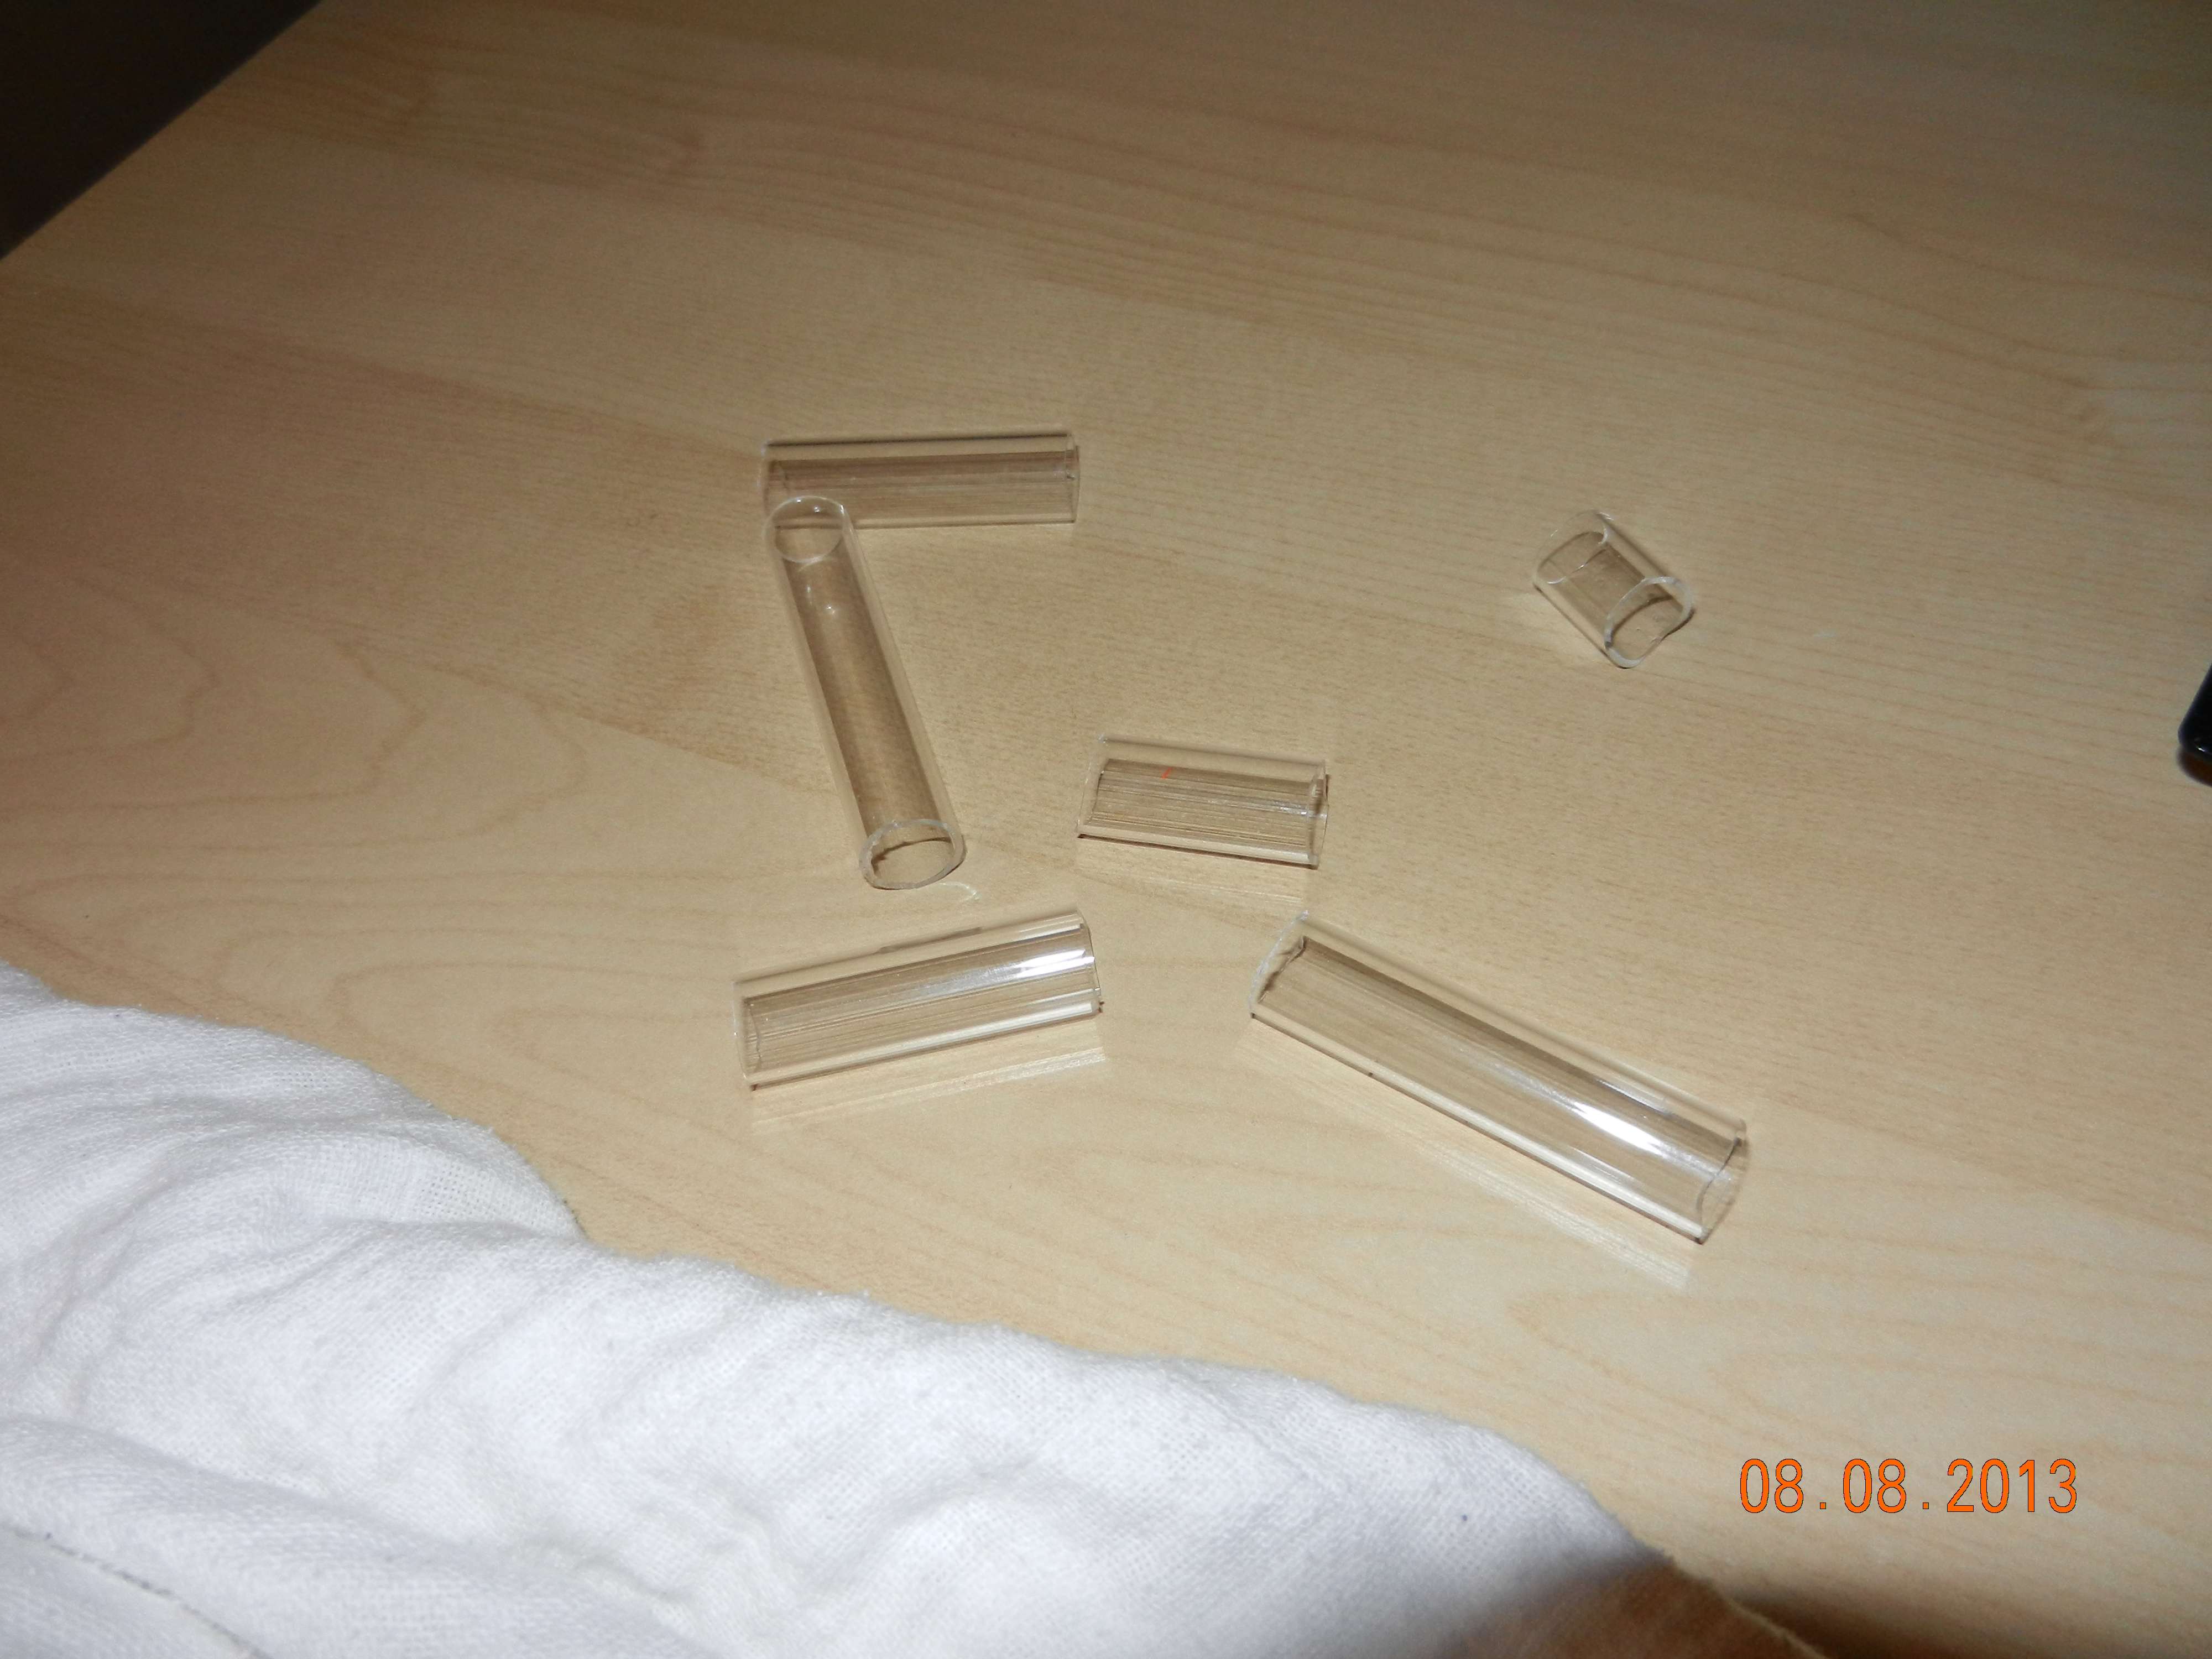
It will not burn the tubing even if you hold it a few mm above the tip. It makes the tubing soft in seconds. You have to heat up quite a big piece to avoid weird wrinkles and flat spots. But when you have that first good bend....you feel like such a pro xD
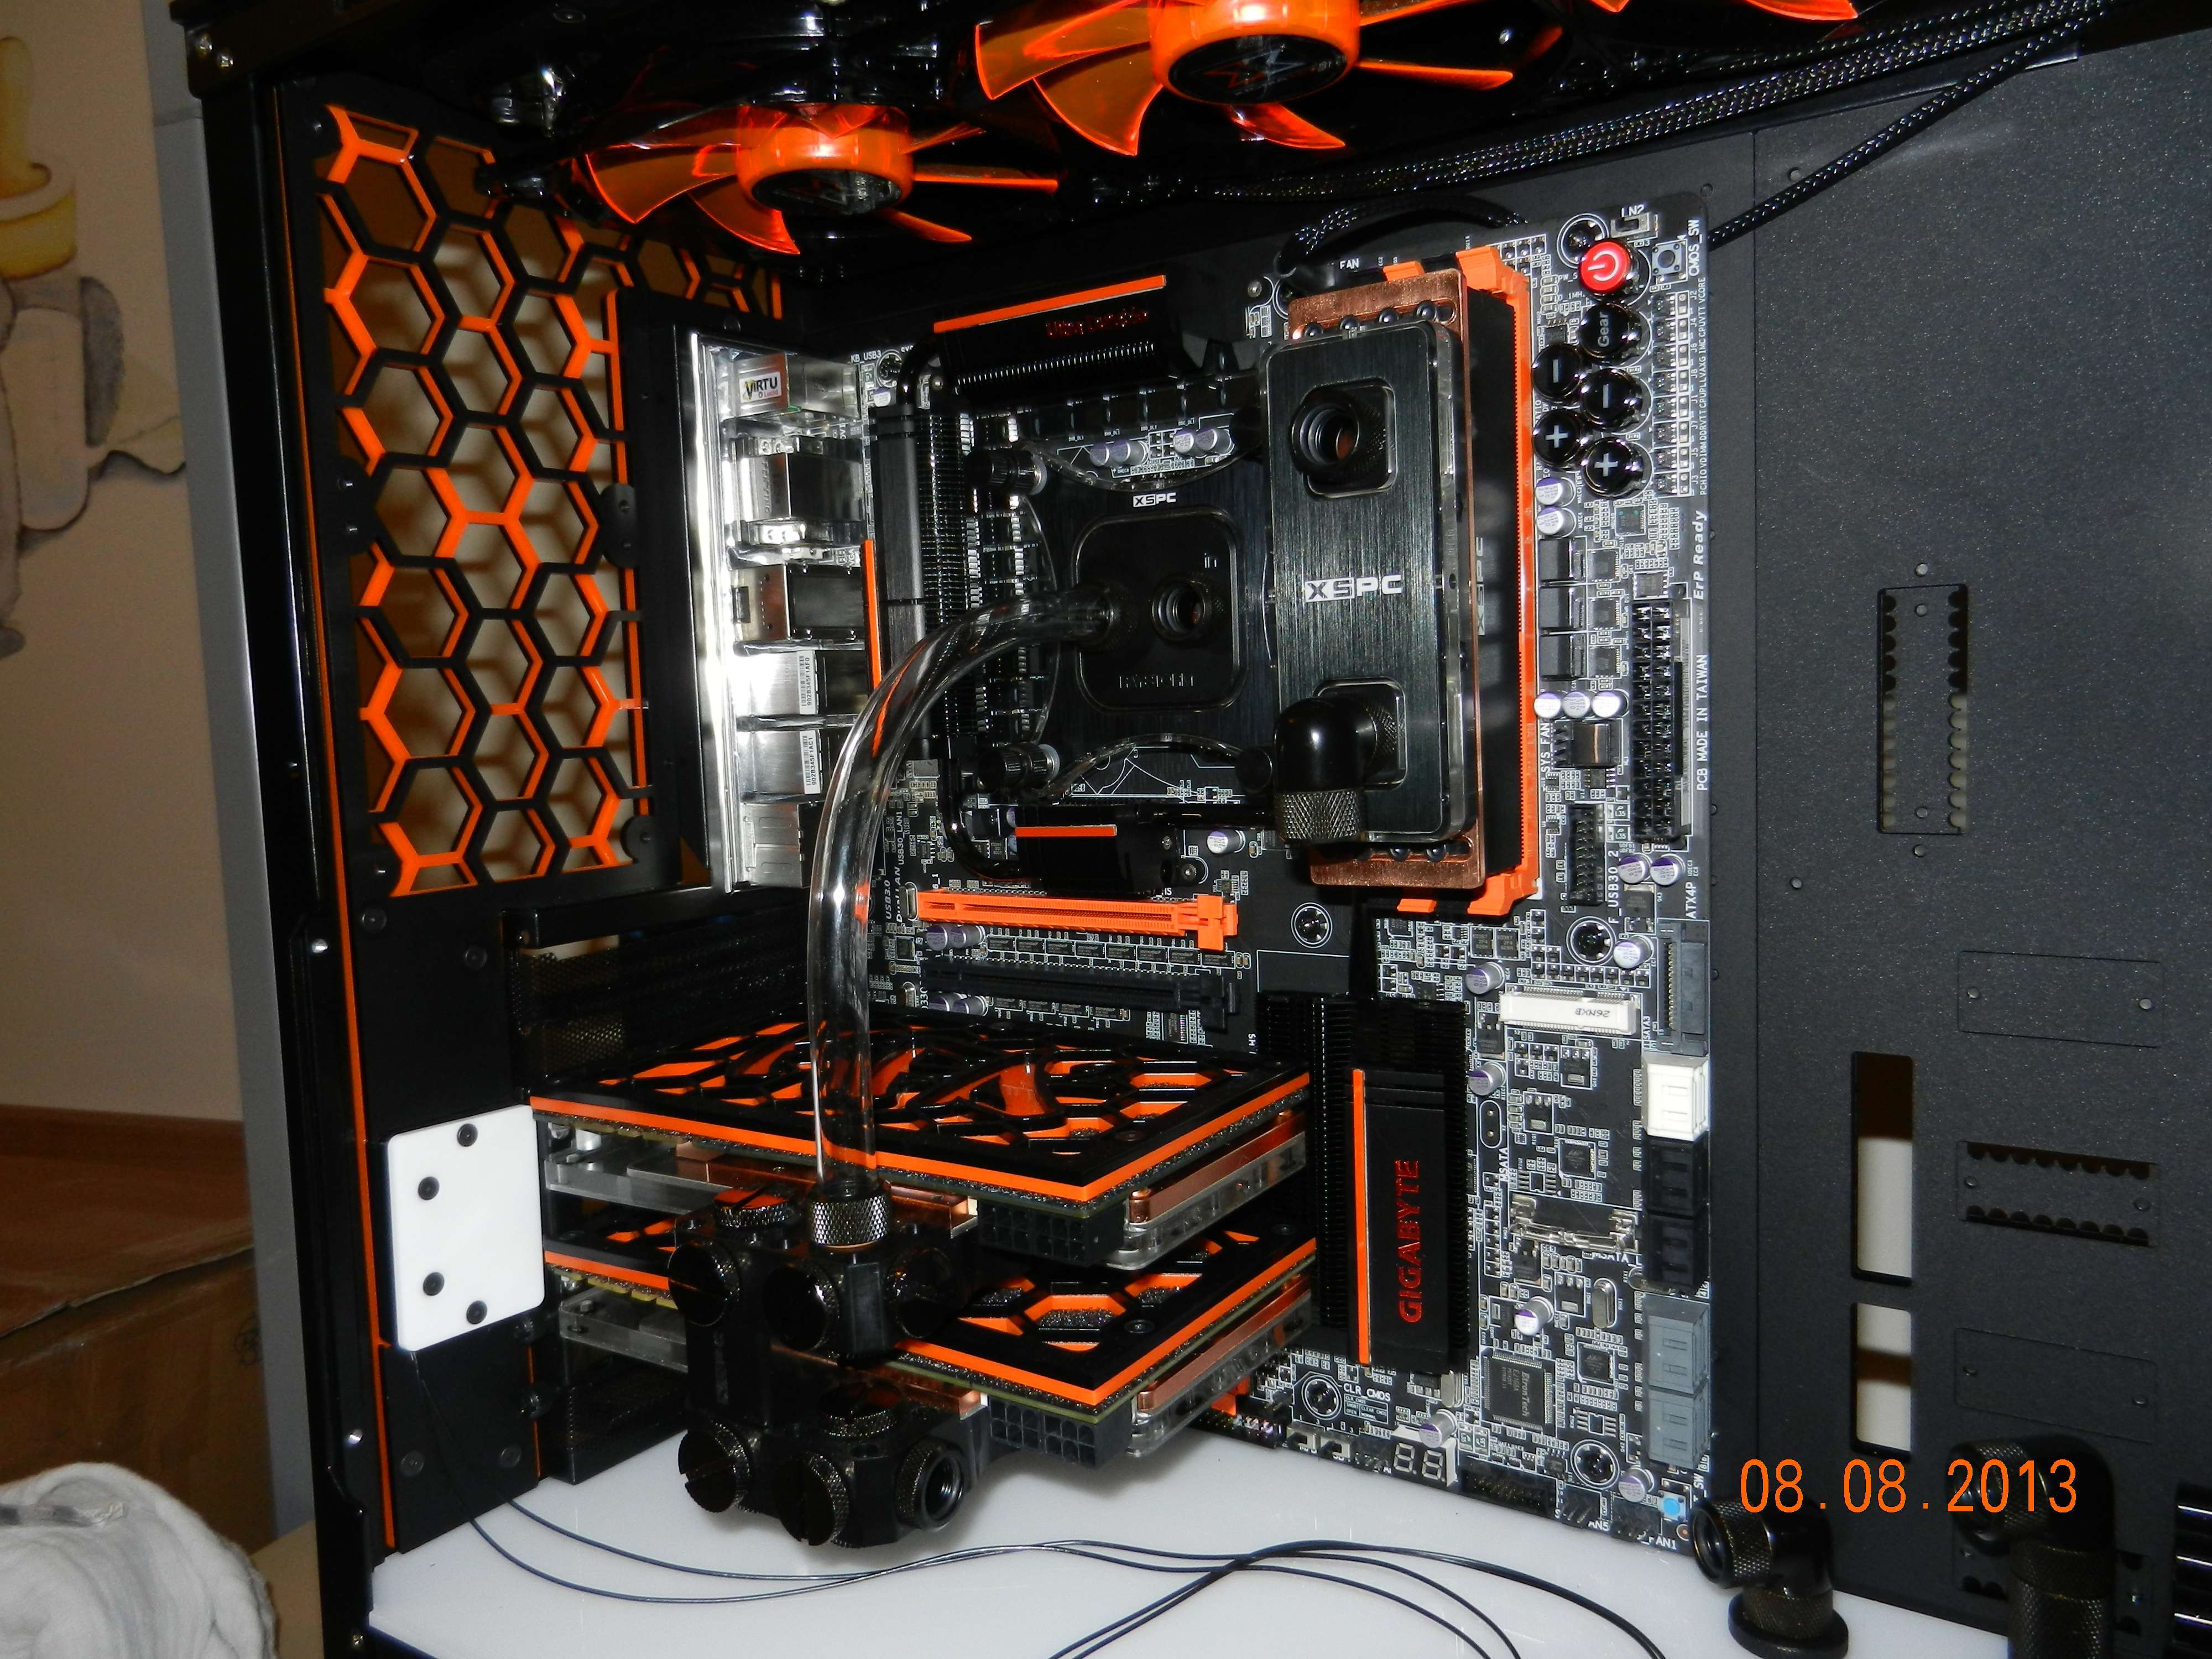
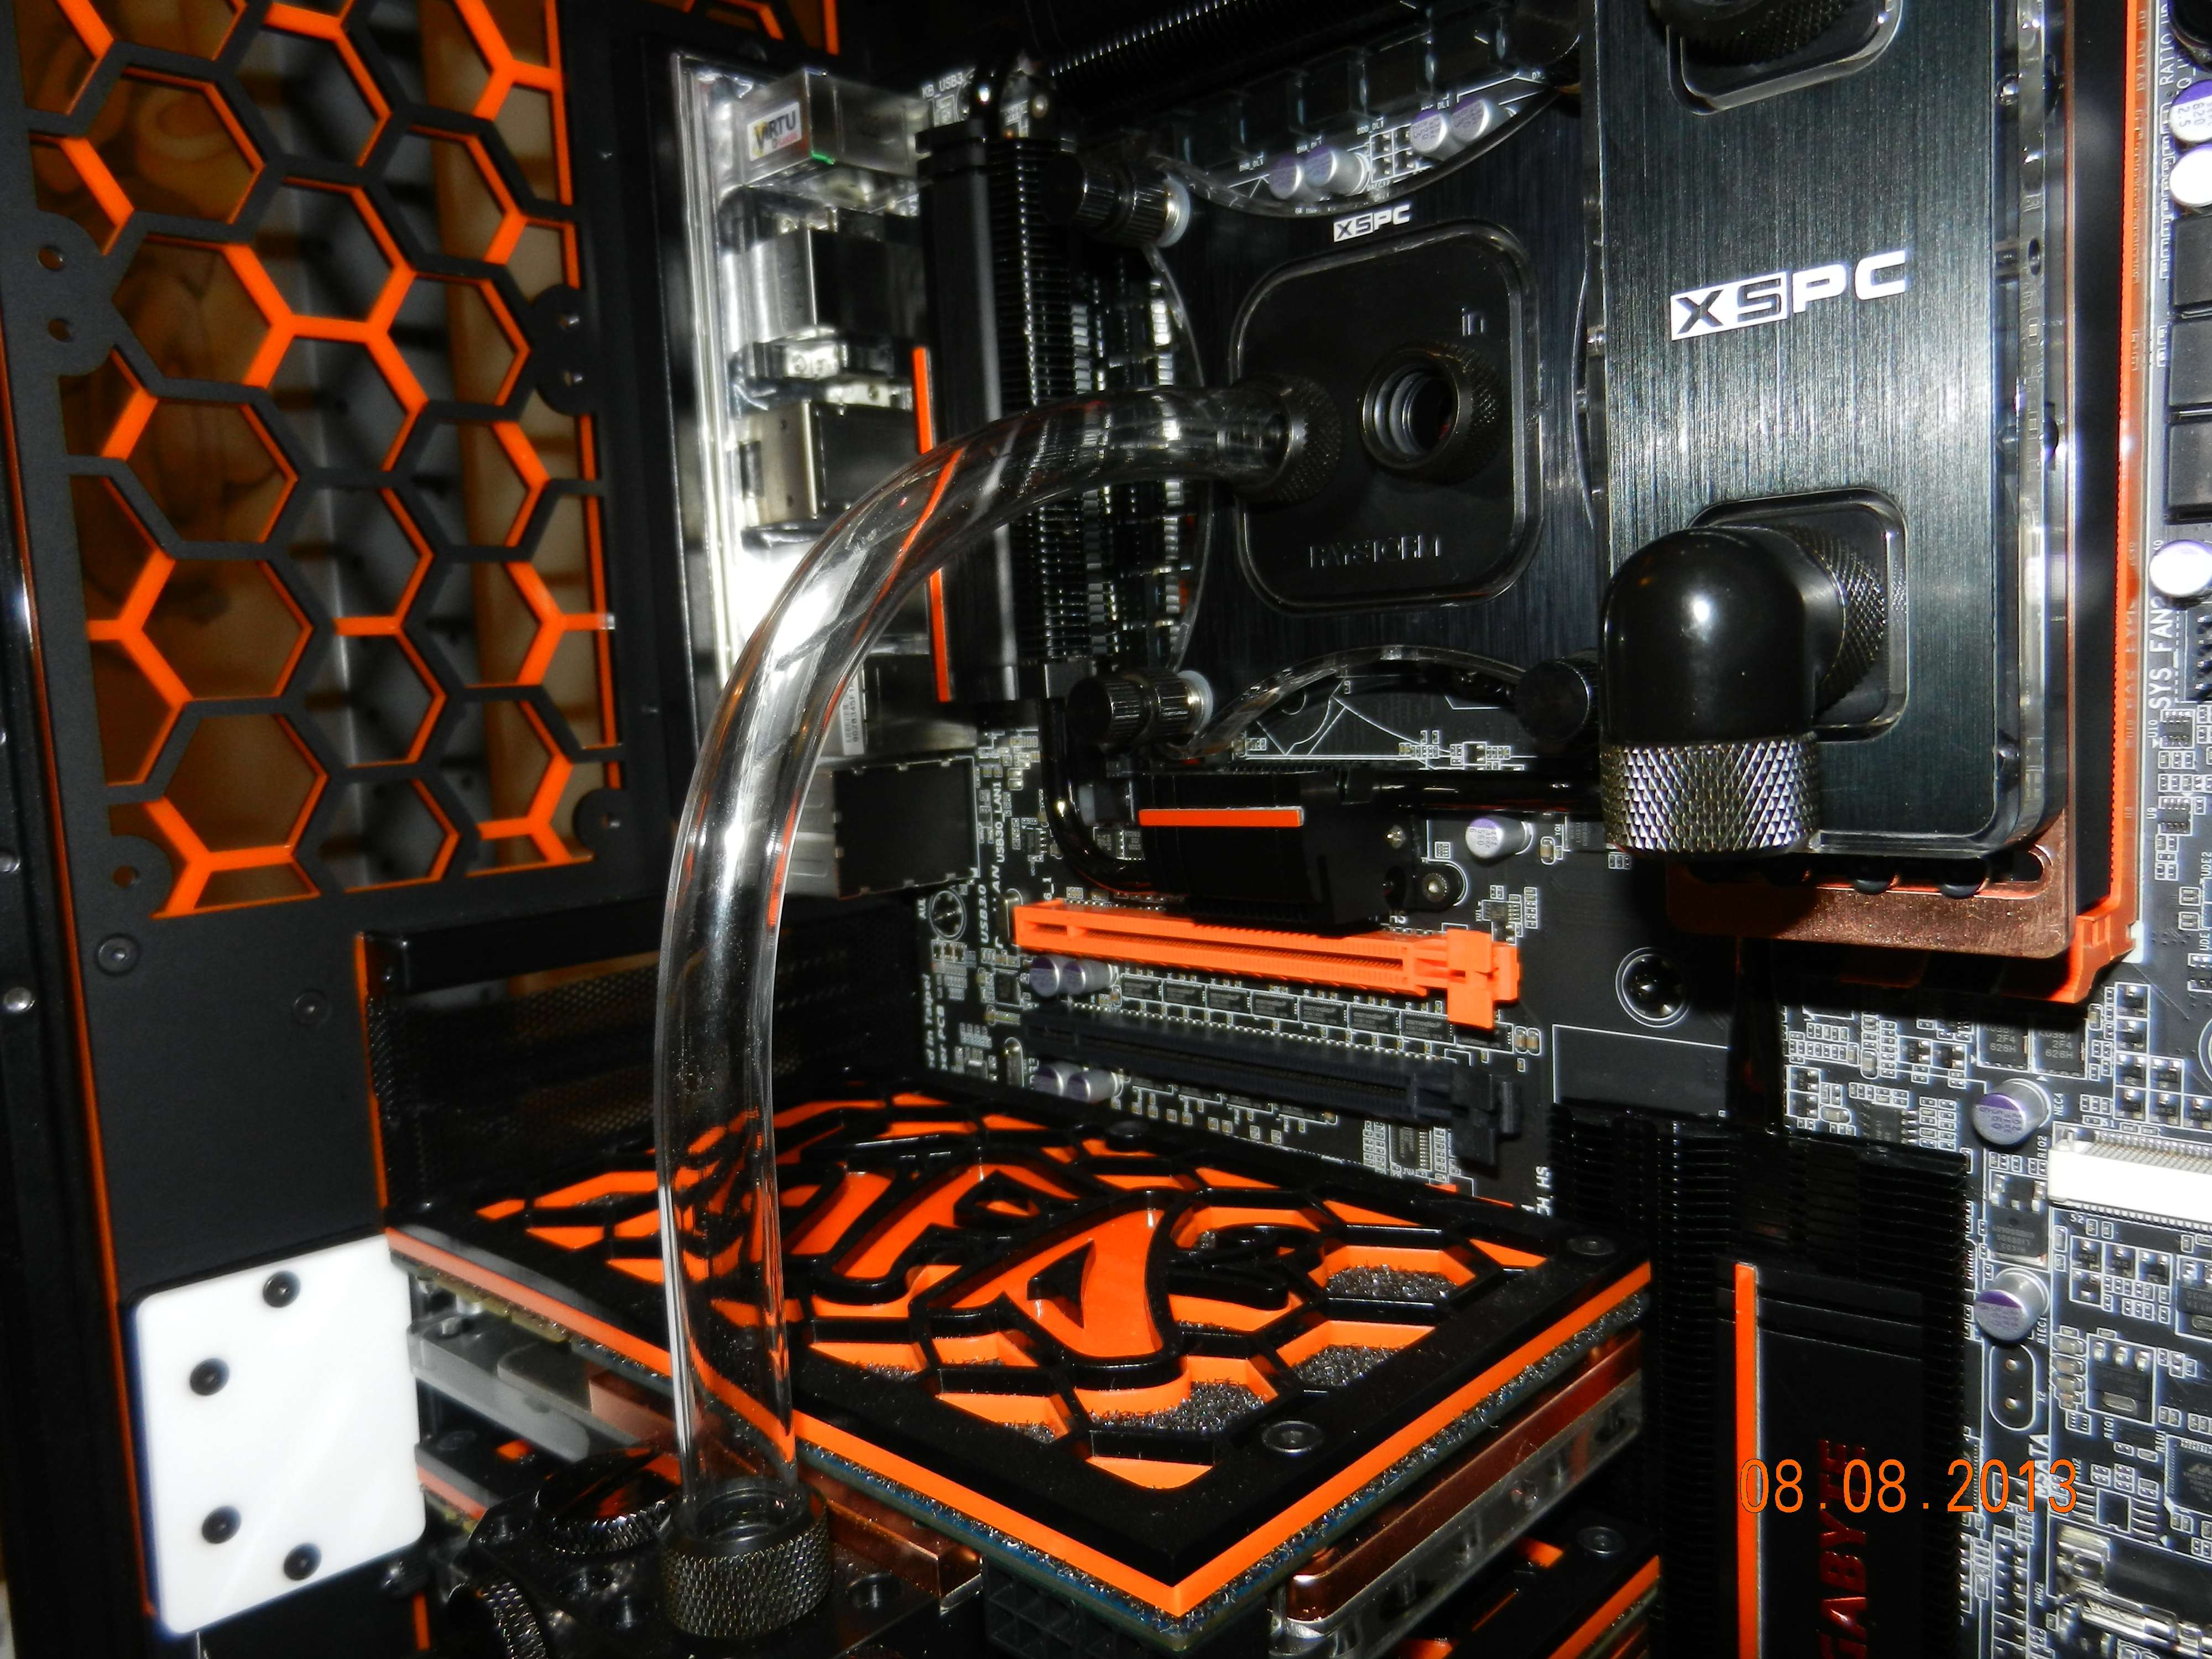
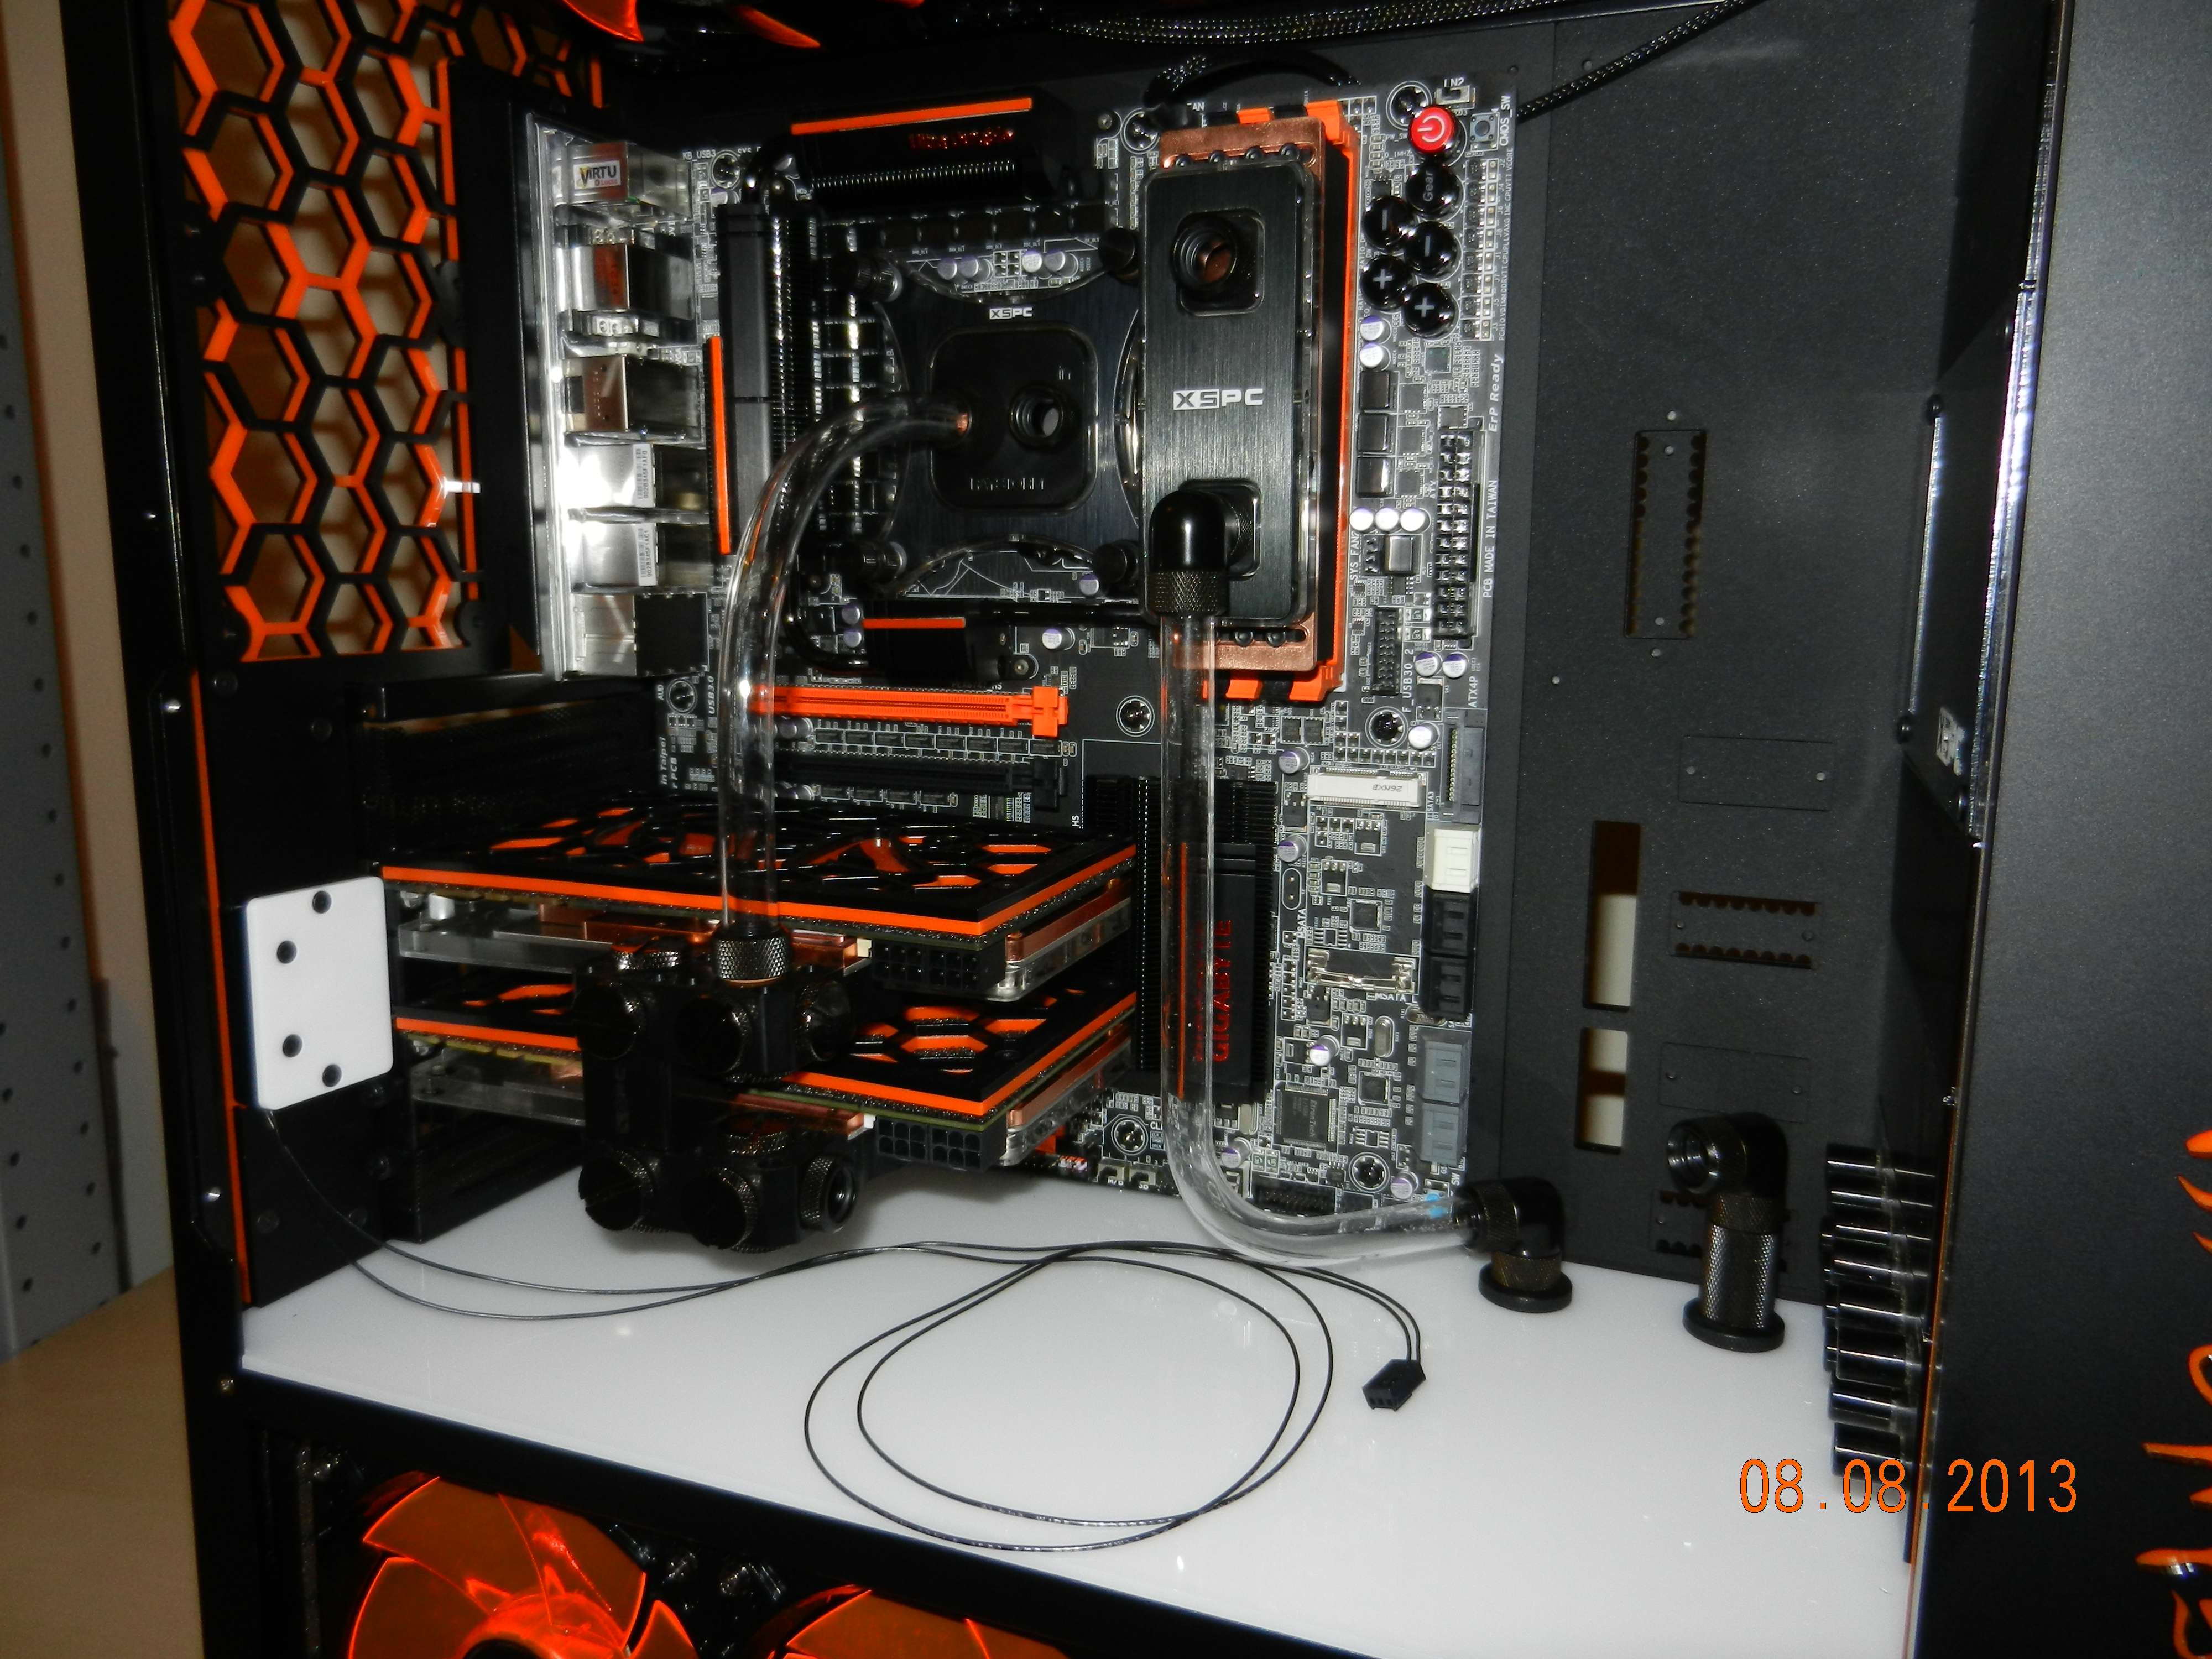
I have been testing a bit with one piece and created 2 pieces I put in the build so far.
I am really torn atm. Please help me guys. I did the wide bend to the CPU block first. And later the much tighter bend to feed the memory block.
I somehow feel like my entire build should consist of the tighter bends and I should redo the first one.
What do you think? Keep both? Do one of them again? All tight bends, all wide bends?
Lets make me shut my mouth now and look at the pictures
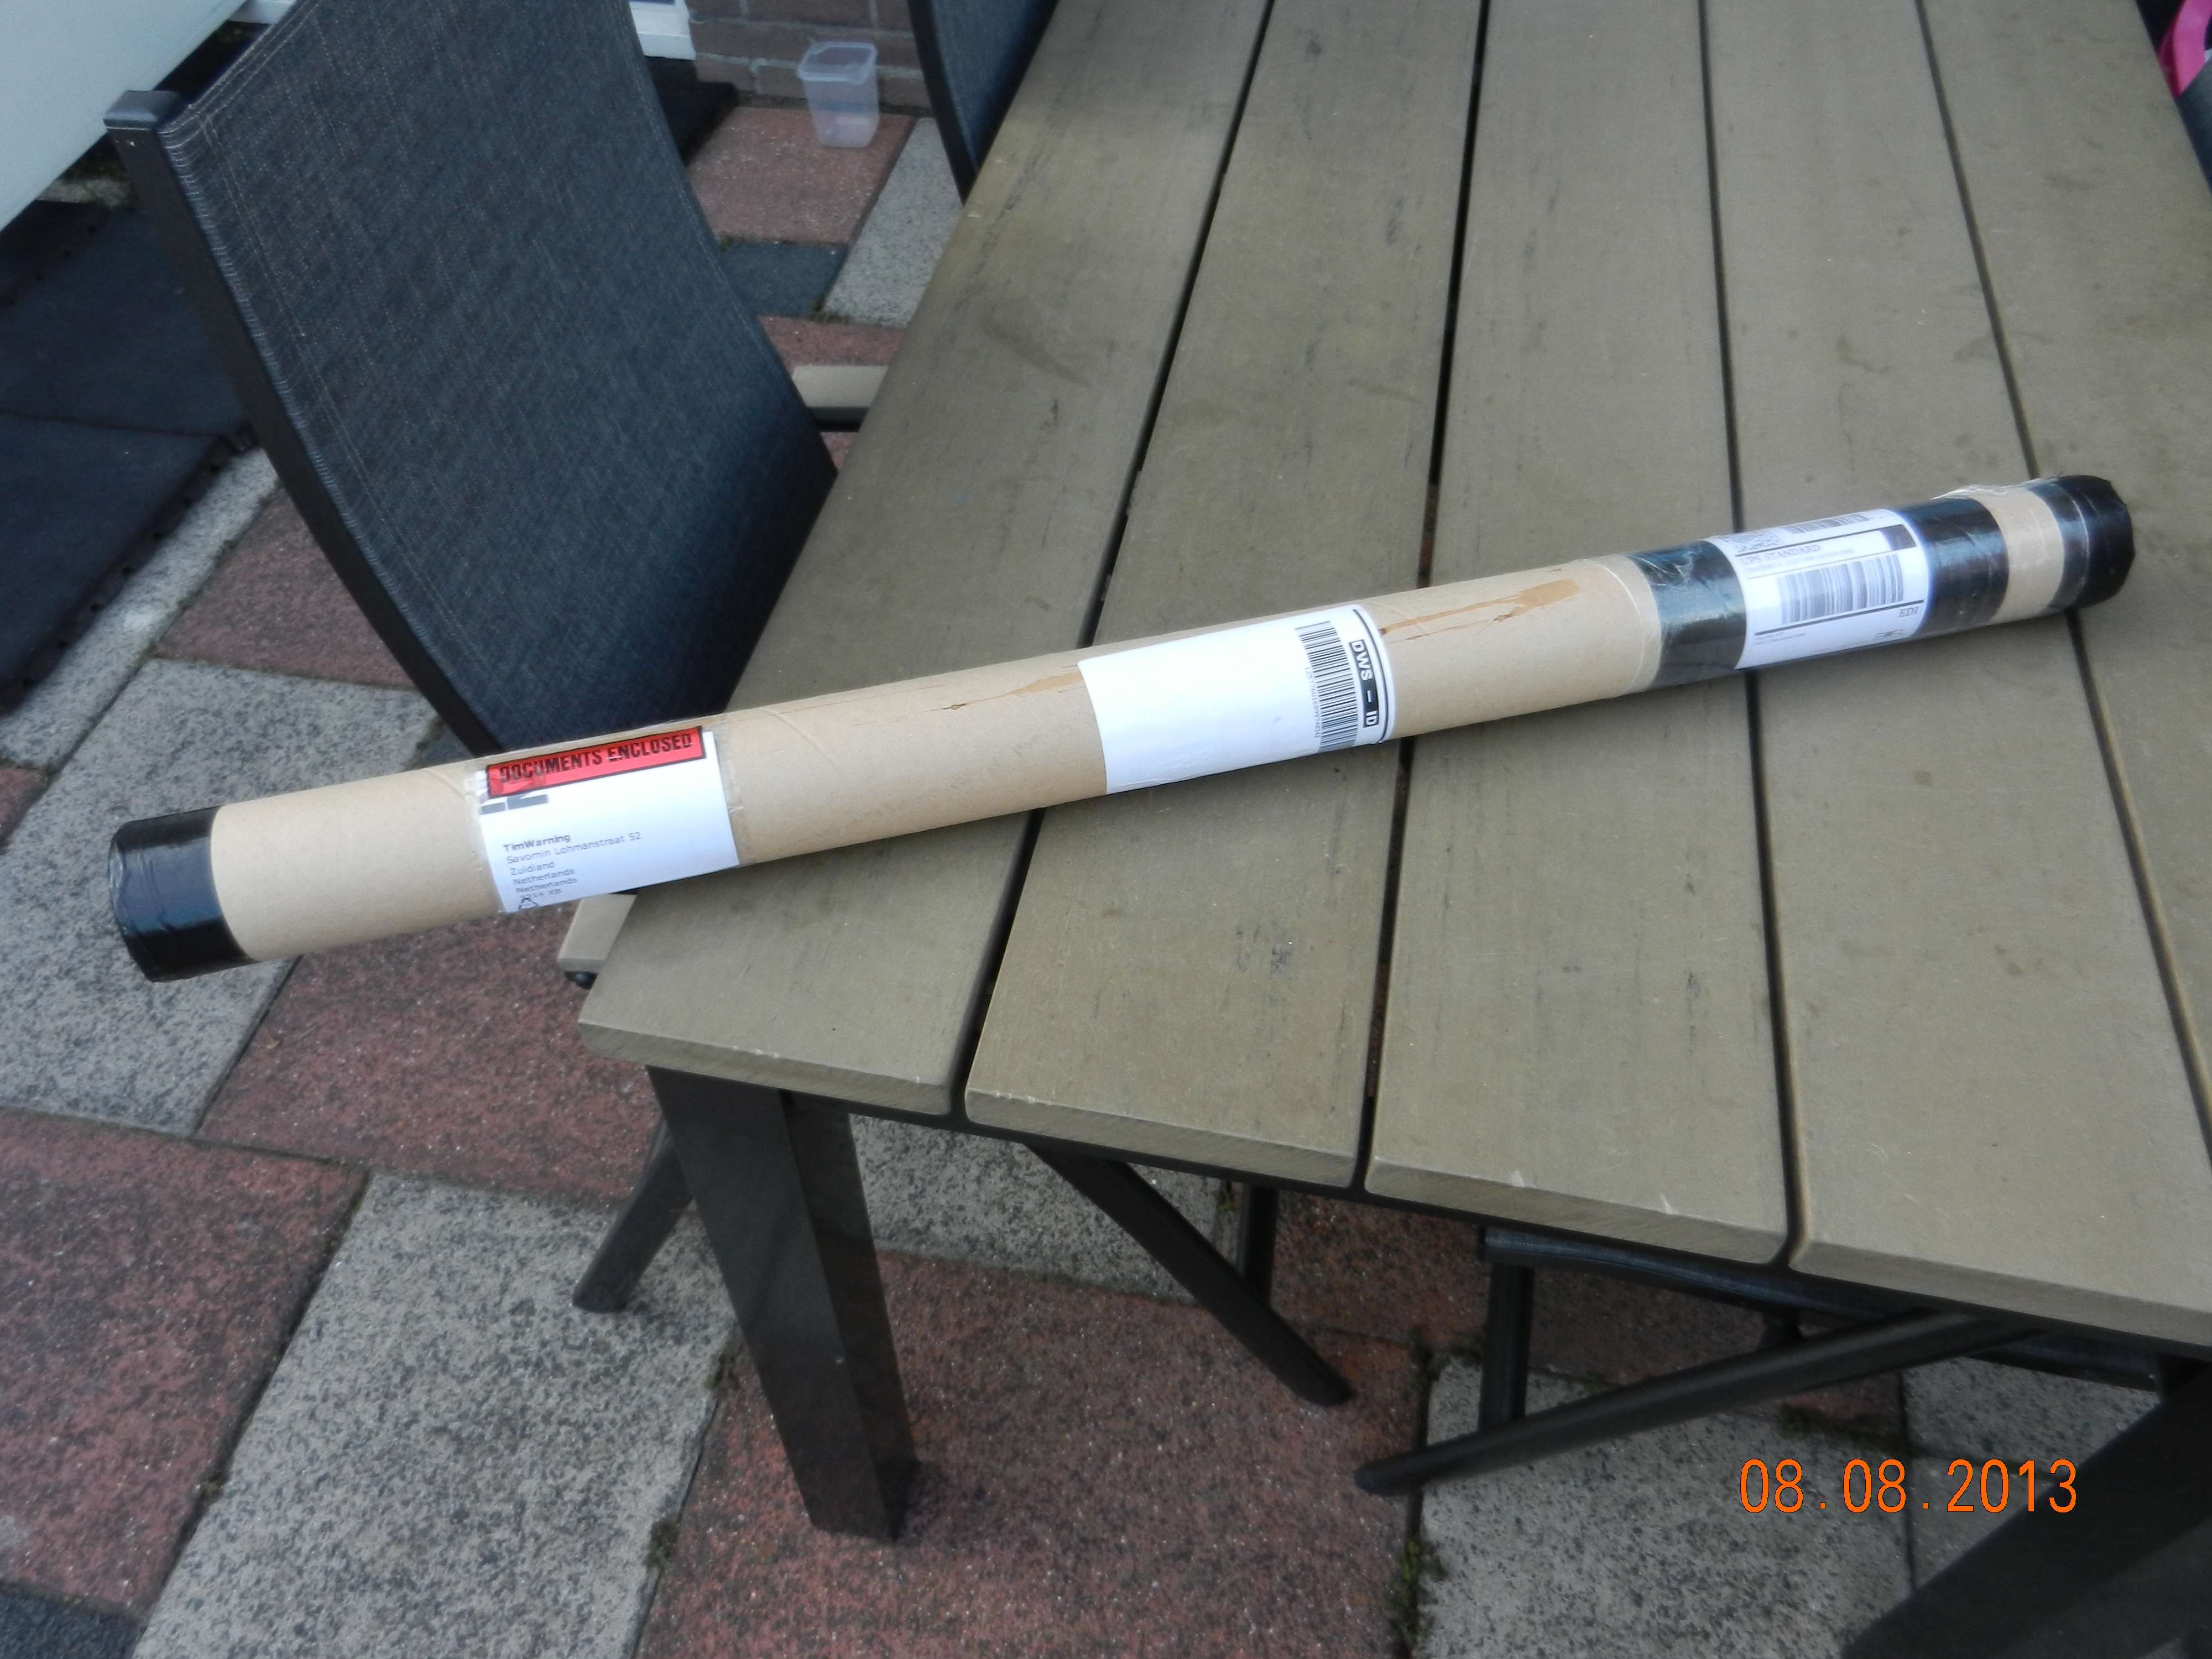
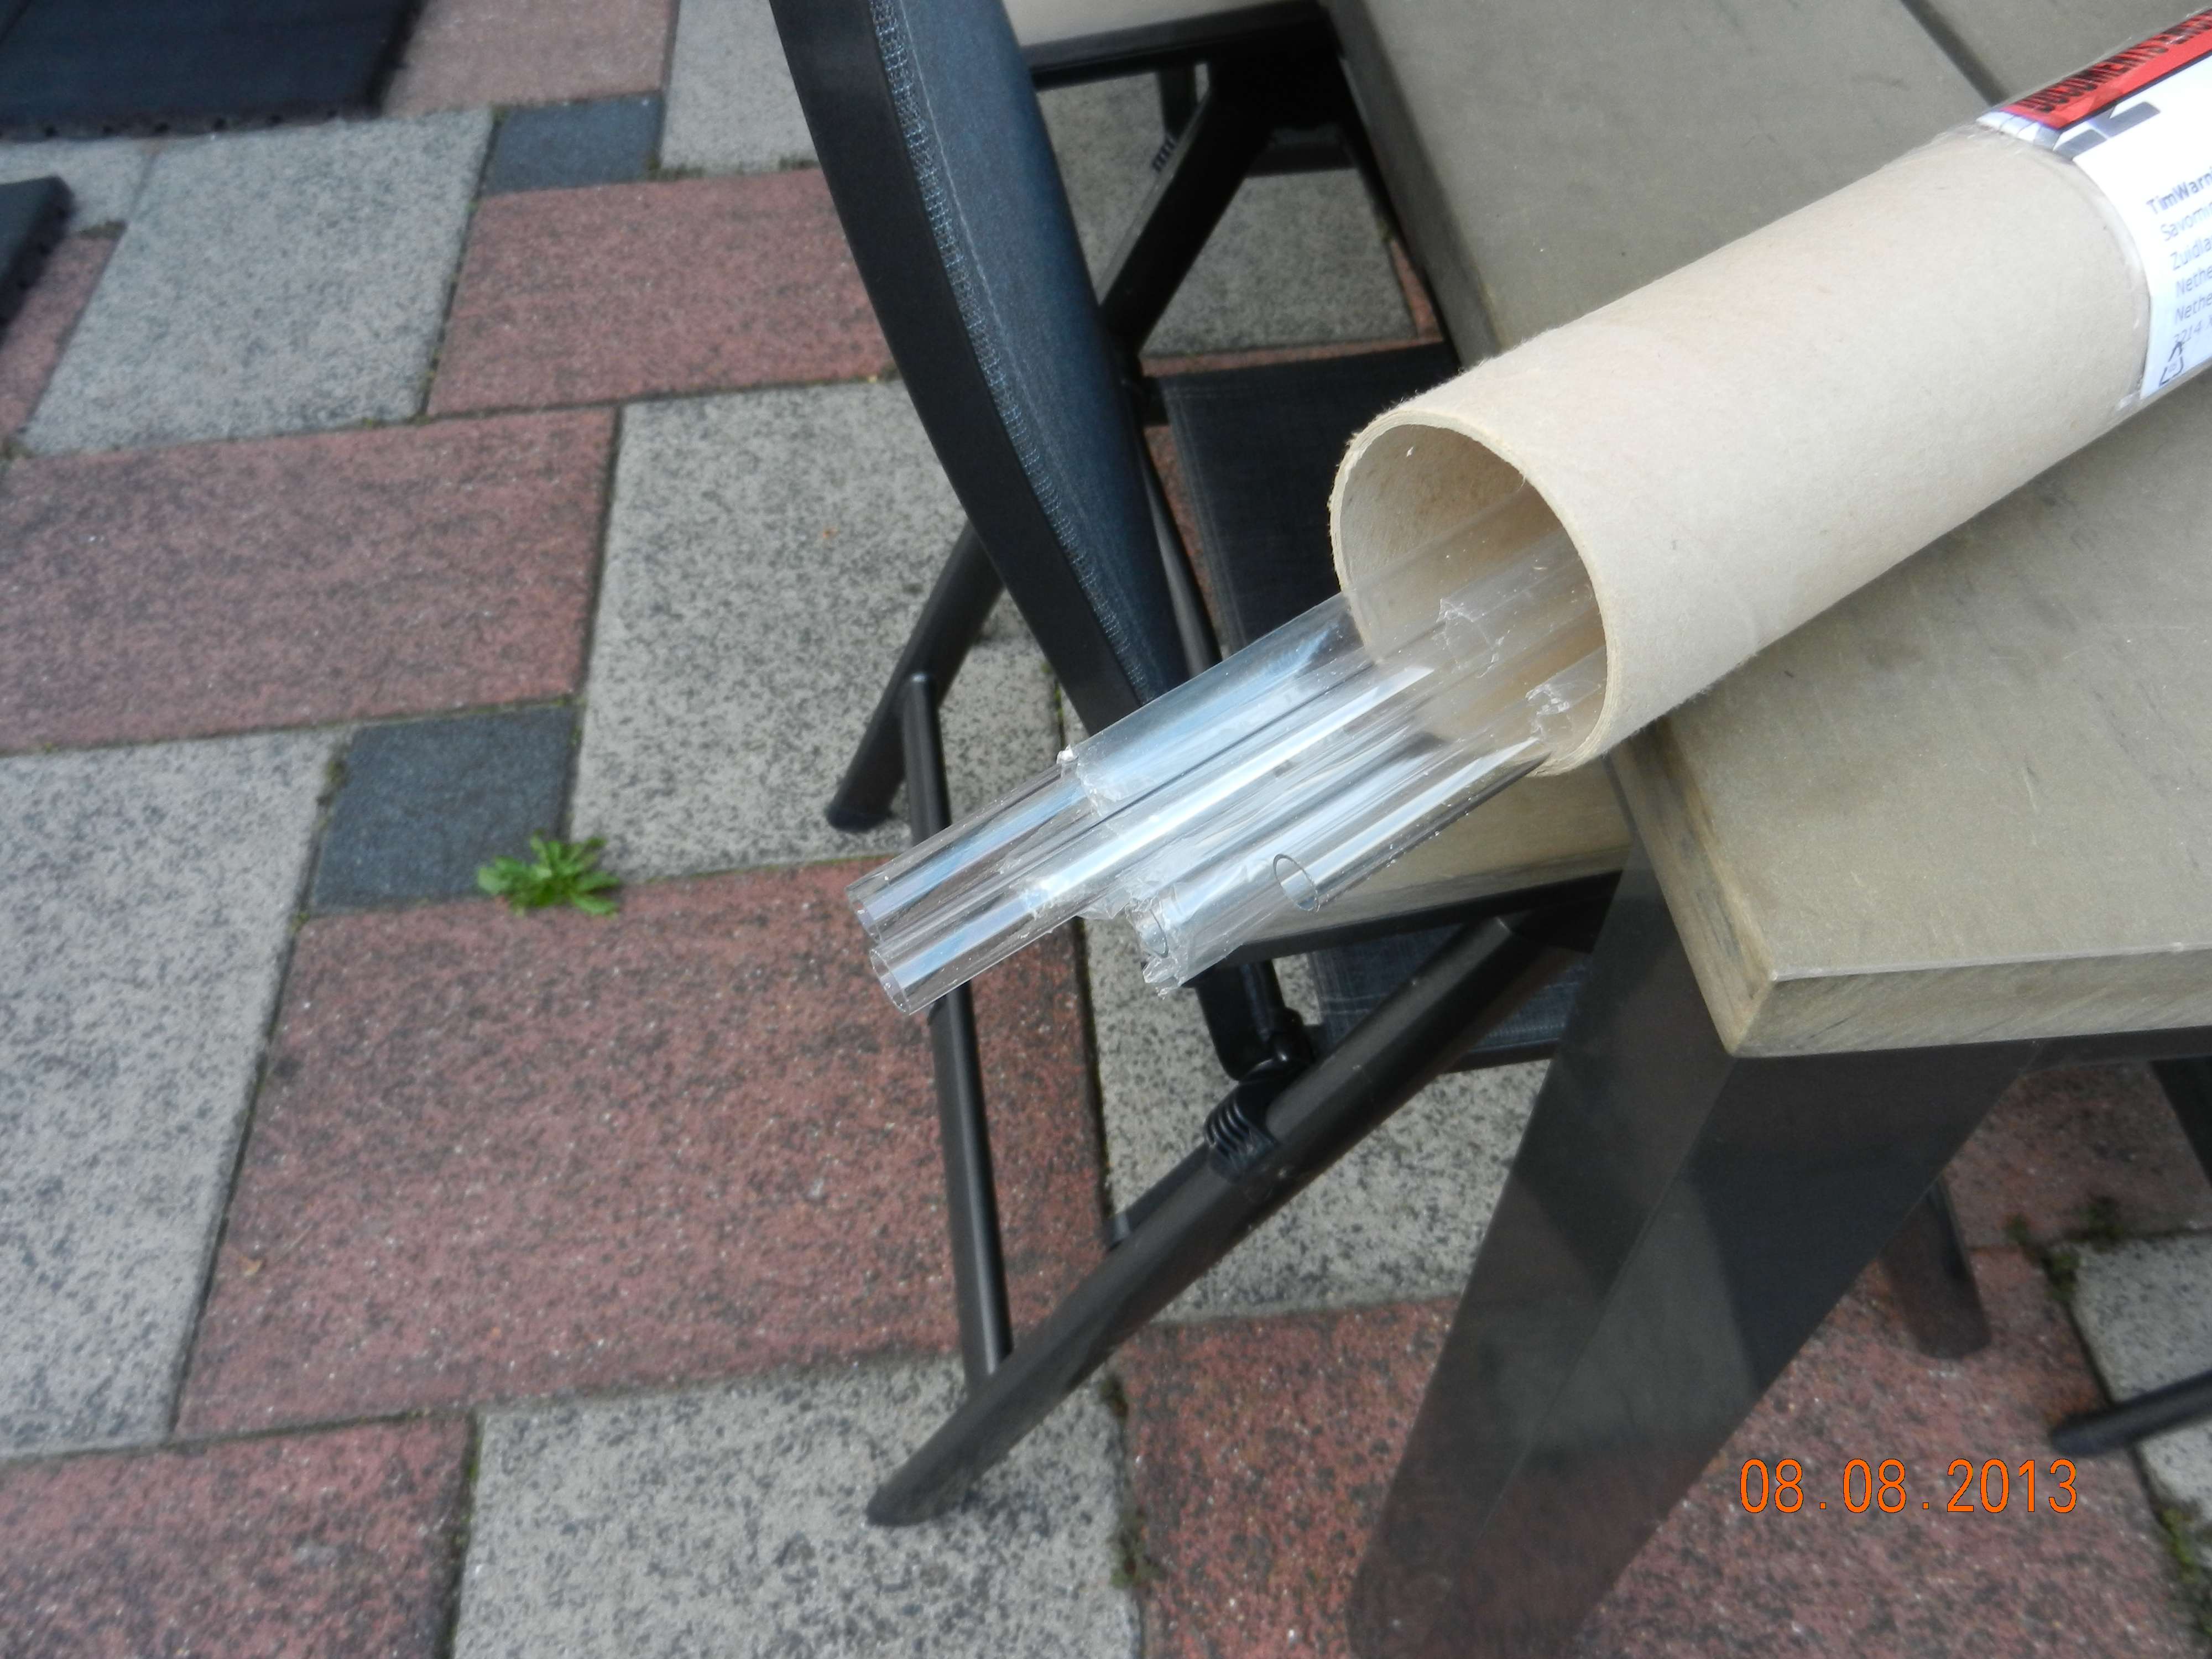


Associate
- Joined
- 20 Feb 2013
- Posts
- 203
- Location
- Carnoustie
The wide bend does look good from the CPU to the graphics block.
If you were to use a tighter bend on that link it might look like it was only done to force the use of the tight bend where it isn't needed (I hope that comes across right)
If you were to use a tighter bend on that link it might look like it was only done to force the use of the tight bend where it isn't needed (I hope that comes across right)
The wide bend does look good from the CPU to the graphics block.
If you were to use a tighter bend on that link it might look like it was only done to force the use of the tight bend where it isn't needed (I hope that comes across right)
I've gotta say I totally agree with this, the curve from the CPU to Graphics Card looks natural as it is, it'd look all wrong if you were to use a tighter bend in that location

Oooh, I do love acrylic tubing!
To be honest both look good but I think the tight corner wins, just!
Thanks for the advice Mole

The wide bend does look good from the CPU to the graphics block.
If you were to use a tighter bend on that link it might look like it was only done to force the use of the tight bend where it isn't needed (I hope that comes across right)
I've gotta say I totally agree with this, the curve from the CPU to Graphics Card looks natural as it is, it'd look all wrong if you were to use a tighter bend in that location
I think I agree with you guys. Maybe having 1 type of bend is not good at all.
------------------
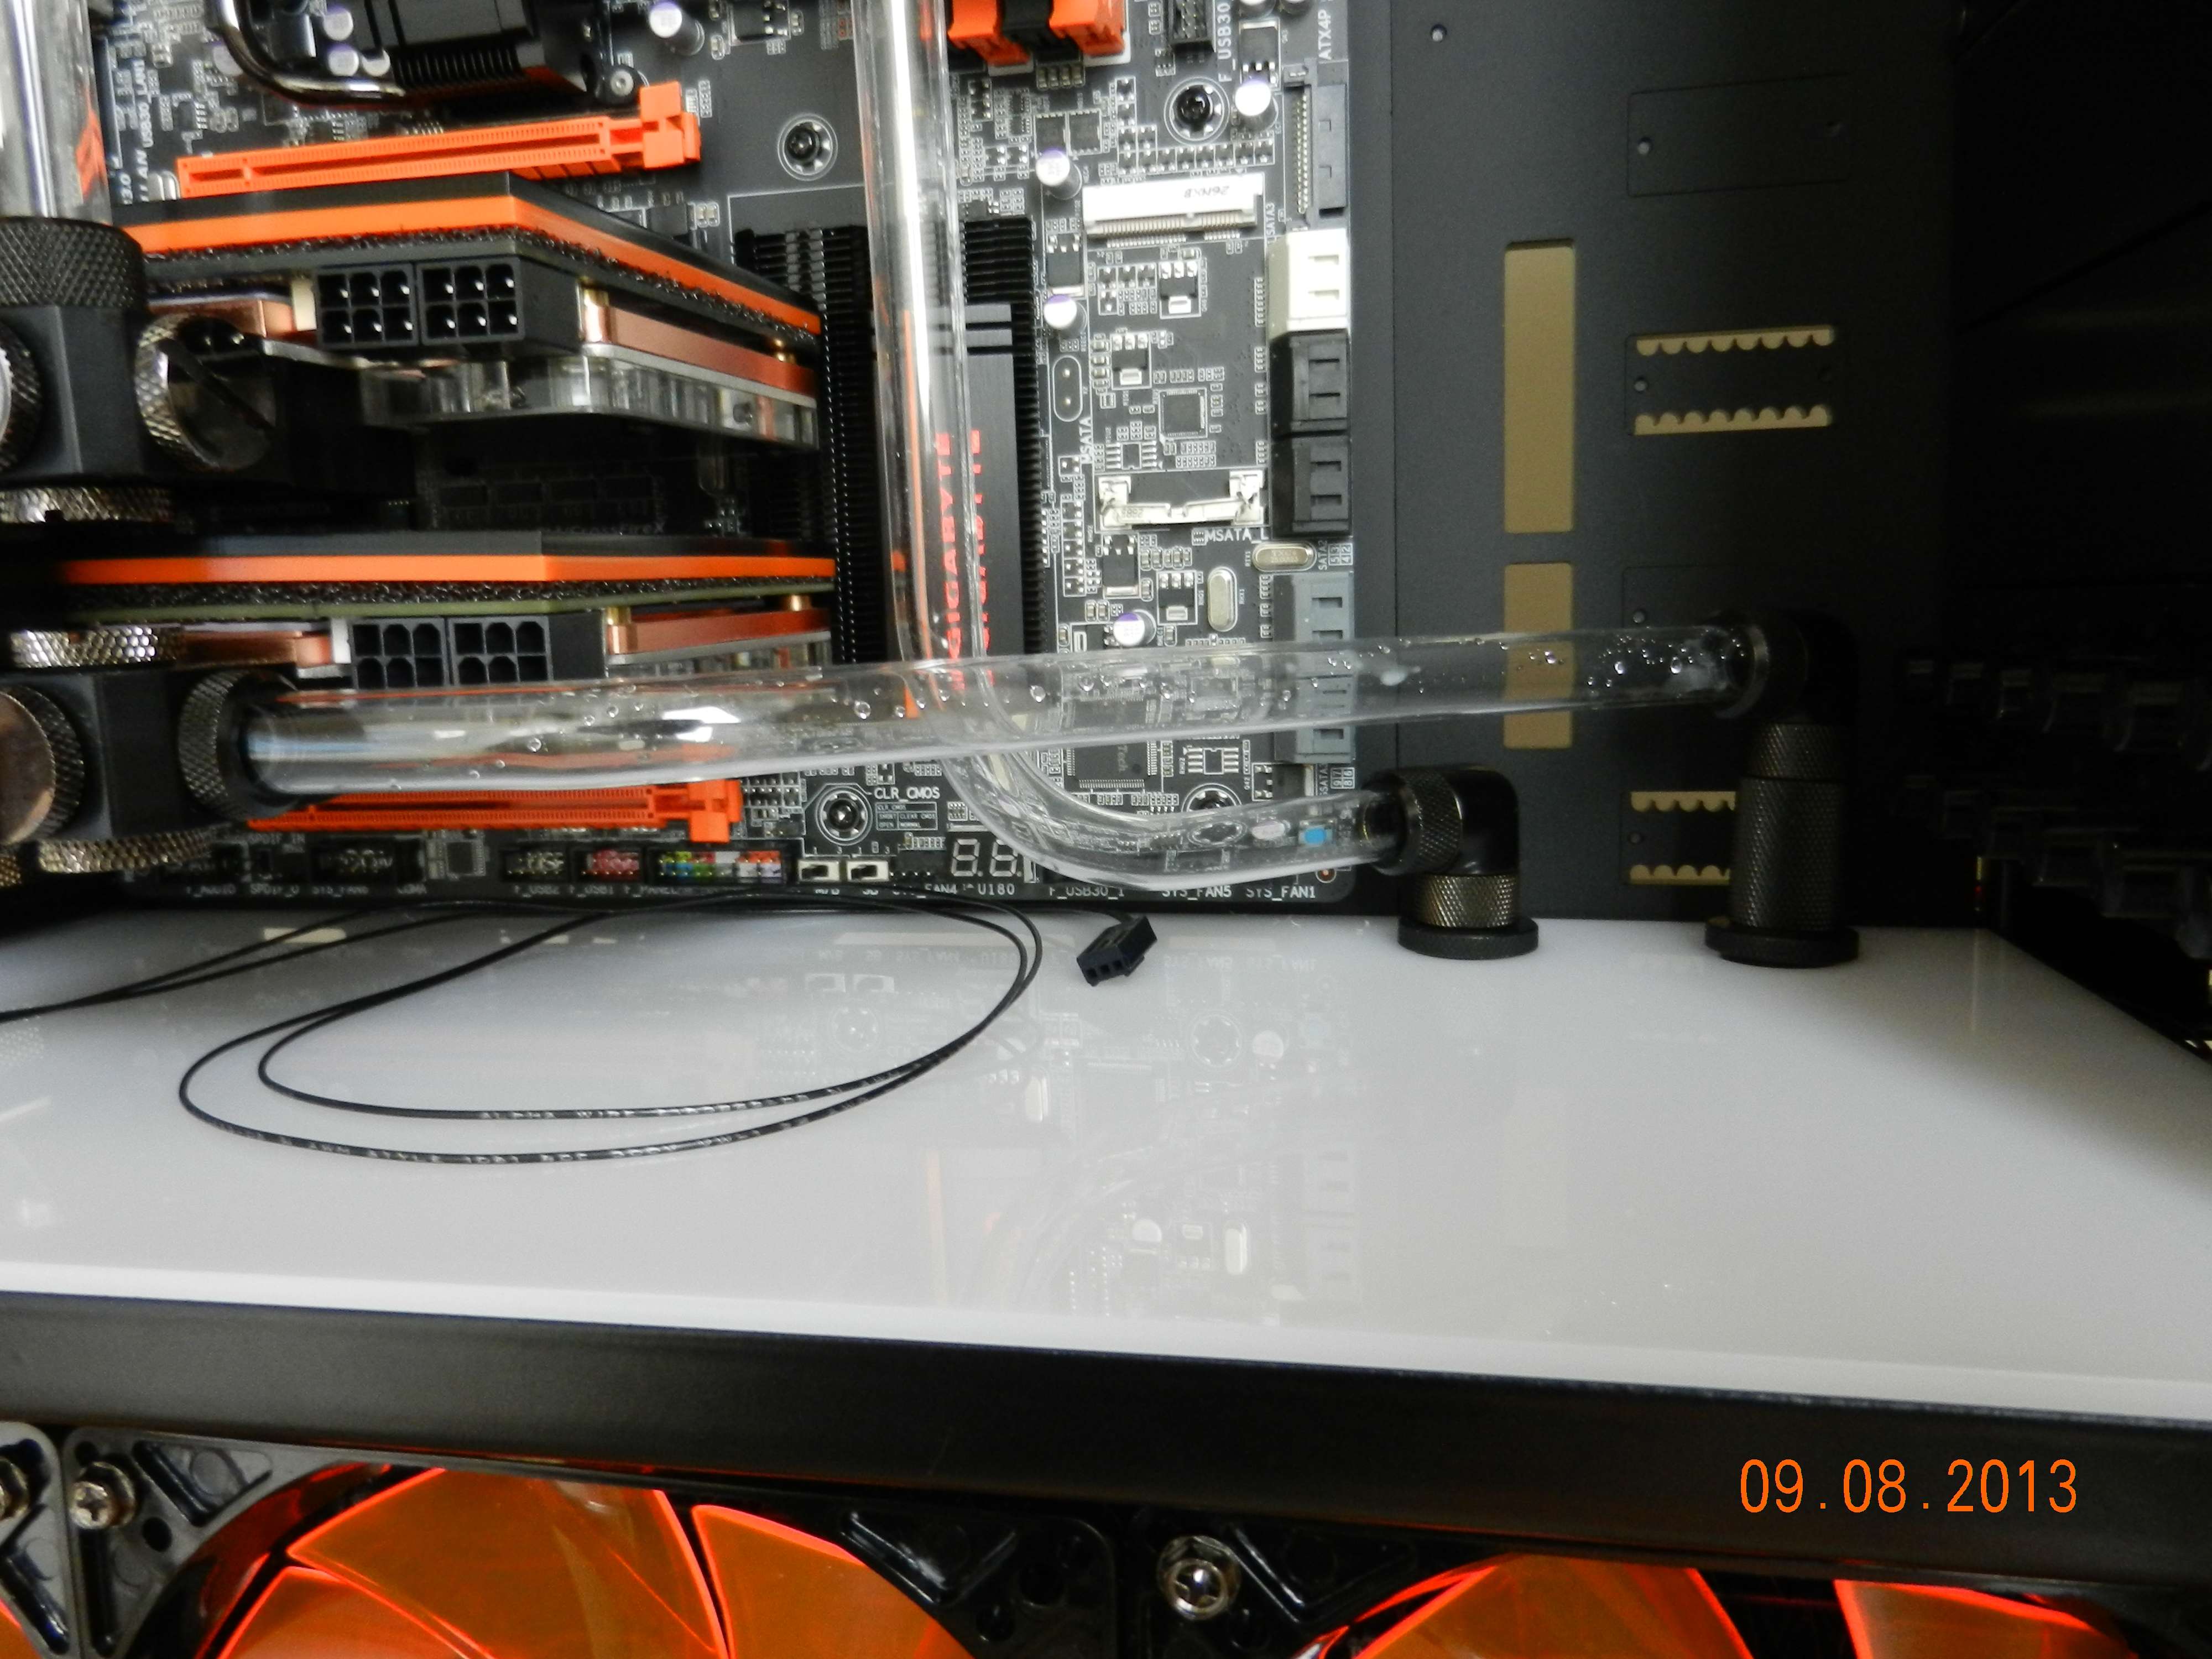
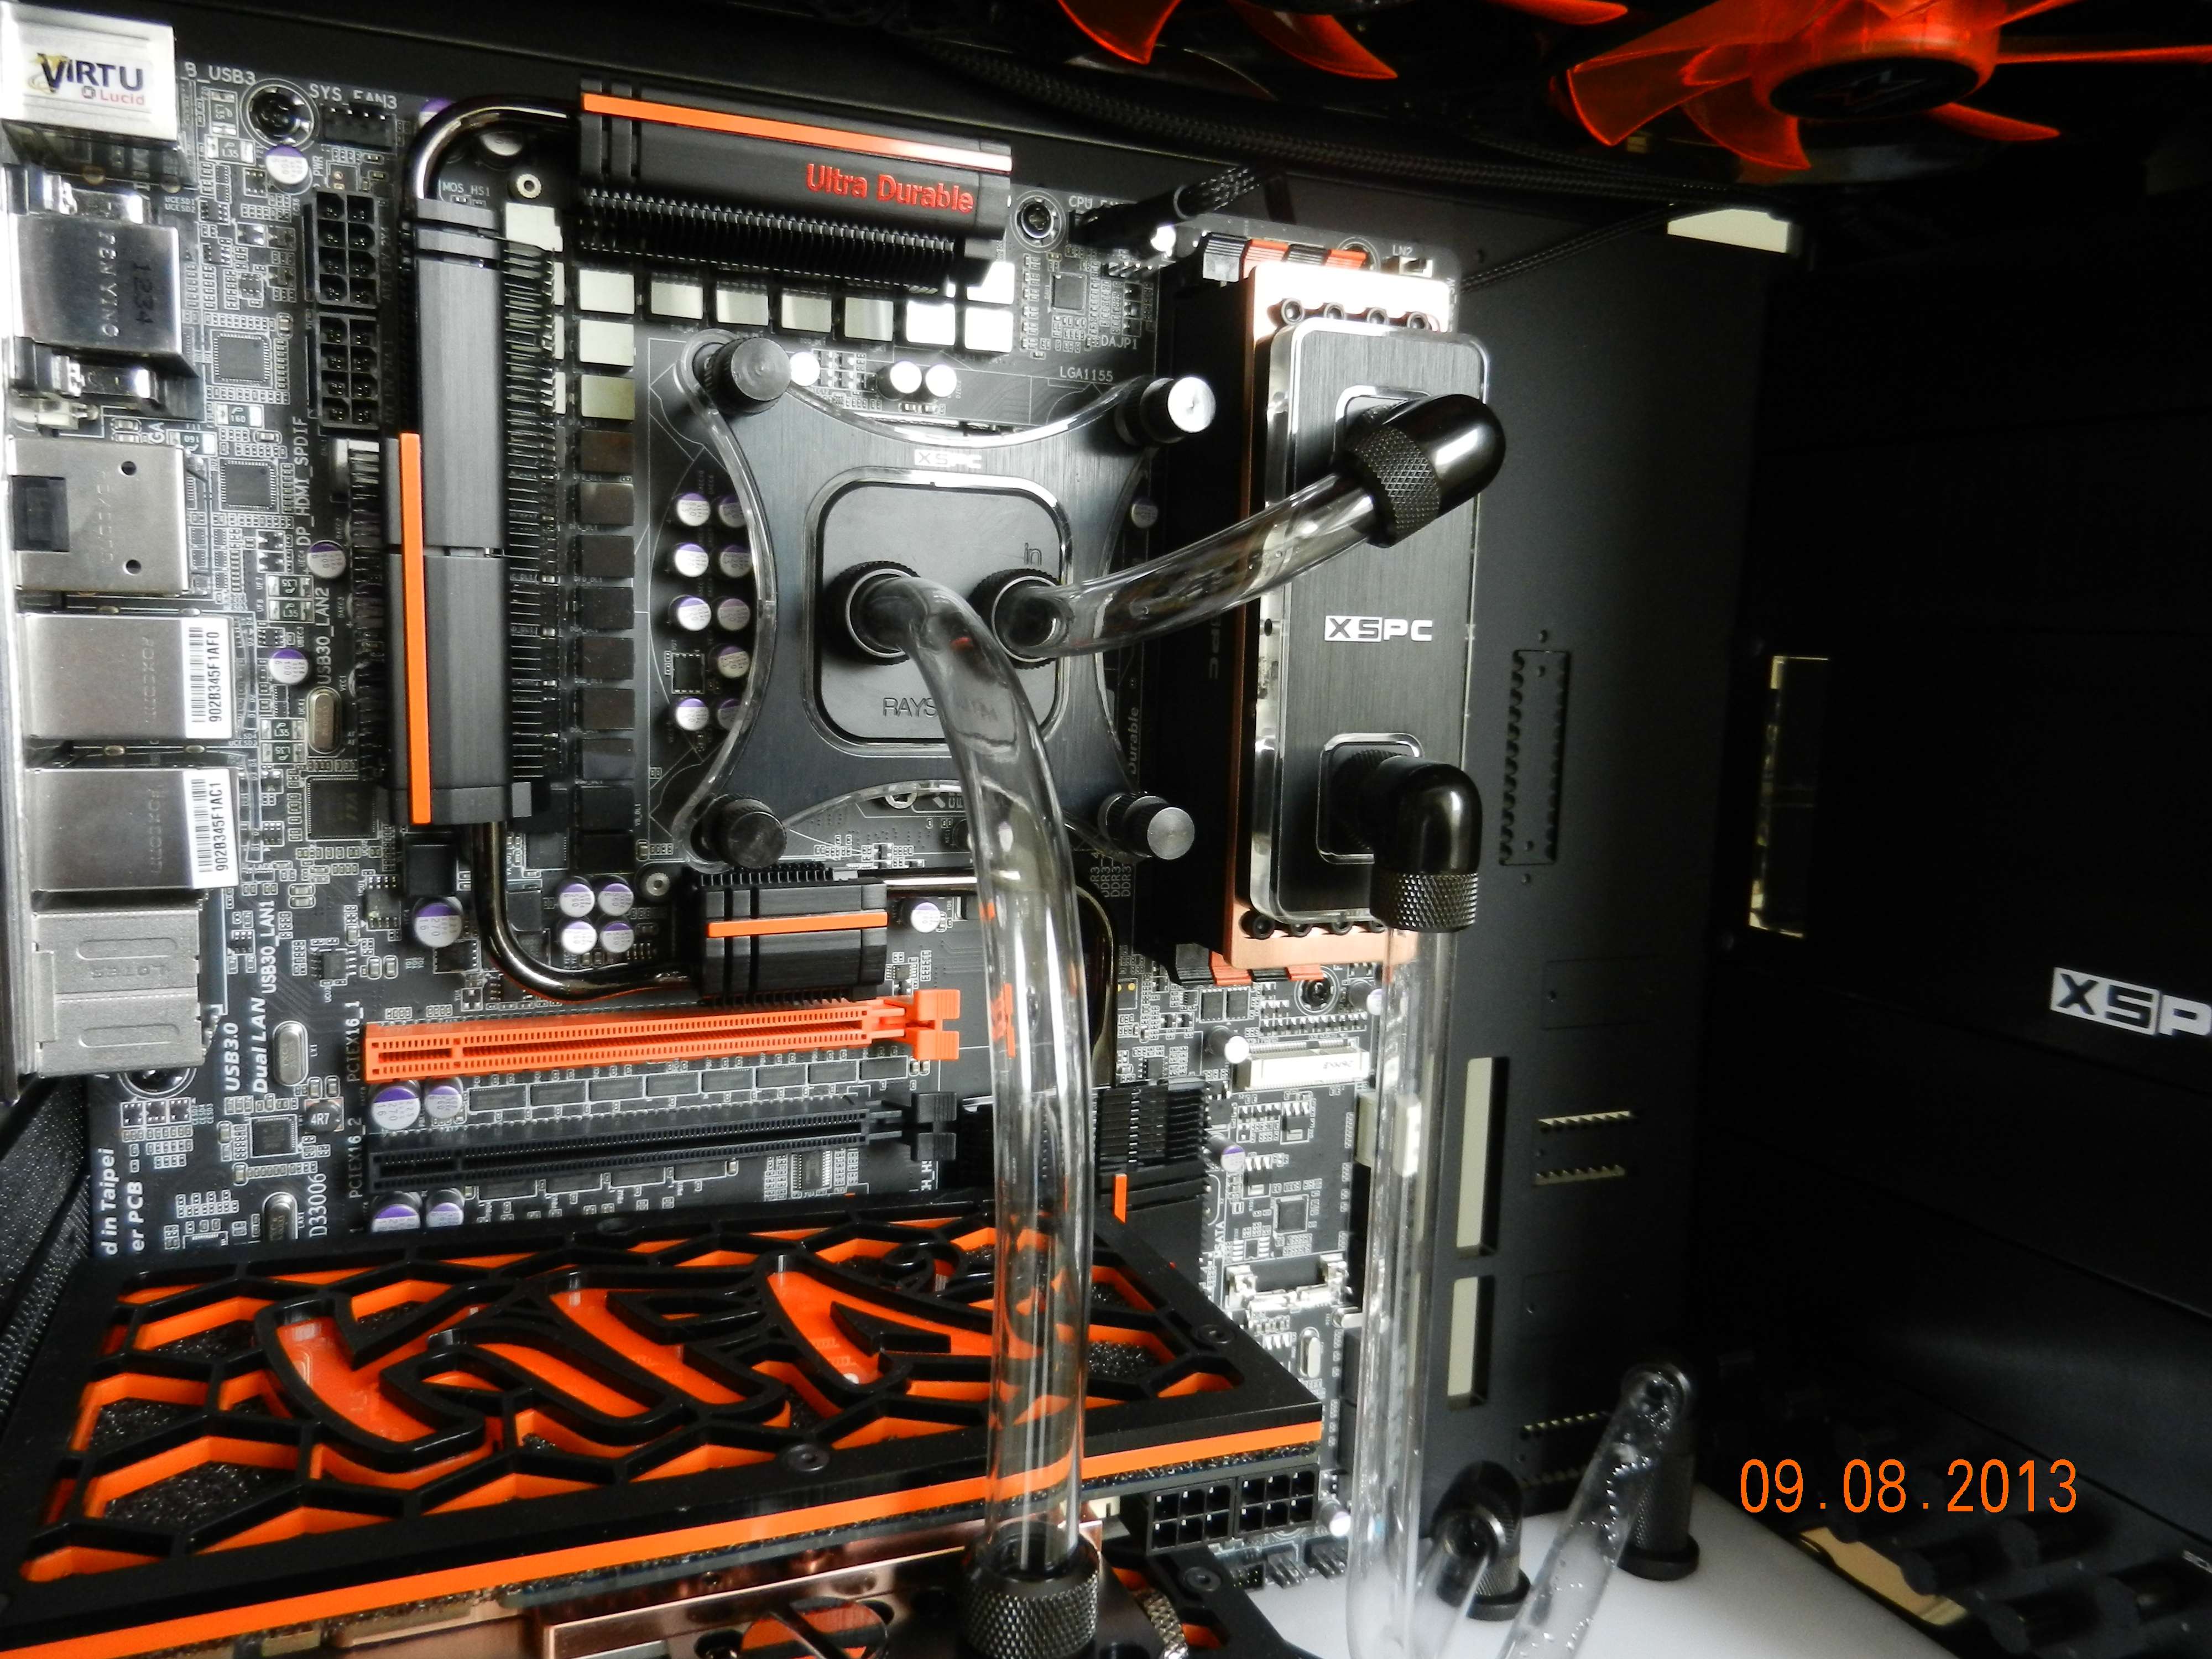
Did another round of bending today. How are you liking my round shapes guys?

I will have to shorten the long bottom pipe just a little. The midplate fittings are now being pushed back.
The short small bend on the cpu block was quite hard to do. I think my 3rd try I succeeded.
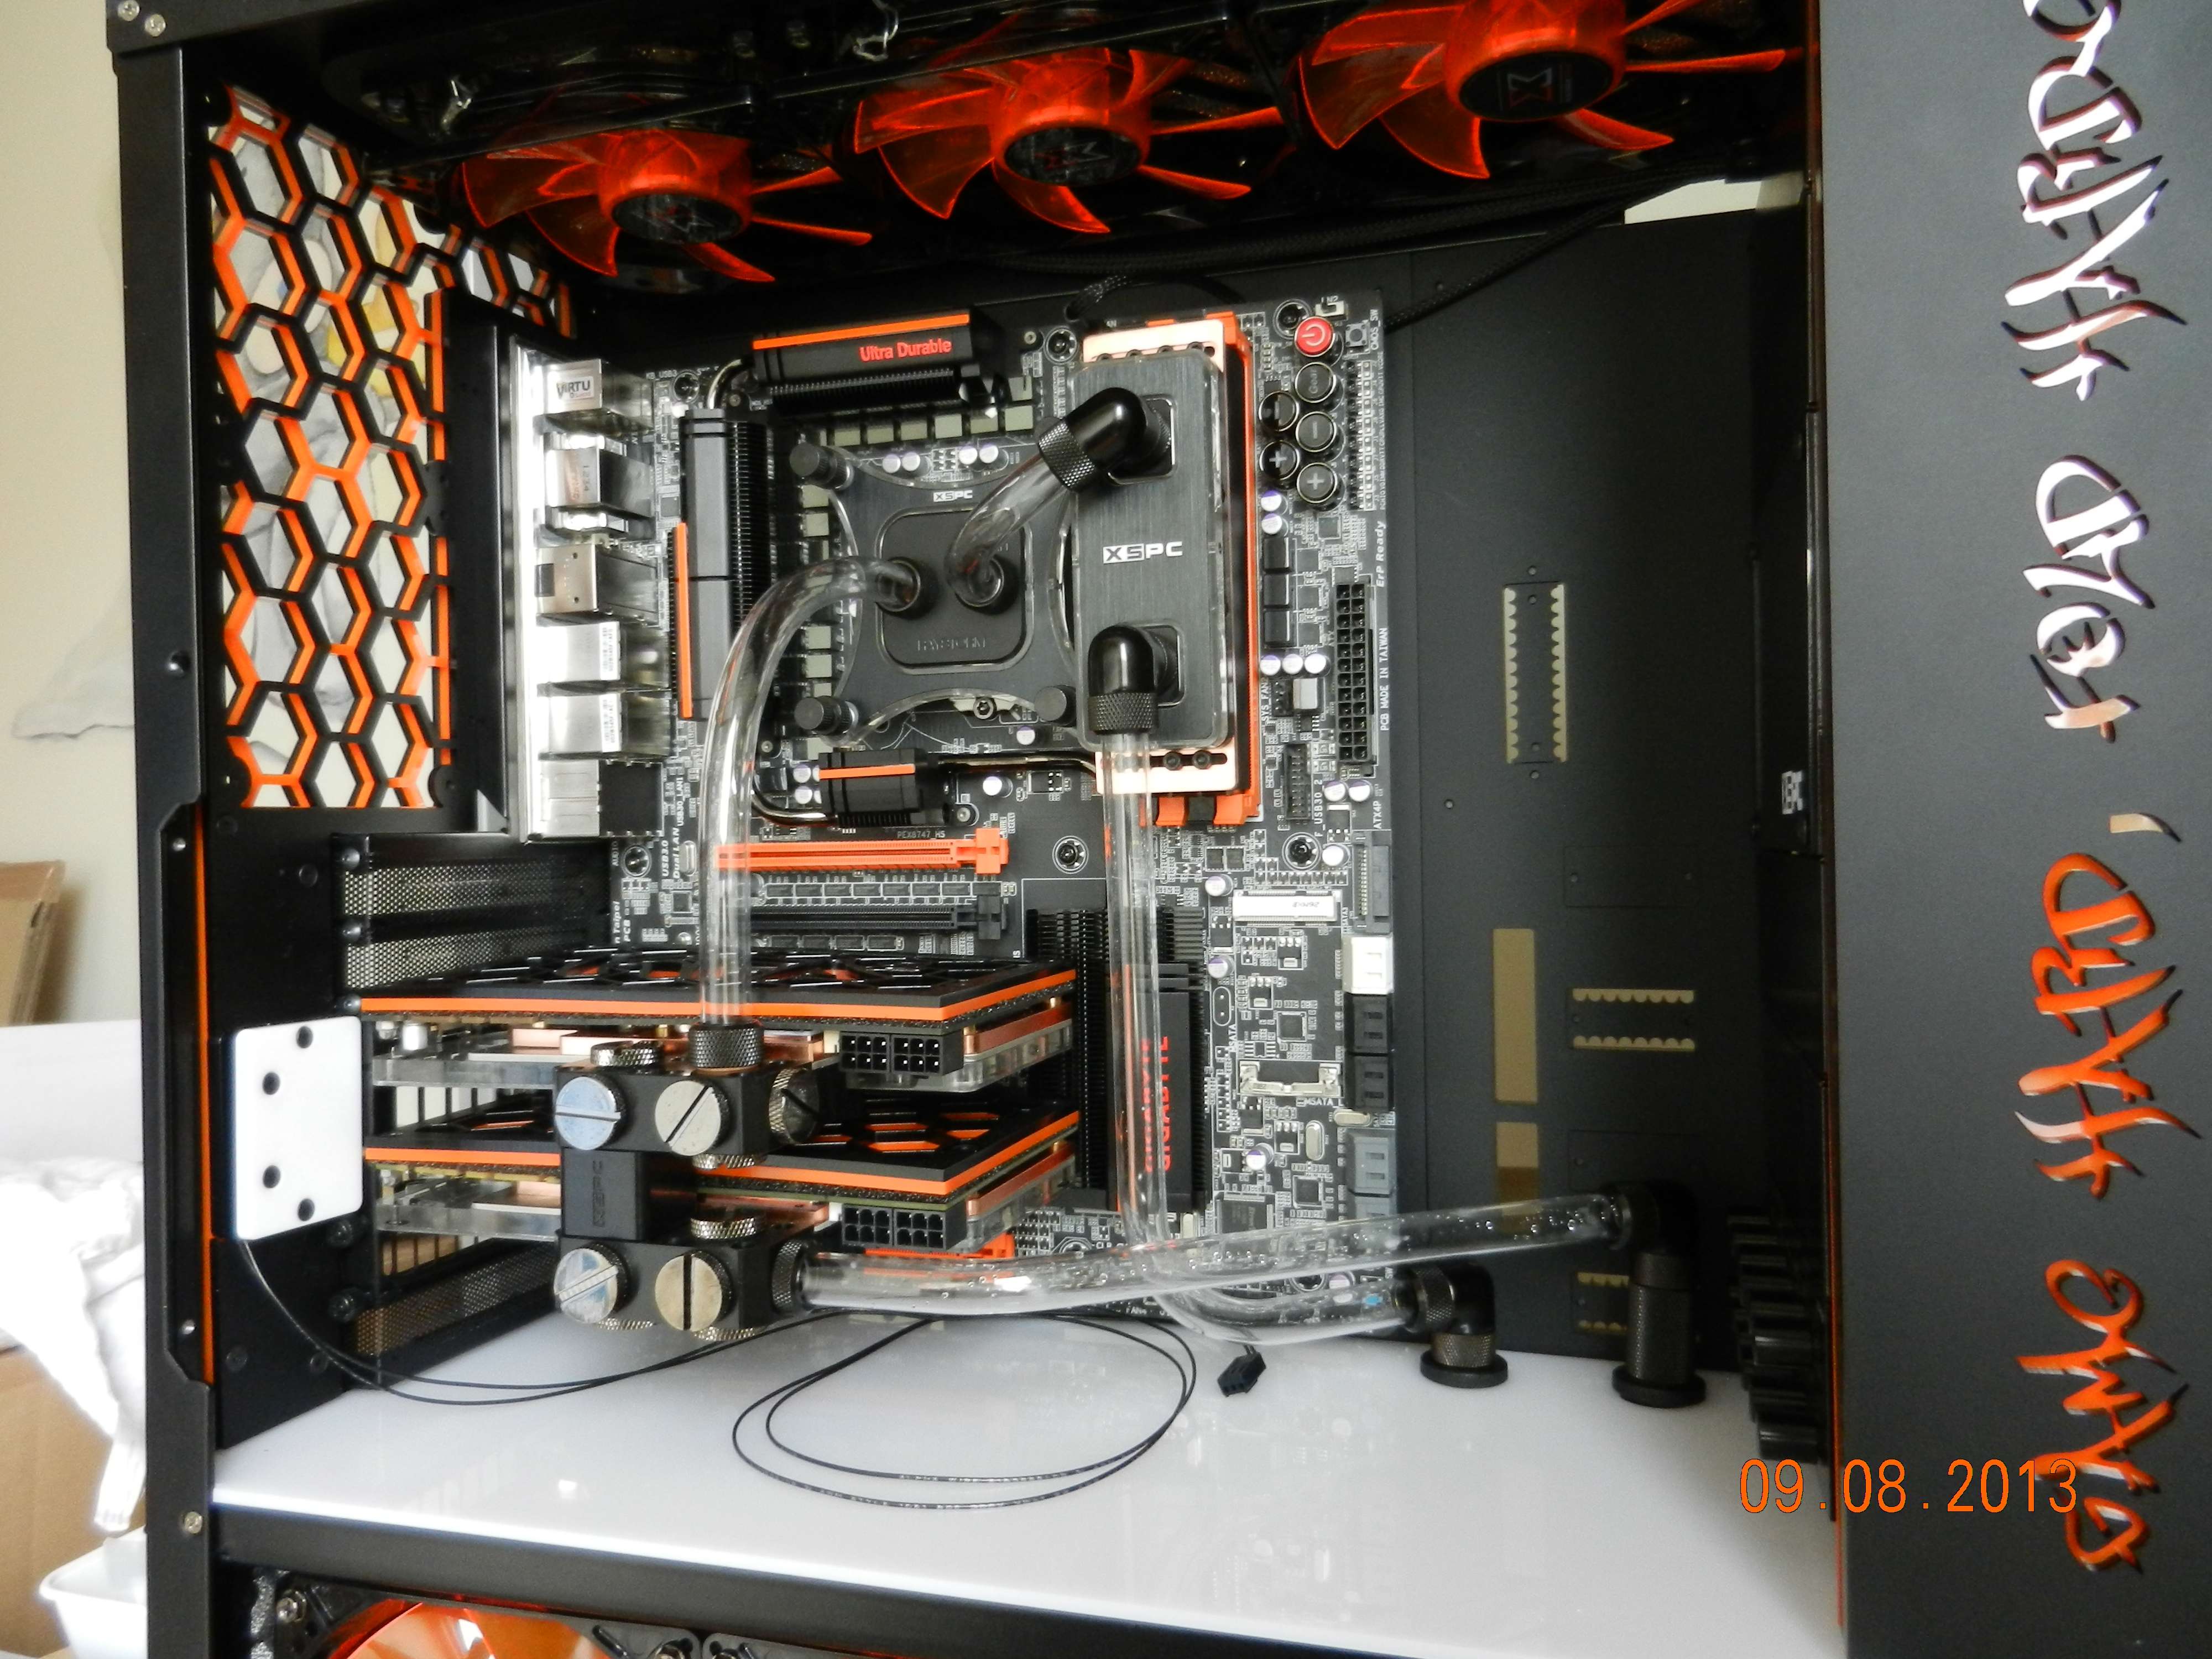
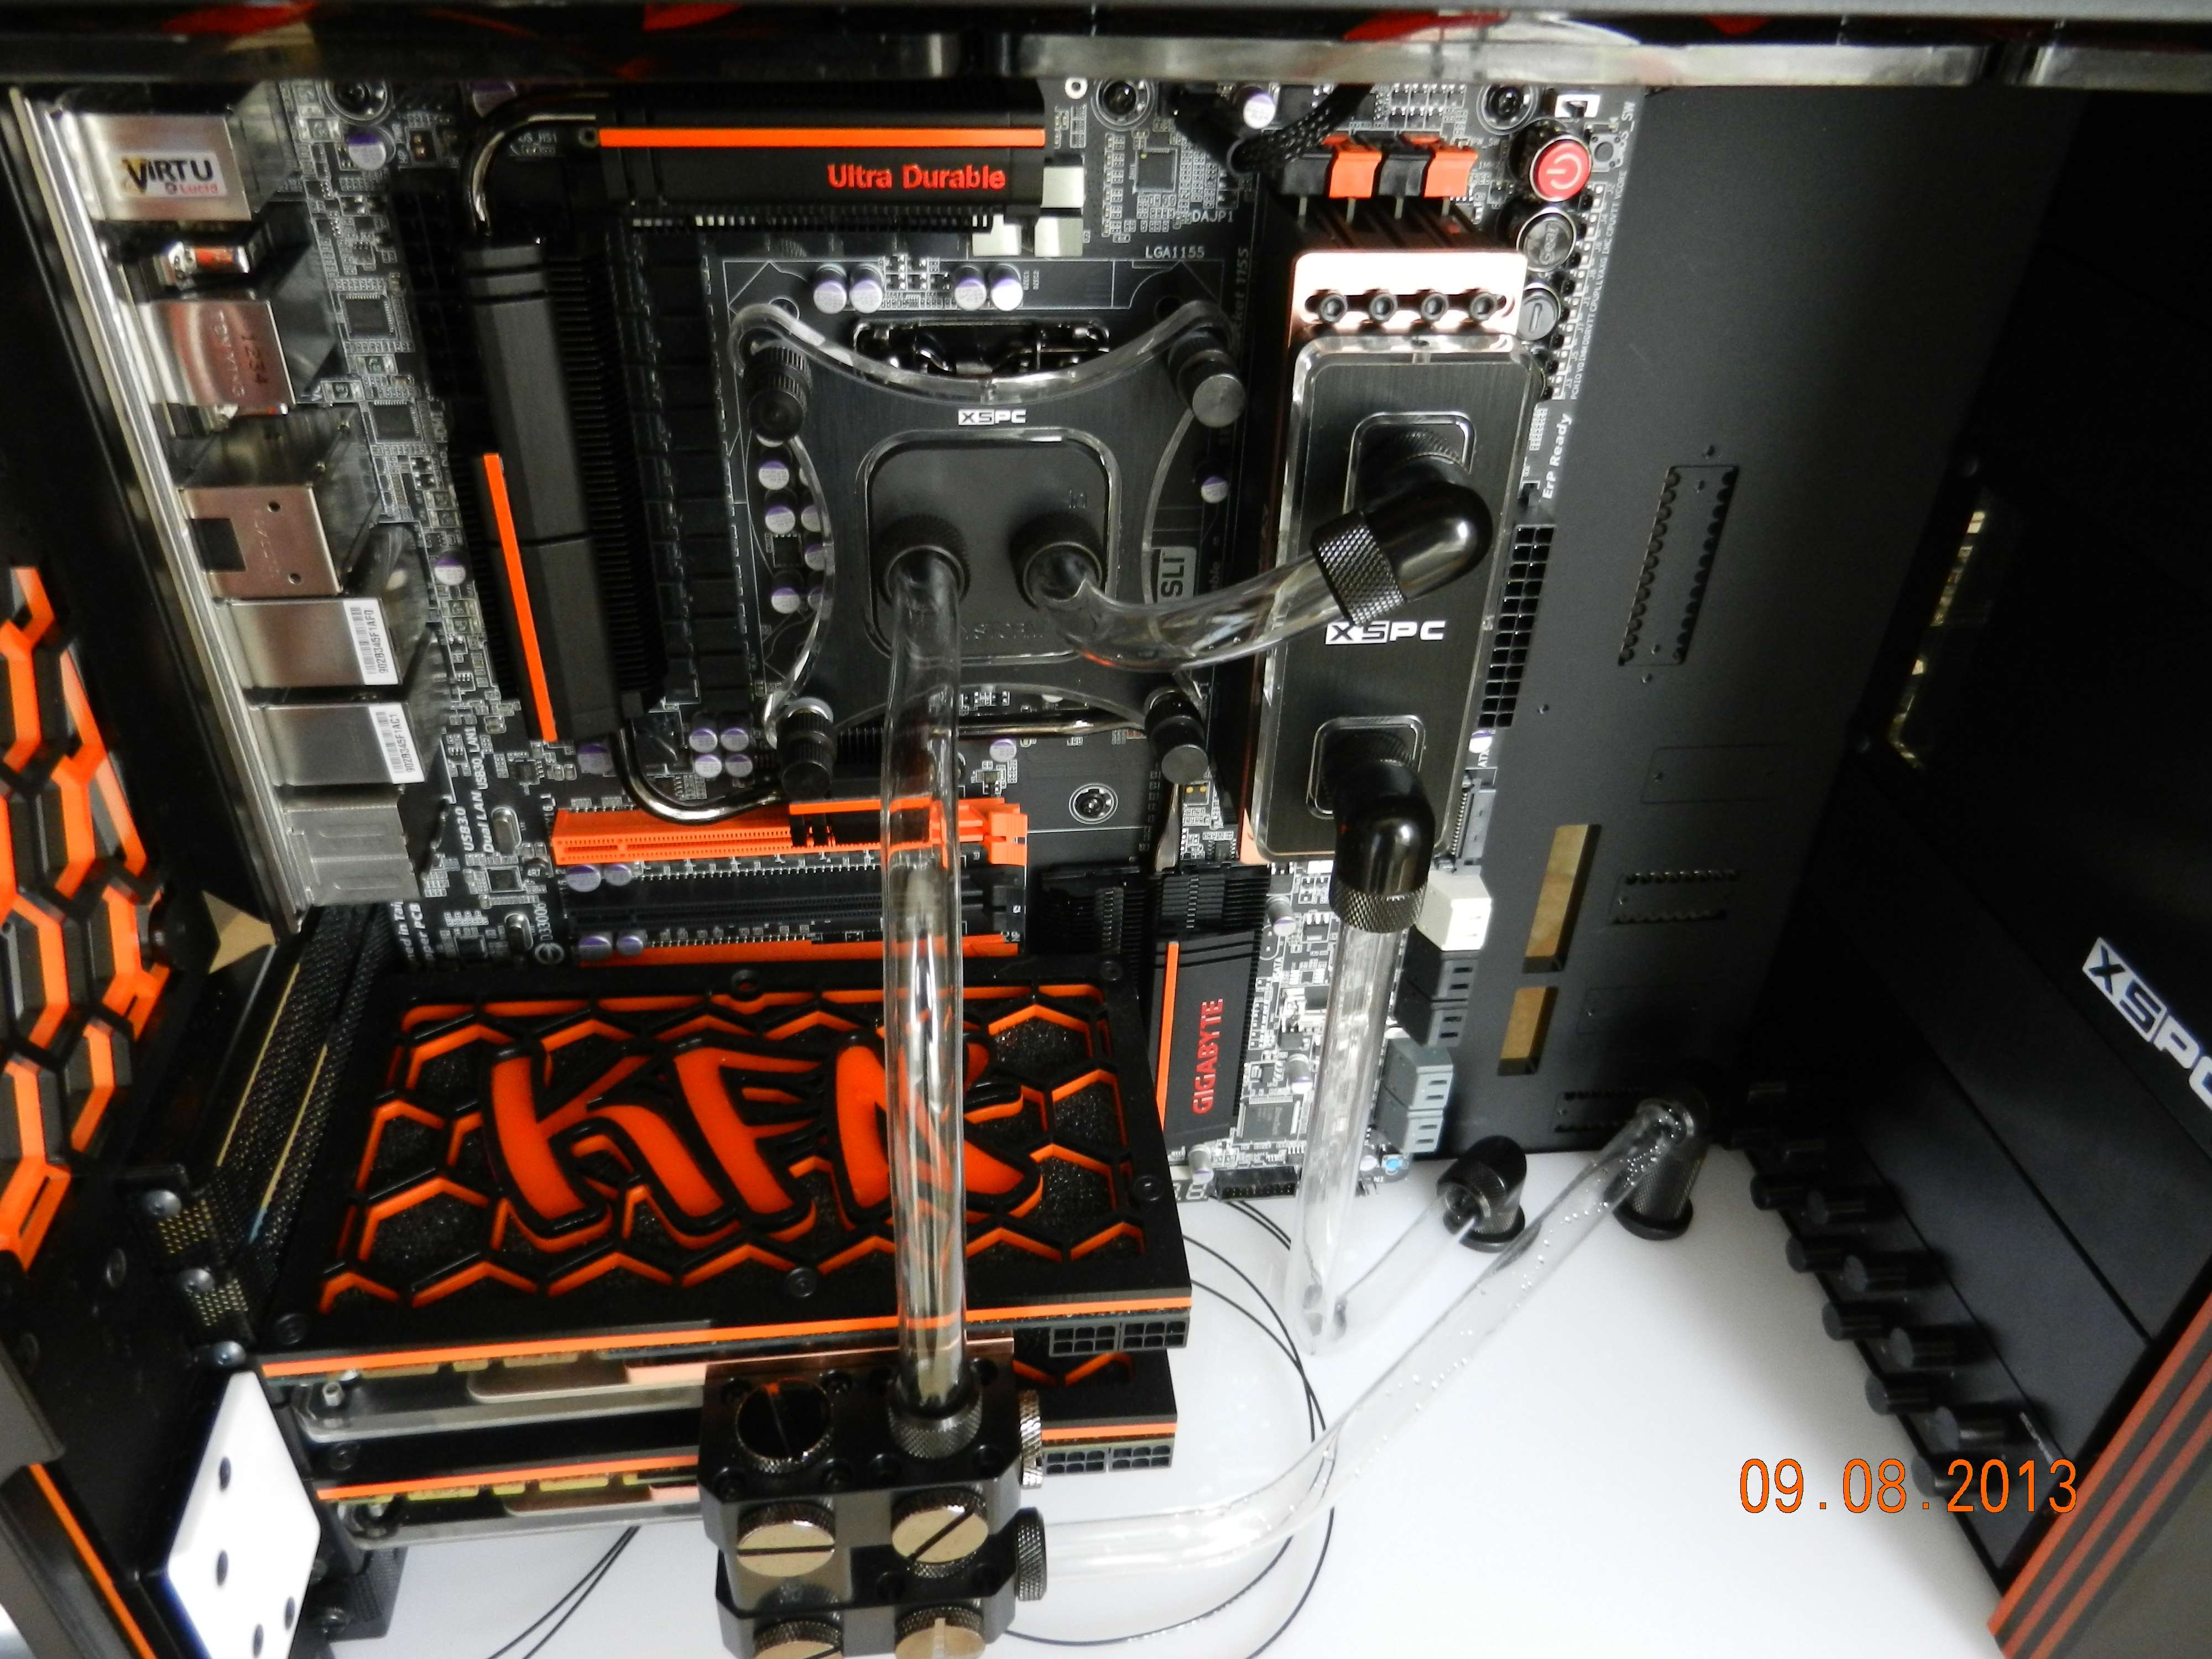
I personally LOVE this angle.
