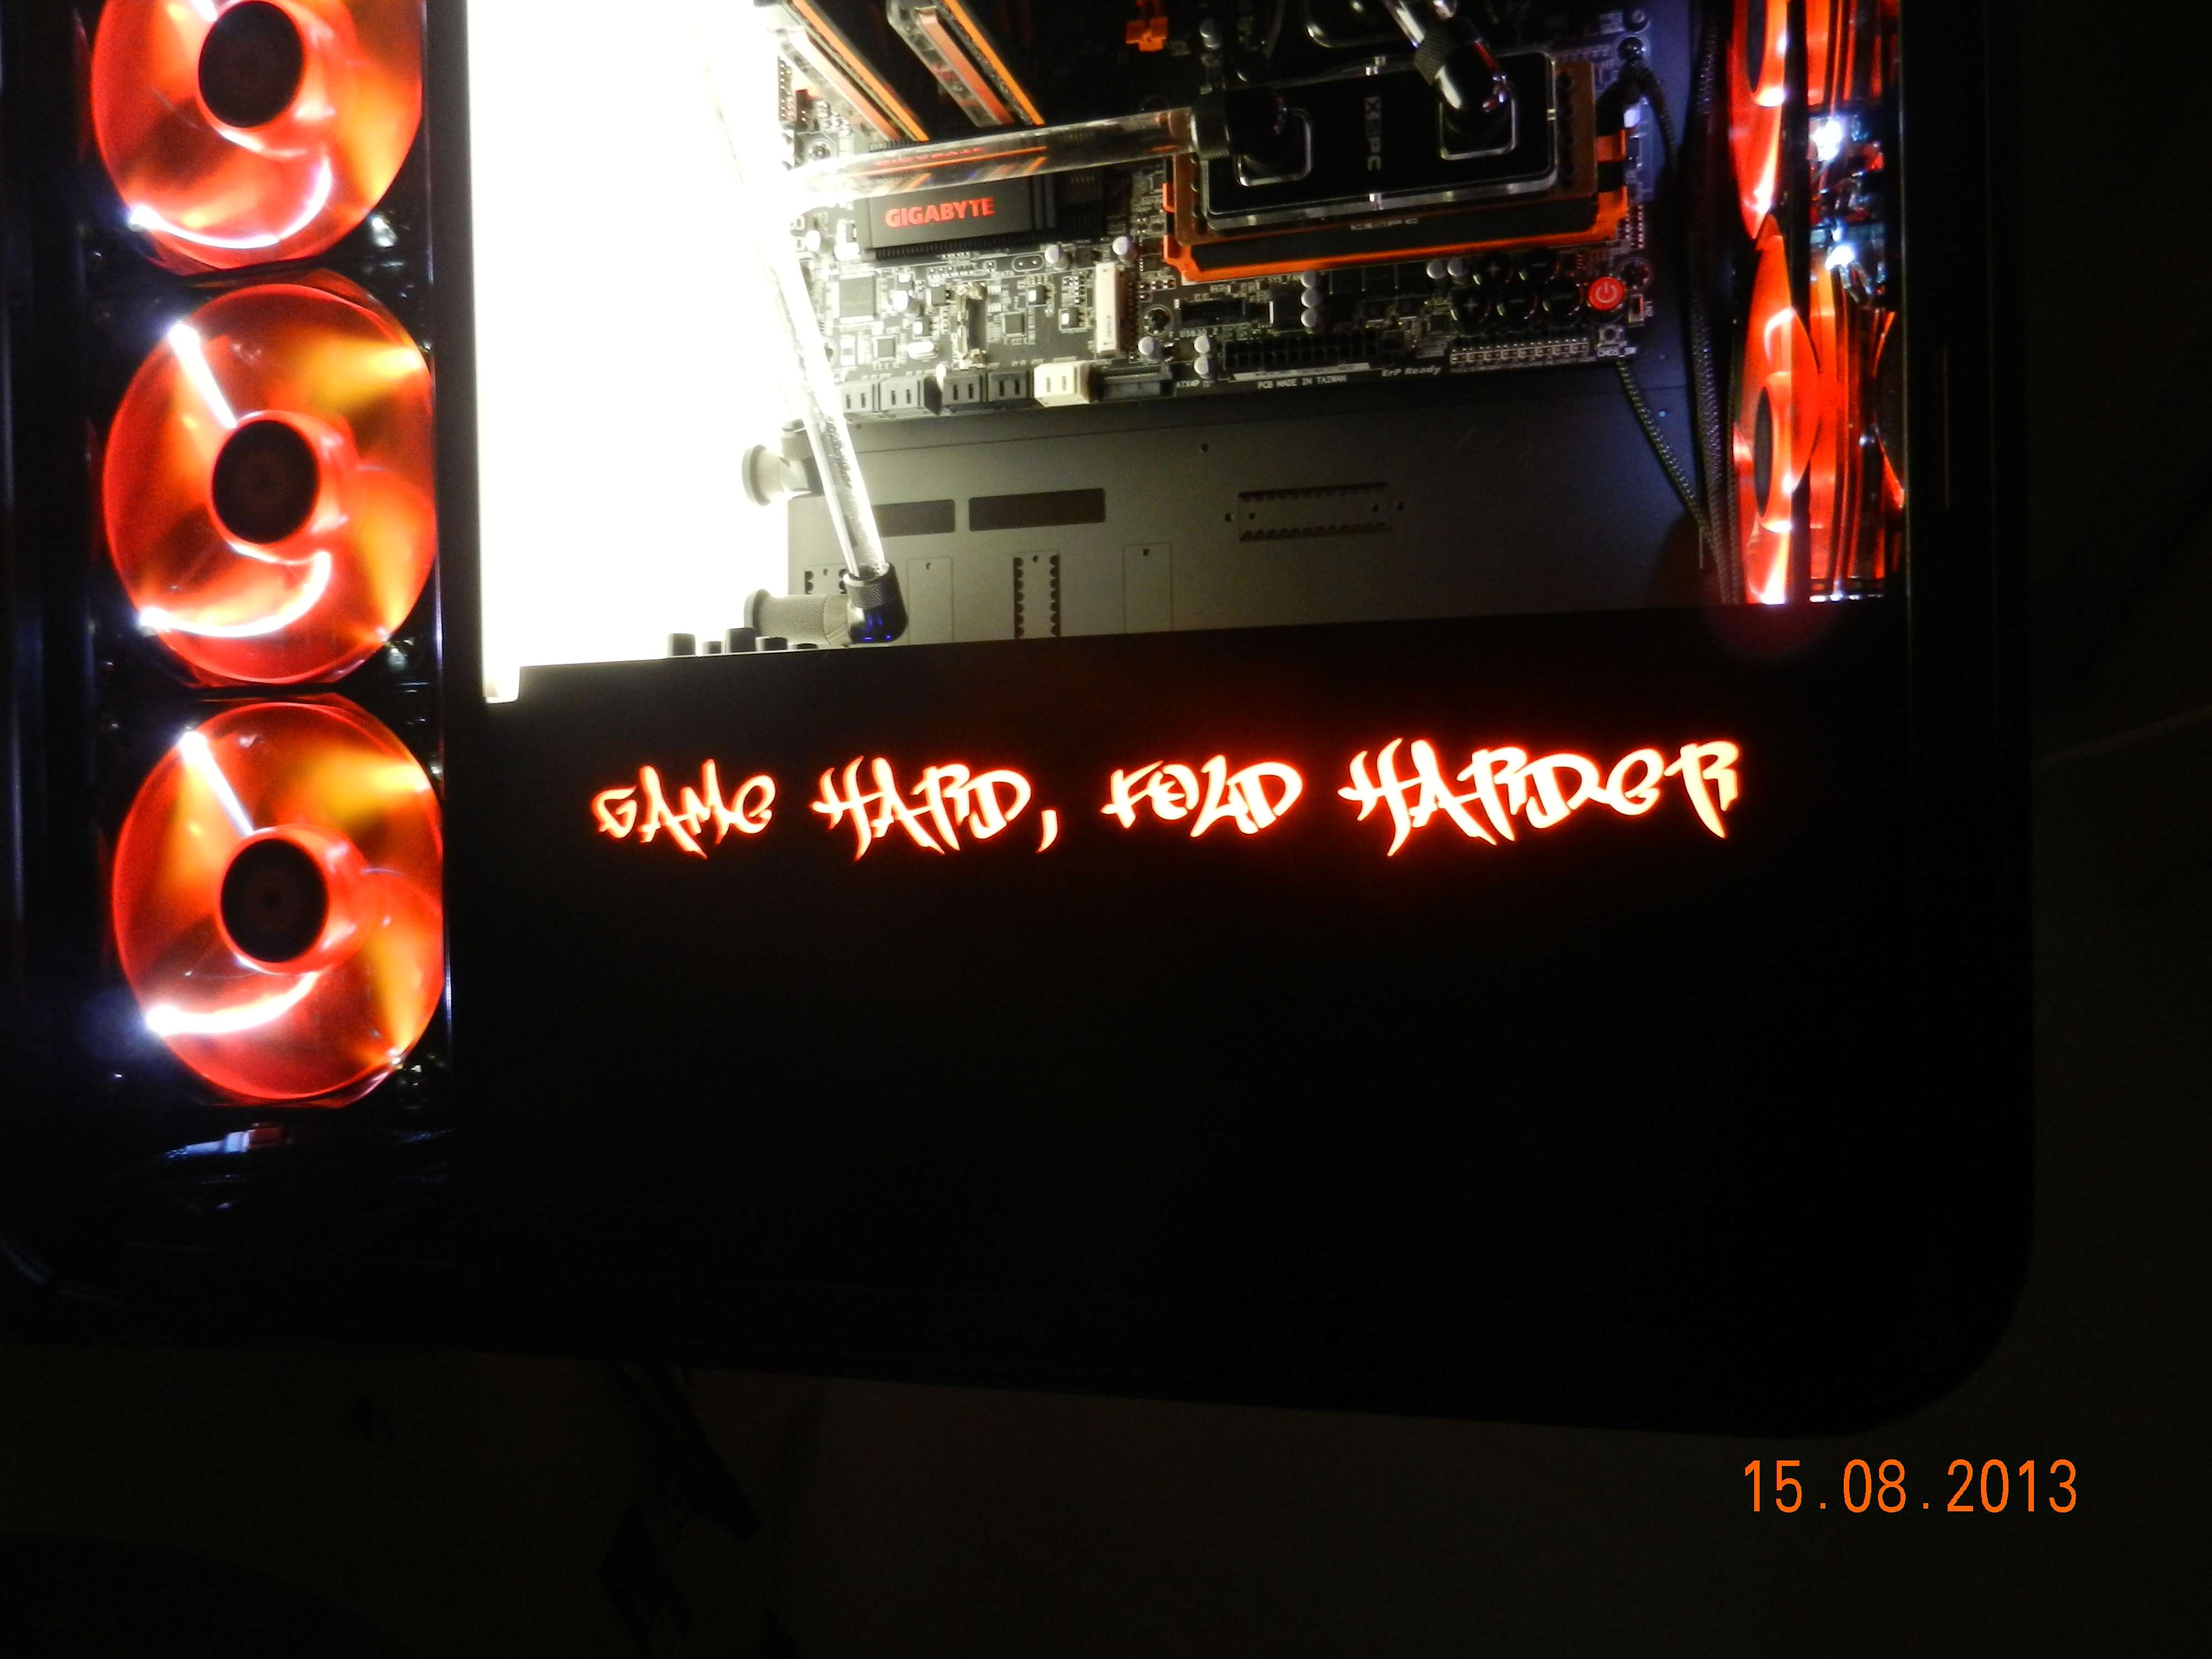
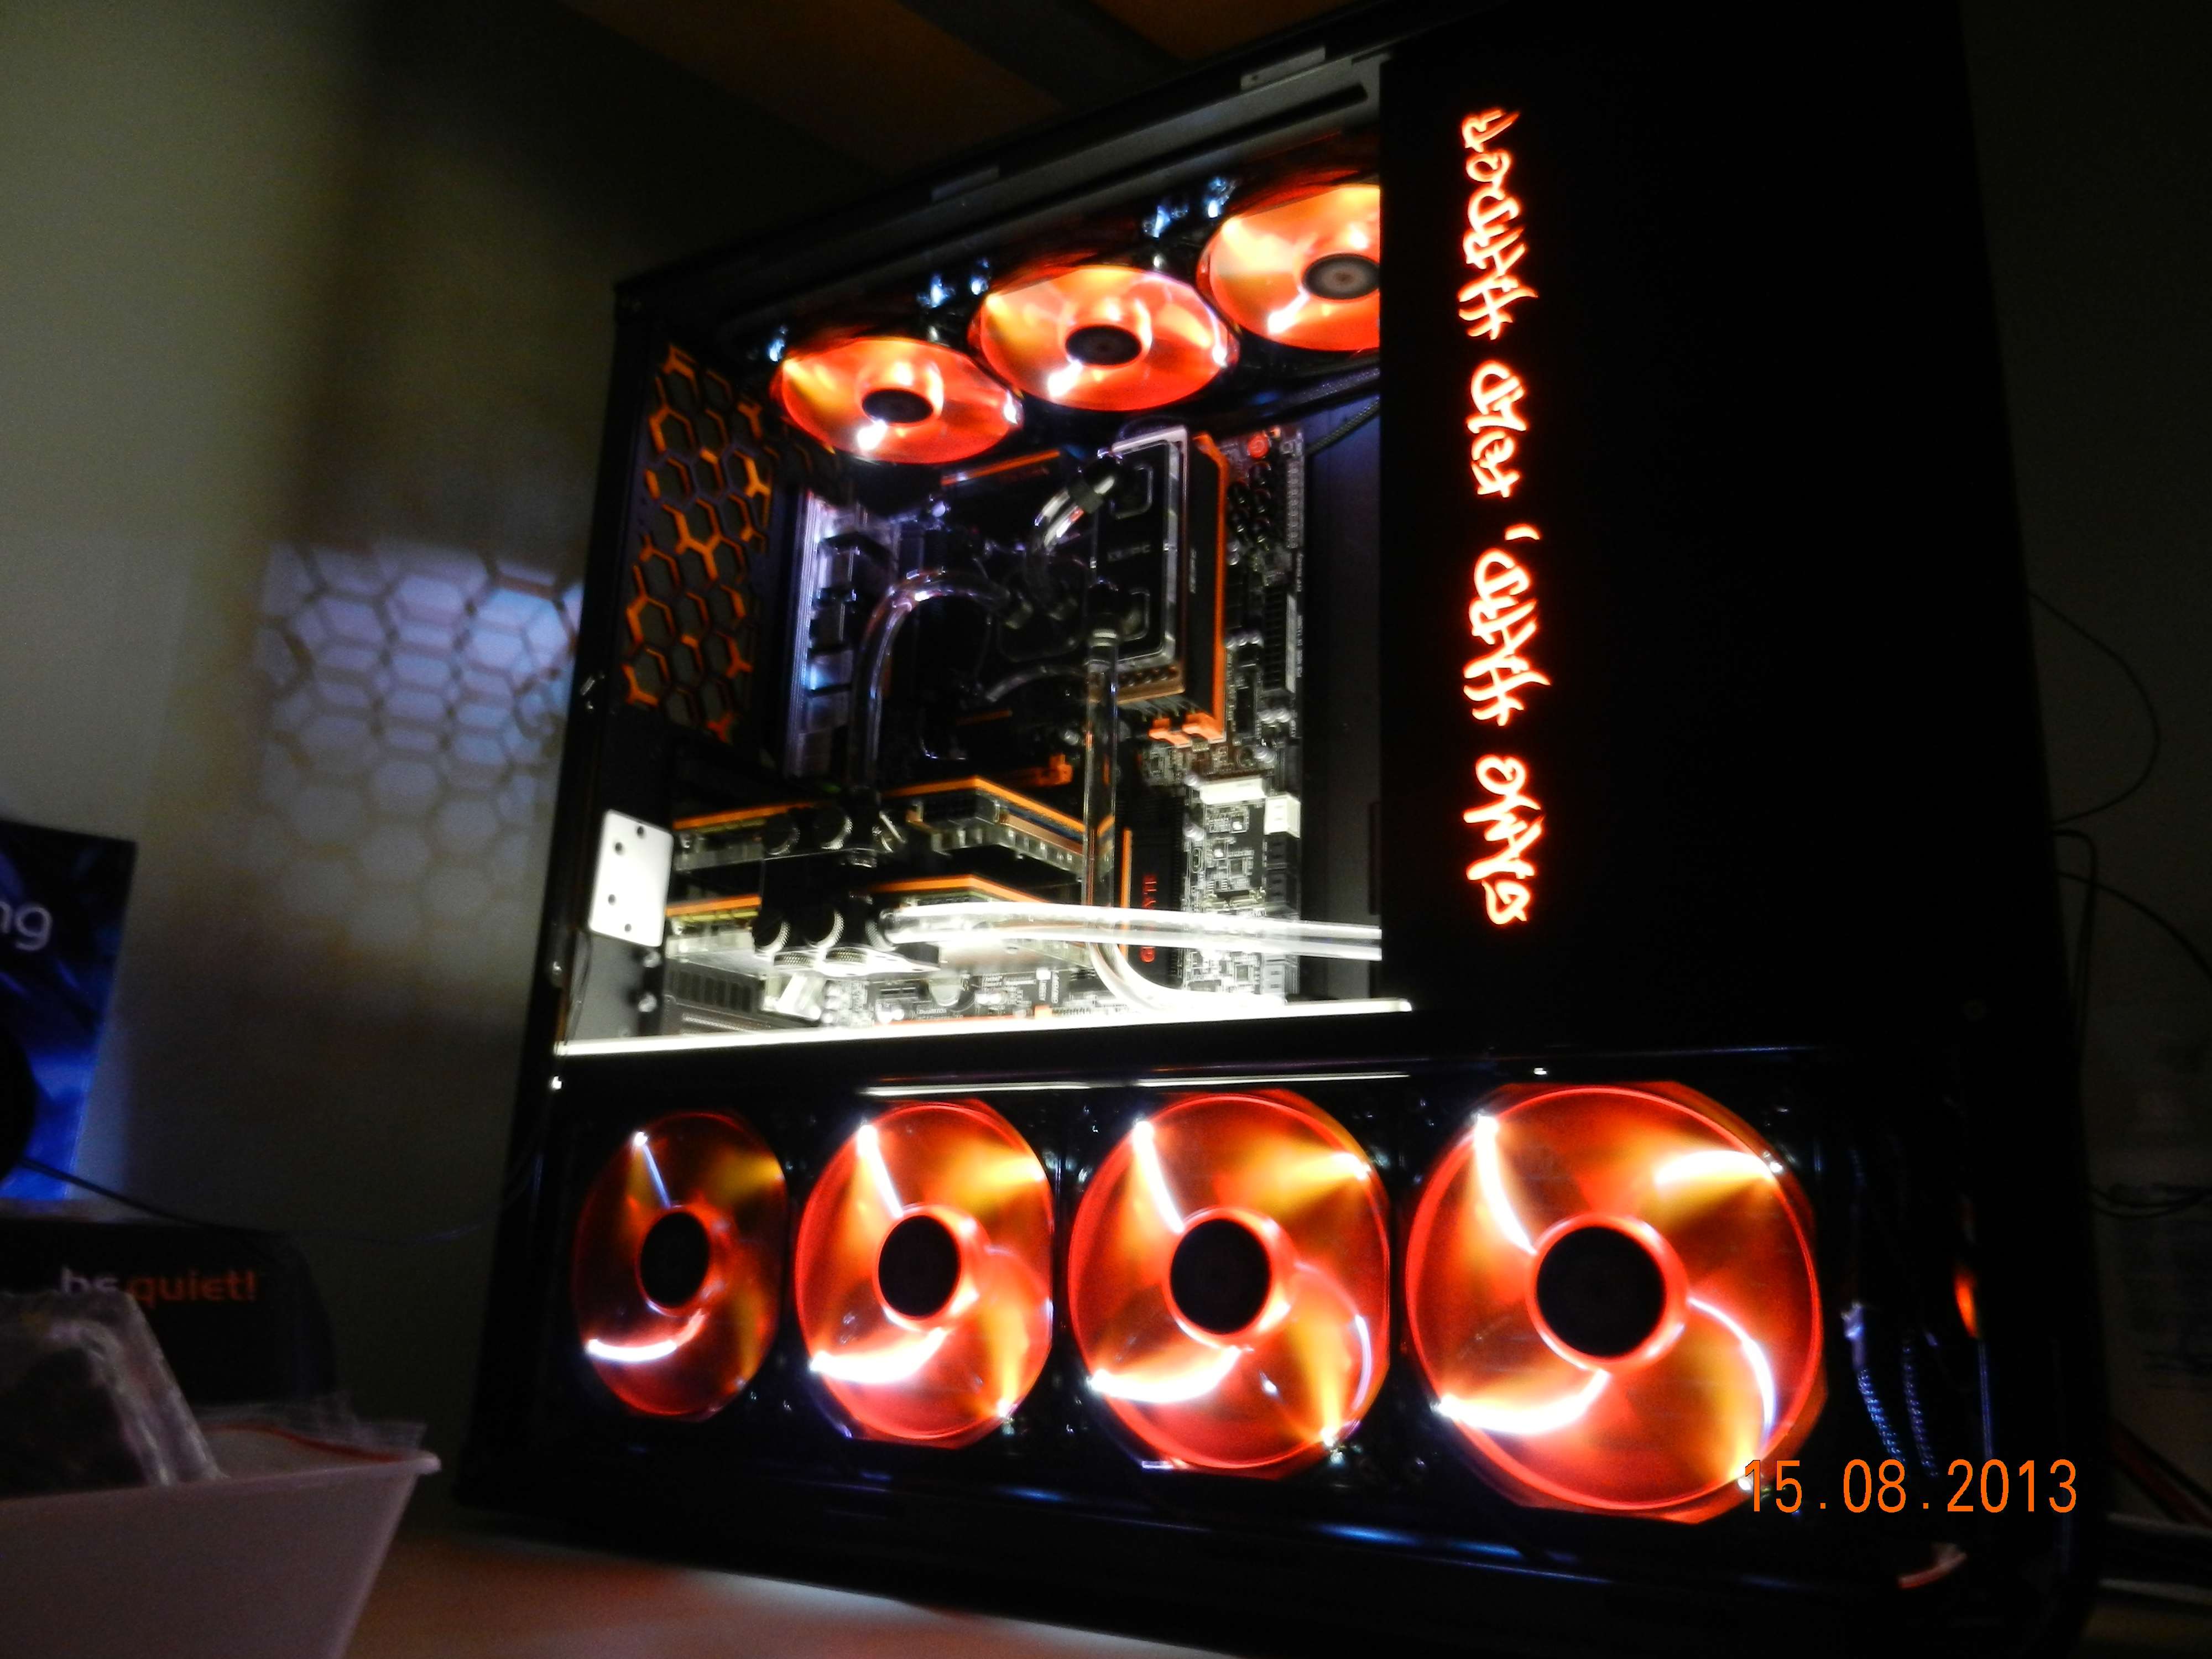
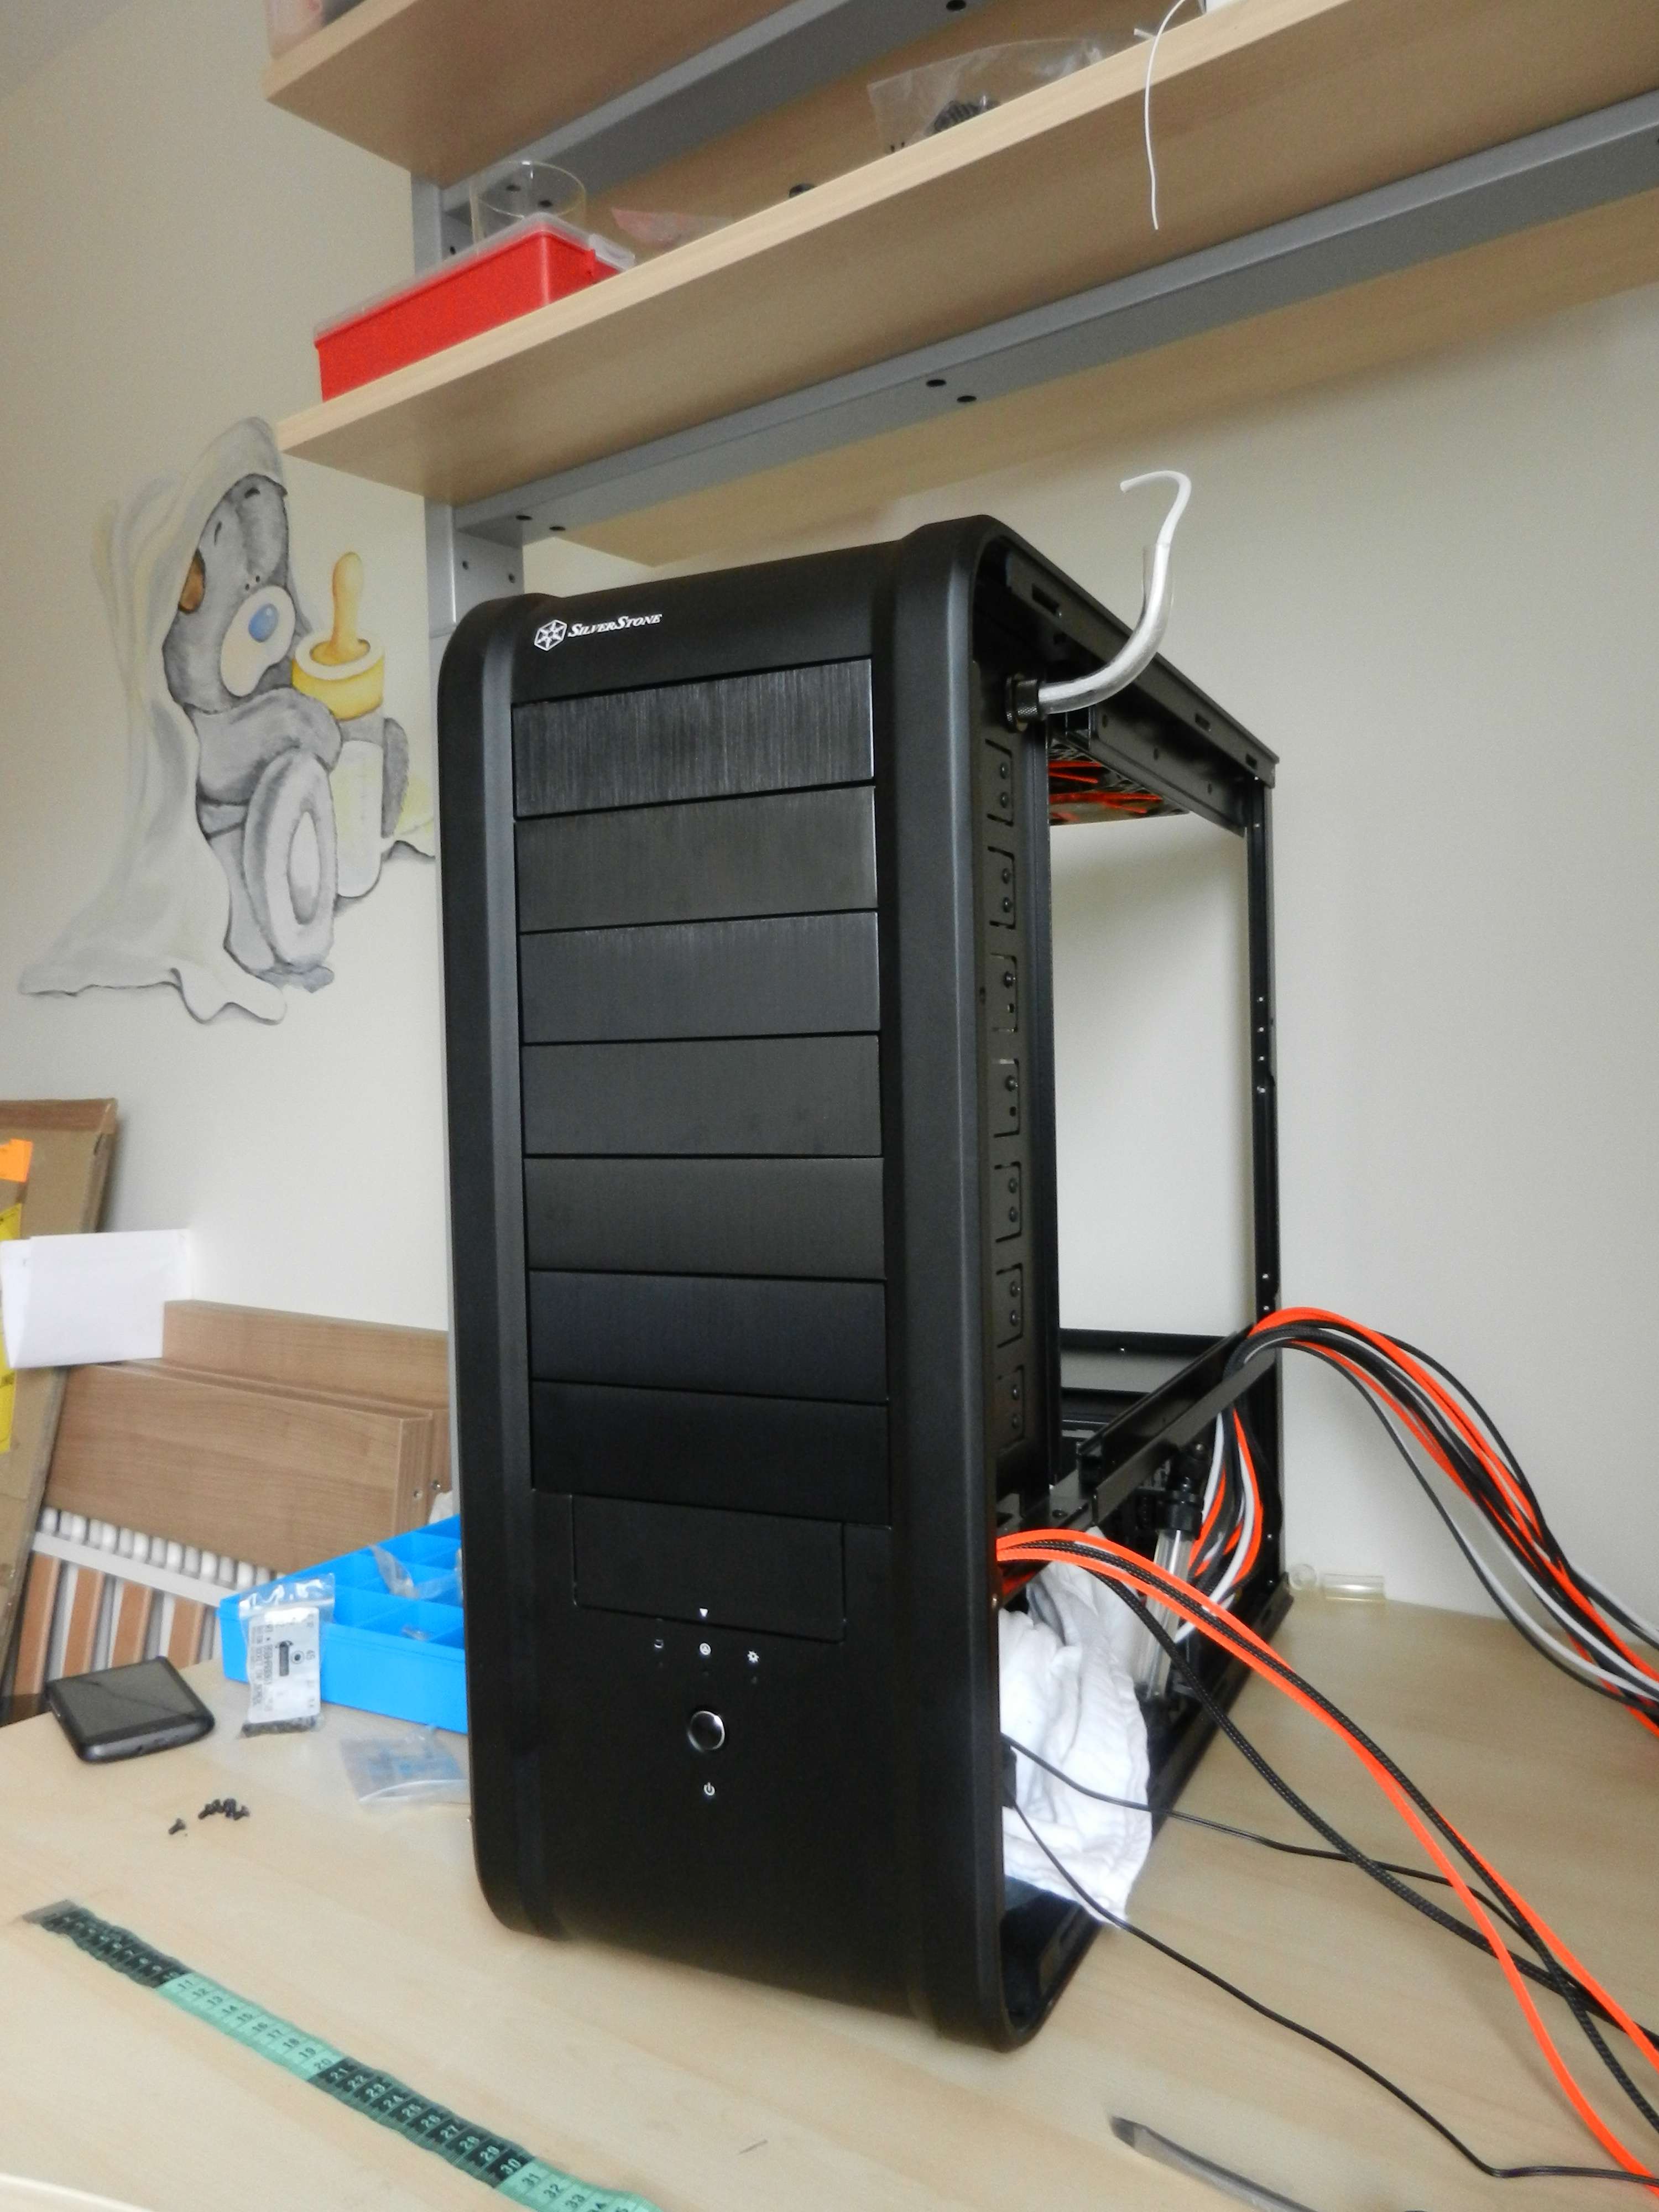
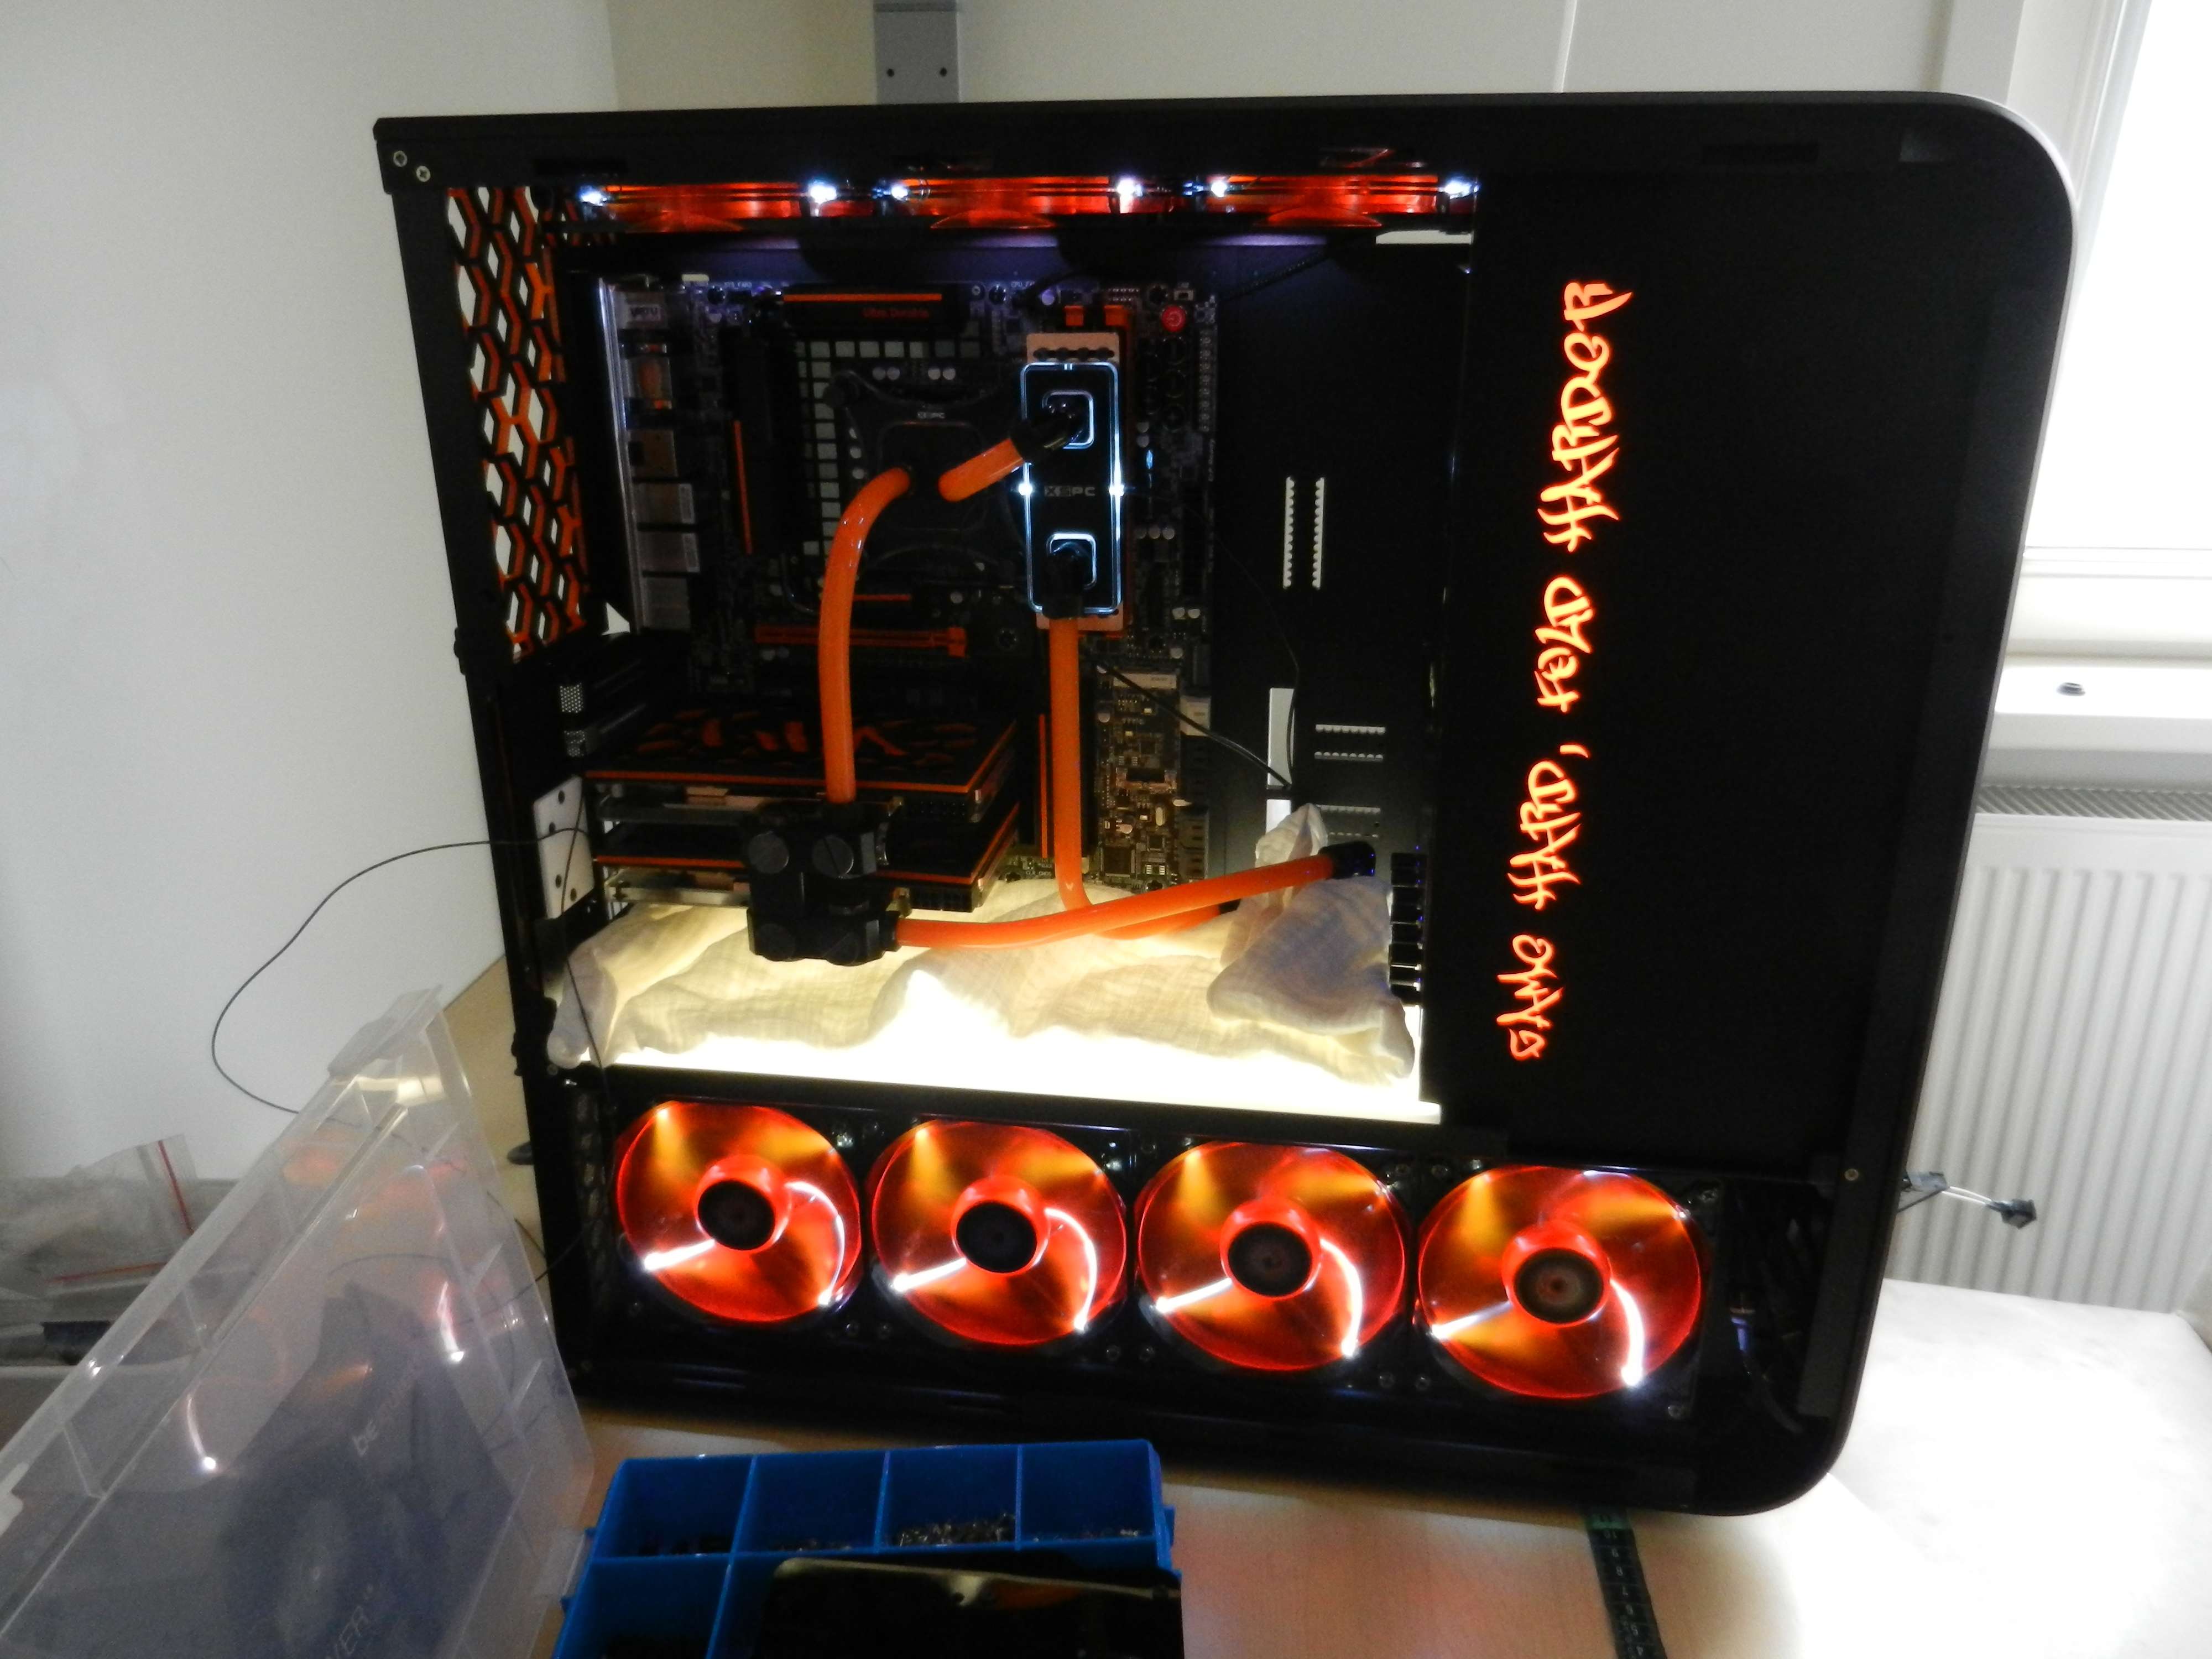
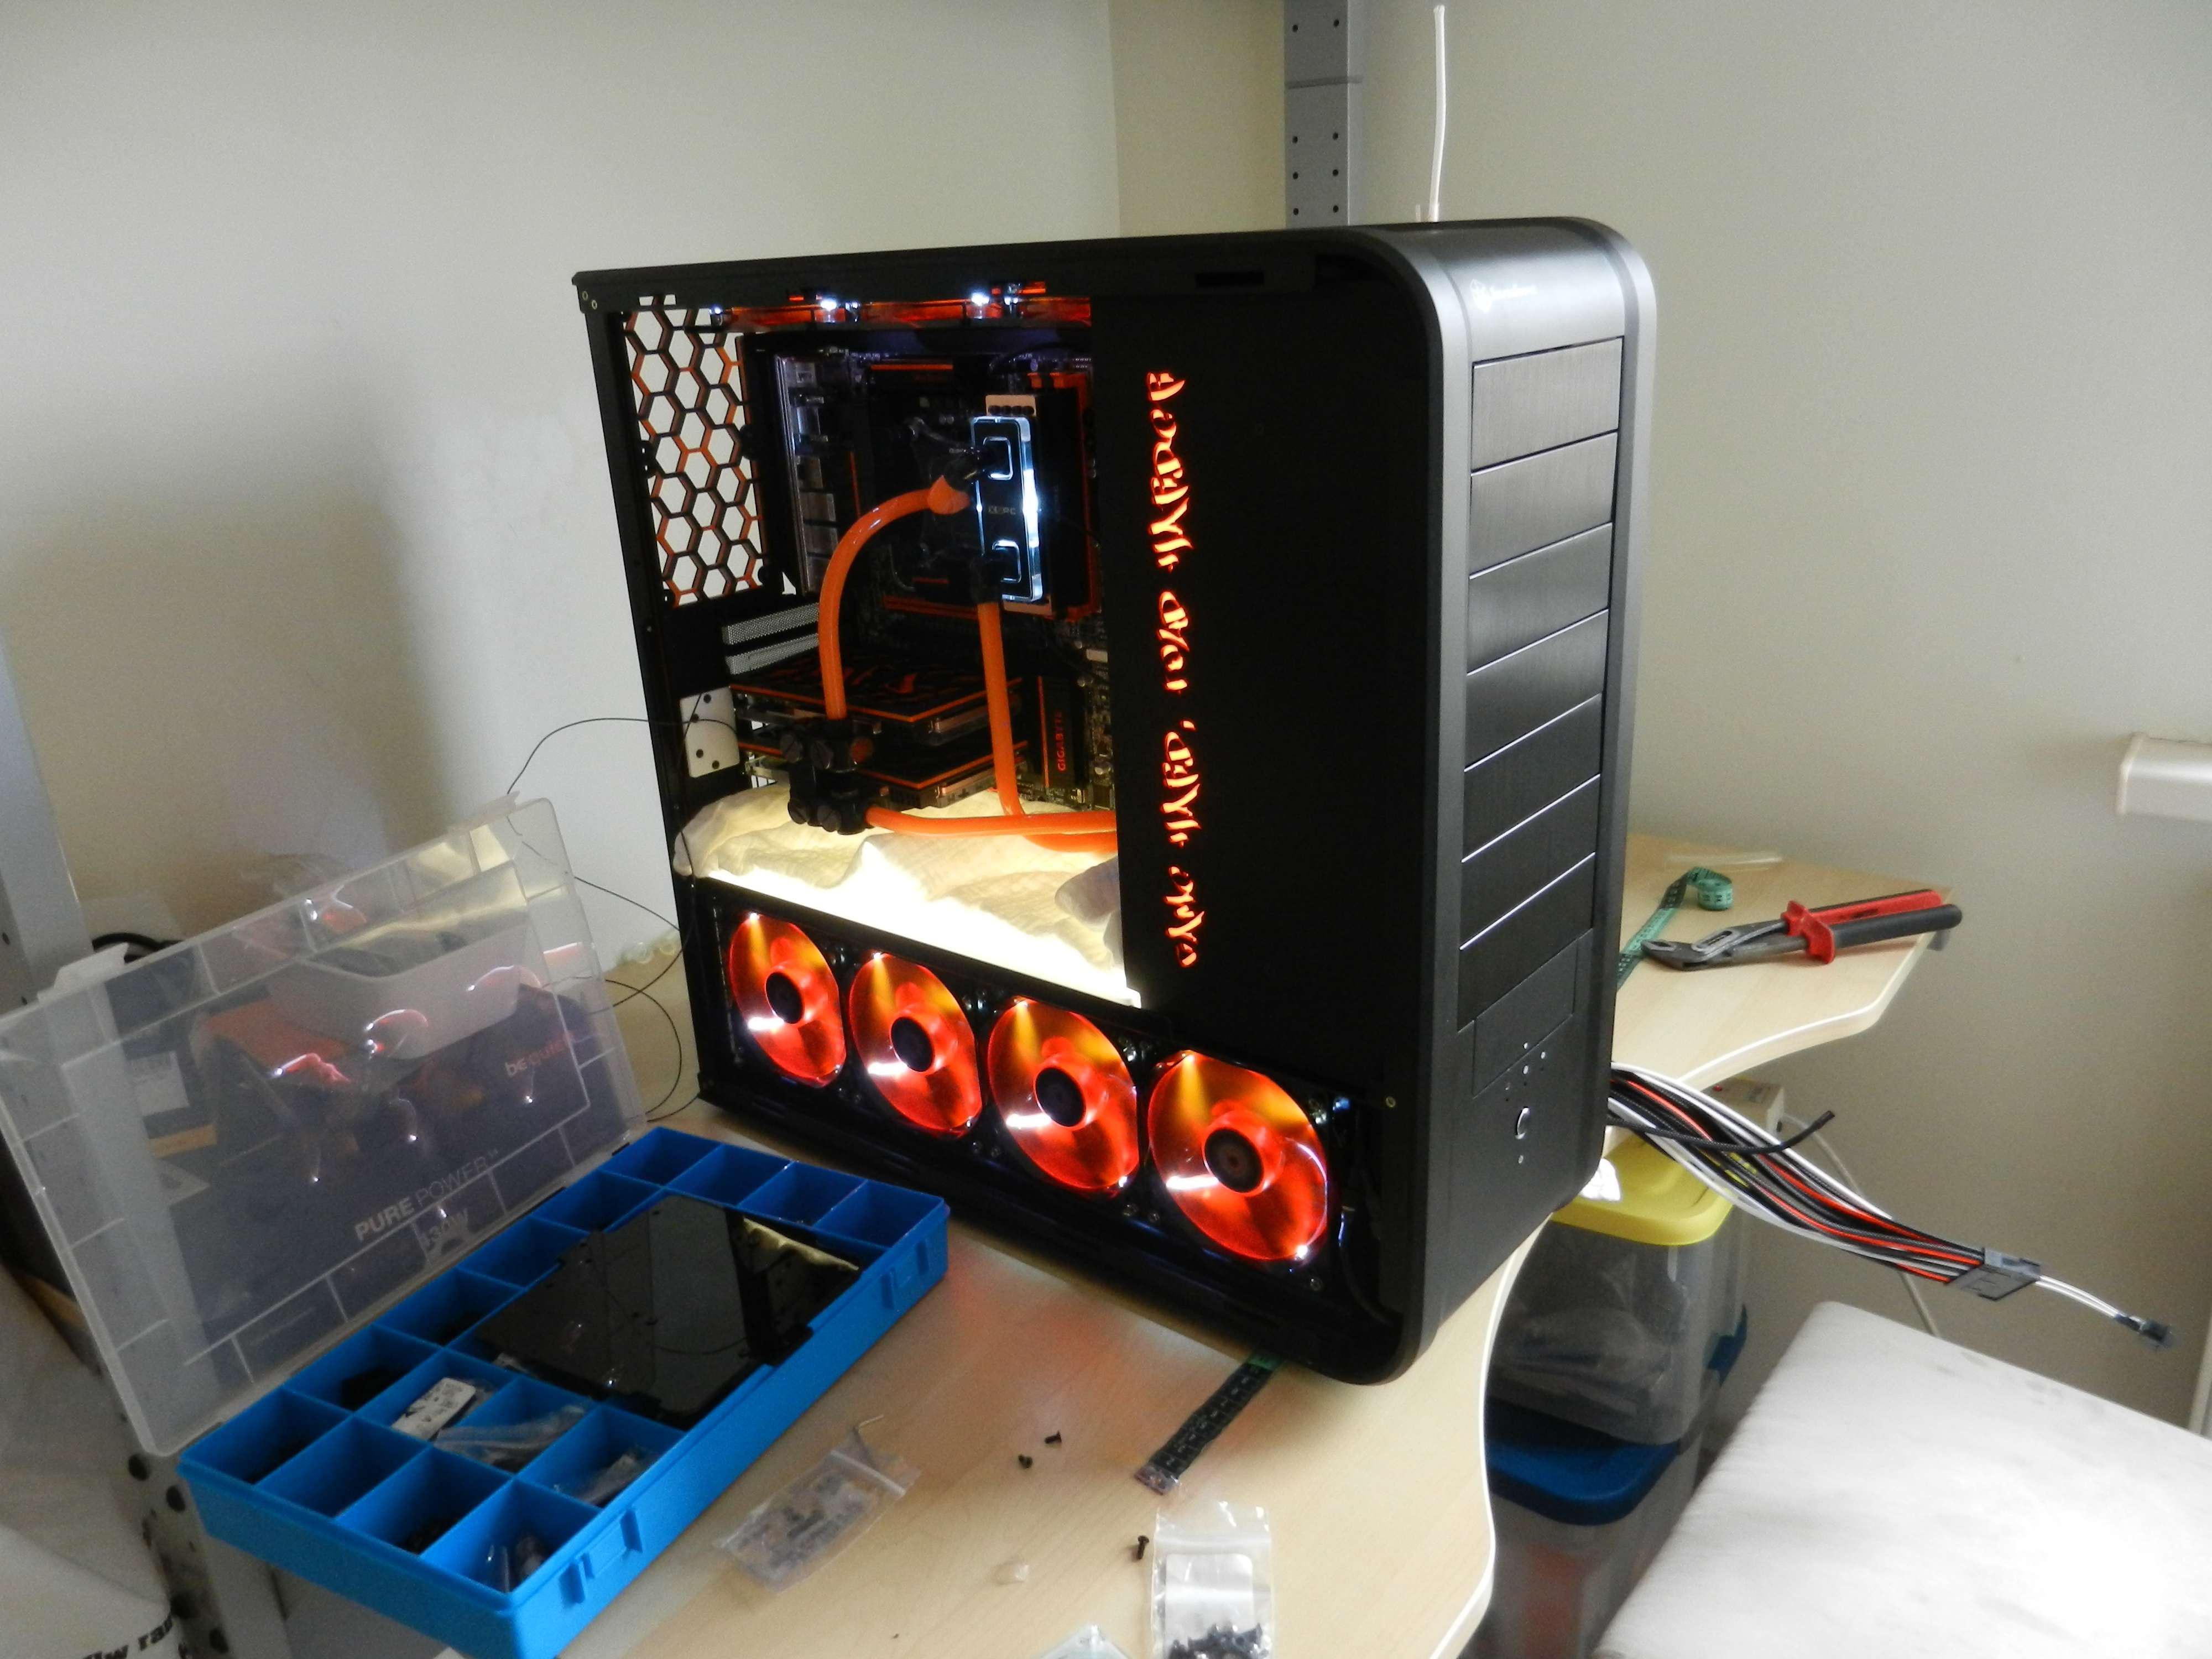
[Buildlog] GAME HARD, FOLD HARDER

Associate
Joined
22 Sep 2008
Posts
1,486
Location
Liverpool
I love how this is developing. I'm definitely going to resume work on mine to finish it off.

What's the "tapped Drillbit" that you mentioned a page or so back? I've made a right mess when drilling holes and that looks ideal.

The nearest thing that I can find on the bay is a TAPERED drill bit. Is that it?
 
Soldato
Joined
23 Jan 2010
Posts
4,060
Location
St helens
I love how this is developing. I'm definitely going to resume work on mine to finish it off.

What's the "tapped Drillbit" that you mentioned a page or so back? I've made a right mess when drilling holes and that looks ideal.

The nearest thing that I can find on the bay is a TAPERED drill bit. Is that it?


cone drill bit , brilliant for nice neat holes.
 
Associate
OP
Joined
27 Sep 2012
Posts
593
Location
Netherlands
The horizontal piece looks good.

Thank you Chris!

I love how this is developing. I'm definitely going to resume work on mine to finish it off.

What's the "tapped Drillbit" that you mentioned a page or so back? I've made a right mess when drilling holes and that looks ideal.

The nearest thing that I can find on the bay is a TAPERED drill bit. Is that it?

Thanks a lot Tattysnuc. I have also been following your buildlog. We orange builders need to stick together ;)

Ozaudio is correct. Pardon my lack of technical English sometimes :(

That is sick, beautiful!

That is a big compliment Gavin, thank you.

-------------------------

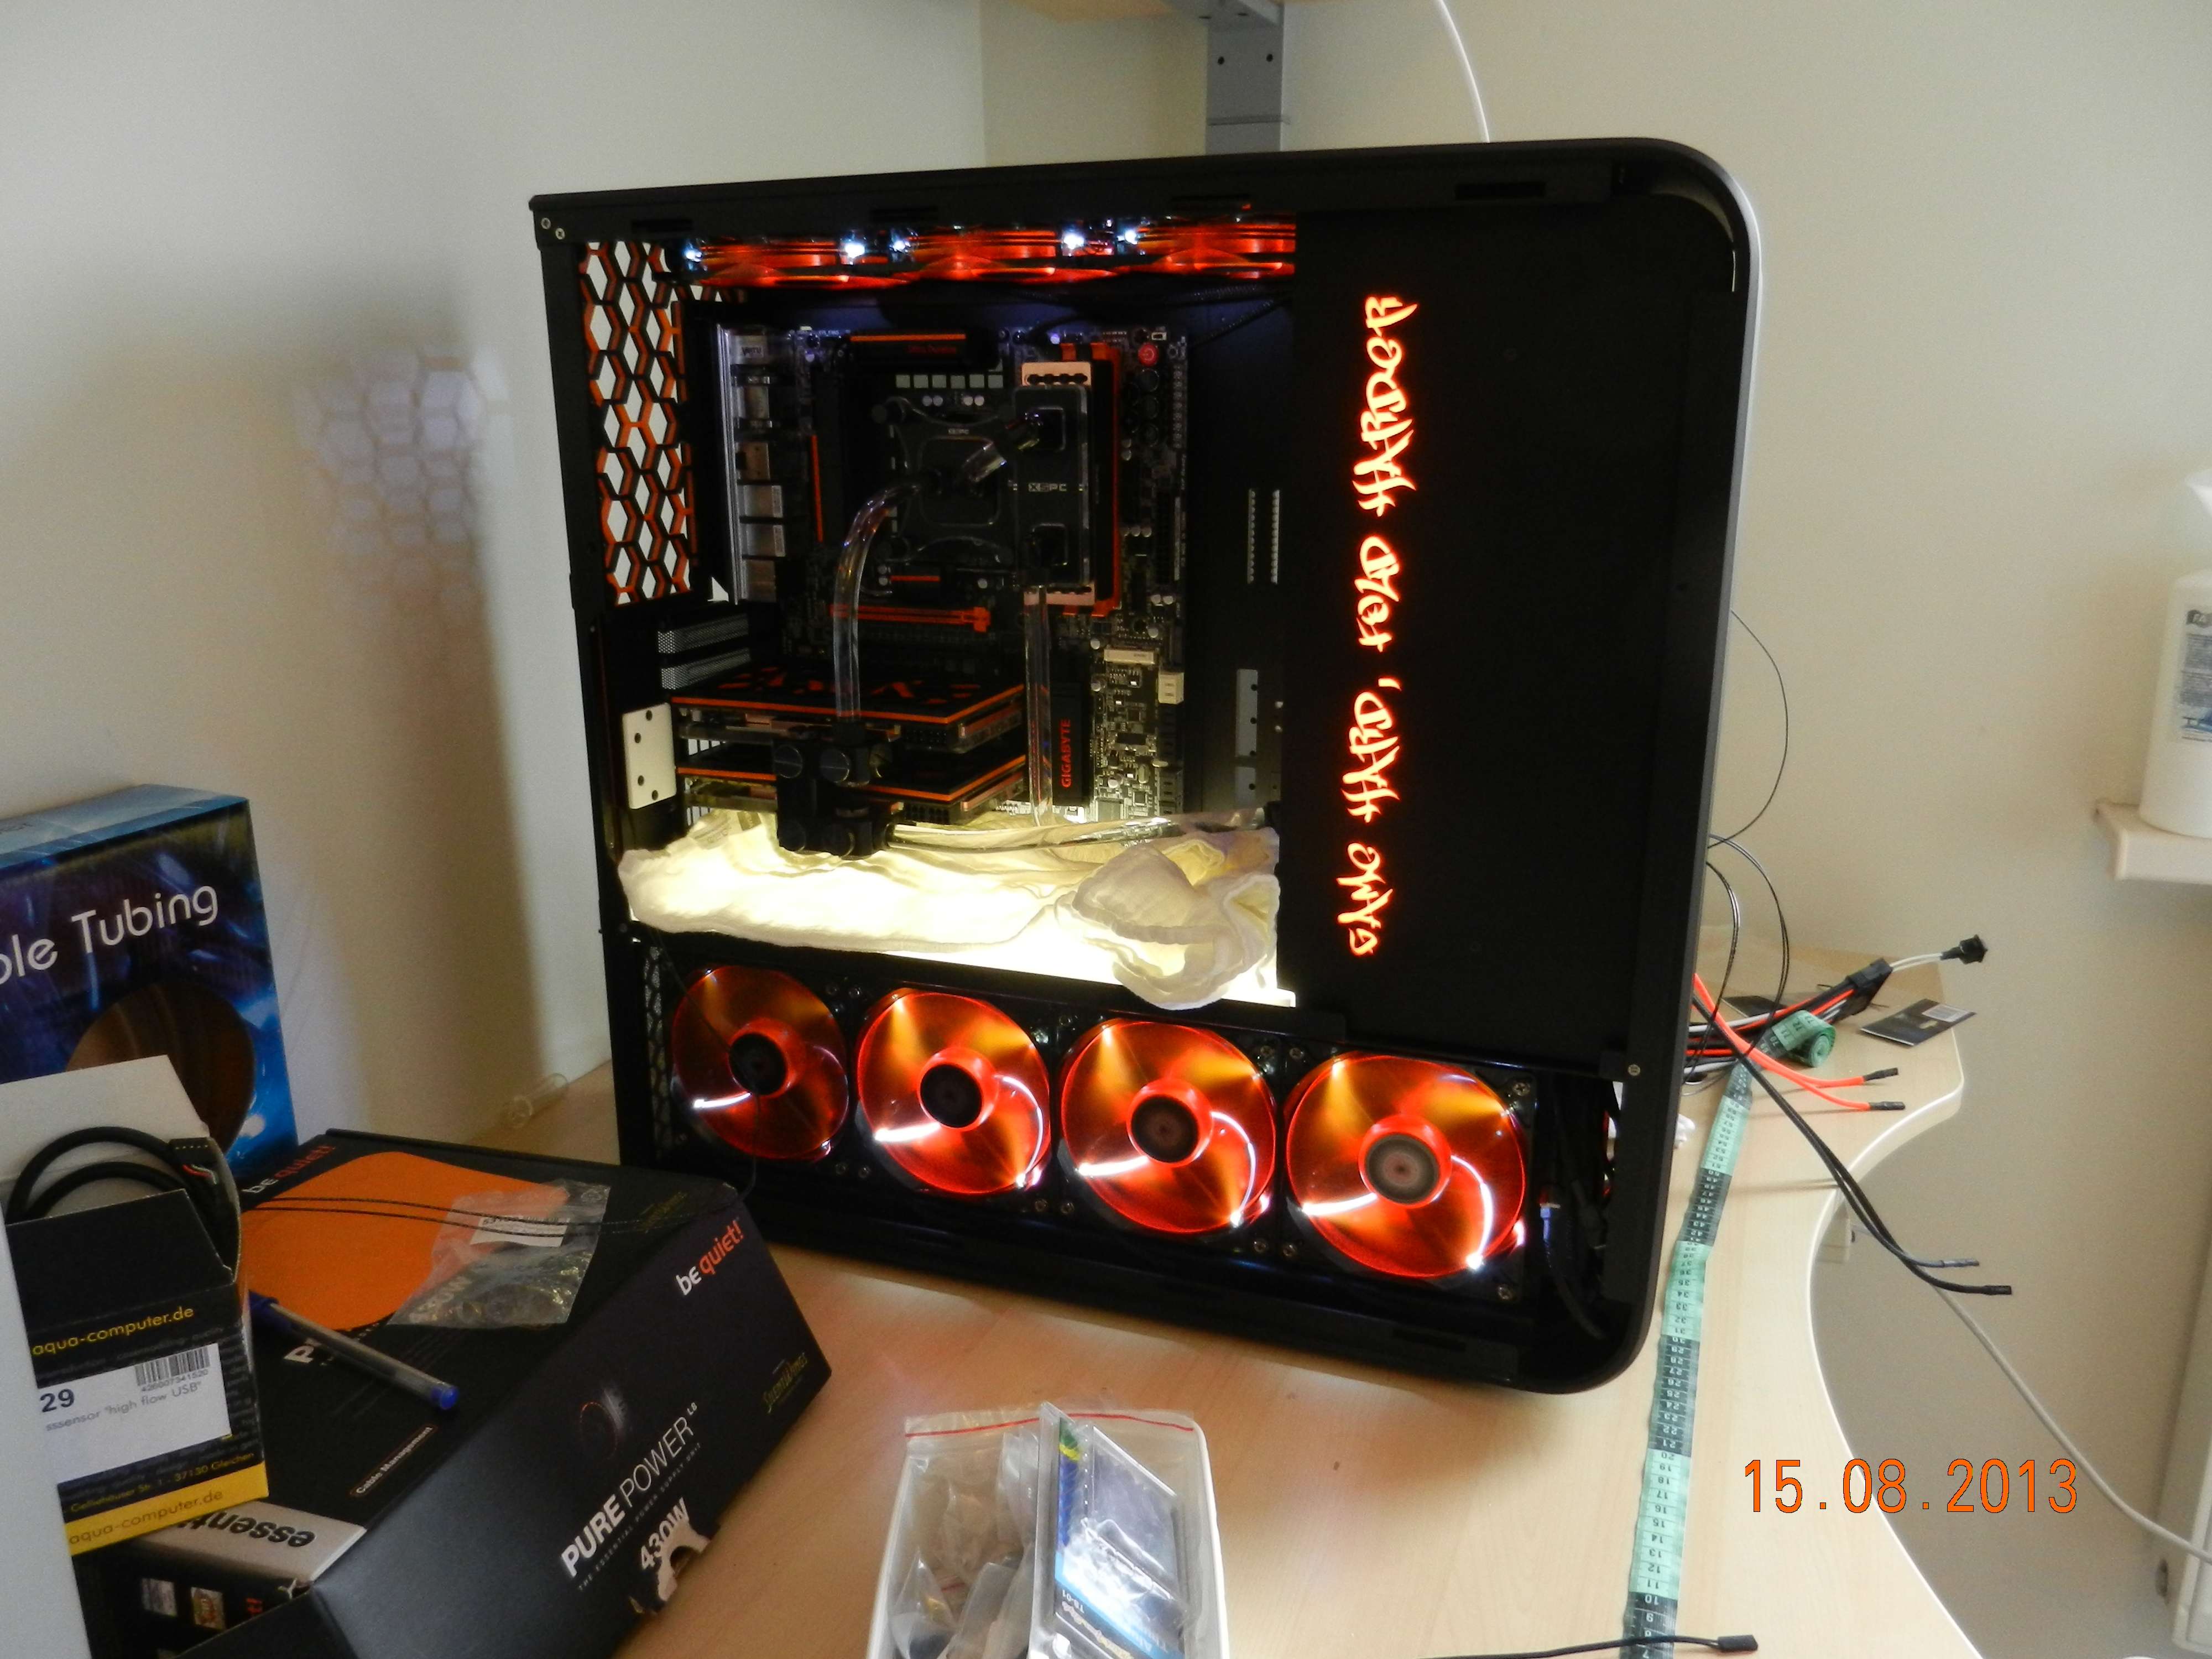
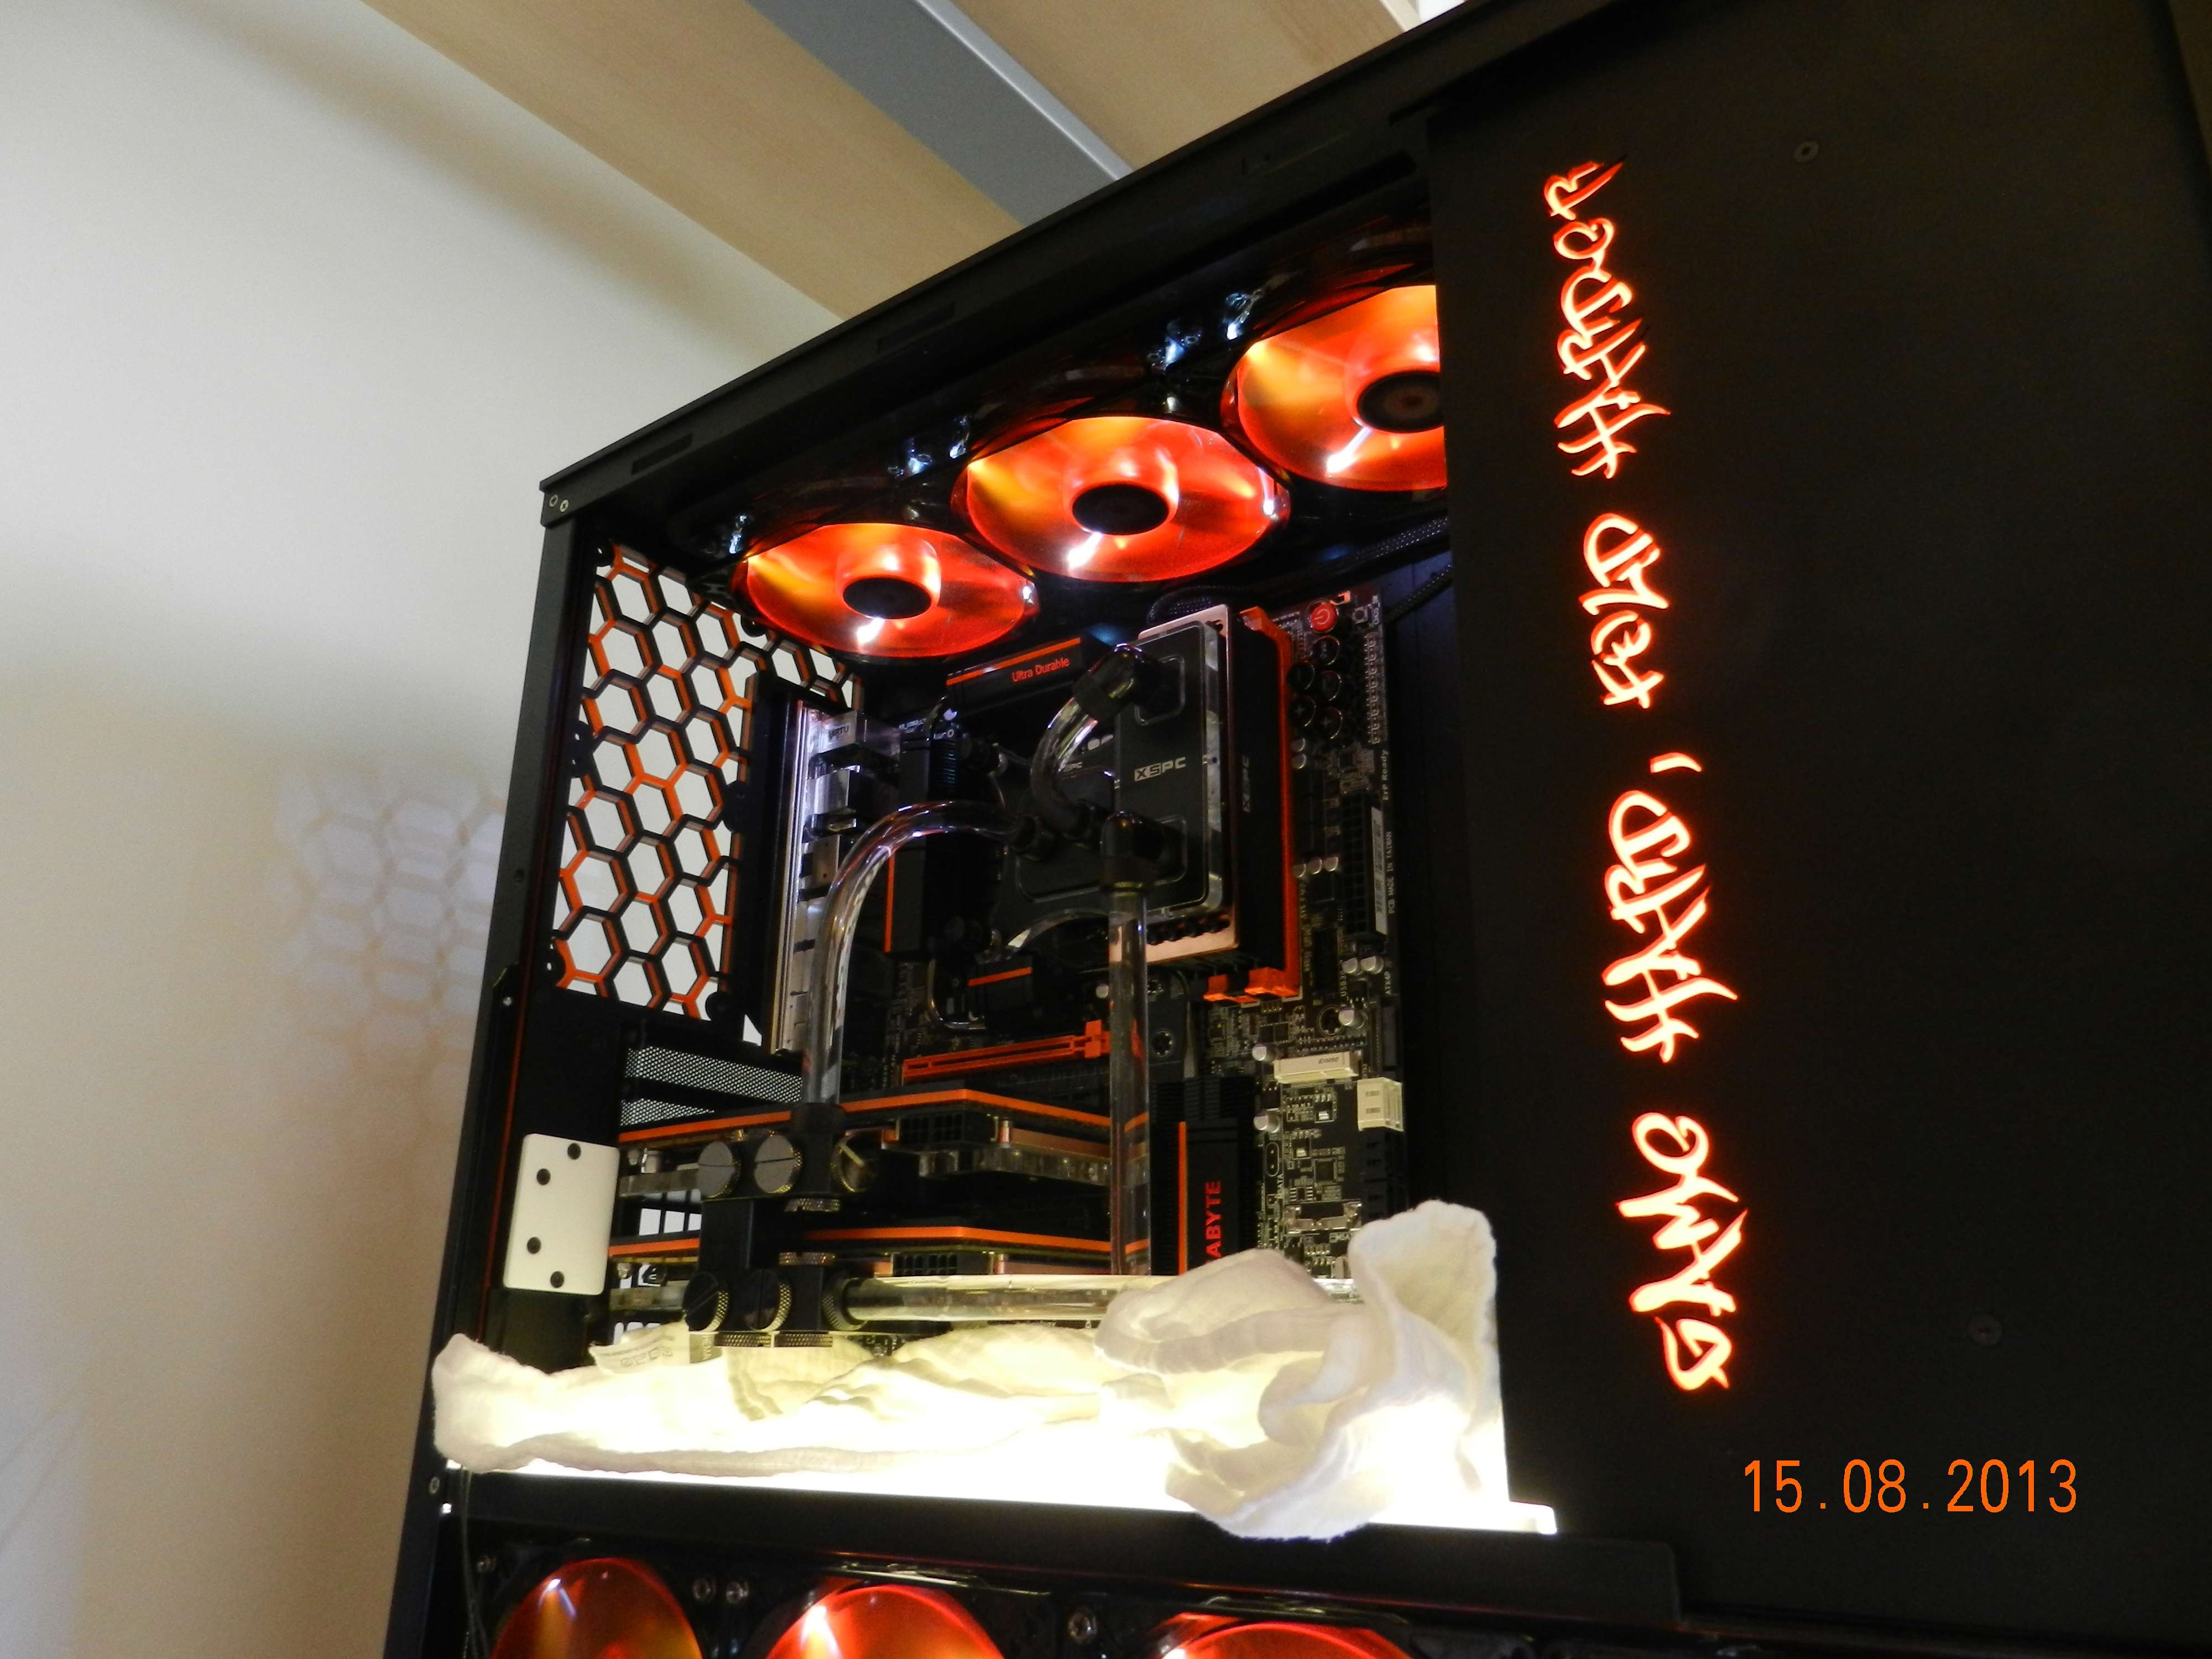
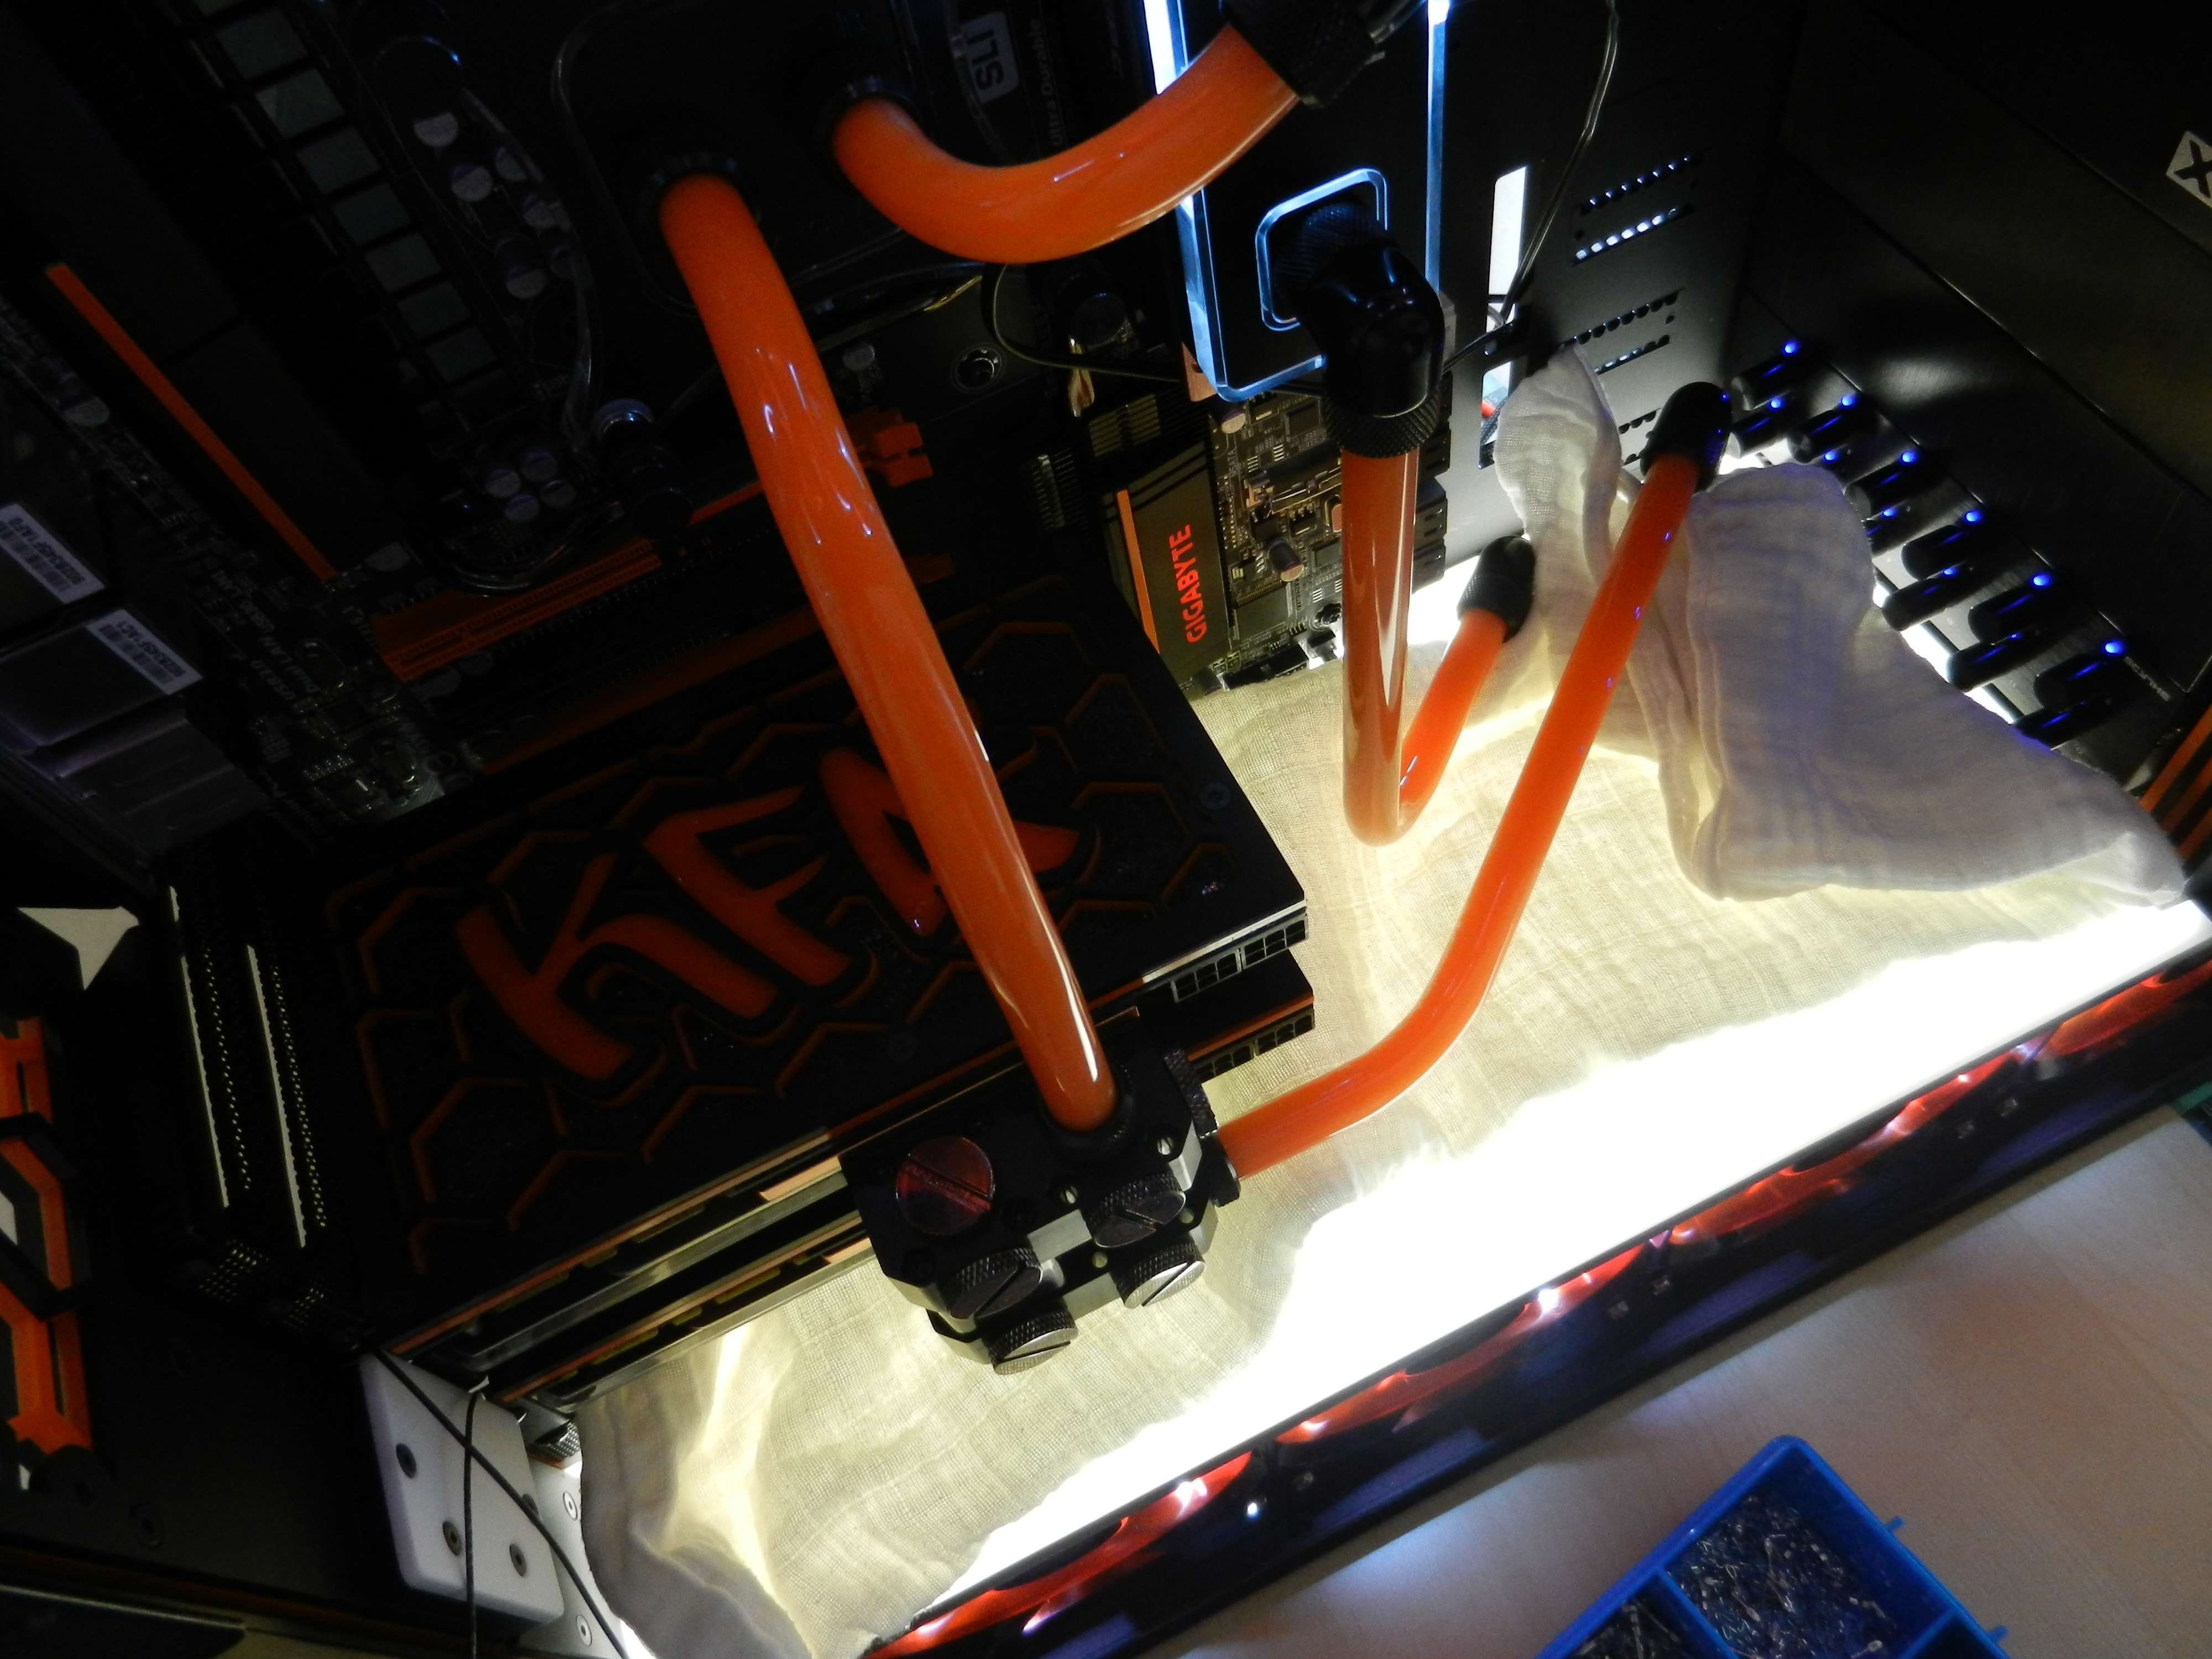
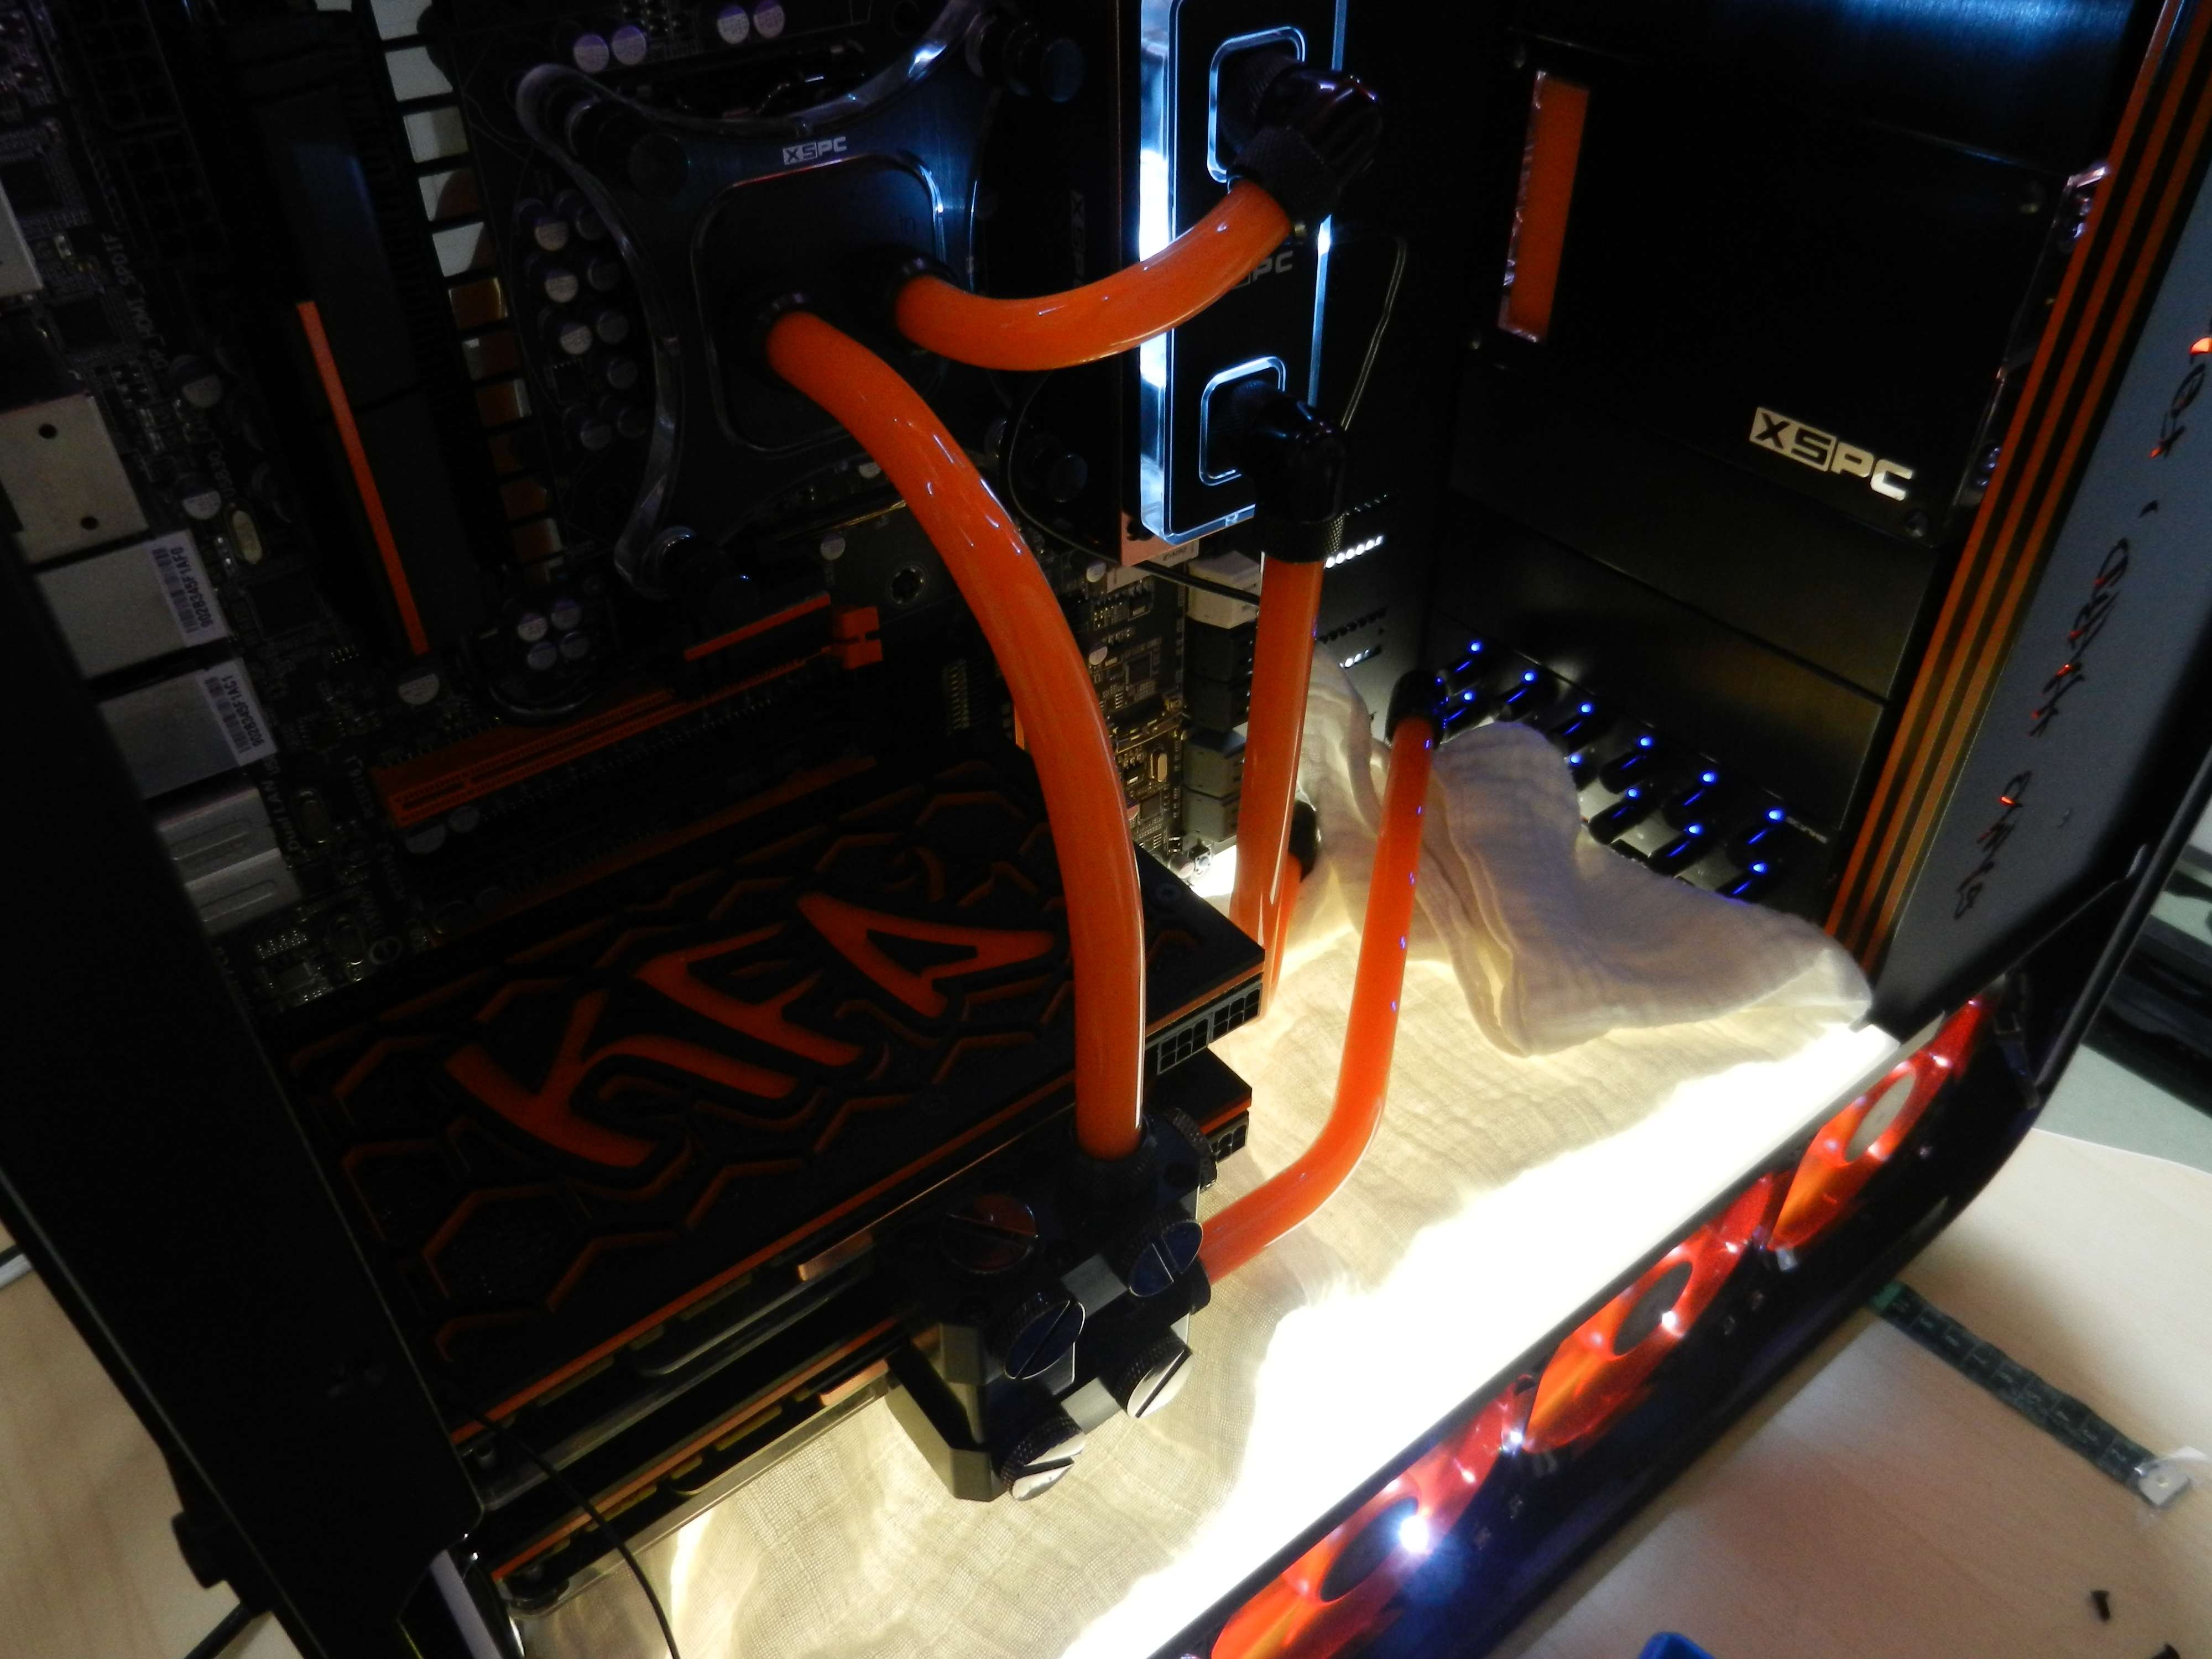
I have been waiting for sooooo looooong for this moment. The moment to fill up the loop for the first time and leaktest it.
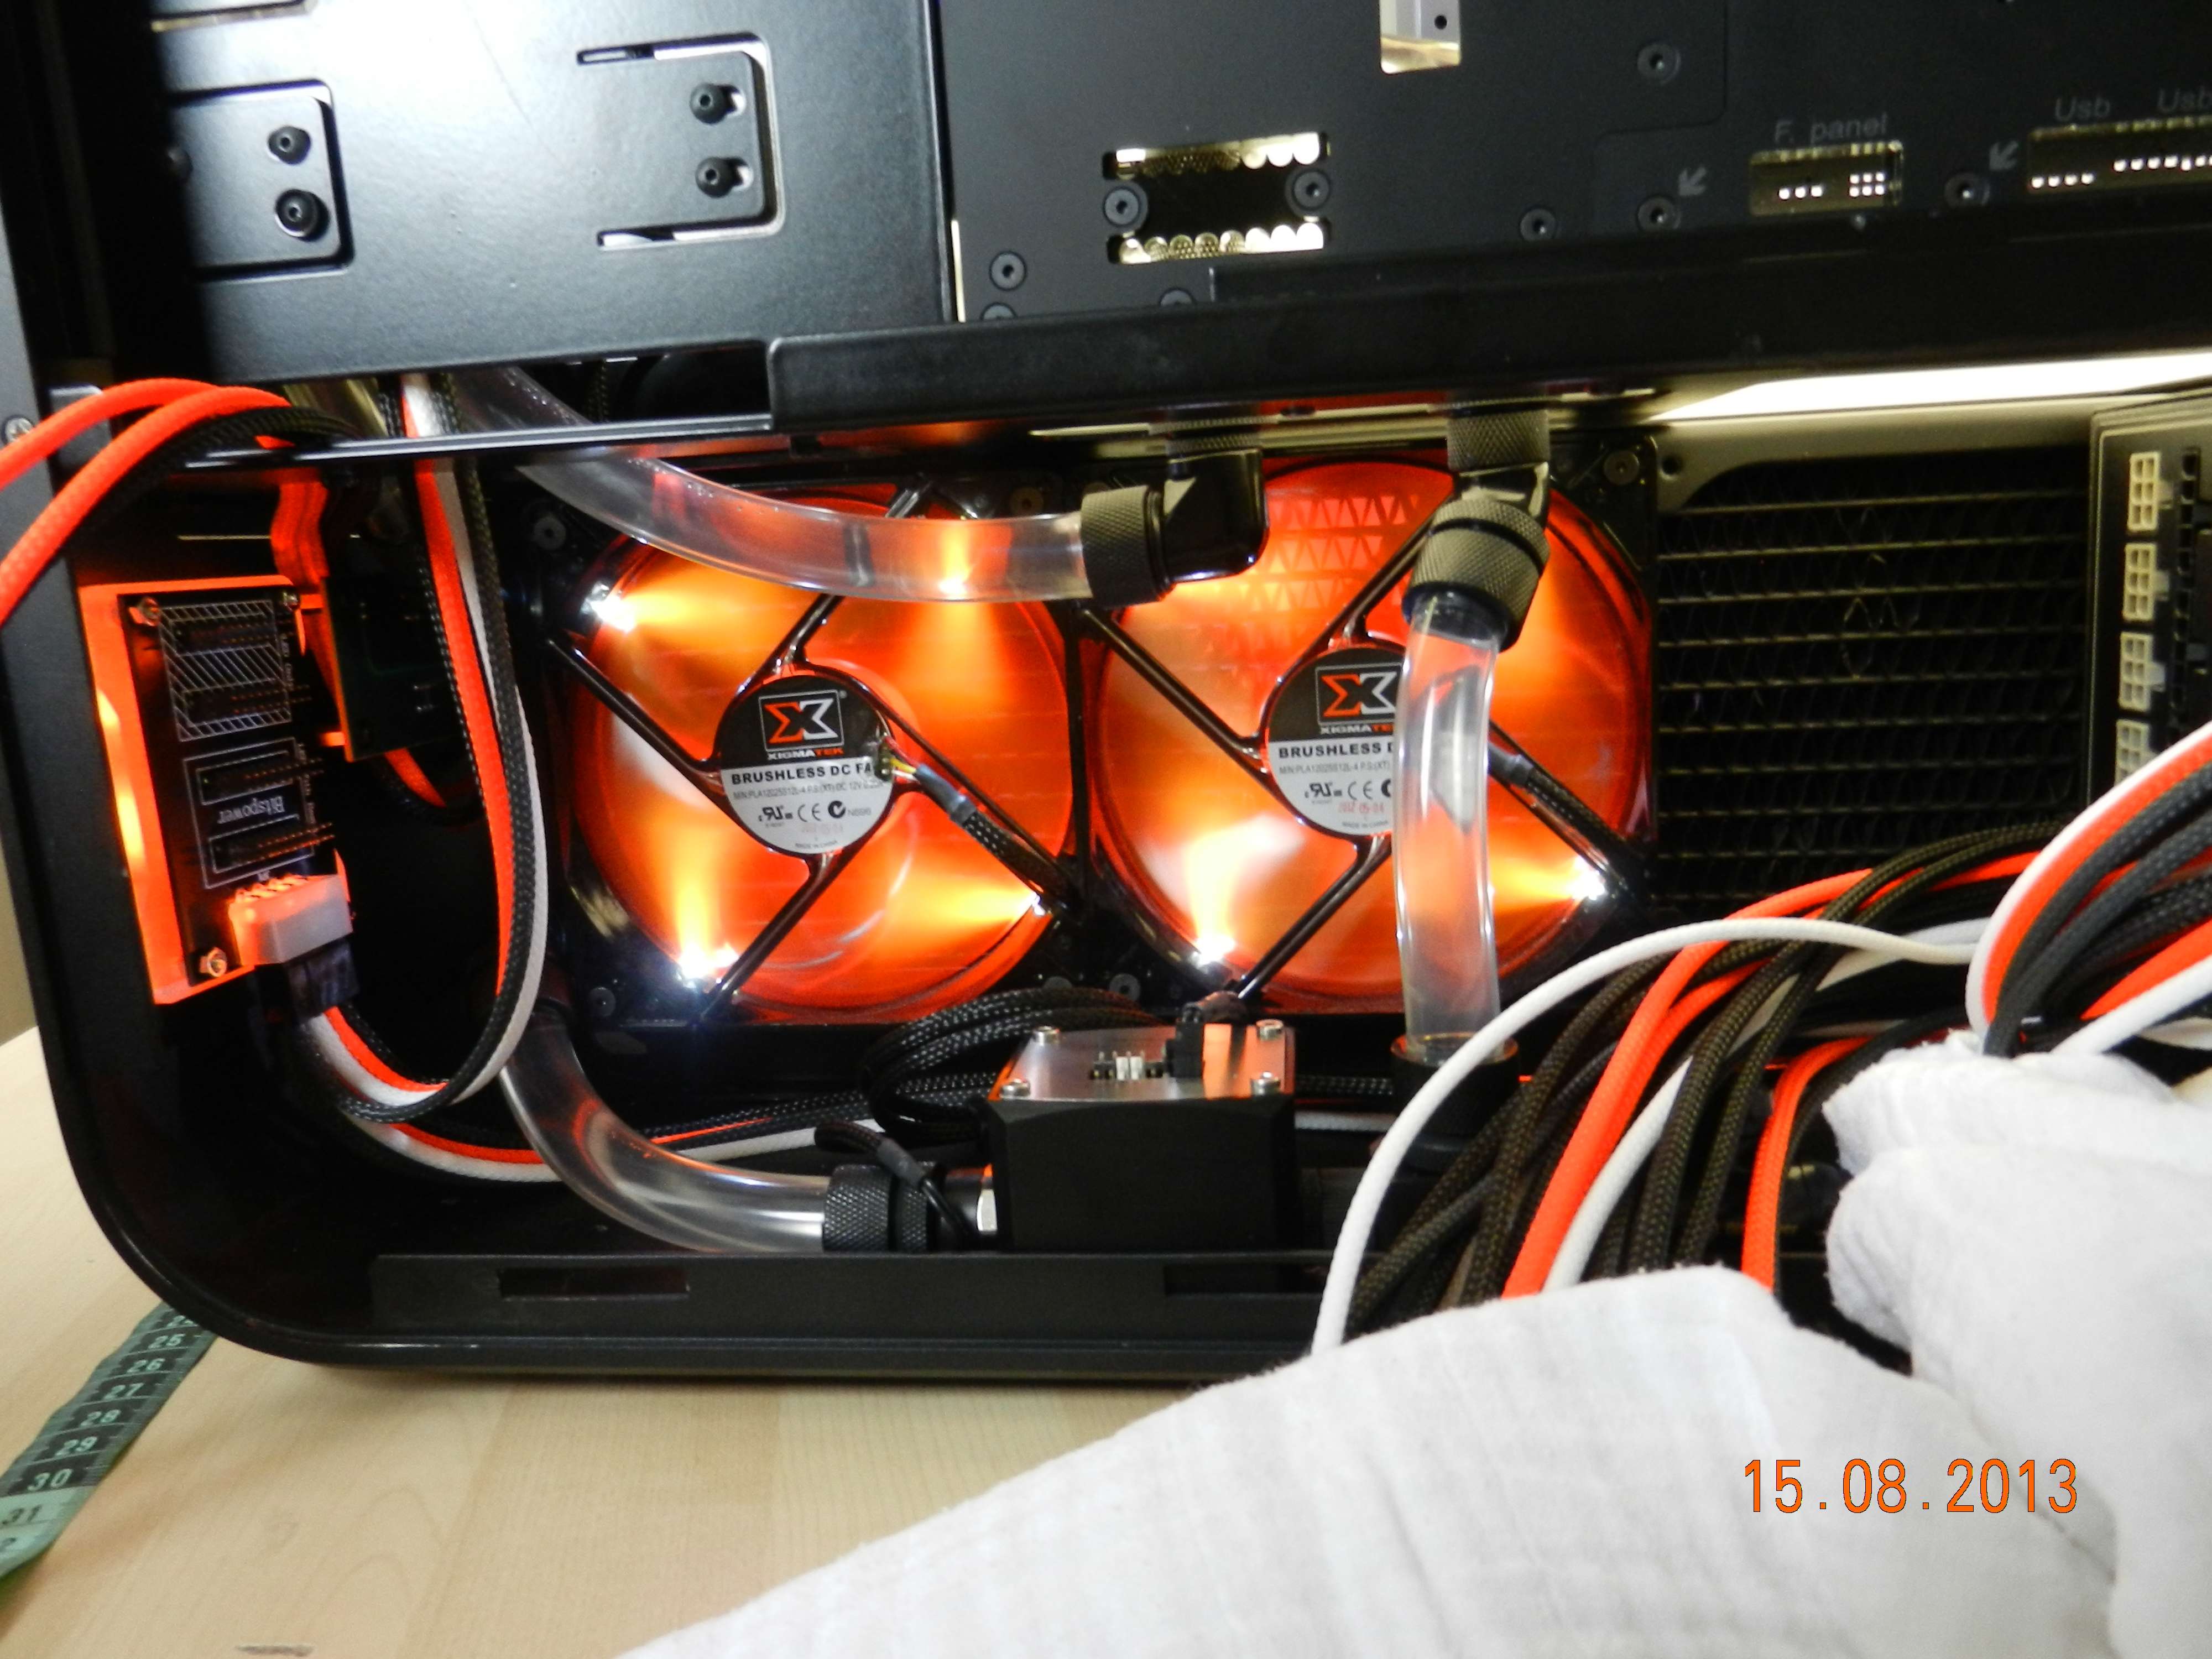
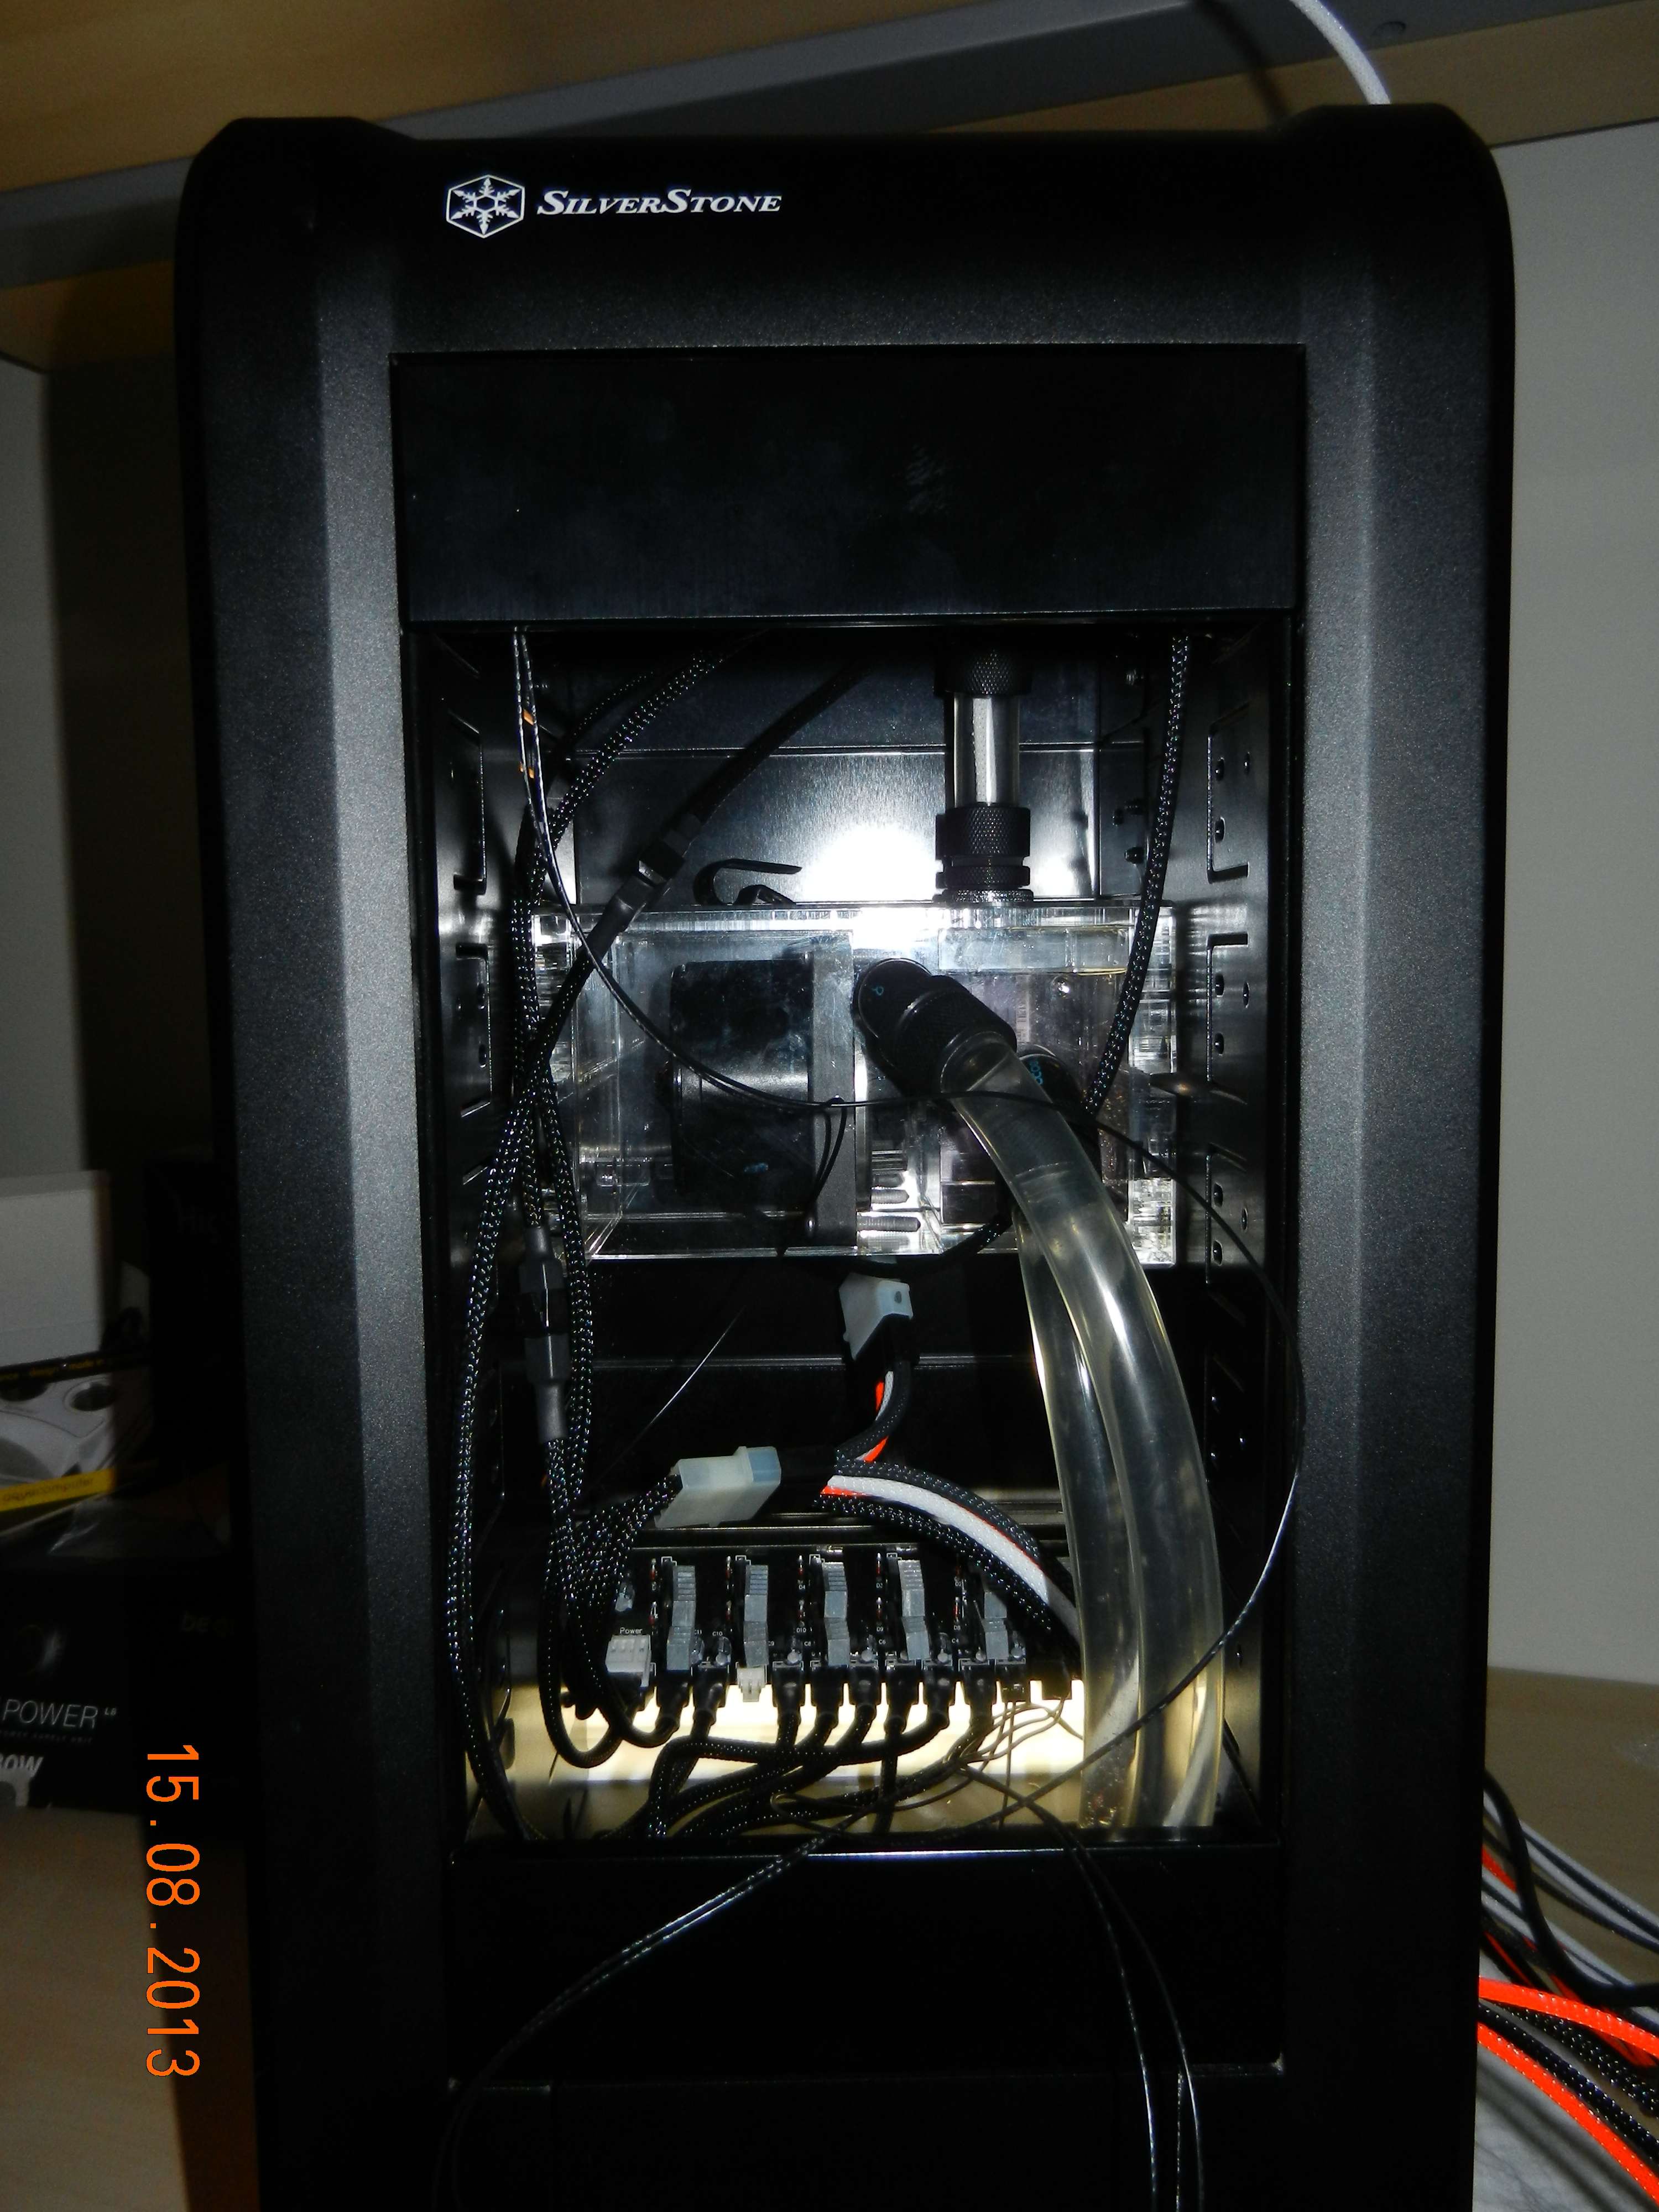
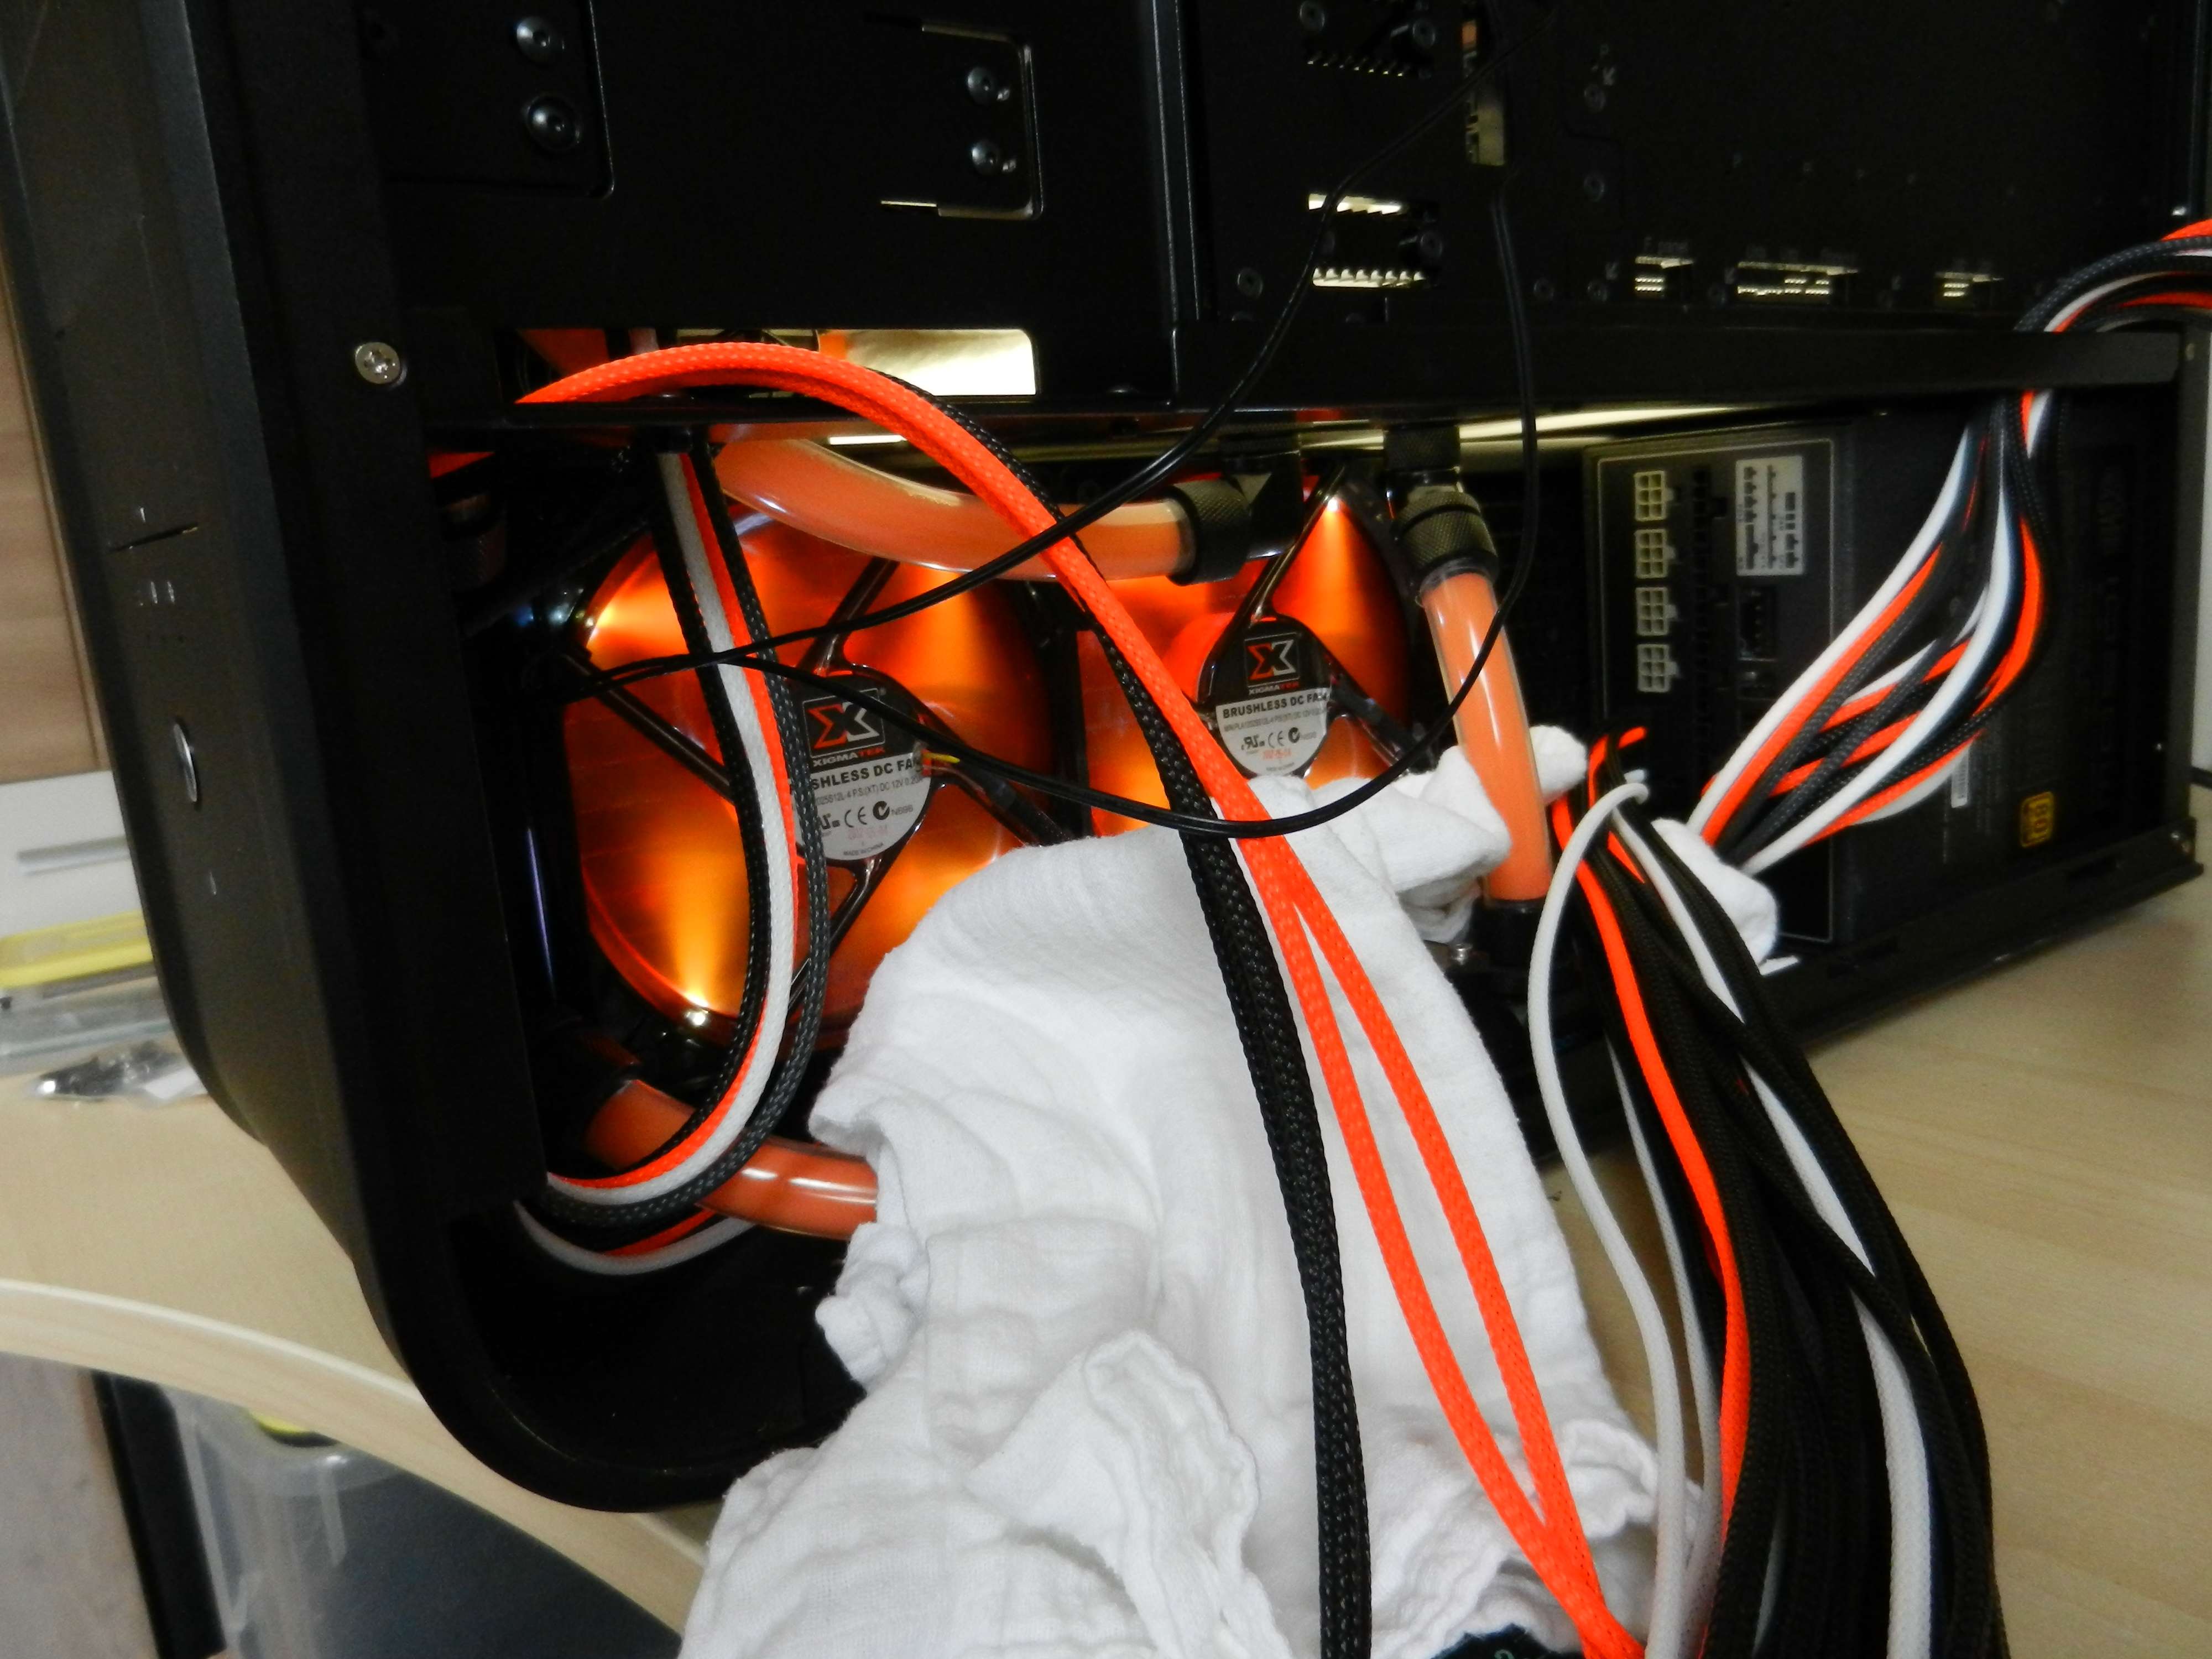
I NEED to do it before it is done. Because after I close the front end I can't get to those cables and wires anymore. And those fittings. If there would end up being a leak I'd have to disassemble everything, undo all motherboard cables. the lot. So I wanted to give it a try right now.

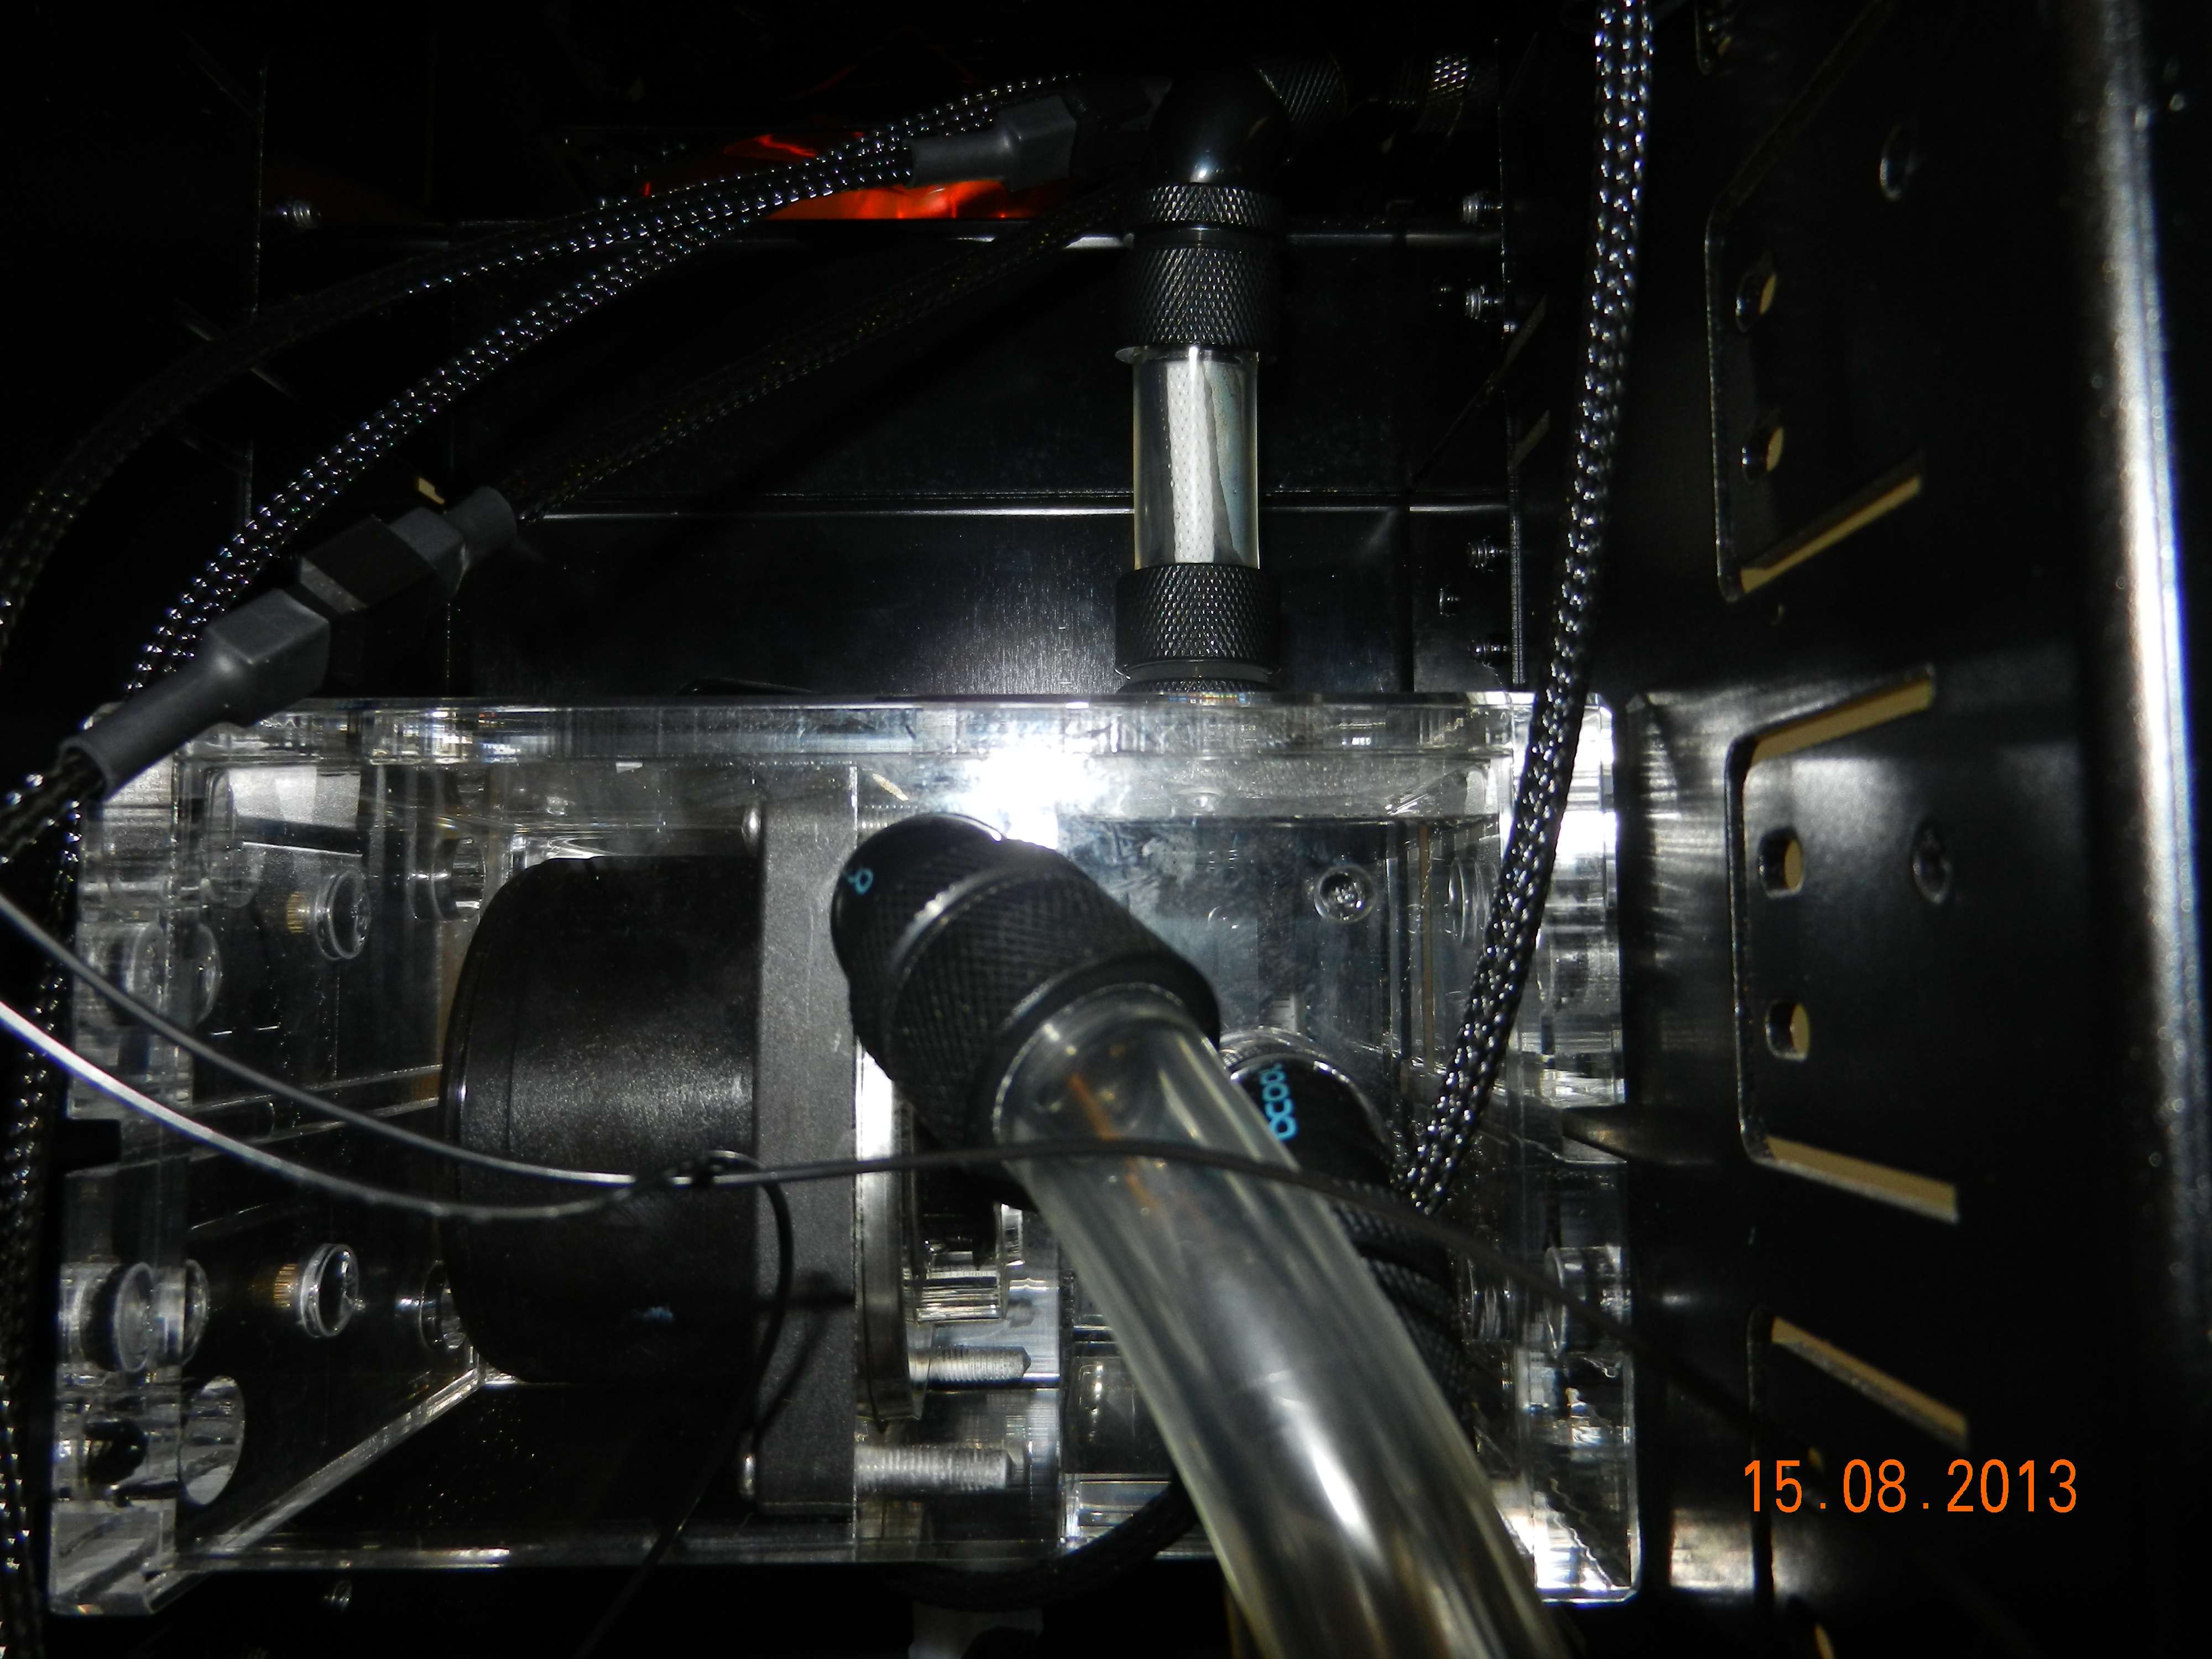
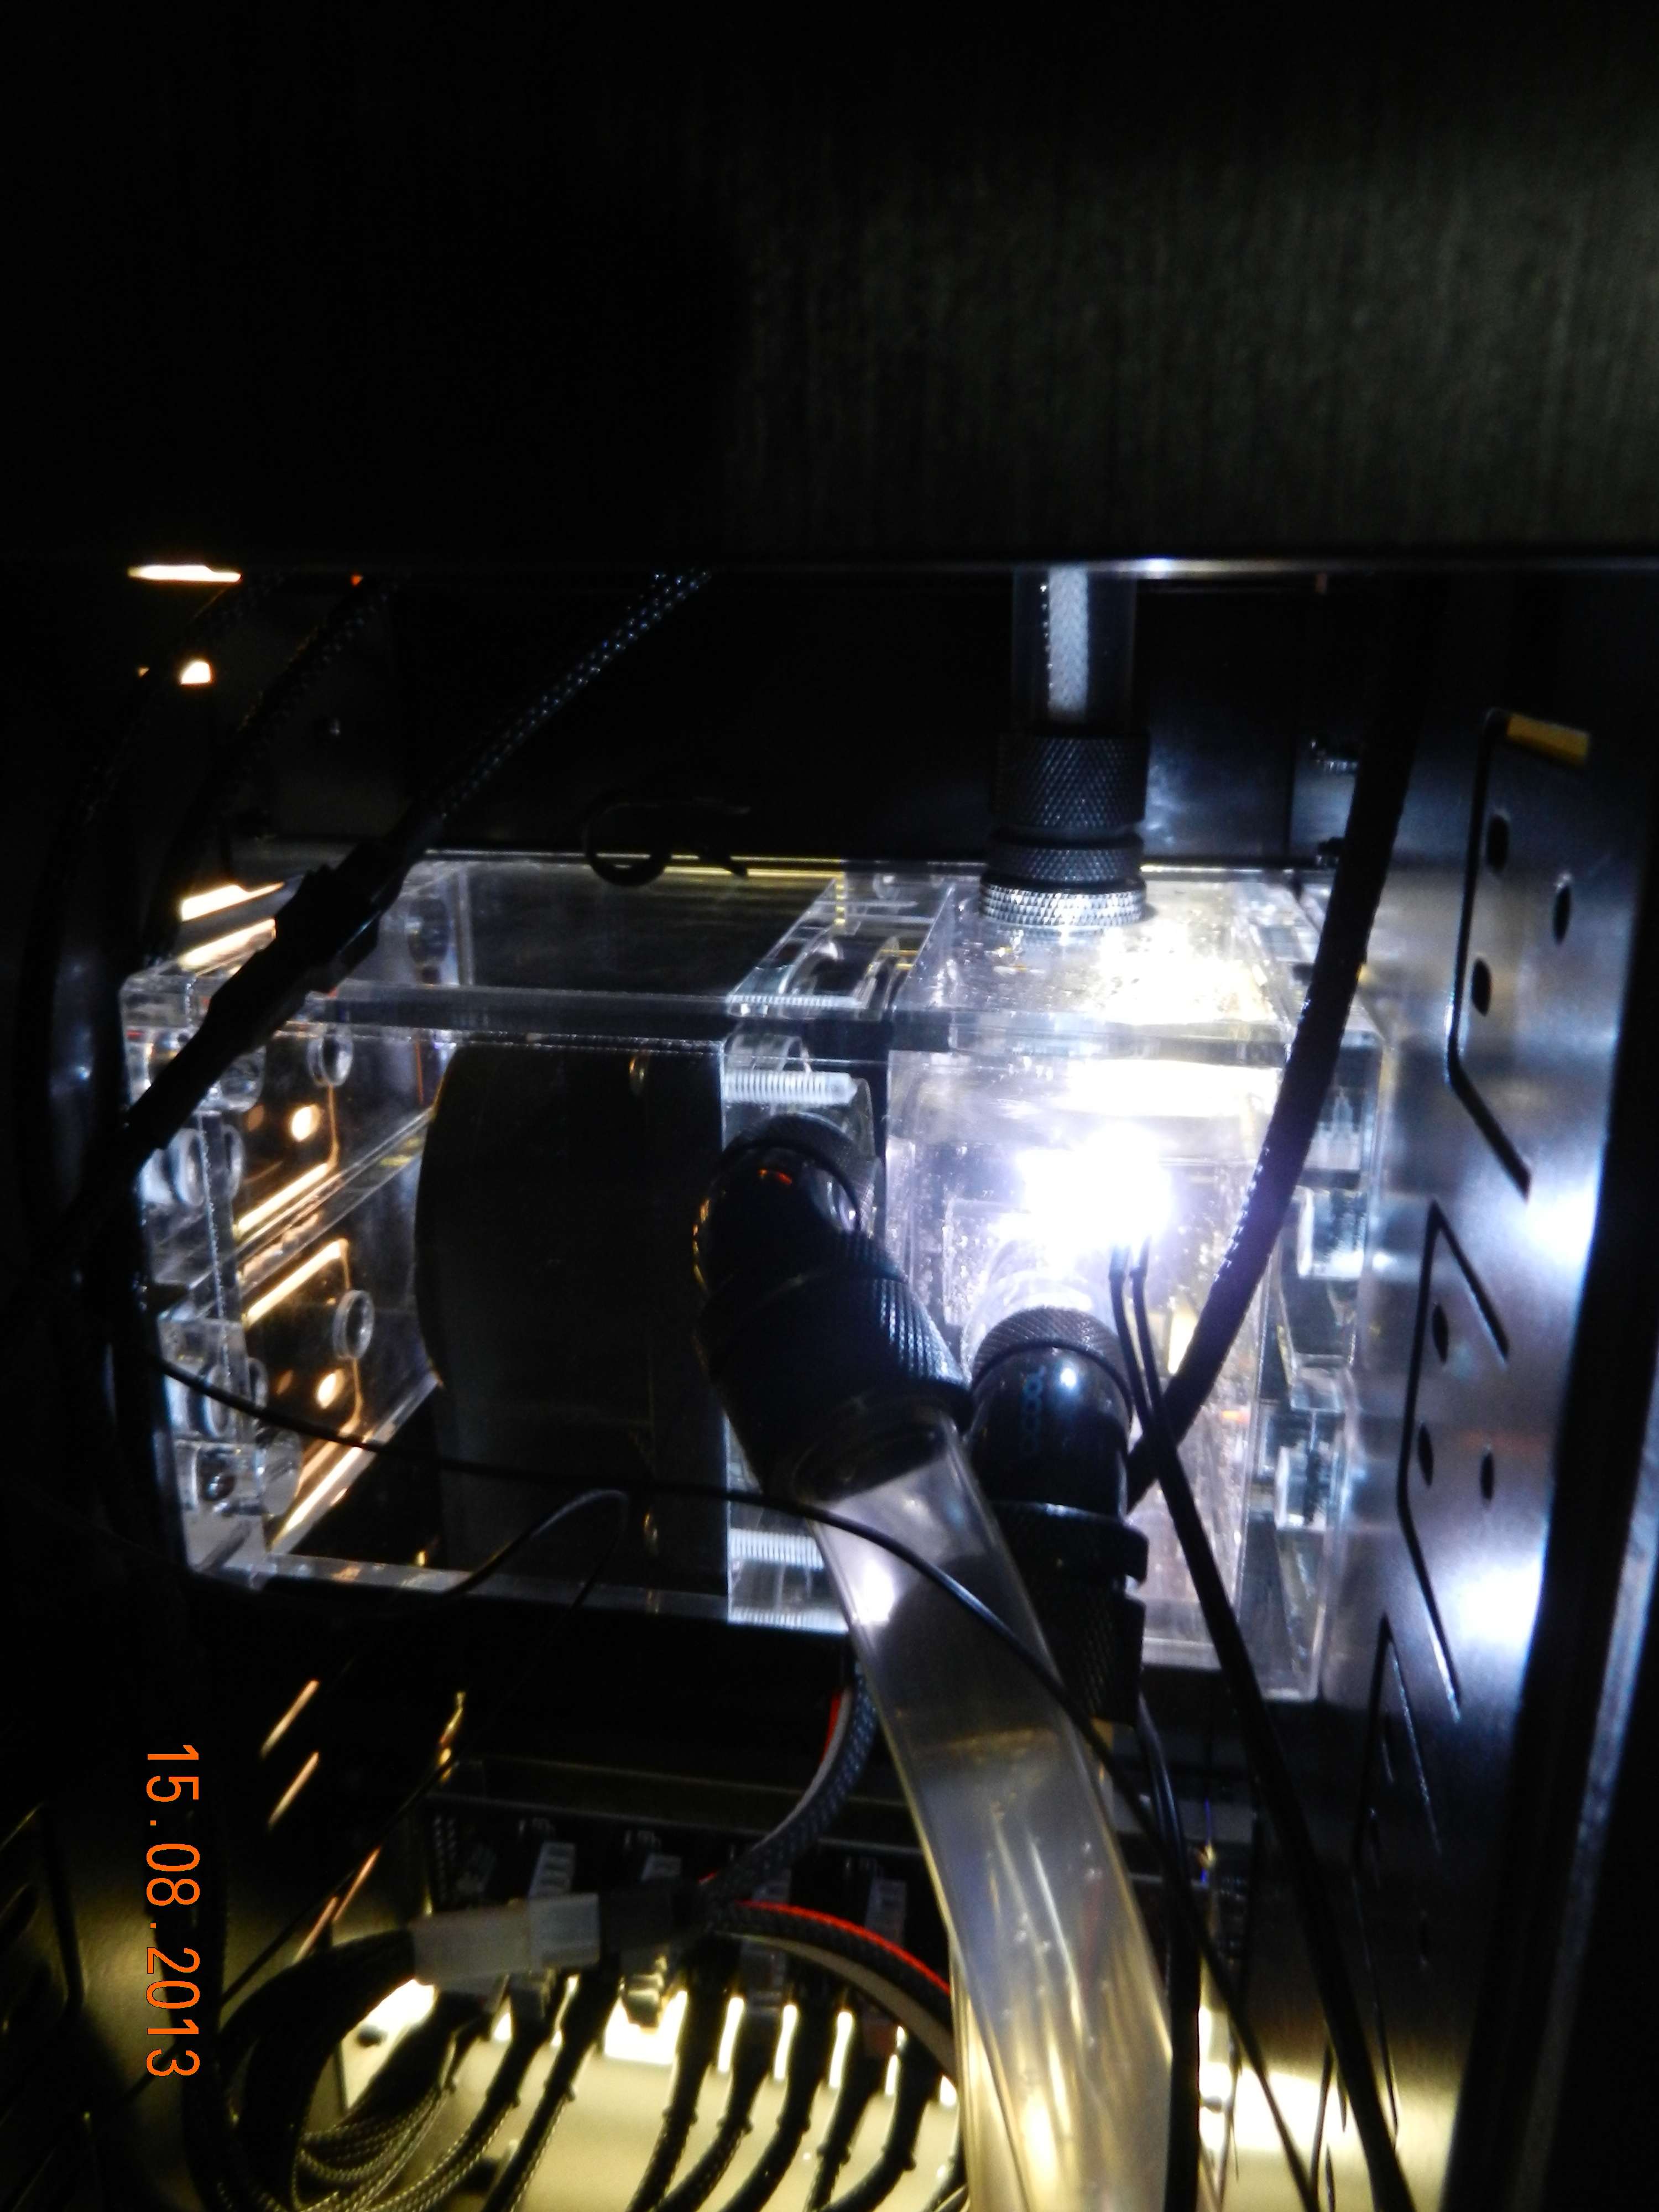
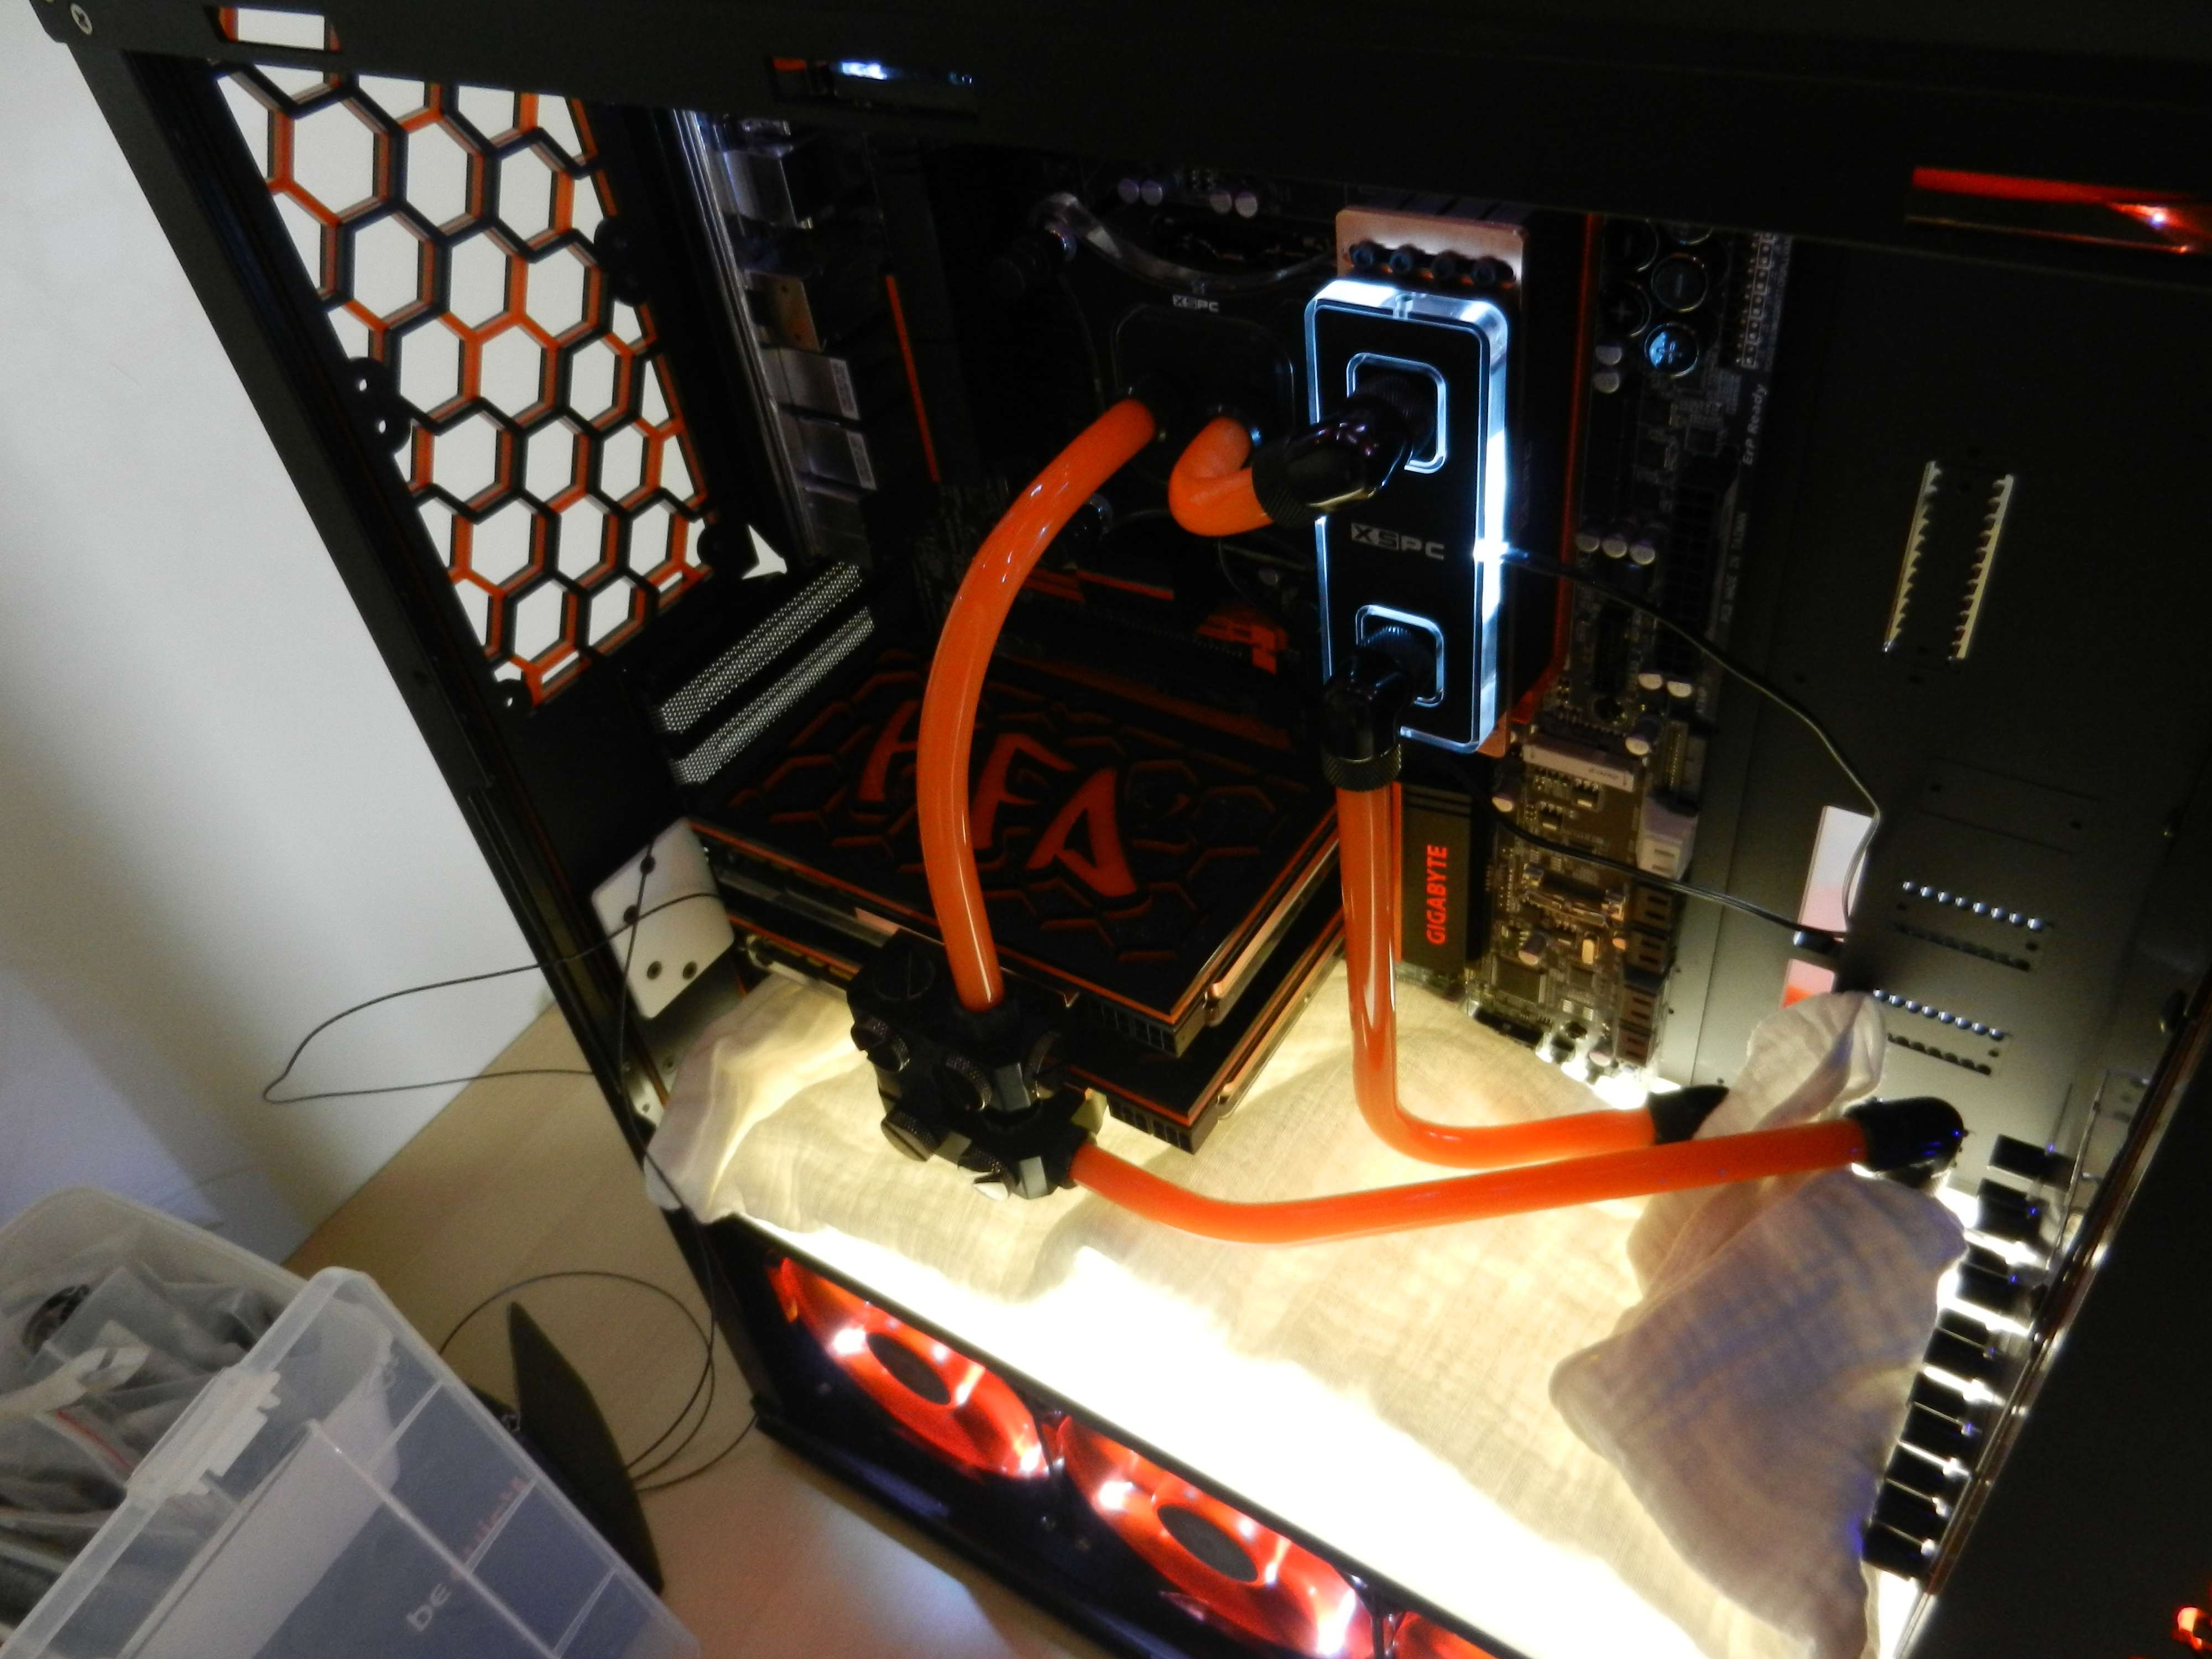
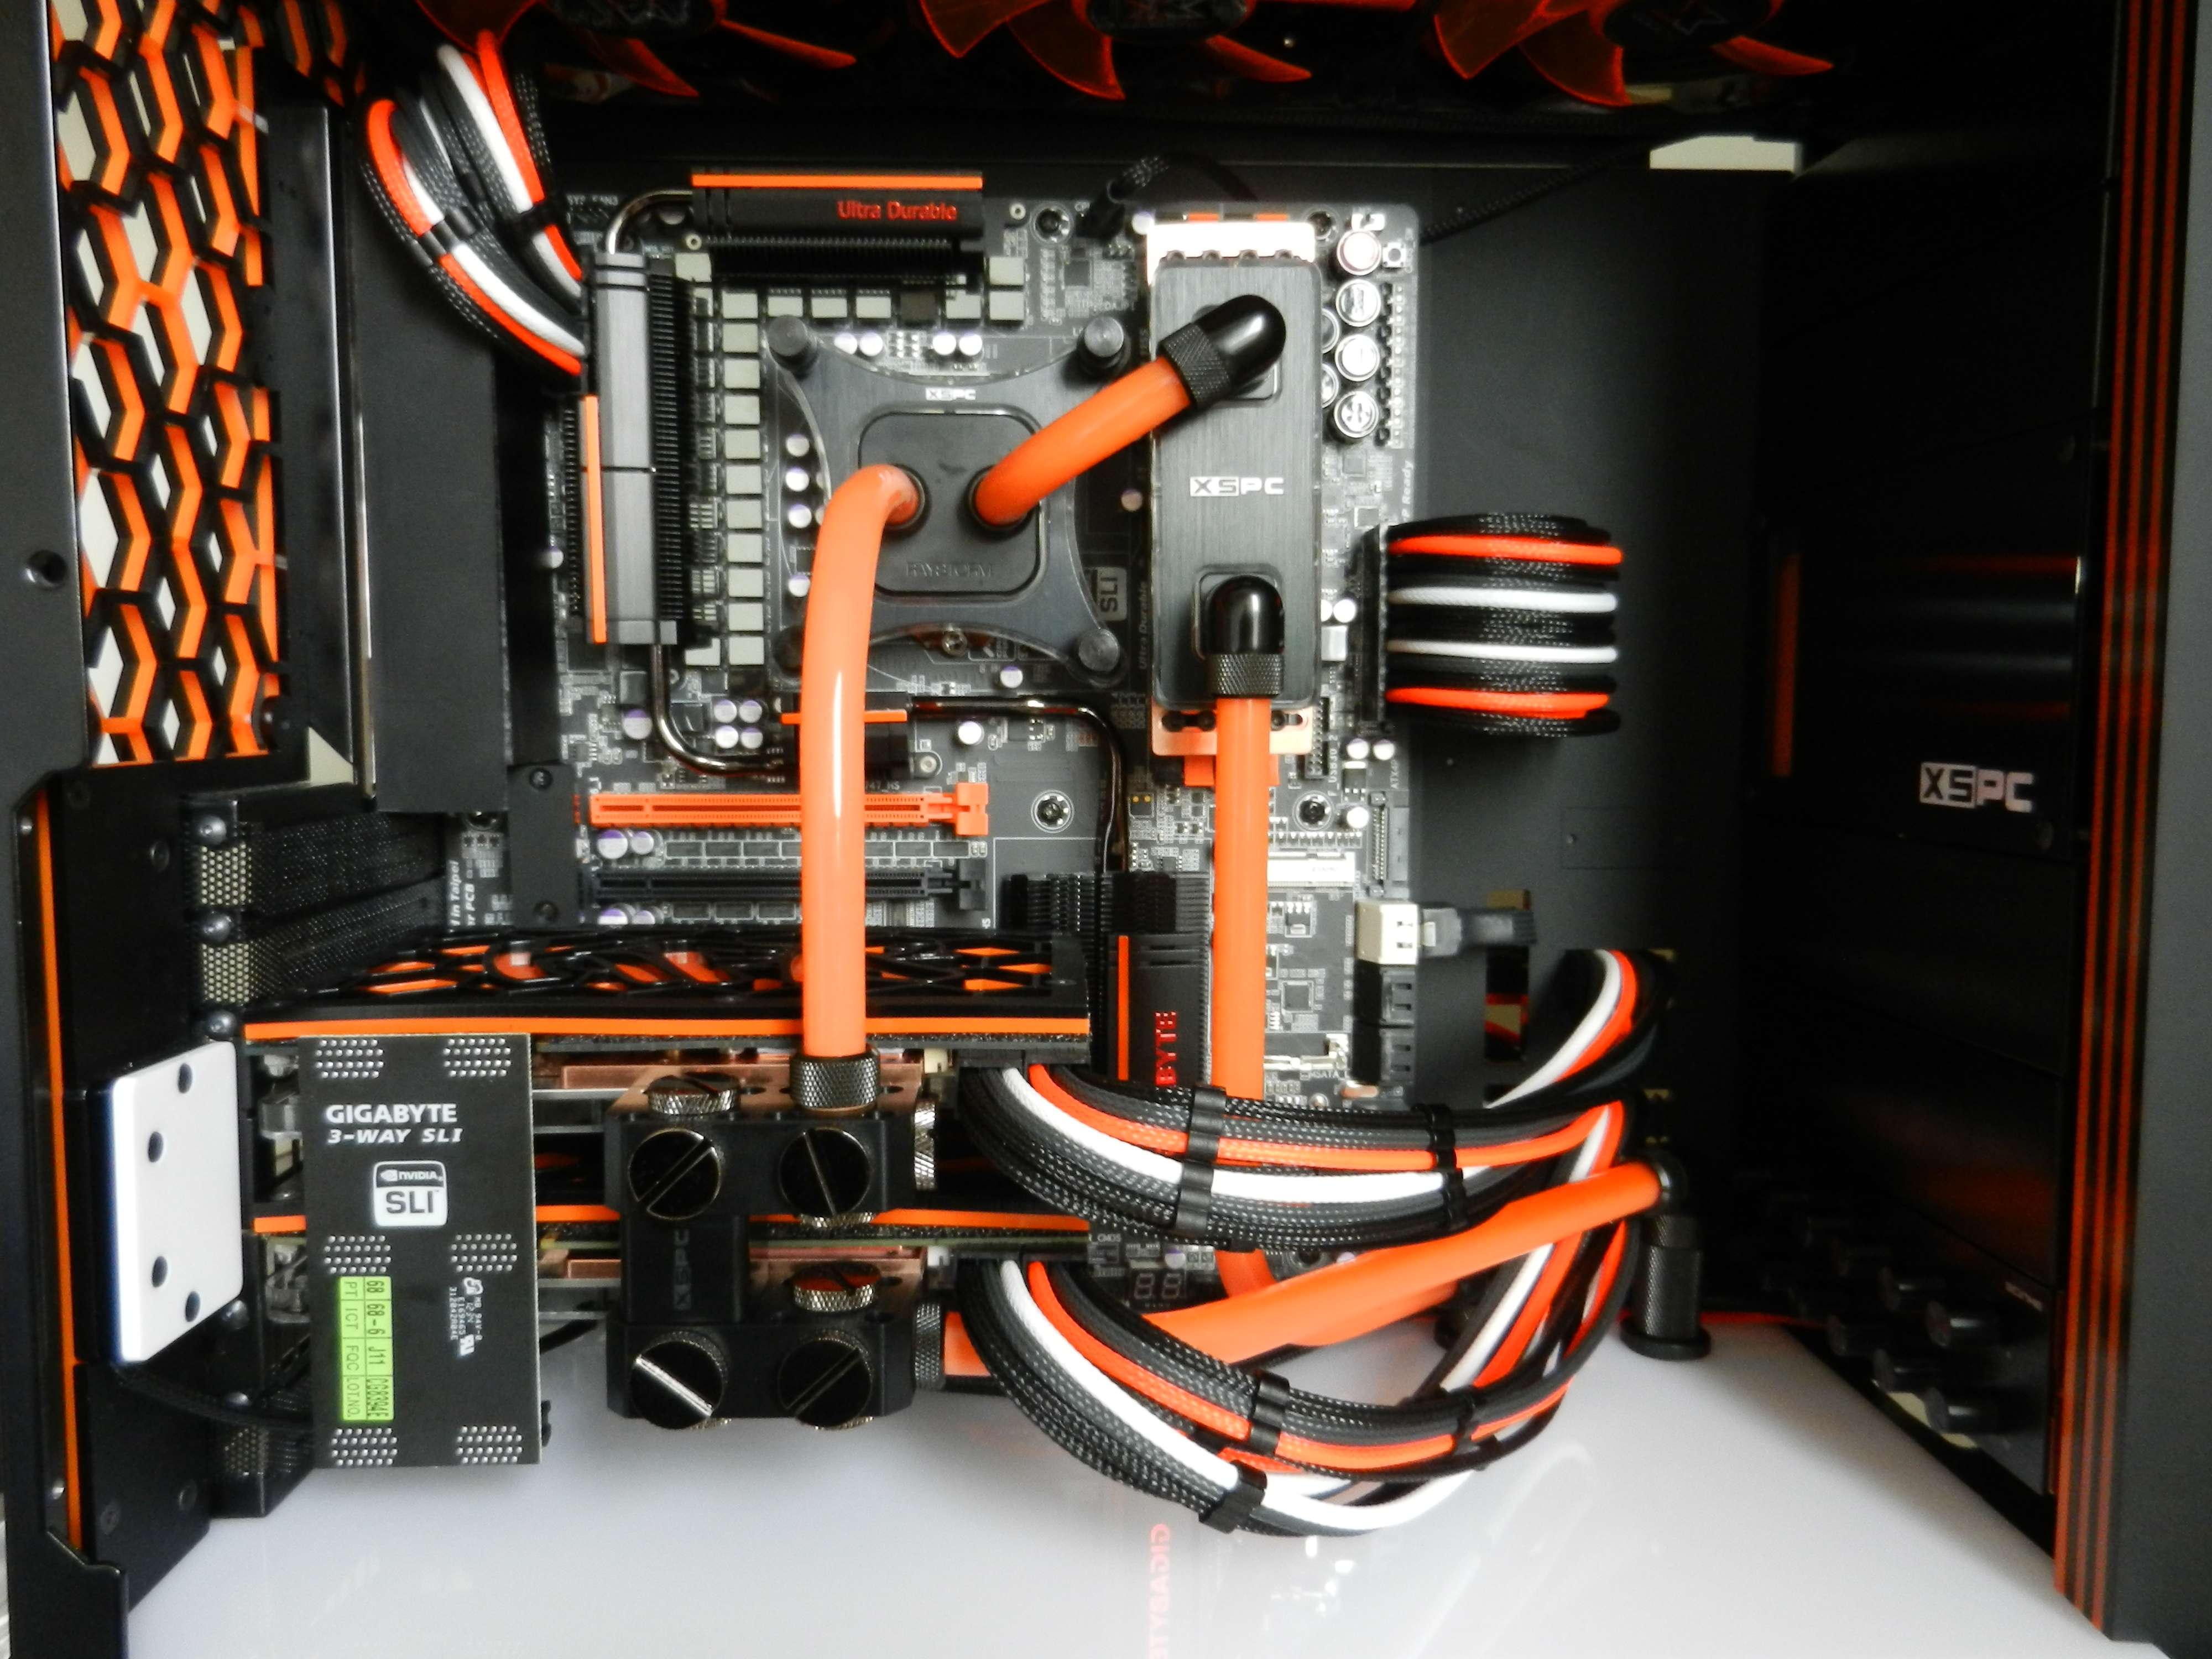
I finally received that final XSPC fitting for the top of the reservoir. I have made a picture of the finished inside product of the connection reservoir to fillport. It is a real basterdised one :D A piece of 16/10 tube, an Alphacool straight 16/10 fitting, an Alphacool 45 degree revolvable 16/10 fitting, an XSPC reservoir fillport, a Bitspower 45 degree adapter and a Bitspower fillport.

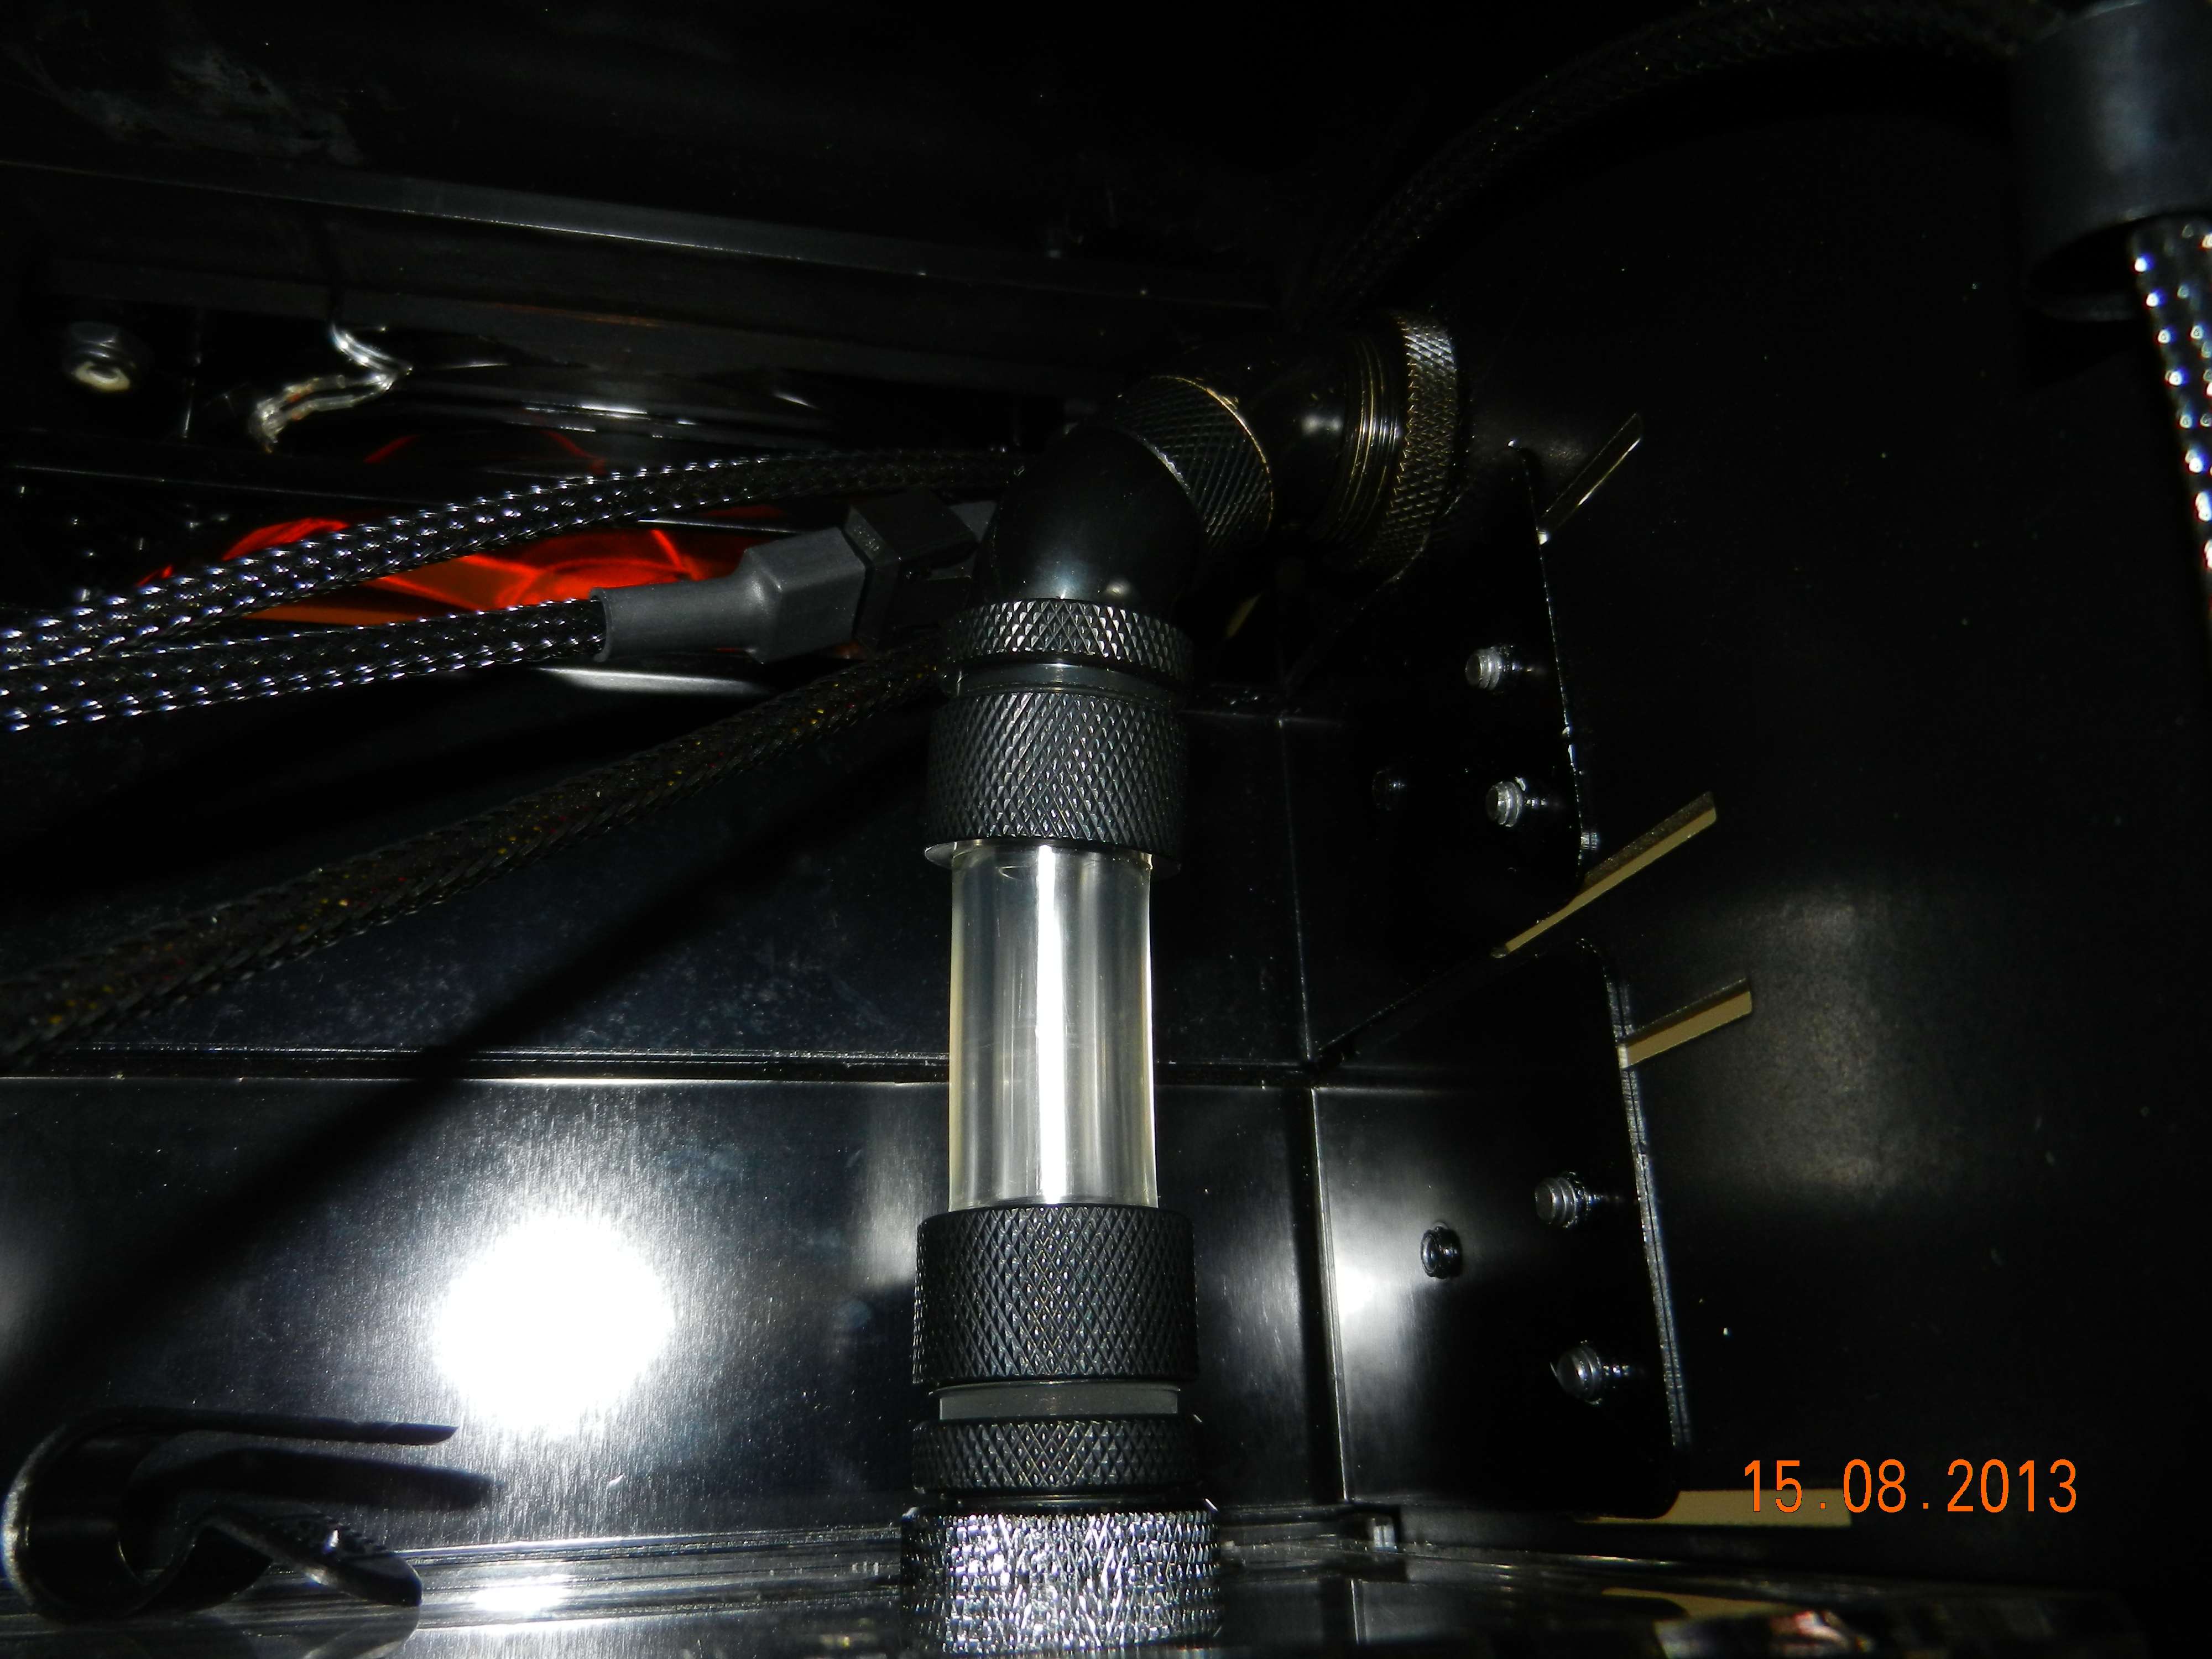
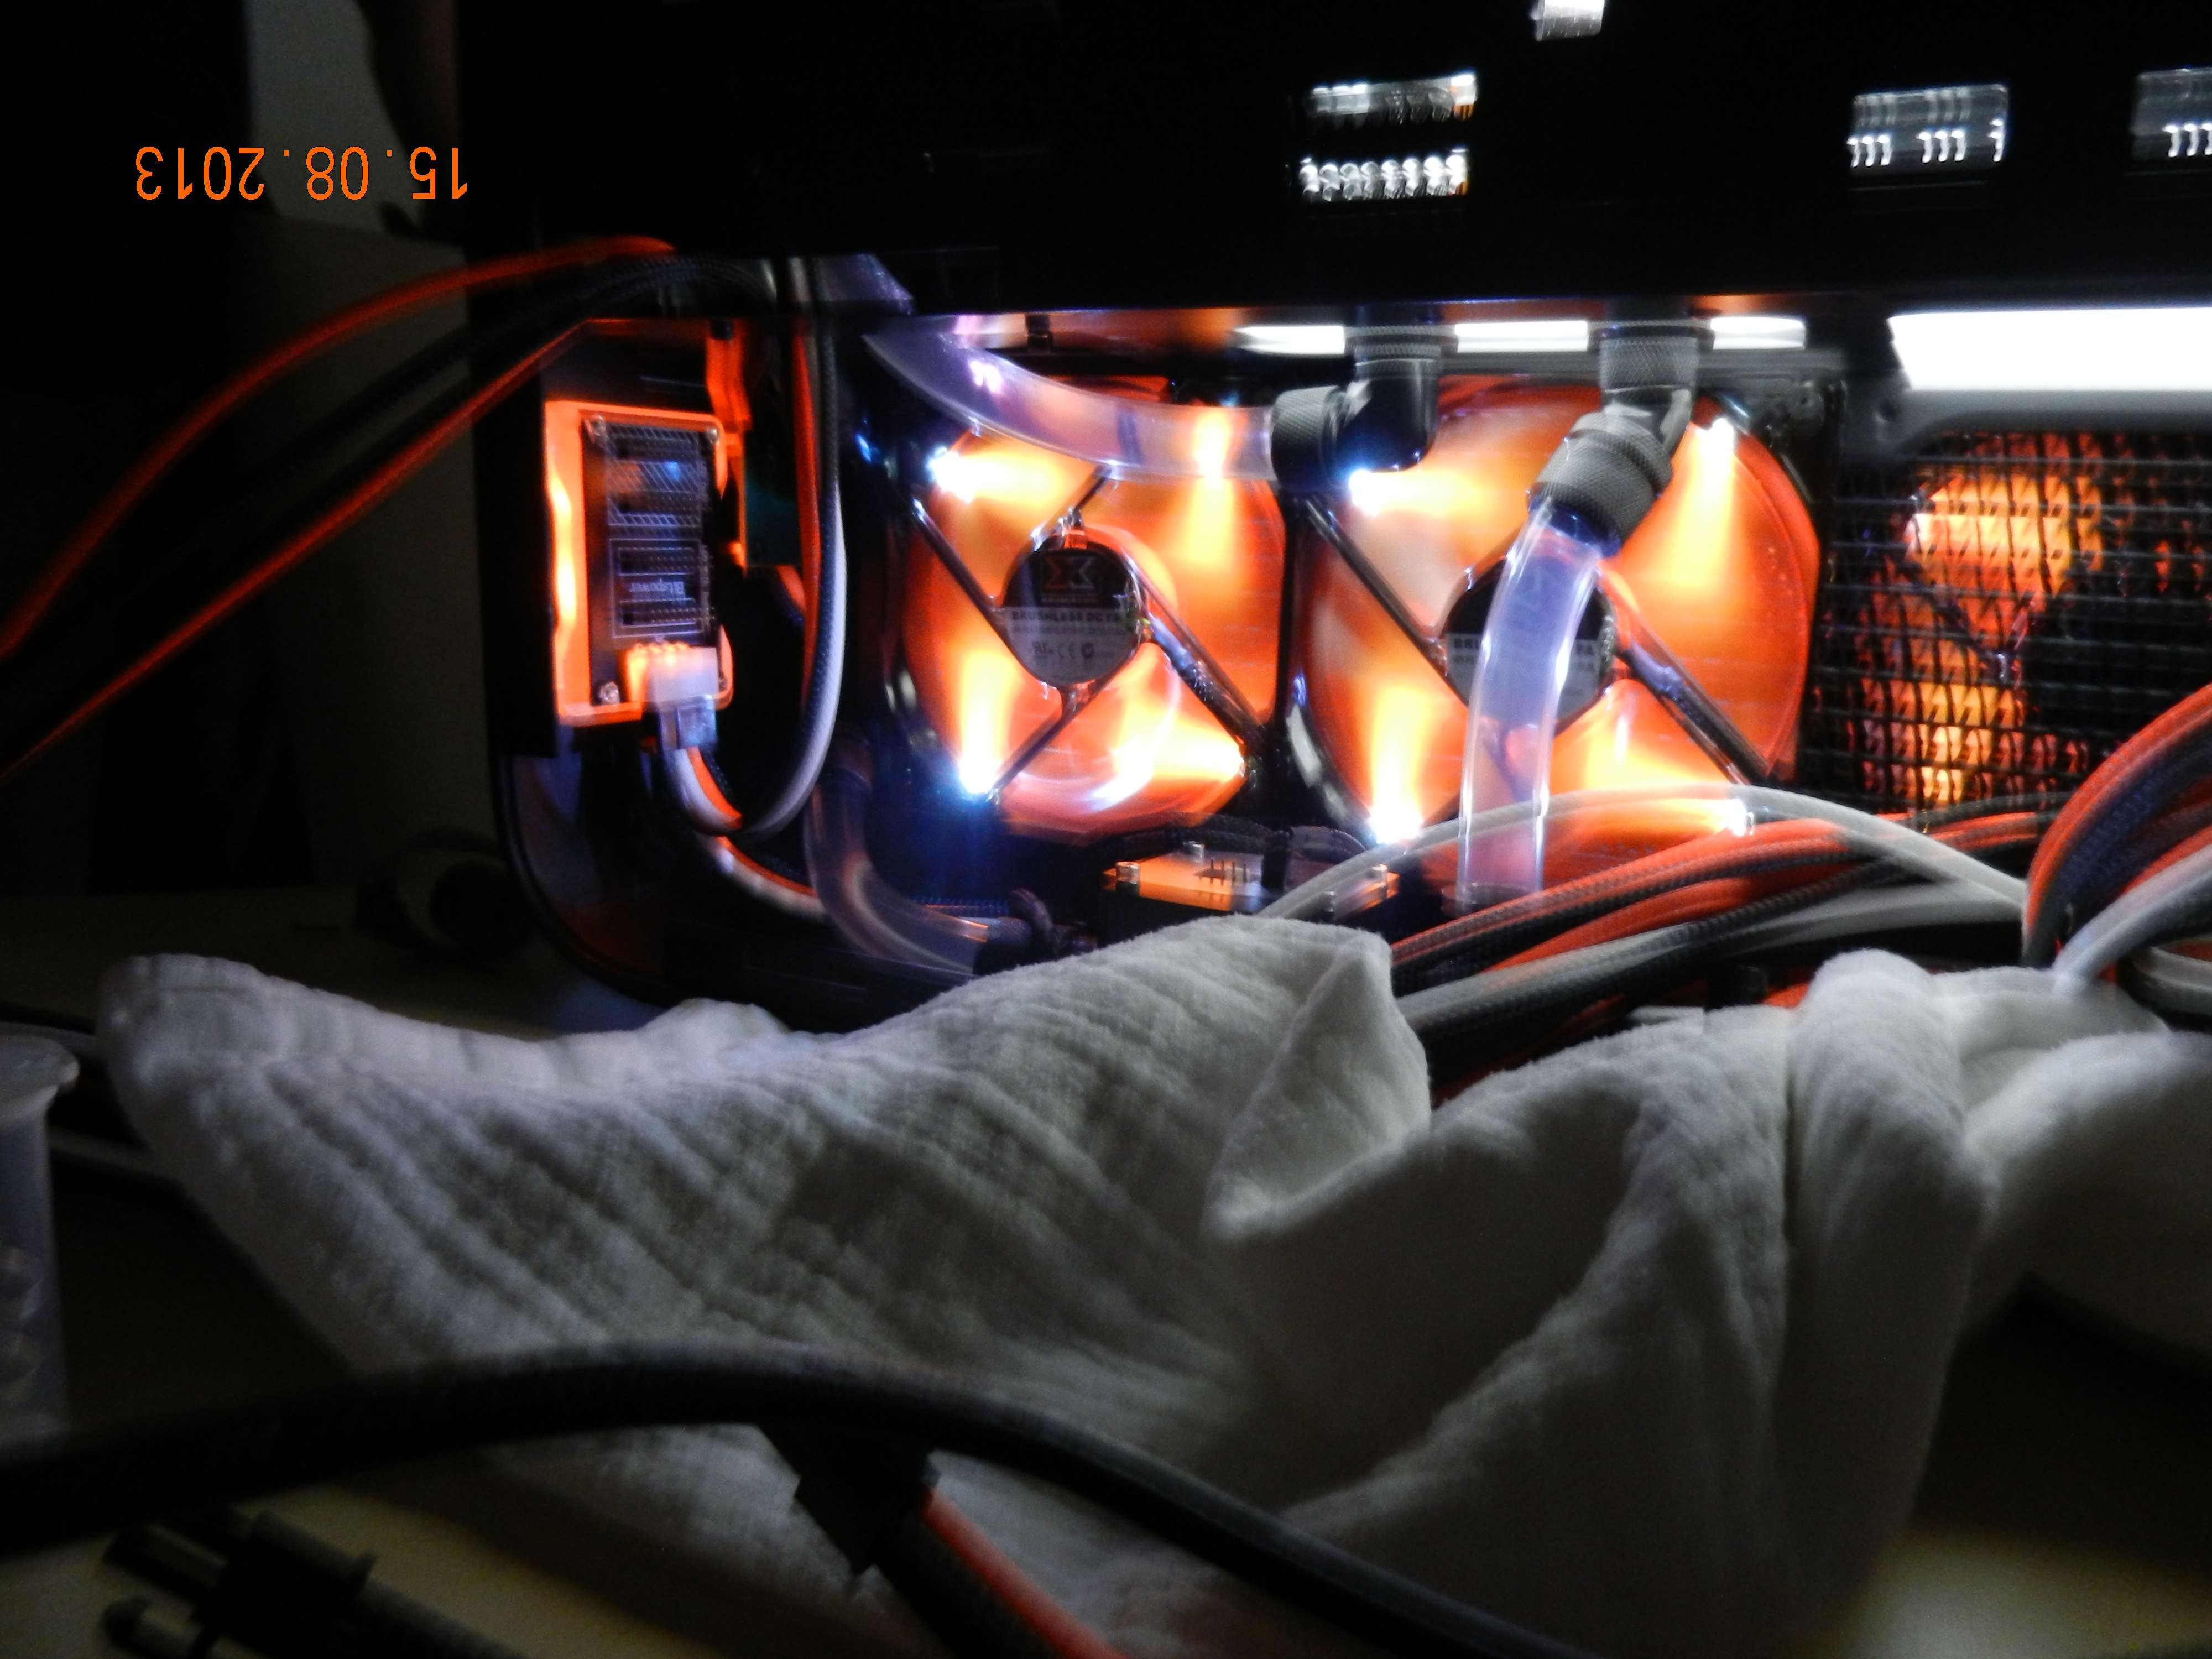
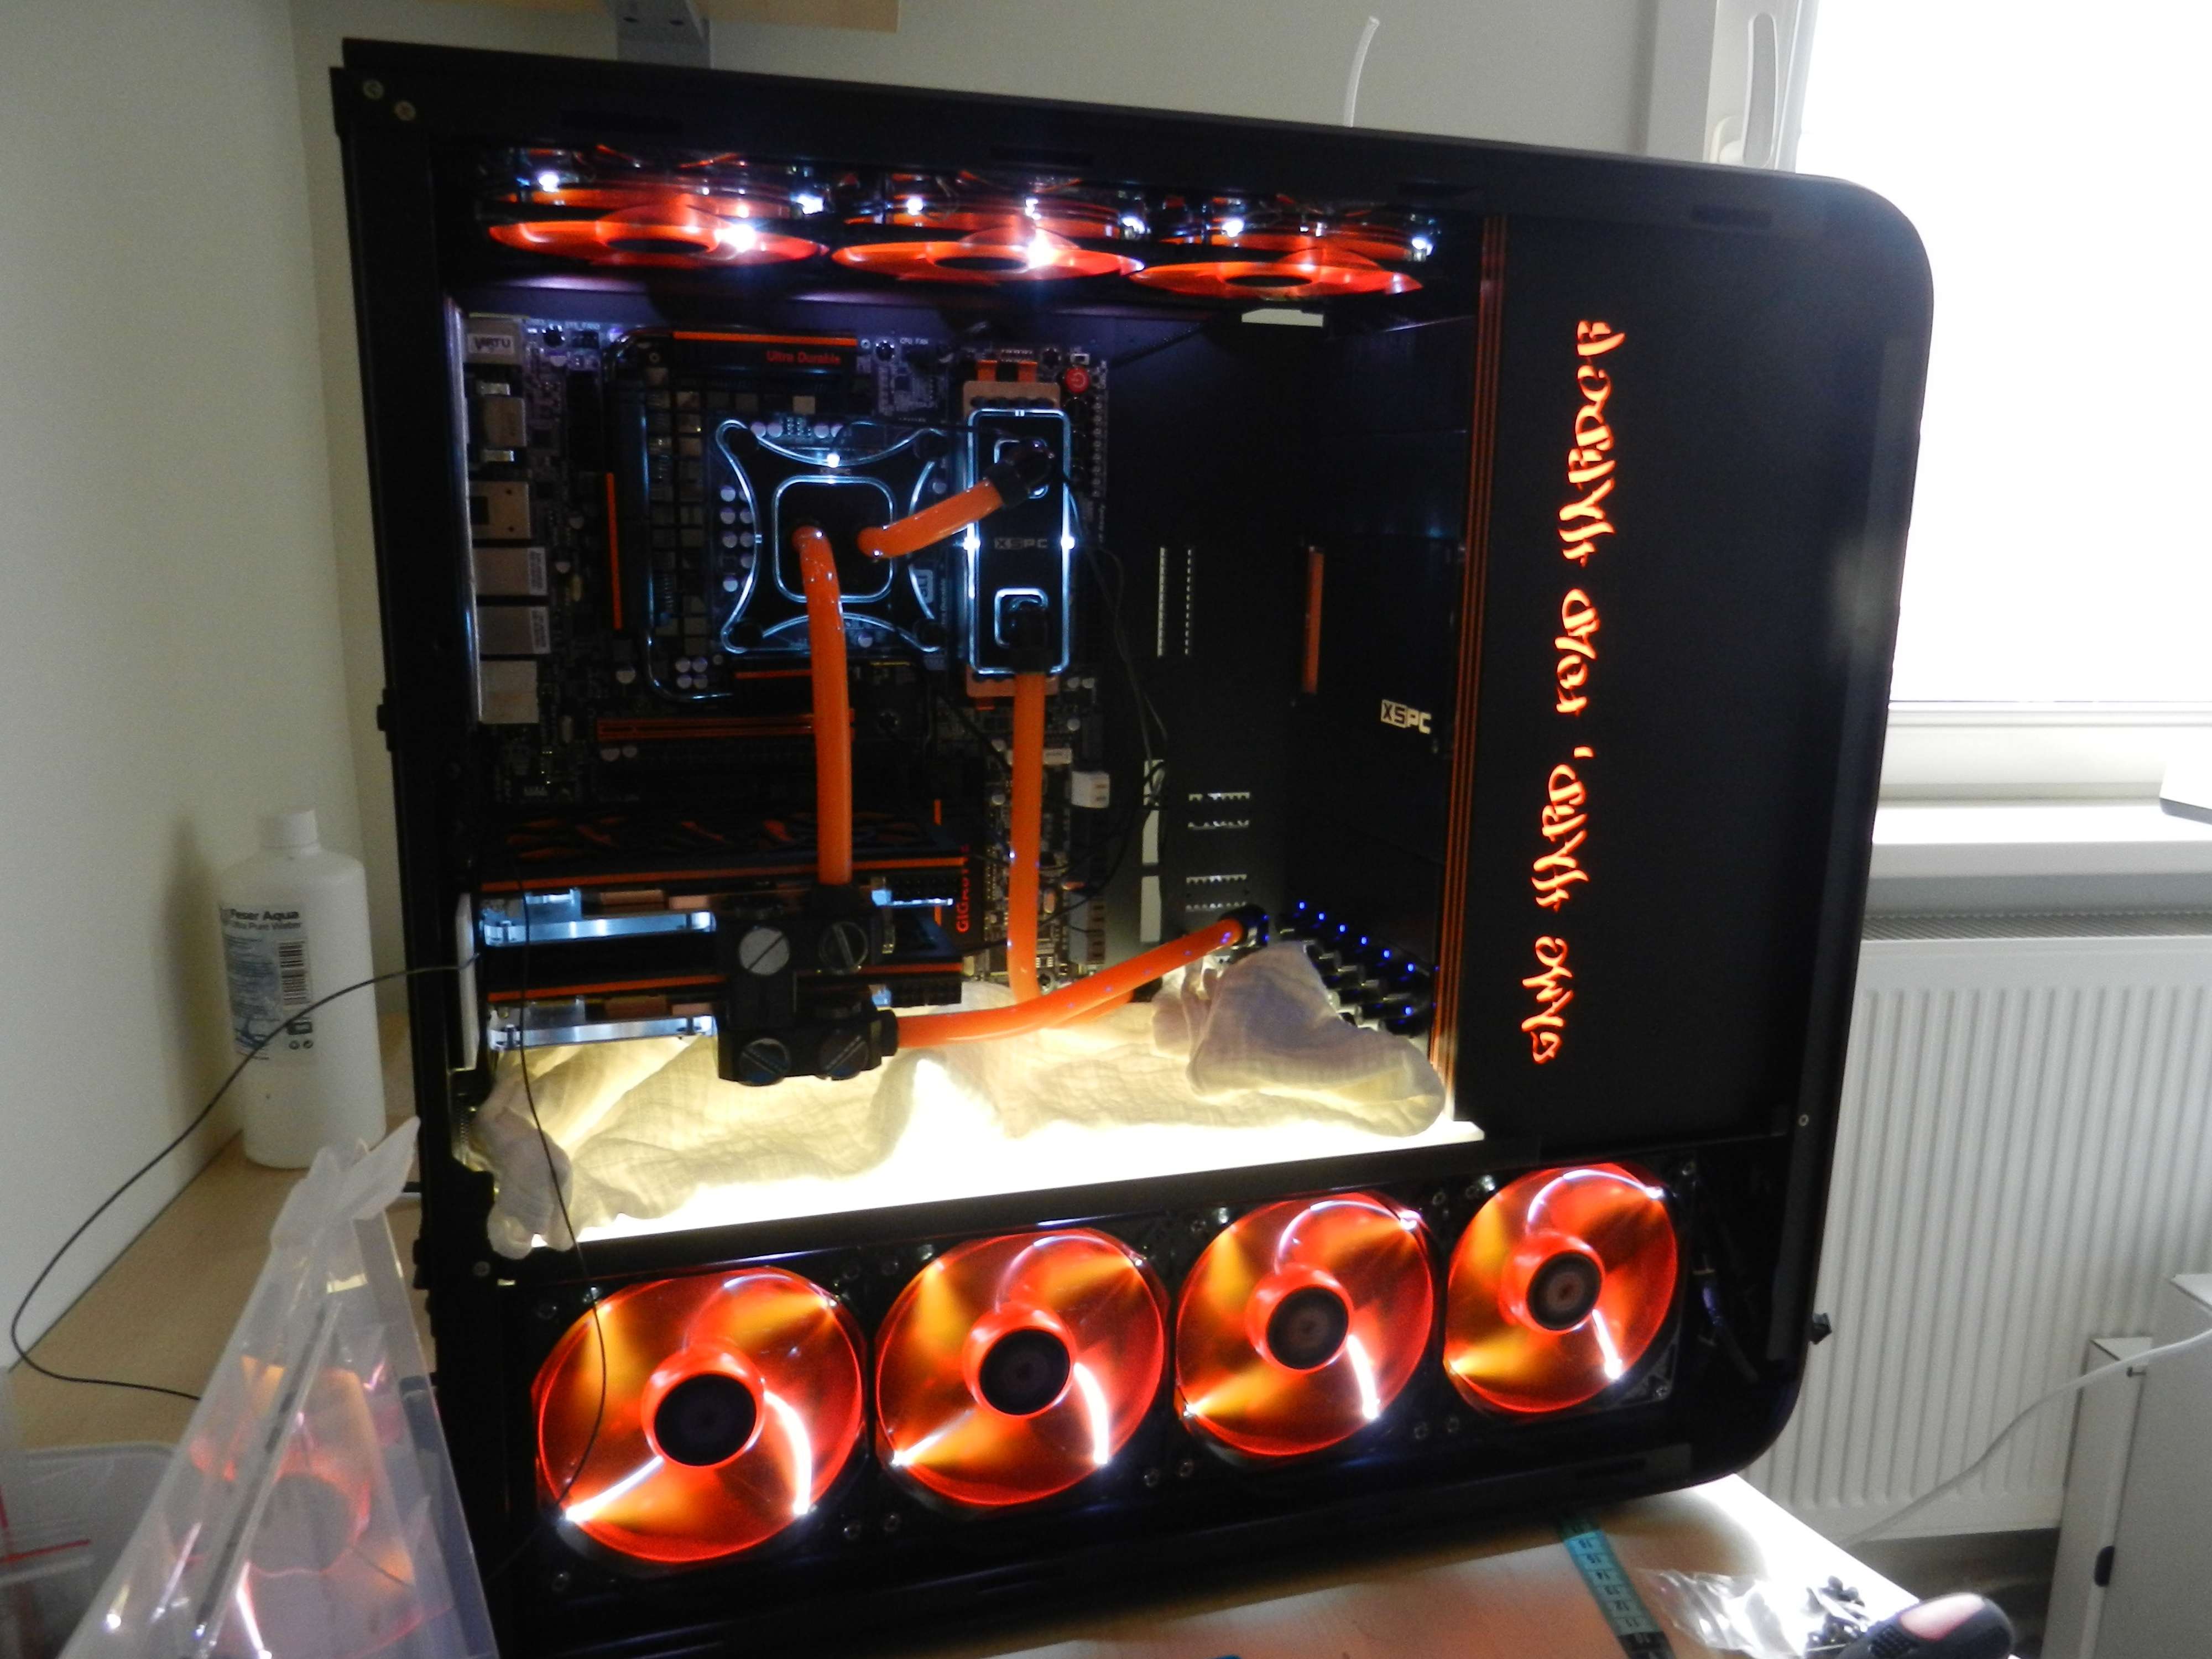
Then it was time to fill the loop, test the pump, the lot for leaks, the Coldzero parts, the fans, the fancontroller and the LED board + some leds.

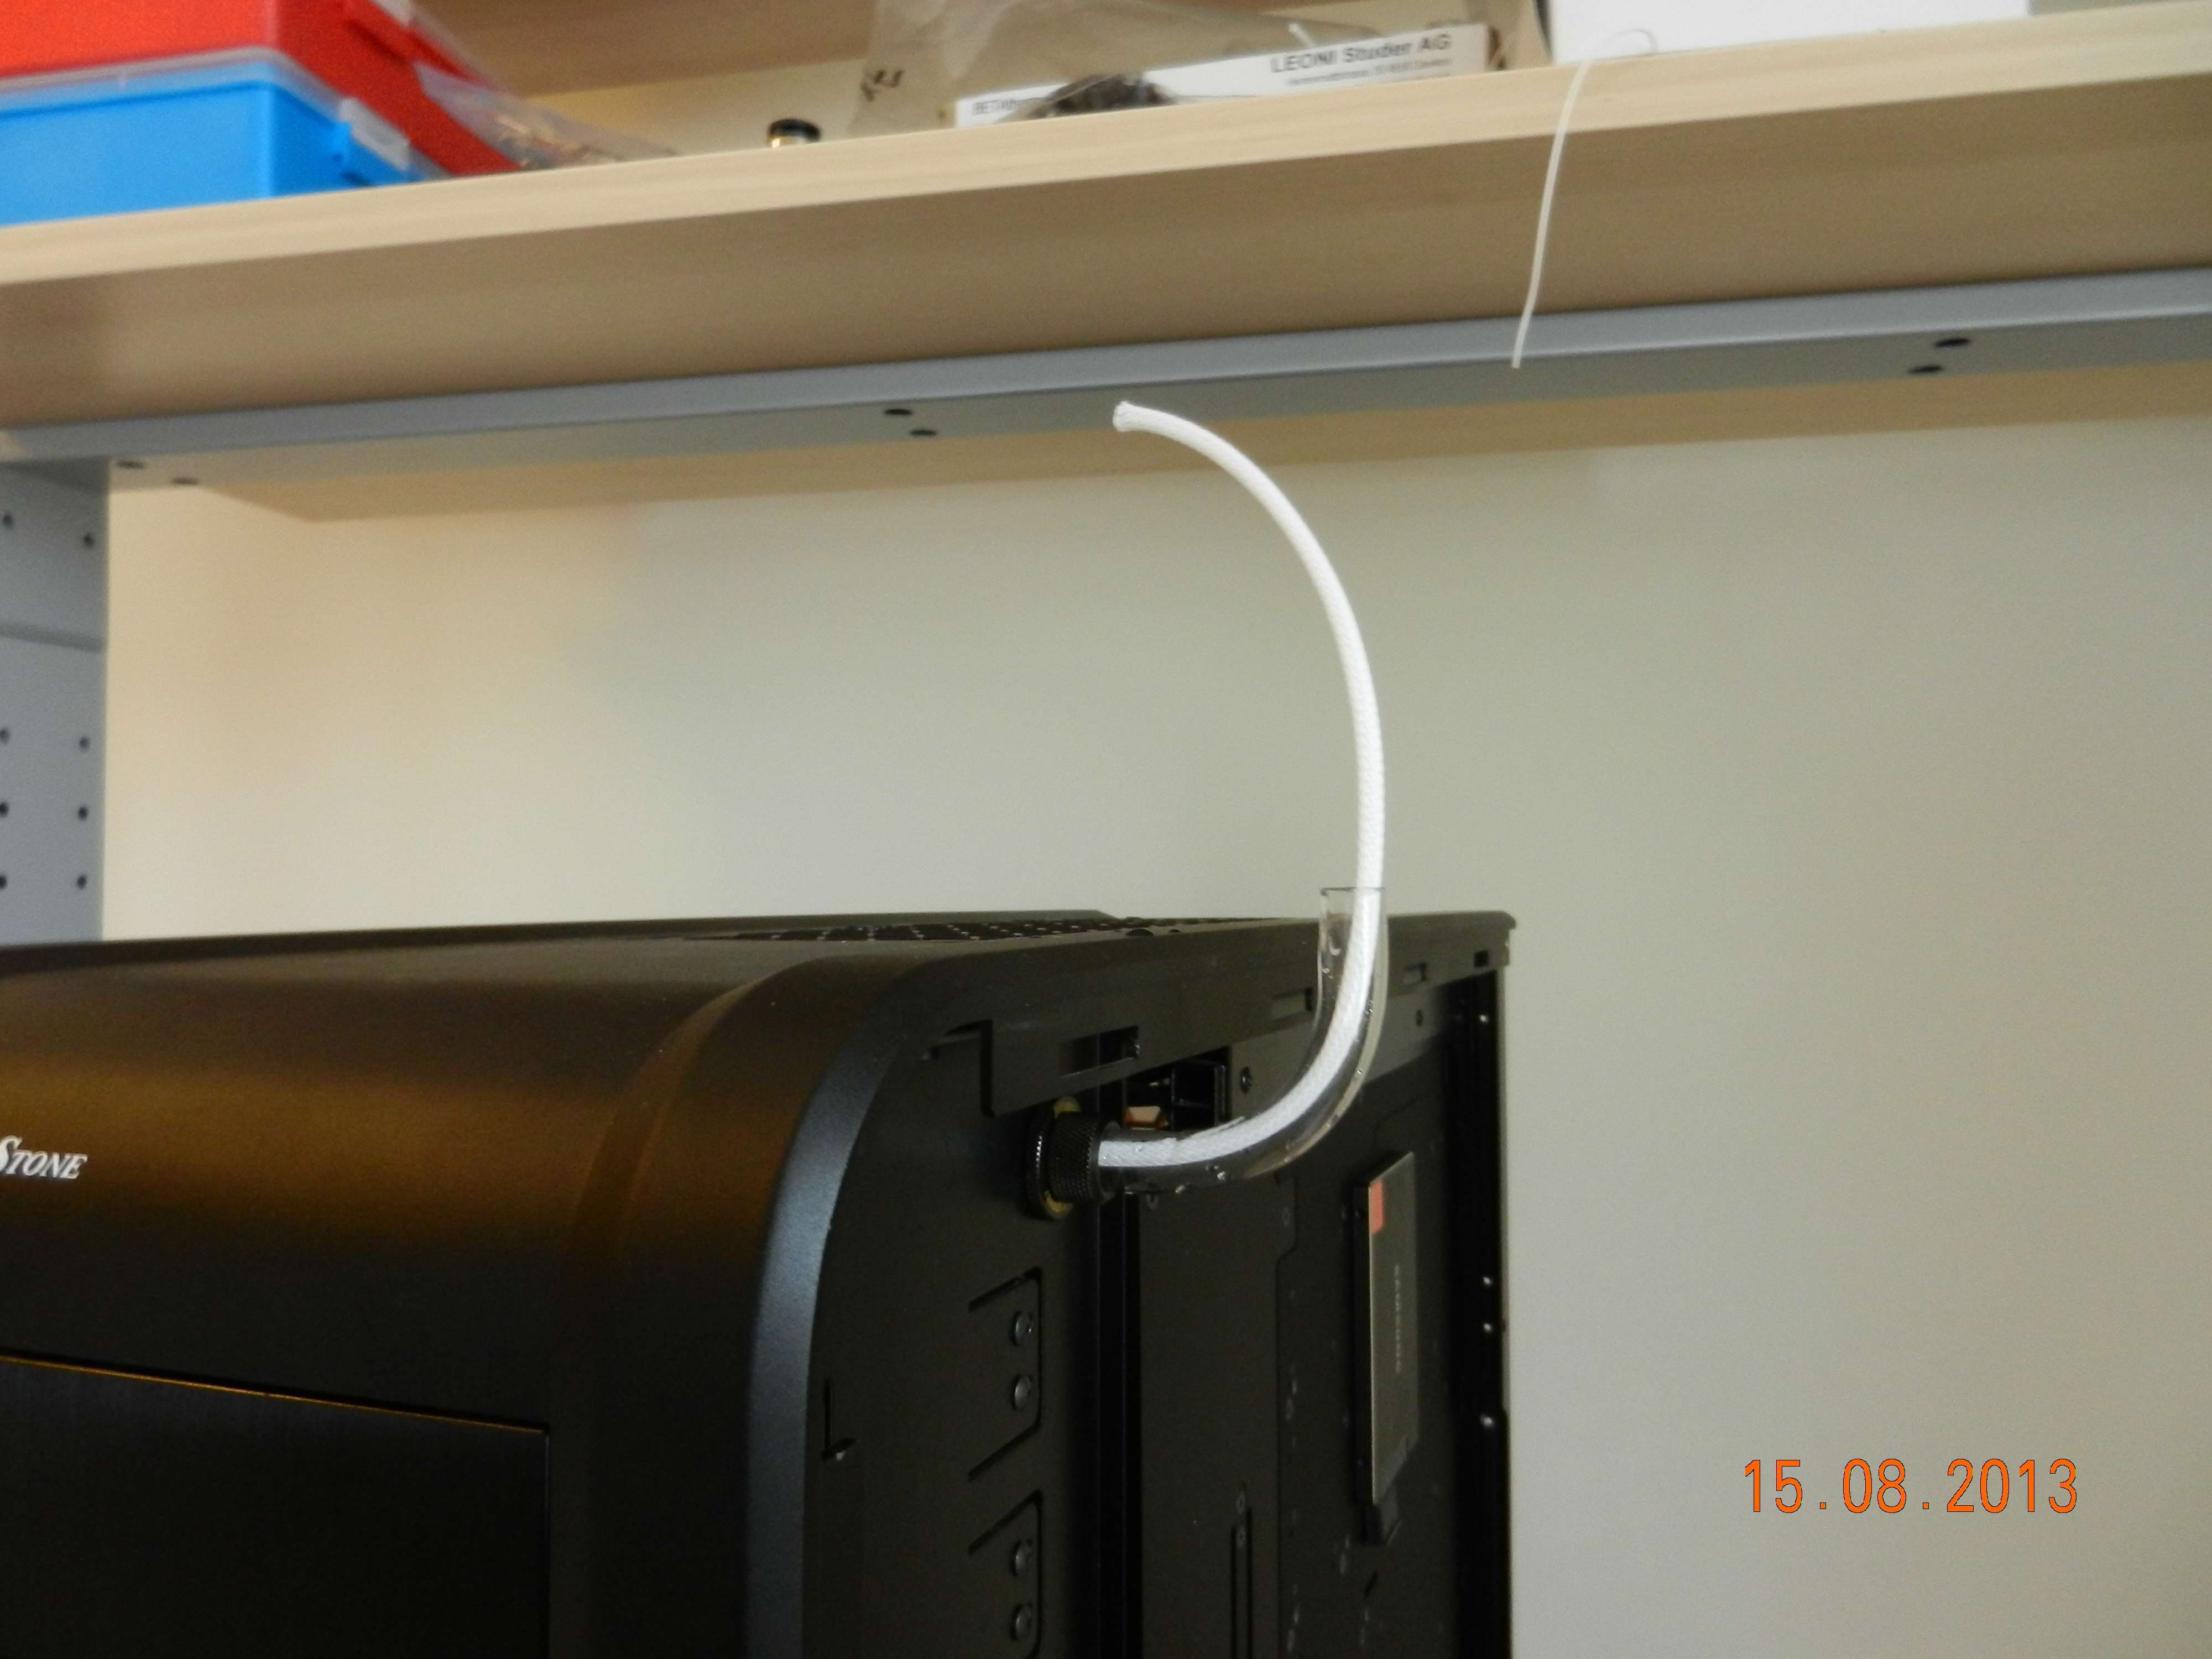
The filling was a mess because I didn't have a high point in the loop te bleed the air out. But guess what, a piece of MDPC-X sleeving helped me out perfectly! Another great purpose for it :D

I put a piece of it through the fillport untill in the reservoir. That way air could escape through the sleeving when water was being added. It went soooo smooth after that.

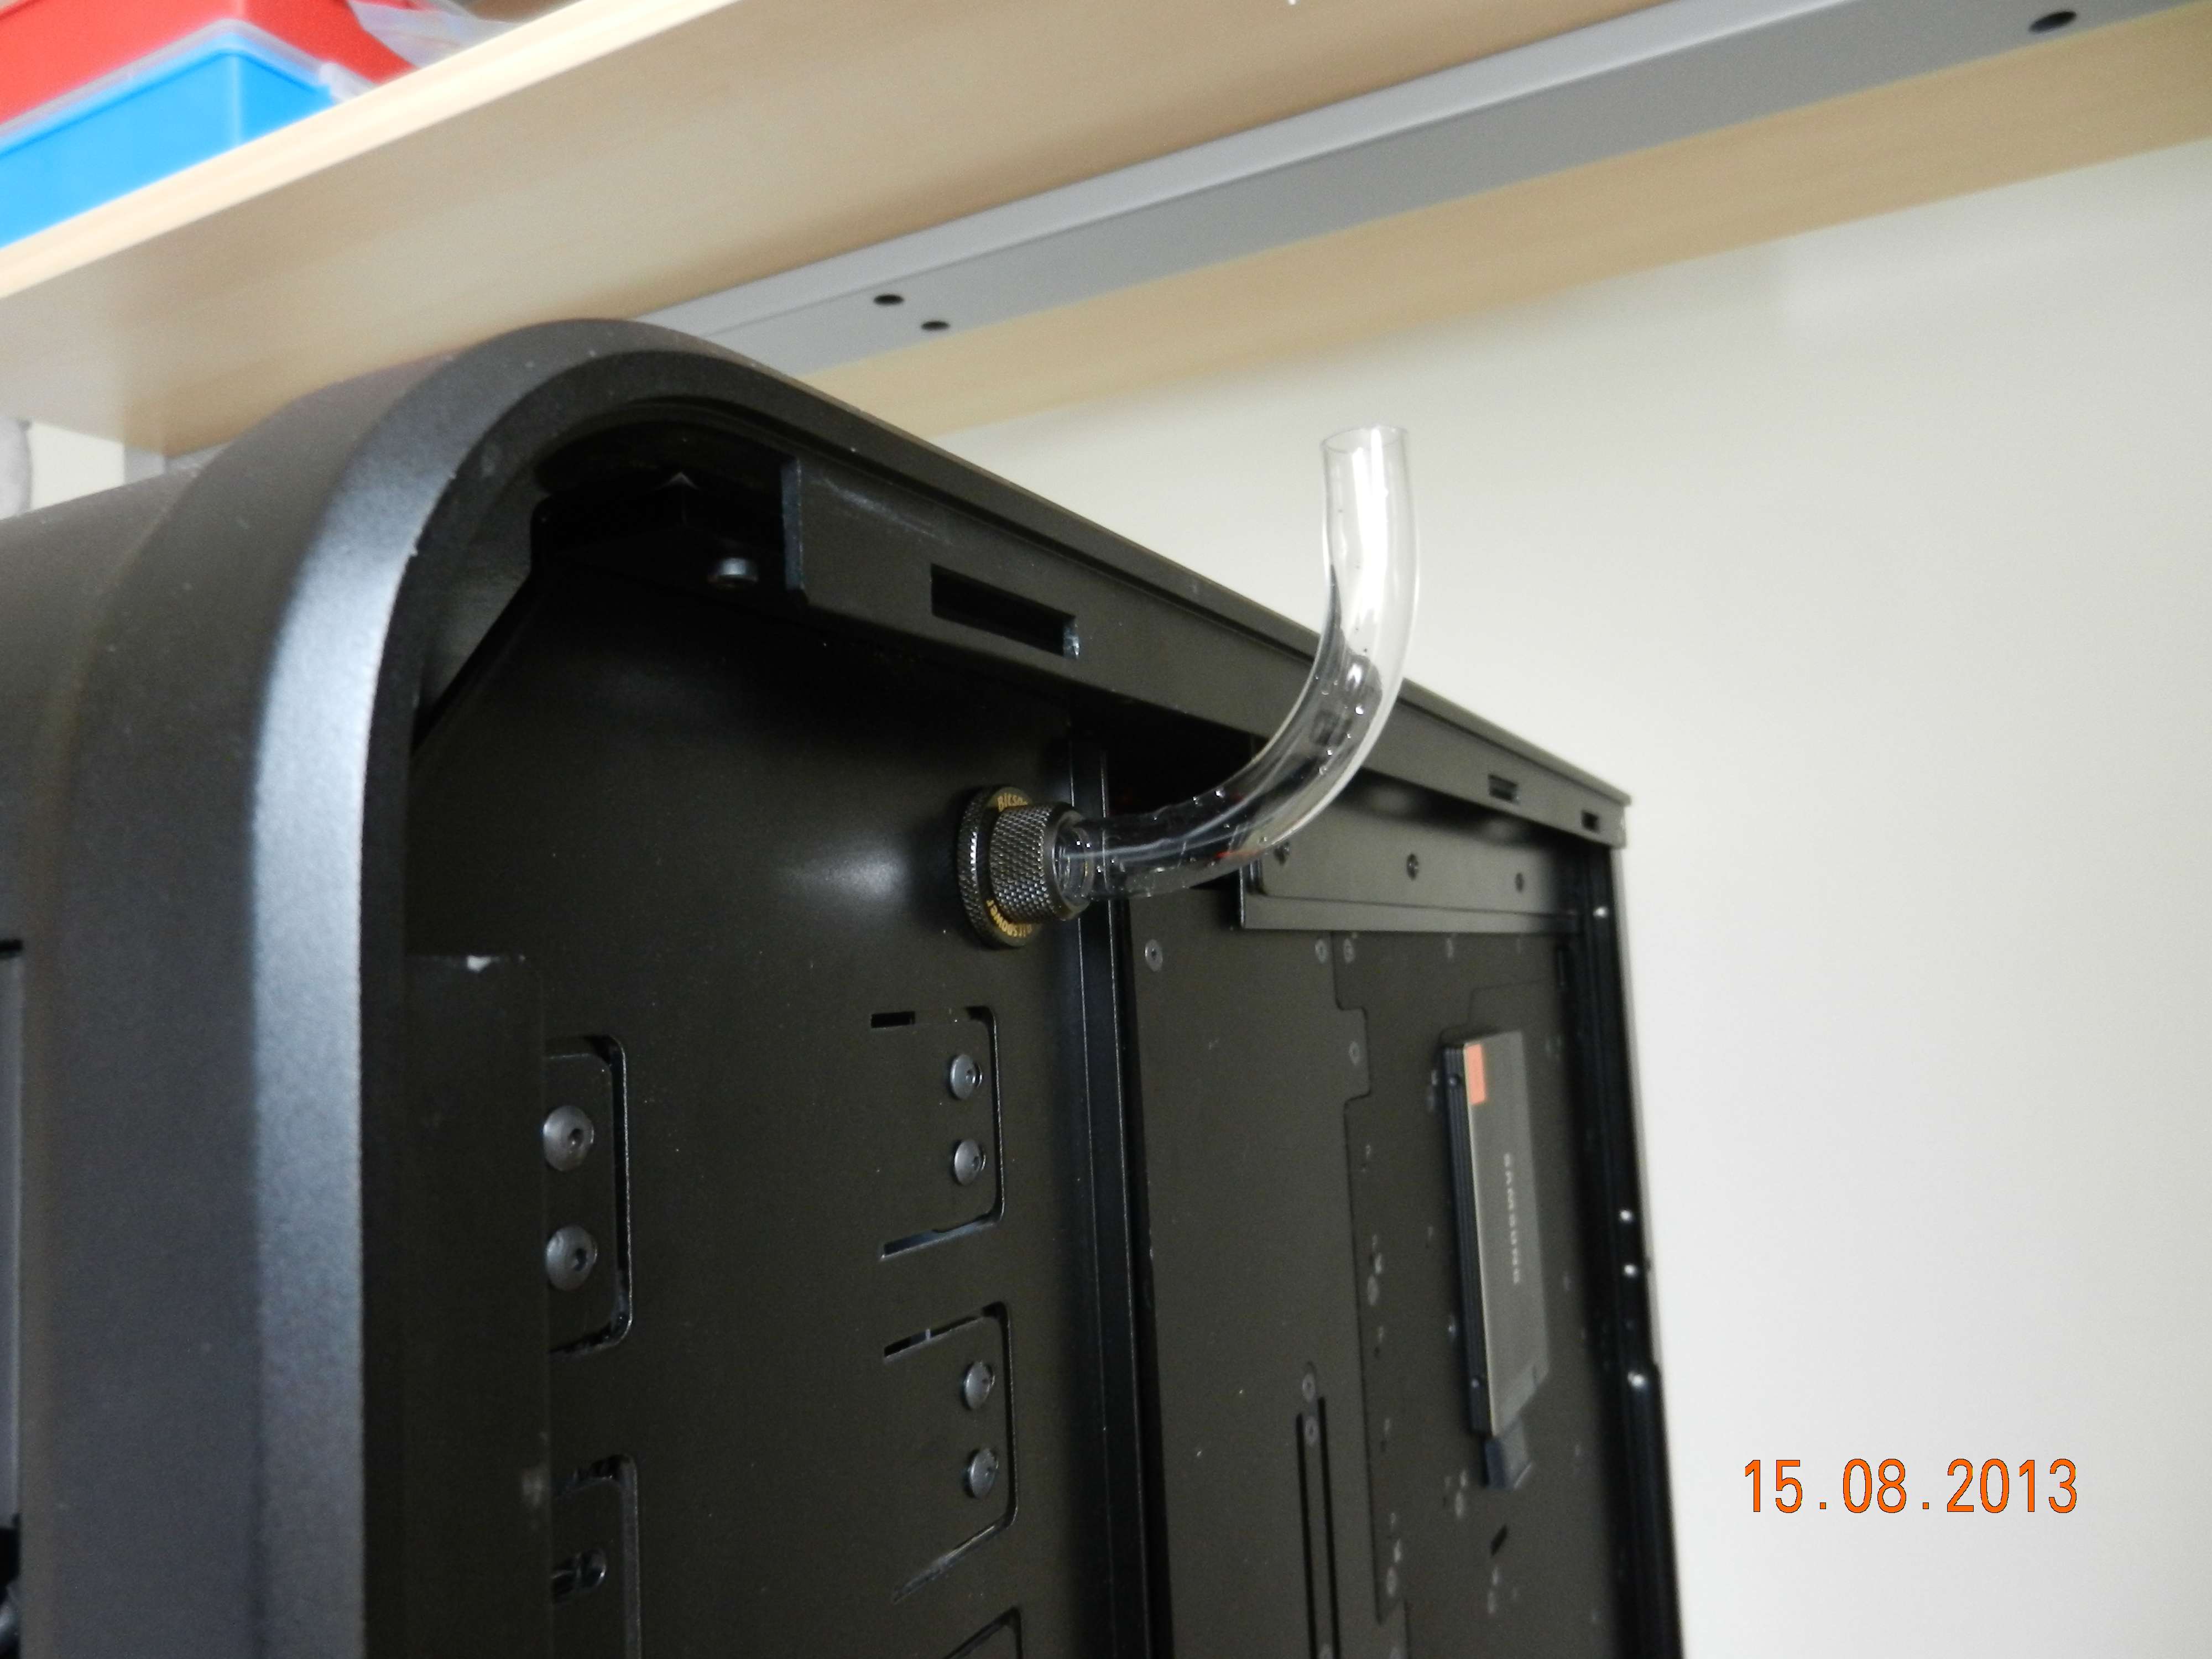
I used a bend piece of tube to fill up the system. It wasn't good enough for in the build, but good enough for being used as a nice standing up filling hose :)

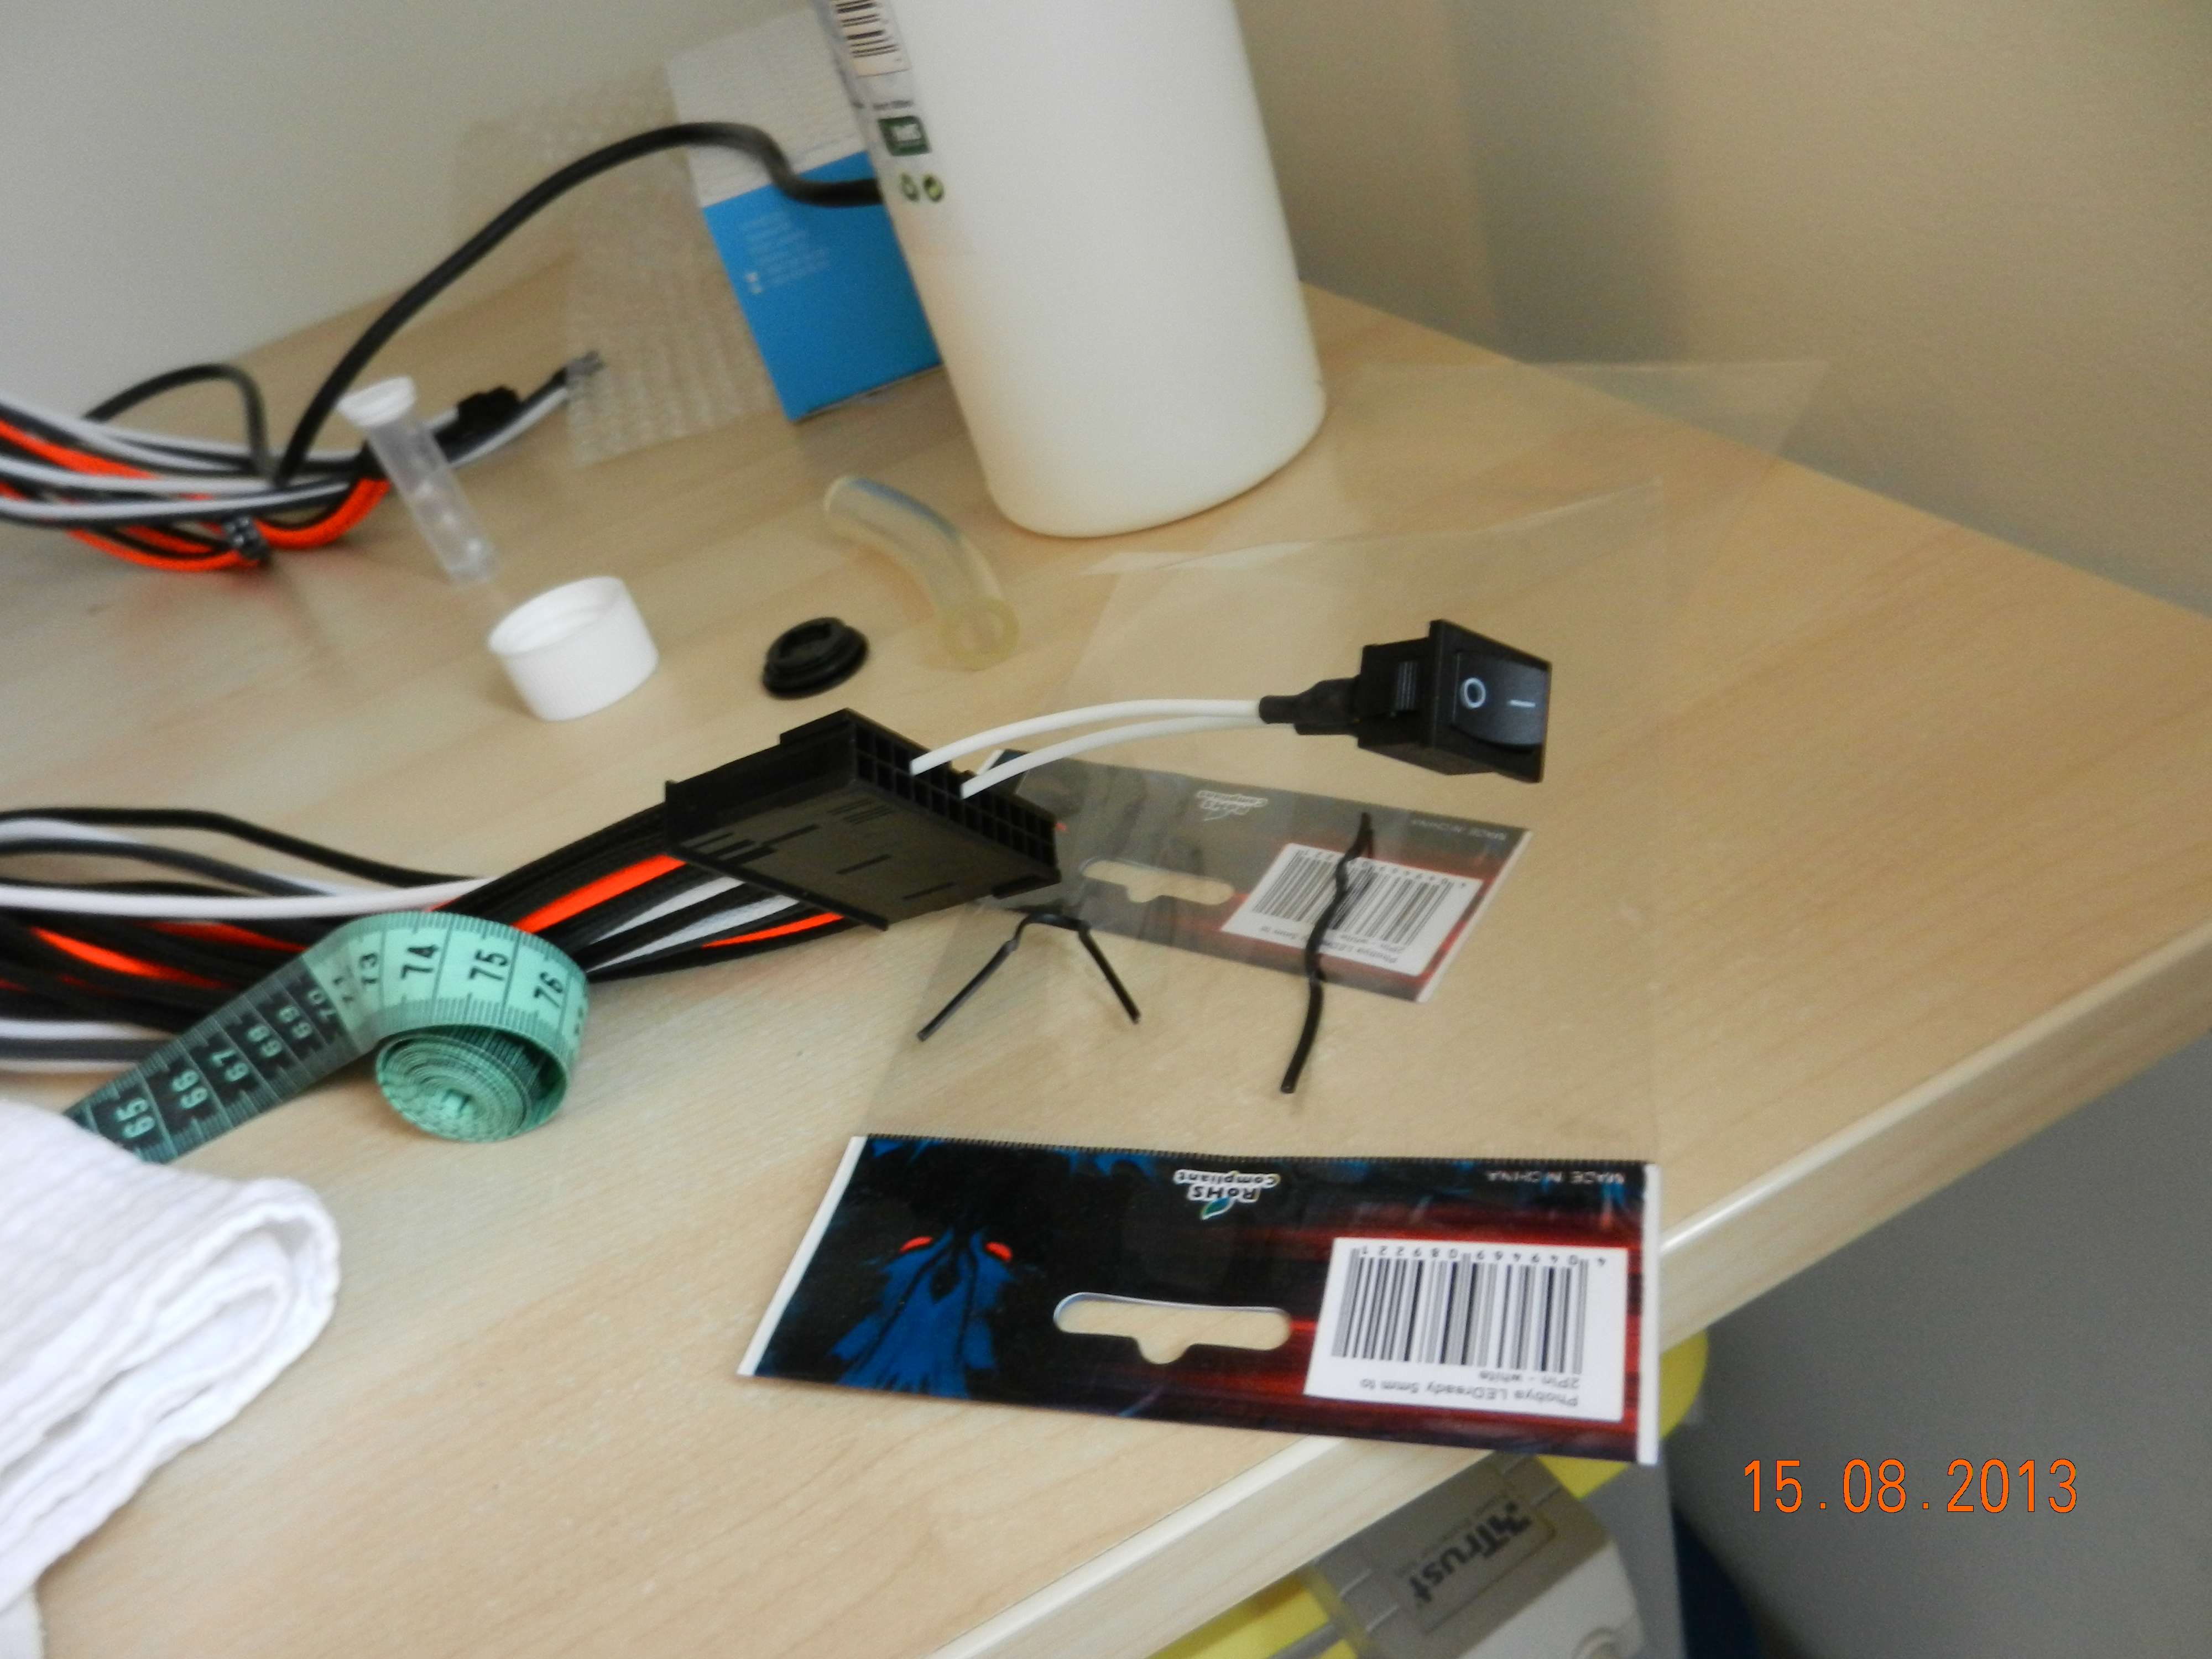
And don't forget my ghetto PSU on/off switch. This way I don't have to reach around the back of the case. Very easy to use.

So far the only thing not working correctly is the far left fan. I will have to investigate if it is the fan of the controller channel.

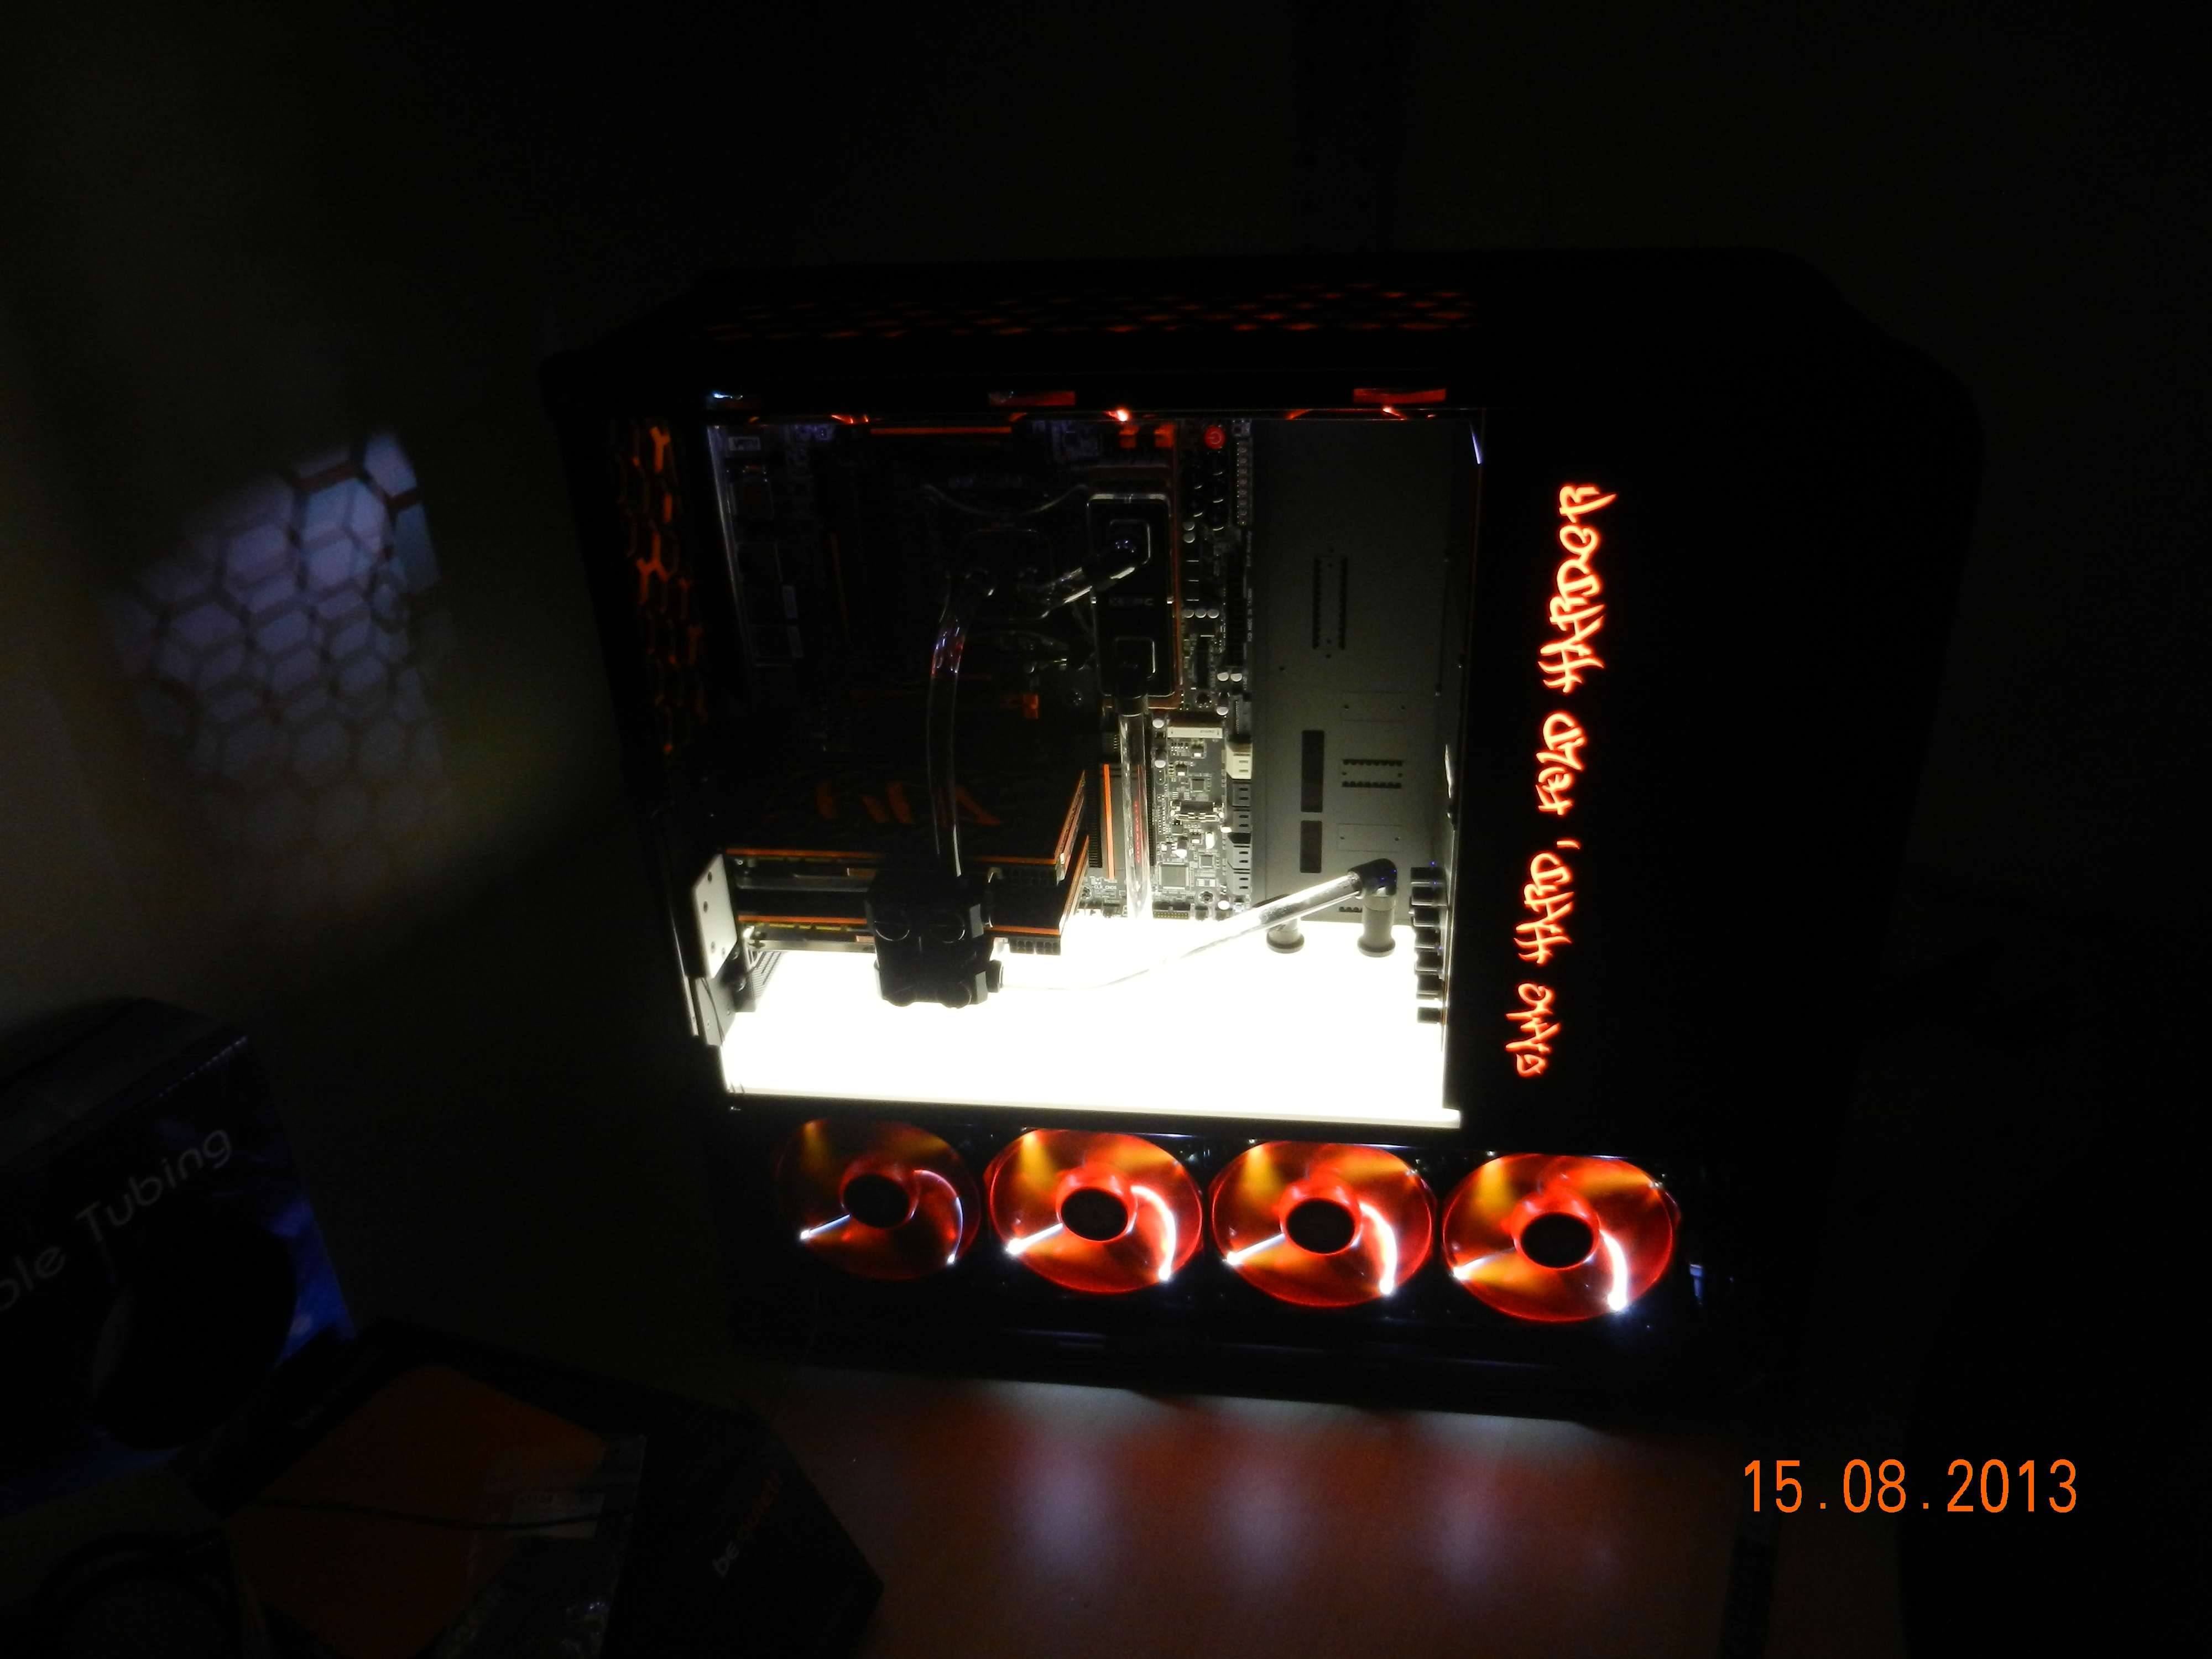
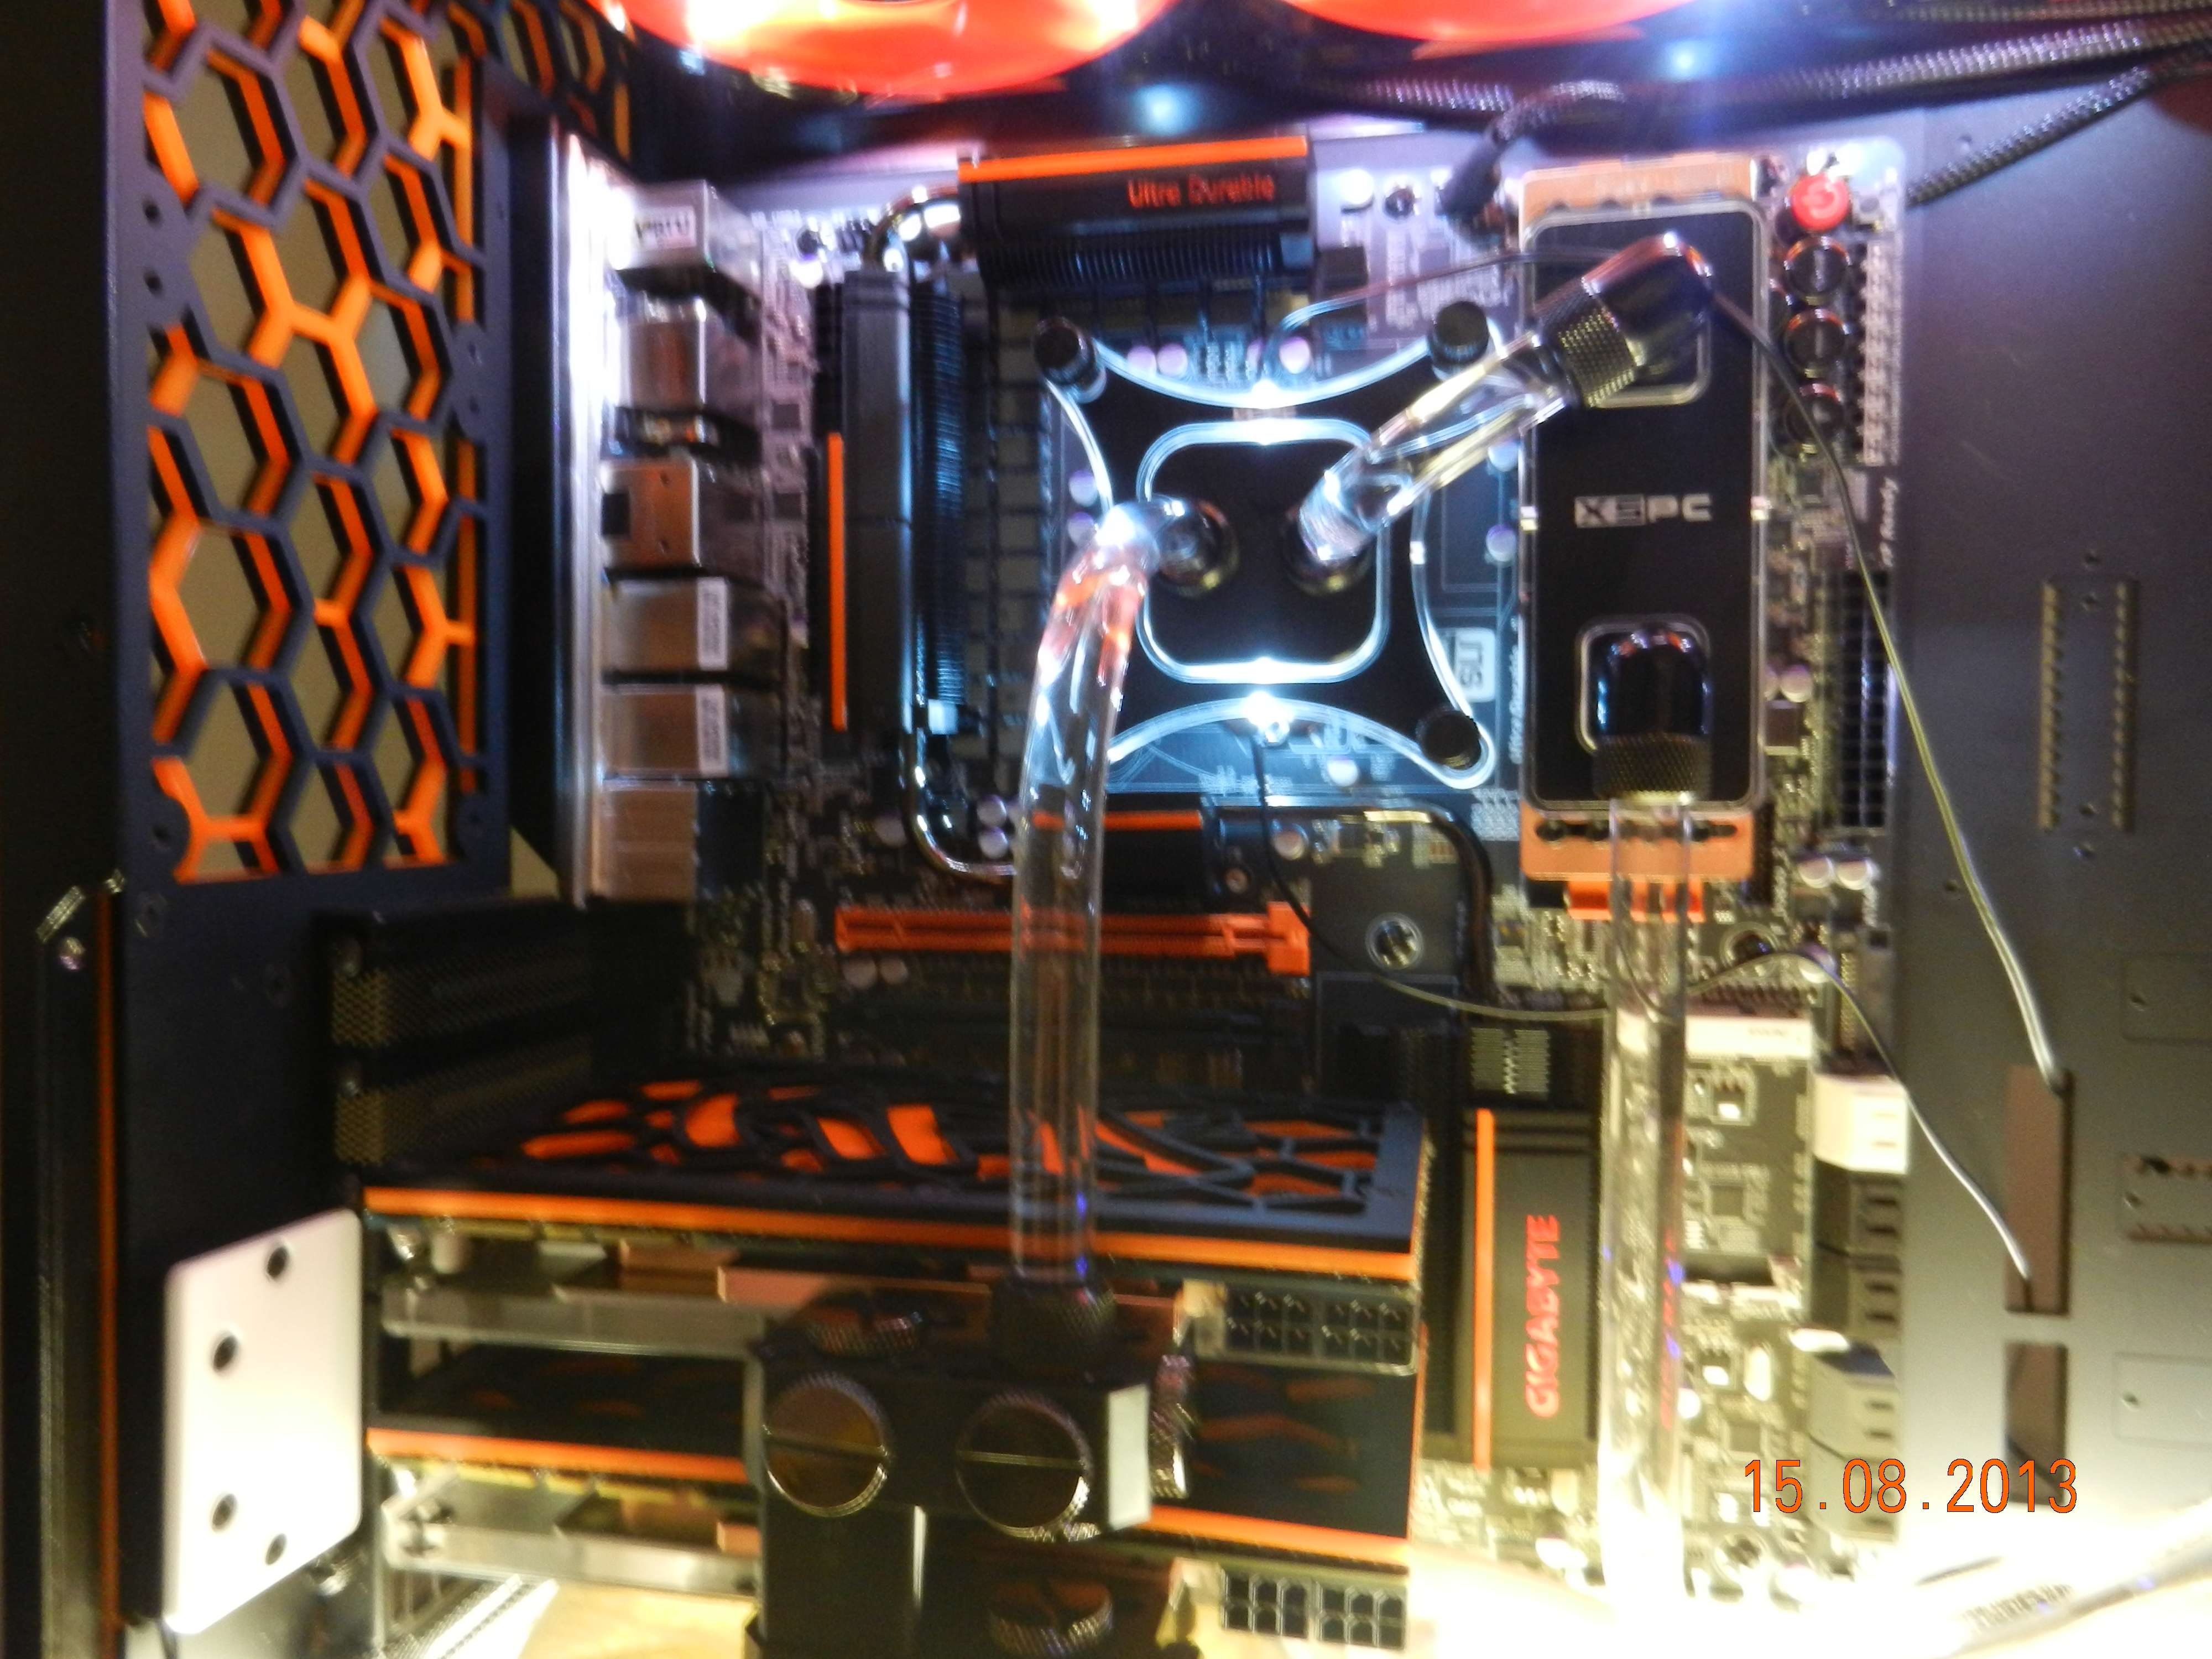
The last thing I had fun with were the individual LEDs. I think the use of them will be perfect for a slight illumination of the parts above the GPU blocks.
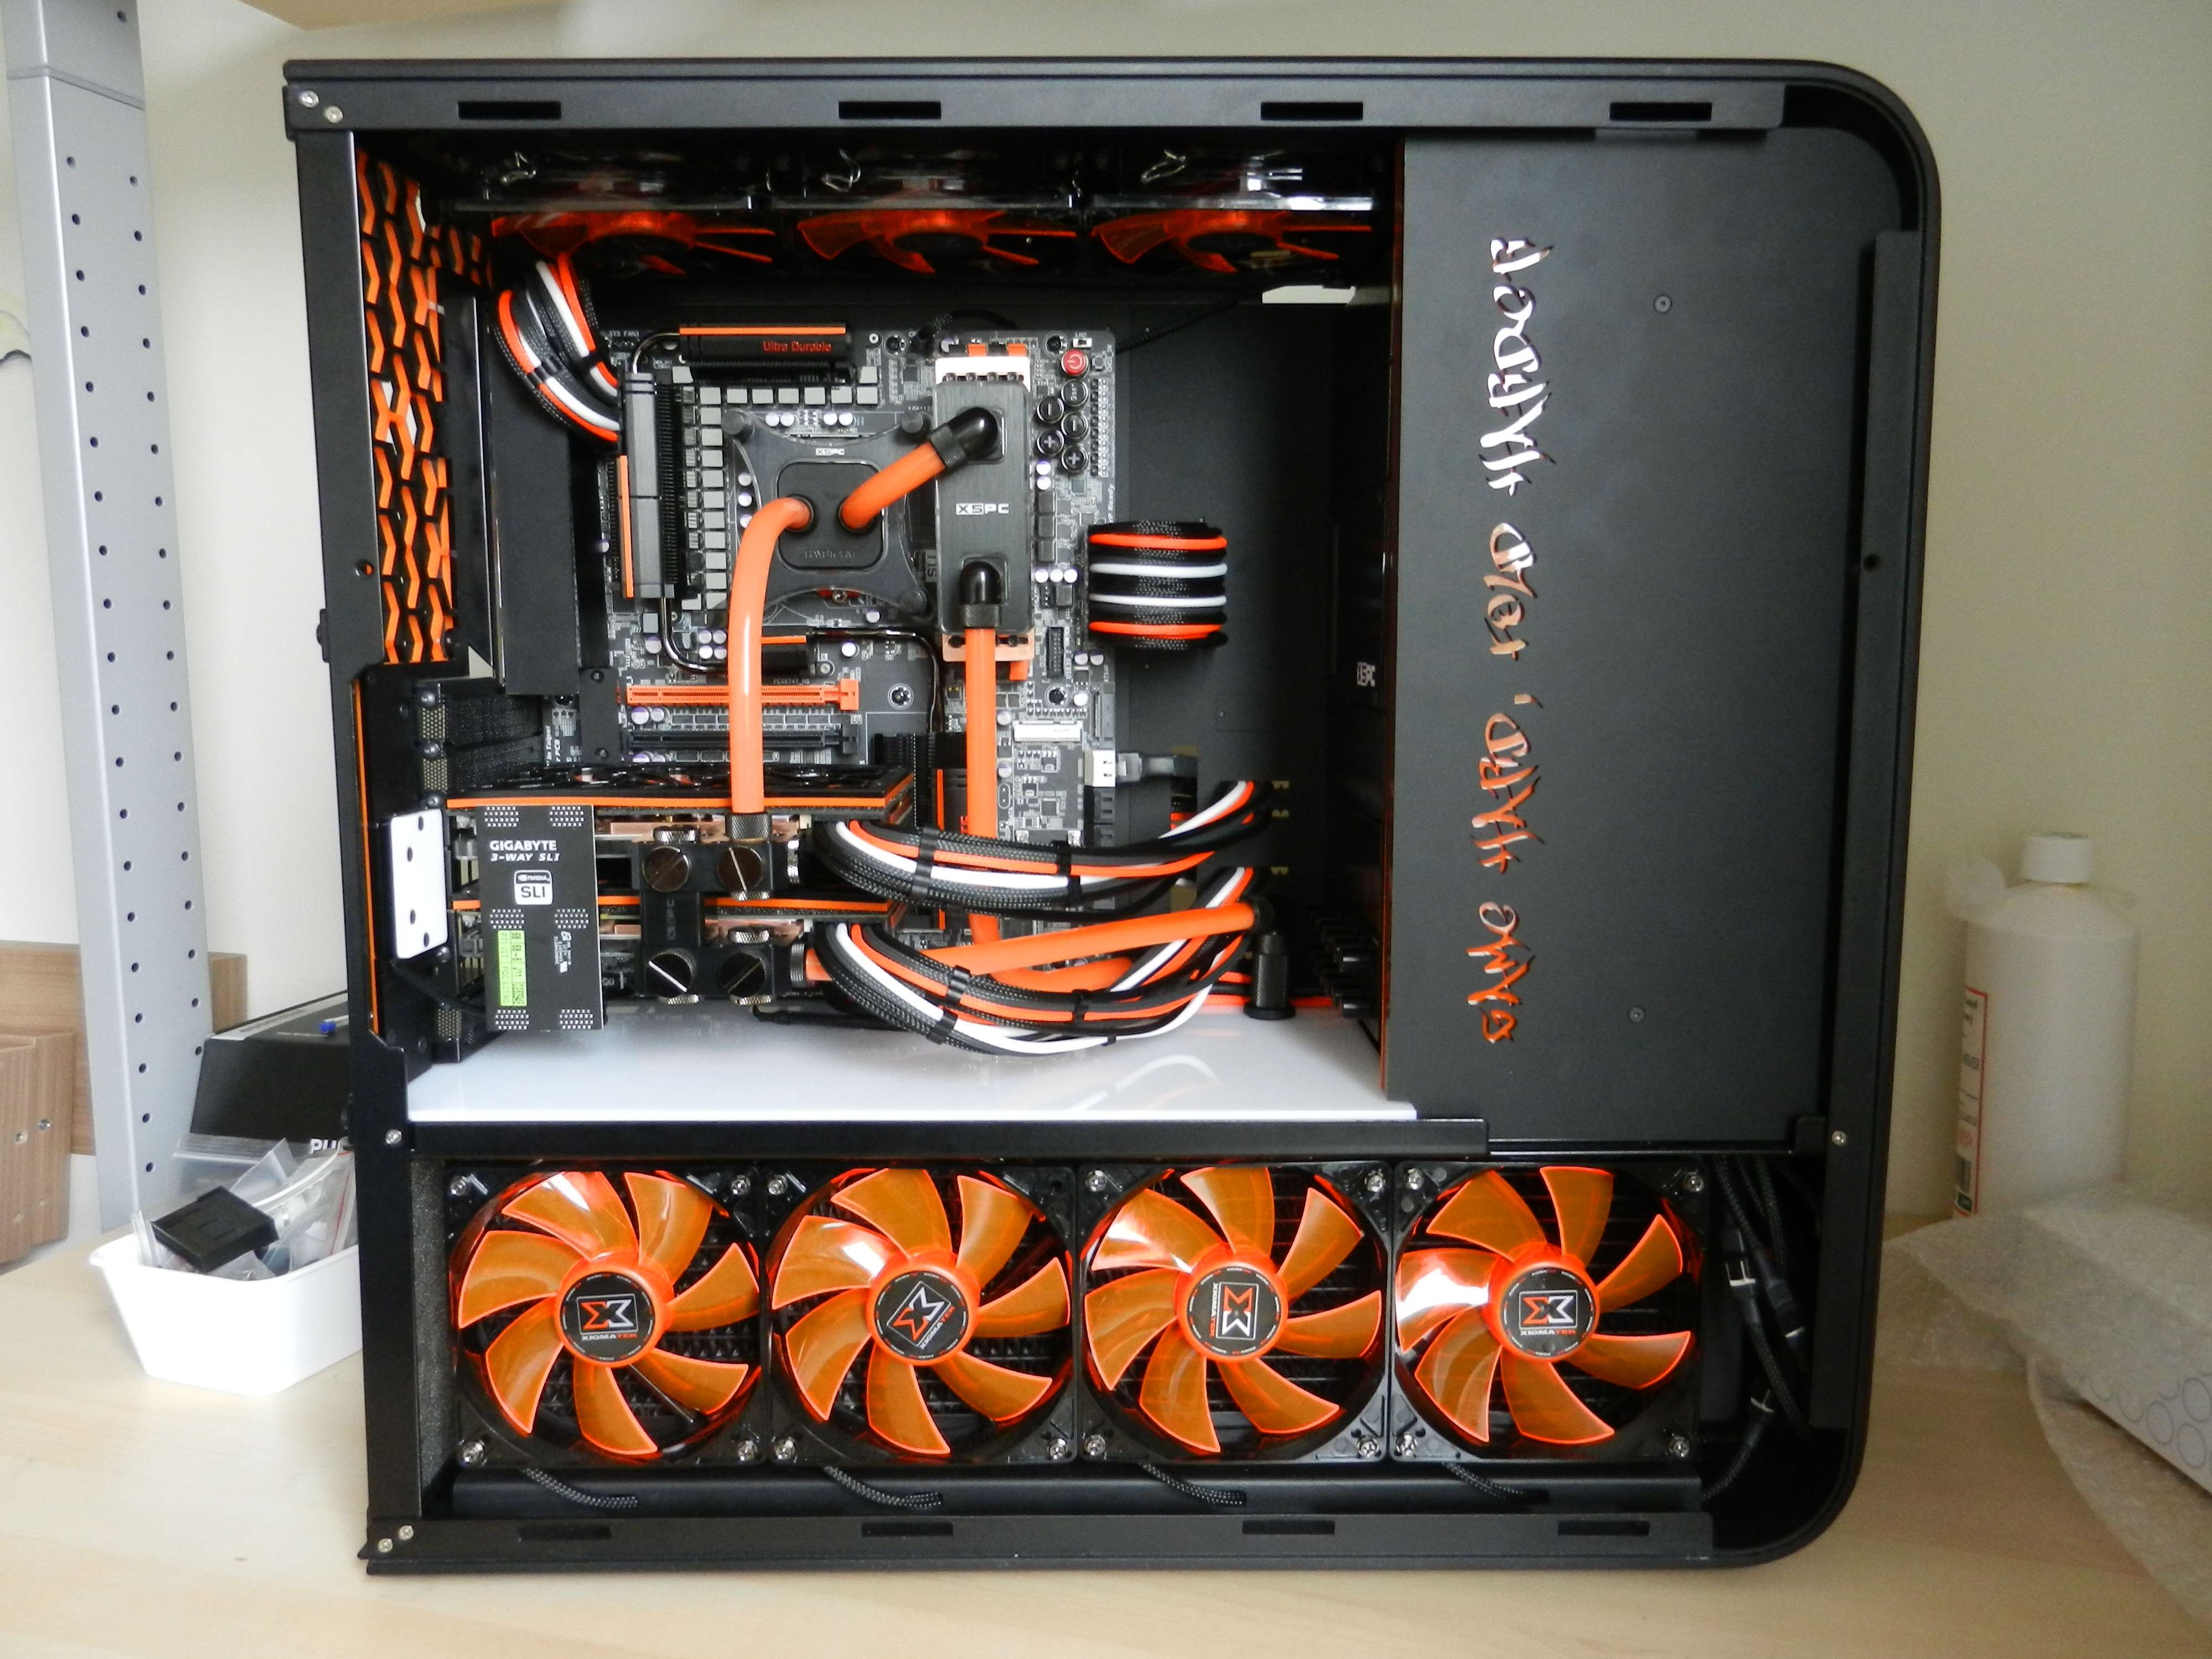
In real life it looks absolutely stunning. I am really happy with it.

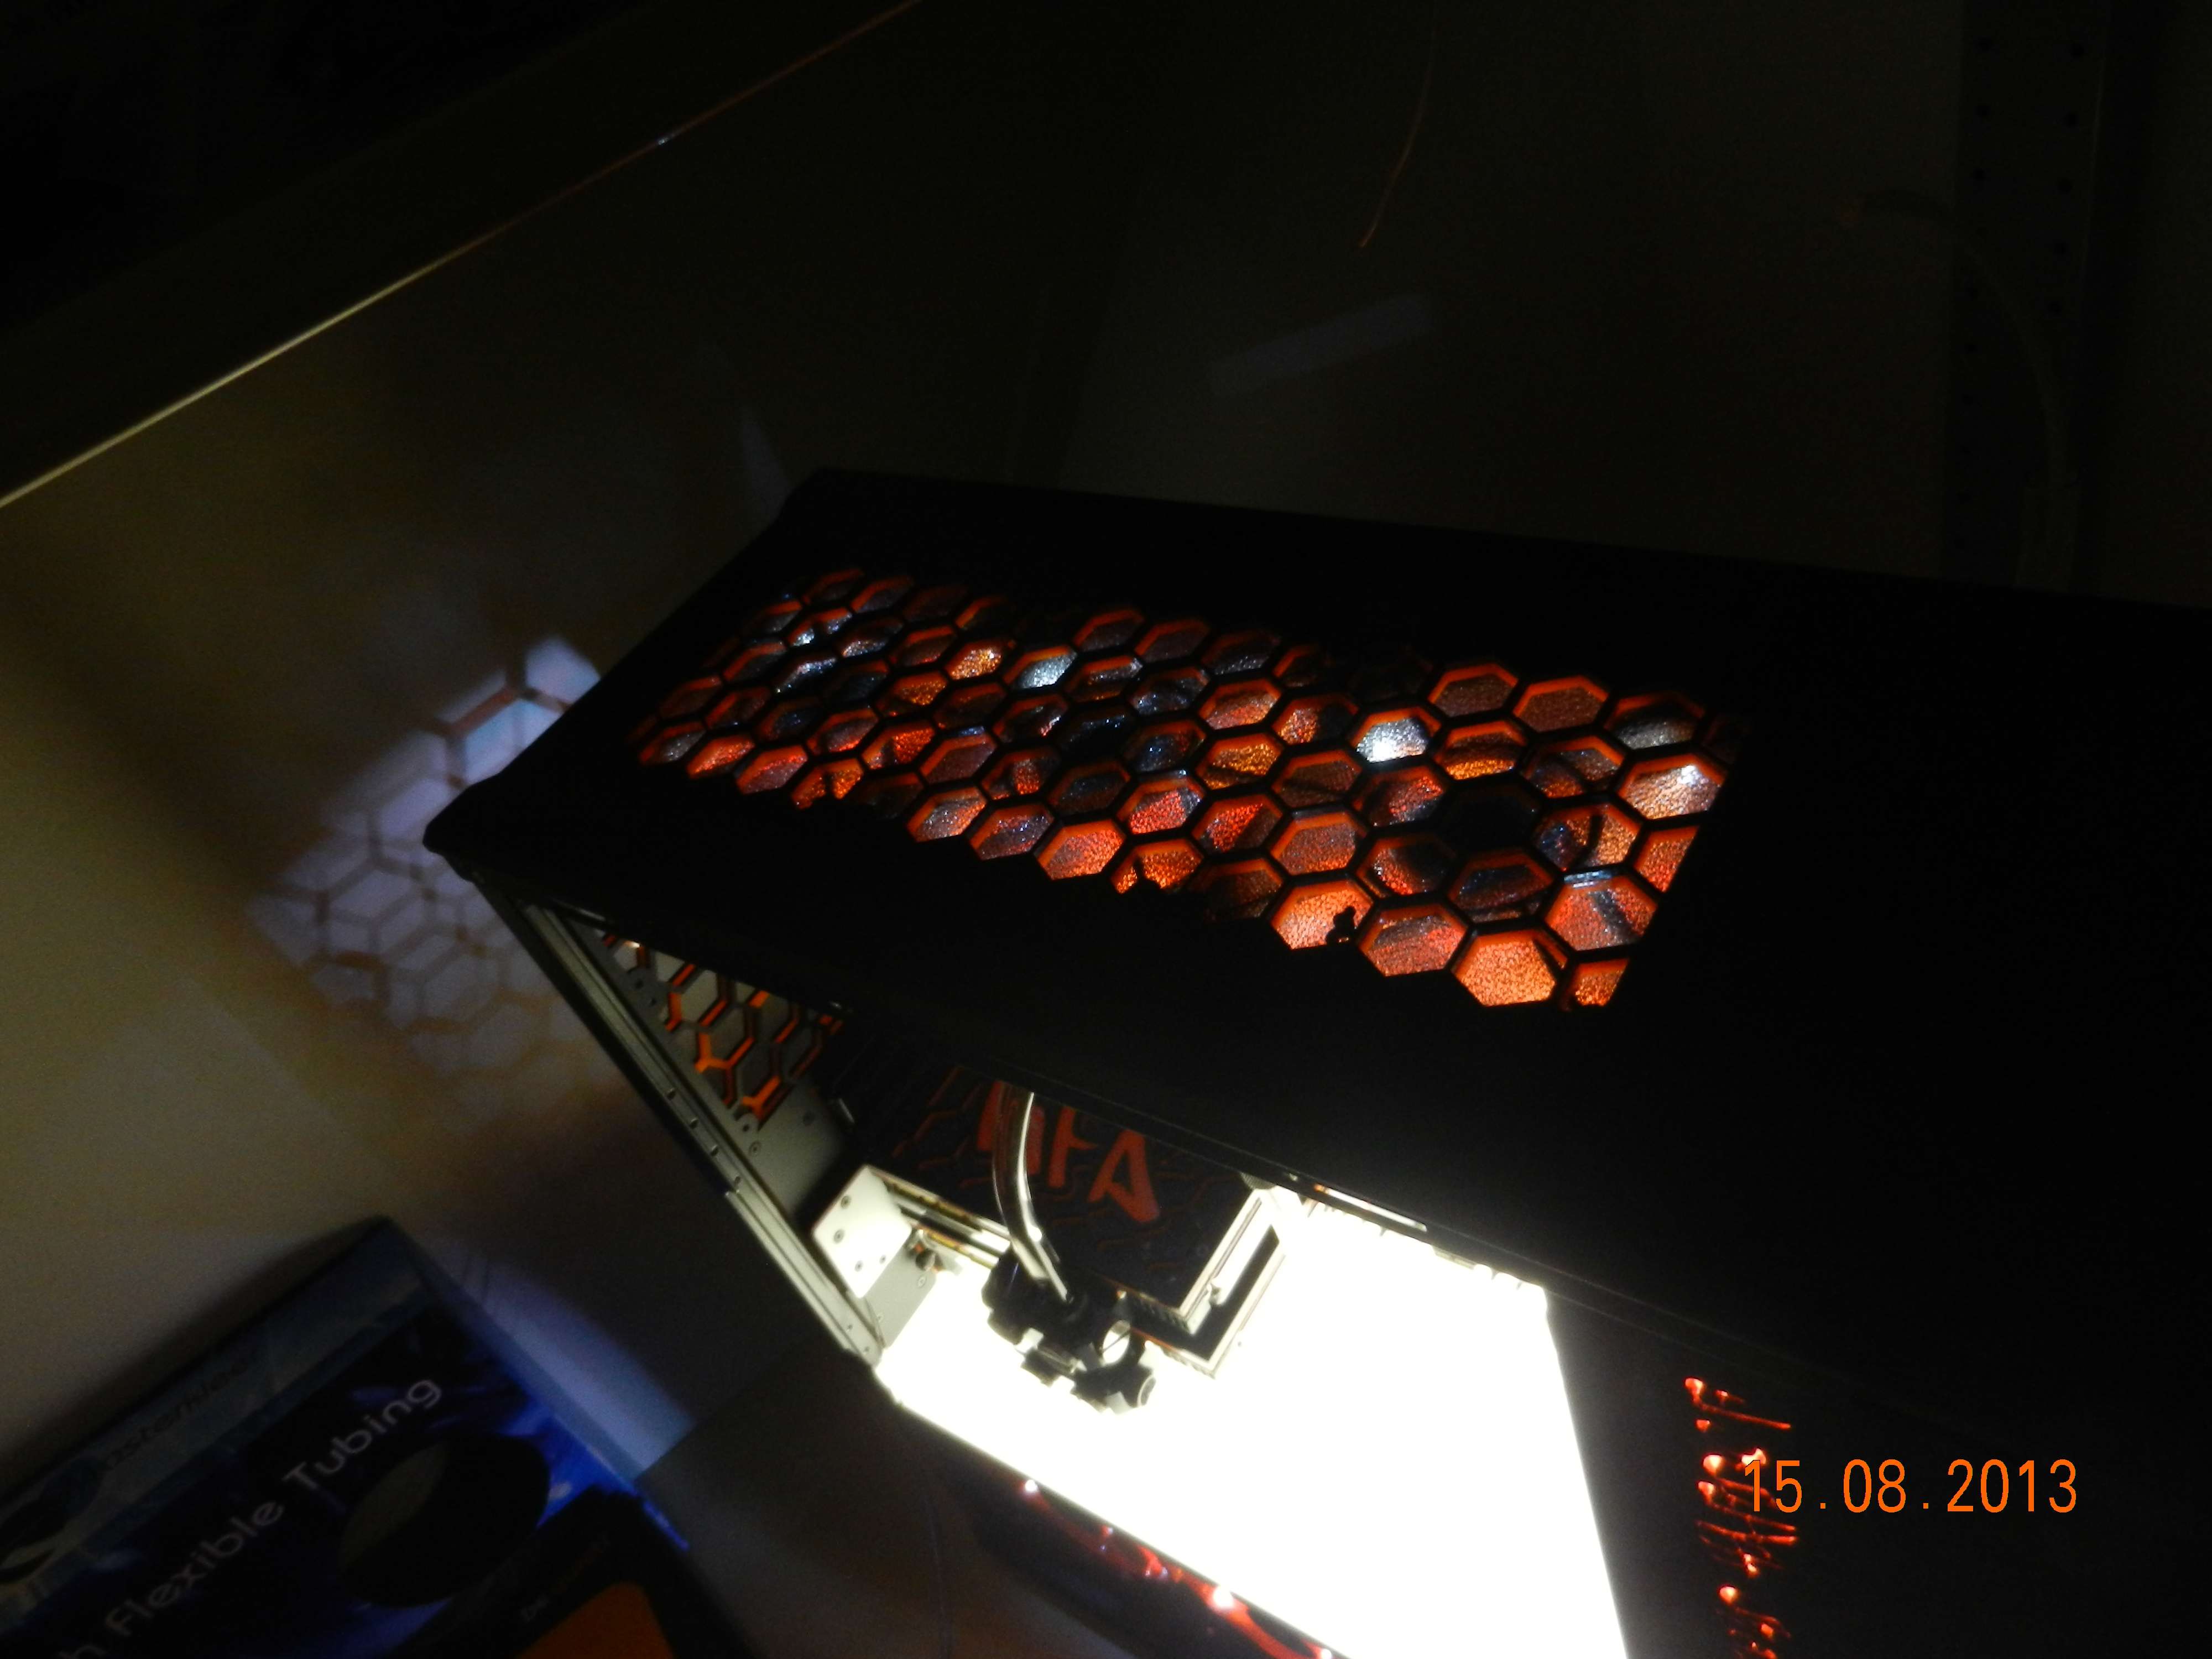
I still need to figure out if I will add some rear fans. I just love the look of the grill like this.


Associate
Joined
10 Jun 2013
Posts
252
Location
Ipswich
Beautiful!

Love the way the everything ties together perfectly, and that 5.25 cover is incredible.

Only problem with larger graphics cards is they cut a lot of light out from a mid plate light box :(
 
Associate
OP
Joined
27 Sep 2012
Posts
593
Location
Netherlands
Beautiful!

Love the way the everything ties together perfectly, and that 5.25 cover is incredible.

Only problem with larger graphics cards is they cut a lot of light out from a mid plate light box :(

Thank you very much.

And to think that they're reference 670s. About the smallest card there is. A 780 will be about 50% longer. But I get what you're saying, that is why all waterblocks will have those single white leds in them. They will make the top hardware visible in a not too shiney way.
 
Associate
OP
Joined
27 Sep 2012
Posts
593
Location
Netherlands
Stunning. Would have maybe liked a wee bit of colour in the fluid to contrast with the light box, but well done Hukkel. Go enjoy her.

She is not finished yet mate. I am just leaktesting with pure water. Mayhems orange will be used for the final. Still need to close the front, adjust the case doors, the plexi SSD etc etc, enough stuff to do.
 
Associate
OP
Joined
27 Sep 2012
Posts
593
Location
Netherlands
I thought I read that a while back. derp.

I'll just sit back and wait :p

No problem mate. I just finished emptying the loop. Disassembled the things and am now busy doing the final cables in the front and closing it up. After that it is assembling and filling with the good stuff :)

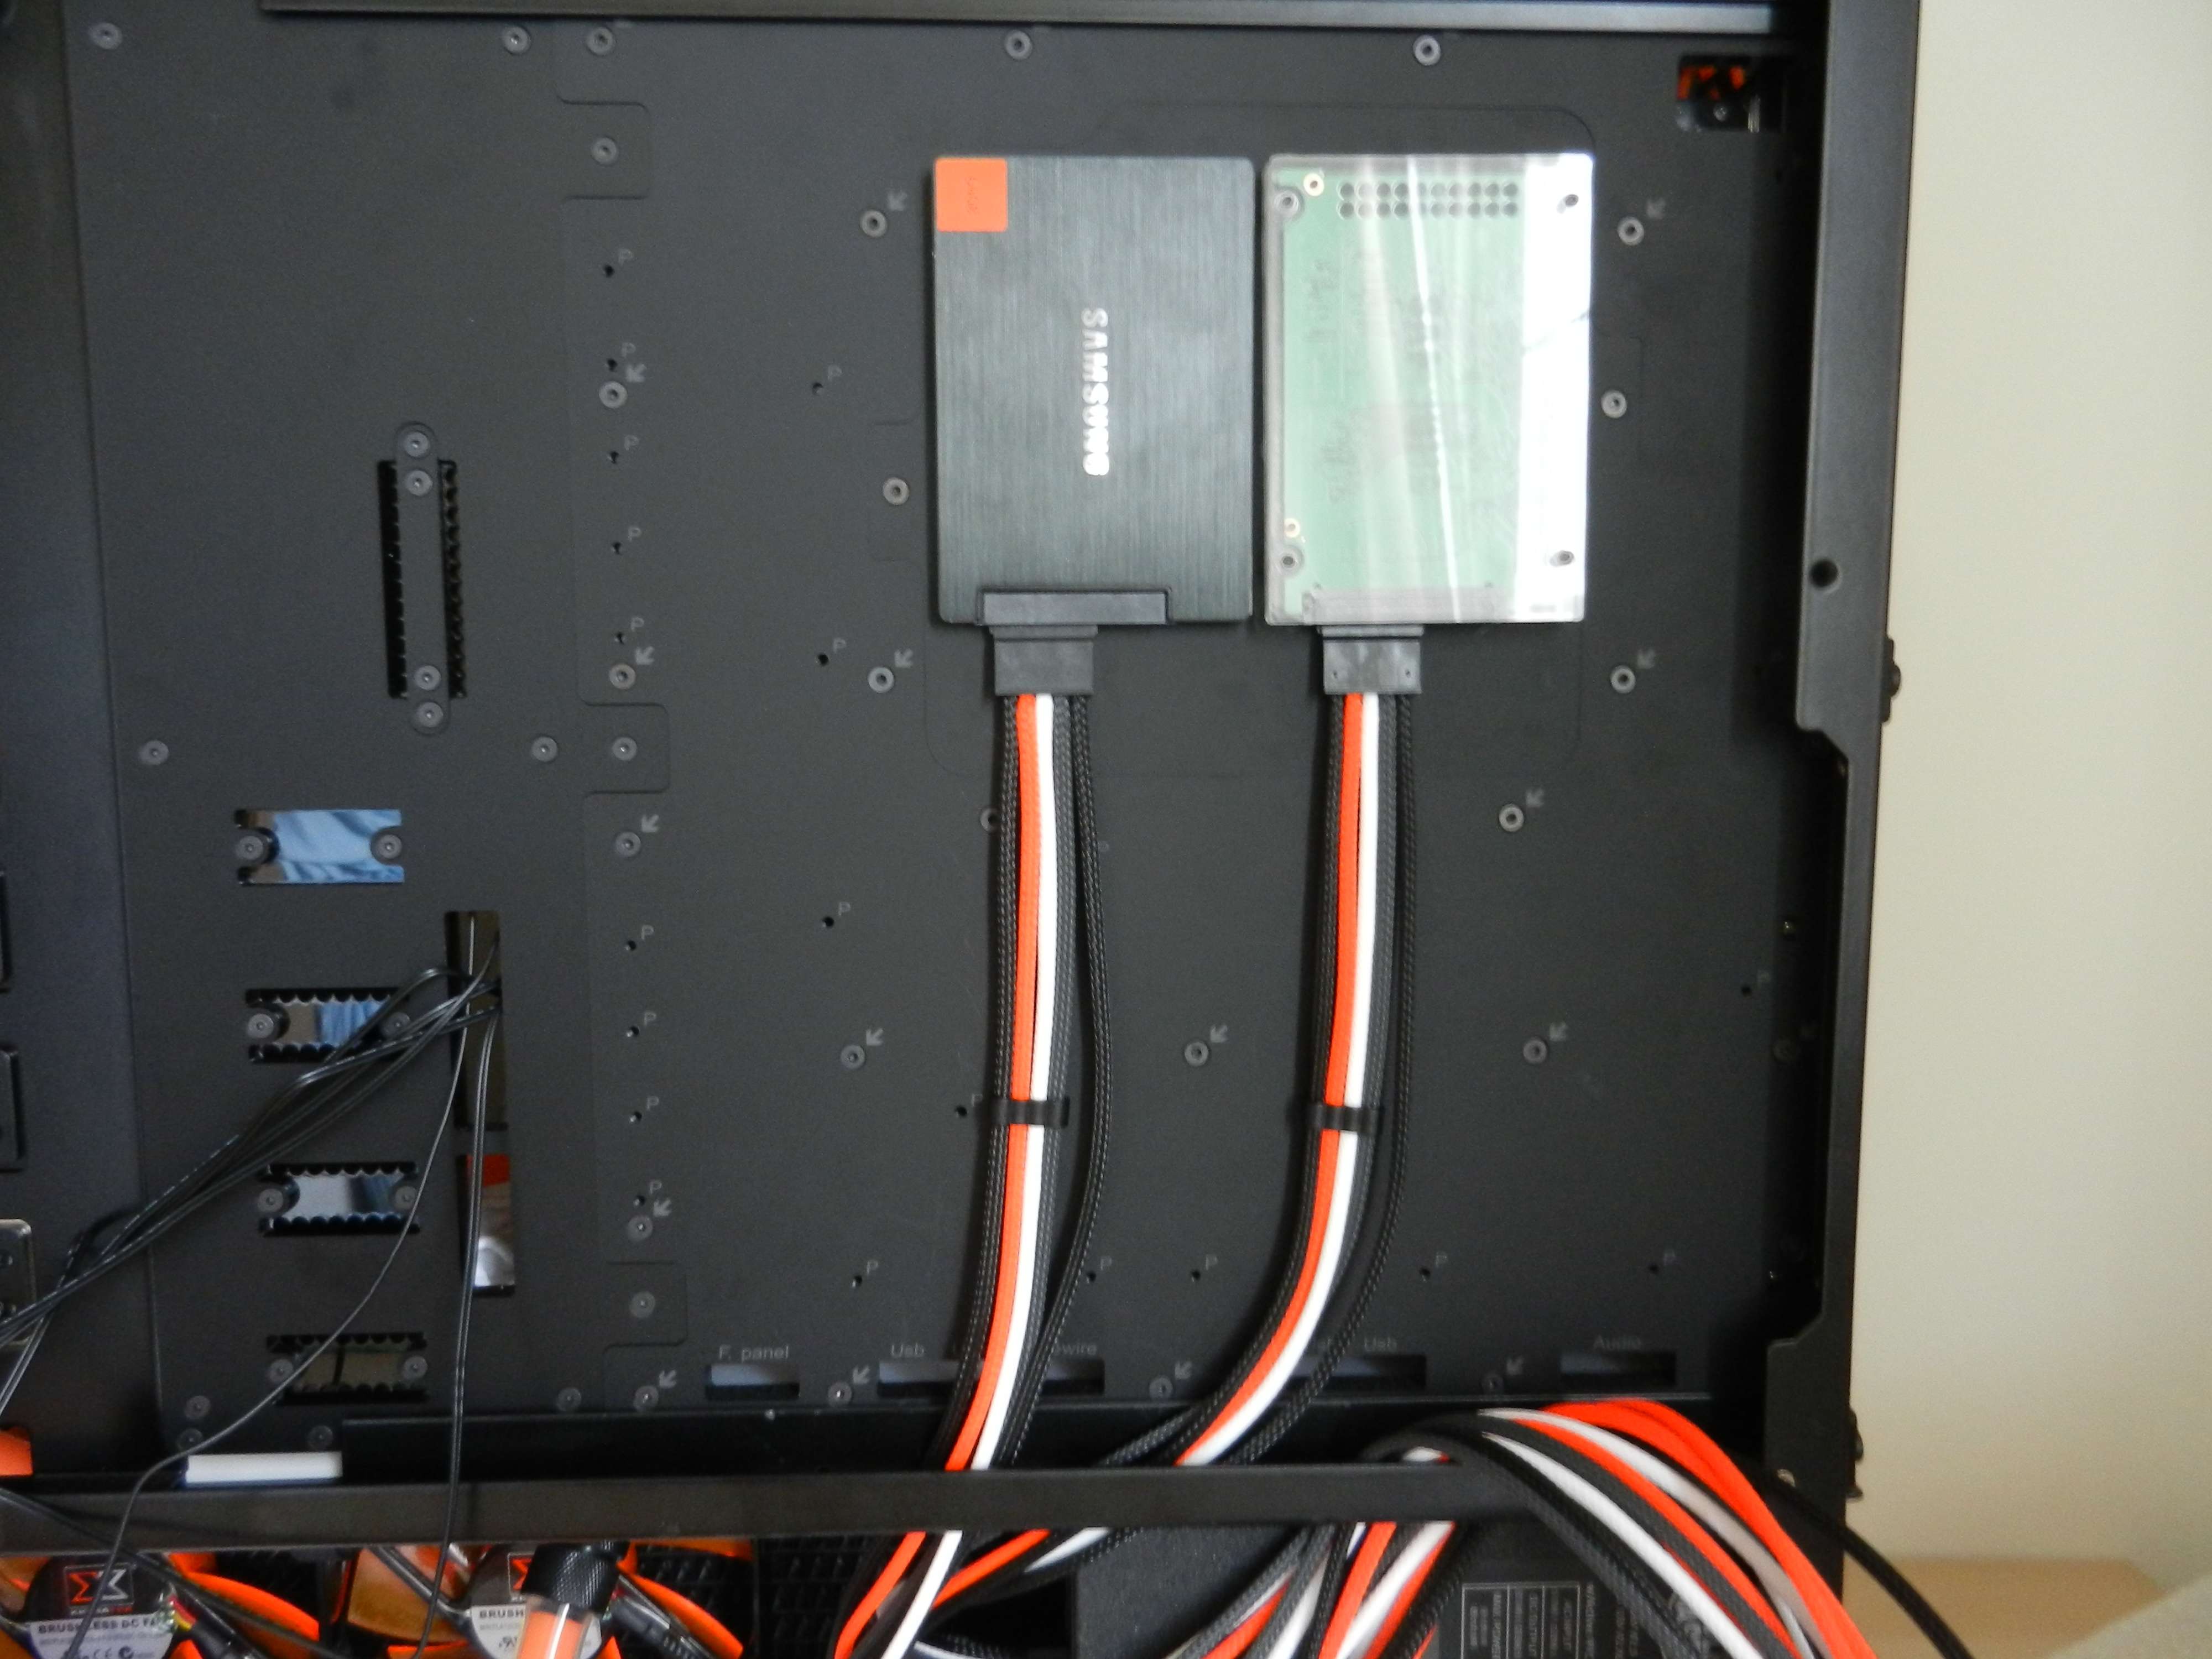
I still need to do the custom cables to the SSDs, but other than that I don't see a reason why I can't have it up and running soonish. Unless I have some DOA stuff :(
 
Associate
OP
Joined
27 Sep 2012
Posts
593
Location
Netherlands
I got a lot of work done today.
I started by draining the loop.
I now know the res and it's fittings aren't leaking.
I did some final cable management. Like sleeving the two 5mm leds going to the back of the reservoir.
Then I took the motherboard slide out, the midplate and the sidecover.
I fitted all the bay covers.

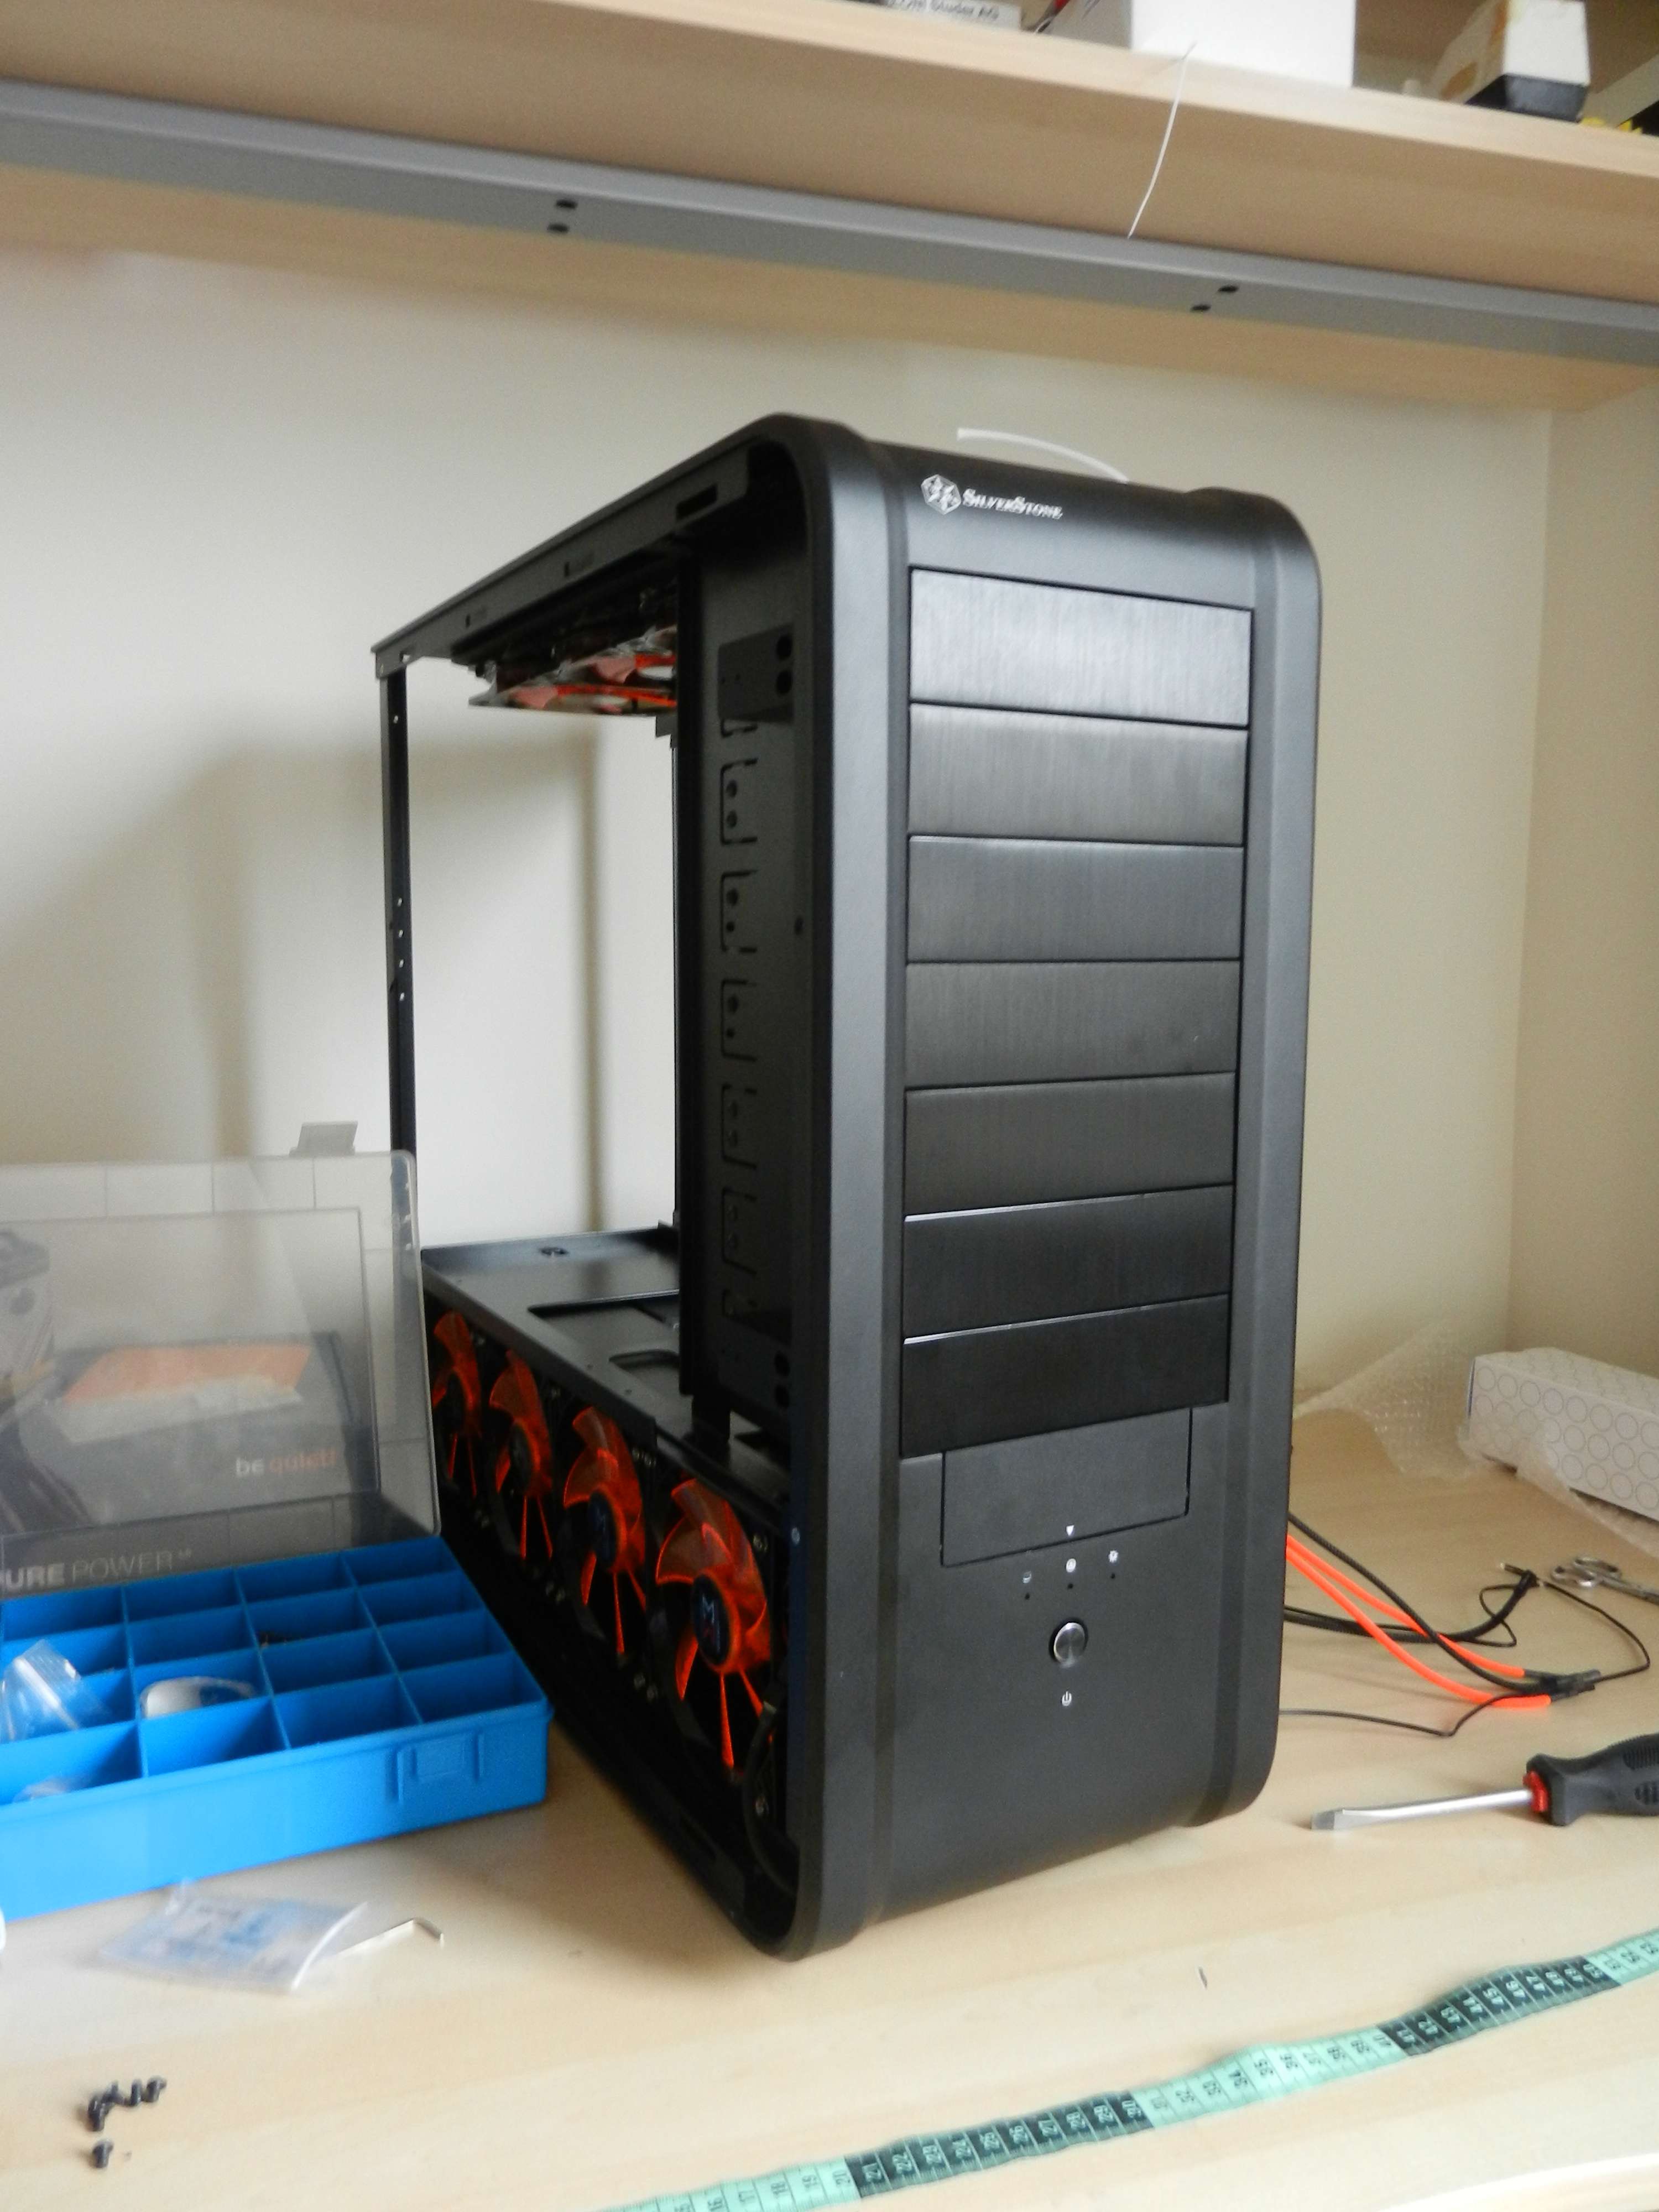
Isn't it a beauty? So many people doing stuff with the front. But I personally love it how it is like this. Filled up with the annodised aluminum covers.

Put it all together and plugged the midplate and side lightbox in the fancontroller again (which was a pain to say the least :D ).

Fit all the fittings again.

Filled it up with Mayhems pastel orange.
It is funny to see how this turns a bit... salmon coloured through the tubing, but is bright orange through the plexi pipes.

And then the final leaktest before plugging in all the PSU cables.

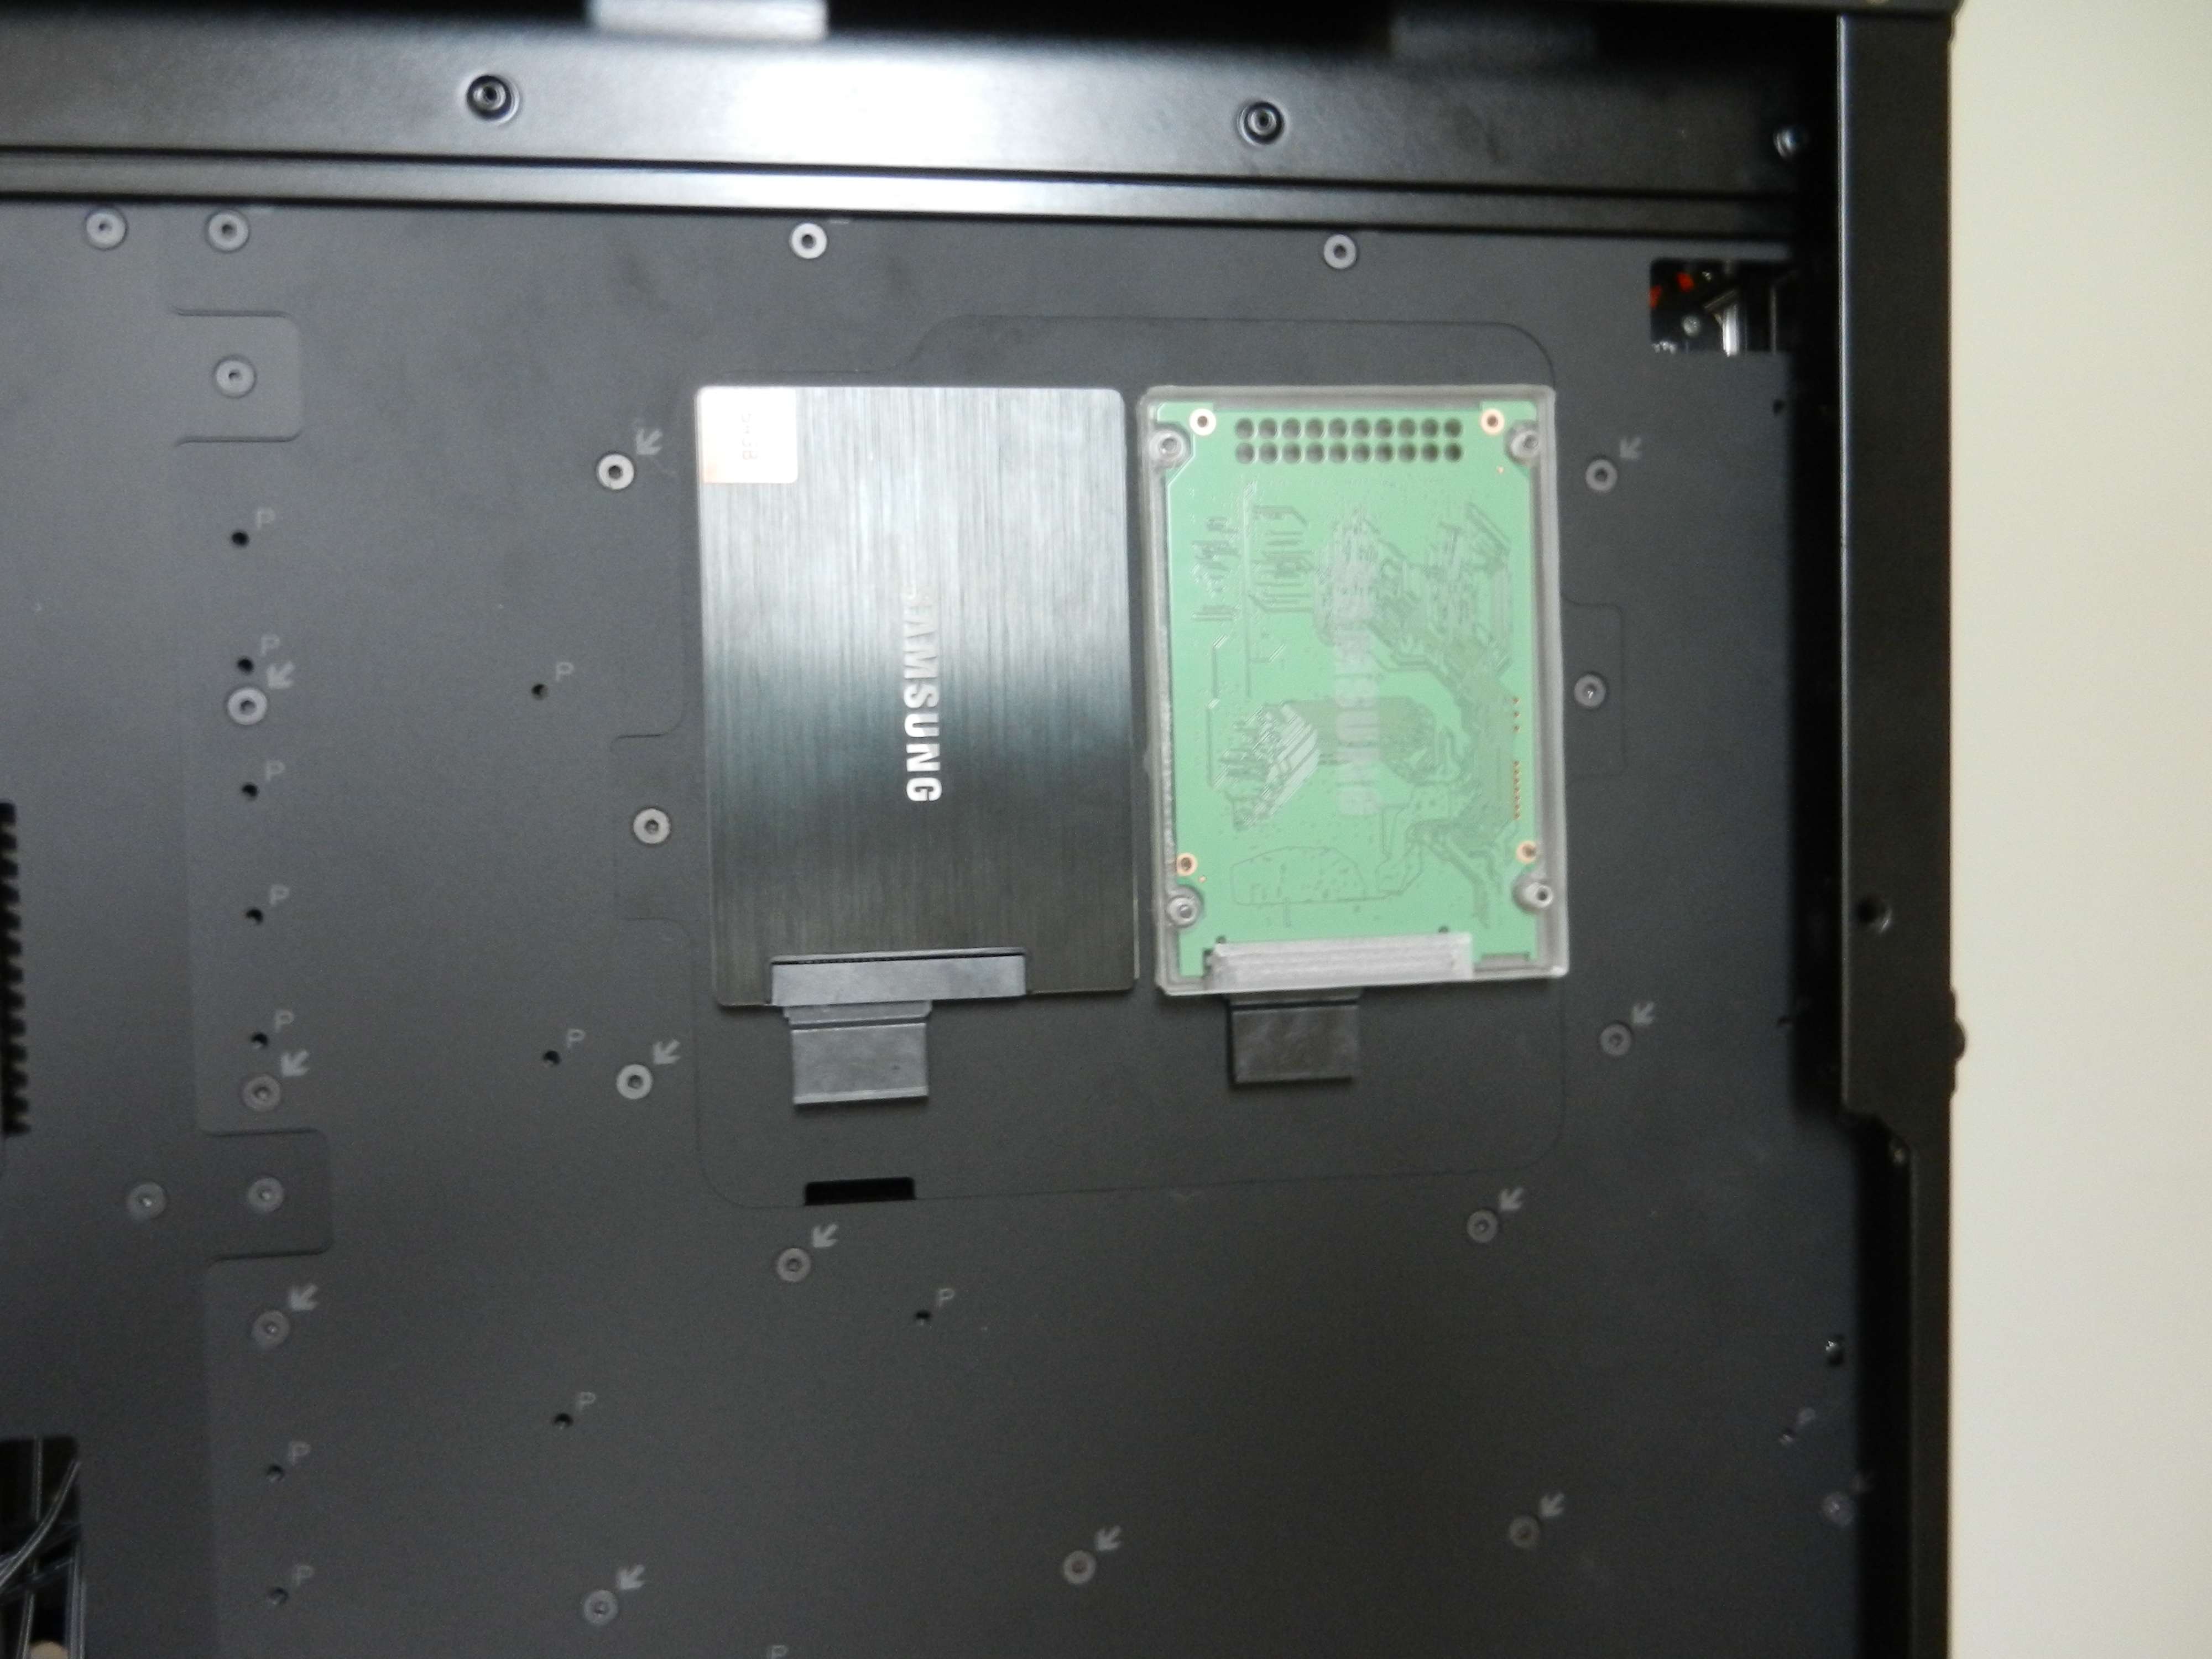
I also fitted the 2nd SSD on the back. The plexi one.

I am very much doubting this.
I can a) leave it like this or b) put a black piece of whatever under the top or c) ditch the entire idea and put it back in the original Samsung casing and leave it at that.

What do you guys think?

And what about the LEDs in the waterblocks? I really liked it when there was clear fluid in there. But with the orange fluid, it seems to look out of place.

??????????????


Associate
OP
Joined
27 Sep 2012
Posts
593
Location
Netherlands
I reckon that the res LEDs will look more 'in place' when you get the gpu/24pin cables in. The white cables should pop nicely and tie it together.

Not that it looks off as it is :)

Thanks Petey. Maybe you are right. I will finish it and then decide :)

thats sick:D

I hope the good sick ;)
Thanks Divx

----------------------------------

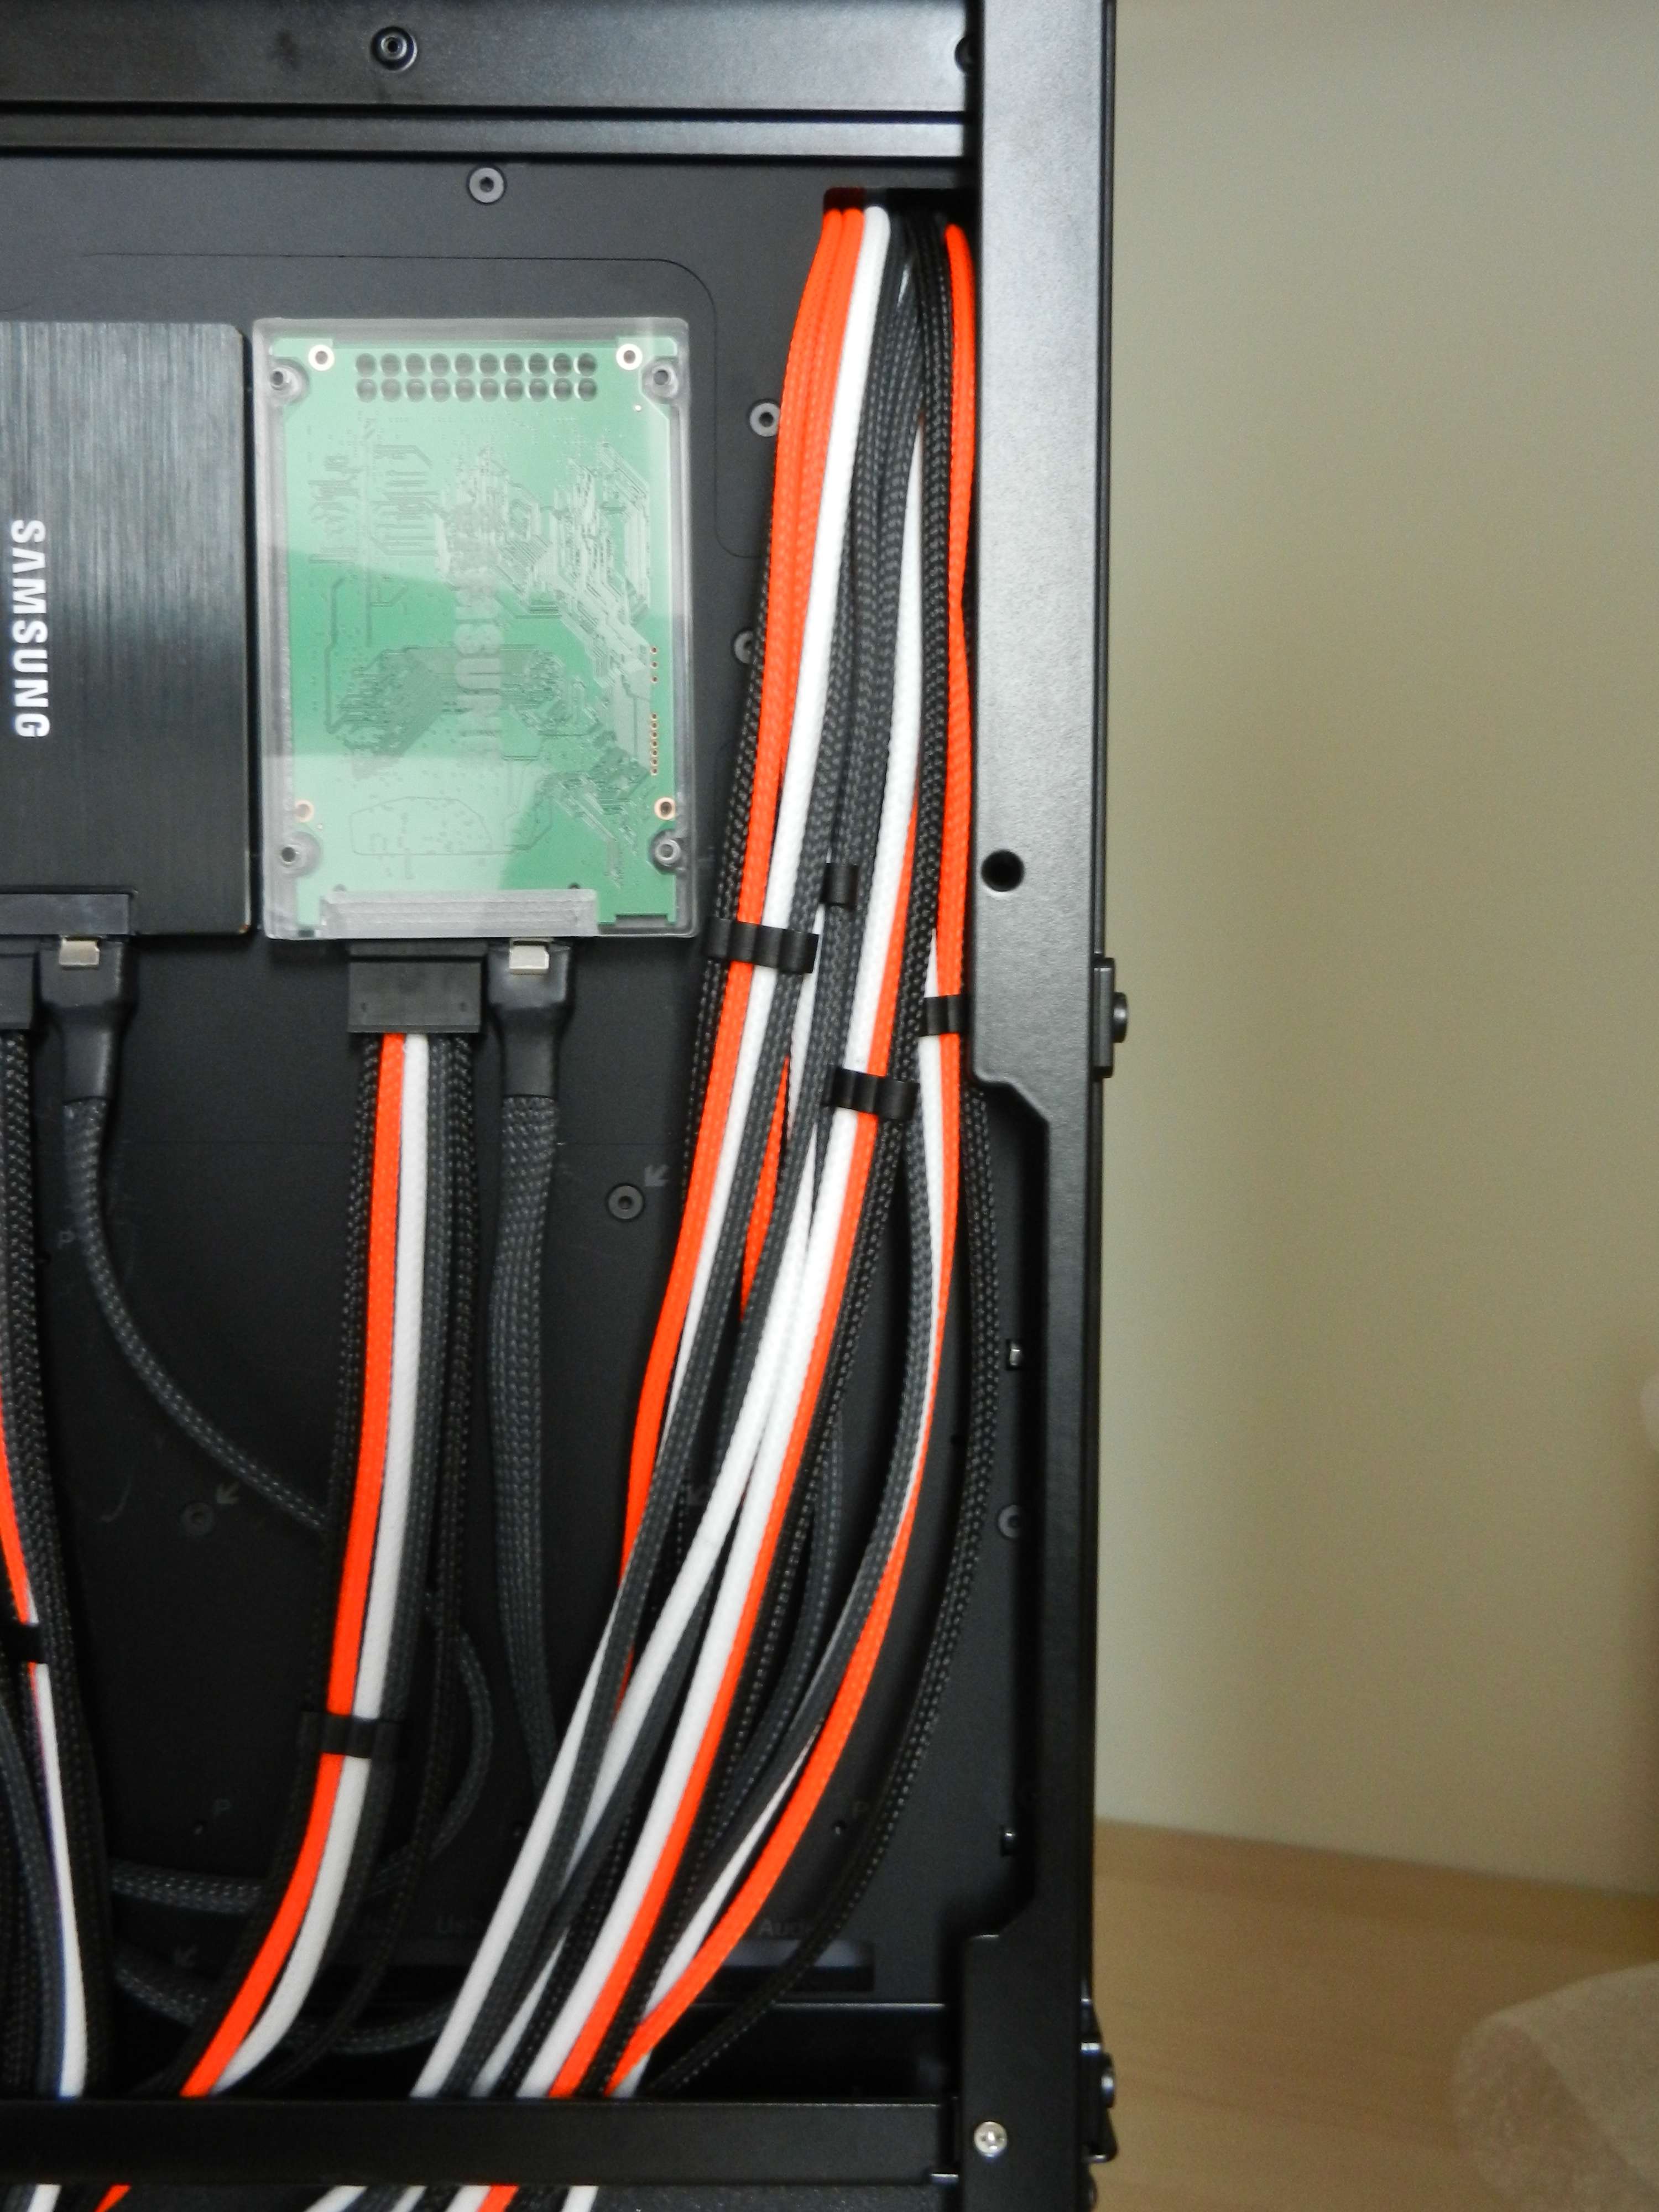
A small update untill now. I made two custom SATA power cables.
Both being one SATA connector per cable. I think this way the cables look much cleaner.
I will need to make another for the motherboard itself (near te sata data ports).

I am so close to a startup I can taste is now :D

 
Associate
OP
Joined
27 Sep 2012
Posts
593
Location
Netherlands
You'll miss the fiddling when it's all over ;)

Dunno why I said res LED's btw...
hahaha nah man too many projects and potential projects to work on.

-----------------------------------------------

Not a really big update.
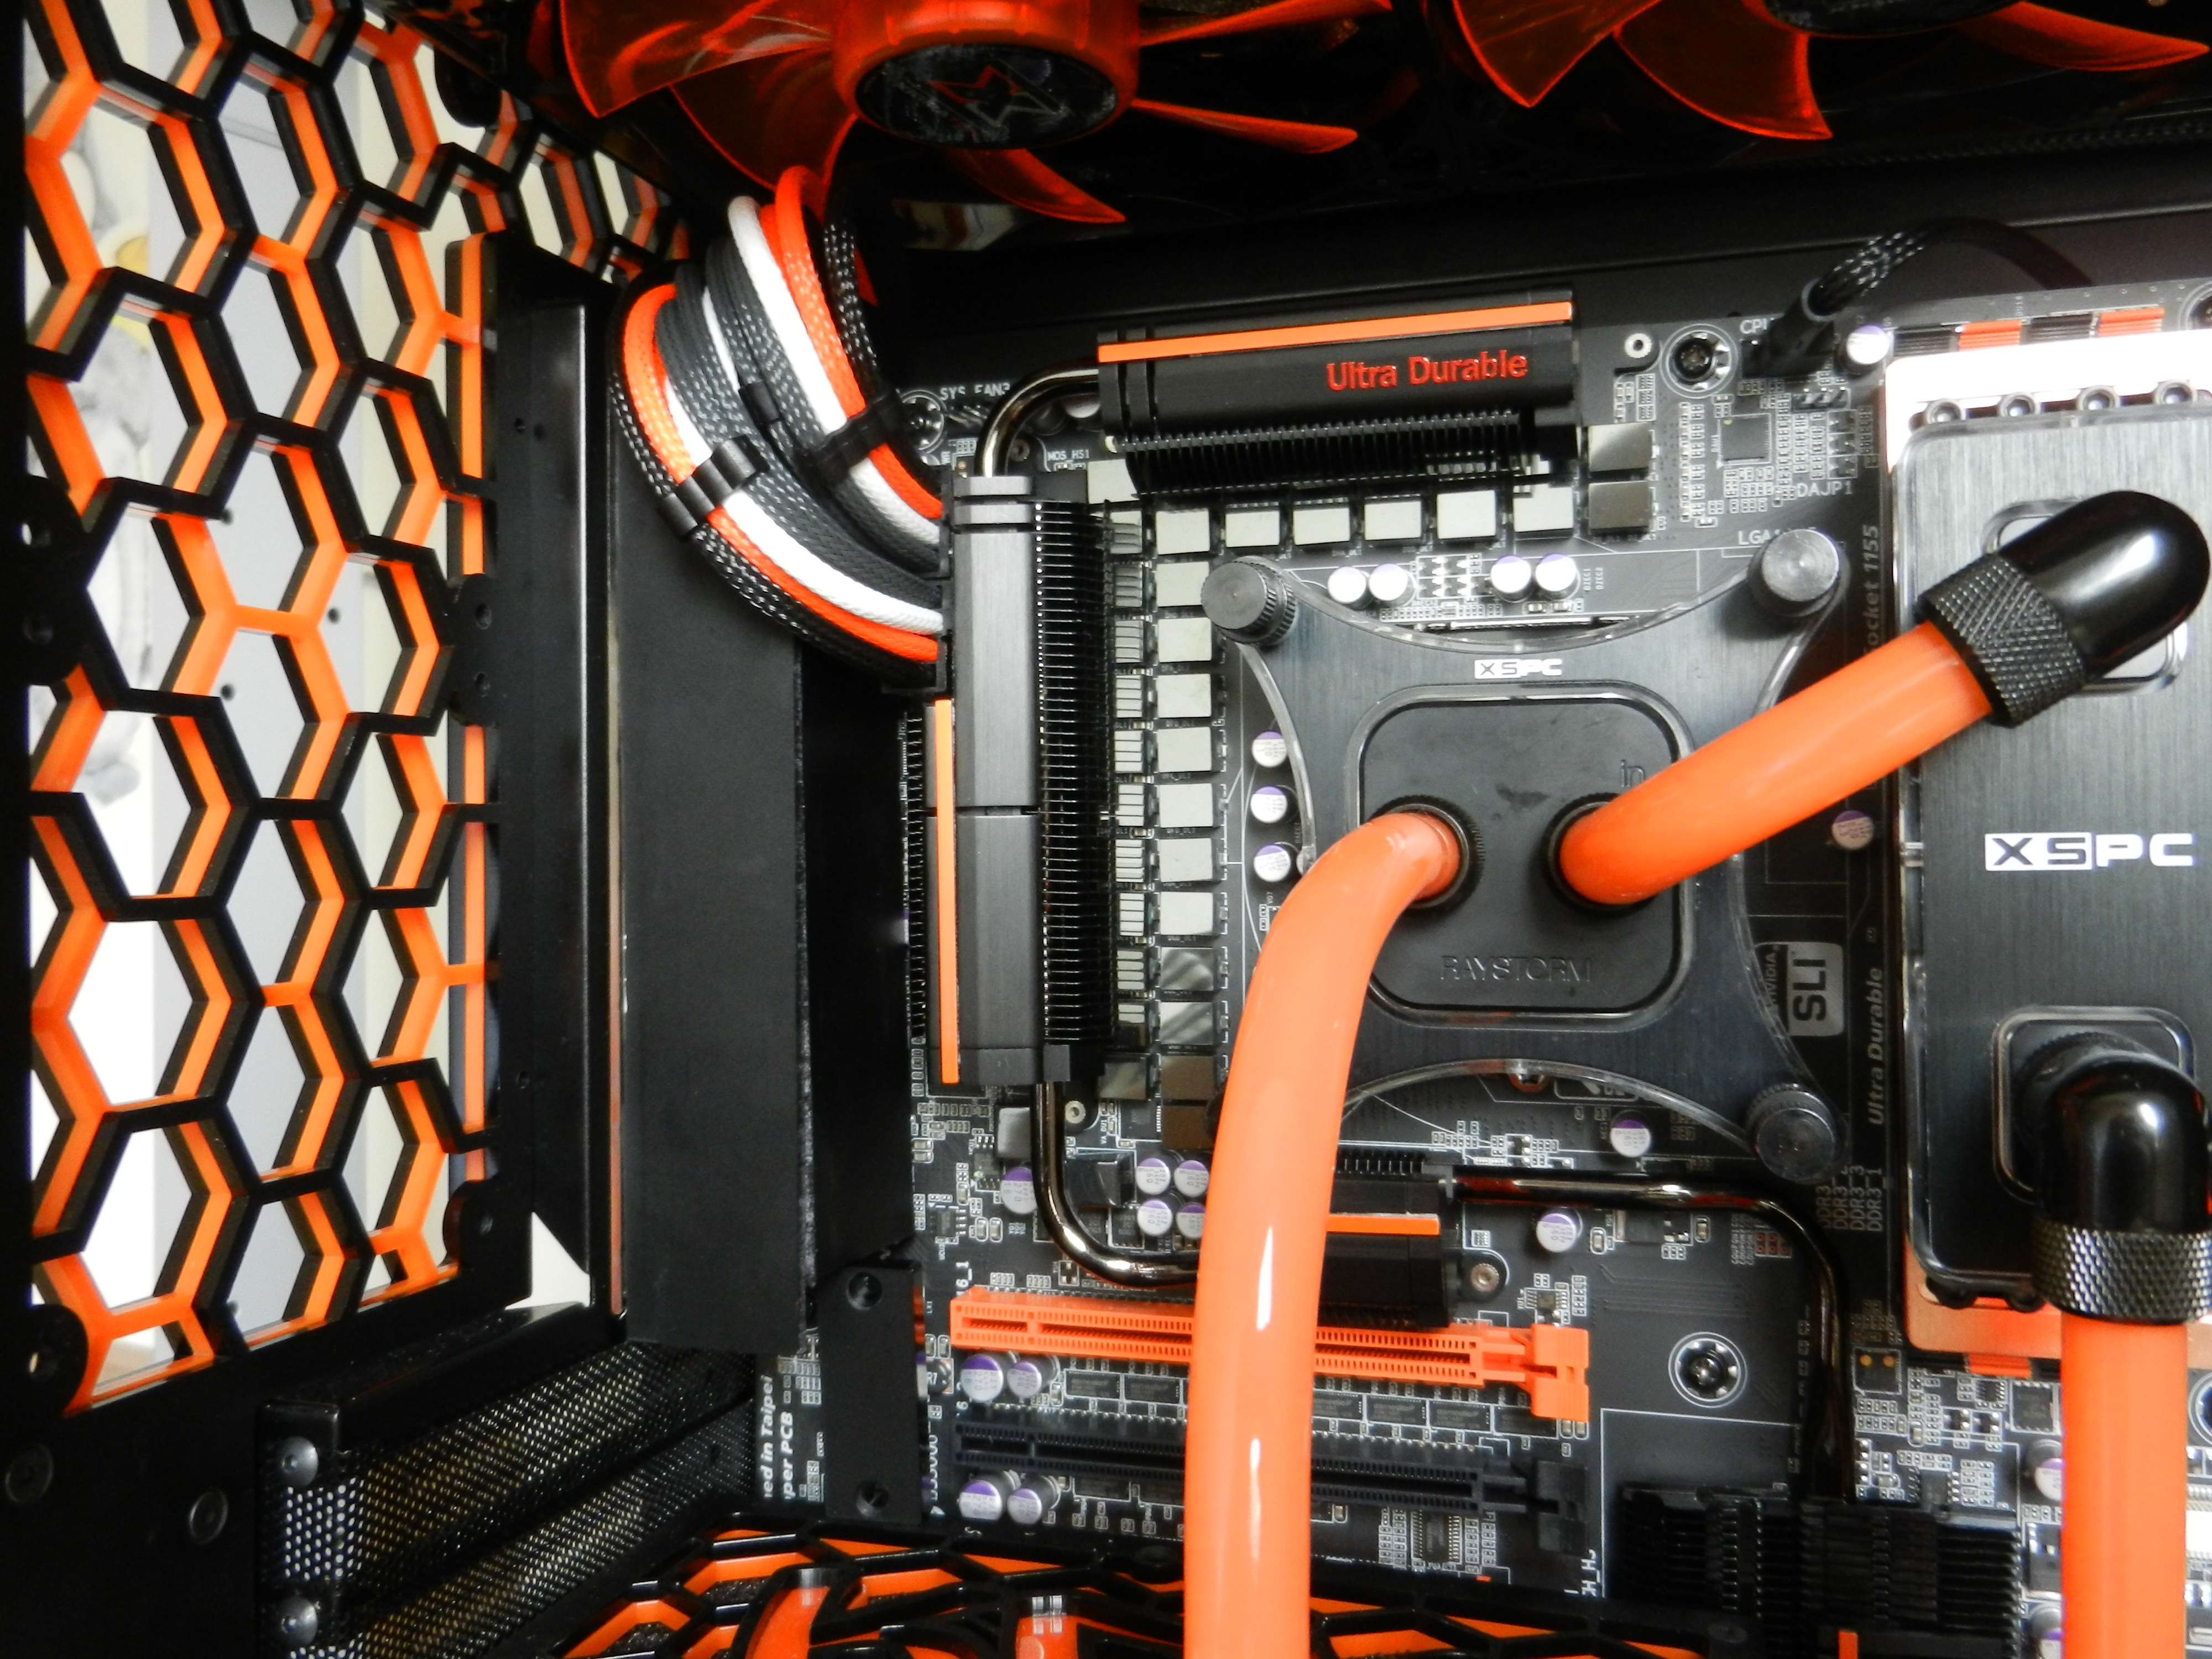
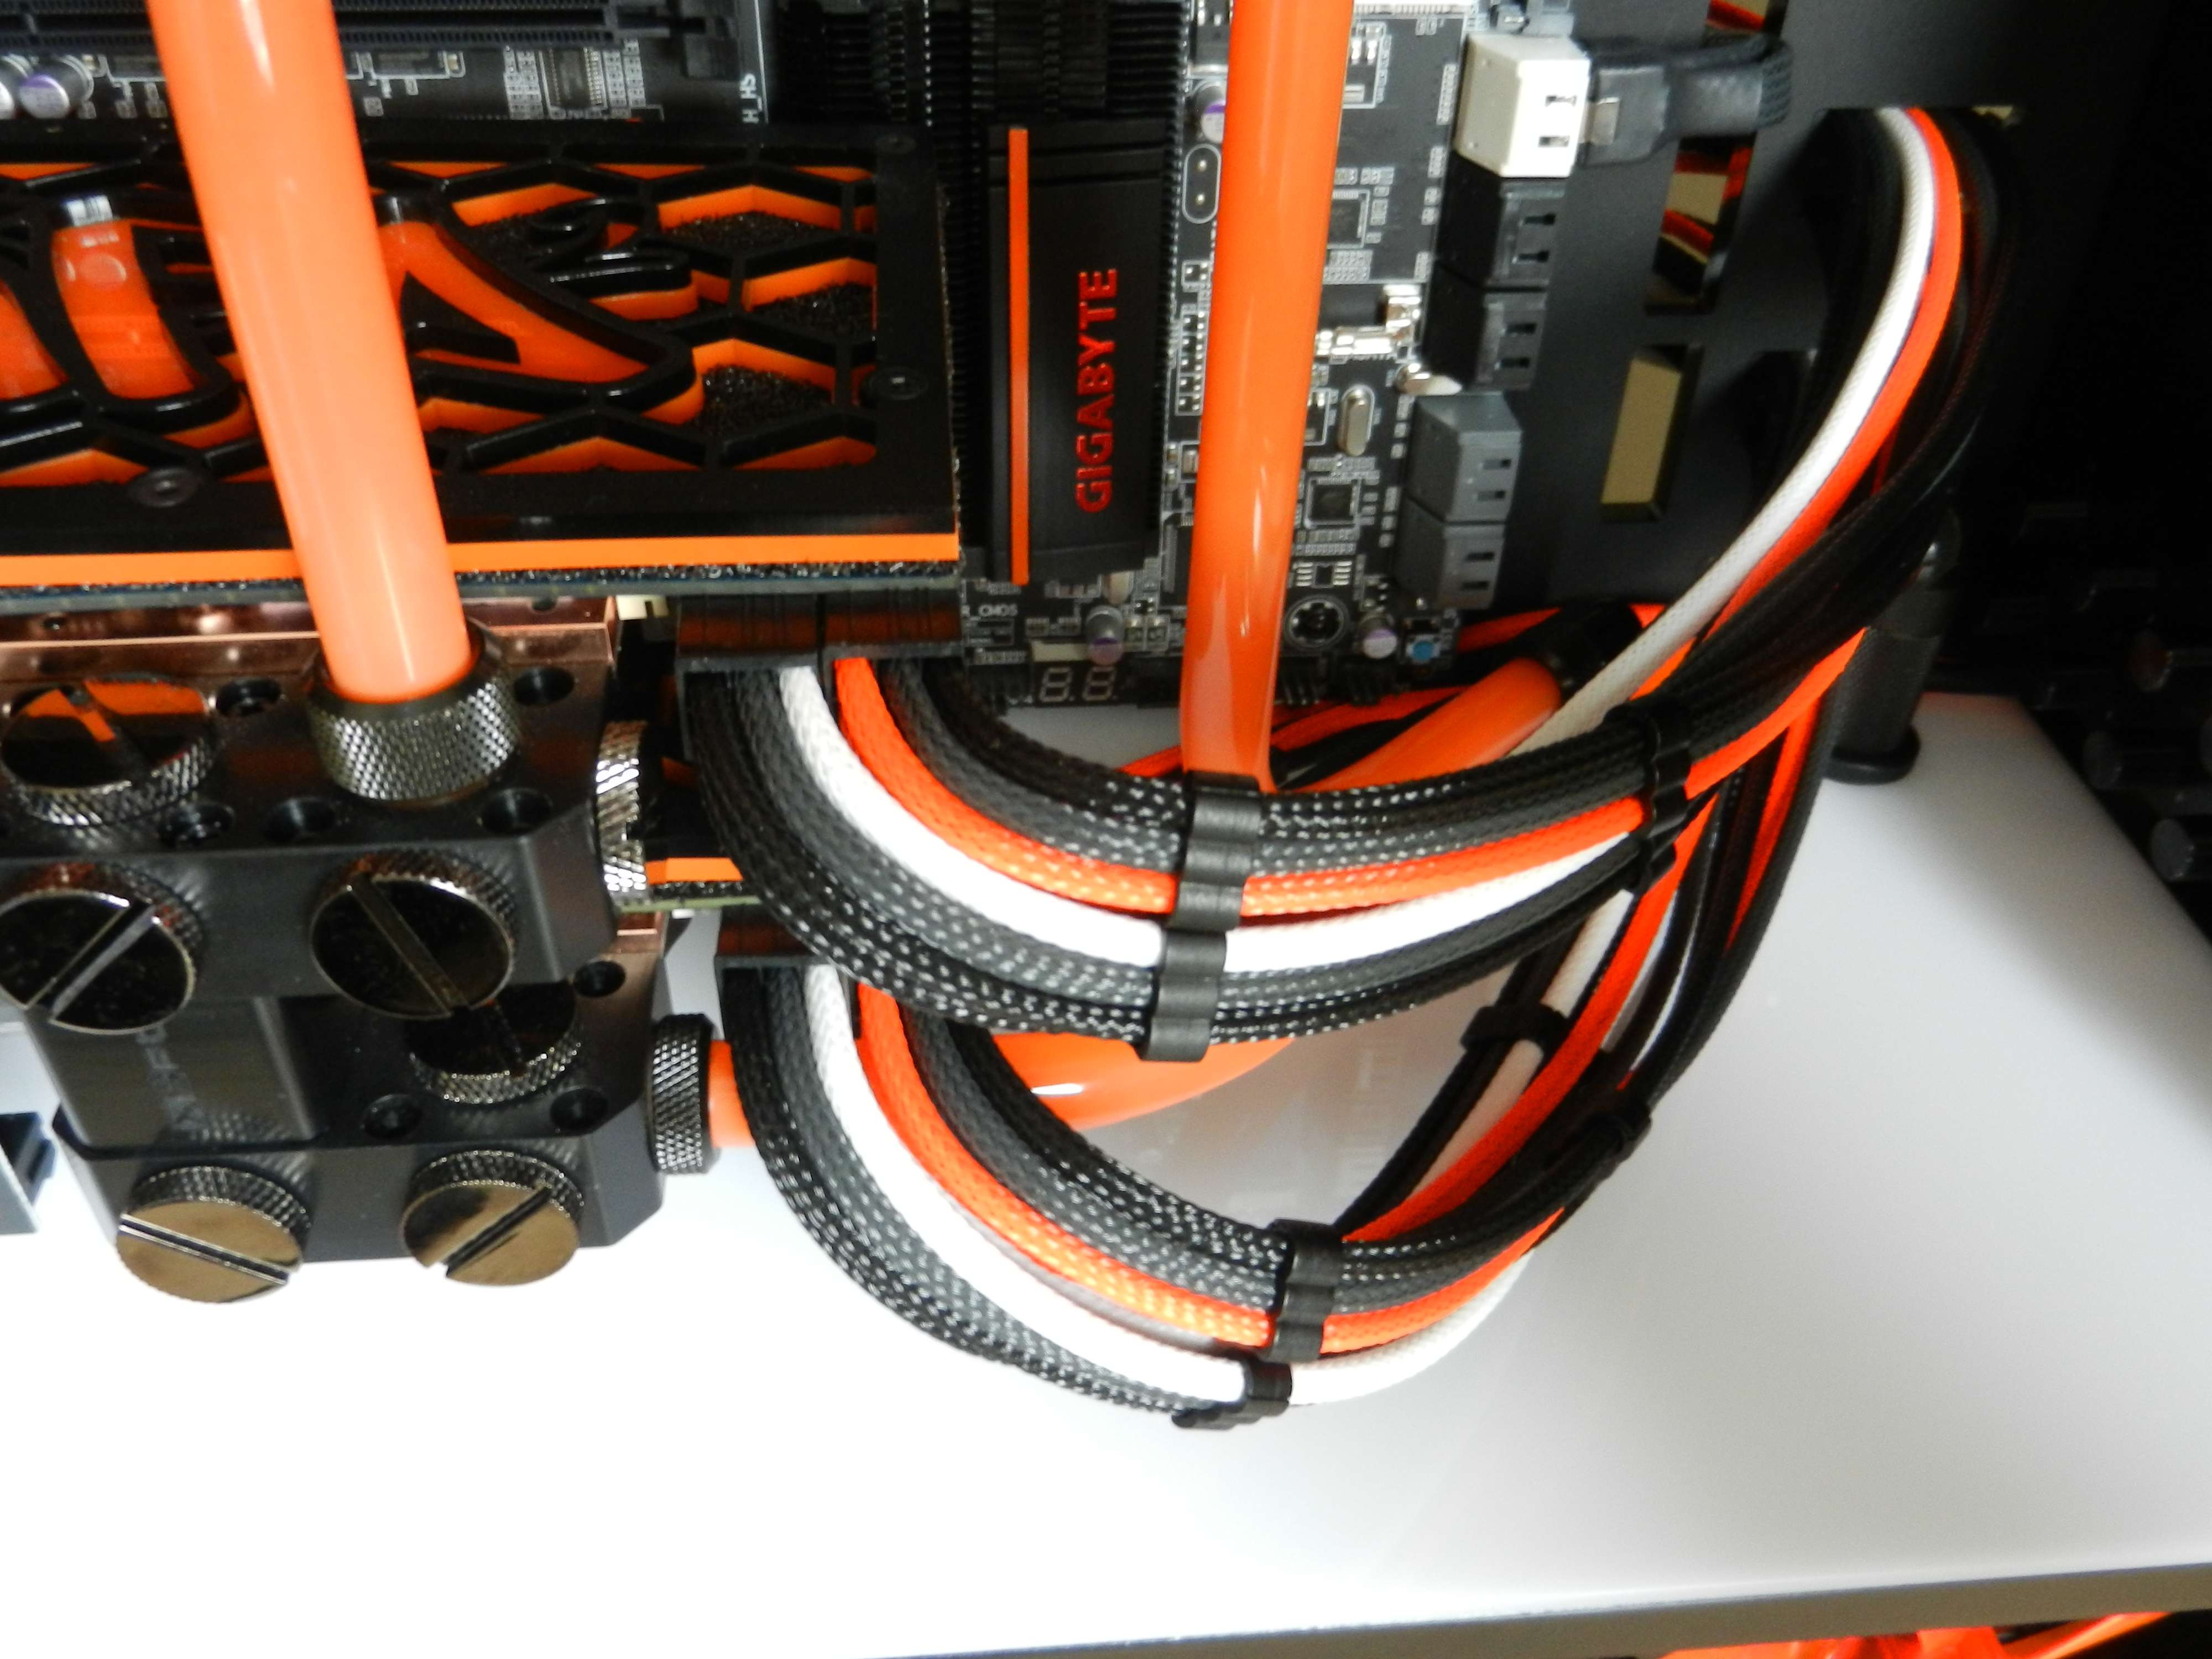
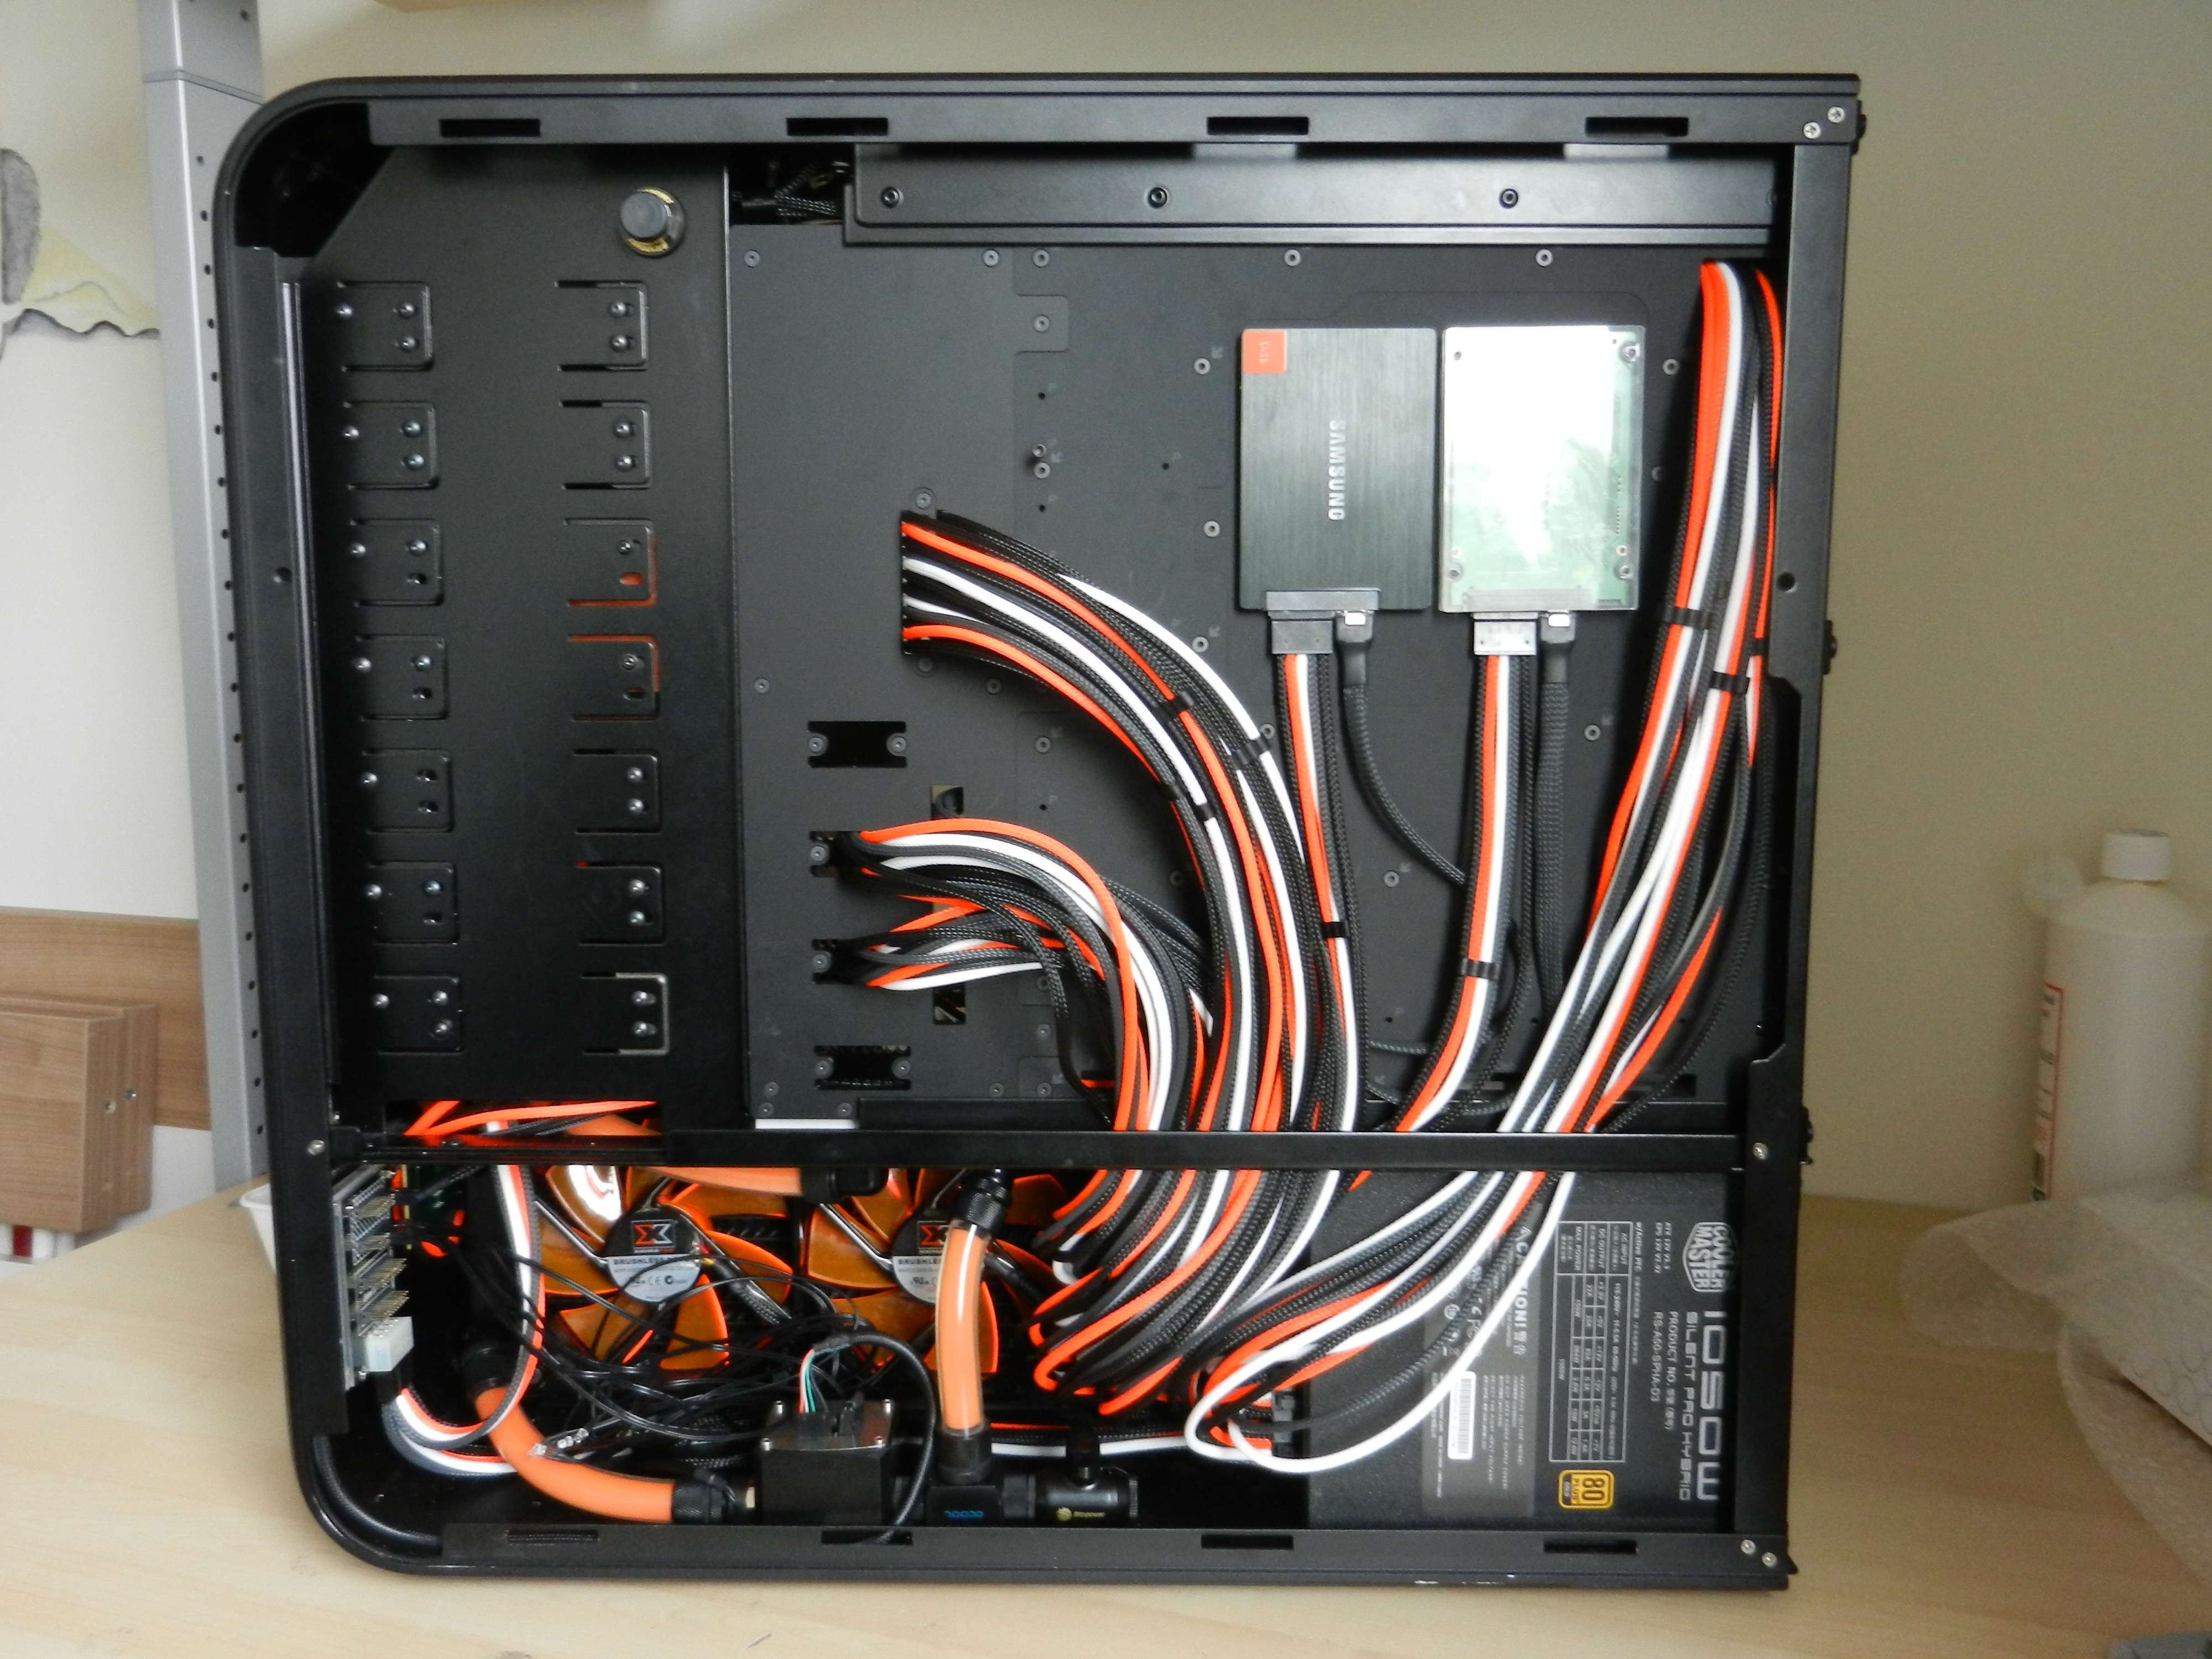
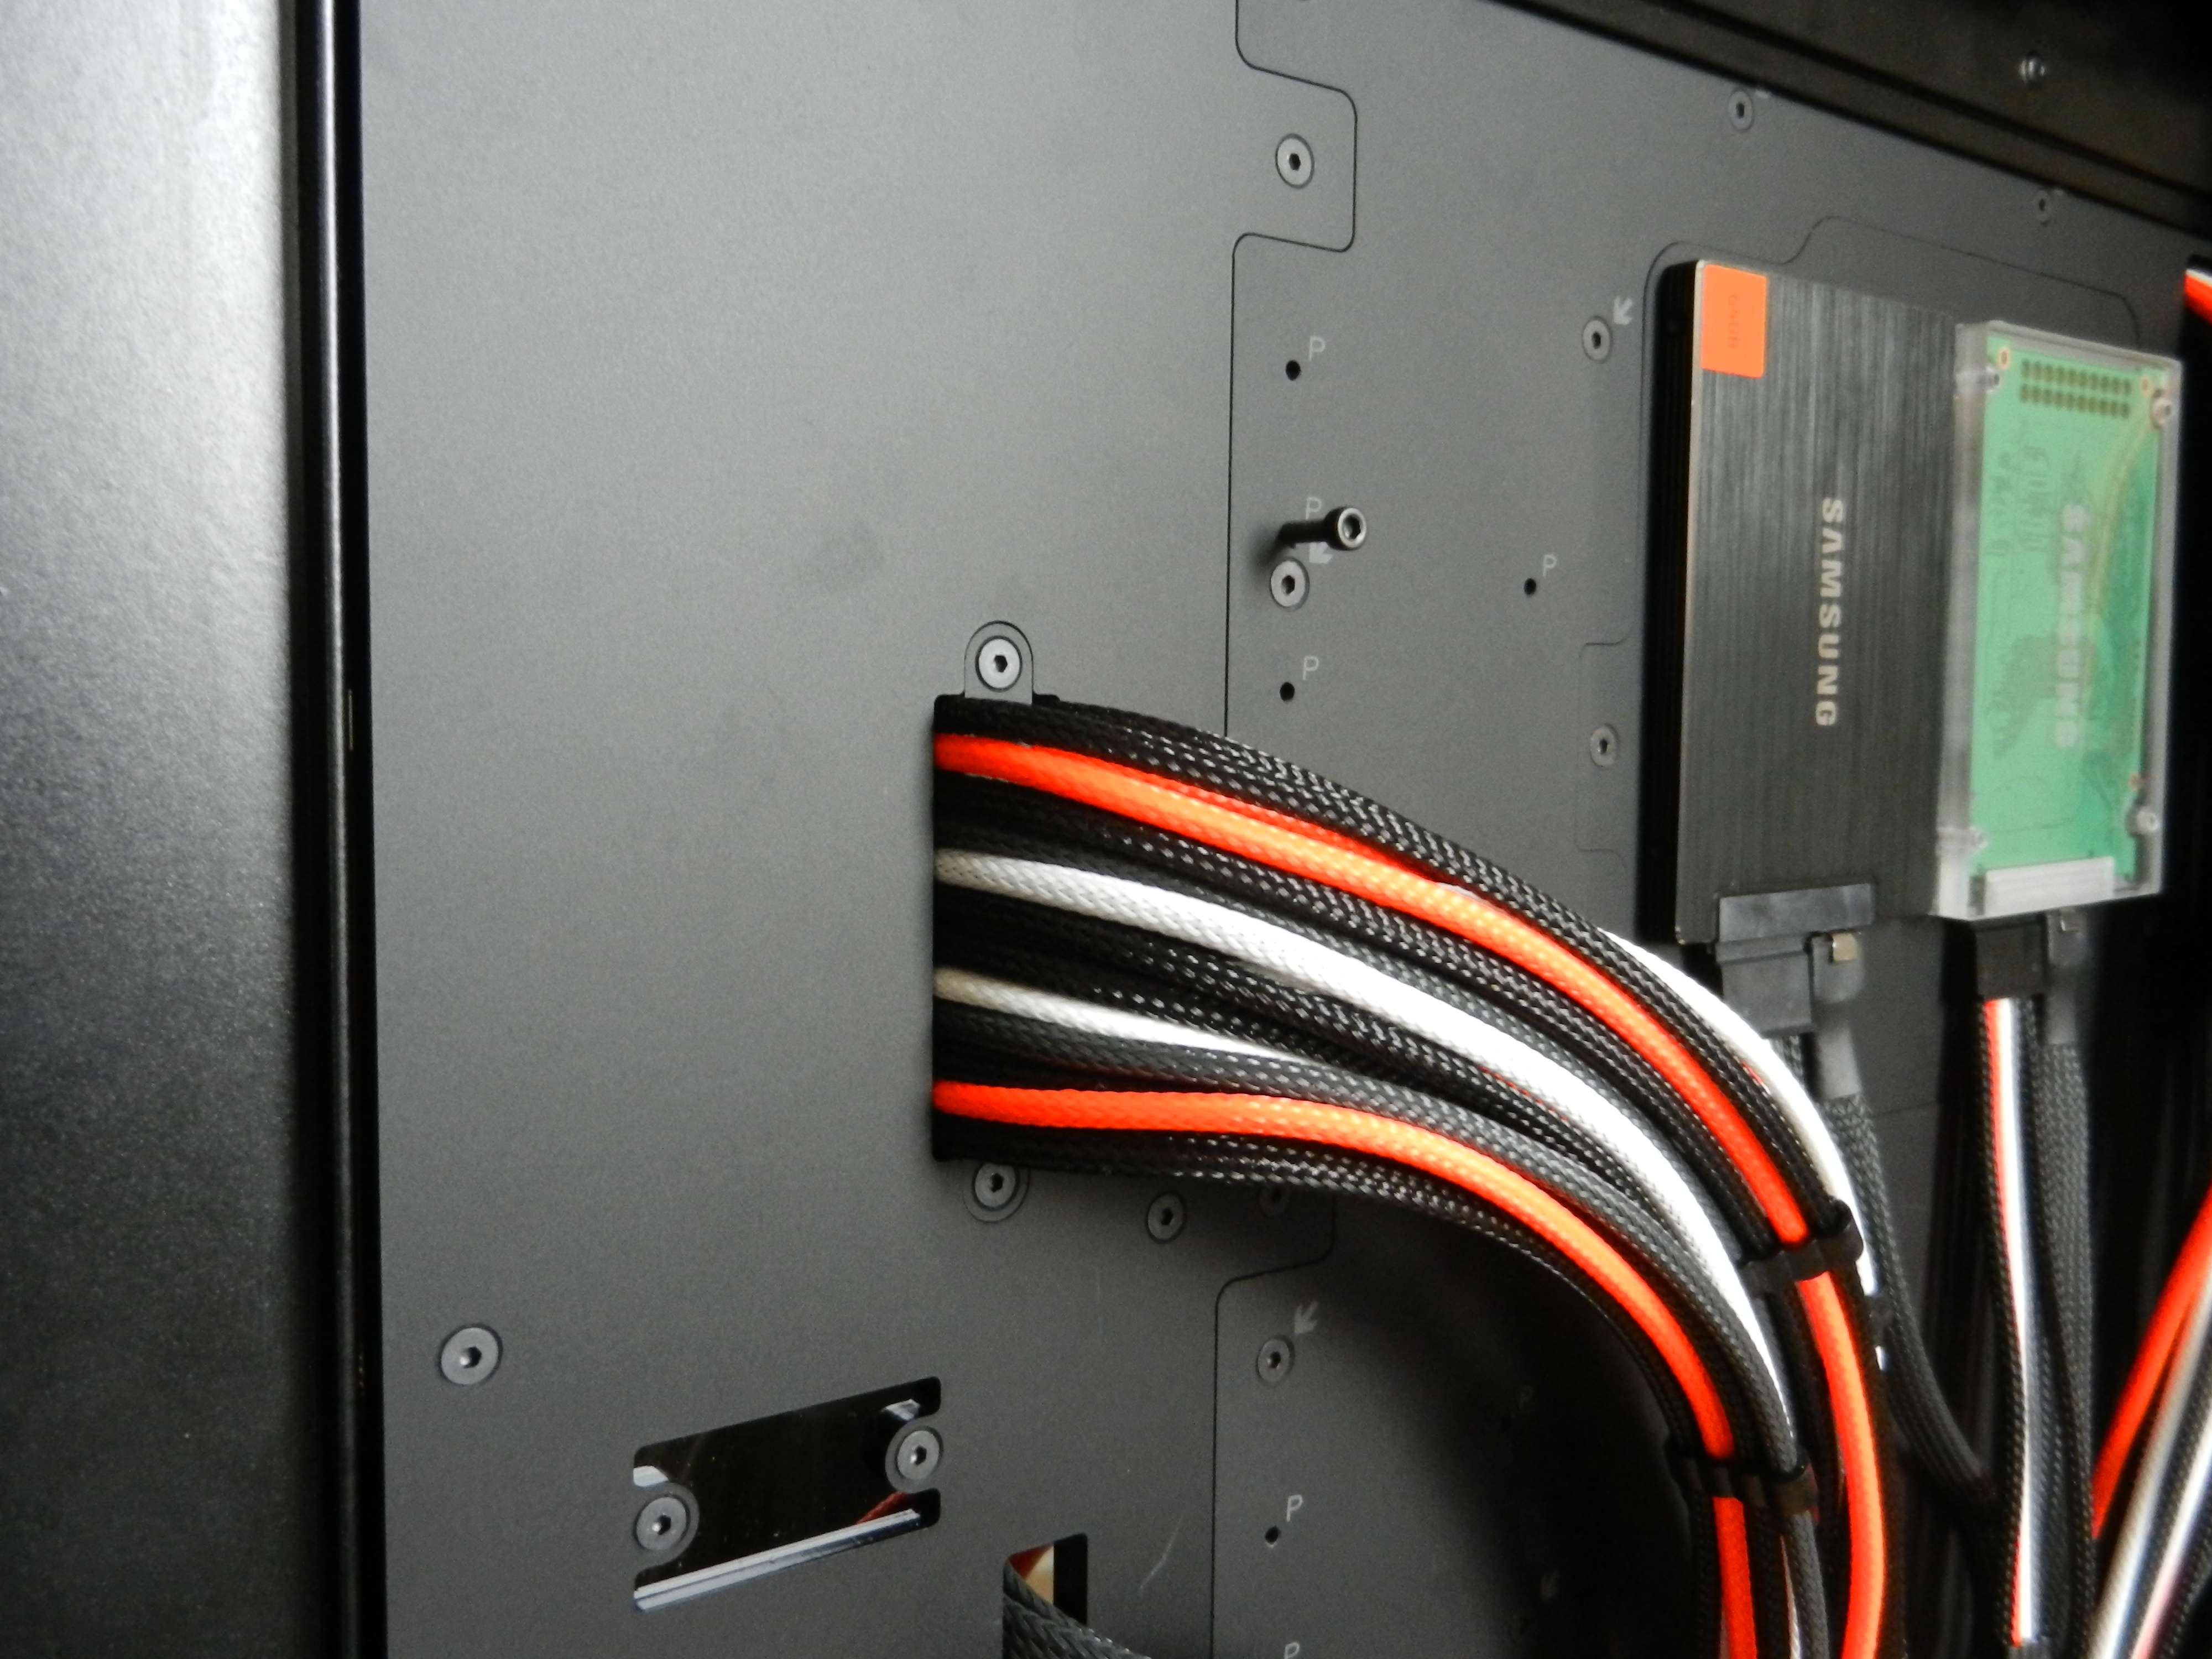
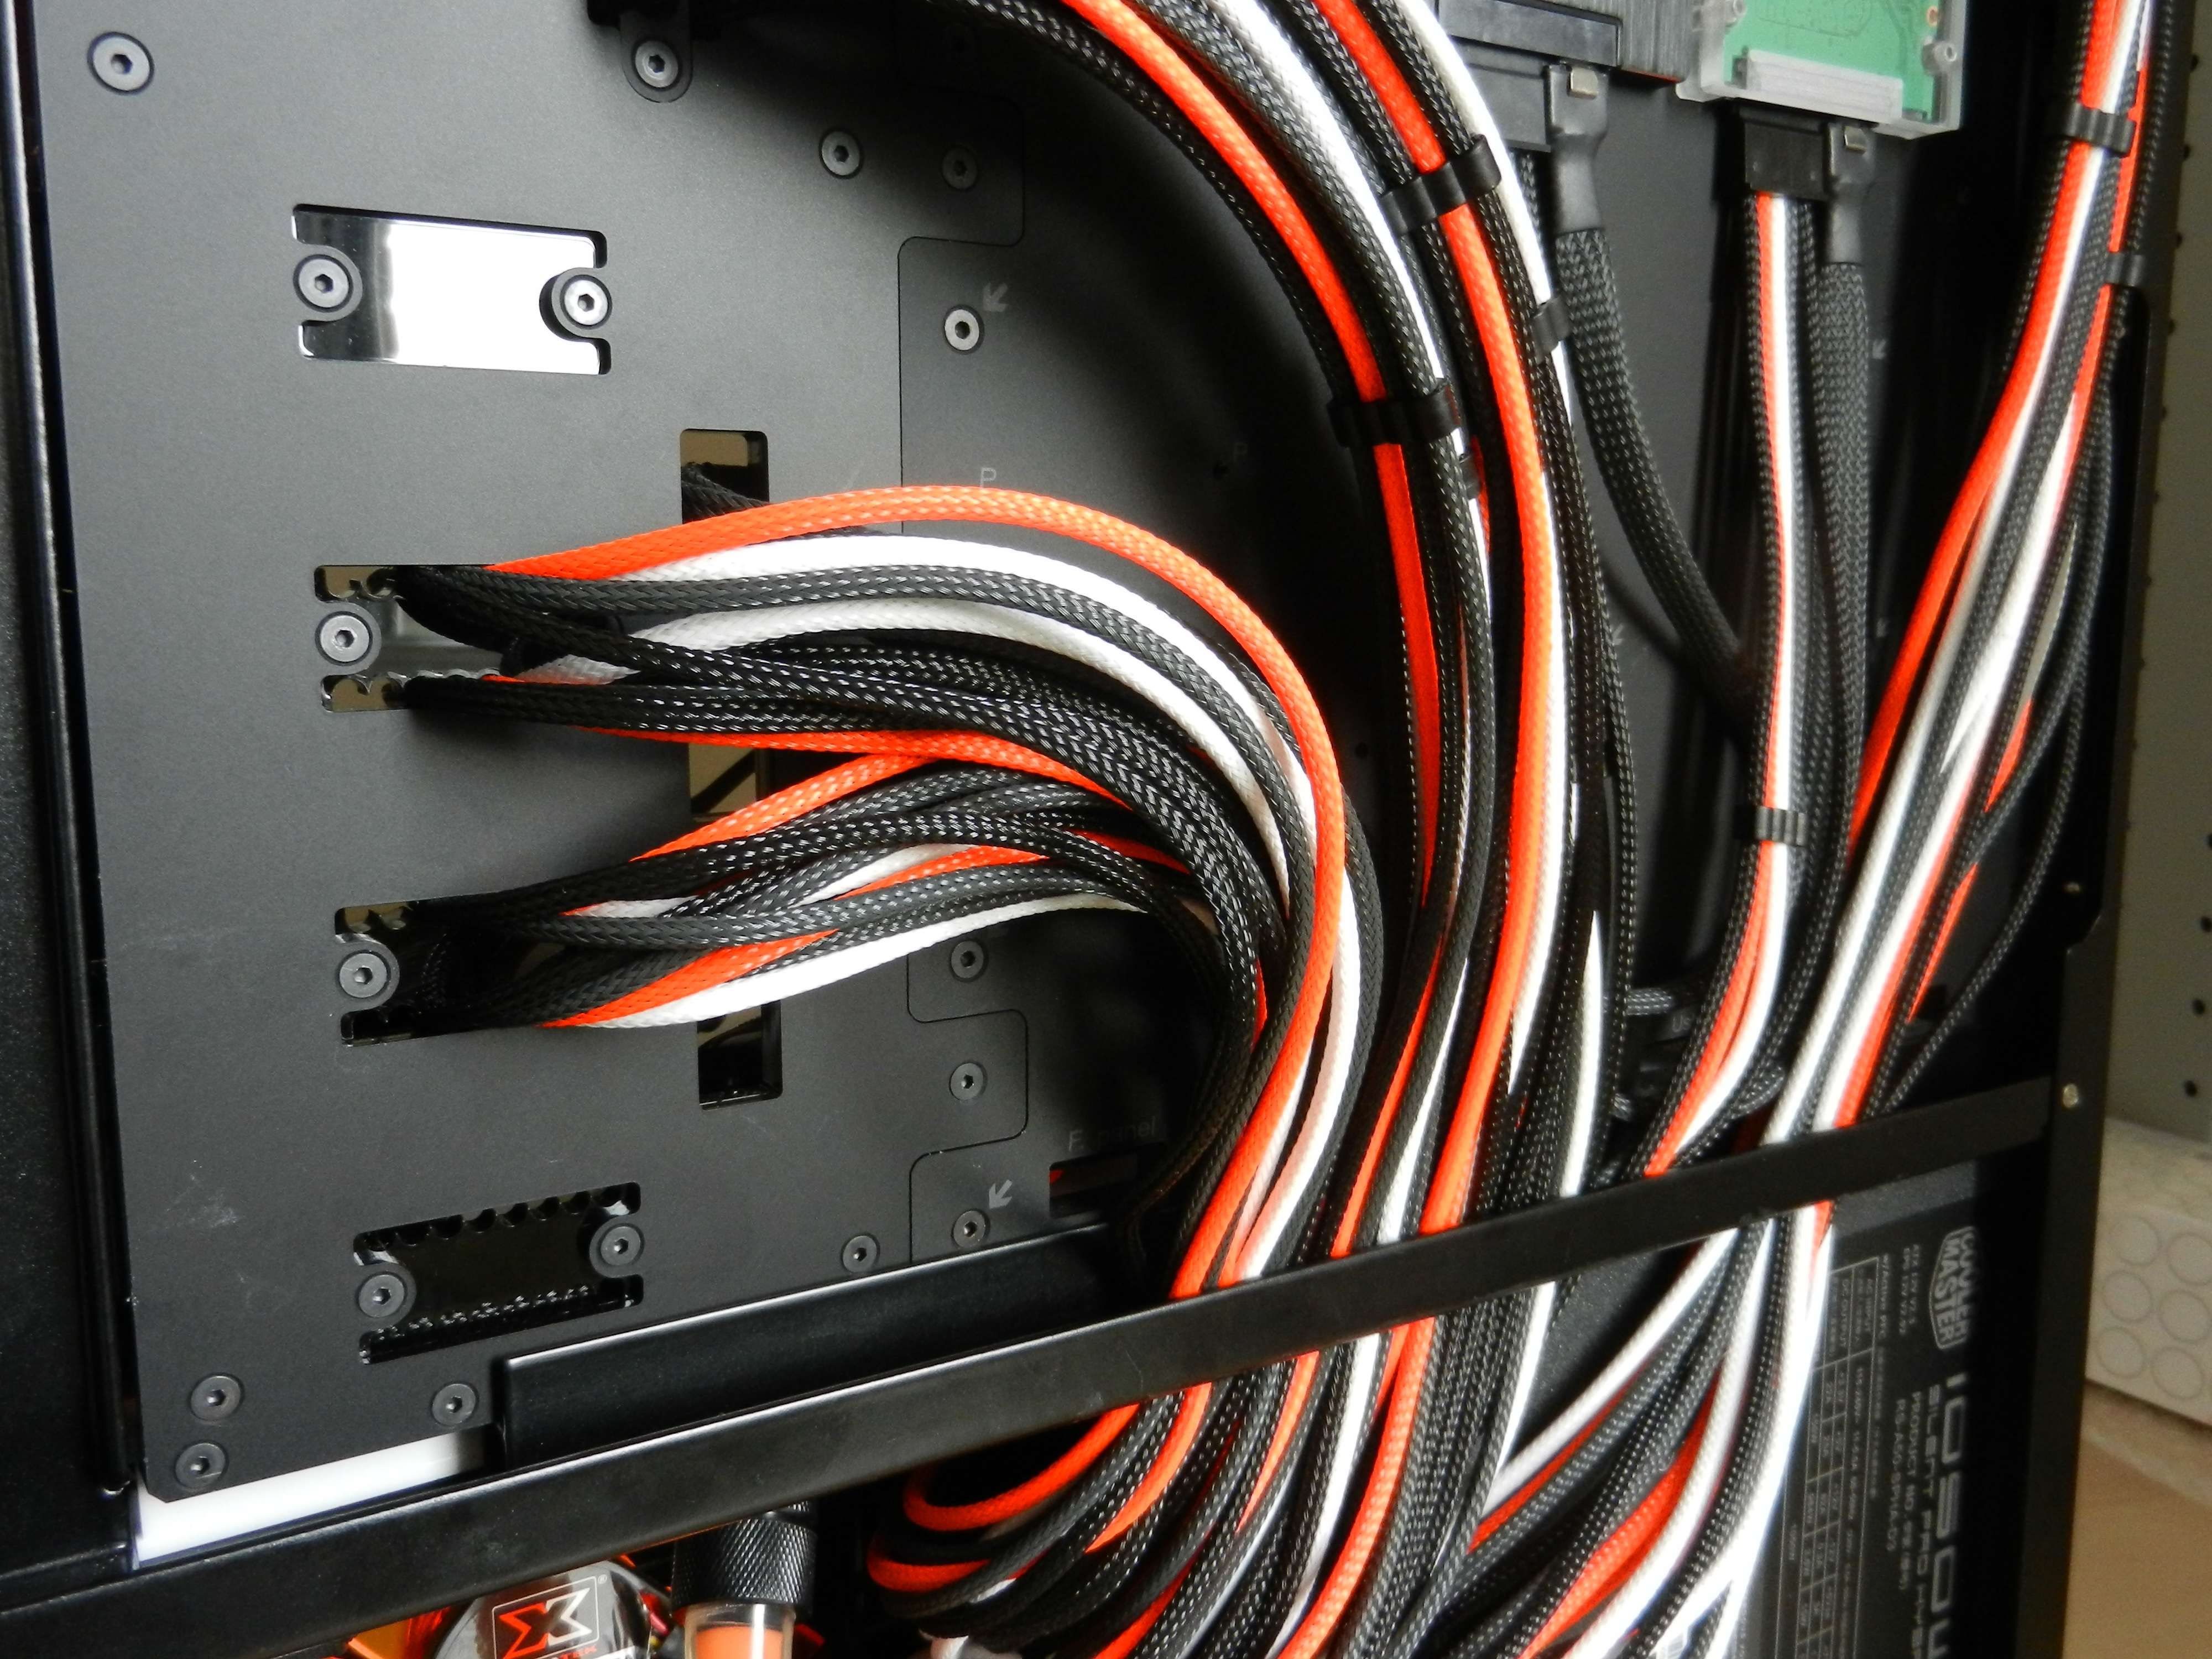
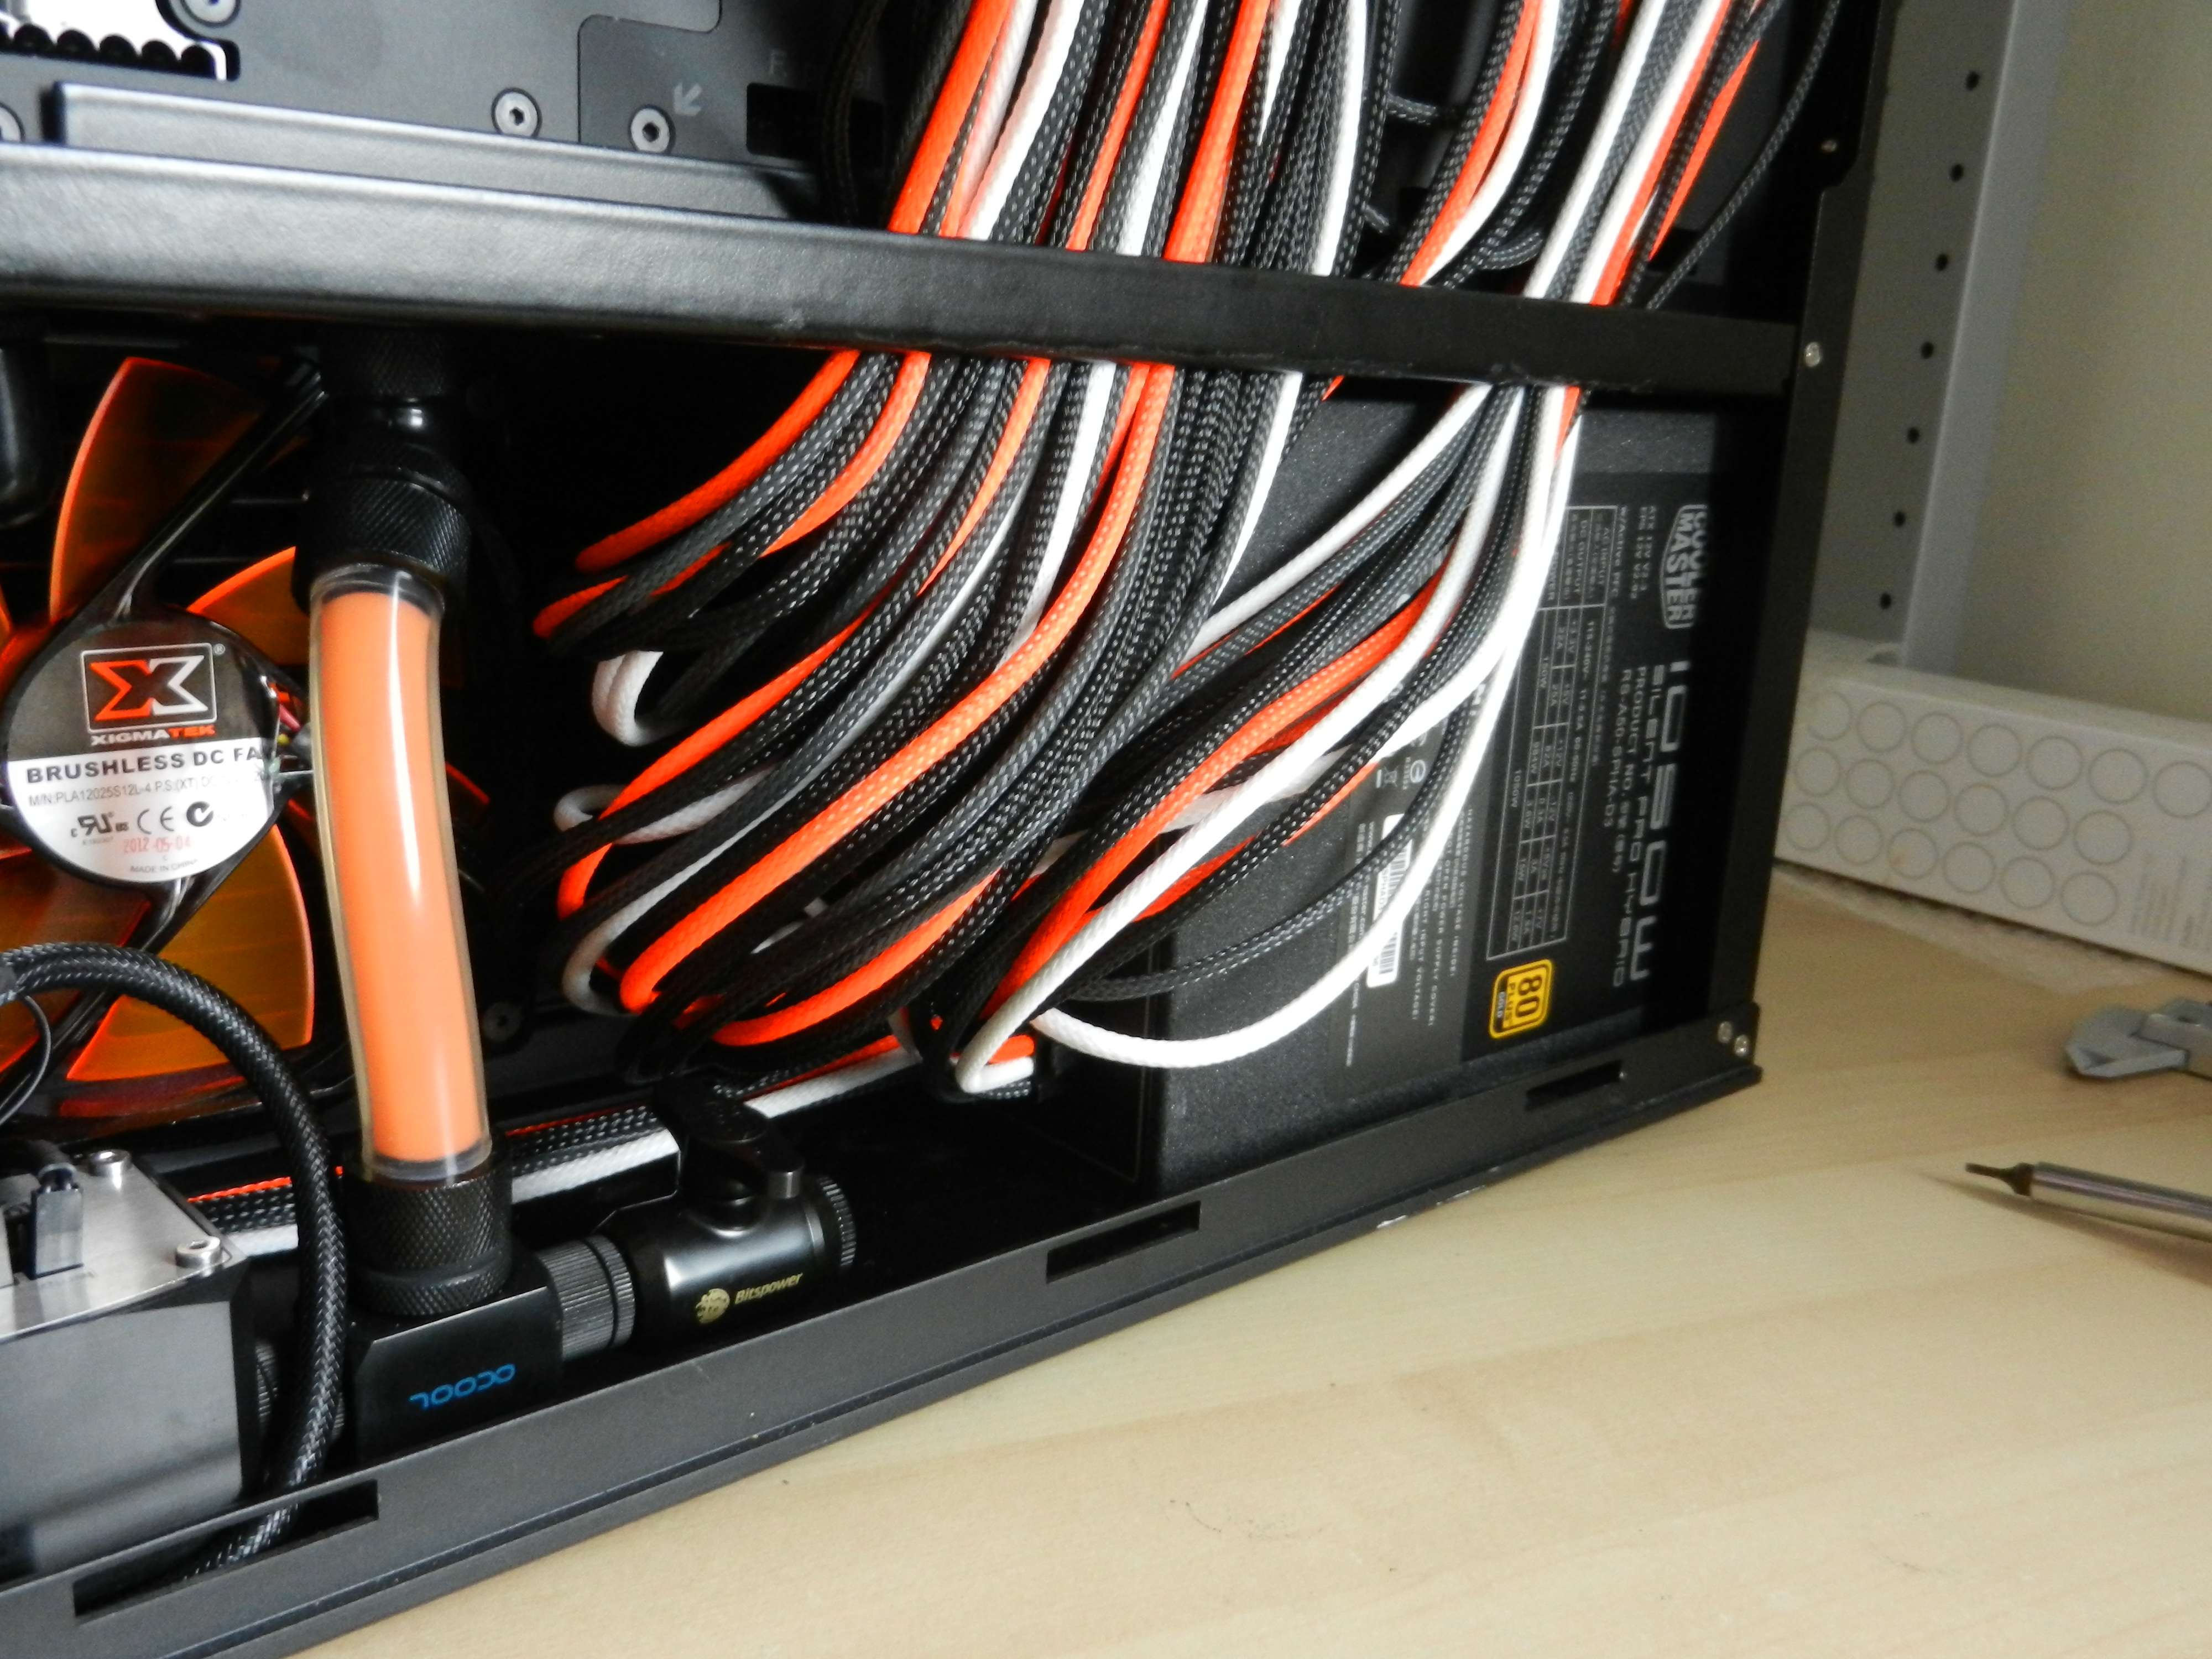
I have about fitted all cables now. I am busy trying to trim them. Won't be easy fitting them all behind the motherboard tray :D
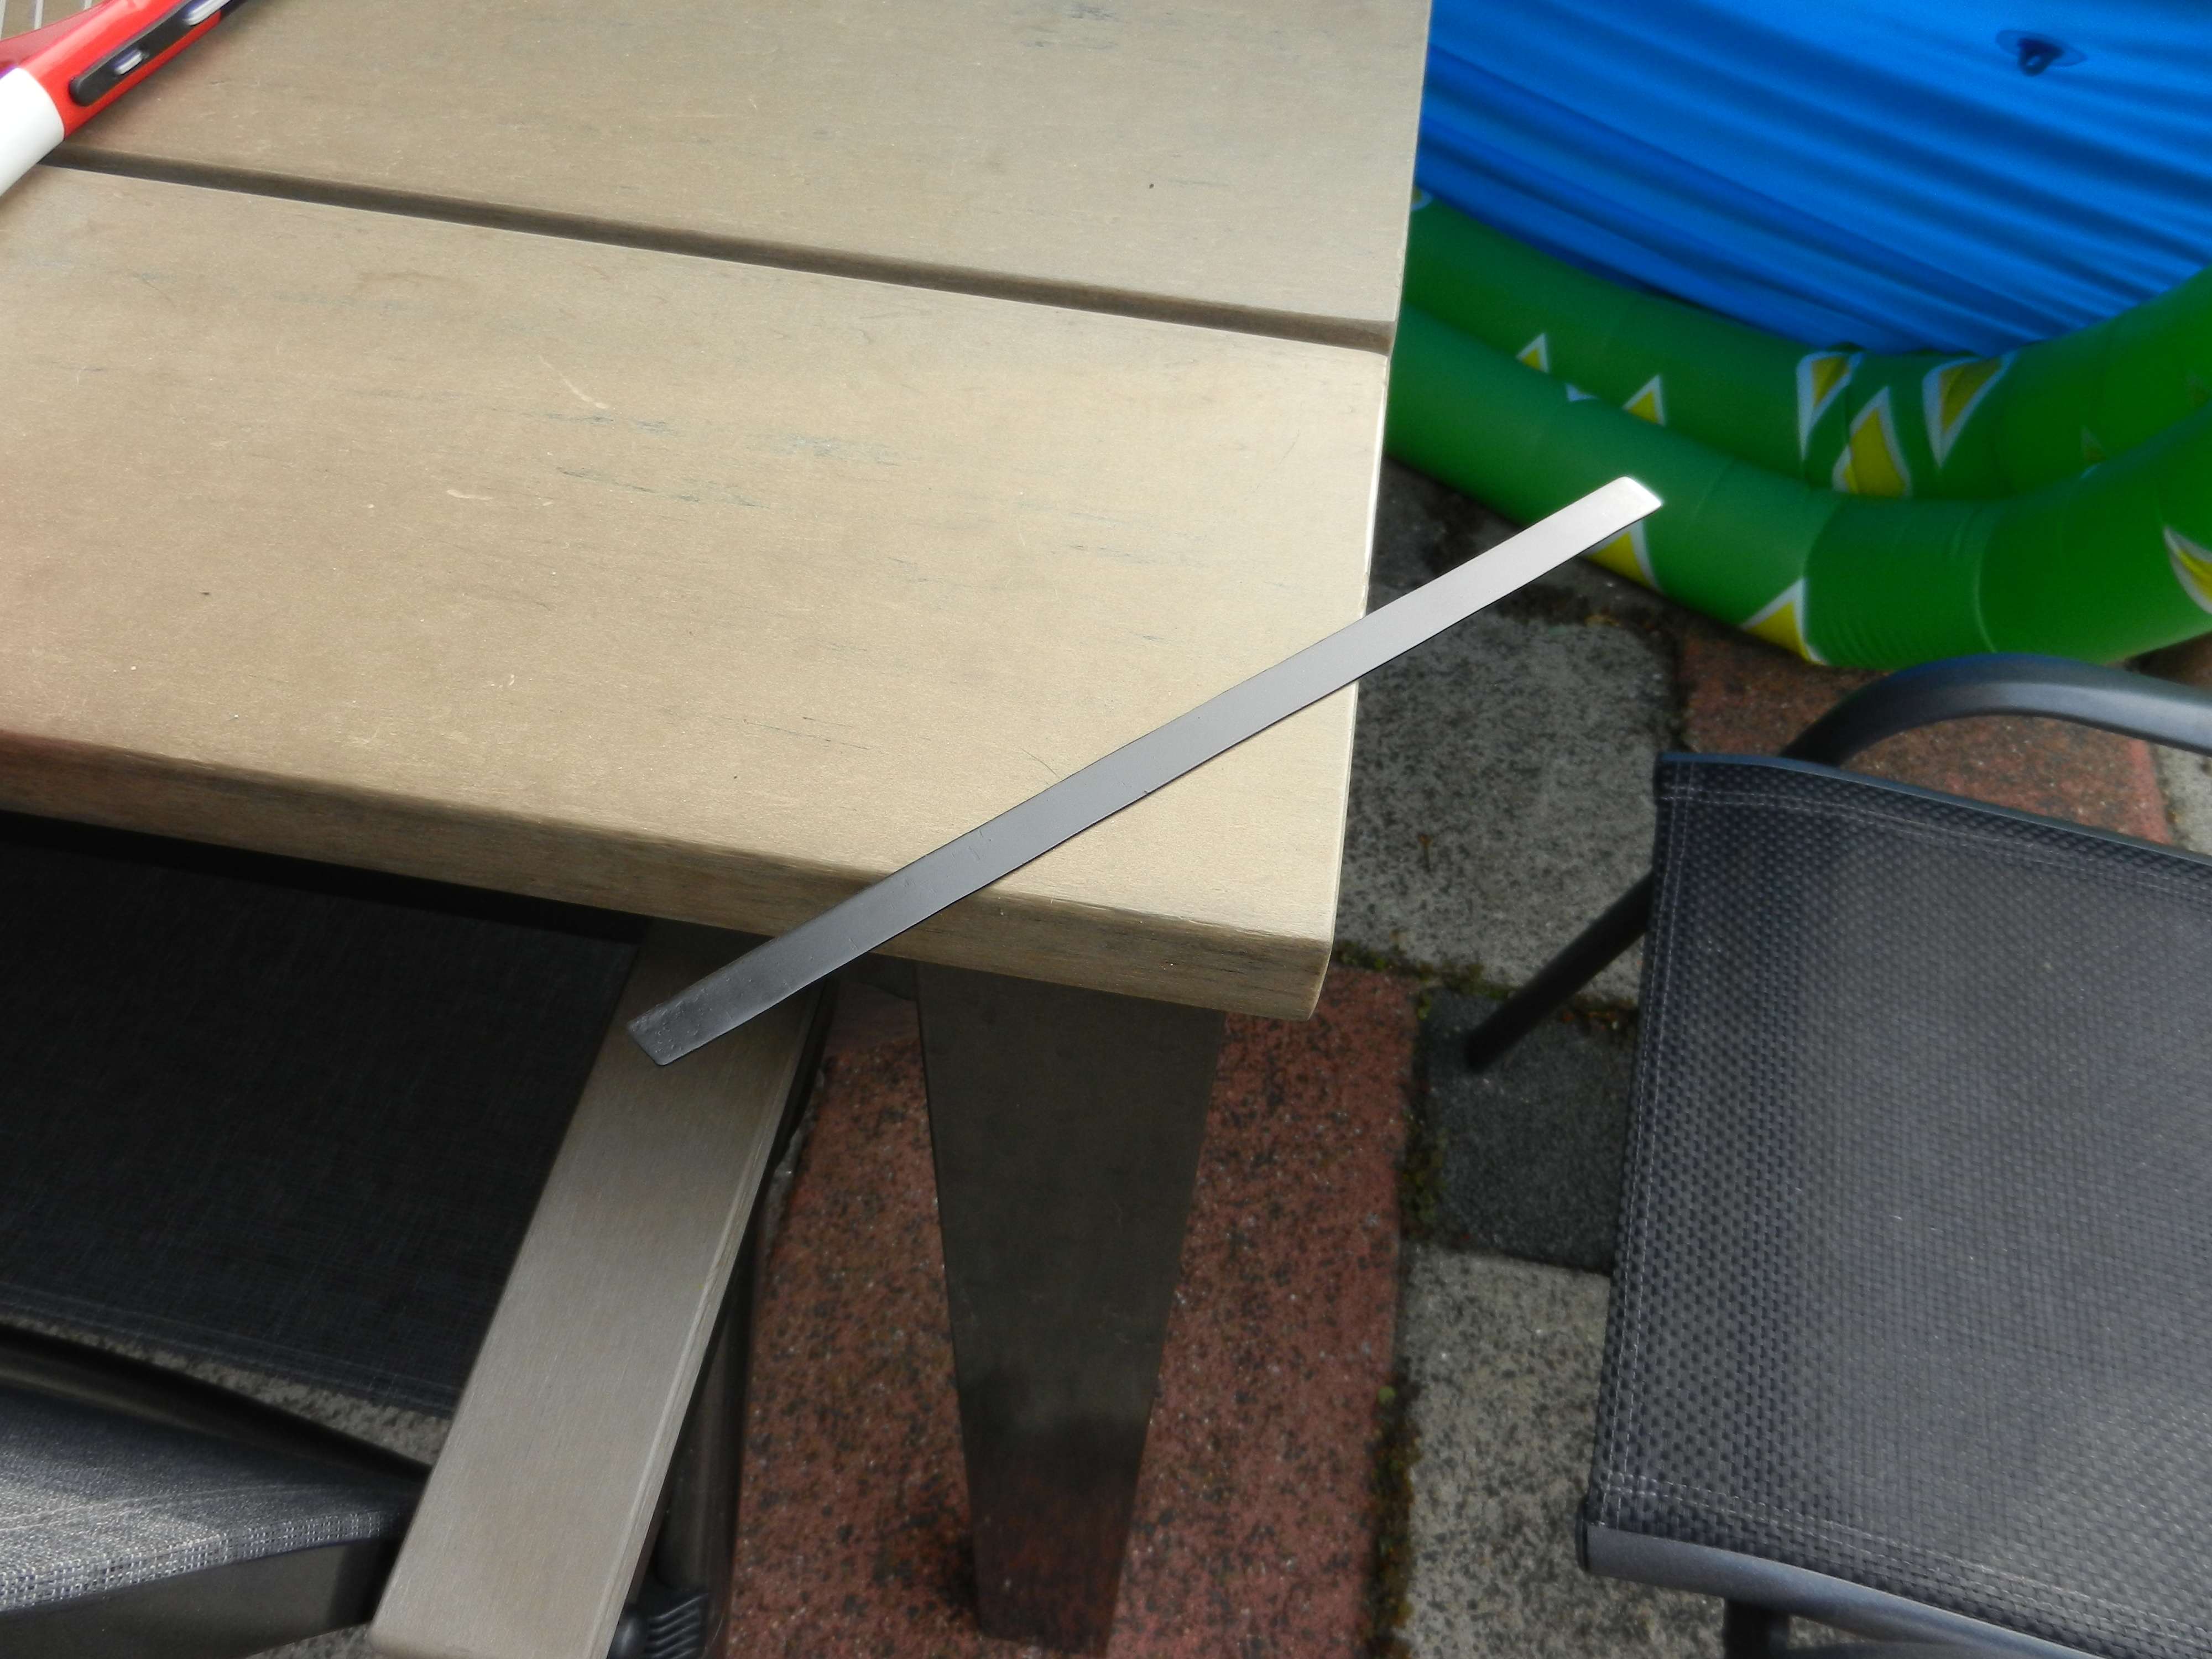
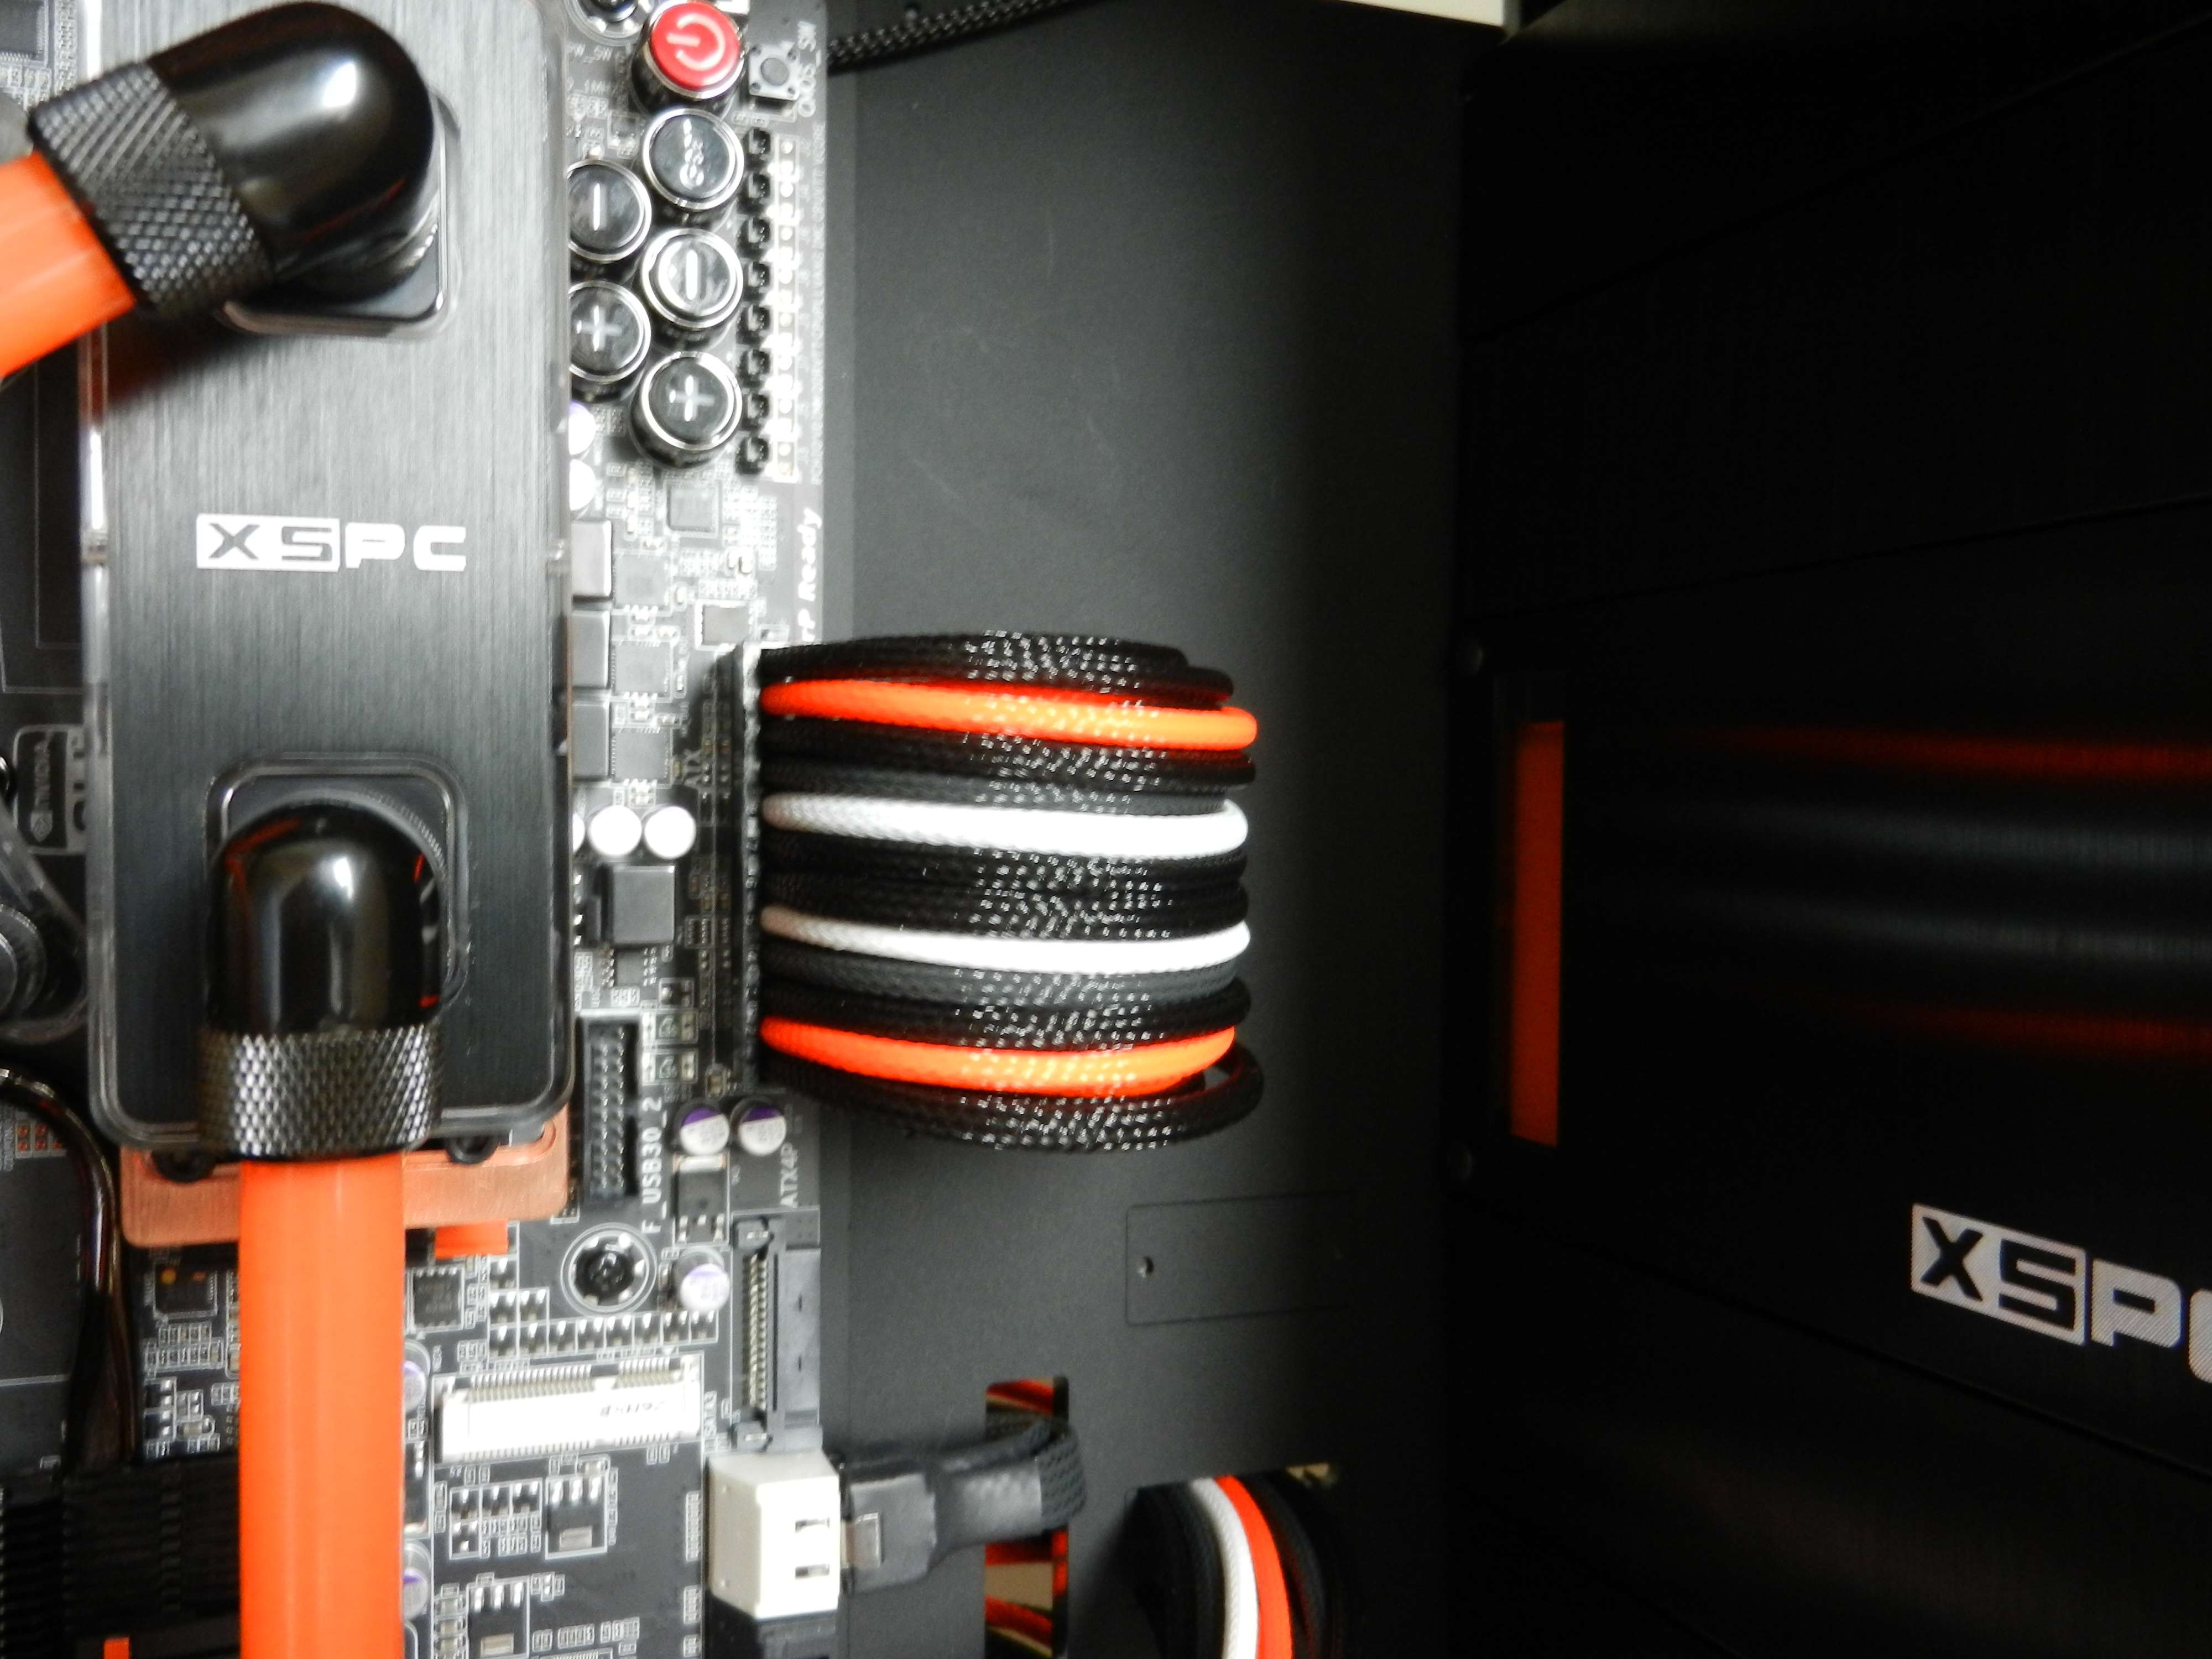
I have made something from aluminum and painted it. I want to try and do the same the BIG LIAN LI is using. I loved that. Only now it will be one that will fit both the 24pin and the GPU cables.
I do need to buy a lot more of those cable clips. They make cables run way more nearly and small.

I have one more sata power cable to make for the right side motherboard because I am running SLI.

As you can see I am making a mockup to make a cover over the IO ports. I never liked those silver coloured boxes over there.
I am still wondering wether to glue them or tap holes in one of the two pieces.
I still need to sand the edges more straight. It is a work in progress :D

I want to turn this animal on asap. Need to board the Folding train again now my GTX680 of my main pc is away for a waterblock.

I will still mod some things to this computer so the project is not over yet. Stuff like the SLI bridge and the door windows and pheripherals and do some better cablemanagement. But at least it will be able to run and fold :)


Back
Top Bottom