Chocolate Box

Associate
Joined
25 Aug 2011
Posts
407
Location
CLASSIFIED
headerOCUK.jpg


Hey OCUK

After the attention my recent build JR2.0 received around the internet Parvum Systems made me an offer I couldn't refuse, arranging for sponsors HyperX and XSPC to help out with the project too. I've done three consecutive red and black builds with lots of Corsair and Asus parts, this will be very different while retaining my extremely clean style. Most notably it will be small, no it will be tiny, while still packing a considerable amount of power and not compromising on aesthetics. Quite early on I realized water cooling the CPU and GPU wasn't going to be an option given the packaging constraints, so I made an interesting decision which informed several component choices and the unusual colour scheme.

Central to that theme are these Noctua IndustrialPPC NF-F12's of the 2000RPM PWM IP52 variant. I will only use two somewhat mitigating the massive cost although it is immediately justified by the attention to detail and build quality.


As the GPU consumes far more power than a CPU typically I decided it would benefit the most from Liquid cooling and opted to air cool the CPU. Additionally finding an air cooled graphics card in-keeping with the aesthetic would be very difficult so this is the logical solution. I wanted a heatsink that would neatly fit a 120mm fan so this low profile NF-L12 from Noctua was perfectly suited to the task.


Of course the standard Noctua color fans wouldn't do and as there is no IndustrialPPC 92mm fan I will be using a single 120mm which should provide adequate cooling for a baby i5 while looking absolutely lush. This assembly really encapsulates the theme and the dull black against bright nickel plating will be continued through the build.


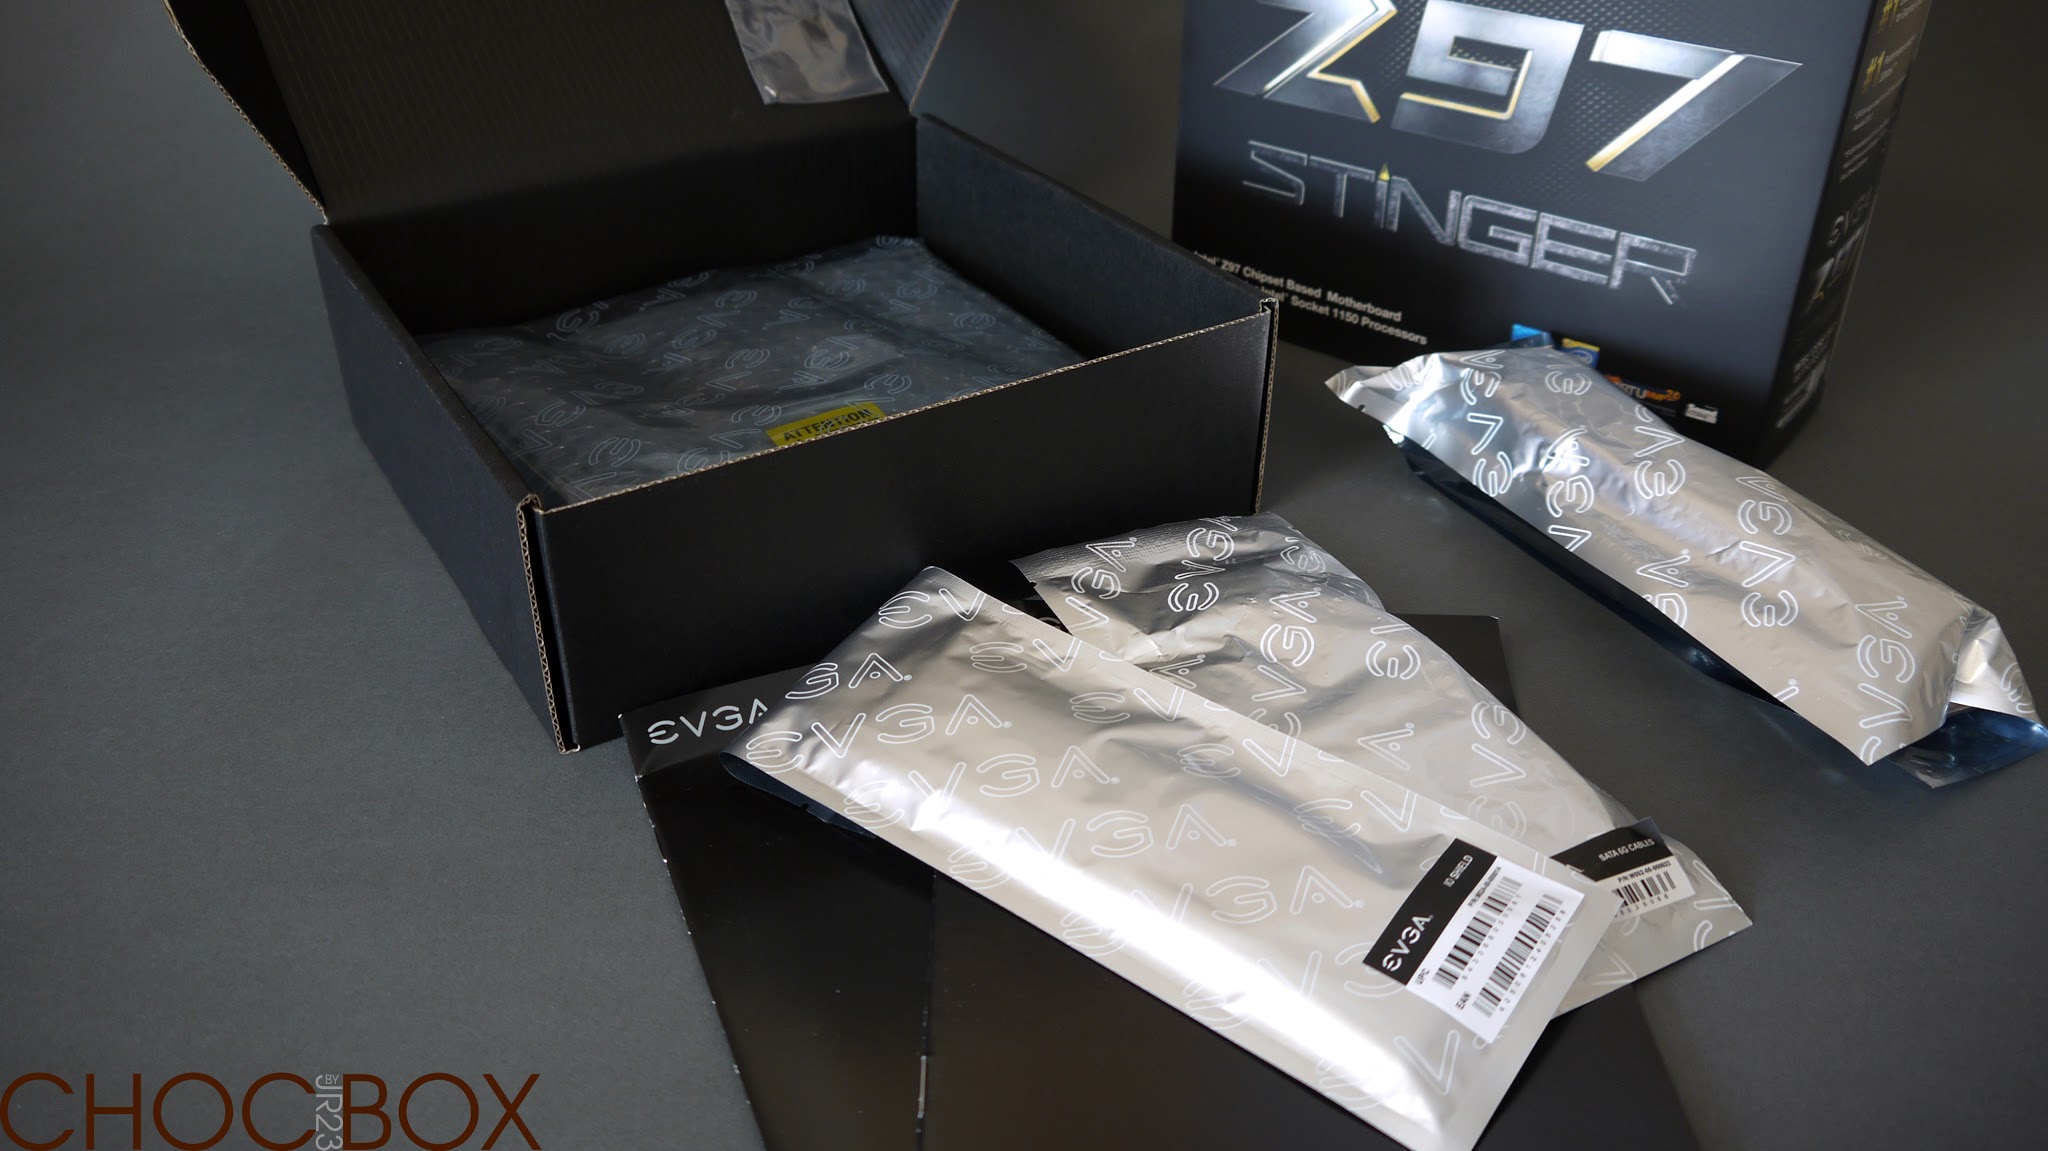
I will actually be using an EVGA motherboard partly for its excessive blackness but mostly down to it's unique location for the CPU socket. Unlike many other ITX boards the power delivery is packaged to the side of the socket meaning it sits nearly on the 'top' edge of the motherboard. Although it seems insignificant that makes for the best looking orientation to mount the L12 as Noctua advise against pointing the heatpipes down and it just doesn't look right sideways. Considering EVGA are better known for graphics cards the board looks to be magnificent quality and the packaging and details are leagues ahead of their GPU's. Even the internal USB ports come fitted with little black rubber blanks which is a lovely touch.


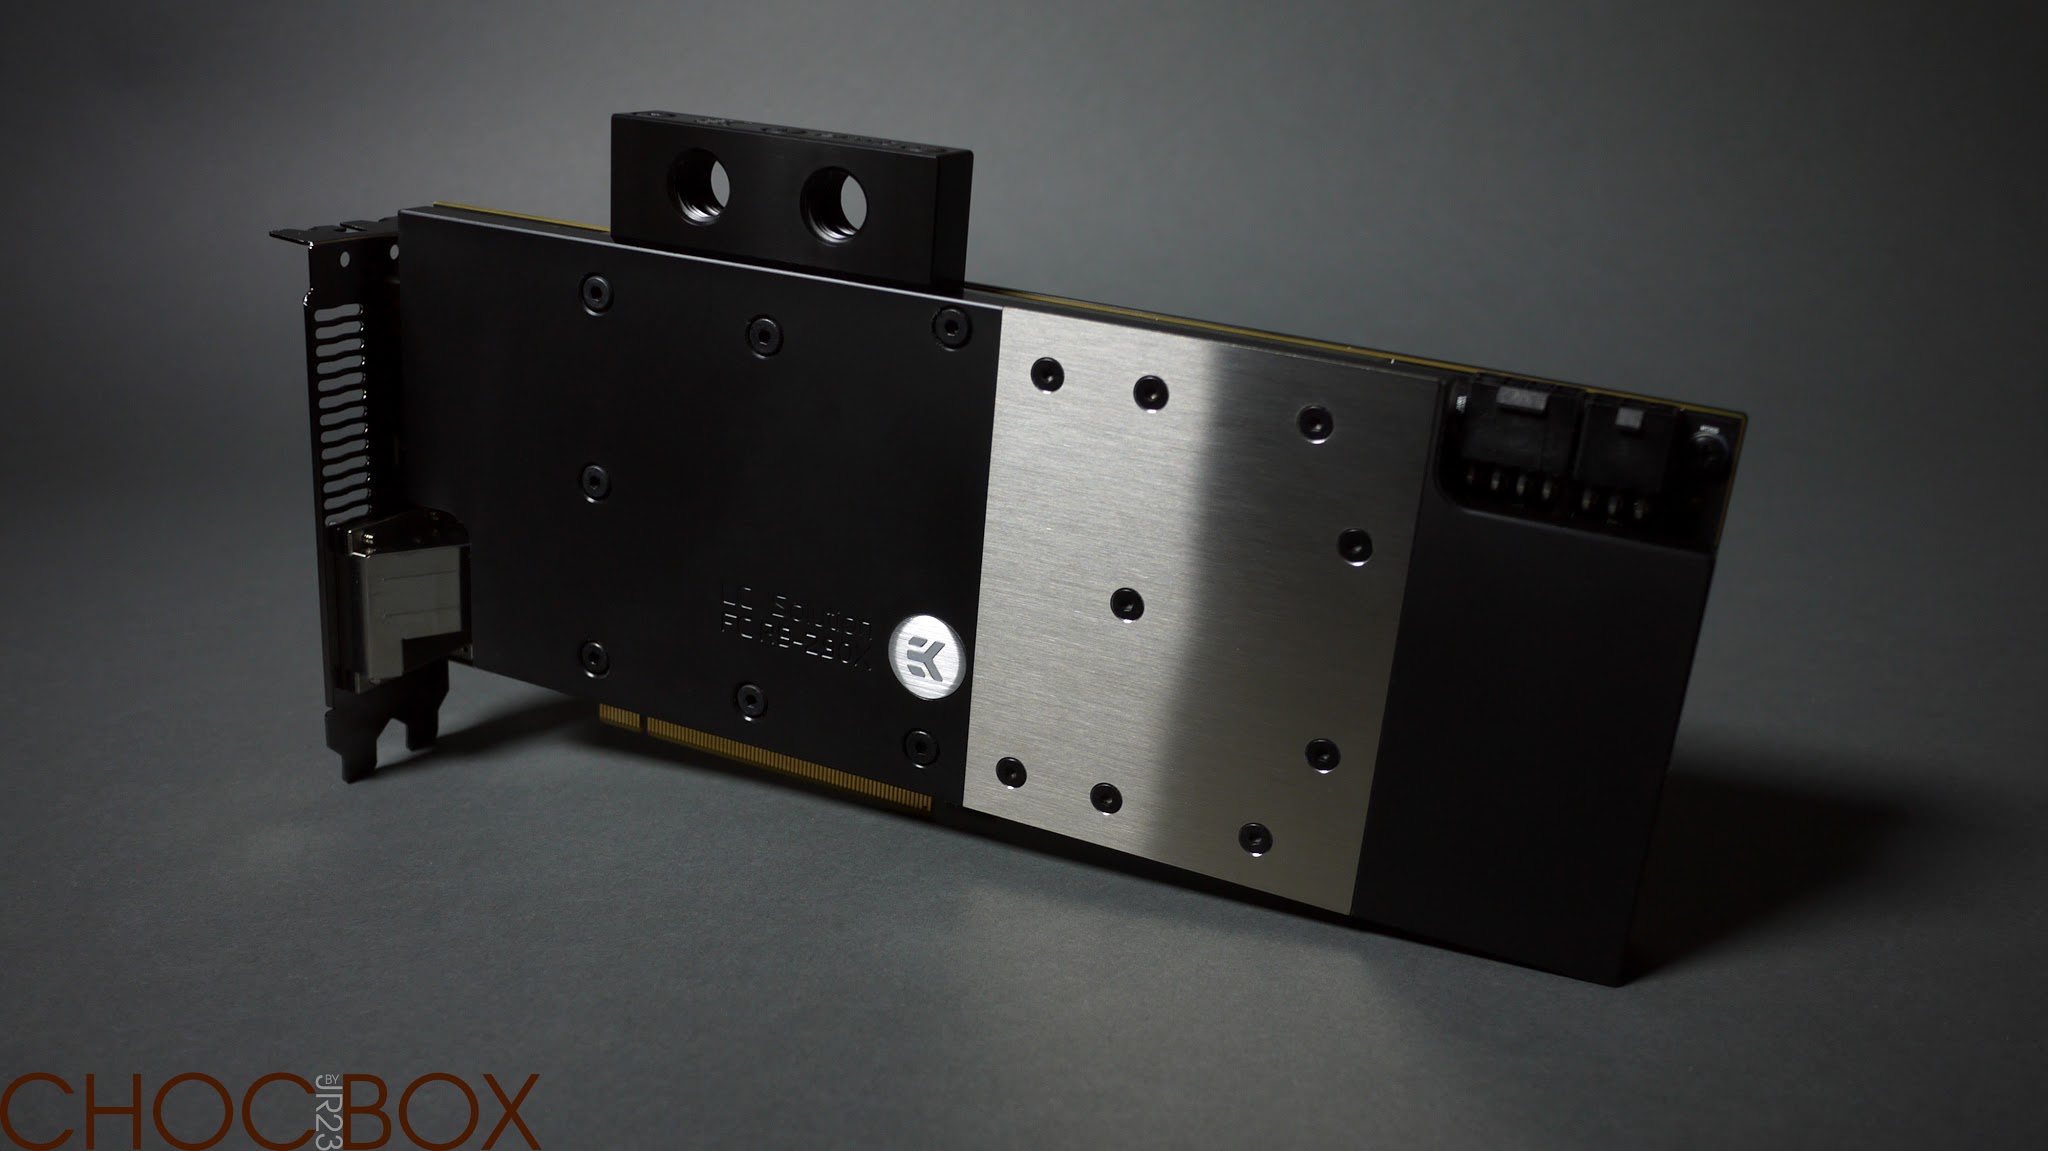
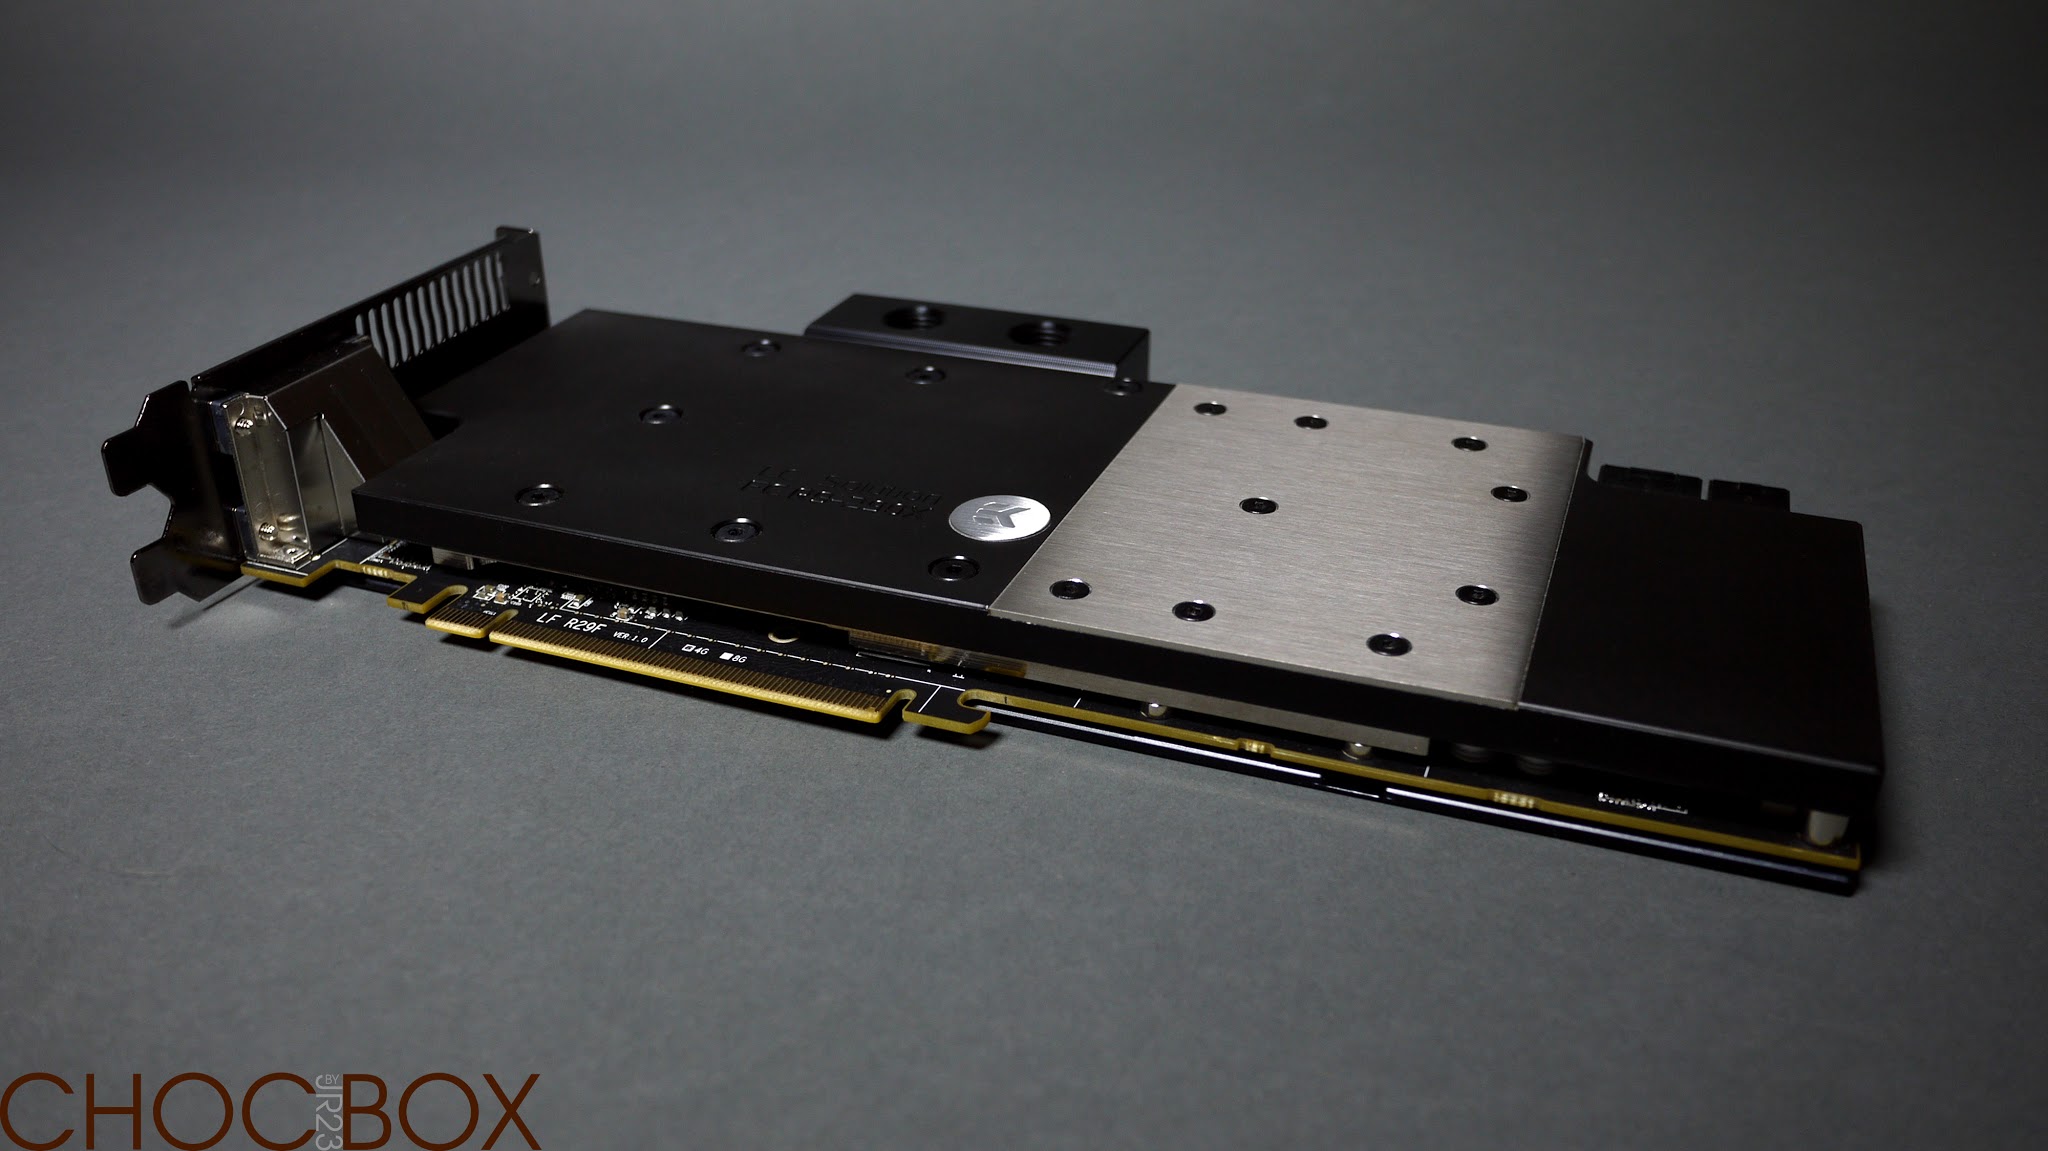
The last component I will be unveiling today is the mighty Powercolor R9-290X, perhaps not quite as pretty as the other toys but by contrast it is enormous! Chosen for the far more logical reason of it being very reasonably priced (thanks OCUK) this is actually my first AMD GPU after a long line of 7 nVidia cards.


Nothing else to see here :eek:


You just can't turn down doing a test fit of a huge heatsink onto a tiny motherboard even if you don't have a CPU yet! It nestled in beautifully under the PCIe slot without extending from any side of the board. The rear secure firm mount was extremely close to fouling the VRM heatsink but it would seem they were designed around each other, quite a tense moment all the same.


Thanks for looking and I would love to hear your opinions.

JR
 
Associate
OP
Joined
25 Aug 2011
Posts
407
Location
CLASSIFIED
Nice!

How loud are those noctuas?

It depends how fast you run them, no doubt they are pretty loud at 2000RPM but they are lovely in the 8-1400RPM range. In my main rig I have 12 SP120's all variably controlled right down to 400RPM using a pair of Aquaero's. With the Corsair fans set to 650RPM you genuinely can't hear the Noctua over them until it reaches 900RPM which is really impressive. As you increase the speed the air flow noise takes over and they sound quite similar. You can feel they shift a substantial amount of air and i'm sure they will perform well but it just depends on how fast I have to run them.

JR
 
Associate
OP
Joined
25 Aug 2011
Posts
407
Location
CLASSIFIED
Thanks guys, you would probably be surprised at my camera and lighting setup :D
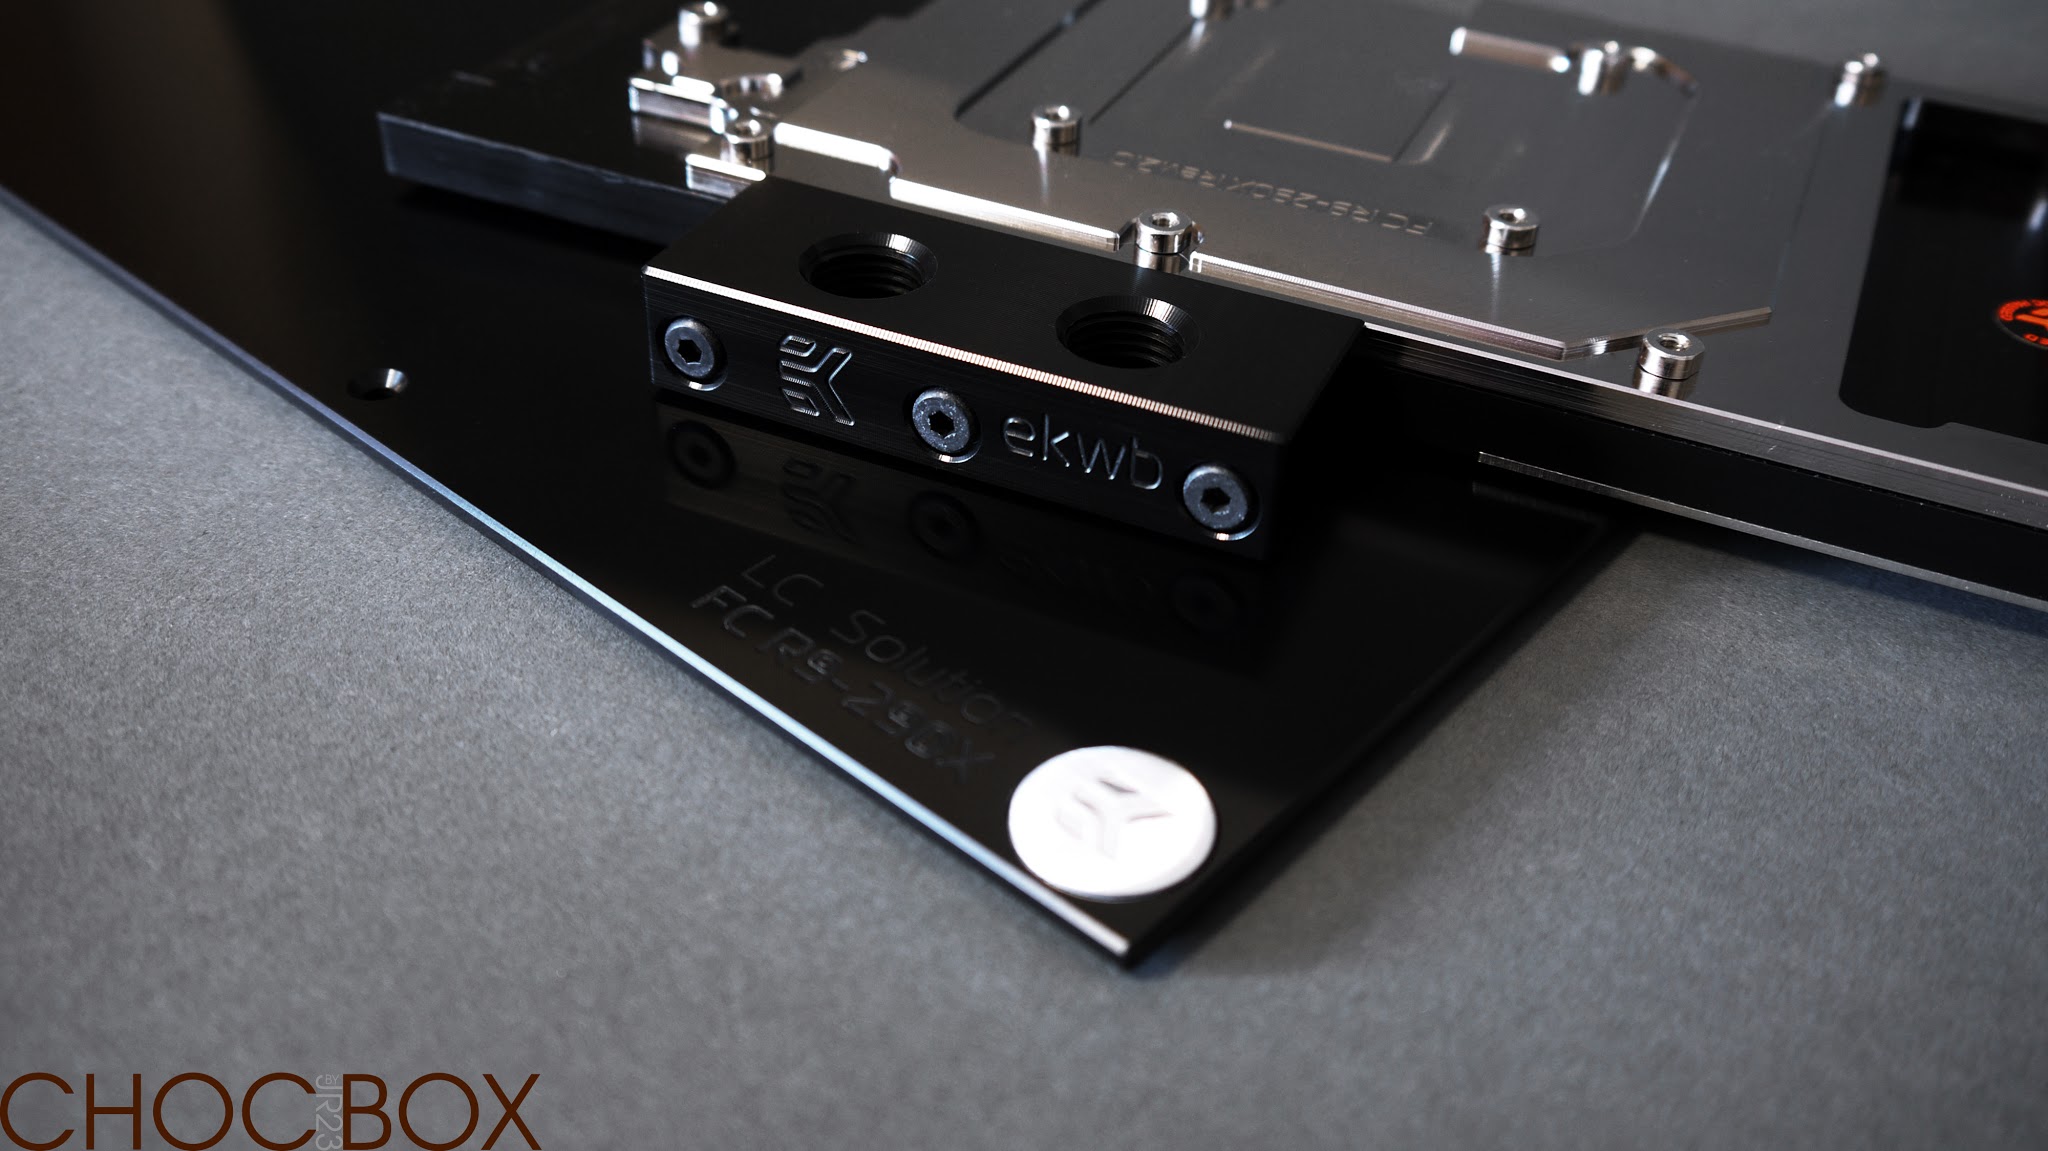
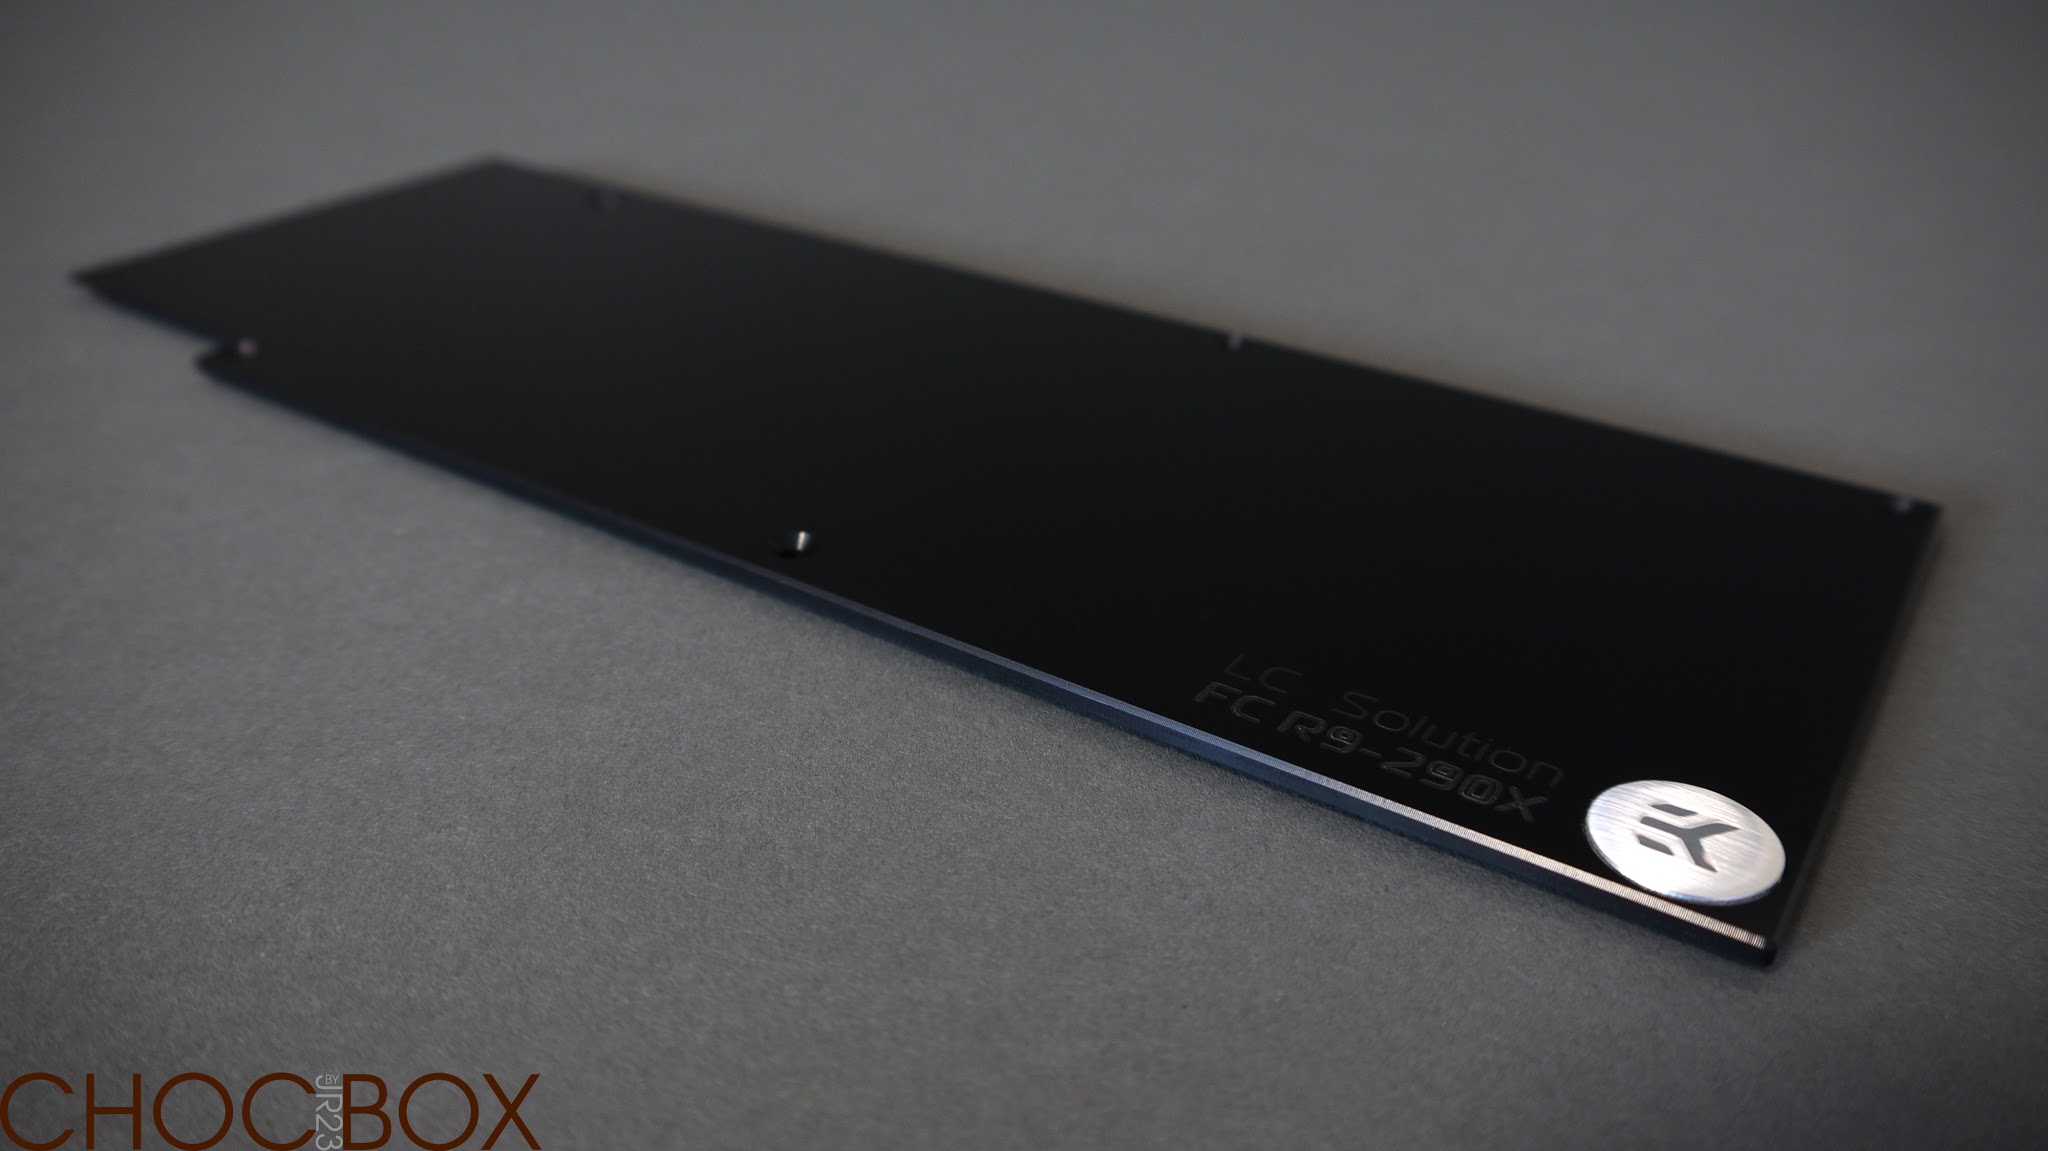
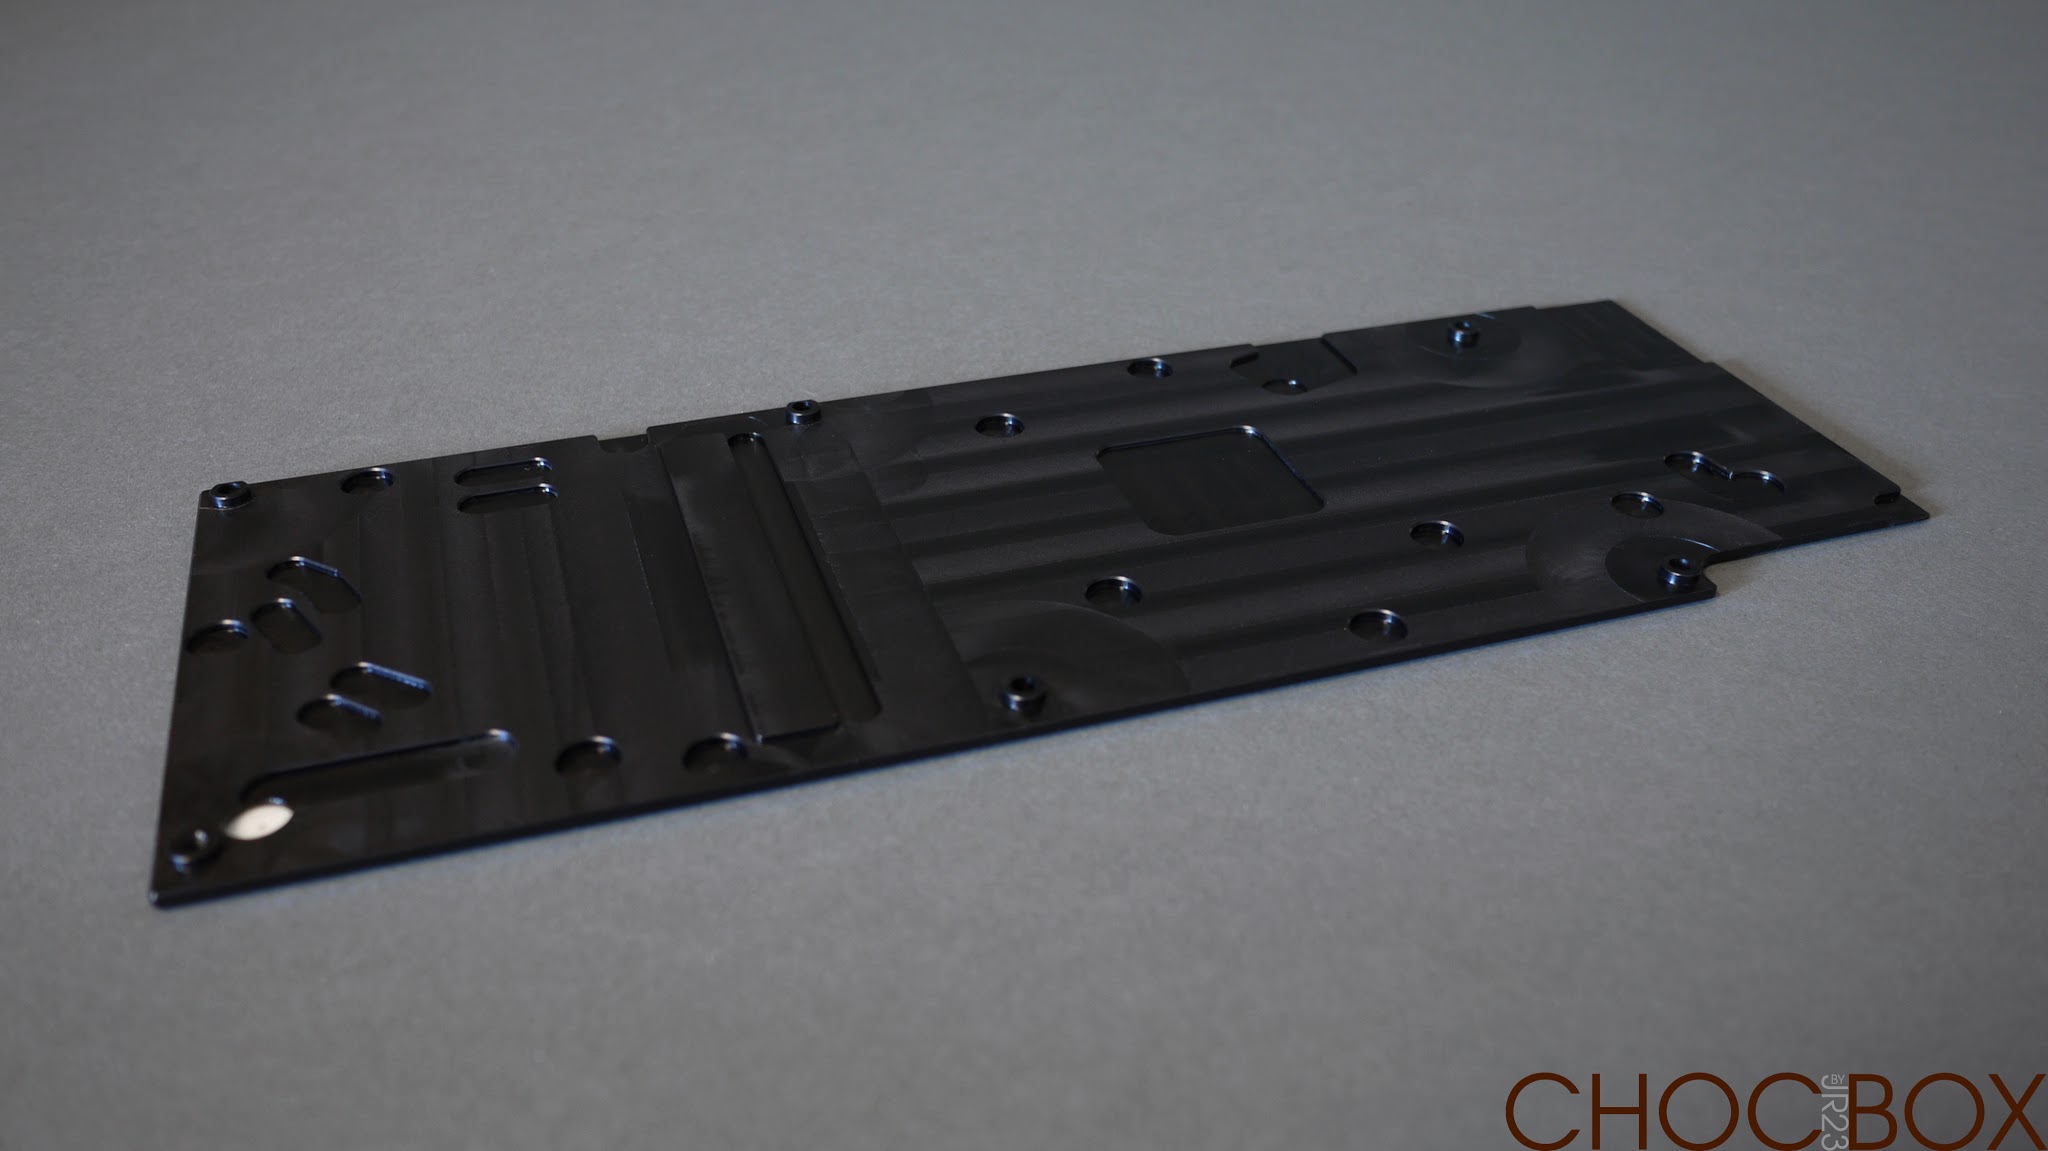
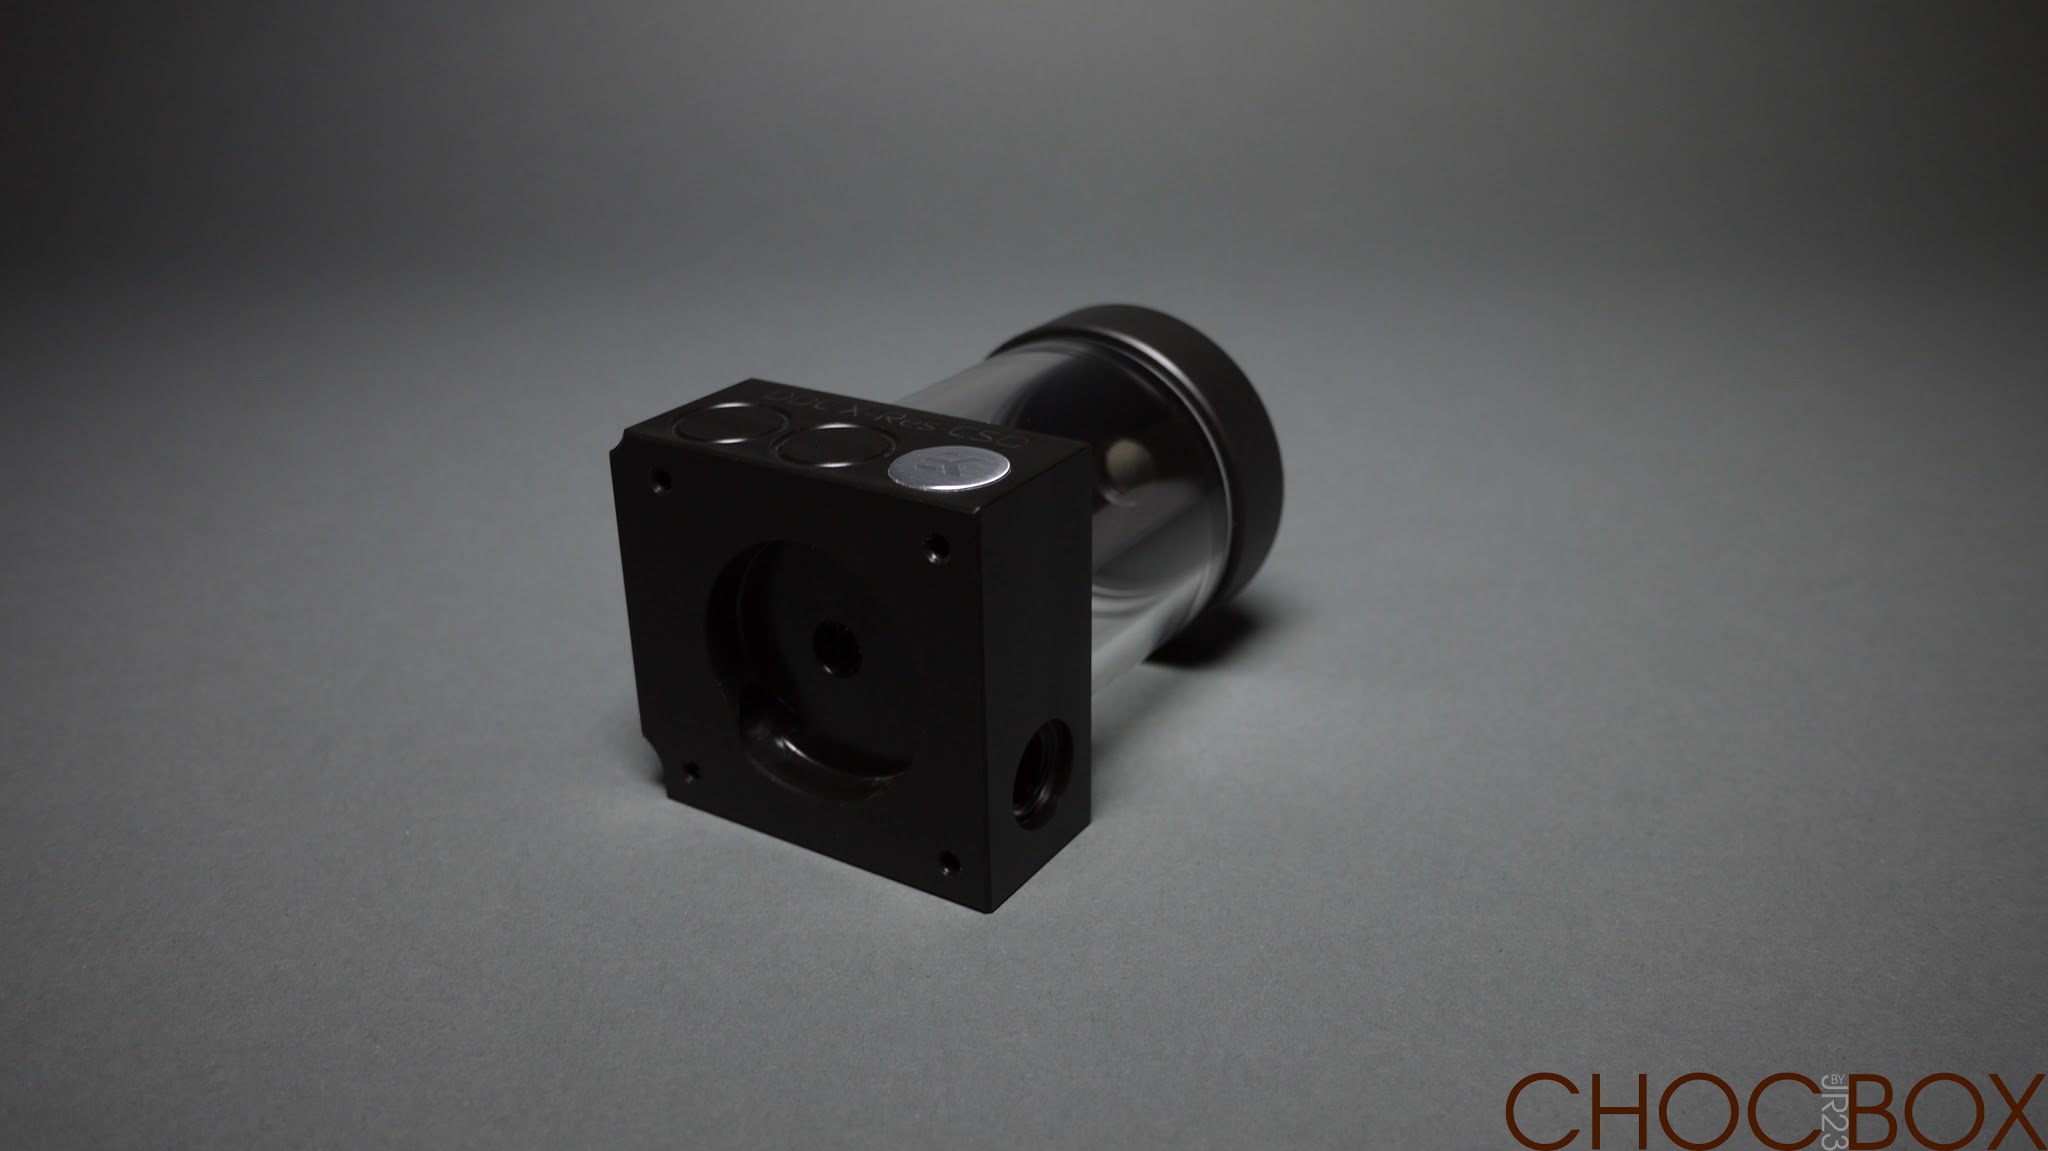
, I made a few little changes for these pics and I think they came out better. Anyway the big reason for the reference 290X was so I could use this block <3


That's right EK Clean CSQ Nickel/Acetal block with an EK backplate.


Even though I looked at the parts all day, shot the photo and did a little processing on it every time I see this pic it's dangerously close to a trouser accident.


Bye bye leaf blower...


Hello Nickely Acetaly EK goodness...


That's easily enough for one day ;)

JR
 
Associate
OP
Joined
25 Aug 2011
Posts
407
Location
CLASSIFIED
looking good! would it not be possible to put the 120mm fan in place of the 92mm? would look amazing if you could in my opinion

Well if you look at how big a 120mm fan is compared with the motherboard i'd say no ;). It would foul the memory, the vrm heatsink and nearly all of the IO and you wouldn't really be able to see it. I won't be using an unlocked chip either so it wouldn't have a performance benefit, things are tight enough already without going to a bigger or taller heatsink.


JR
 
Associate
OP
Joined
25 Aug 2011
Posts
407
Location
CLASSIFIED
Loving the components and the look of everything so far but... I think it needs more chocolate. :D

Don't worry there will be more chocolate. Finding brown components is surprisingly difficult and as most of them will be covered underneath the epic heatsink I won't try. I will incorperate brown into the colour scheme of the cables and I think Parvum have some Chocolate for me ;)

Here's a little unboxing of the EK DDC X-RES 100...


Although the little baby res came with a very fancy EK anticyclone and is adorned with a nicy shiny EK logo I will probably use it with the plain side facing out and the funky foam. I find it much cleaner and with any luck the tubing will work out better that way too.


The next thing to be unboxed is the hugely cute and hugely impressive Silverstone SX600-G semi passive, 80+ gold rated, fully modular, 600 watt SFX form factor PSU! Just to recap that's all of the things at 1/3rd of the size of a normal PSU.


These lighting test shots with the L12 were just too pretty to leave out of the project log.


Just to give a bit of scale to all of the little and large components that have been unboxed so far here's a nice group shot of the little family.


I think all of my build logs have now caught up to where i'm at in terms of progress, sorry if OCUK was briefly behind. Since this update I got a small selection of fittings and tubing which I have been trying out.


So after much consideration I have decided to use Alphacool HT 10/13mm tube and fittings but with EK PSC rotaries all in bright nickel chrome. I'm not that fond of the Alphacool rotaries as they just have unnecessarily complex design by making both the male and female rotatable. I've now ordered one million of each.

JR
 
Associate
OP
Joined
25 Aug 2011
Posts
407
Location
CLASSIFIED
much excite :D

Uhoh got to impress the boss man now :rolleyes: Thanks everyone.


AFAIK this is the smallest Parvum logo inlay there has been so far, each piece of the letters are stunningly delicate and it nicely reflects the colour scheme going on inside with a nice bright highlight.


Straight in there with a test fit this afternoon, everything seems to fit, just!


Much like MOD04 by HackJoe Parvum have used their cunning tool-less PCI mount, it's actually easier to assemble than a normal Parvum and it holds the 290X beautifully true in the case. Whoever did this, give that man a rise or a cookie.


Things are if anything even tighter in the back, and I need to get an SSD in there too. It's definitely gonna be fun, Pexon is going to hate me worse than that time I made him sleeve 13 fans :D


Yep yep yep...


JR
 
Associate
OP
Joined
25 Aug 2011
Posts
407
Location
CLASSIFIED
Its a very impressive build...I actually do like the colour....but....why not watercool all of the build? Why have a fan cooling solution for the CPU?

I went that route for both aesthetic and performance reasons, given the space constraints watercooling both components wasn't a serious option without making massive internal and external changes to the case to accommodate more radiators. Graphics cards respond far better to watercooling, the heatsink is more than sufficient for an i5 even with a modest overclock. As it's a gaming orientated build in it's 'load' scenario the GPU would generally be the hottest and loudest component, especially given it's a 290X. Brown/Black/Nickel graphics cards don't come up that often so I felt this was the strongest way to convey the theme.

Perhaps trying to cram in 80mm rads and using a lower TDP GPU I could have included the CPU in the loop but it would have added greatly to the complexity and offered no accoustic benefit. Plus that's really not my style. The big clean CPU cooler dominating the motherboard really works for me and i'm sure it will be capable of cooling a modest CPU at a fan speed lower than the GPU rad. I won't deny it's a bit different, that's what I set out to do and i'm sure I will learn a lot from doing it that way. Moreover it was quite important to me to do something unique with it, I liked the stacked rad in the green and white MSI themed X1.0 but it had been done. Similarly Parvums early ITX used a small form factor graphics card so I wanted to squeeze in a full length and blocked graphics card.

JR
 
Last edited:
Associate
OP
Joined
25 Aug 2011
Posts
407
Location
CLASSIFIED
Thanks for your support and for following the log guys.

I've now mocked up all of the tubing using acrylic and obtained all of the critical dimensions so I can cut the nickel plated brass Alphacool tubing which is way too expensive to make mistakes with! So far everything is lining up nicely and the thought I put into the motherboard tray is paying off. If Bitspower come through with the mini snake I think this might just fit together :eek:


JR
 
Last edited:
Associate
OP
Joined
25 Aug 2011
Posts
407
Location
CLASSIFIED
Thanks everyone, i'll keep the updates rolling in.

Looks great. What colour coolant are you using in the final build?

I will be using clear coolant as it's only visible in the res which is pretty well tucked away in the back.

The runs to the GPU look mighty fine. I like!
Hopefully these other bits will arrive very soon.

Woo bits! Very soon :D even better


Over the weekend I cut and turned all of the Alphacool chrome pipe to length and just this afternoon I have reassembled the loop. It was easy to put together with the roof and a sides removed. Also as well as cutting the pipe I also shortened the Alphacool bulkhead pass through's so there are no exposed threads on either side. I've still got everything crossed for when the radiator and mini snake turn up.


JR
 
Associate
OP
Joined
25 Aug 2011
Posts
407
Location
CLASSIFIED
Another little piece rolled in from Taiwan this morning, a Bitspower Triple Rotary Mini Snake which should be the absolute perfect dimensions connect my modified EK pump top to the XSPC radiator. I mean I don't have the radiator yet but i'm sure it will :D

P1180805.JPG


P1180801.JPG


P1180812.JPG


JR
 
Associate
OP
Joined
25 Aug 2011
Posts
407
Location
CLASSIFIED
Very nice build. and amazing pics.

Any chance you can share the kit you used to take the pics with ?

Cheers

Sure I have been using the following...

Panasonic Lumix GF2
Lumix 14-42mm F3.5-5.6
Lumix 14mm F2.5
Tetenal Thunder Grey Paper
Velbon DF-50 tripod

JR
 
Last edited:
Associate
OP
Joined
25 Aug 2011
Posts
407
Location
CLASSIFIED
Stunning work. Presumably you're looking at a 120mm rad in the front?

Yep the motherboard tray has been designed to accommodate an XSPC AX120 and all of the fittings should just line up according to their product drawings. Should be fun, I think it's coming early this week :)

JR
 
Associate
OP
Joined
25 Aug 2011
Posts
407
Location
CLASSIFIED
Hi mate

Whats your opinion on the Alphacool fittings? I'm intrested in trying them out for my build.

I've obviously not done any leak testing or final fitting yet so I will leave it a little longer before I express a full opinion of them. With respect to the 10/13mm rigid tube compression fittings I have actually used the Primochill ghosts in my previous build that look incredibly similar. The Alphacool fittings have a higher quality knurling and are more consistent in their appearance, they also have a hexagonal section on the inside allowing you to remove them if they get stuck. I've had experience of that happening and the hexagon makes it so much easier than trying to get a pipe wrench on the threads. The overall design is compact and simple and the quality of the plating seems very good with a ridiculous amount of o-rings.

The Alphacool chrome plated brass tubing is beautiful, really heavy feeling and great finish. It seems too thick to bend IMO but I never tried for this build as it wouldn't have helped. I actually cut it and turned it to length using a lathe and having perfectly square and nicely chamfered ends really helped with the assembly. I wouldn't advise just sawing it off and smashing it together. It is expensive compared with acrylic though!

Lastly the Alphacool 90 deg fittings and rotaries I wasn't very impressed with at all. A few I ordered had imperfections and marks that I don't expect from such a quality brand. The design I really wasn't a huge fan of, they look very complicated and fussy which is why I opted for EK PSC rotaries. I did order some of each to have a look beforehand. I didn't feel the quality was as high as the 10/13 hard tubing alphacool bits and I would probably avoid them.


So Alphacool general fittings were a little disappointing, the hard tubing system parts including the compression fittings were great. The EK PSC's really surprised me and I would got so far as to say they are my favorite fittings, if there were more available I would choose them over Bitspower but it looks like they have been discontinued. Shame they were a really clean design. Bitspowers immense diversity and quality really does make them stand out, expensive but you can do literally anything with hundreds of bits to choose from all in identical finish.

JR


PS. The rig is currently at Pexon's getting some sexy cables tailored.

BR-BL-BL-BR , BR-BL-BL-GR-BL-BL-BR , BR-BR-BL-BL-BL-GR-GR-BL-BL-BL-BR-BR
 
Last edited:
Associate
OP
Joined
25 Aug 2011
Posts
407
Location
CLASSIFIED
Thanks,

A slightly different update for you today, the rig is currently away at Pexon's getting cables made for it. When I dropped it off I picked up this 60% keyboard as a little side project to accompany Chocolate Box. It will follow the same theme with black and brown caps as well as a machined bright metal case. Finding brown key caps however is rather challenging in any corner of the world, luckily Signature Plastics were kind enough to do a short run of 100 1unit brown PBT DSA caps for me! I'm expecting those some time in January but so far I have...

KBParadise V60 Mini with Cherry MX Green switches
Vortex CNC Machined Aluminium 60% Case
Signature Plastics PBT DSA family blank black modifiers
Signature Plastics PBT DSA family black 6.2unit space bar

I'd like to say thank you to Pexon PCs and Signature Plastics for helping me source all of the required parts, and I look forward to keeping you all updated on the progress of the rig and the board!


JR
 
Associate
OP
Joined
25 Aug 2011
Posts
407
Location
CLASSIFIED
I'm back with another update and a change of scenery for the holiday updates. Lots of goodies for Chocolate Box rolled in just before Christmas, I can't show them in context as the rig is currently at Pexon's but I can find a little time for some sexy unboxings and a little plot twist.

First out was the beautiful XSPC AX120.


Also a radiator gasket came along with it which was a nice touch, I'll have to see if I can expend 2mm to fit it in the case.


A Laing DDC-1T Plus should keep things circulating nicely, not generally considered overkill but for a loop with one rad and one block this is as outlandish as having a serial-parrallel quad D5 config!


Absolutely jizzed my pants unboxing this, I need more HyperX in my life!


I think this is naked HyperX but until I test it i've no idea lol! It's littered with SK Hynix chips on one side so presumably it's a pair of tasty 4GB sticks.


The boys at Parvum decided the memory looked a little lacking without any spreaders and so sent along two XSPC adapters from a memory block kit. I won't be watercooling the memory but I really appreciate the gesture and it looks phenomenally clean.


I'm really pleased with this little array of toys, they all fit in perfectly with the build and i'm really taken back by the quality and finish of the XSPC and HyperX parts, even the packaging is epic.


JR
 
Associate
OP
Joined
25 Aug 2011
Posts
407
Location
CLASSIFIED
Clean & Slick!
Nice build JR ;)

Impressive and very professional. Eagerly awaiting the final images.

Thank you guys, i'll keep them coming, final pics still feel distant but once I verify that the radiator fits it will be within reach. I will probably find another little project to keep me occupied in the mean time ;)

Amazing build.

The OCD me would be annoyed with the EKWB block being upside down though lol

Indeed, it really is a shame they made it asymmetrical so it can't be inverted. Having said that if the fittings moved up or down at all then they wouldn't fit inside the case in the way they do and that would offend my OCD much more.

PS. respect for the GTA and Classy love.

JR
 
Associate
OP
Joined
25 Aug 2011
Posts
407
Location
CLASSIFIED
That is good looking!

This build, man you should be so proud!

Sterling job mate! :D

Amazing job parvum have this featured on facebook too :)

Aye, saw this on the parvum site too. Lovely little build.

looks amazing :) love the tubing on this.

Thanks for the compliments guys and thanks if you followed Parvums FB link to the log, make sure to like Parvum Systems, JR23 and Overclockers UK! I'm sure you do already though ;)

Pexon has informed me progress is being made, brace for substantial updates in the coming weeks.

JR
 
Back
Top Bottom