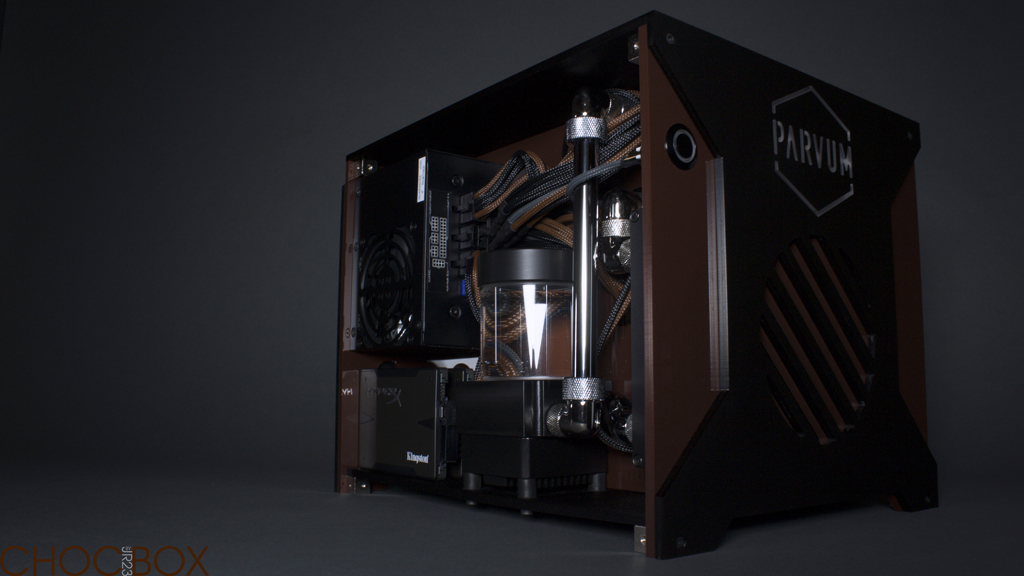
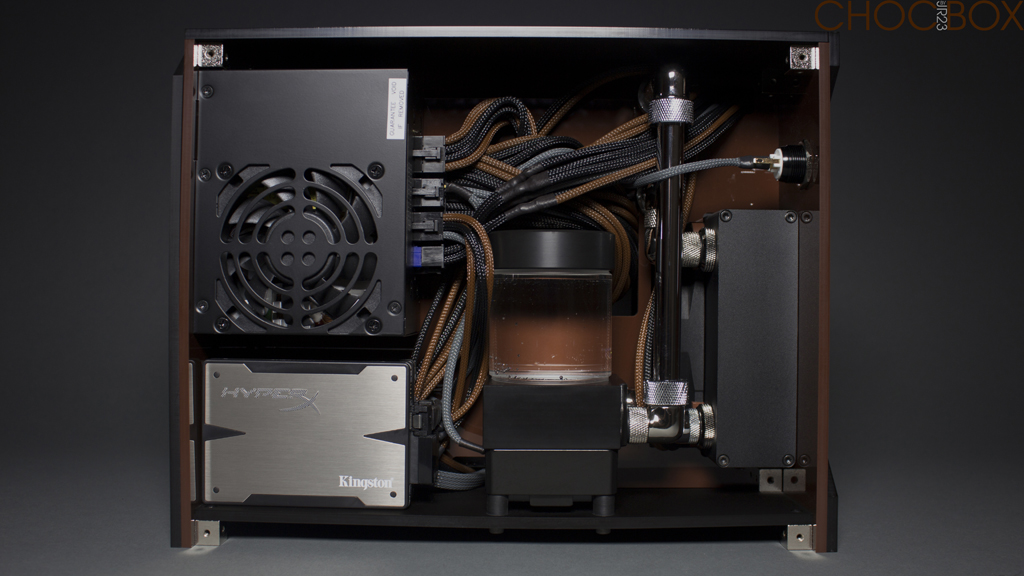
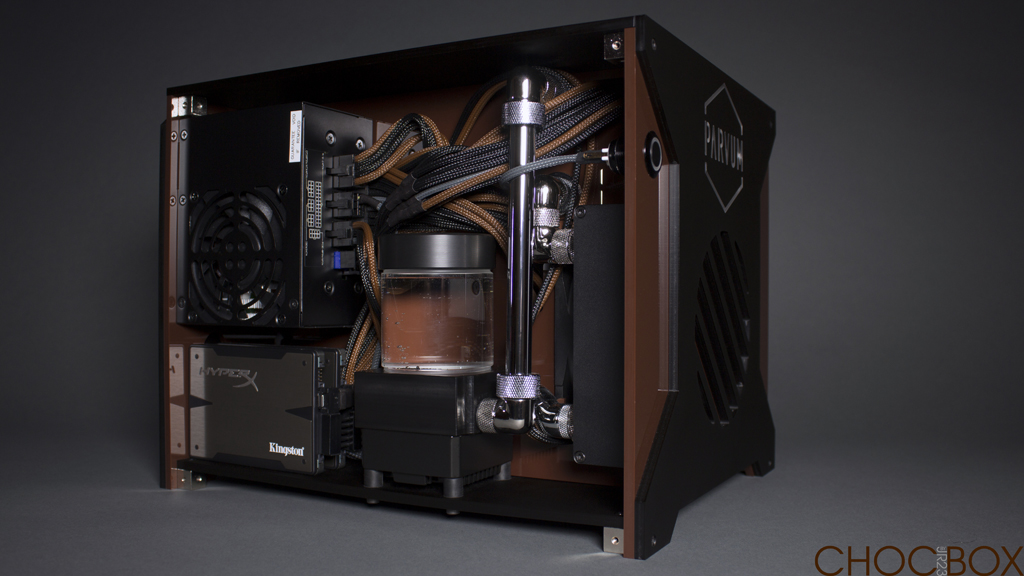
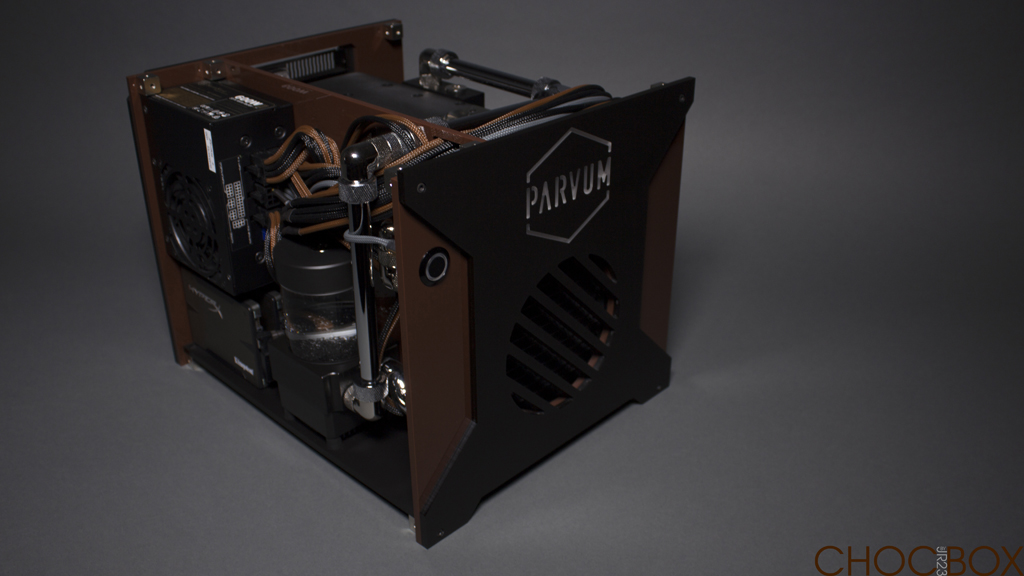
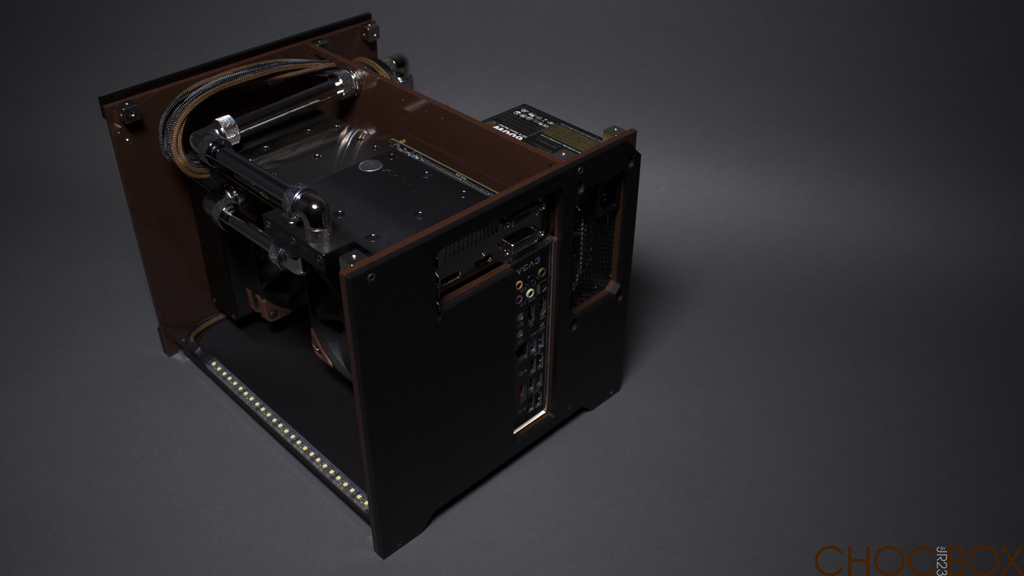
Chocolate Box

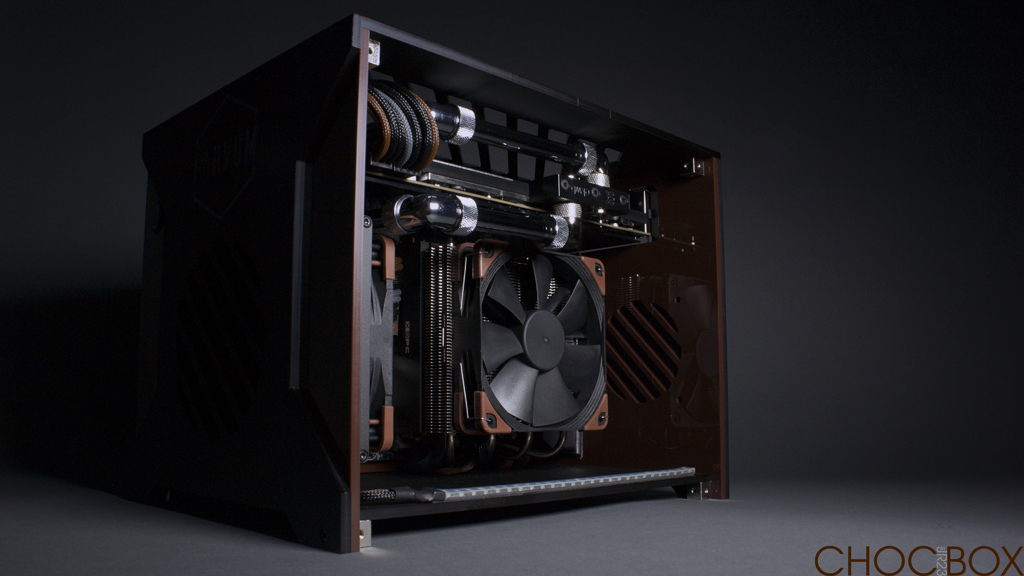
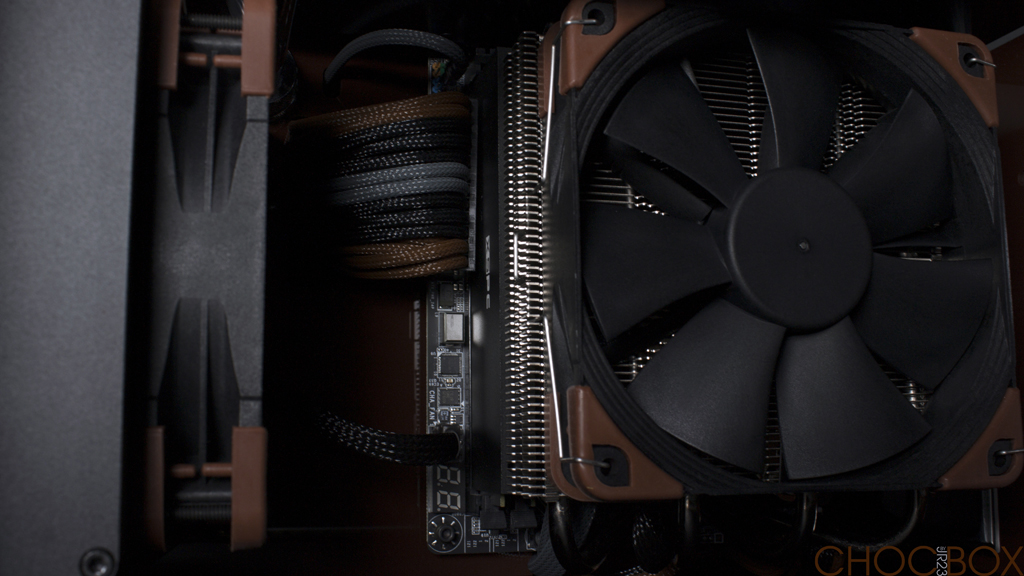
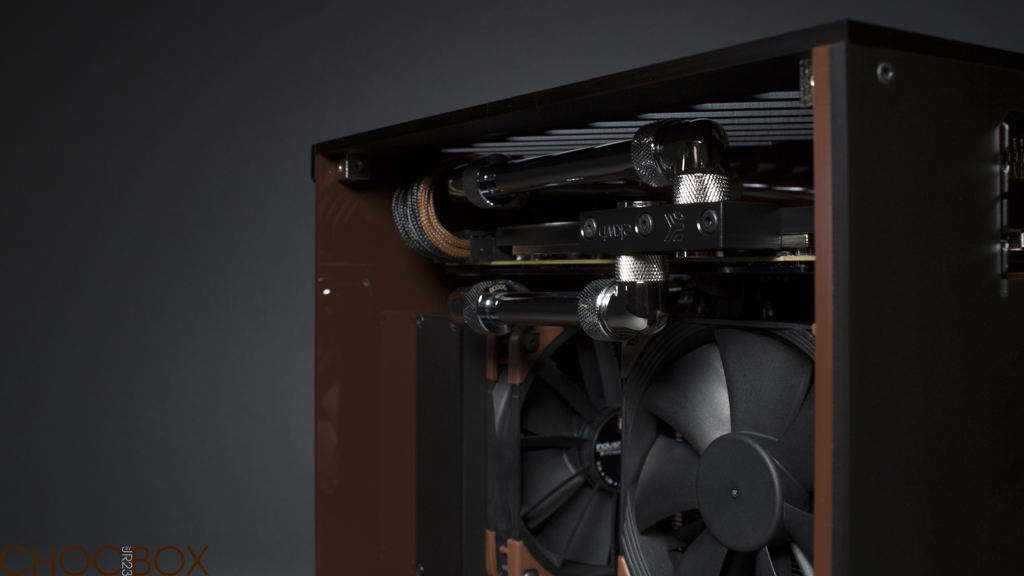
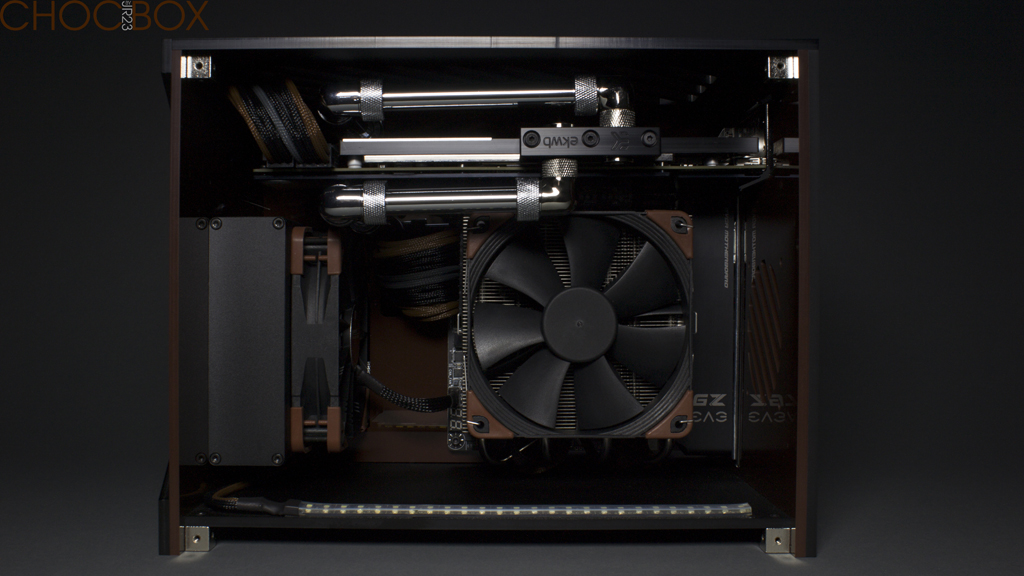
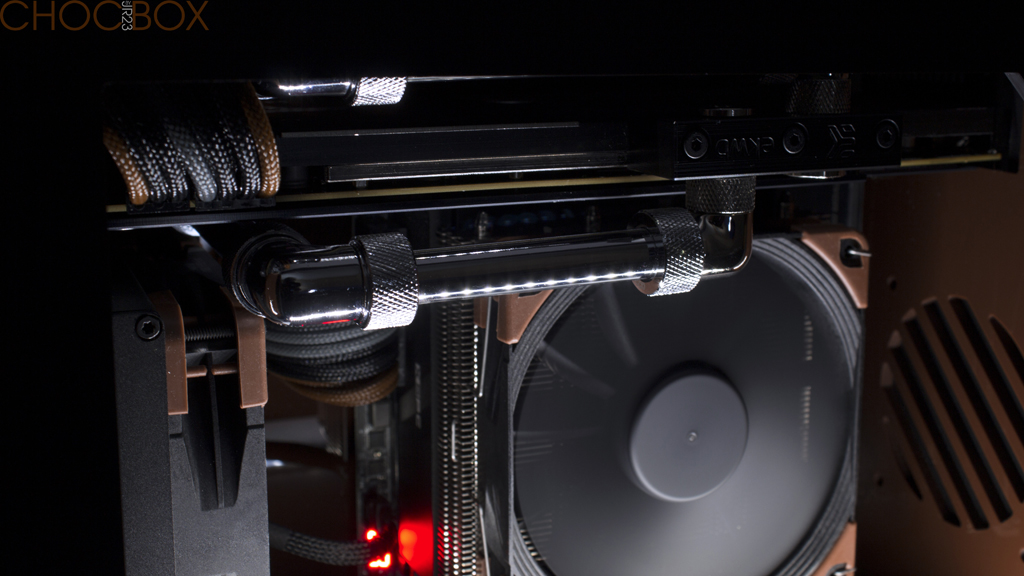
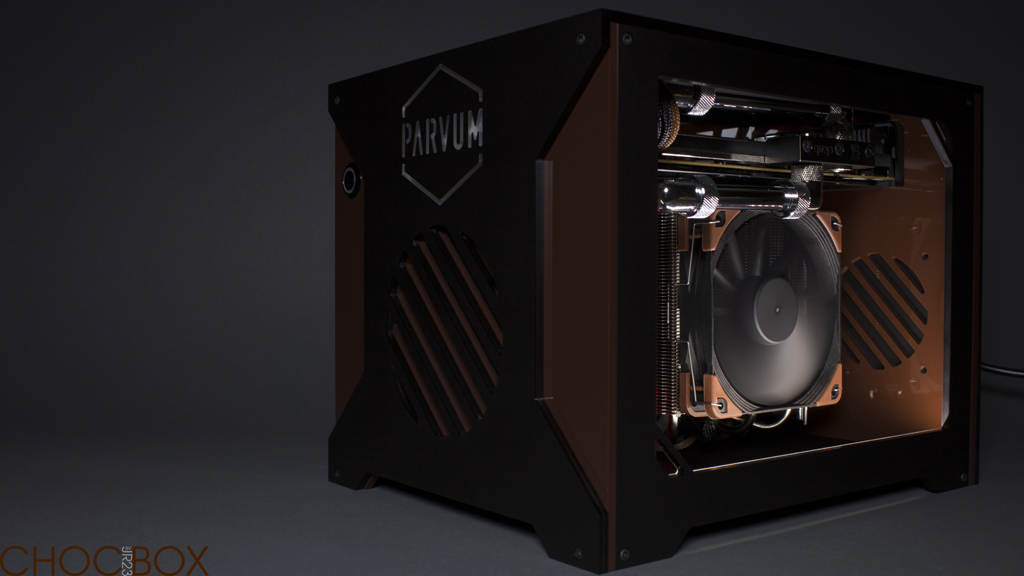
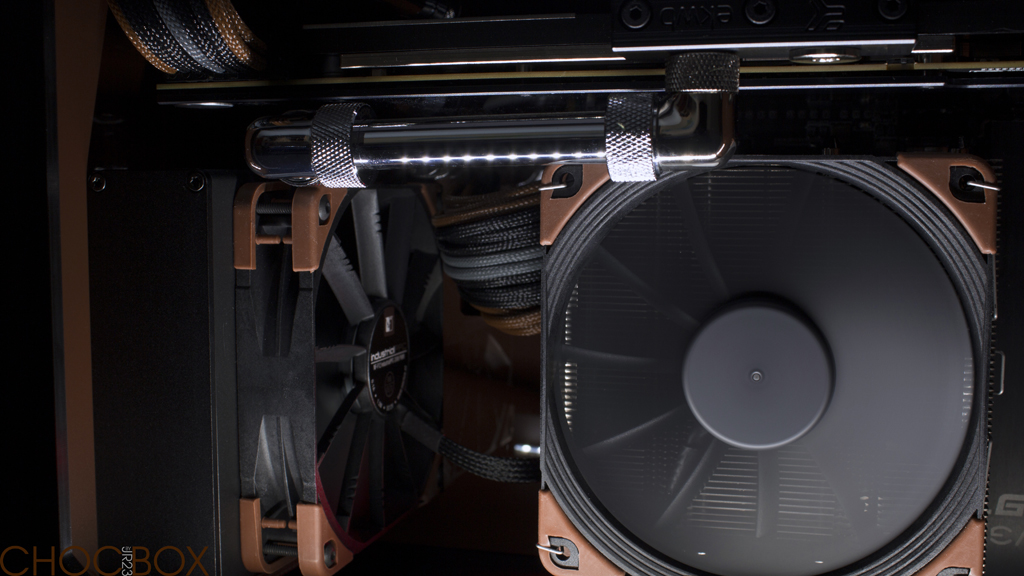
I love this build, not only bcos I rly like noctua stuff, I duno it just looks really classy build with a touch of bringing sexy back to the aircooler

I do wonder tho if you ever thought in a moment of madnesss doing the coolant brown :o
it could have been a bubbly chocolate fondue!

Thank you, brown coolant has come up in conversation on other build logs. The only other brown build i've seen in person is 'The Bear' and I don't think classy would be a word I would use to describe it. That had brown painted metal parts, brown painted plastic parts, brown coolant, brown acrylic and they just didn't come out looking that coherent. It's an extremely difficult colour to match, not only can it be too light or dark, it can be too red, too yellow and too blue all at the same time. And it's not like there are many alternatives when it comes to brown.

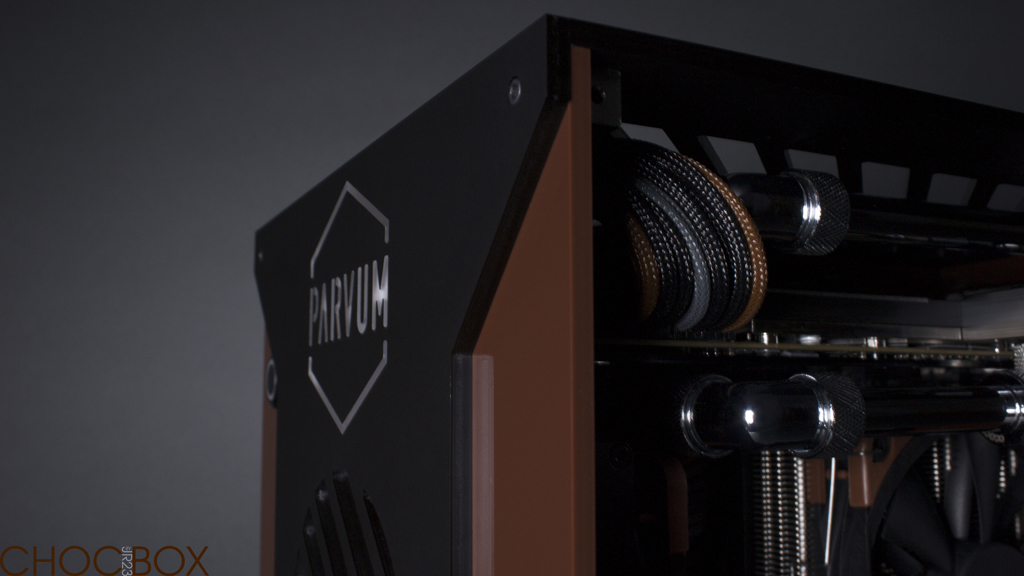
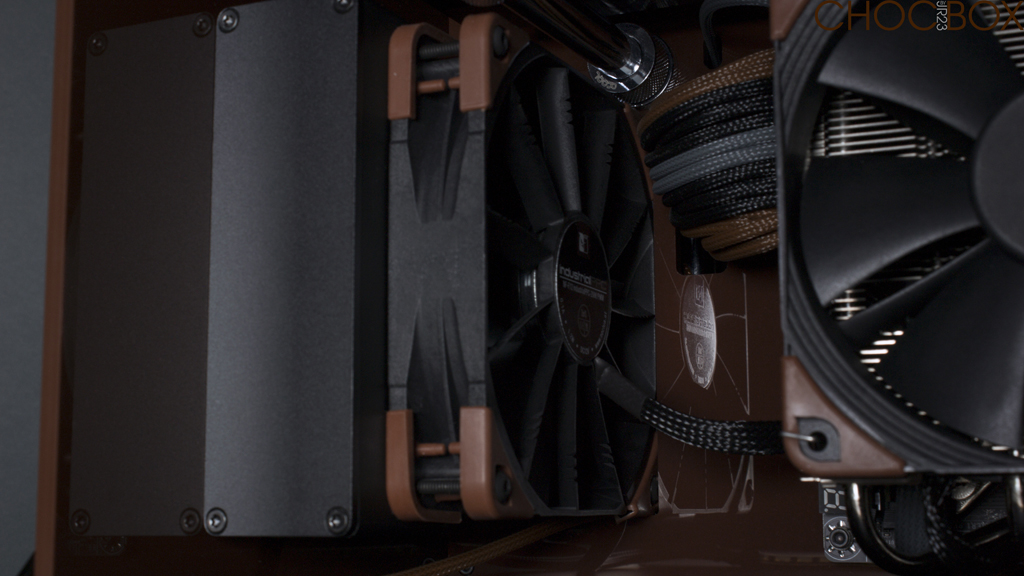
So far i've been extremely lucky in that the acrylic used in the case matches the fans very closely. Infact absolutely amazingly considering all I told Parvum was "can you make it brown acrylic, brown like chocolate" and i'd never seen the fans at that point. Selecting the sleeve was another challenge right now there is Teleios available in brown and... not much else. As it turns out when laid tight over black wire it looks right. But if it hadn't I would have gone with all grey or black to avoid a potential 'nearly' matched colour, if it's not going to match i'd sooner contrast it which is why I often default back to black. Finding or even mixing brown coolant would have been the same story all over again and at the end of the day it would have only been visible in the res, which is in the back of the case sitting right in the centre of a brown interior. I honestly think it would be too much brown for one, a pain to match and a lot more effort to maintain. If I run clear I think things will still look plenty brown enough in the back and it should give me the least trouble.

I'm not worried about a little trouble, time or money if it's going to provide aesthetic value to the build but in my opinion it wouldn't of really worked.

JR
 
Last edited:
wow so much thought
yeh it does look very pro the way you did it
marshmallow chocolate fondue is yum is all!!
i was just being a bit silly

im kind of intrigued about "the bear" now :)

amazing build, maybe it will inspire a few more high end builds with aircoolers in there somewhere
all water seems over done to me

Well seeing as it came up before I thought it was worth discussing my decision. You will find pics of the bear quite easily and i'm sure you'll realise why I can't link you to it on here as soon as you find it.

There are certainly a lot of builds where an air cooler would suffice, perhaps even be quieter, but ultimately the cooling under load when overclocked is insufficient for a lot of CPU's. But that doesn't bring any real gains for gaming so i'm just going to run a stock i5-4440 in this. I've got other toys to overclock.

I think there are times when any cooling method and components are appropriate, as long as they are controlled and considered in their selection it can work aesthetically. A pretty build has to have a purpose in life too though.

JR
 
So today i've been attempting to rectify a little problem I unearthed when trying to mate the radiator and the pump together at Pexons over the weekend. The mini-snake from bitspower while perfect in length just wasn't offset quite enough to reach the pump top from the bottom port on the radiator. Luckily I had a cunning plan. ;)


There was no chance in hell of moving the radiator in any direction and no other options in terms of fittings. So the pump had to move, although it already sat on the floor so I had to make it just a little shorter.


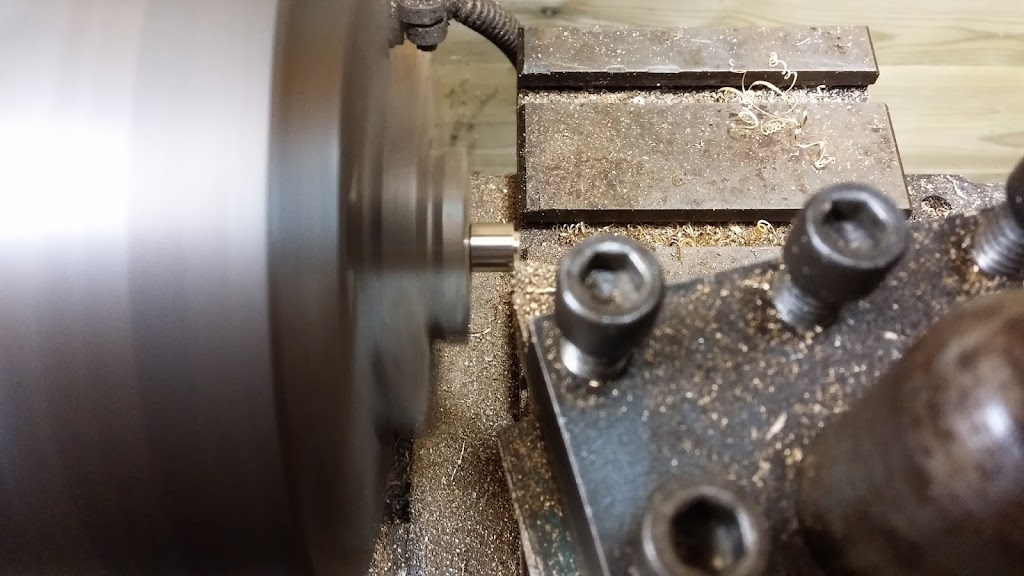
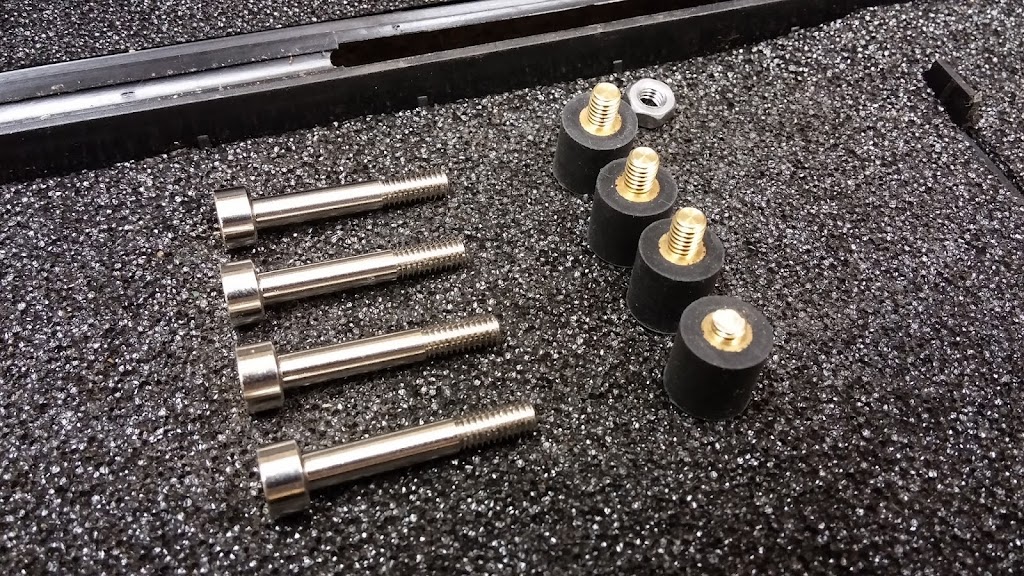
I shortened the head of the bolts which secure the heatsink to the pump top, making them 4mm instead of 7mm.


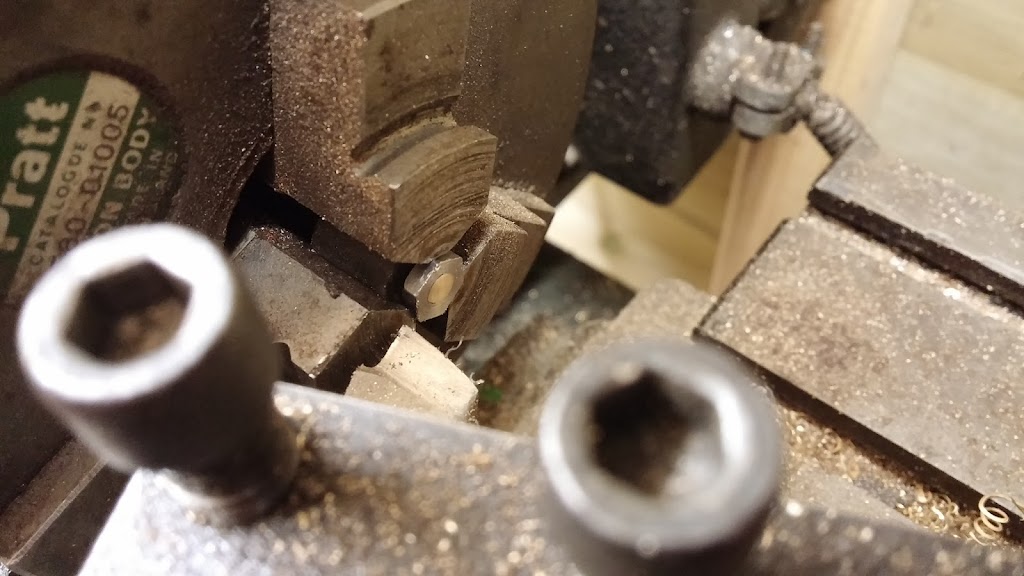
The head of each bolt is actually threaded on the inside to accept the feet hence I cleaned up the end of the thread where they had been faced off.


Obviously this meant the feet no longer fitted because the threads were too long, no trouble :p


Here you can see a modded bolt and foot alongside an original.


Now to assemble the pump, reservoir and heatsink...


The heatsink replaces the standard DDC body and uses a 1mm thermal pad to make contact with the PCB. The bolts I have modified tighten the heatsink against the top, trapping the pump securely in the middle and sealing it against the top with an o-ring.


But will it fit? and more importantly how? :eek:


Now just to bring the halves together...


Success :)


Next I will be replacing the vertical pipe as the current one is now 3mm too short, and once i've checked that fits the rig will get completely torn down so I can drill the floor. Once everything is mounted it will be on to cable management fun. I had everything except for the lights and 24-pin in earlier and that pretty much filled it!

JR
 
After the adjustments made to the heatsink yesterday it meant that the vertical pipe in the back of the case was just a little too short. As I have more time on my hands now than when I cut the first lot of tubing I thought I would document the process.

Firstly I wrapped a single layer of electrical tape around the end of the tubing where the cut would be and another slightly further back. This allowed me to securely hold the part in the lathe without marking the plating.

20150120_125138.jpg


The old pipe was measured and the new one marked accordingly to be 3mm longer. Last time around I measured the acrylic tube which was used to mock the loop purely because I had some left from a previous project and it was far cheaper than wasting the Alphacool tubing.

20150120_125353.jpg


To avoid damaging the off cut it was sawn off while in the lathe, it was much easier to hold in the chuck rather than a vice.

20150120_125549.jpg


The end of the pipe was then faced to the required length, while perfectly concentric this obviously left the edges very sharp.

20150120_130253.jpg


As the pipe must be fitted through two o-rings in the fitting I chamfered the outside so it will slide in nicely.

20150120_130639.jpg


...and similarly cleaned up the inside edge.

20150120_131002.jpg


After giving it a good scrub on the inside to be sure there were no contaminants or fine pieces of brass left behind the last part is finished.

20150120_132319.jpg


20150120_132504.jpg


It fitted perfectly into place and i'm very relieved to have the loop completely finished.

20150120_133138.jpg


Now that's all together I will start work on the floor.

JR
 
wow what a great build. Apologies if this has been asked before, but how come you haven't watercooled the CPU?

Thank you, I think it has been asked somewhere before scroll back and you might get a better answer than this one! Anyway without changing the overall size of the case fitting in more radiator area isn't really possible, even going to a single 140 would present clearance issues with the graphics card and the cubes which assemble the case. So in the end watercooling both wasn't a sensible option maybe with a lower TDP graphics card and a particularly fast fan it could have been done but it never really crossed my mind to attempt that.

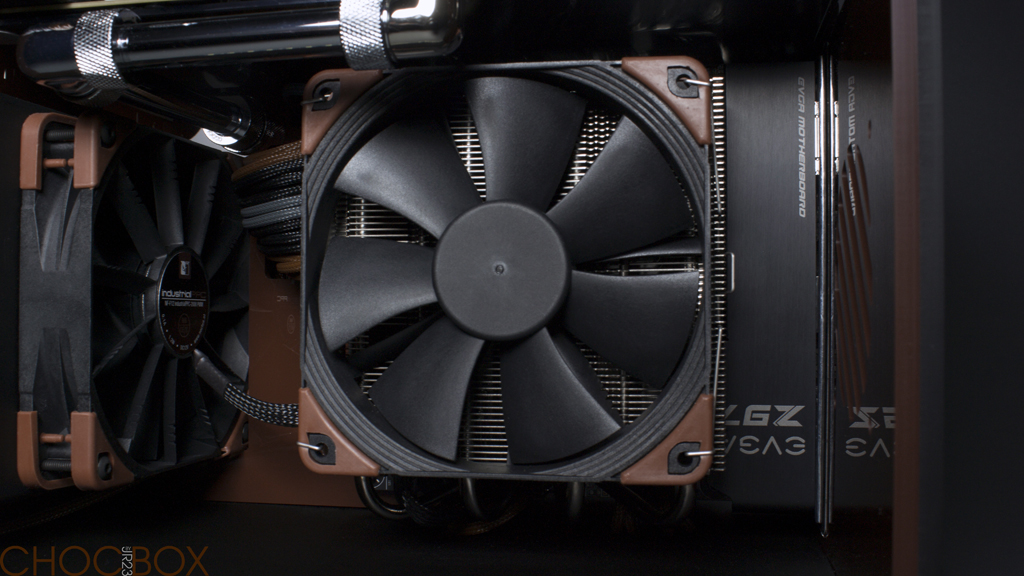
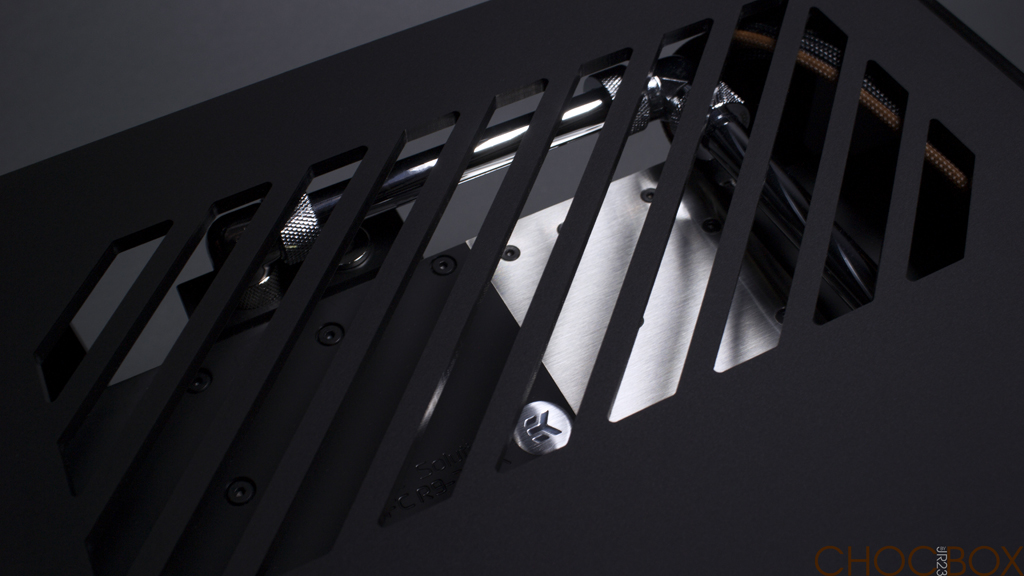
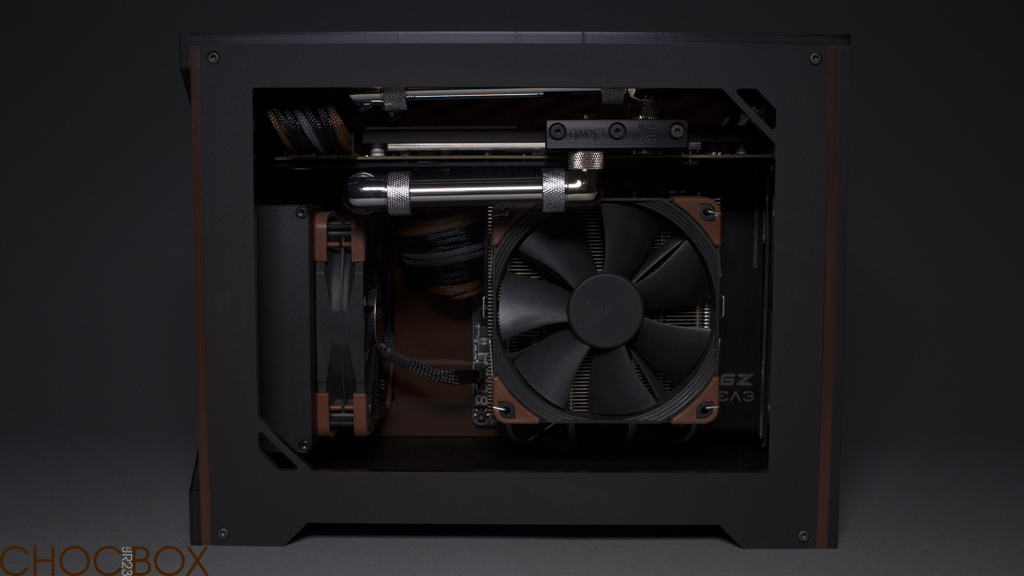
Once I had the idea to watercool only the GPU I realised it could work really well aesthetically, a clean full length blocked card lurking under the exhaust grill. Then I started looking for CPU heatsinks and found the Noctua L12 and that pushed me towards the iPPC's and shaped the entire theme. Plus performance wise raging CPU clocks doesn't add many fps and acoustically the graphics card is going to benefit more from water. A stock intel heatsink is quieter than a 290X! As of yet it's still untested but with the available space I think it will be a strong solution. I agree it is different, most people would watercool the CPU first, but it should be different, it's brown :)

JR
 
Late last night I marked out and drilled the floor, to mount the pump and SSD's, I would have taken a pic of the process but it started snowing while I was outside. So straight in with the finished article and a test fit.


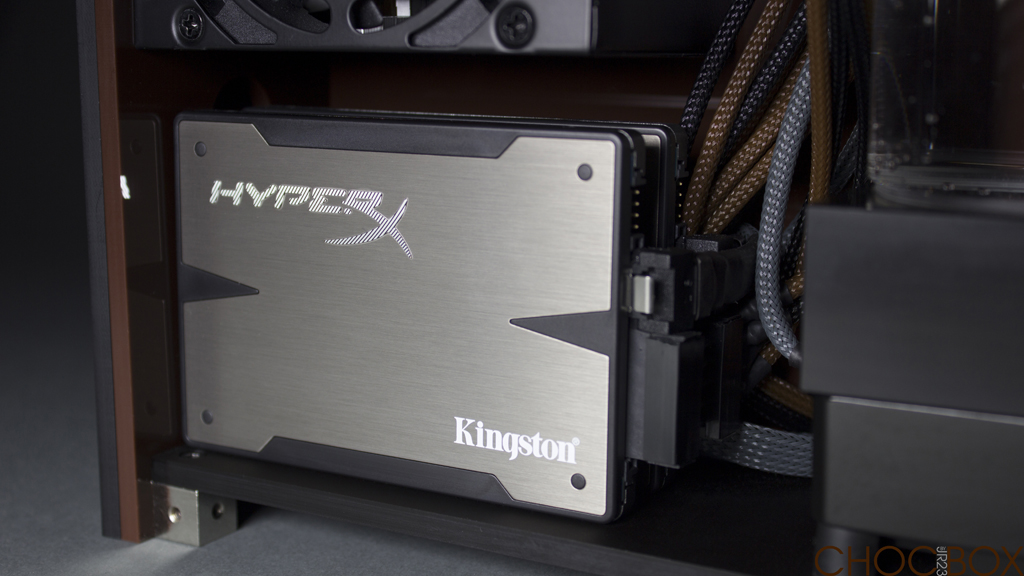
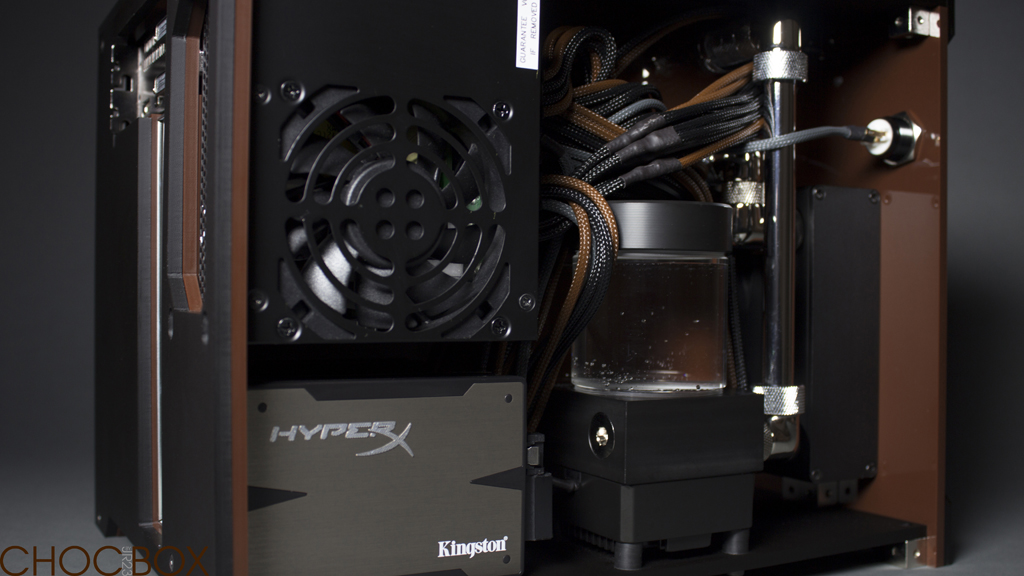
Both the HyperX 3K's ready! They are so pretty they just steal your eye and beg for pic's, probably the vainest SSD's on the market :D


It's always nice to see the holes line up.


With the pump to hold the floor on it's side mounting the SSD's was easy.


While everything was mm critical the tightest spot was right in the back corner where the SSD's sit right next to the screw which secures the floor. I spaced them back just enough to let me remove the cube with the drive's in place.


The bottom was even tighter though as the SSD screw sit's right against the cube, but it missed perfectly of course. Any further away and i'd be wasting valuable space ^_^


I didn't know whether to use countersunk screws but in the end went with cap heads to match what Parvum do on the underside.


The especially short SATA power cable Pexon made me fitted on perfectly, the drives are spaced 20mm apart, just enough to fit a pair of right angle SATA's in.


I'm very happy with the floor so i'll probably tear it down and test the motherboard/CPU/RAM/PSU/SSD's, maybe install the OS and prepare for the final assembly.

JR
 
Last night Chocolate Box was torn down and re-built on the back of a fan box, no seriously the motherboard is exactly the same size as an iPPC box! Everything was tested apart from the GPU and functioned perfectly, getting the motherboard to co-operate with the fans didn't happen immediately and for a moment it was entirely passive cooled but it's all dialed in now. The LED's can be dimmed nicely using the motherboard, I installed W8.1 Pro onto the 120GB drive and left it at that.

So until the final assembly here's a roundup of everything that's going into the build, hopefully :p


Special thanks to Pexon PC's for their fine craftsmanship on all of the cables. I'm very much looking forward to seeing this all together and finding out how the GPU loop works out.

JR
 
I would much prefer a watercooled graphics card rather than CPU, the build is looking very nice.

Well yeah, I find it kind of funny I thought brown would be the controversial element of this build but everyone seems to immediately jump to 'y u no wet CPU'. Not anyone on forums having genuine discussion but casual facebook arguments and haters. Funny seeing as it's just a 4440 with a locked multiplier and the 290X is the loudest card since 8800's :D

Not a fan of the Parvum cases, but I'm an SFF freak so I still think it's an epic build, kudos to you chap. Anything that involves a bit of turning gets the thumbs up from me.

Not a Parvum fan :eek:, I must say their format really makes sense for SFF builds, being able to remove any panel and assemble it in any random order is invaluable when things are so tight. Really really nice to mod too not that i've done a lot to it. I must admit they would be much nicer in a make belief world with no dust.

Great build, looks epic - any chance of a picture of your photo "studio" setup - your pictures are astonishingly good!

The earlier pics with the grey background were taken in my room at uni with background paper pinned to the wall and my ultrabook with a white screen for lighting. The later pics are just on my desk at home which is backlit with RGB LED strips and natural lighting, nothing special at all and I can't really show you any more than you can see in the actual pics.

Top build, I love all the parts you ordered they certainly have had much thought put into them.

Thank you, yeah they came together really well. Surprising considering i'd never seen most of it before, Parvum are on the right wavelength though the XSPC and HyperX stuff is lush.

JR
 
Last edited:
Lovely bukd - subbed :)

Not so sure about the grey in the cables looks awsome though m8

very nice

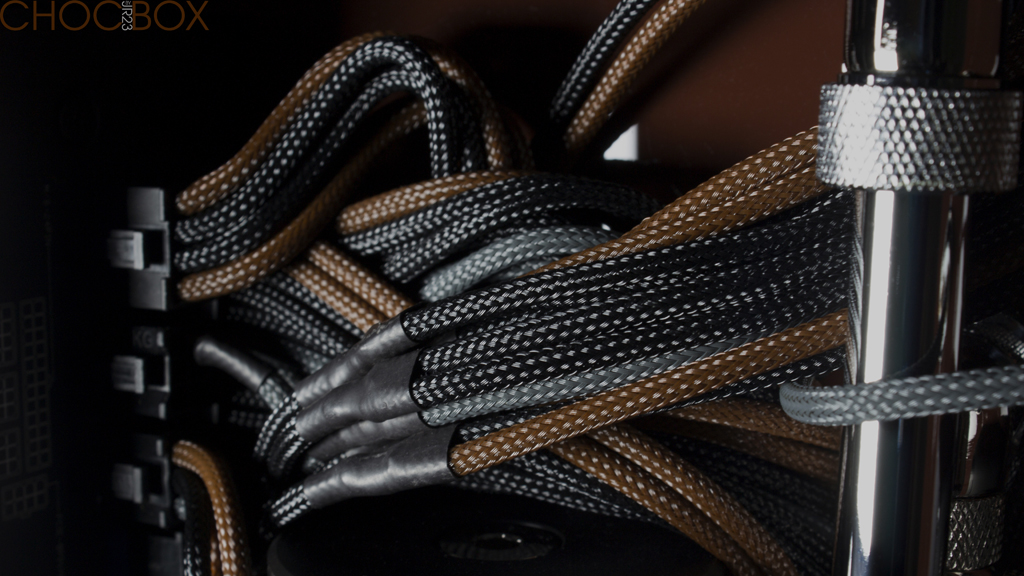
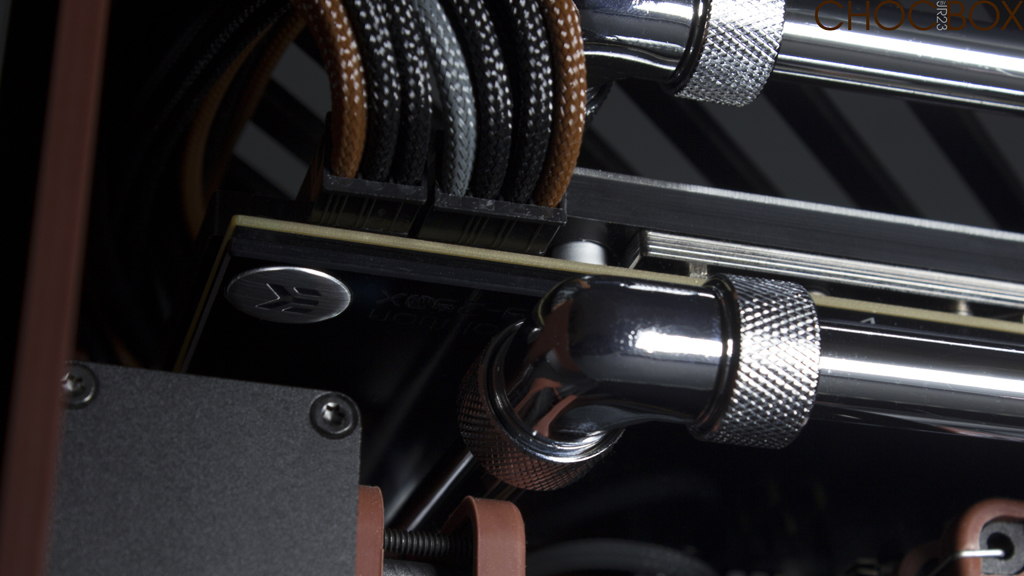
Thanks guys. I must admit i'm addicted to grey, I don't think it's a bad thing and it just makes them a little more subtle. Various parts are black and brown with grey details and that's something I wanted to bring through to the cables to. The iPPC fans have grey writing on the sticker/box as does the motherboard, radiator and the case so I think the three will draw everything together.

Great job shortening the pump mount screws :D Should be a super solid little rig with everything bolted down!

Look forward to seeing this IRL.

Thanks boss, it needs to be solid to take the pressure of the cables, it's starting to feel really chunky now :D

Oooh where are we going IRL, i55 o.O?

JR
 
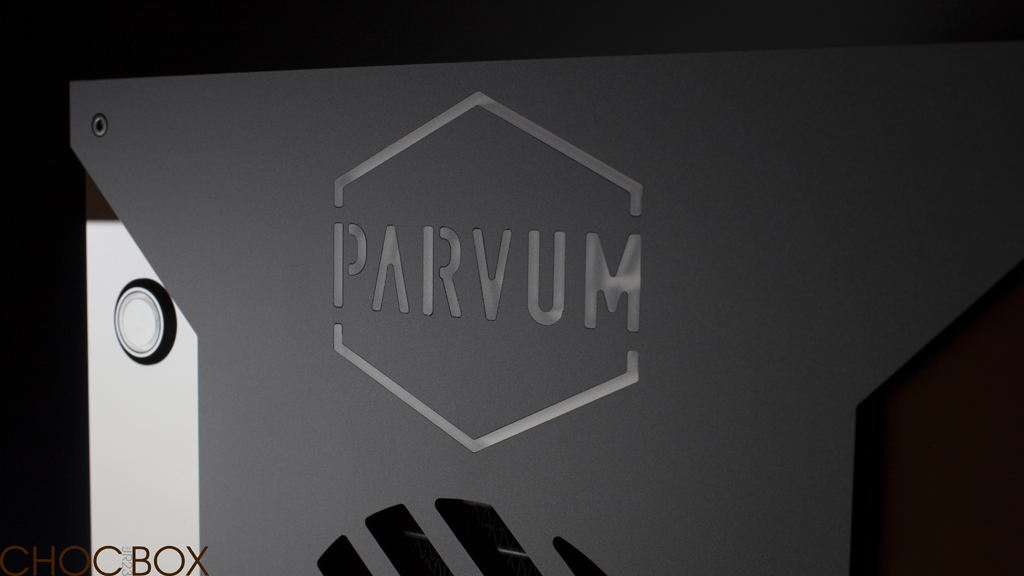
I'm another step closer to final assembly now after gluing in each piece of the inlay. Parvum normally rely on the tightness of each piece to hold it in place however i'd noticed the extremely small parts would stand proud of the front panel on occasion. Scared of losing one in the car or at a show I decided to superglue them in place besides it made for an epic photo opportunity. It was an extremely delicate operation and I just used a needle to wipe on a small amount of glue to the back corner of each letter and then pressed them down onto a sheet of glass.

P1190527.JPG


P1190553.JPG


P1190561.JPG


P1190571.JPG


P1190599.JPG


Thankfully it went really well and all of the pieces are cleanly secured in place. Very relieved now...

JR
 
The update has landed :p in this single post I will attempt to show the entire 'build' from start to finish. As you know every piece has already been designed, modded, test fitted and adjusted to fit precisely in position however this is the first time everything can come together.

Normally one might expect to start with an assembled case, or even with a Parvum build at least put it together at the start. Chocolate Box however is a little different. The case, components, loop and cables must all come together simultaneously.

P1190684.JPG


These are all of the parts which go into making the case, quite a lot for how big it is.

P1190687.JPG


P1190690.JPG


As with most Parvums I started with the floor, securing all six cubes and the pair of HyperX's

P1190694.JPG


P1190695.JPG


Next in was the motherboard tray, a custom part which I designed around all of the components.

P1190696.JPG


P1190698.JPG


P1190701.JPG


P1190706.JPG


Although I knew the front, like the floor, would have to come off again I installed it to support the motherboard tray while fitting the motherboard and graphics card.

P1190715.JPG


P1190720.JPG


The motherboard, CPU and RAM were left together just because it's the safest way to store them. Also the IO plate which I earlier modded by removing the bottom end to clear GPU backplates is now permanently glued in place. That made fitting the motherboard just a little less fiddly.

P1190724.JPG


P1190729.JPG


Assembling the back end of the case is done alongside the graphics card installation, this is the same for all X1.0's. The inner part of the back holds the card vertically while the outer keeps it securely in the PCI slot. By temporarily securing the inner part the GPU can be installed easily with one pair of hands.

P1190733.JPG


P1190735.JPG


With little else in the way this was also a great time to install the fittings used to pass through the motherboard tray.

P1190738.JPG


Next up the card itself and the IO plate, which I forgot derp.

P1190741.JPG


P1190744.JPG


Above you can see the card in place being supported by the inner part of back panel. The single screw at the top is removed carefully, the outer panel put in position and then all of the screws tightened up. That's all which is involved in installing the graphics card. If you started with the case full assembled you simply remove the outer panel, position the card and put it back together.

P1190747.JPG


Front half of the loop complete :)

P1190750.JPG


Remember me saying the floor would have to come off? well this is why. Rather humorously the case has to be un-inverted to fit all of the cables along the bottom. SATA's, 8-pin and LED's must be plugged in before fitting the heatsink.

P1190752.JPG


P1190753.JPG


P1190755.JPG


P1190756.JPG


Once's everythings plugged in the floor can be replaced.

P1190760.JPG


With the case back on it's feet a little cable management is in order.

P1190763.JPG


P1190768.JPG


Next another part which i've probably made unnecessarily complicated, the radiator and pump must be installed simultaneously to ensure the fitting that links them is tight. Also because there isn't enough room to tighten the fan screws when it's inside the case that goes in at this stage too.

P1190770.JPG


P1190772.JPG


And the only way to get all that lot inside is to pull the front off.

P1190773.JPG


P1190774.JPG


Then the pump could be easily bolted down and the front of the case re-assembled. Everything aligned nicely.

P1190778.JPG


P1190777.JPG


Leaving just one piece to complete the loop.

P1190780.JPG


P1190782.JPG


One big component left to go, the rather small PSU! and of course all of the cables.

P1190784.JPG


P1190787.JPG


P1190788.JPG


P1190792.JPG


A little cable management later...

P1190793.JPG


P1190795.JPG


All that was left to do was fit the sides and roof.

P1190797.JPG


P1190800.JPG


P1190807.JPG


P1190805.JPG


Leak testing is now in progress and the DDC is purring away, everything looks good so far. Fingers crossed for the first ever boot.

JR
 
Last edited:
****ing hell that is some lathe work mate. The screws alone are a work of art.

Thanks, I hope you like the way it turned out :eek: :D 'turned' :D

Wow looks awesome and your pics are stunning. 5*

Thank you, i'll be going back to the paper backdrop style for the final pics, probably another week away, i'm going to get the keyboard finished first.


Can't tell if big mouse mat or small rig :eek: just need to find a monitor now.

MAT.jpg


JR
 
great build enjoyed reading the thread, it looks good enough to eat. What drill bit did you use for the fill port holes, only im prob gonna do some port holes myself and just wondered what you used, il be using 10/12 tubing i know yours was 13mm but just to give me an idea what people are using, i was gonna use a cone bit, but i live in a flat so no man shed or anything like that, lol so ive got to be careful on that side. :)

plus how you finding the board, audio, overclocking, general use etc, there isnt many reviews of it at all.

Which holes do you mean dude? The holes in the mid-plate are 20mm to suit the M20 Alphacool bulk head fittings but I bet Parvum whipped round them with the same tiny cutter as the rest of the part. The outlet port in the pump block was milled out to 18.5mm by very weirdly putting a lathe boring bar into a chuck in the mill, somehow it just worked :D

The motherboard is great, obviously I haven't done any overclocking but the BIOS is very logical to navigate and the fan control options are great, it even gets on properly with the LED strip. The build quality visually looks phenomenal.

not keen on the colour combination for your braided cables, apart from that it's stunning.

Amazing. I love the way the pump is fitted to the floor using the standard EK fittings. Excellent job!

Stunning build. Good work.

Very nice pictures. The PC looks great and you've presented it very well.

Thanks for your support guys, JR.
 
To go along with the biblically proportioned mouse mat today I received an epicly sized monitor. Well maybe it's not that big but it certainly makes the X1.0 feel small, it's a 25" 1440p IPS Dell Ultrasharp U2515H...

P1190874.JPG


P1190878.JPG


P1190879.JPG


P1190881.JPG


P1190882.JPG


Can't wait to see my custom keycaps at the weekend and finish the little keyboard. Very close now, nearly ready for LAN's even if they are at my own house :)

JR
 
Stunningly beautiful build dude a pleasure to read through.
What mini keyboard is that? do u go to lan events often?

It's a Keyboard Paradise V60 Mini obviously with MX Greens, a Vortex machined case and Signature Plastics DSA PBT keycaps. At the moment I only have the black modifiers on it but i've got 100x 1u custom brown keycaps waiting for me at home.

Actually i'm not a huge gamer but last year I went to i52 as a visitor and really enjoyed myself and was sad to go home so thought I better get my act together this time, especially now i've got to knowing a few more people in the PC community. I actually built my Parvum S2.0 as a secondary rig to take to such places but Parvum badgered me into this build (ok it wasn't hard for them) so i'll be taking them both to i54. I'm also hopefully maybe going to Loughborough Uni LAN this weekend, if I still can and it becomes possible. I believe my own University are planning some LAN's too so I may suddenly find myself inundated with events to attend. We'll see how the first few go ;)

JR
 
Hey guys, not an update this time, but to make up for it I brought you all some Chocolate :)

P1190900.JPG


P1190903.JPG


P1190906.JPG


P1190910.JPG


Hold on, lets take a closer look, it appears to be hollow with a small cross in the centre :confused: what could this special shape chocolate be for?

P1190911.JPG


P1190914.JPG


P1190915.JPG


P1190924.JPG


P1190926.JPG


P1190928.JPG


P1190929.JPG


P1190931.JPG


Monumental thanks to Signature Plastics for doing a custom run of 100 brown caps just for me, they are beautiful.

JR
 
headerOCUK.jpg


Thank you to XSPC and HyperX for sponsoring this build, it's been a pleasure to use your components. Special thanks also to Parvum Systems and
Pexon PC's for your support and craftsmanship, as well as putting up with me over the past few months.


Chocolate Box by JR23

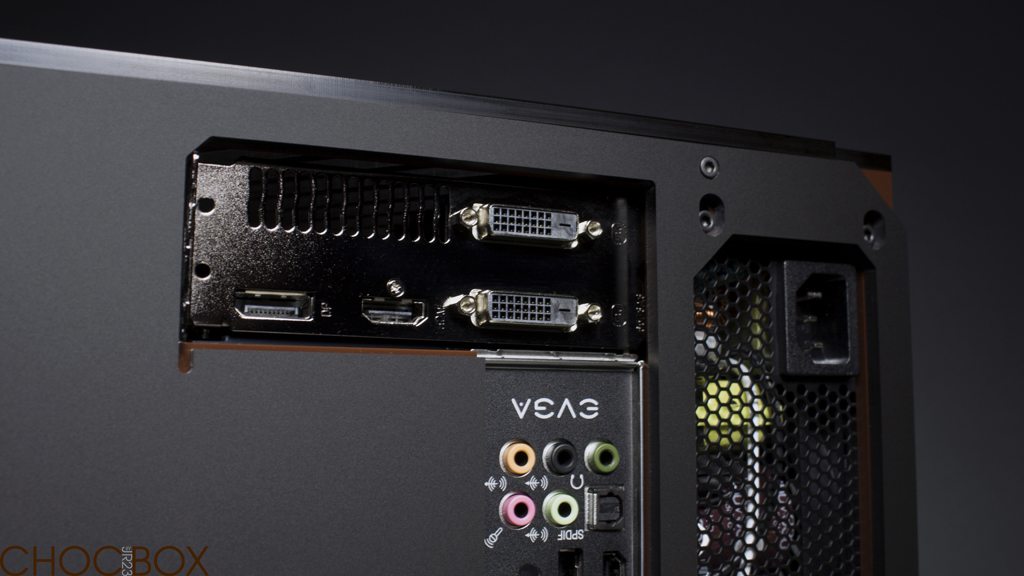
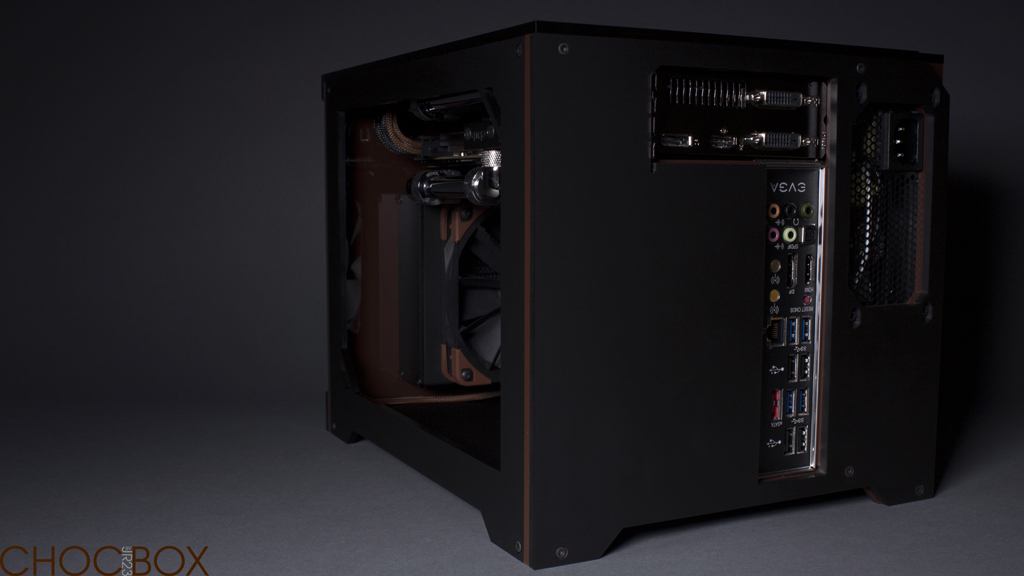
Case - Custom Parvum X1.0
CPU - Intel i5-4440
Motherboard - EVGA Z97 Stinger
RAM - HyperX 1600C9 2x4GB
GPU - Powercolor R9-290X
SSD - HyperX 3K 120GB
SSD - HyperX 3K 240GB
PSU - Silverstone SX600-G
Cables - Bespoke cables by Pexon PC's

Fans - Noctua IndustrialPPC NF-F12 2000PWM x2
CPU Cooler - Noctua NH-L12
RAM Spreaders - XSPC Universal Memory Side Plate
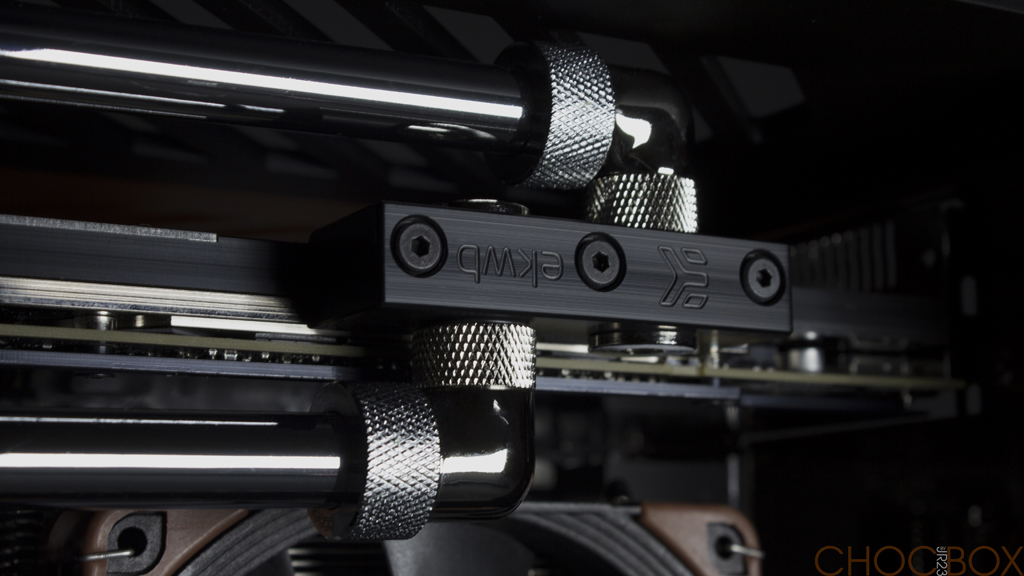
GPU Block - EK FC290X Nickel/Acetal w. Backplate
Radiator - XSPC AX120
Pump - Laing DDC 1T-Plus
Pump/Res - EK DDC X-RES 100
Fittings - Alphacool HT 10/13 Chrome
Tubing - Alphacool HT 10/13 Chrome
Rotaries - EK PSC and Bitspower mini-snake


Final Pics I


Thanks to everyone on OCUK for following this build, i've enjoyed your comments. There will be more photographs shortly.

JR
 
Last edited:
Great looking build. How was your overall experience working with the Parvum?

The build wouldn't have happened without Parvum, they started it :p It has been great working with them and I think we understand each other very well now, the same with Pexon too. The big step forward with this project I think came out of me having a little more input to Parvum at the start. Once most of my bits were done I handed it over to Pexon so he could see the bigger picture rather than working from what I could say on its own. That method was definitely needed where each piece was so dimension critical and that sets it apart. Quite a bit of CAD work went into it early on too. It will definitely take a couple more projects to turn it into a real slick operation though ;)

JR
 
Back
Top Bottom