

- Joined
- 24 Feb 2017
- Posts
- 82
- Location
- uk
Update,
Sorry for lack of updates it has taken a lot longer to do the custom res, than first planned.
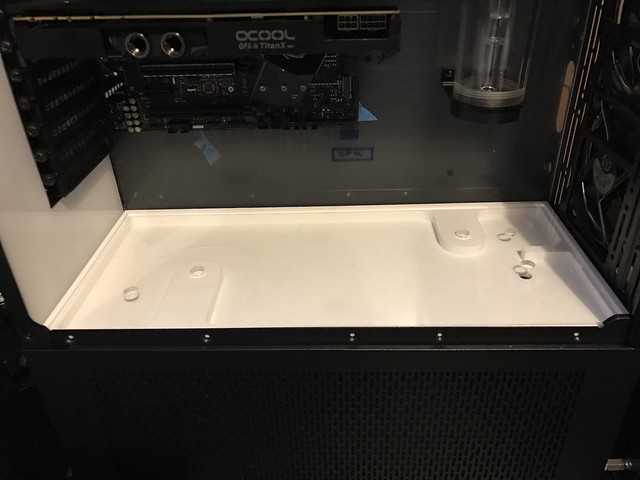
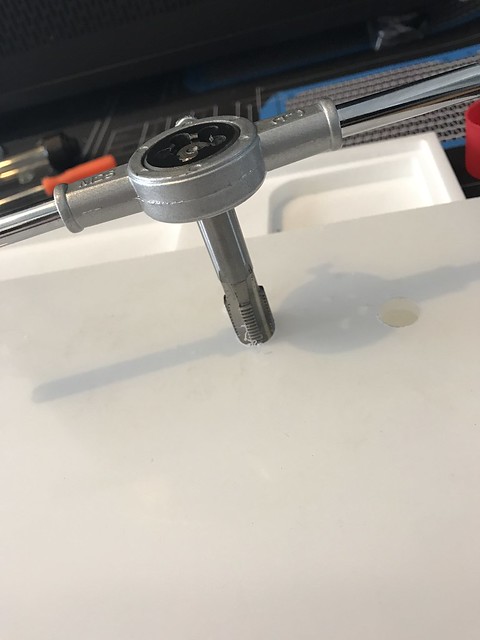
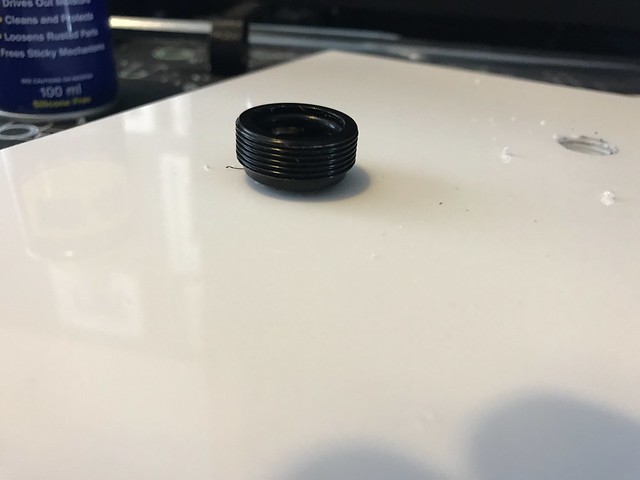
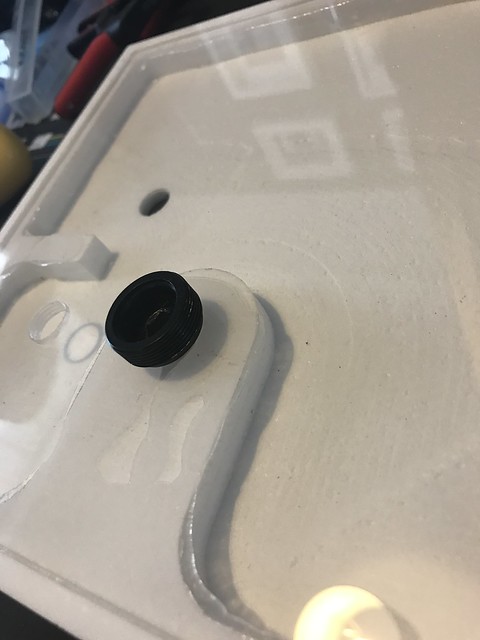
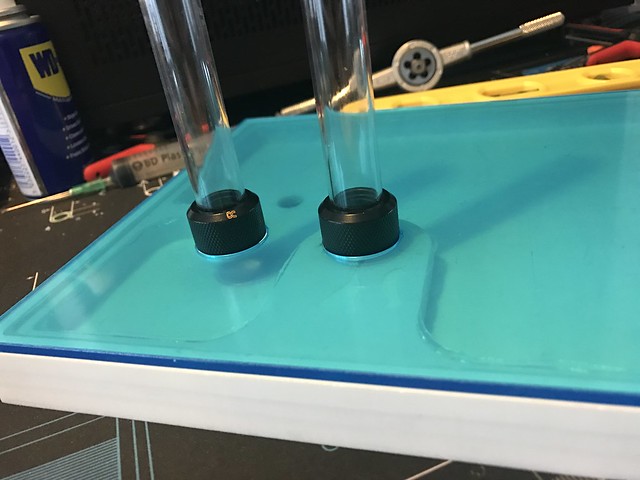
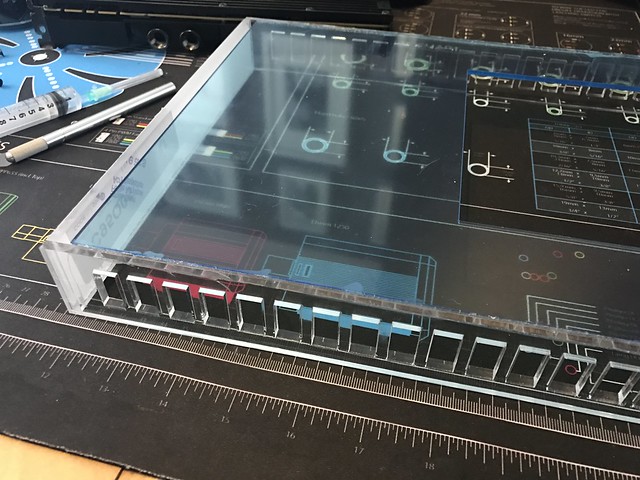
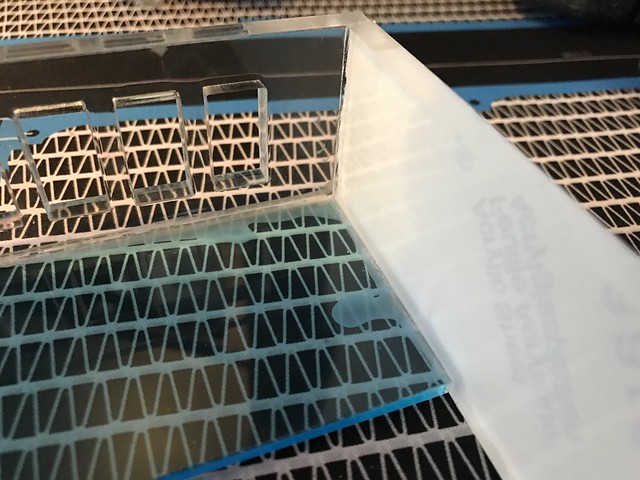
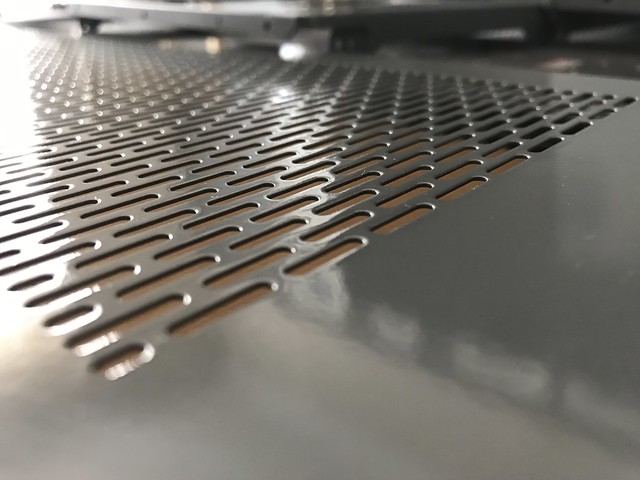
I will start this update with the custom res, the amount of time I have sat and taken measurements to designed the res then for us (paul a friend with a CNC) to produce it has been crazy. I have attached the finish res below, end up with a basic design one input, one output and a fill port, I have also included two passthroughs. I have done the base of the res in white perplex 20mm thick. The lid of the perplex is made out of 5mm perplex this should be fine as it is lying flat. I have also tap the threads for each hole, I need to make sure I did this right as I didn’t want to mess this up as I would need to start again. To seal the lid to the base I used clear silicon around the passthroughs as I don’t want purple running into the green and a product call fusion 500. I am leaving this to dry for the next few days then I will leak test.
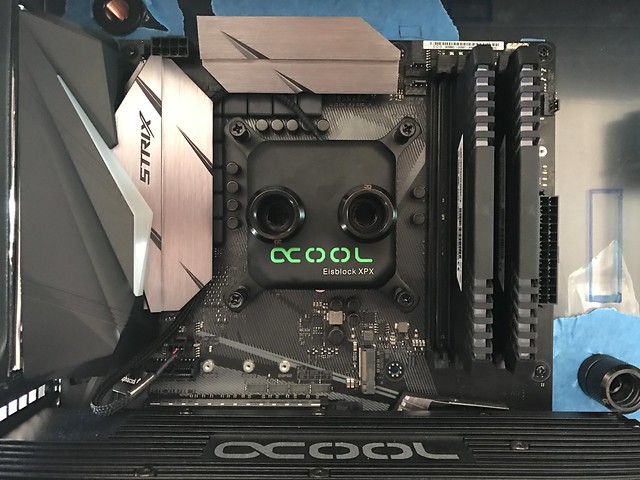
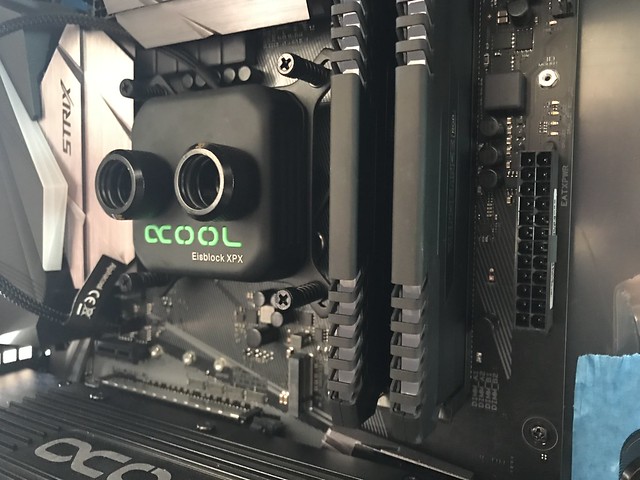
I have got my hands on a used i5 7600k for a great price which I could not turn down. I have also added the Eisblock XPX cpu block to the motherboard, I have attached photos below.
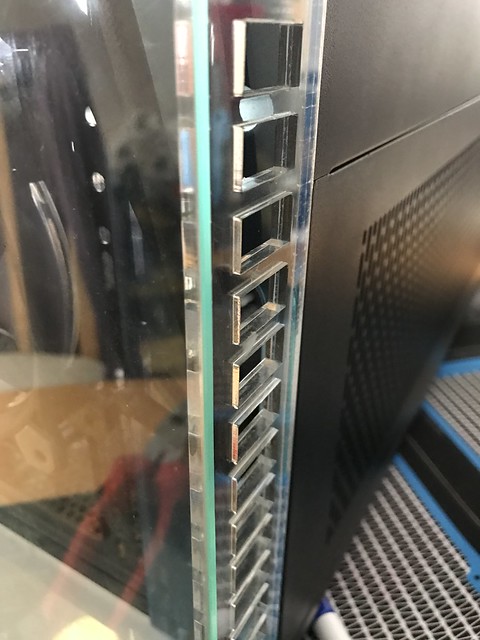
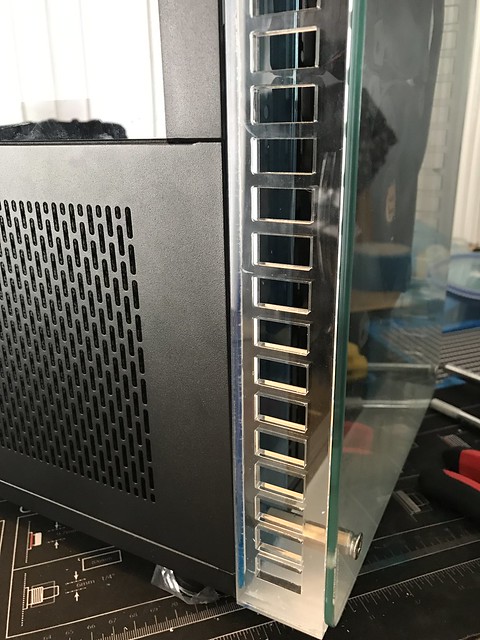
I have fitted the custom air intake on to the front of the case with the tempered glass I really like how much this has changed the look of the case. I have attached photos below.
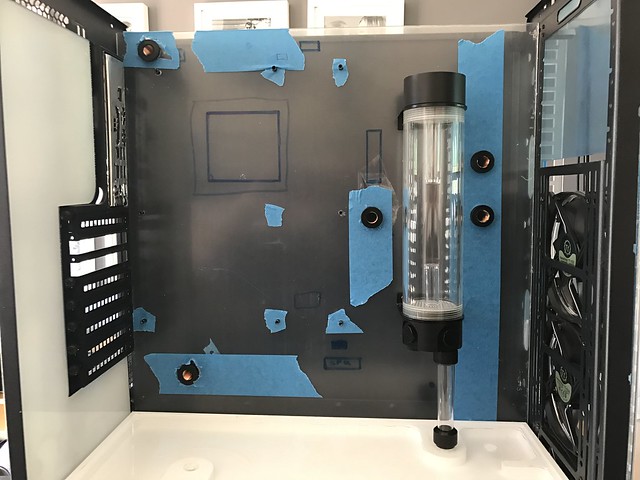
I have drilled all of the holes for the passthrough on the custom motherboard tray, I do need to try and make some spacers as it is going to be tight fit on the back side panel, I have a few ideas. I have attached the photos below.
Do do list.
Leak test,
Do loop,
Send case off to paint,
Finished custom motherboard tray need to added holes for 8 pin 24pin.
Meet up with to the wire custom sleeves and get the rest of the cables sleeved.
Hope you have enjoyed the update, any questions or feedback leave below.
Richard.
 Untitled by Richard Ord, on Flickr
 Untitled by Richard Ord, on Flickr
 Untitled by Richard Ord, on Flickr
 Untitled by Richard Ord, on Flickr
 Untitled by Richard Ord, on Flickr
 Untitled by Richard Ord, on Flickr
 Untitled by Richard Ord, on Flickr
 Untitled by Richard Ord, on Flickr
 Untitled by Richard Ord, on Flickr
 Untitled by Richard Ord, on Flickr
 Untitled by Richard Ord, on Flickr
 Untitled by Richard Ord, on Flickr
Sorry for lack of updates it has taken a lot longer to do the custom res, than first planned.
I will start this update with the custom res, the amount of time I have sat and taken measurements to designed the res then for us (paul a friend with a CNC) to produce it has been crazy. I have attached the finish res below, end up with a basic design one input, one output and a fill port, I have also included two passthroughs. I have done the base of the res in white perplex 20mm thick. The lid of the perplex is made out of 5mm perplex this should be fine as it is lying flat. I have also tap the threads for each hole, I need to make sure I did this right as I didn’t want to mess this up as I would need to start again. To seal the lid to the base I used clear silicon around the passthroughs as I don’t want purple running into the green and a product call fusion 500. I am leaving this to dry for the next few days then I will leak test.
I have got my hands on a used i5 7600k for a great price which I could not turn down. I have also added the Eisblock XPX cpu block to the motherboard, I have attached photos below.
I have fitted the custom air intake on to the front of the case with the tempered glass I really like how much this has changed the look of the case. I have attached photos below.
I have drilled all of the holes for the passthrough on the custom motherboard tray, I do need to try and make some spacers as it is going to be tight fit on the back side panel, I have a few ideas. I have attached the photos below.
Do do list.
Leak test,
Do loop,
Send case off to paint,
Finished custom motherboard tray need to added holes for 8 pin 24pin.
Meet up with to the wire custom sleeves and get the rest of the cables sleeved.
Hope you have enjoyed the update, any questions or feedback leave below.
Richard.
Untitled by Richard Ord, on FlickrUntitled by Richard Ord, on FlickrUntitled by Richard Ord, on FlickrUntitled by Richard Ord, on FlickrUntitled by Richard Ord, on FlickrUntitled by Richard Ord, on FlickrUntitled by Richard Ord, on FlickrUntitled by Richard Ord, on FlickrUntitled by Richard Ord, on FlickrUntitled by Richard Ord, on FlickrUntitled by Richard Ord, on FlickrUntitled by Richard Ord, on Flickr
")
 .
. Update
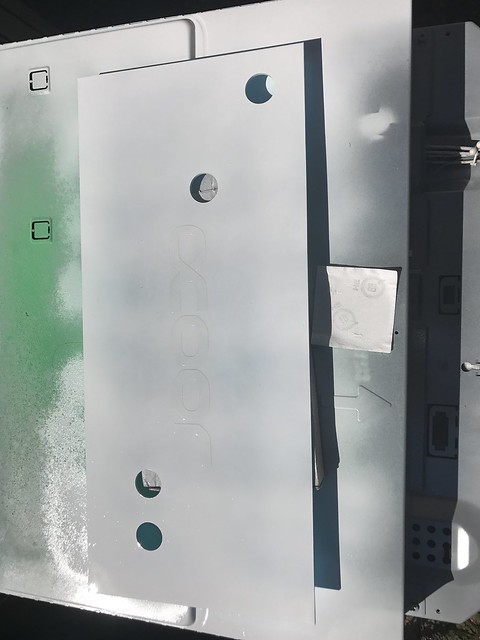 Update
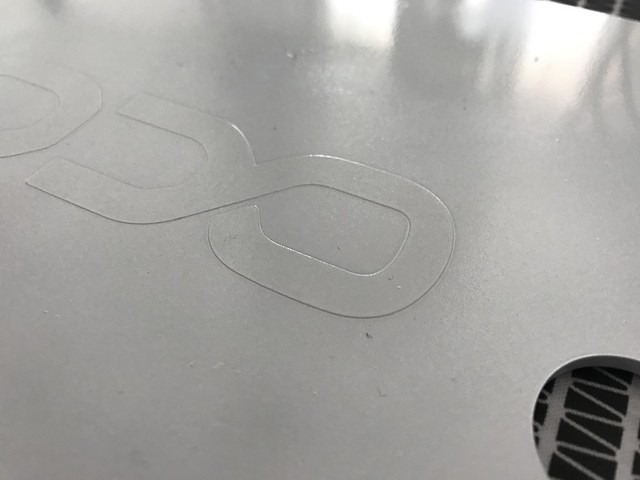 Update
 Update
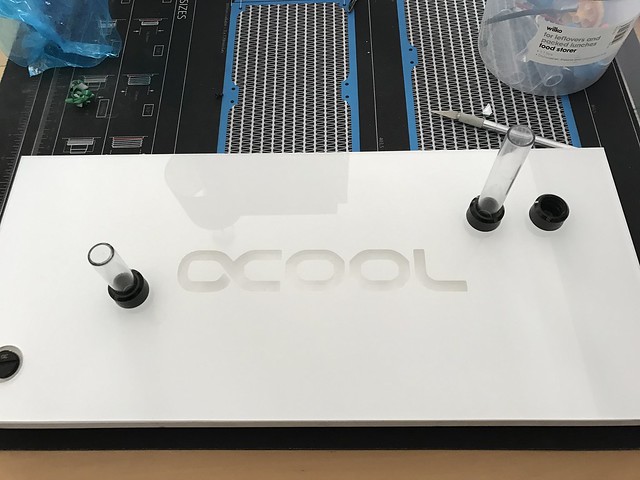 Update
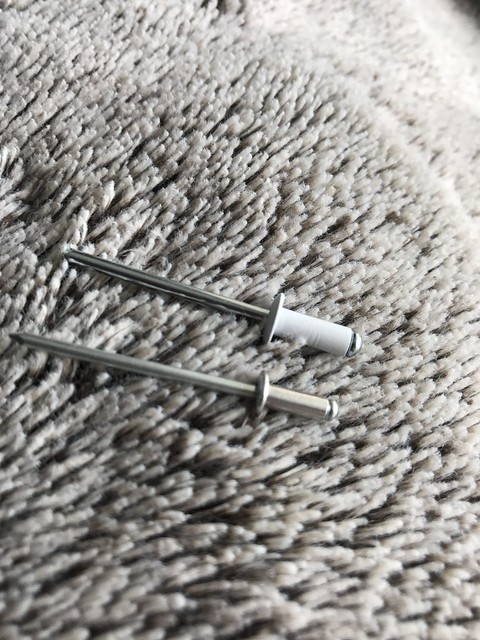 Untitled
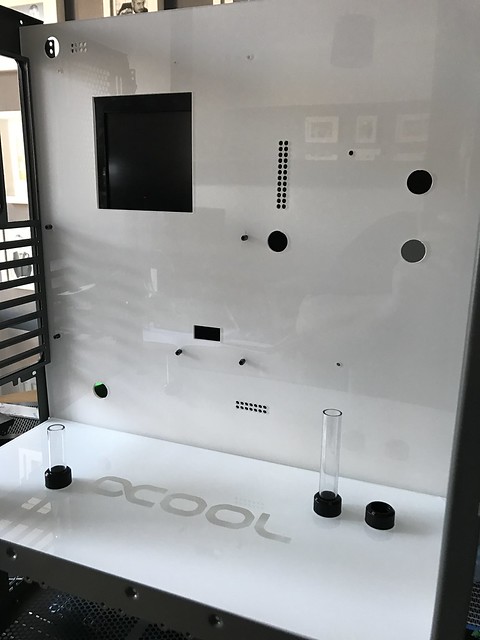 Update
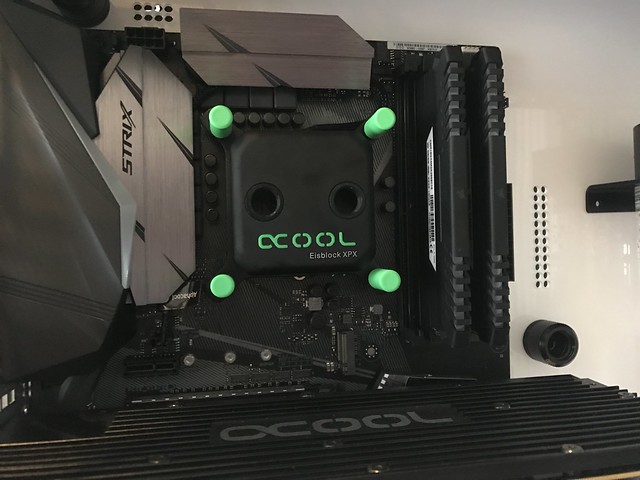 Update
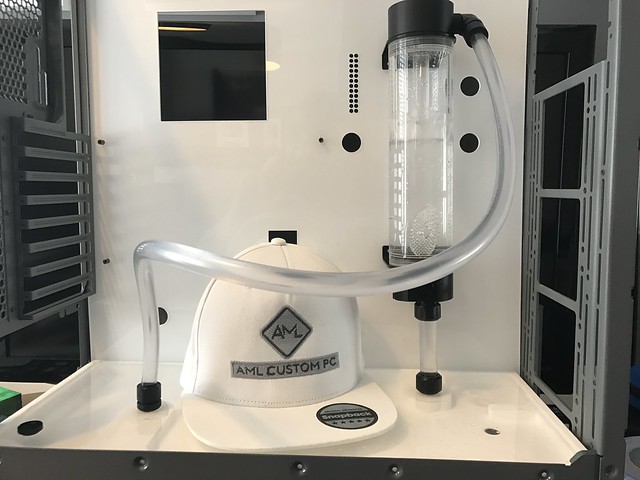 Update
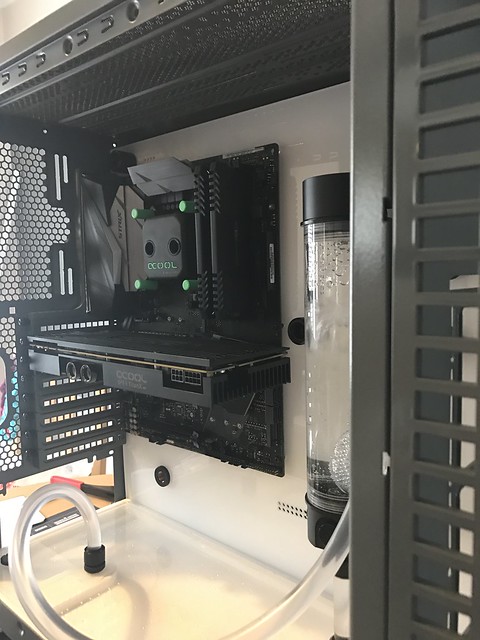 Update