

- Joined
- 24 Feb 2017
- Posts
- 82
- Location
- uk
@AML Custom Pc
Looking sweet, the green bolting looks nice with the logo and solid black surroundings.
I will add though before you go mounting the system back together, take a look at modDIY for their green M3 Hex bolts . Would add a nice touch of colour to the GPX Block that will make it stand out like the CPU block")
Thanks, I will have look at the M3 hex bolts, I am in two minds to strip the GPU block down and repainting it.
Thanks again for your input.
 Untitled
 Untitled
 Untitled
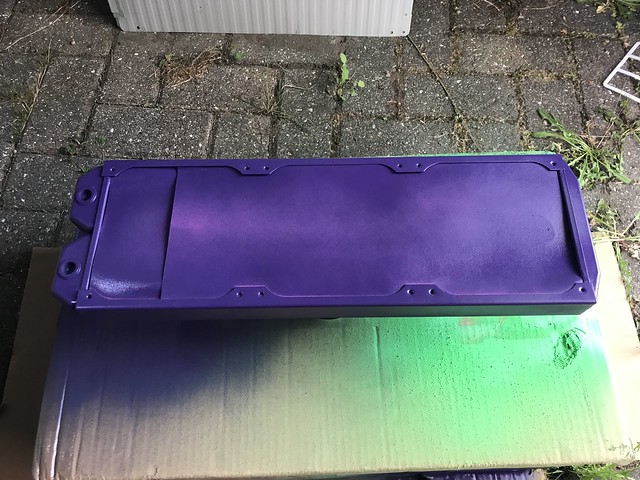 Untitled
 Untitled
 Untitled
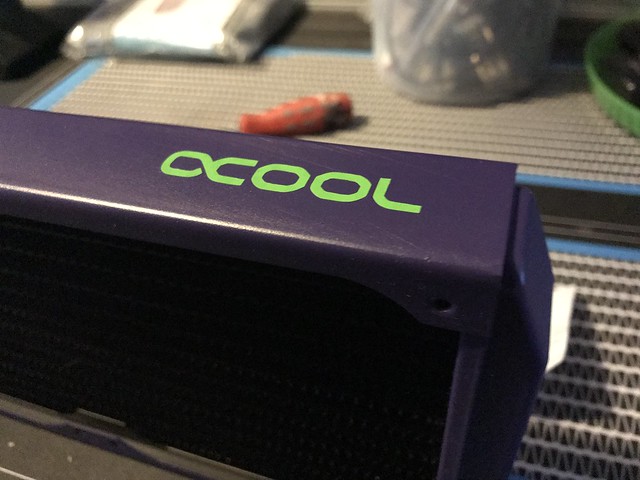 Untitled
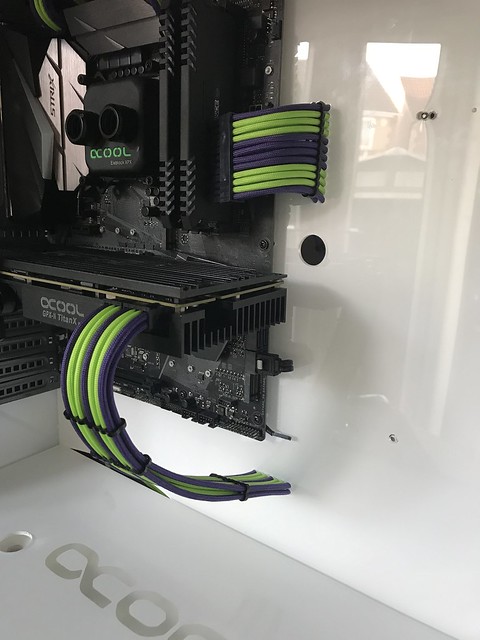 Untitled
 Untitled
 Untitled
 Untitled
 Untitled
 Untitled
 Untitled
 Untitled
 Untitled
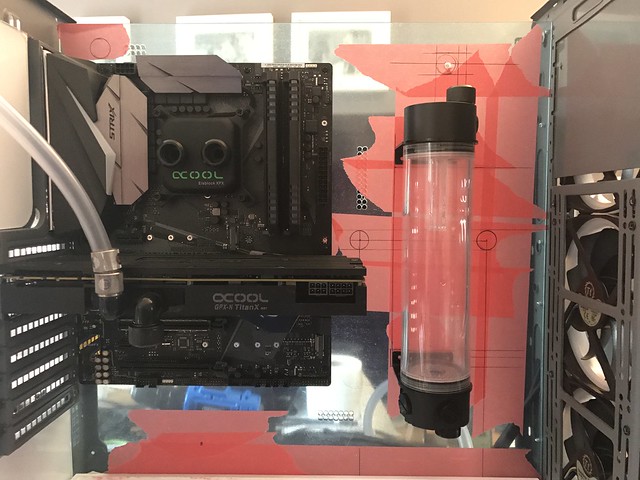 Untitled
 Untitled
 Untitled
 Untitled
 Untitled
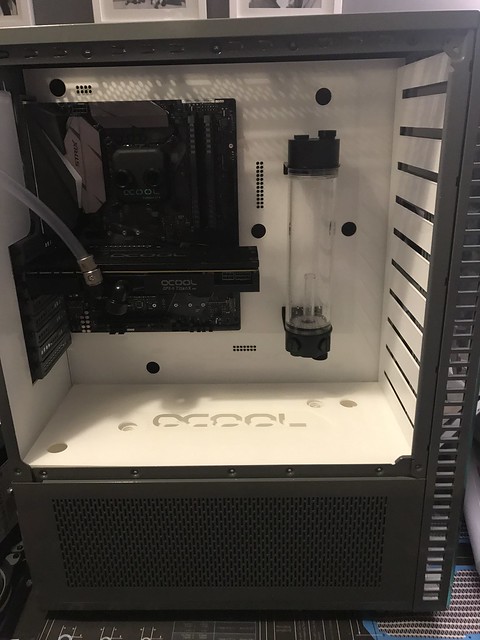 Untitled
 2
2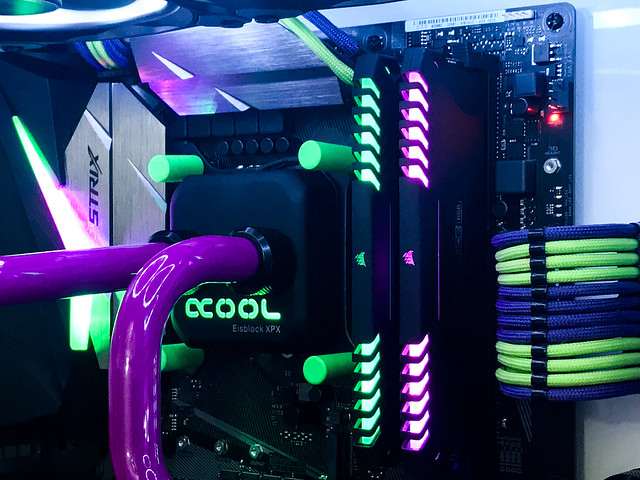 IMG_5099
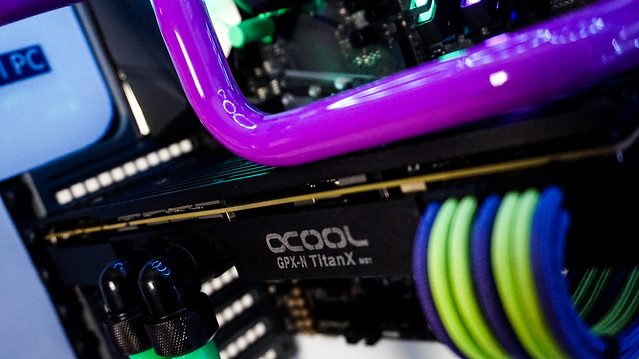 DSC04466
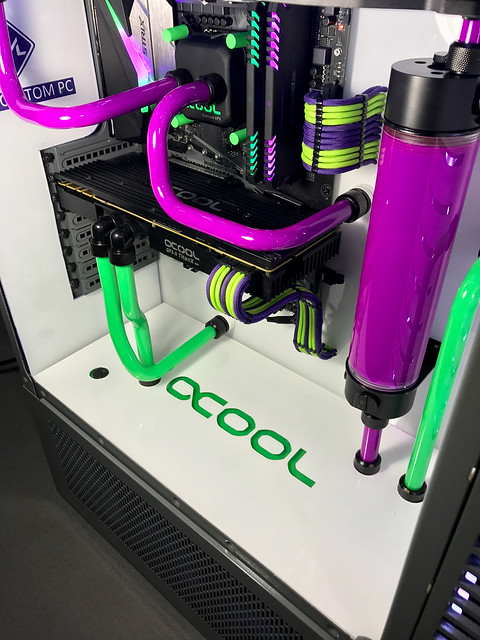 IMG_4860
 5
5