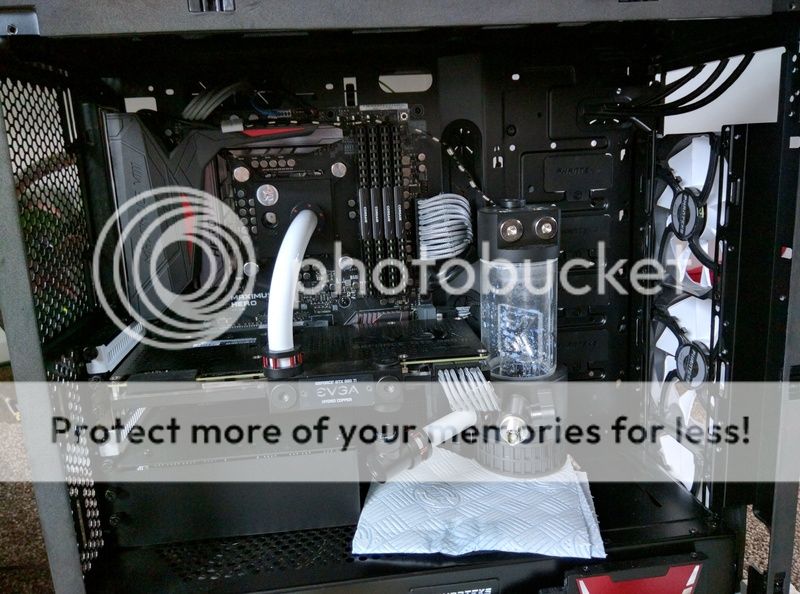
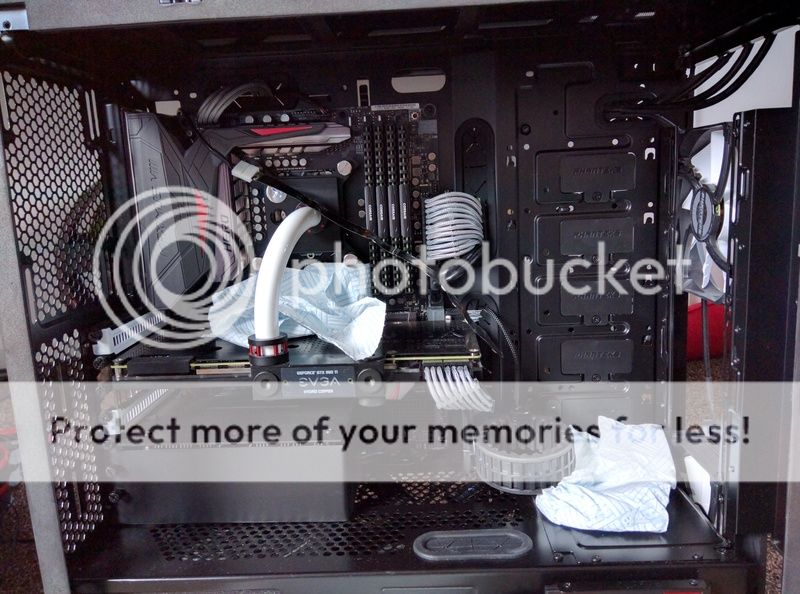
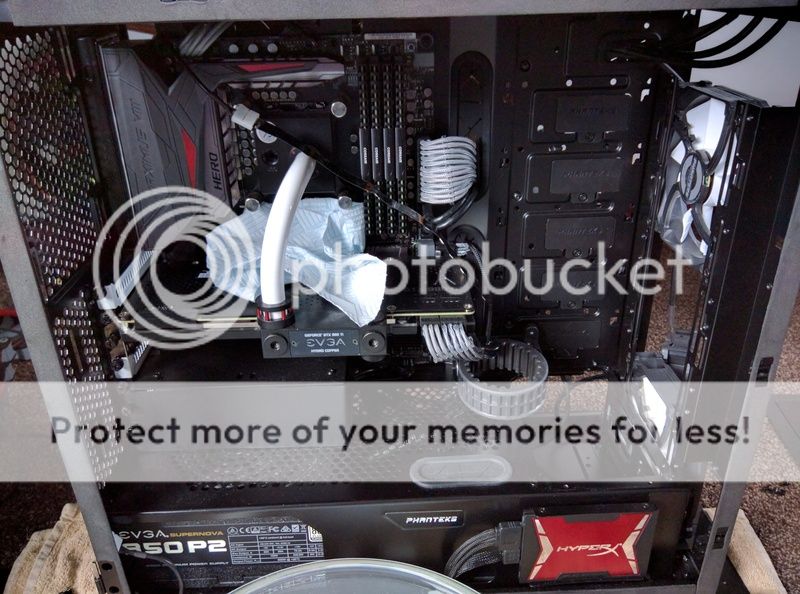
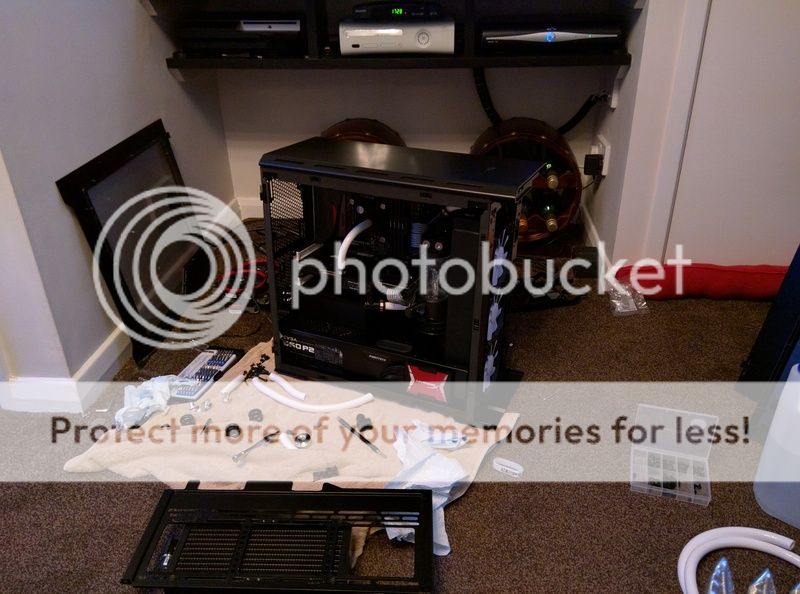
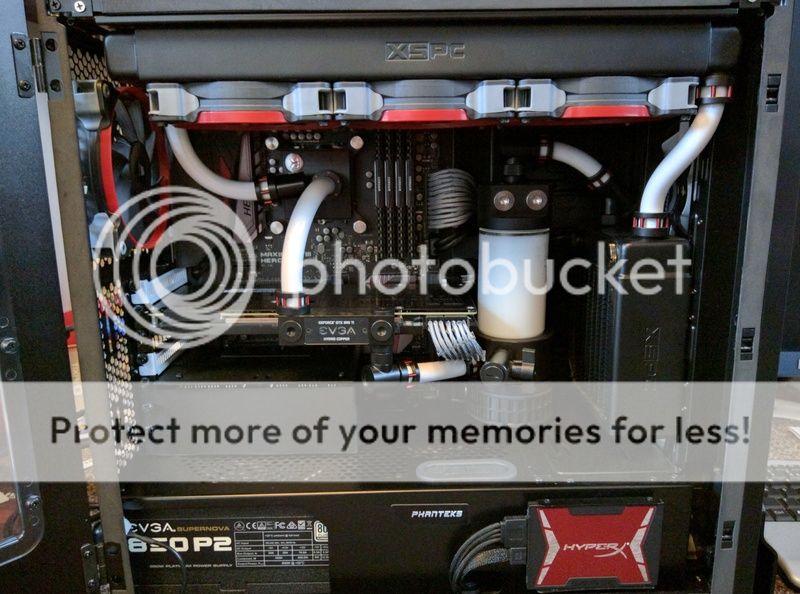
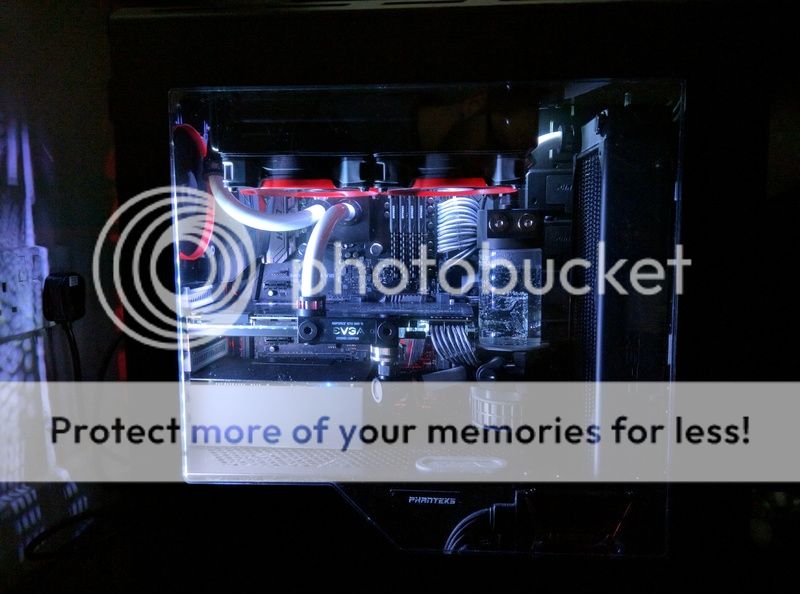
Dripping with style or floody disaster?

I've posted this in 'Graphics Cards' but thought hey, may as well ask on here in case someone different sees it and can help...!

Hey all, just wondering if anyone could explain what's up with the clock speeds I'm getting using an EVGA GeForce GTX 980Ti Hydro Copper.

The clocks as advertised are:
- Core Base Clock: 1140MHz
- Core Boost Clock: 1228MHz
- Memory Clock: 7010MHz

But after an hour or 2 playing GTA V with everything on ultra, the max clocks I'm recording (using GPU-Z) are:
- Core: 1530MHz
- Memory: 3505MHz

Now I'm obviously more than happy with (although slightly confused by) the core clock, but I'm struggling to understand why the memory clock is reading so low. Any ideas? Faulty card? Cheers guys!

EDIT: Scrap that, I'm a moron and for the 20th time in my life seem to have forgotten what DDR stands for... *Faceplants desk in disgrace* :(
 
Last edited:
No worries mate, just scanned down my purchase history and This is the bars one I ordered. They do a 25mm x 80mm so it isn't far off being right and also comes with the thermal tape. The tape seems far too weak at first and I was worried about the heatsink falling off, but after getting a heat cycle or 2 through it it's stuck fast :)

That's not a bad idea cutting a hole the size of the screw head. Guessing if you drilled the hole from underneath and only went a couple of mm into the fins you'd be able to remove the M.2 and the screw would be almost invisible :)
 
Weird. Cannot decide if the pictures are black with reflection of flash or silver. Wanted black. Will have a try with the ones I've ordered tomorrow. Not a bad idea with drilling half way and ending up with a captive screw - hadn't thought of that. Will see if the location and spacing of the fins allow it. Cheers. Thanks for the offer of posting them too; much appreciated.

No worries, always happy to help. Never would have got my setup sorted without the help and advice of some of the guys on here :)

Yep, double it ;)

If you tweak using EVGA Precision you'll be able to get a little more out of the memory, however you'll find that if you boost the core then it will simply run faster within target temps anyway while its water cooled. At least that is what mine does... (not hydro copper but full block installed). Presume like mine yours doesnt get over about 45-50c?

Nice build overall!

Cheers Smffy :D Ah cool, so probably not worth spending too much time tinkering with it then, especially as it seems to run whatever I throw at it on stock speeds anyway. Not had it reach 45°C yet, usually tops out around 42°C - 43°C, but then I've currently got both the CPU and GPU running stock speeds, so I'd hope they were pumping out a bit less heat! Had a play with a few settings within GTA V and the Nvidia Control Panel earlier. Can't believe how much better it is to let the Nvidia settings do all the legwork, graphics are better & frame rates are up, double win!
 
arrrrrrhhh... I was trying to decide if I needed LED lighting and I think I do now lol.

Are you happy with the kit you have? I was looking at the NZXT Hue+ v2 previously...

I love the little touch with the RGB led on the front panel... I'm not sure if I could do that with the NZXT hue as I think it only has strips.

Yeah I'm more than happy with it, the software is simple and you can easily add a few temp sensors to have different lights running off different sensors etc, or just leave them cycling through different chosen colours / pulsing brightness etc etc. I've left mine on ice white but the RGB on the front starts a really dim (10% brightness) light blue, then as the water temp rises it gets brighter as it goes through dark blue / purple / pinkish tones before going onto 80% brightness and fully red at 40°C. As the water is usually somewhere in the mid 30's - very low 40's you can pretty much guess it to within a degree or 2 just by glancing at it quickly :)

Only thing I would say about the Aquaero LED's is when you select a pure ice white they actually have quite a blue tint to them, but if you just turn the blue channel down to 50% they're perfect :D
 
Right guys, in a few weeks when I (hopefully!) get a bit of spare cash there's going to be some alterations, and unfortunately she could turn into a bit of a biffer!

At the moment I'd like to think 'Dripping With Style' was an OK name for her, as I look at her like the 9.5/10 you chase after all night in the club. Unfortunately she's also like the looker in the club in other ways, in that they never quite perform as well as you'd like them to when you really get down to it... Sooooo, I think she might have to be renamed to '4am Chunkster' as she's about to turn into the 'that'll do' end of nighter that usually turns out to be a cracker!

I'll explain more: Firstly it seems I've made a balls-up in using Primochill Primoflex tubing with Mayhems Pastel fluid, as the Primochill website basically says you should only use water with the tubing to avoid plasticiser issues. As that means draining and flushing the entire loop, I think that as I'm also not too happy about the water temperature (hitting 45°C when running Project Cars on Ultra settings in a wet race) being high even though ambient is still fairly low, sod the looks, lets make this baby perform! Now the CPU (60°C) and GPU (45°C) I'm quite happy with, but I'm worried when summer arrives it's going to struggle a bit more.

So, onto the alterations...

Rad.jpg


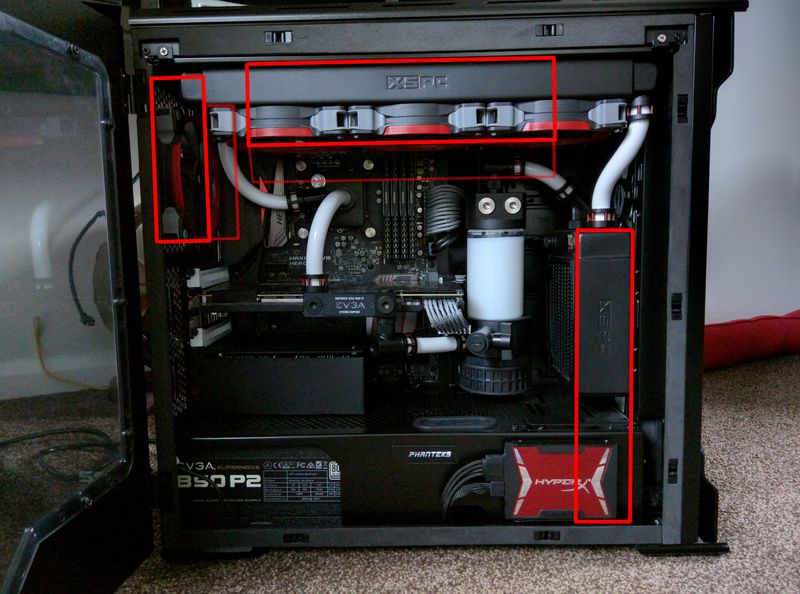
What I'm thinking is replace the 120mm rad in the front with a 240mm, moving the 120mm to the rear of the case. Then switching out the 360mm crossflow (thinking this one really isn't performing too brilliantly) with a far fatter 240mm crossflow, probably one of these.
Just wondering what the general consensus is regarding the alterations?
  • Is the Mayhems fluid really that bad with the Primochill tubing?
  • Is 45°C OK for water temp or do I REALLY need to bring it down a bit?
  • How much should I expect the larger radiator area to lower the temperatures?
  • Am I going to ruin a good build and make it look like a 4am'er?

Also any advise on flushing the loop would be greatly appreciated, as I'd rather not make too many more noob mistakes :D
 
That's what was worrying me re the water temp, some of the stories about plasticiser leaching being worse as temps get higher etc. The sensor seems to be working OK as at idle it's a couple of degrees above ambient as expected, and usually only goes up to high 30's when playing GTA V but Project Cars seems to add another 5 or 6 degrees with everything cranked up. I blame the 980Ti for boosting itself so well at stock settings :D

Will have to look into the Tygon before ordering any new tubing, although I was quite happy with the Primochill until they told me I shouldn't be!

Think I might scrap the plan above though and throw both current radiators in the cupboard, then use a full fat 360mm in the front and the fat 240mm crossflow as shown in the top :)
 
To be honest I was worried whether the crossflow would be any good before I installed it as I'd read some quite bad reviews on them, but thought on standard clocks it would be fine... What I didn't allow for was the fact the 980Ti boosts like crazy as standard! Only used it for looks / tube routing but think changing the 120mm to a 360mm and the 360mm slim crossflow for a 240mm fat crossflow should be more than adequate. Even with the awful slim rad doing most of the work the temps for the CPU and GPU were bang on, so wouldn't worry too much about yours with a proper 360mm in it. With it being twice the thickness and not crossflow it should be far more effective :)
 
Not sure if this is helpful but an upcoming build I'm planning is for a friend that has a Black Ice GT Stealth 360 crossflow. That's thin (30mm), crossflow and full of dust bunnies so performance is not great. I think that crossflow may be worse because the coolant (I would think) only does one pass of the rad rather than two...but I'd be interested to see what difference it makes when you change them as we're contemplating doing the same.

I'd definitely swap if for a either a normal rad or a fatter crossflow. After playing with fan settings I think the 120mm is performing near identical to the 360mm, which sucks! Will see what the fatter 240mm crossflow is like, although mated to a 'proper' 360mm it shouldn't really matter all that much :)

An easy compromise would be to start off by adding a 240mm at the front instead of the 120...

Why don't you do that and see how it works out before stuffing more/bigger rads in? That change would be very simple and allows you to keep your current routing intact.

Then if you need more you can look at swapping to a thicker rad up top.

That was something I contemplated, but I decided that as I was going to have to drain the entire loop regardless that I may as well go all out & be 100% sure I won't have to drain it a second time. Not too worried about the tubing as it's cheap enough to not care too much, will leave pump > GPU and GPU > CPU then just change the rest :)
 
Is there not a way you can keep the 360 and have a 240 as the 360 will allow decent cooling performance whilst not having to have the fans on a high setting compared to the 240 as it will be slimmer and have less resistance to air moving through it. :)

I could easily swap the 120mm out for a 240mm but unfortunately I don't think the 360mm crossflow is up to much, doesn't seem to cool much if any better than the 120mm in the front :(
 
Now that I think about it, when I was looking for radiators I remember a few people saying that the crossflow radiators werent as good as the others (Unfortunately I don't remember the source of this or why) but you might want to try another 360 with a different tubing route as if you are bothered about performance then radiators follow "bigger = better" logic :D

Think I'm definitely leaning towards a 'proper' 360mm in the front instead of the 120mm and then switch out the ultra thin 360mm crossflow for a far fatter 240mm crossflow. Shouldn't really matter if the 240mm crossflow isn't brilliant then as the 360mm intake radiator will be doing most of the work, and also has the benefit of removing 1 exhaust fan from the current setup so it should have a better positive pressure in the case :)
 
Such a shame, that loop is lovely looking.

From the research I was doing a while ago, crossflow radiators aren't as good simply because the coolant isn't in the radiator for as long as a normal radiator. From what I gather, the flow goes in, gets split between the 2 internal pipes and then combines before exiting. Normal rads have a "U" shape thing going on so the coolant gets double exposure to air flow.

Looking at your proposed changes though, I think you'd struggle getting a 240 in the front with the 360 as I don't think you can drop it down to where you indicate and still have 2 fans on it - is there an intake that far down?

And to be honest, even with a crossflow rad I'm surprised your coolant temp is as high as it is. I'm not sure that just upping the rad thickness will help enough on its own. Can you turn your pump up a bit to see if that helps? Bump the fans up a bit too?

It is a bit annoying after spending all that time planning to get a decent looking loop, but oh well, live & learn and avoid thin crossflows!

That's pretty much the same as I read, but also read people saying they used them and their temps were hardly any different to using a 'normal' rad... Guess it's the same as anything, should have listened to the pro's and not random opinions :p

Yeah a 240mm will definitely fit in the front with the top of the rad exactly where it is now, there's another 120mm fan below where the rad is atm and the front will easily take a 360mm. All you have to do is remove the small cover under the current radiator and slide out the 2 HDD brackets :)

The coolant usually peaks at around the high 30's - 40°C when playing demanding games, but for some reason the wet weather effects in Project Cars seem to absolutely hammer the GPU and put an extra few degrees on it within a couple of minutes. Unfortunately I've already got the fans making more noise than I'd like, with the front rad, intake and top rad fans running at 90%+ most of the time. Pump is currently on 35% which was more of a guess of what was needed than scientific! Thought as most ran the Vario on a setting of around 2/5 then 35% should be OK :)

Also worth checking the temp probes for accuracy. I've just replaced a Phyobia G1/4 temp probe as it was either off or a different spec to the Aquaero probes. Difference increased as things got hotter with two others reading around 35 when this one read 40. The new one is much closed but the three (res, flow and pump) still aren't within a degree.

Ah, that's not a bad shout! guess I'll need to get some boiling water and dip the end in while I have the PC running... *goes looking for leftover plug to fill the hole* It's an XSPC temperature probe, not sure what sort of reputation they've got but will test it when I get 10 minutes :)
 
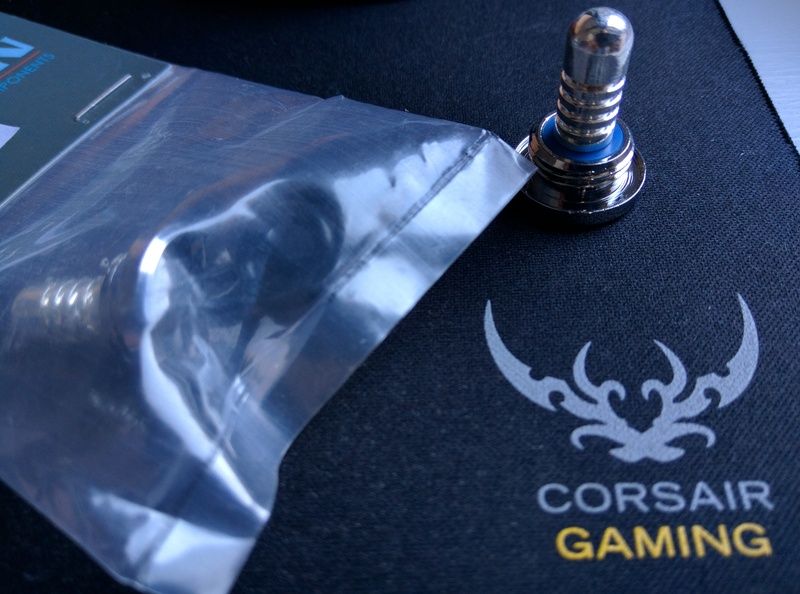
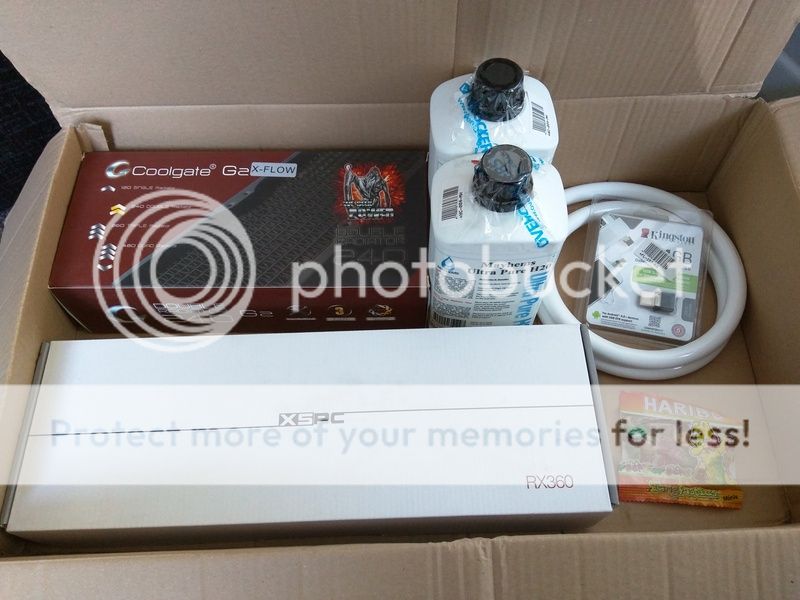
I might not be able to afford the new radiators yet, but that hasn't stopped a MASSIVE order from coming in... Yep, a couple of silver bullets to go in the soon to be water filled loop :)

IMG_20160128_091101.jpg
 
I'm certainly hoping it's better than the thin 360mm X-Flow I'm currently using! Hoping with a 'proper' 360mm in the front I'll be able to clock the CPU up to about 4.6 whilst still keeping the temps around what they are currently, if it all goes according to plan...

I'd say go for it, would look proper trick with the Aquaero mounted there! As you don't need any 3½ drives or a front mounted rad it shouldn't cause you too much hassle. The lack of 5.25 drive bays did put me off originally, but am more than happy with the how it turned out with the Aquaero 5 and Colour Work hidden inside :)
 
Well Jeff from DPD has been, so there's no going back now! Was hoping to get some good quality pics of the PC in its current state with the gf's new DSLR camera, but she's just disappeared to Iceland for a week and for some reason decided it would be a good idea to take it with her... Very inconsiderate!

Will hopefully find time to flush the new rads out later, then start draining / cleaning the system out over the next few days (possibly the weekend) :D

IMG_20160209_111839.jpg
 
Looks excellent

Cheers fella :)

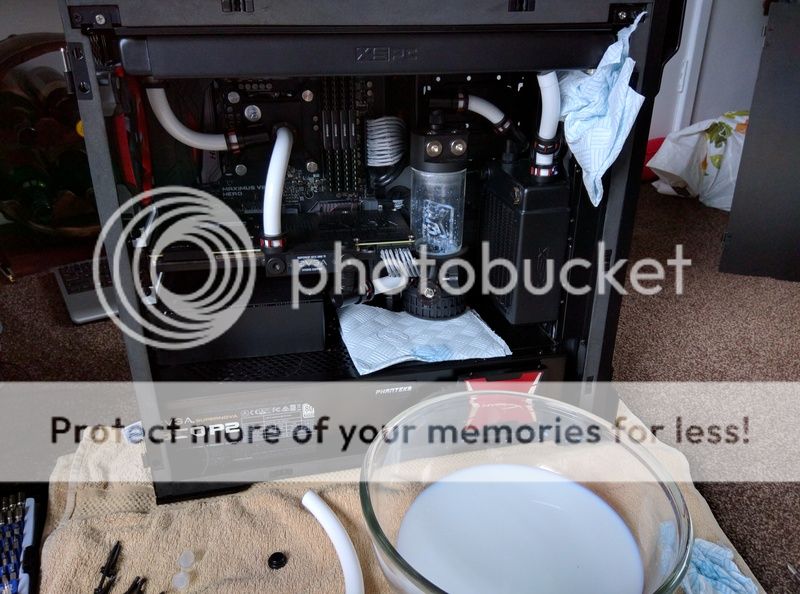
First thing I've learned today: Once you clean out a Coolgate radiator you basically half the weight of it! Where do they build these things, the bottom of a mine shaft? The 3 XSPC rads I've cleaned out have had basically no crap at all in them (the odd flake but nothing to worry about), the Coolgate on the other hand...

This was the amount of junk that came out of the first wash
IMG_20160209_152635.jpg


And the second...
IMG_20160209_153407.jpg


...and third...
IMG_20160209_154408.jpg


Yep, still going strong on the fourth :(
IMG_20160209_155754.jpg


I'm now on the 7th wash and STILL getting more crap coming out than came out of the other 3 radiators combined. Are Coolgate always this bad? Making me wish I hadn't bought it now.

Right, enough talking, I've got a radiator to keep on cleaning :mad::mad::mad:
 
I'll definitely be using XSPC in any future builds, couple of quick flushes and they're spotless :)

Unfortunately that was a no go for these rads as it's still in the PC, still waiting for a couple of fittings so haven't drained it yet. Could definitely be a plan for next time though, got arms like Popeye thanks to Coolgate :D
 
How's the Coolgate going? Looking at the same rad for a friend's build now we've found out that 360 in top doesn't fit at the same time as 360 in the front *sigh* Is it ok after cleaning? Would you recommend one?

I couldn't honestly say how well it's performing atm as I switched the front radiator as well, but the change from 120mm & slim 360 X-flow to a proper 360mm & fat 240mm X-flow has knocked about 10°C off the water temperature when stressing both CPU & GPU, so definitely worth changing! When I get a few minutes I'll turn off the fans on the 360mm and see how well the Coolgate performs on its own :)
 
Thats a lot of crap..

Something I did, was connected 2 tubes to my rad. Placed the rad in the sink, with a bucket of water higher up on the side, and made a syphon. Rinsed it out with a few buckets of water, then the final rinse with distilled water again.

That's not a bad idea, wish I'd thought of that before wasting an hour of my life shaking the living hell out of the thing!

UPDATE TIME!

No going back now, its started.
IMG_20160212_150135.jpg


Top radiator out...
IMG_20160212_151623.jpg


...Quickly followed by the front one.
IMG_20160212_152138.jpg


Reservoir and pump out.
IMG_20160212_154212.jpg


Front of the case opening up ready to swallow the beast rad :cool:
IMG_20160212_154654.jpg


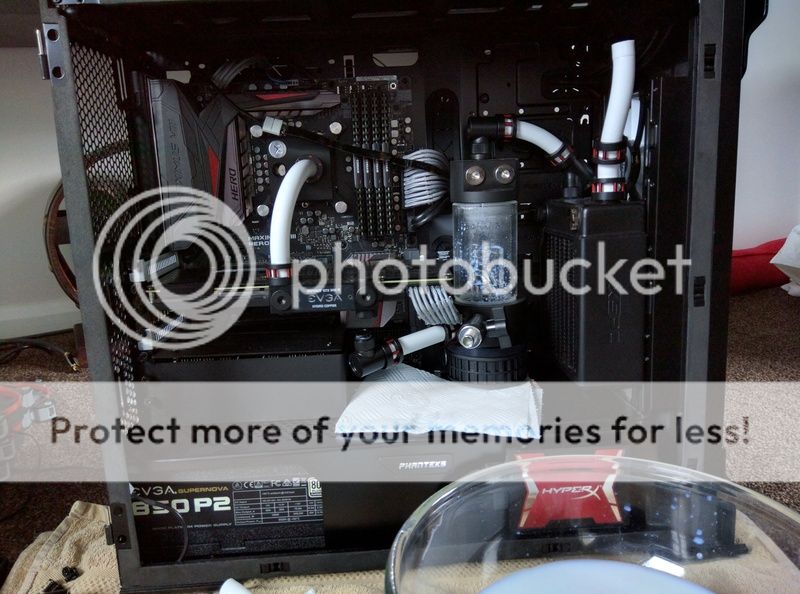
Top radiator being mounted. Also had to grind a chunk out of the radiator bracket as it fouled the 90° fitting on the top of the front radiator. Luckily it's well hidden so measured 0 times and attacked it with violence once :D Oh yes, and don't ever say I'm not tidy when working...! On a completely different subject, have also changed the black umbilical cord to the TV and boxes to white, so it's no longer quite so hideous. Hardly shows now :)
IMG_20160212_172825.jpg


Now we're getting somewhere
IMG_20160212_190030.jpg


Thought about using a white 140mm fan as the exhaust...
IMG_20160212_191359.jpg


...But soon went back to red. And the flushing begins! Very cloudy to start with :(
IMG_20160212_202547.jpg


Getting there slowly :)
IMG_20160212_222418.jpg


About 10 litres of distilled water later and it's clear!
IMG_20160213_094220.jpg


Mmmmmmm, water that looks like water :) Also removed the spacer below the GPU and added in a filter instead. Wanted to place it on top of the reservoir but space was extremely lacking...
IMG_20160213_094334.jpg


Not as nice as it was, but could have been worse.
IMG_20160213_094403.jpg


Yeah, tidy enough I reckon :)
IMG_20160213_094428.jpg


Glad I remembered to make this part of the loop before putting the top radiator in!
IMG_20160213_094448.jpg


This was beyond a pain to get right. There was much swearing before I was finally happy with it :D
IMG_20160213_094514.jpg


Wish the filter was black, but not too bad I don't think :)
IMG_20160213_094540.jpg


BEFORE
IMG_20160109_133622.jpg


AFTER
IMG_20160213_094220.jpg


All in all happy with how it turned out, and doesn't look as bad as I originally feared. As for temperature, with the old setup if I played Project Cars on Ultra and did a race with the weather set to thunderstorm the loop would hit 45°C+ in about 10 laps, then I'd have to leave it a couple of minutes to cool down. Just tested it now and after 15 laps in a thunderstorm the water temperature hit a max of 37°C, so a massive improvement! CPU topped out at 57°C and the GPU at 39°C, so think it's time to stop fiddling about and enjoy some gaming hours!

One quick question though: I'm using Mayhems pure H2O and have added a silver bullet to the loop, but should I add biocide as well?

Actually make that two quick questions: I also have some red dye here, sooooo... Leave the water clear or dye it red? :)
 
If you add red dye you'll likely end up with pink hoses. Possibly permanently as I believe it stains....especially on good quality carpet when you next come to drain. It may be just me...but I find coolant has a way of getting places it shouldn't. At least if it's colourless it isn't cause for divorce!

I believe you need biocide to stop algal growth but I'm not up on it...I always use a premix (XSPC EC6) because it has the biocide, anti-corrosive agents etc and is just open, pour, game.

The Coolgate definitely doesn't look as good as the XSPC rad but presumably most of that is hidden with the side panel on?

Did you still get that much cloudiness even after flushing both rads?!

Like the filter. Should stop the fluff (random flakes and stuff) building up in the fins of your blocks. Downside of delrin tops being that you can't see the state of the block without opening it.

Temps are about the same as mine at stock with my 980 Ti and 6700K. Temps on CPU spike higher (about 75C) with turbo set to 4.4GHz on 4 cores but average lower.

Glad to see the update worked a treat, certainly great news on the temps as 57c during stress testing is a worthy cause even if nothing else changed regarding temperatures. I also prefer the look of the resovoir with the H2O coolant. As for the biocide you will definitely need something like PTNuke or any decent biocide just to prevent growth. Also the system looks much "beefier" now that the new rads is installed (I like the new look)

Great work and enjoy gaming on your improved PC :)

Cheers guys :)

Was hoping as the tubing is fairly thick that it wouldn't show through, but the more I look at it the more I'm actually liking the clear water. There's no cloudiness at all now, but it did take a hell of a lot of flushing to get the last remnants of the pastel fluid out of the blocks.

Will definitely be adding some biocide into the loop then, don't fancy having to drain it all again when the fluid starts growing green lumps in it lol


Didn't really like it at first but think you might be right TechMiner, it might not look quite so sleek but the new beefier look is definitely growing on me :)

Now to start clocking it and get those temperatures rising again... :D

Oh yes, and it definitely looks better with the side panel on :)

IMG_20160214_193447.jpg
 
Back
Top Bottom