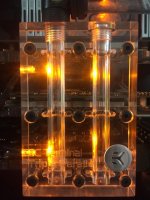
First Water Project: The Mad Titan

Hmm, surely if the correct SLI bridge doesn't fit, the block is not suitable for the card. A strange design decision at best.
Maybe the backplate will fit but not all of the screws. Worst case you could put a black EK backplate on and copy the MSI logo in vinyl?

It is odd for sure.... I will make the backplate fit, i'm not worried about that as much as I am regarding the HB bridge - It must be a size thing... I guess it would give me a chance to make my own plexi/acrylic design... No big deal, just annoying...

How is Silent Overkill coming along mate?

Cheers
Ras
 
But ewwwy, looks like it is not full length cover like the EK Seahawk :mad:

If I was a betting man I would guess it is to differentiate from the Seahawk card... give a reason to buy the package rather than DIY... annoying, but I actually still really like the look of the block.
 
Just a quick update:

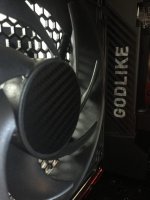
Modified fans (all 15 of 'em!)
6LFjWfGl.jpg

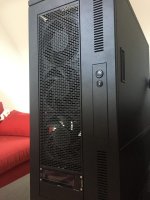
Front flex bay modified (1 x 280 rad, 3 x 140mm fans, Aquaero Purple (modded) and one free gap)
pqUg7ybl.jpg

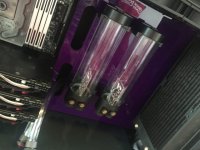
Custom Purple Acrylic Back Plate
wU9lWmgl.jpg
FONABprl.jpg
HBH8Kmol.jpg

Couple more mods to come and the water blocks too!

Cheers
Ras :)
 
Hey mate,

I fitted the purple backplate over the existing one, it was touch and go on the measurements, and fitting everything in was literally to the MM or less! I am so pleased with it! The rads just required remounting through the new holes thank god! :)

Replaced the screen in the aquaero for a purple one and the fans have custom cut circles of carbon vinyl - there were no pre cut ones big enough!

I like the idea of a static image becoming a moving one when the fans spin... :)

Cheers
Ras
 
That's the second full cover block I've seen lately, I can't believe I've never took any notice of them before. They look great, as does your build in general.

Well done.

P.S I know you've only fitted the blocks, but tubing all that up should be great fun. Enjoy!

Thanks! Much appreciated! I am really pleased with it so far! I have begun bending the PETG and it is pretty tough... Watch this space! :)

Cheers
Ras
 
Update:
Removed the Shoggy's as the pumps just moved around too much when all plumbed in - opted for 140mm fan attachments vertically mounted to the radiator.

x5x7B9wl.jpg

Here is a question... I can fit another 140mm fan in the bottom although it would cover the PSU... so a) does this affect the operating temperatures of the PSU or the case in a negative/positive way and b) is their any other gain at all in doing this other than aesthetics? Even that is questionable as the other fans are exhaust and this one would need to be intake, but hey ho!

I am off to mount my 1080 blocks! :)

Thoughts please!
Cheers
Ras
 
Yeah that's what I thought mate. I have 4 x 140mm fans pulling air into the case, through the 560mm rad and over the pumps. I then have 3 x 140mm fans on the other side (the side that you can see) that will be pulling the hot air from the psu out of the case.
I just wondered if adding another fan to bring more air into the psu would increase efficiency of the psu; or potentially decrease it.

Cheers
Ras
 
Yeah, I very much doubt that there will be any difference at all - I will see how I feel later and keep an eye on the temps as I test.

Thanks Cenedd
Cheers
Ras :)
 
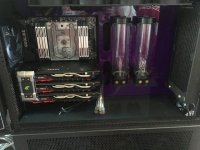
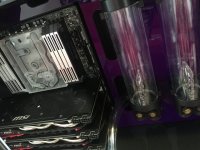
Here are the blocks installed and in place on the board with the bridge.

FYI the stock backplate (that i quite like!) that comes with the 1080 Gaming X is confirmed as not being able to fit with current fittings - the screws are completely different in size and length and I would need to order some from a third party to make it fit. Not too much of an issue i guess - just annoying.

I plan on waiting to see what EK release to accompany these blocks and then I will make a decision either way.

I have to say though that these blocks look amazing in the flesh, and in the build, what do you think?

TNfGcXEl.jpg

Cheers

Ras
 
Size and length you can do something about; it's if they're in different places that you've got problems.

How clear is that purple backplate? If you were to put some LED striplights round the edge of it - and I mean with the LEDs facing against the edge not on the front near the edge - could you edge-light it? Might need the panel shaving down at the edges by a mm or two to fit them but could look really cool....or disappointing.

I have an idea for that... I need to be careful about the subtle stealth type look not being offset to much by leds or the liquid, but I think I have it covered! ;)

Watch this space! :)

Cheers
Ras
 
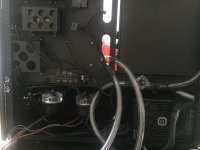
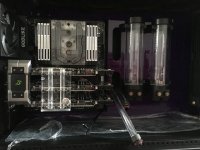
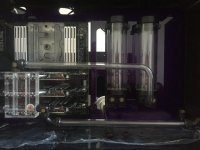
First loop complete (other than pump to res - need to complete the plate mod and pass through positions for that first):

samLtb5l.jpg

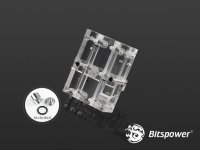
Question: Would it look better with the bitspower water bridge rather than the EK one? Thoughts please!

hSyAgh1l.jpg
 
There's not a lot of difference between the two to be honest - both just clear blocks of acrylic. Just depends if you like the Bitspower logo more than the EK - I certainly wouldn't buy the Bitspower one if you already have the EK.

Fair enough, I will see what i think when its finished - but I am inclined to agree with you mate.

Cheers
Ben
 
Have you considered using individual fittings and acrylic tubing to link each card, it's a bit more work but personally I have always thought it looked neater than using a block and you can still see the coolant colour. An example would be any of the 8pack systems.

https://www.overclockers.co.uk/8pac...-4.7ghz-extreme-overclocked-pc-fs-002-8p.html

Anyhow this sort of thing is in the eye of the beholder so best go with whatever you personally prefer.

I have indeed - and I might go for this later when i change the cards... honestly being my first foray into WC'ing I am not sure I would do a great job! :)

I will give it some thought though. Thank you! :)
Cheers
Ras
 
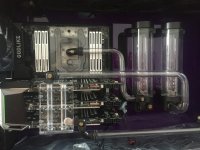
Small update: Got the first part of the CPU loop done - it's so hard to get those angles right! I am not 100% happy with it, but i think it looks pretty good.

IMiM4S5l.jpg

Also the HD bridge arrived - I will mod the green to yellow or purple or go carbon all over... not sure which though!

Cheers
Ras
 
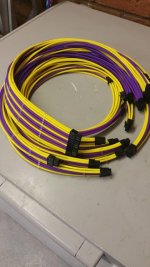
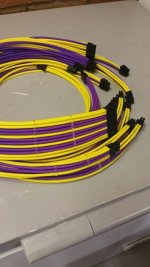
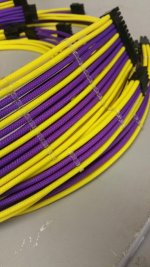
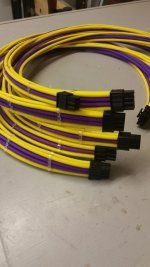
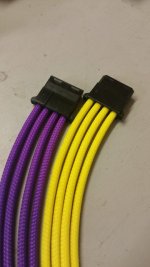
Another quick update - my Telios set should be here on saturday! :)

Here are some photos from James at Pexon:

UffKrhEl.jpg
GPNAq3Xl.jpg
UY40ruLl.jpg
2BIuYael.jpg
fLNNxcWl.jpg
Zg5LNdbl.jpg
1RB7lPQl.jpg

Cheers
Ras
 
Update - just one bend a a bit of tidying up to do! I have found that freehand bending is WAY better than jig bending!

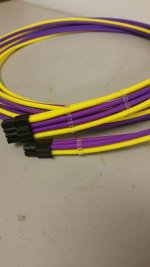
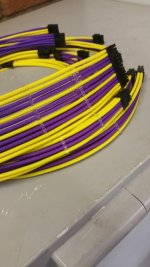
A BIG thank you to Davina and James @ Pexon PCs their cables are second to none!

S8YiSUwl.jpg

Cheers
Ras
 
Last edited:
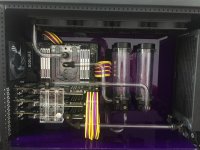
So today I finished the PETG bends - does the Hard in Hardline equate to difficulty?! ;) I genuinely struggled with the complex bends... Two or three I am just not happy with but I will look at them again when I upgrade in December. I changed the lower cpu run as it had two many Bitspower pieces in it! :)

DRPmcS6l.jpg

What do you guys think as my first custom water cooling loops?

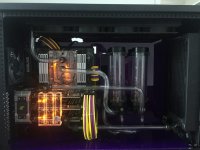
Also, I bought some XSPC LEDs and I'm not sure they are yellow.. What do you think?
WY4lcVkl.jpg

Cheers
Ras
 
They do look more orange than yellow. Not sure if all of them are though.
You can go RGB but you need a controller. Aquaero has one port for a single RGB LED.

Colour Work (aka Farbwerk) has headers for four strips of RGB LED but you can (I hope!) run individual LEDs off them if you can find the right sort and solder in the right resistors. If you're interested I can give you more details but I figure I've probably put you off already! Will post some more details on my project when the RGB LEDs turn up and I've tested the theory - right now I've got the resistors and the farbwerk but no LEDs

Thanks mate, I will continue to watch your build with much interest! :)

Can the cables not fit behind the plexi tube? only reason I say that is for aesthetics. It looks damned awesome don't get me wrong but personally I'd try and hide the cables to see the tubes fully.

I flipped between in front and behind (that's what she said) but eventually went for in front as I liked the contrast... I will see how I get on though... ;)

Cheers
Ras
 
Back
Top Bottom