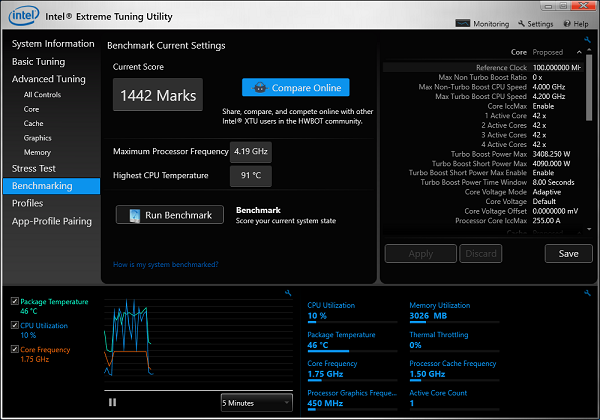
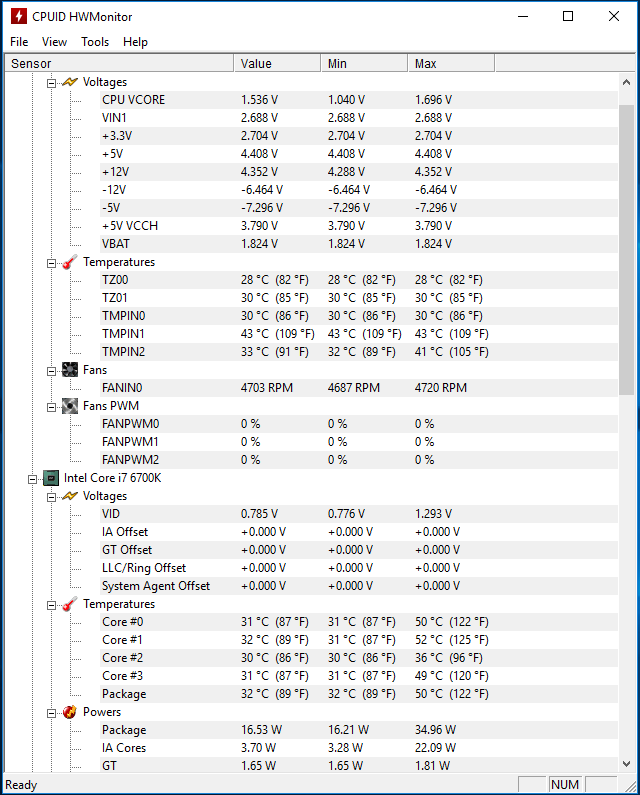
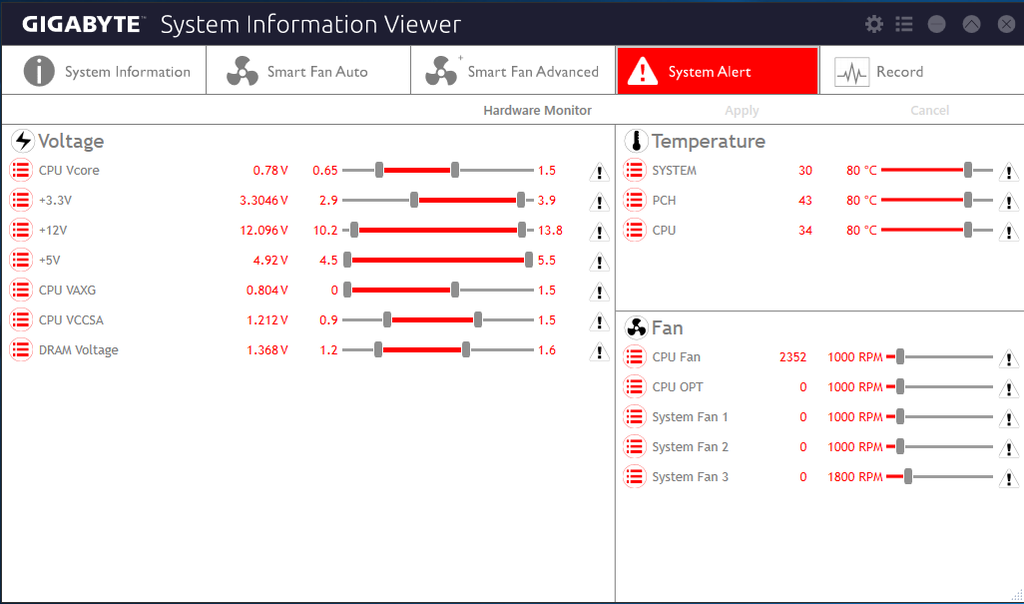
Here is an owners thread for this board.
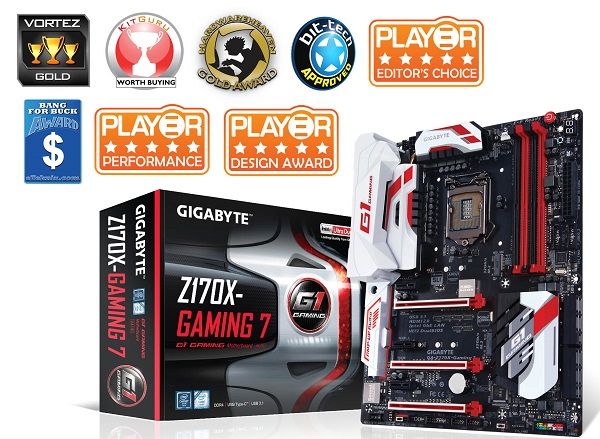
OcUK Page - https://www.overclockers.co.uk/giga...cket-1151-ddr4-atx-motherboard-mb-526-gi.html
CPU bundle Page - https://www.overclockers.co.uk/giga...rboard-bundle-20-pounds-saving-bu-022-gi.html
Gigabyte UK Page - http://uk.gigabyte.com/products/product-page.aspx?pid=5615#ov
This board has been cleaning up on the review sites.
You will find the latest drivers and BIOS versions at the Gigabyte download page here - http://uk.gigabyte.com/products/product-page.aspx?pid=5615#dl - do not use the stuff that comes on the disk.
You will find the latest BETA BIOS versions here - http://forums.tweaktown.com/gigabyte/28441-gigabyte-latest-beta-bios.html - never had an issue flashing these as I believe they come from Gigabyte engineers and eventually get turned into official releases.
Some awesome features are
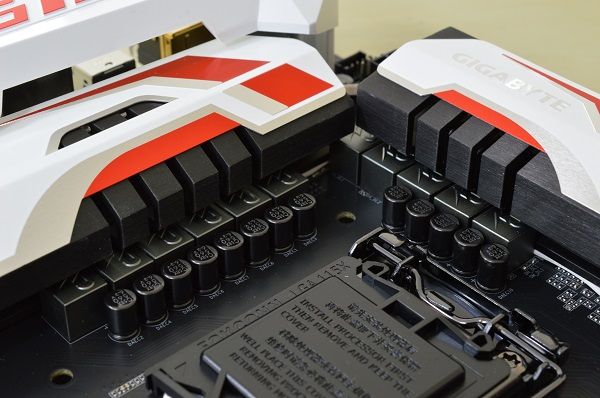
Loads of power phases for overclocking.
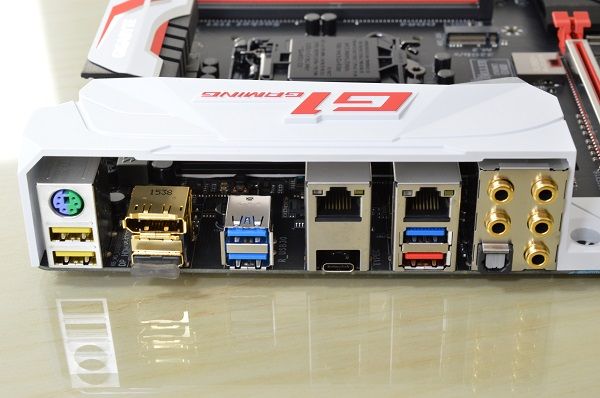
Display Port and HDMI, USB typeC with 3.1 support, Five USB3.0/2.0, One USB3.1 (red port), Intel and Killer NIC, 5.1 audio with S/PDIF.
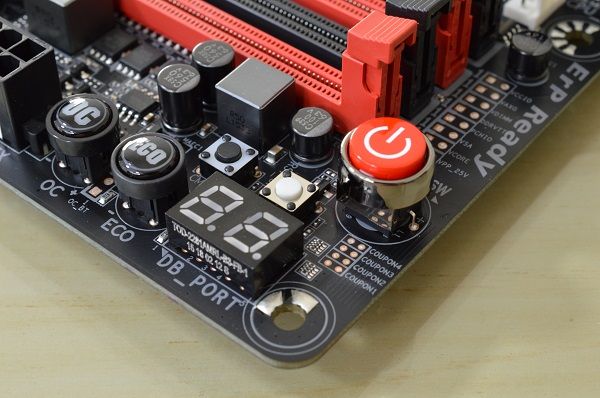
Power ON/OFF, Reset and CMOS clear buttons.
OC and ECO mode buttons.
ECO - Saves power by automatically reducing power consumption based on system load.
OC - Press this to automatically overclock your system, but doing this manually is best.
For example with my i7 6700K pressing it takes my core speed up to 4.4GHz.
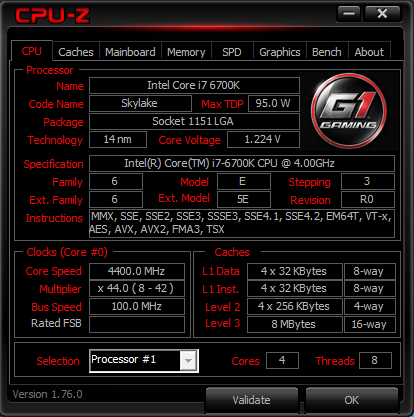
Which increases Cinebench R15 score from around 865 stock to 895 roughly, a small overall gain to be honest.
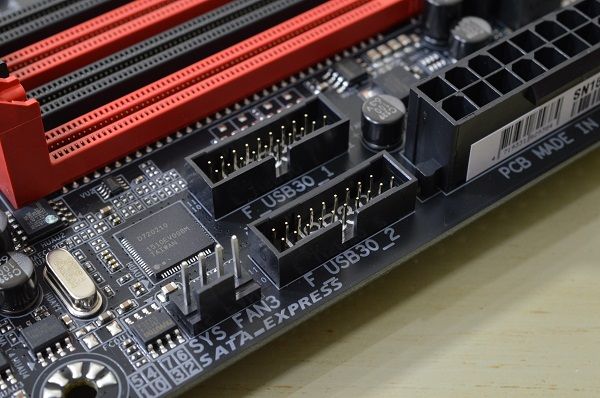
Two USB3.0 internal headers.
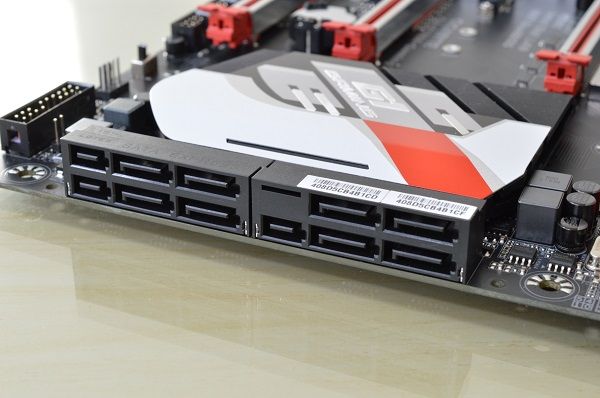
Lots of SATAIII and SATA Express.
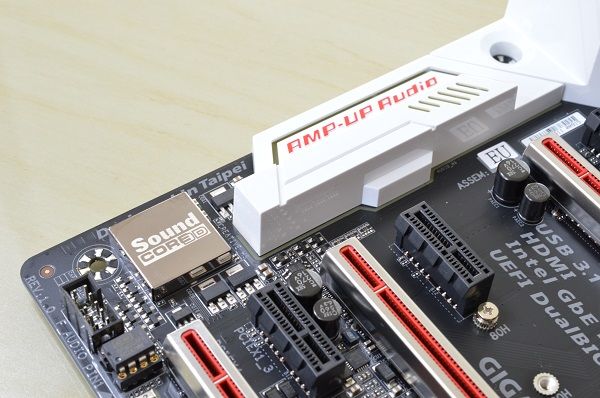
Creative sound chip and an up-gradable OP-AMP.
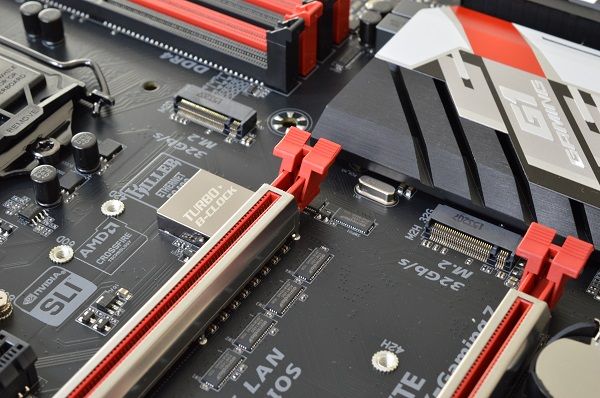
Twin M.2 32Gb/S ports which you can RAID together but you do lose some SATA ports if you use these and the manual is very complex in understanding which M.2 effects what SATA Port and how different PCI-E lane SSDs effect various numbers of SATA ports and even some of the PCI-E slots.
This is the simplest explanation I have seen - http://techreport.com/review/29072/gigabyte-z170x-gaming-7-motherboard-reviewed/2
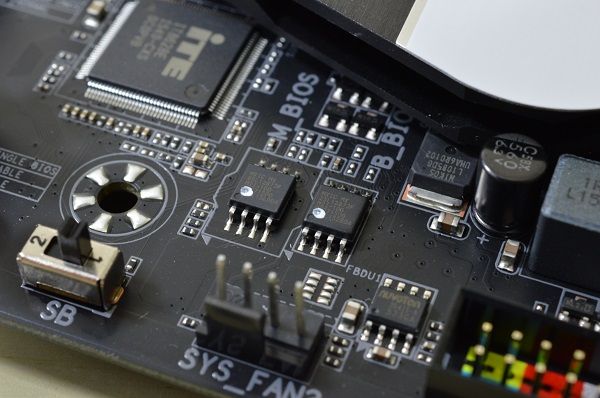
Dual BIOS of course.
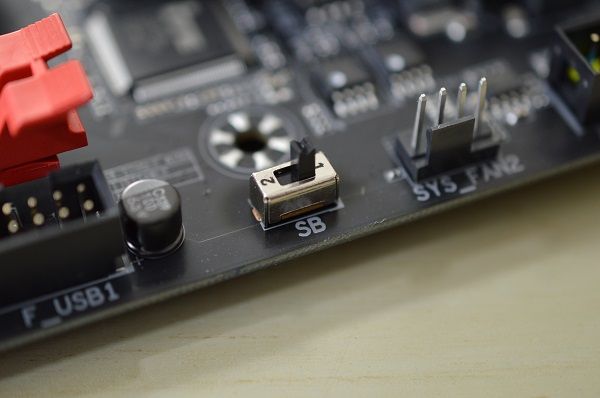
BIOS switch for single BIOS mode or dual BIOS mode.
You would use single mode if you were heavily overclocking as in dual mode it can throw errors as on every boot it compares the two BIOSes, if you ever see the "db" error, switching to single mode will fix it.
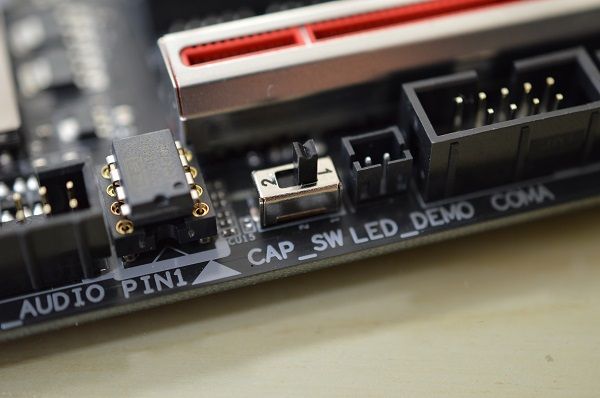
Audio gain switch for high impedance headphones.
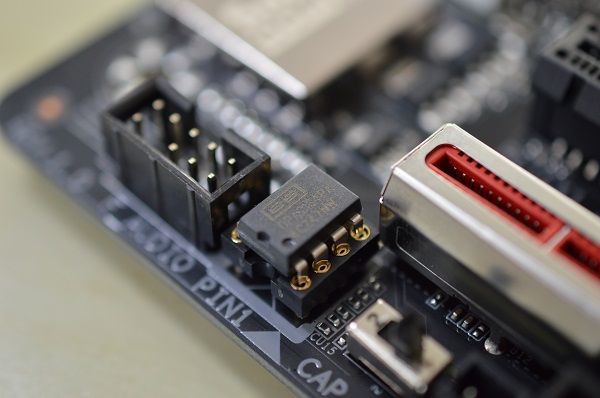
Burr Brown OPA2134 AMP.
You can swap this out if you prefer a warmer sound for example.
m.2 installation
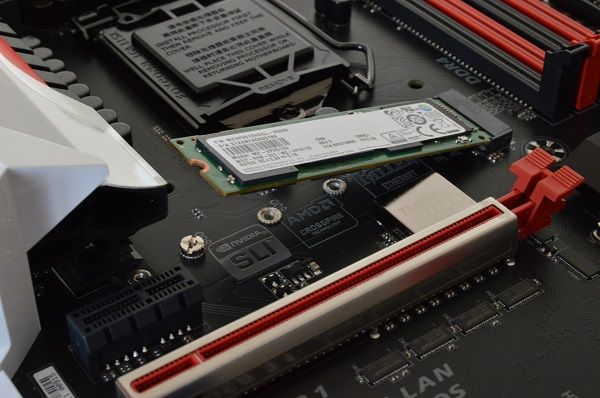
This is not rocket science, slot it in at the connector end (which is keyed so it will only go in one way).
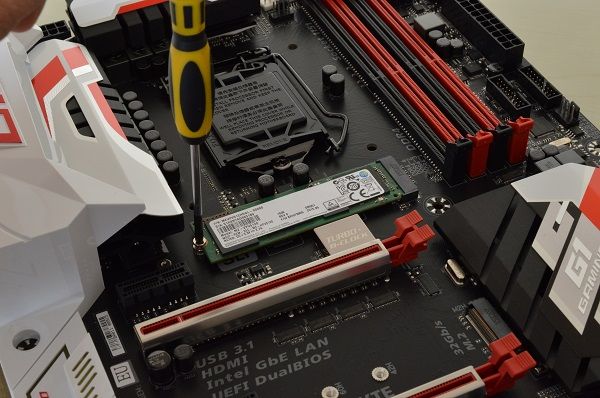
Screw it down.
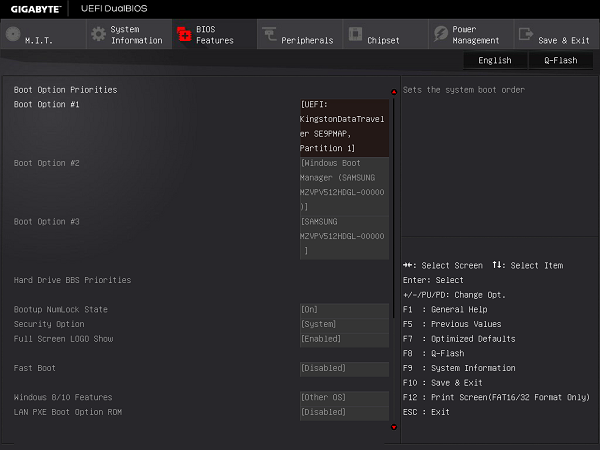
In the BIOS screenshot above you can see that I have a Kingston DataTraveller thumb drive as the first boot option, this thumb drive contains my Windows 10 install, then the windows boot manger second followed by the actual m.2 SSD itself.
Save+exit the bios and the Windows install will auto-start and install windows for you.
Setting your RAM to XMP
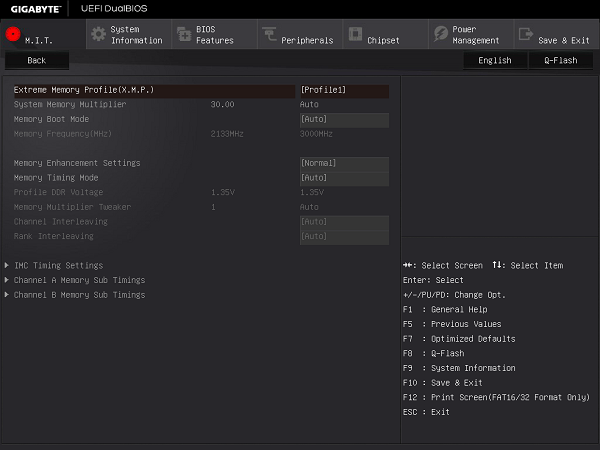
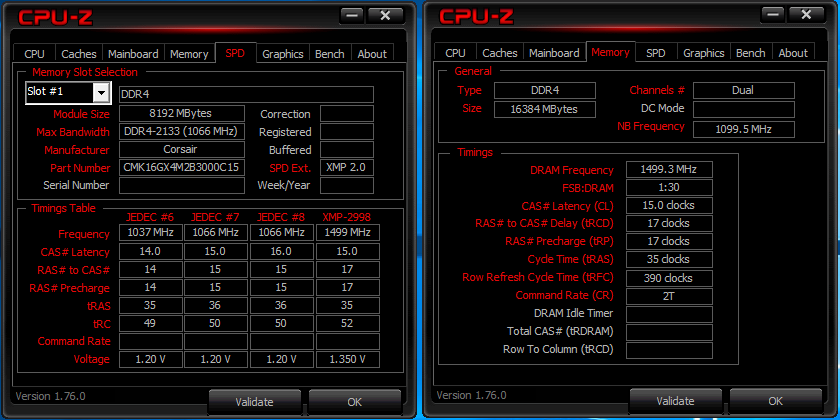
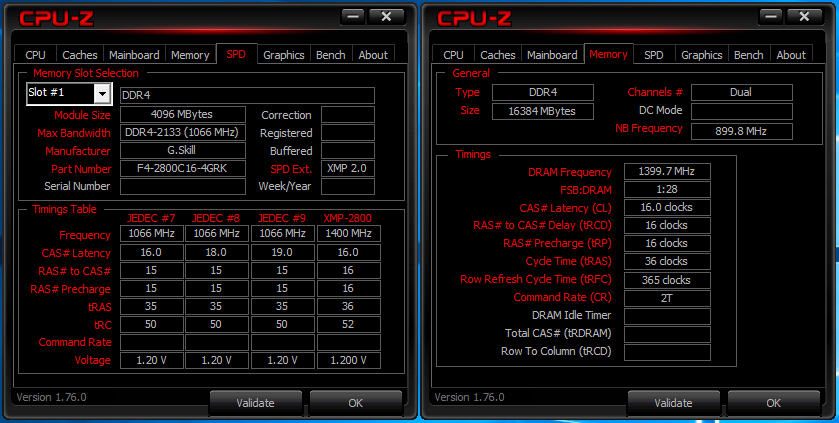
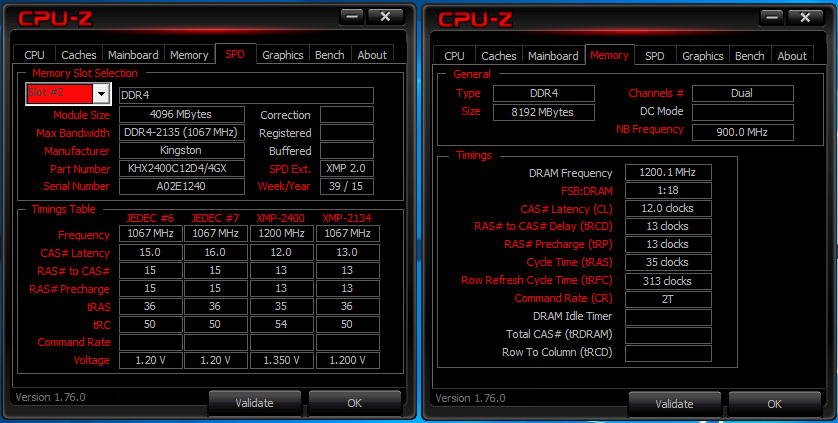
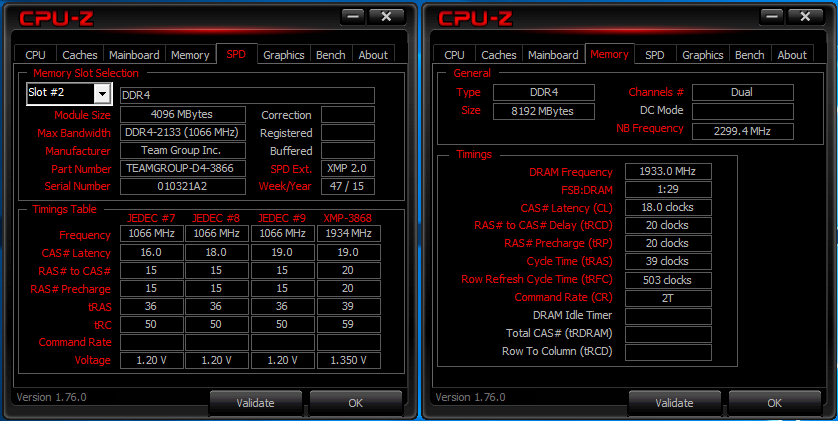
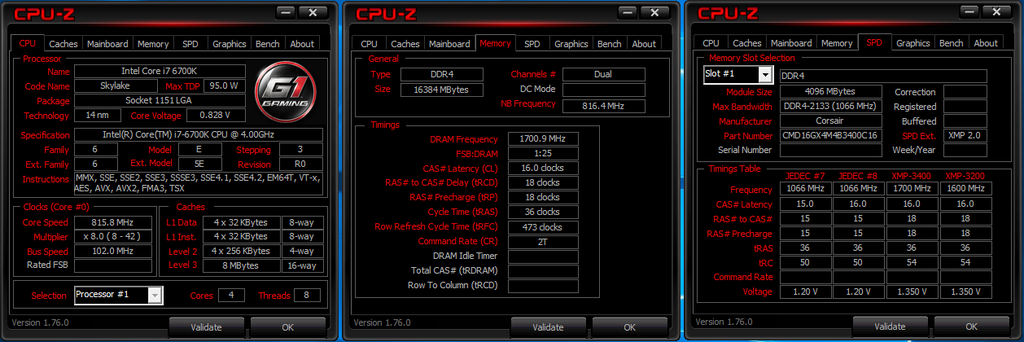
Many people buy fast RAM such as 3000MHz and fit it into their board and assume that that is it all done and dusted and forget about it. Yet if they look at the memory tab of say CPU-Z it would actually show the RAM is running at 2133MHz as they have not set the XMP profile within the BIOS.
So in the screenshot above, navigate to that page and load the profile corresponding to the 3000Mhz rating of the RAM and then save+exit.
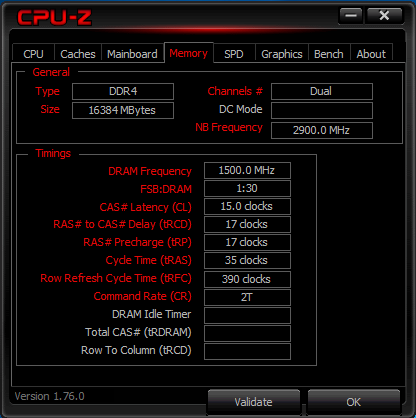
A quick check of CPU-Z should show the RAM running at 1500MHz (double data rate so double it for 3000MHz).
Also try using the red pair of slots first.
Some BIOS features
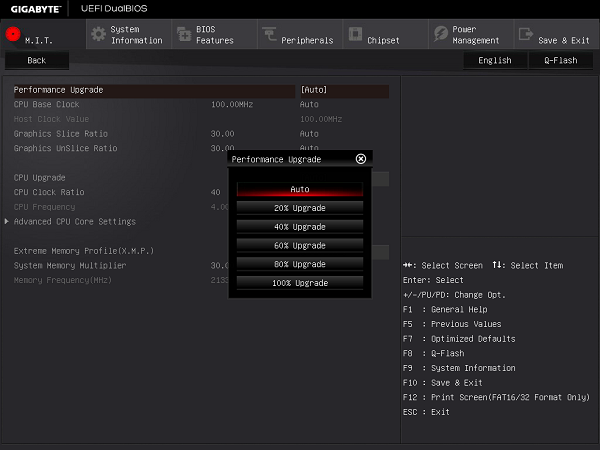
Here is another auto overclock style setting, pick the percentage you want to increase the speed by, save+exit and remember to test for stability.
I am not sure what they are comparing the percentages against but 20% takes my i7 6700K to 4.3GHz and 100% takes it up to 4.7GHz.
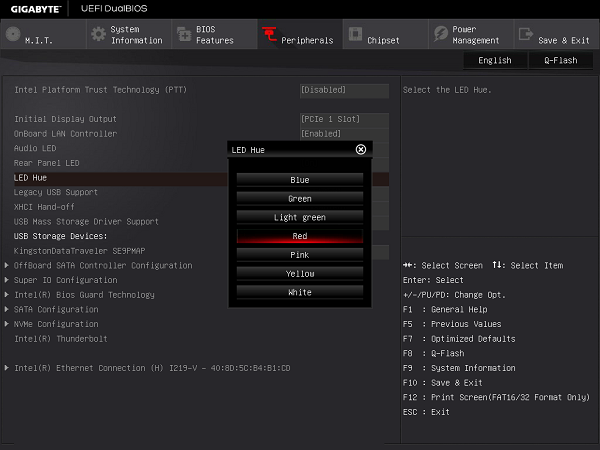
You can make the boards onboard LEDs and I/O shield plate change colour.
You can set it to pulse or activate with music beat.
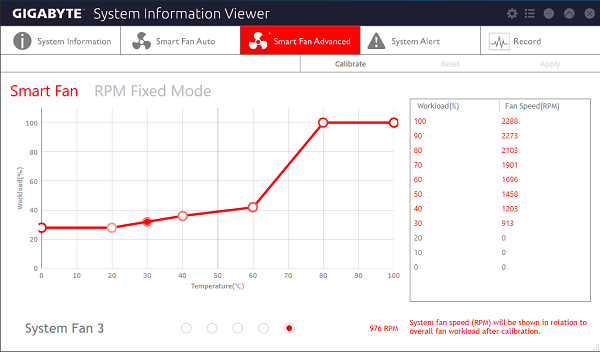
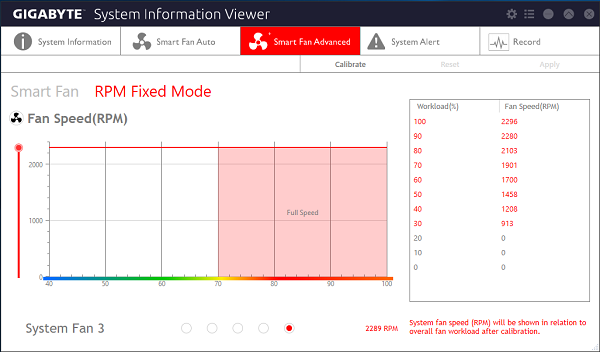
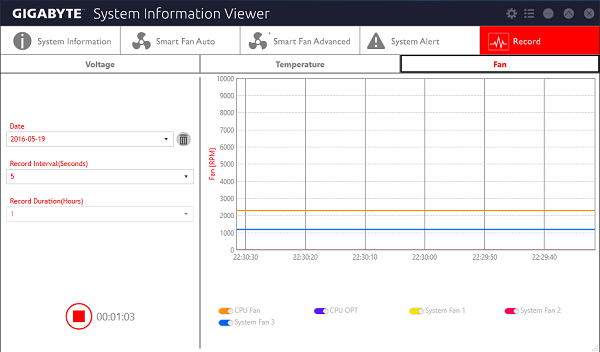
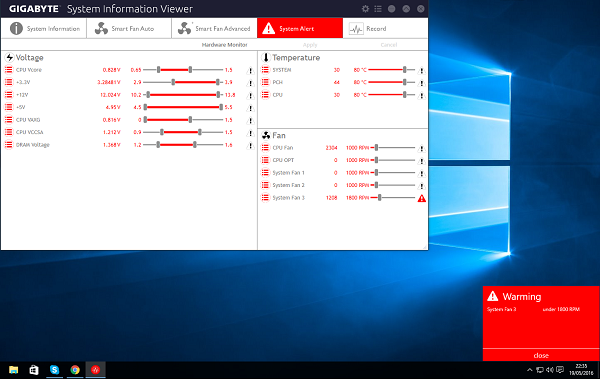
It can also be controlled via one of the downloadable apps,
Overclock to 4.5GHz

OcUK Page - https://www.overclockers.co.uk/giga...cket-1151-ddr4-atx-motherboard-mb-526-gi.html
CPU bundle Page - https://www.overclockers.co.uk/giga...rboard-bundle-20-pounds-saving-bu-022-gi.html
Gigabyte UK Page - http://uk.gigabyte.com/products/product-page.aspx?pid=5615#ov
This board has been cleaning up on the review sites.
http://www.trustedreviews.com/gigabyte-z170x-gaming-7-review
http://www.kitguru.net/components/motherboard/luke-hill/gigabyte-z170x-gaming-7-motherboard-review/
http://techreport.com/review/29072/gigabyte-z170x-gaming-7-motherboard-reviewed
http://www.overclockers.com/gigabyte-z170x-gaming-7-motherboard-review/
http://www.hardocp.com/article/2015..._7_lga_1151_motherboard_review/7#.VqJItPmLTrc
http://www.eteknix.com/gigabyte-z170x-gaming-7-lga-1151-motherboard-review/
http://www.bit-tech.net/hardware/2015/10/08/gigabyte-z170x-gaming-7-review/1
http://www.hardwaresecrets.com/gigabyte-z170x-gaming-7-motherboard/
http://www.vortez.net/articles_pages/gigabyte_z170x_gaming_7_review,1.html
http://www.techspot.com/review/1073-intel-z170-motherboard-roundup/
http://www.bjorn3d.com/2015/09/gigabyte-ga-z170x-gaming-7/
http://proclockers.com/reviews/motherboards/gigabyte-z170x-gaming-7-motherboard-review?nopaging=1
http://www.tweaktown.com/reviews/75...ng-7-intel-z170-motherboard-review/index.html
You will find the latest drivers and BIOS versions at the Gigabyte download page here - http://uk.gigabyte.com/products/product-page.aspx?pid=5615#dl - do not use the stuff that comes on the disk.
You will find the latest BETA BIOS versions here - http://forums.tweaktown.com/gigabyte/28441-gigabyte-latest-beta-bios.html - never had an issue flashing these as I believe they come from Gigabyte engineers and eventually get turned into official releases.
Some awesome features are

Loads of power phases for overclocking.

Display Port and HDMI, USB typeC with 3.1 support, Five USB3.0/2.0, One USB3.1 (red port), Intel and Killer NIC, 5.1 audio with S/PDIF.

Power ON/OFF, Reset and CMOS clear buttons.
OC and ECO mode buttons.
ECO - Saves power by automatically reducing power consumption based on system load.
OC - Press this to automatically overclock your system, but doing this manually is best.
For example with my i7 6700K pressing it takes my core speed up to 4.4GHz.

Which increases Cinebench R15 score from around 865 stock to 895 roughly, a small overall gain to be honest.

Two USB3.0 internal headers.

Lots of SATAIII and SATA Express.

Creative sound chip and an up-gradable OP-AMP.

Twin M.2 32Gb/S ports which you can RAID together but you do lose some SATA ports if you use these and the manual is very complex in understanding which M.2 effects what SATA Port and how different PCI-E lane SSDs effect various numbers of SATA ports and even some of the PCI-E slots.
This is the simplest explanation I have seen - http://techreport.com/review/29072/gigabyte-z170x-gaming-7-motherboard-reviewed/2

Dual BIOS of course.

BIOS switch for single BIOS mode or dual BIOS mode.
You would use single mode if you were heavily overclocking as in dual mode it can throw errors as on every boot it compares the two BIOSes, if you ever see the "db" error, switching to single mode will fix it.

Audio gain switch for high impedance headphones.

Burr Brown OPA2134 AMP.
You can swap this out if you prefer a warmer sound for example.
m.2 installation

This is not rocket science, slot it in at the connector end (which is keyed so it will only go in one way).

Screw it down.

In the BIOS screenshot above you can see that I have a Kingston DataTraveller thumb drive as the first boot option, this thumb drive contains my Windows 10 install, then the windows boot manger second followed by the actual m.2 SSD itself.
Save+exit the bios and the Windows install will auto-start and install windows for you.
Setting your RAM to XMP

Many people buy fast RAM such as 3000MHz and fit it into their board and assume that that is it all done and dusted and forget about it. Yet if they look at the memory tab of say CPU-Z it would actually show the RAM is running at 2133MHz as they have not set the XMP profile within the BIOS.
So in the screenshot above, navigate to that page and load the profile corresponding to the 3000Mhz rating of the RAM and then save+exit.

A quick check of CPU-Z should show the RAM running at 1500MHz (double data rate so double it for 3000MHz).
Also try using the red pair of slots first.
Some BIOS features

Here is another auto overclock style setting, pick the percentage you want to increase the speed by, save+exit and remember to test for stability.
I am not sure what they are comparing the percentages against but 20% takes my i7 6700K to 4.3GHz and 100% takes it up to 4.7GHz.

You can make the boards onboard LEDs and I/O shield plate change colour.
You can set it to pulse or activate with music beat.
It can also be controlled via one of the downloadable apps,
Overclock to 4.5GHz
Last edited:


