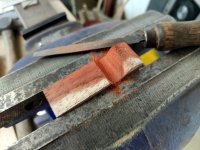
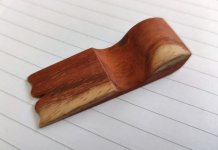
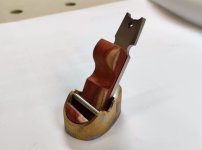
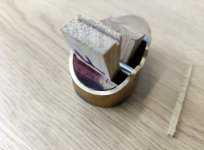
Hand made Infill plane (woodwork)

Hi again all, it's been a little while since my last update but like they say "time flies when you're having fun"...or not so much if you're stuck in the gloom of yet another lockdown.

I hope every one is keeping well and staying safe, we surely must be getting close to having some form of normality back.

I have been enjoying the Benchtalk series, so that's one good thing to come out of all this.


I've been trying my hand at plane making again, hopefully this time with something a "little" different.


I've been interested in making a luthier plane for many years after watching a video of a guitar maker constructing sound boards and bracing.

I'm not musically inclined but it was fascinating work. The use of small planes to shape the boards and bracing to change the sound of the guitar was a nice example of skilled craftsmanship.


As usual before starting I searched for luthier thumb planes and a few examples stood out but non so much as the brilliant Scarab plane by Oliver Sparks.

I've been looking through Ollies work ever since I started making my first plane and I find his work so inspiring, it's exceptional quality and his eye for design is on another level. In my eyes he's certainly up there with the best plane makers.


I didn't want to copy Ollies plane exactly but I certainly based mine on his design and you will see some similarities.


I saw that a lot of luthier planes had curved soles for shaping, but I decided to keep my first attempt with a flat sole, mostly as it made it easier to make and because mine wouldn't be used as a true luthiers plane but more a very small thumb plane.


I started this plane before Christmas and working through my lunch breaks only finished it this weekend.

Although it's small size would suggest it would be easier to make this has probably been one of the hardest planes I've made so far, and certainly the most difficult to peen without a doubt!


Unusually I've got the finished photos ready before the build photo's, there is a mountain of photos to go through and I'll hopefully post a build log soon too.


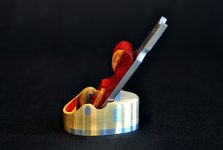
I'm really pleased with how this plane turned out, and for such a small plane it works very nicely. There are of course some things I'd like to improve upon but the majority of the build went smoothly and according to plan (which was a nice change :))


As always I welcome any comments and critique. I'm hoping the more you look at it the more you'll wonder how it's made.


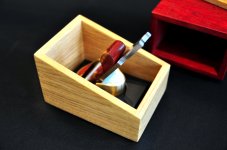
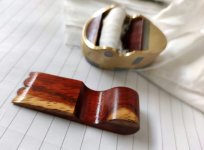
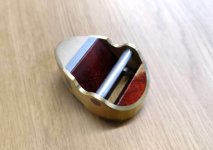
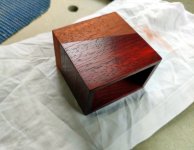
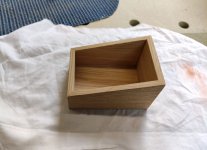
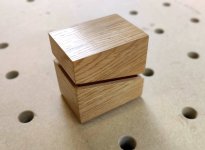
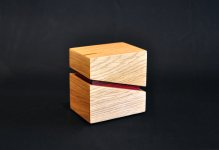
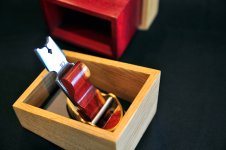
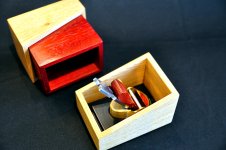
Starting with the box which is made from oak and padauk. Finished with French polish.

Jo1P7gl.jpg


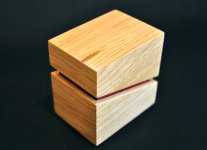
Mitred construction with the padauk liner.

QwcoTsU.jpg


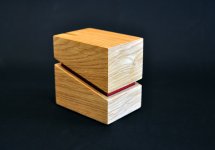
I left the gap as a design feature but It also servers to aid opening the box

hAMPpEO.jpg


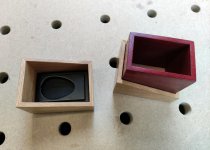
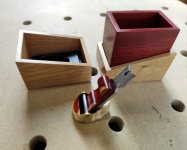
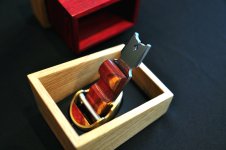
The top half of the box lifts off to reveal the plane inside.

ycGcHFT.jpg


dR5jbAG.jpg


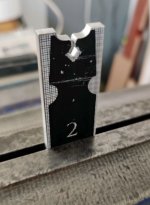
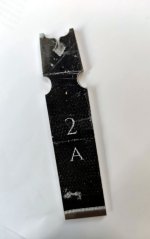
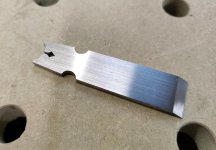
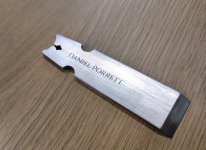
I had some new stencils made and etched my name onto the back of the blade.
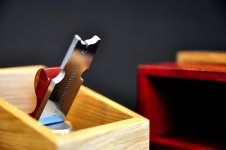

JMdJ1pZ.jpg


Also designed a new makers mark for the front of the blade.
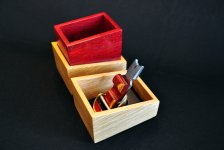

ctLvRWg.jpg


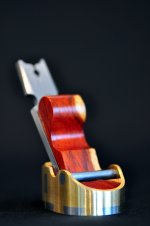
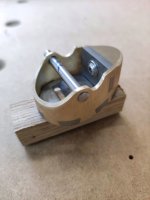
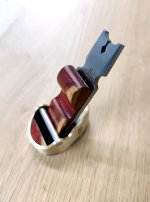
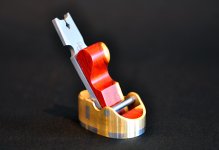
The plane is made from brass and 01 tool steel with padauk infills and wedge.

I left the sap in the wood as I thought it looked quite striking.
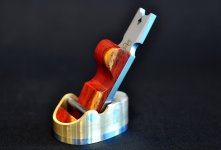

3c5Ddvg.jpg


I French polished the wedge and infills
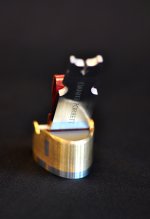

mbZtZBg.jpg


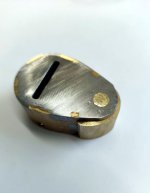
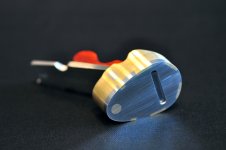
Dovetailed sole with through tenon at the rear.

yIGMTm9.jpg


Rn44ykI.jpg


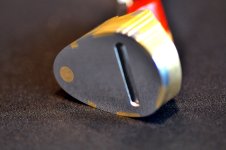
The sole dovetails and round tenon at the rear. the small dovetails near the back are only 4mm wide, the chance of snapping them off when peening was high!
8rhTvgy.jpg


lXDPIHf.jpg


I flattened the sole and polished it to a high shine

Wfn08D4.jpg


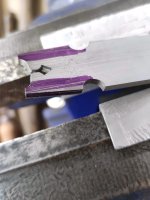
I designed and added this feature to the top of the blade with the intention to carry it on, onto future planes but considering the amount of time it took to hand file it I may change my mind on that one :)
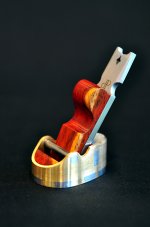

1UTeCRU.jpg


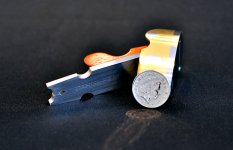
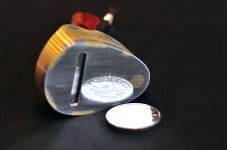
Standing next to a ten pence for a reference of scale
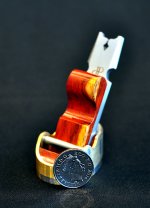

LZwLyyN.jpg


a7SdCfj.jpg


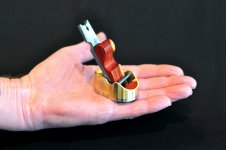
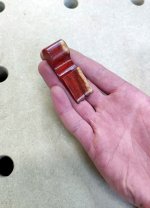
It sits nicely in the hand

jPVDrBm.jpg


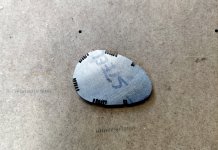
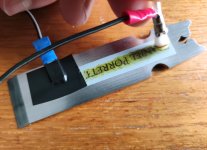
Closer look at the etching on the back of the blade. I think its pushing the limits of vinyl etching at this size, cutting and weeding the stencils was delicate work.
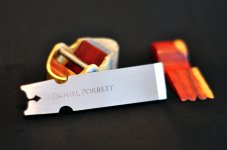

PZE6Hxh.jpg


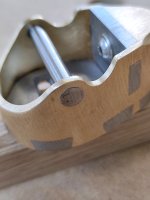
I added a little cupids bow to the bottom of the wedge in homage to Mr Carter who always honours me with replies to my e-mails.
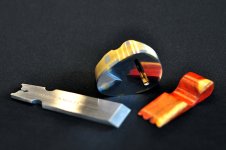
9s2ZotD.jpg


1YWR1fe.jpg


cDyD0Gd.jpg


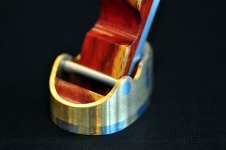
The wedge is held in place with a rod of silver steel peened through the sides.

44gmPgZ.jpg


iQ2LTp9.jpg


Thanks for taking the time to look through my builds so far, this will likely be the last one for the foreseeable future as my work has put an end to any private work for insurance reasons. I'm hoping to sort something out in the summer so I can continue with my passion.


Cheers

Dan.
 
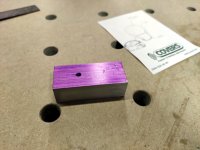
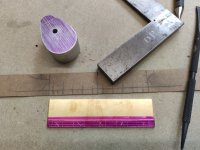
This project started in the usual fashion, with a quick sketch and a lump of aluminium.


rEMgZEz.jpg


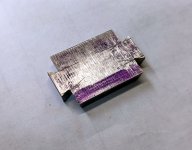
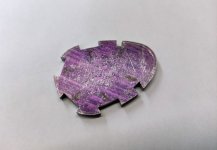
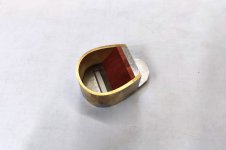
I marked the inner dimensions of the planes body onto the aluminium then cut and filed it to shape. I will later use this as the forming block for the plane.


3i0S4eN.jpg


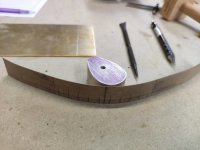
With the form filed I used a thick piece of card to template out the dovetails. I could easily bend the card around the form to work out the spacings.


PZLwsVa.jpg


I then transferred them to the brass


wSRwMdw.jpg


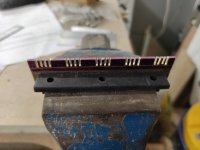
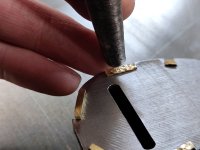
I began to cut straight lines that will later form the dovetails. I make a series of cuts then use a punch to knock out the waste. I've found this to be the fastest and easiest method for removing the waste metal.


NRKCHAi.jpg


I also marked out and cut the dovetails at the end of the brass.

You will notice these dovetails are cut at a much shallower angle than usual, the reason for which will become apparent later.


SaPJHKm.jpg


Next I filed a small amount away from each straight cut to form the dovetails.


vNykl2H.jpg


I spent a long time carefully filing each dovetail to ensure the beds where flat and the dovetails where as clean as possible.


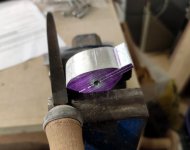
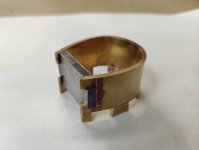
I could then start bending the brass around my aluminium former.

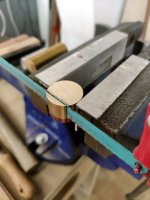
Ensuring the centre marks where lined up I secured it in the vice and began to bend by hand.


pat50Da.jpg


This is as far as I got before my arms gave up. Even at 2.5mm thin the brass puts up a good fight!


9tqernN.jpg


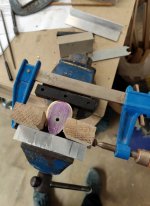
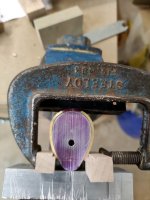
I used a selection of cramps and wooden blocks to pull the last bit up.


495qA7f.jpg


I went with 2.5mm thick brass as it's a tight radius and I feared any thing thicker wouldn't conform to such a contour.

Even at this thickness it was difficult to form the brass exactly , partly because of the tight curve but also because it's very difficult to hold something this small while trying to apply a lot of force onto it.


In the end after a lot of work I was happy with the result.


J7Gvz3P.jpg


Already I was a good few hours into the project.....no going back now!
 
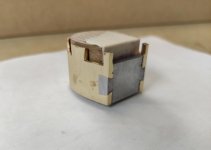
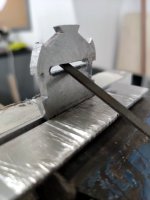
With the plane body now formed I started to make the back brace.

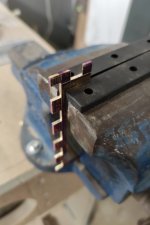
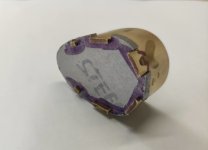
I cut a piece of 01 tool steel and started to form the dovetails to match the body.


WAAtolP.jpg


This turned out to be a little more difficult than I had expected as the shoulders of the dovetails had to be curved to follow the curve of the plane body, along with the back face slightly tapered.

After a lot of careful filing they started to fit. This process was made even more tricky due to the spring back from the body.


b6eiszW.jpg


I was expecting a small amount of spring back from the body and this was the reason why I cut these dovetails at a steeper angle.

I hoped that the pressure from peening would help to force the shoulders tight at the top and bottom of the plane body.

I feared had I cut these any shallower the spring back from the body would have caused gaps between the brace and body on the shoulders.


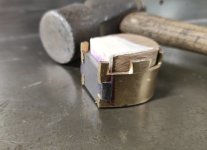
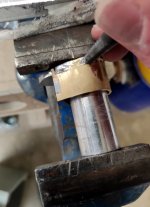
Next came the first stages of peening and the first doubts that this project may fail.

One thing I've learnt along the way is that accurate peening is difficult, and in some situations it's better to use a rounded punch with light blows from a heavy hammer than wild swings from a lighter one.

It's also crucially important to hold the work piece rigid and have the opposite point of impact most supported, this is difficult to do when the piece being worked is curved.


I tried several ways of holding the body without distorting it so I could use my rounded punch but as soon as the first strike came the body would either slip loose or distort.

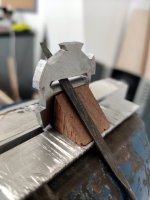
In the end I resorted to wedging the body against a steel upright and using light blows direct from the hammer. Wedging the body against something stopped it from slipping away and the impact point was directly underneath where I was peening.


dgSKGRa.jpg


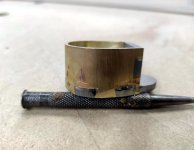
finally after a lot of apprehension the peening was done, It was easily one of the most difficult things I've peened so far. Holding the plane still with one hand coupled with it's small size meant I was peening blind, It took a lot of careful well placed blows with the constant fear in the back of my mind that if I miss hit there was a very likely chance I would snap off one of the brass dovetails, or at least irreversibly bend it out of shape.


Thankfully after a lot of sweating the peening was done.

The steep dovetails had worked and the brass was forced up tight to the braces shoulders...what a relief :)


I3hq9Sk.jpg


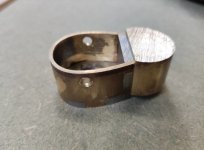
With the body permanently fixed in position I could start work on the sole.

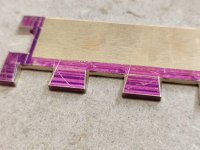
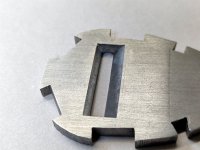
I cut a piece of 01 tool steel and clamped the body to it so I could accurately scribe around the dovetails.


AFx1JTf.jpg


Marking the waste I cut away the surplus metal and shaped the sole to allow enough for peening later.


QMzhaZO.jpg


I cut a series of notches as before and tapped out the waste with a punch.


hR2zwG4.jpg


CVsVrJJ.jpg


Then filed down to my scribe lines


IV45TQZ.jpg


Again after a lot of test fits and careful filing the sole was fitted.


lk9m1Ch.jpg
 
With the sole of the plane fitted I could move onto cutting the mouth opening.


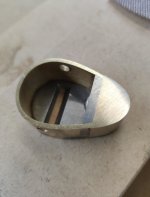
Because the blade sits bevel down I could cut the mouth opening with the sole as one piece, rather than having to split the sole into two pieces like with bevel up planes.

I made a wooden block shaped at the same angle the blade will sit at.


XSDt8zC.jpg


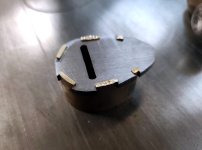
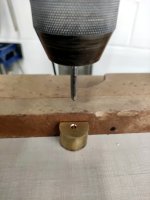
I drilled a series of holes narrower than the desired mouth opening but large enough to fit a small file in.


cLrau46.jpg


From there I started to file the mouth, being careful to only remove material from the back edge of the opening. Removing to much metal from the front of the opening at this stage could adversely affect the mouth opening.


qDC6CFt.jpg


Once I had filed enough material away I could insert my wooden block and use it as a guide to start filing at the correct angle.


NBeFG6y.jpg


A lengthy amount of time later it was starting to take shape


pnQMQlY.jpg


After a little more refinement I could start to peen the sole onto the body.

The flat top to the plane body made it a lot easier to work on, this time round I could use my punch as intended.


T34dvHI.jpg


Using the punch enables me to make controlled strikes which in turn makes it easier to move the metal in the desired direction.


QhHDG0r.jpg


With the sole dovetails secured I could move onto the outside of the body.


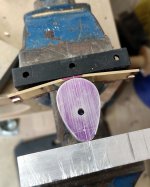
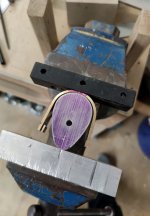
I had to get creative again with holding the body as the curved shape made it difficult to peen on a flat surface.

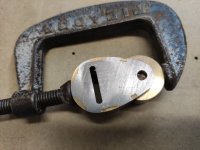
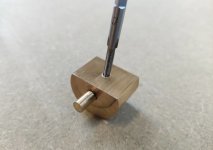
I inserted a piece of steel round bar into the body and then used a large penny washer on the underside of the sole while clamping it tightly in the vice.

This held the body firmly enough for me to peen the steel dovetails.

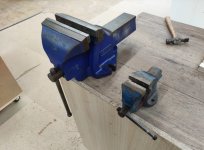
The clamping force needed was high and it was pushing my tiny 3" vice to the limit. I had to wedge a lump of wood under the vice to reduce bounce back when hammering.


fNdeF8R.jpg


The next day, as luck would have it and after years of searching I finally struck lucky on a large engineering vice, bit of an upgrade :) Did my back in lifting it though!


8aZvFdw.jpg


This made peening a lot easier and after a few more hours of refinement and an initial clean up the dovetails where starting to take shape.


6sMgvDv.jpg
 
Next up I moved onto the bed of the plane.

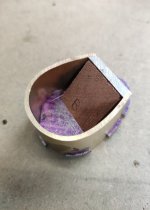
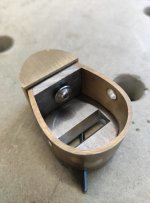
I cut and shaped a piece of padauk to fit into the body. I cut an initial bed angle on it but this will be changed slightly later once I have the blade made and can see the bedding angle better.


zy3wEcQ.jpg


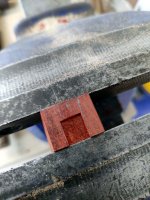
Next I cut a chunk from a piece of round bar


GDlSn6b.jpg


Then cut a flat on one side, this piece will form the back of the plane.


c8PwGTY.jpg


After some filing and test fitting it sat tightly in place.

It was important to get this join as clean as possible as any gap would spoil the seamless shape of the body.


hcedG4Z.jpg


Once I was happy with the fit I clamped the two pieces together and drilled a hole through the sole and into the brass.


h6i1U0S.jpg


I then drilled and tapped the hole.


0n2wfhP.jpg


I threaded a small piece of brass rod and secured it into the brass piece with high strength lock tight.

I then drilled and tapped another hole,


KNFiiMZ.jpg


This hole accepts a small pan head bolt which pulls the brass piece tightly against the back of the body, again once tight was secured with high strength lock tight.


XlanJVf.jpg


With the back piece semi fixed in place I could flip the plane over and peen the brass rod to permanently secure it in place.


9k1KmPi.jpg


Finishing by filing it down flush with the rest of the body.


SolbXEy.jpg


I then had to remove a small section from the back of the bed,


oXniApJ.jpg


to enable it to fit over the head of the pan headed bolt.


vaVFlBF.jpg
 
Cheers for the comment :)

I'm super happy with the vice, like I say I've after one for ages and this was in great condition and an absolute bargain. it needed a little TLC and still requires a new spring to reduce back lash but I just made a larger washer for the time being.
It makes life so much easier for sure!
 
With the majority of the peening work done on the body I could start to shape it.


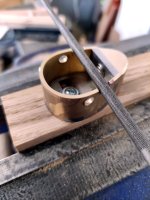
After a lot of pencil scribbles I settled on a design I liked and went at it with hand files.


BN9AhPM.jpg


After removing the bulk of material with files I was getting tired/lazy so came up with another way to finish off the larger curve.

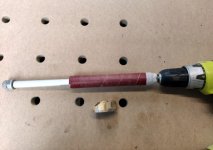
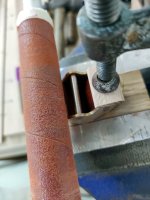
No bobbin sander any more so I made this quick thing, it's just two pieces of aluminium tube slid over a length of threaded rod and a bunch of washers.

One end goes into the drill chuck while you can use the other end as a handle.

It worked surprisingly well, but I still had to finish by hand of course :(


u1SFgNp.jpg


With the shapes roughly laid out I could fit the silver steel bar into the body and add a chamfer to the back of the plane.


vqMSuUl.jpg


The steel rod is a tight fit in the hole, then It's peened to hold it permanently in place.


XjbMsRT.jpg


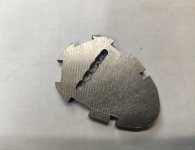
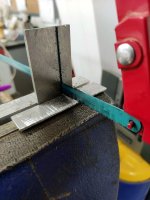
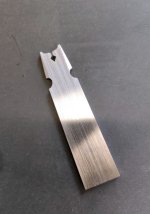
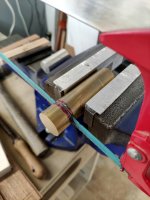
Next I moved onto the blade. Cutting a length of 4mm 01 tool steel, it never gets any easier and a reminder I need some new hacksaw blades!


rGRglfO.jpg


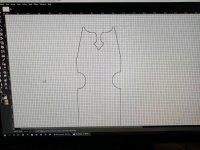
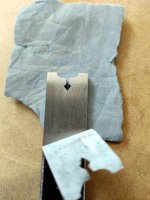
I also started to design the top of the blade. I went through a lot of different ideas before settling on this one. This was an early iteration, after a few more changes I had one I liked.


aWkfFAp.jpg


I printed the design out and stuck it to the blade blank so I could use it as a template to file to.


A6s7UNn.jpg


constantly checking progress under the template. The diamond was trickier to cut that I had anticipated, with my smallest needle file just barely fitting.


0PKC1HZ.jpg


Eventually I got the shape done. Like I mentioned earlier I had intentions of carrying this design onto future planes but it took a lengthy amount of time to get this done and improvements are still to be made, but as a wise man kept telling me "you only get better with practise" so maybe I should :)


uYX0fRA.jpg


lastly I added a few bevel details to soften the edges


0oFfJwp.jpg


And a quick clean up before the next stage.


JVH7jLU.jpg
 
With the blade shaped I could begin to heat treat it.


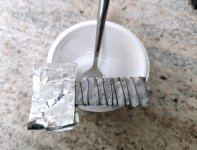
I covered the blade with borax (using some thin gauge wire to help hold it to the blade) as a make shift anti scale compound.


DqaX7jd.jpg


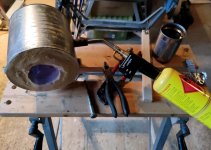
I then fired up the tin can forge, using a mapp gas torch as the fuel.


I have a magnet screwed to a piece of wood to test the blade once it starts getting to critical temperature and a tin of pre heated vegetable oil to quench the blade in.


XnkW3PS.jpg


I was doing some more reading on heat treating 01 tool steel and the "normalizing" process.

Essentially heating the blade to just over critical temperature then letting it air cool fully, repeating the process 2 or 3 times.

My basic understanding it it's meant to help relieve stresses in the metal and improve the grain structure.

It's difficult to know if the correct temperatures are being reached in a diy tin forge, and some say it isn't entirely necessary with pre annealed steels but a few cycles certainly shouldn't harm the blade.


2EZALHr.jpg


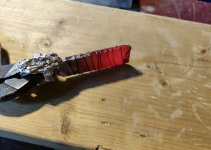
After the final heating and quenching I tempered the blade in an oven.

Lastly I cleaned it up, ground the bevel and honed it sharp.

It seems to hold a very keen edge so I'm happy with the results.


ZKBJqBx.jpg


I could then add my new makers marks using stencils and electro etching.


t0zoGOP.jpg


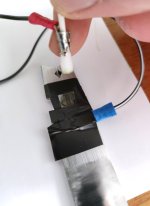
Using an old battery charger and a salt water solution to apply the etch.


GAwwZQf.jpg


And finally after another clean up it was finished.


Wezaw14.jpg
 
Cheers chinchilla.

They came out a lot better than I was expecting.
My original marks were cut by laser on a friends machine, I've not been able to get round to see him due to Covid so I had some made by a vinyl cutting service.
Really helpful guy but he did warn that the small scale would be an issue, some of the detailing was lost but it was always going to be a compromise.

Weeding and laying the stencils was delicate work but in the end I think they came out well.

I've been looking into getting my own vinyl cutter so I can play around with designs but they are expensive bits of kit.

I did come across the Cricut Joy, which is a smaller more budget friendly machine but I'm not sure it will cut accurately at the scale I want and after hours of googling couldn't find the information I was after so that's been put on the back burner again.

Thankfully I've got enough stencils to last a while now.
 
Thanks for the comment Borealis, really appreciate it.

I've seen a few data sheets on tempering ranges for 01, with soak times and exact temperatures for controlled kilns etc, Unfortunately I don't have the facilities to make much use of them at the moment, I'm purely going off heat colour and magnetism when hardening, then tempering colour charts when tempering in the oven.
I'm getting better at recognising the colour changes when heating, a darker room helps but it's a whole skill set in its self to master and I'm a long way off that :)

One of the reasons I use 01 for the blades is its more forgiving to diy heat treating, so with a bit of care you can still get a very usable blade.

Thank you for the offer of the laser engraving, I had talked about this previously with my friend but his laser isn't powerful enough to mark steels.
I'm trying to do everything "in house" at the moment but it's certainly something I will consider in the future, I'm at the minimum size range for stencil etching so if I need to go smaller, laser is probably the way to go. Thank you.


Thanks for the info Benski, I had looked at the explore to but it's out of my price range. if the cutting mechanics are the same on the joy that would be ideal for my needs.
I'll have to try and find out a bit more info on it.
Thanks for the offer too, I'm set for stencils at the moment as I ordered a load of spares.

Cheers.
 
With the blade finished I could start working on the wedge.

I had a piece of padauk that had a small amount of contrasting sapwood which I thought would look nice in the wedge.

I cut the wedge out and started shaping it with a coping saw and files.

qQX3gm7.jpg

With the wedge partially formed I added a small cupids bow detail to the end.

cunvGm8.jpg

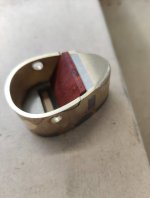
After test fitting the wedge to make sure it was seating uniformly with the blade I cut a small piece of matching padauk for the front infill of the plane body.

t512a3q.jpg

I then glued the front infill and bed into the body using strong epoxy.

I cut some small wedges to hold them in position while the glue cured.

o93CGx8.jpg

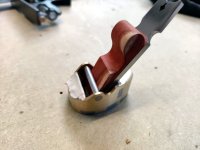
Once the epoxy had cured I used my makeshift sander to blend the padauk infill to the body.

bGEOwal.jpg

And finished the curved end to the wedge.

h9MYme9.jpg

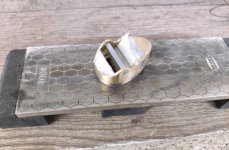
I was now ready to start flattening the sole of the plane. I masked up the padauk to prevent it getting dirty while lapping the sole.

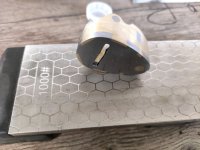
I started on a piece of sheet glass with 180 grit wet and dry paper, then moved up through the grits to a 400 grit diamond stone.

fD5MTsn.jpg

I went up to 1000 grit diamond stone, the sole was starting to get a nice flat sheen.

uN9ZAHu.jpg

Lastly I gave the sole a quick polish with a strop and some metal polish compound.

0Czmfb9.jpg

5twJ2ix.jpg
 
With the body of the plane complete I could move onto finishing the infills and wedge.

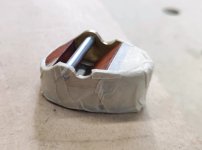
I used masking tape to cover the brass to prevent the finish going onto it.


0sLY46D.jpg


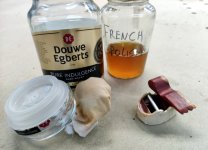
I then pulled out my finest Douwe Egberts French polish. A mix of blonde shellac flakes and denatured alcohol.


RkvsF5N.jpg


I applied the French polish with a simple rubber to the wedge, building several coats.


k5OJGJ6.jpg


I used a small piece of cotton pad to polish the infills as the rubber was too large.


slttT8G.jpg


I kept building the layers of shellac, around ten or so, then left it to harden


MYgJb5Z.jpg


before finally spiriting off with a higher ration alcohol to shellac


5pZofW3.jpg


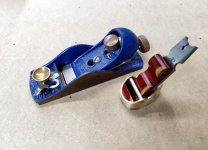
The plane was now nearing completion, I took a picture of it next to my record block plane for comparison.


qVBRU5i.jpg
 
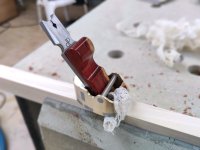
With the plane nearly done I was eager to take a shaving.


I was pleased to see it make a cut but the mouth needed some refinement, I used a barrette file to ease it slightly.


a7MNGWy.jpg


With that done I could move onto the box.

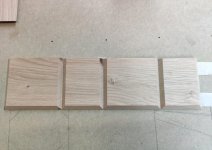
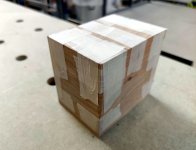
I mitred some piece of oak and used masking tape to pull it all together to check the joins.


Q5Y4HOm.jpg


Once I was happy I then mitred the top and bot of the box


ZXOEcmI.jpg


Again using masking tape to pull it all together while the glue dried.


Wn6SRPs.jpg


I made the padauk liner in a similar fashion but no need for the top and bottom on this one. Once the glue had dried I polished the seen area leaving a part unfished to be glued to the inside of the oak box.


3I4OJOZ.jpg


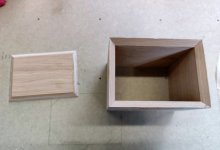
With the oak box glued together I could cut it in half at the desired angle and begin to polish it.


YDBZq5f.jpg


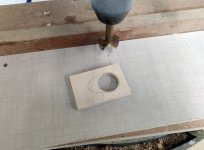
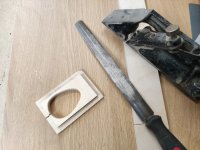
Next I started to make the retainer for the plane, I removed most of the waste with a forstner bit


3BNxY5u.jpg


Then removed the rest on the band saw before cleaning up with hand files and adding a rebate around the outside.


nbBQQaY.jpg


I could then assemble the box and fully French polish it.


kBJJAYq.jpg


I finished the retainer in black paint and added black card to the top and bottom of the box to finish it,


Copdxqg.jpg


and finally the plane and box were complete.

nNPlD19.jpg

I really enjoyed making this one, the curved shape and small size threw up quite a lot of challenges but it was very satisfying thinking of ways to overcome them and to see the plane progress how I had envisioned it.


I couldn't get any video of making the plane but I've done a short clip of it in use if you're interested to see.

Cheers, Dan.
 
Last edited:
Holy thread revival :)

Thanks so much for the comment Valve, and for the bump @LuckyBenski

I'm still tinkering away, though I've slowed down even more recently. I still have lots of things I want to make, but time is an ever pressing issue.
Here are a few pics of past recent projects.

Retirement plane

e3UOYP4.jpeg


61Ayp2d.jpeg


BbpHGvq.jpeg


YKiVPF7.jpeg


RQFnRPO.jpeg


DXcCgR0.jpeg


G7YouTN.jpeg


y9hO0uE.jpeg


ePvZNVb.mp4

PHANTOM hand plane

hATf57p.jpeg


eIAz53G.jpeg


9YzgFNy.jpeg


a7Dpkym.jpeg


6AHzB6D.jpeg


OGaAOc1.jpeg


g8OWkqk.jpeg


MfL58EQ.jpeg


s2xAaSx.jpeg


bc90xD8.jpeg


yrBJRhW.jpeg


BYFu1Rc.jpeg


PBC6Q9u.jpeg


OOwrm4g.jpeg


KXClsI4.jpeg


ug9Sz0G.jpeg


ox8EiGI.jpeg


BRes7lZ.jpeg


unVuCMb.jpeg
 
Last edited:
Back
Top Bottom