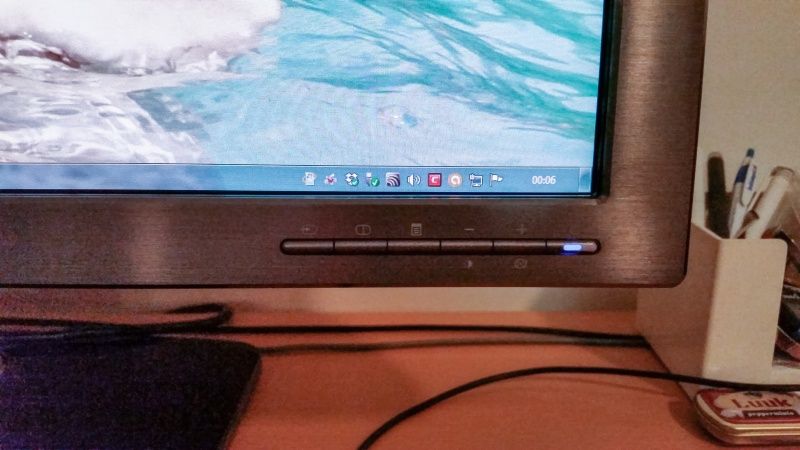
Hi. I'm from the Netherlands, and just joined to say THANKS to Embalse and all people who found the real solution to this problem!
My 3008WFP died just over 3,5 years ago, after about 5 years in service. I quickly found out it had to be the power supply, but couldn't find anything to fix it. Since it was over 5 years old it was also out of warranty. I found a similar topic as this one but most messages said things about dying again after several minutes to days. So I didn't dare to try to fix it. So I just bought a new U3014, and put this one aside. Now my U3014 went weird after only 3,5 years in service (WTF? probably the motherboard since it doesn't display the settings menu correctly), and ofcourse Dell won't help me since it's just out of warranty.
Now I found this topic and it really encouraged me to finally try to fix it. I simply don't have any money to buy a new monitor (and cheap ones doesn't fill my requirements) but this should be a cheap fix, and I know my way around electronics since I was a kid, so this should be easy for me. I'm so happy I didn't put this one with the trash!
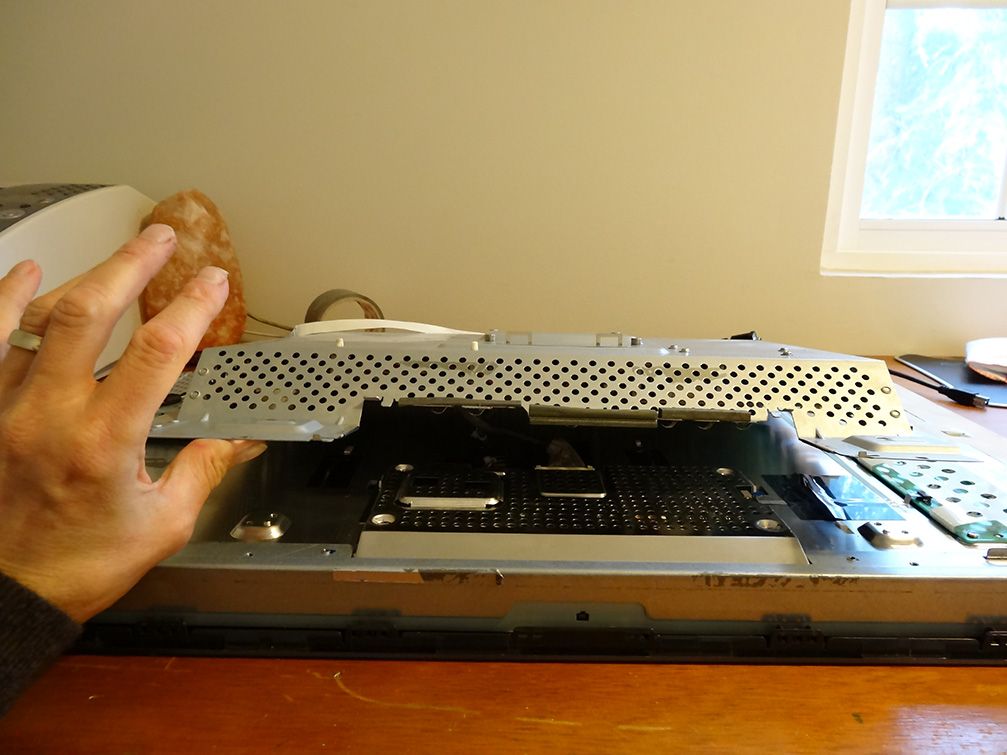
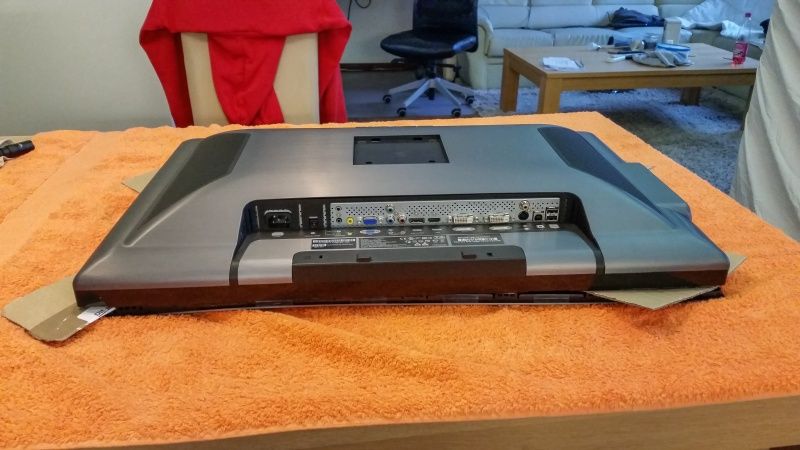
Ofcourse getting the bezel off was the hardest part. Took me about 45 minutes to open the damn thing alone, lol.
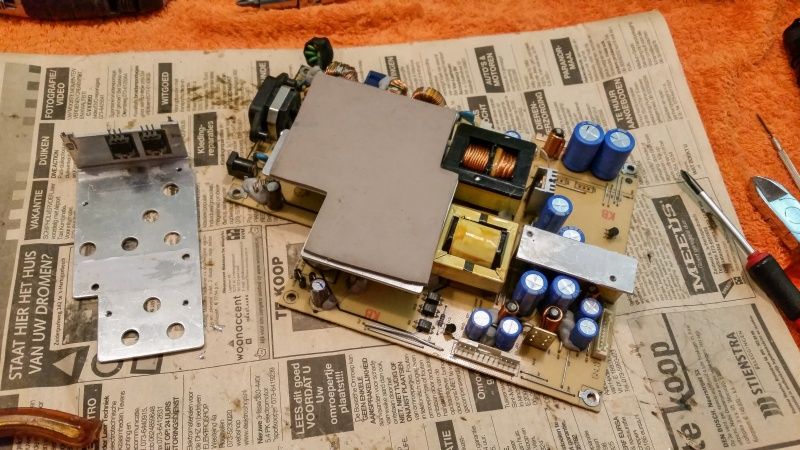
Following embalses steps was easy to get the power supply out. It came out easy. I also removed the motherboard to clean it and remove any dust, which was pretty neccessary. Along the way I also removed the USB-reader part to clean it, just as anything else.
As said I'm an electronics guy and I have a good solder thing, which can be set between 200 and 450 degrees, and a 3 mm tip. I also have a desolder-pump, almost never used.
I don't have desolder-wire because I never needed it, and that turned out to be a problem. Took me hours to remove the solder, but finally it worked out... using a large rubber boat deflating pump which sucked way harder then my desolder-pump

I first tried not to remove the first heatsink with 2 things on it, but it turned out to be the best way to remove it anyway. BUT I did it another way. I first removed the screws from the 2 things on the heatsink, then desolder only the heatsink, and finally desolder the 2 things one after the other, at last screwing them back to the heatsink. This was due to the lack of desolder-wire.
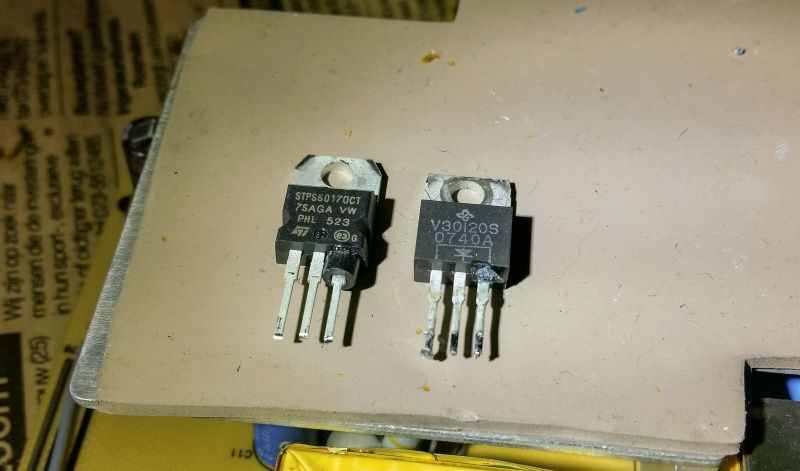
The new one on the left, ordered in the Neterlands, but probably came from Farnell. On the right the old diode.
As you can see I could pull off the black ring and glued it to the new diode. I don't know if it's really neccessary, but there's a reason it's there and all other things have them as well so I thought it was a little thing to do.
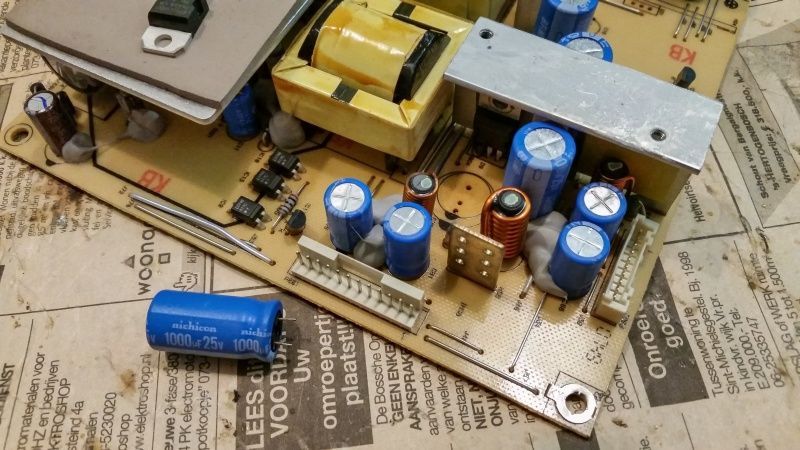
I found out it was much easier to desolder one large cap then freaking around with tools to remove and put back on the nut on the back of the dead diode.
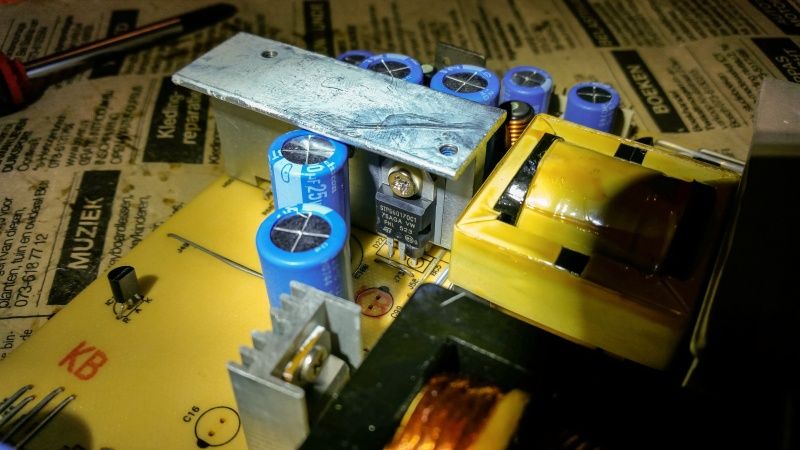
The new STPS60170CT in place!
Putting everything back together, I also bought new alu tape and put it on it so now it's better as new. I had some CPU thermal paste which I also used on the heatsinks.
And finally, ofcourse before putting the bezel back on, test it! Yay it worked! Here it's back in service

Total cost: 17 euro for 2 diodes STPS60170CT incl shipment, 10 euro for the alu tape. So less then 30 euro's total. Not even comparable to a new monitor!
Now we're 3 weeks later and it still works like it's new! So again, thanks Embalse and all others who made this work out.
And Dell, well, I'll never buy anything from Dell again... but for now I'm happy!


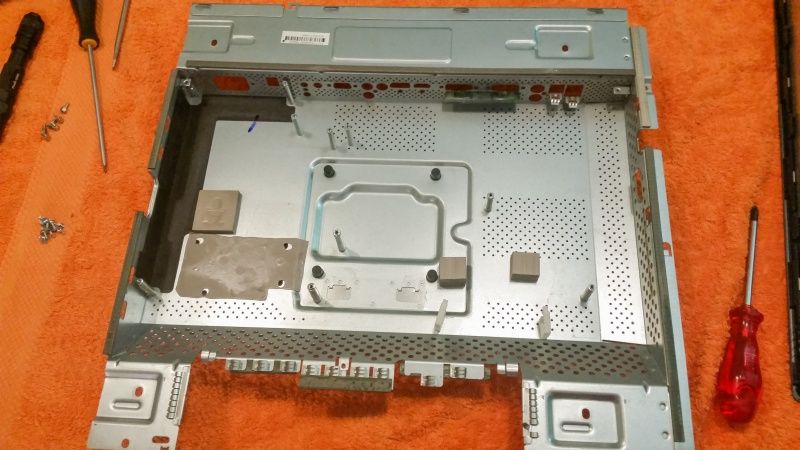
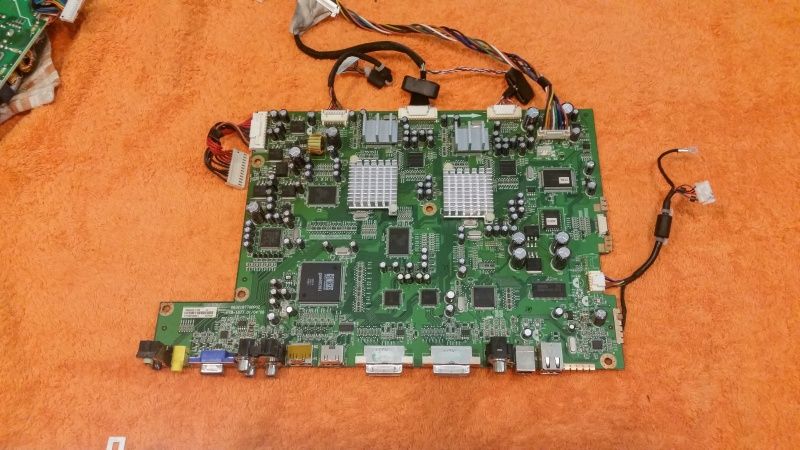
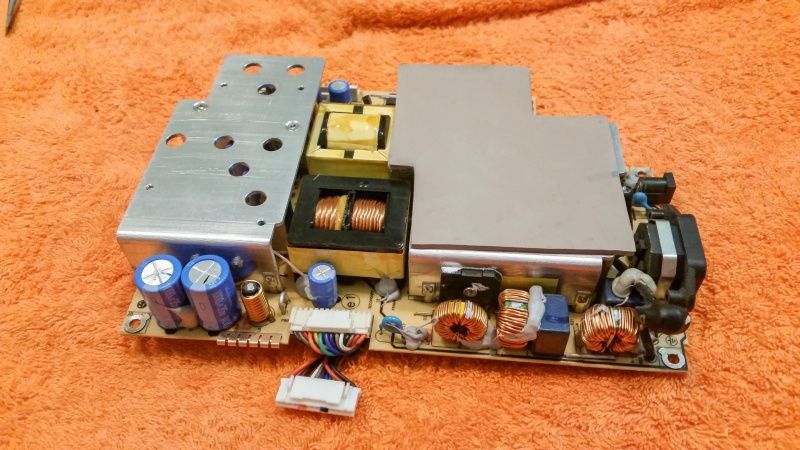
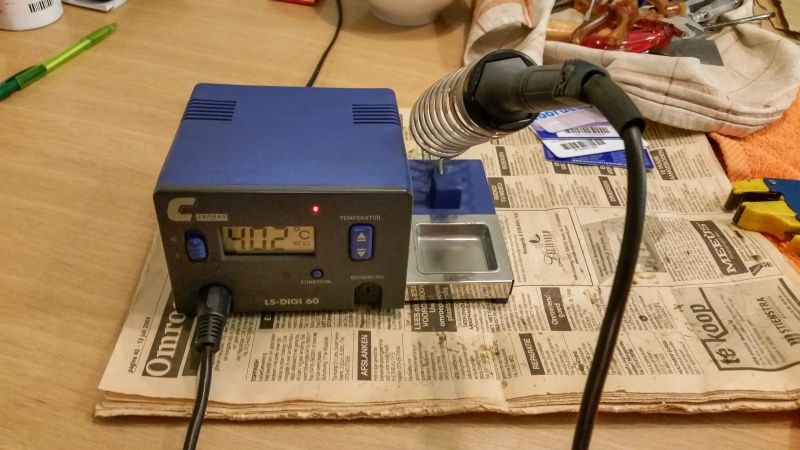
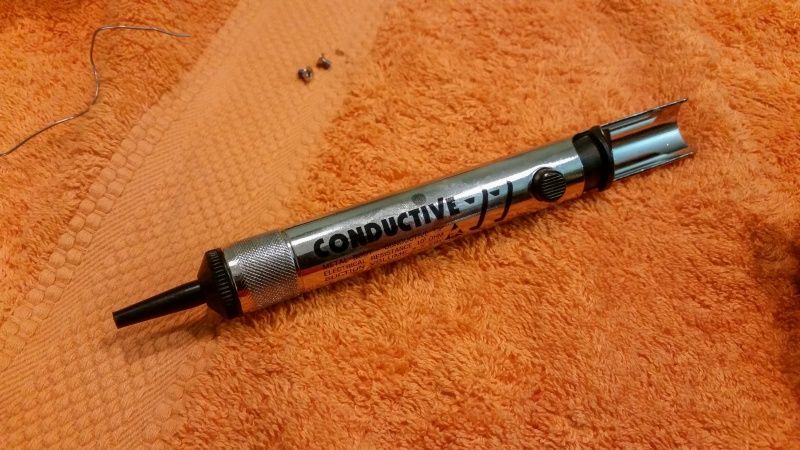
 I first tried not to remove the first heatsink with 2 things on it, but it turned out to be the best way to remove it anyway. BUT I did it another way. I first removed the screws from the 2 things on the heatsink, then desolder only the heatsink, and finally desolder the 2 things one after the other, at last screwing them back to the heatsink. This was due to the lack of desolder-wire.