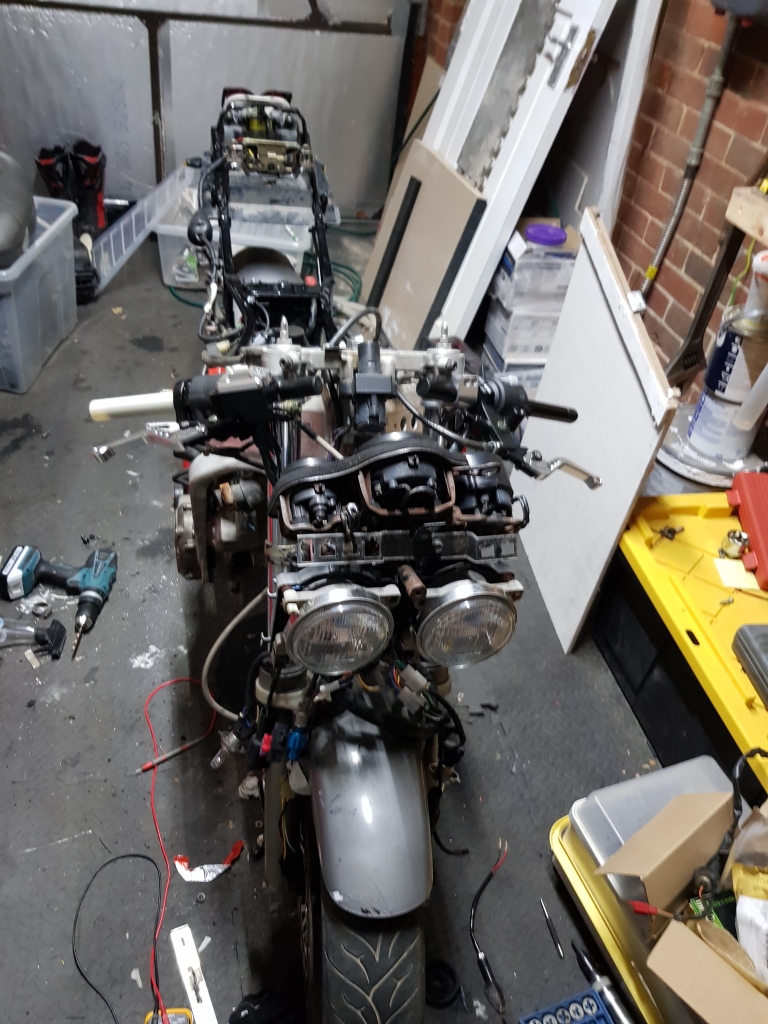
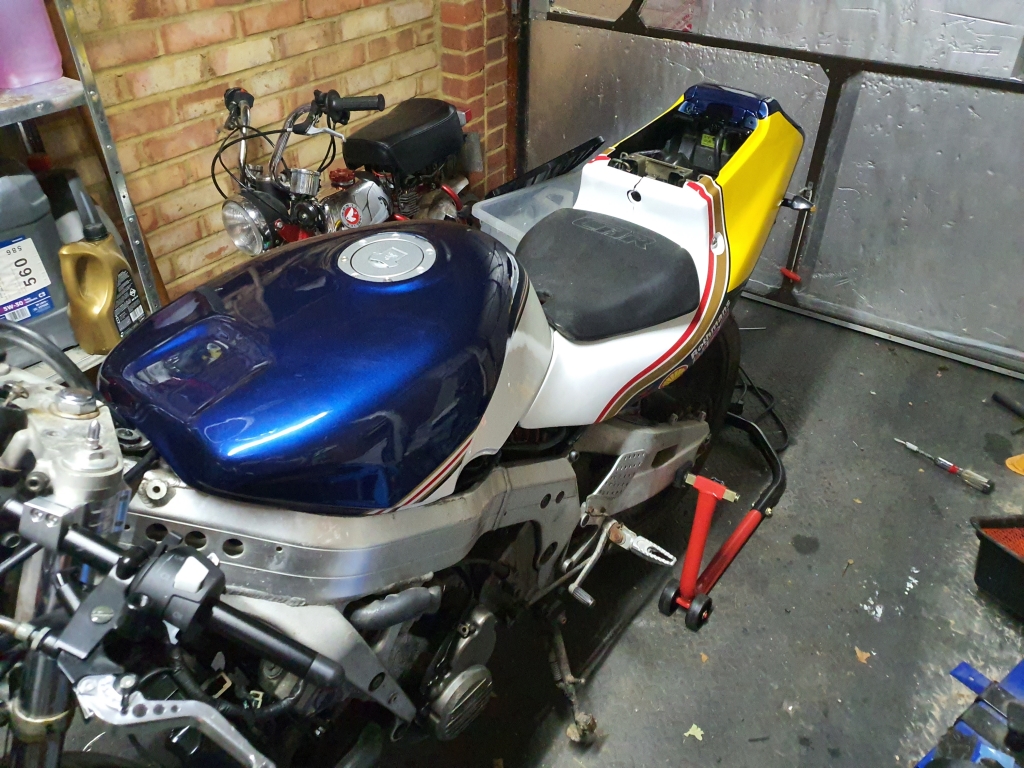
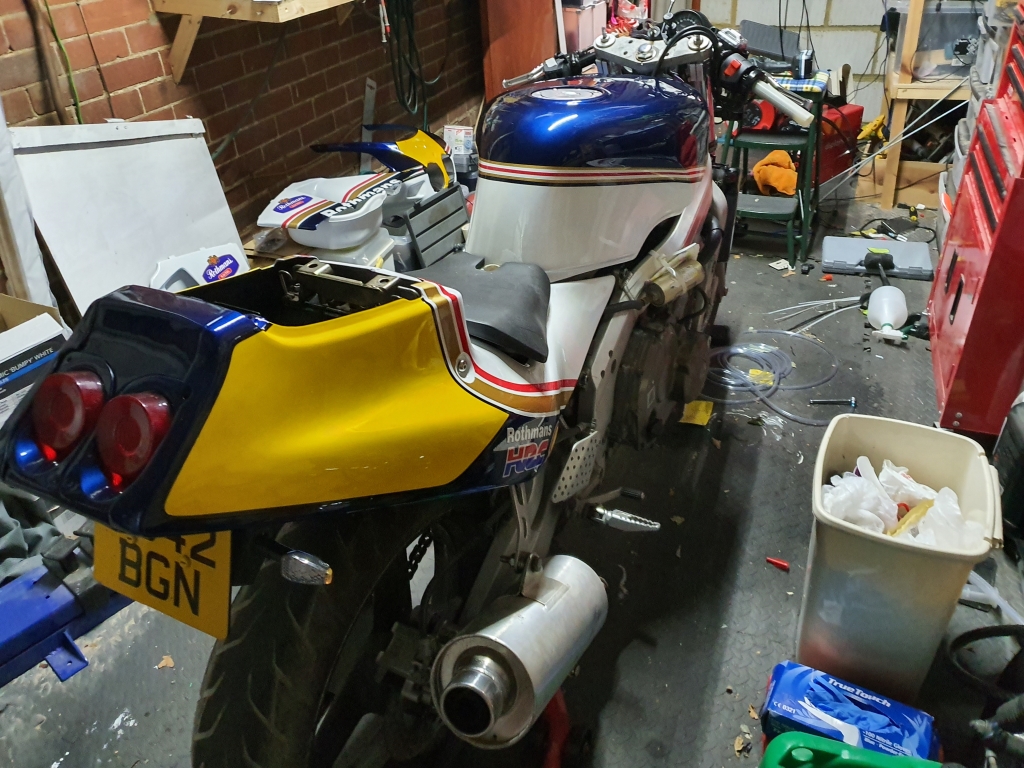
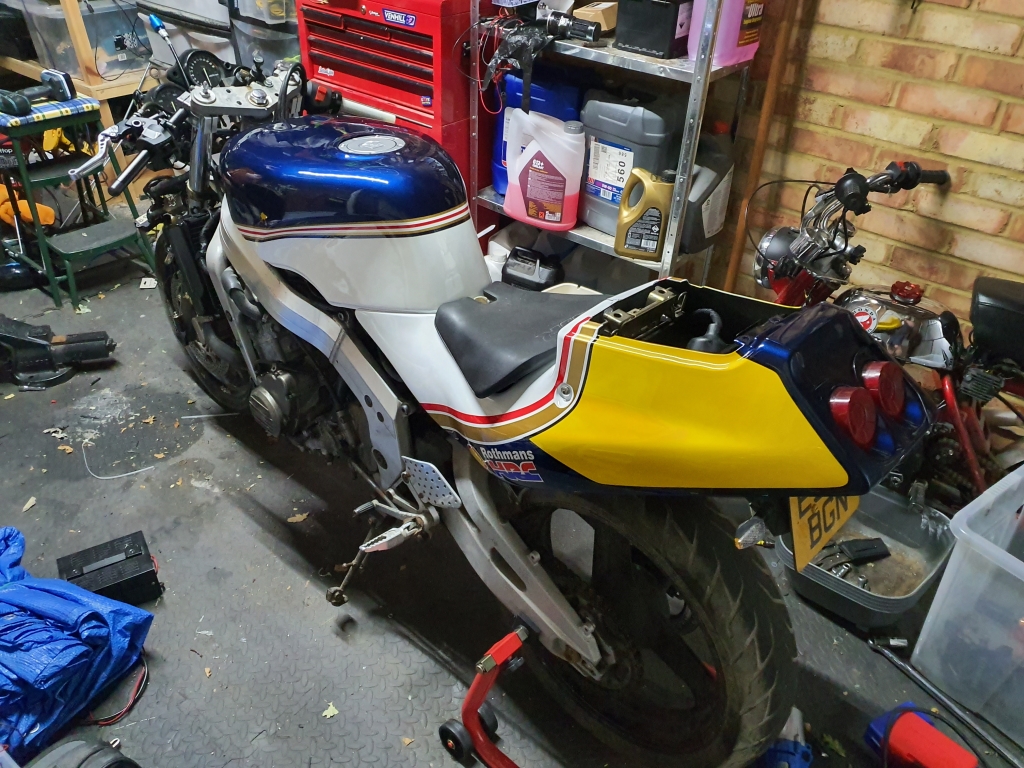
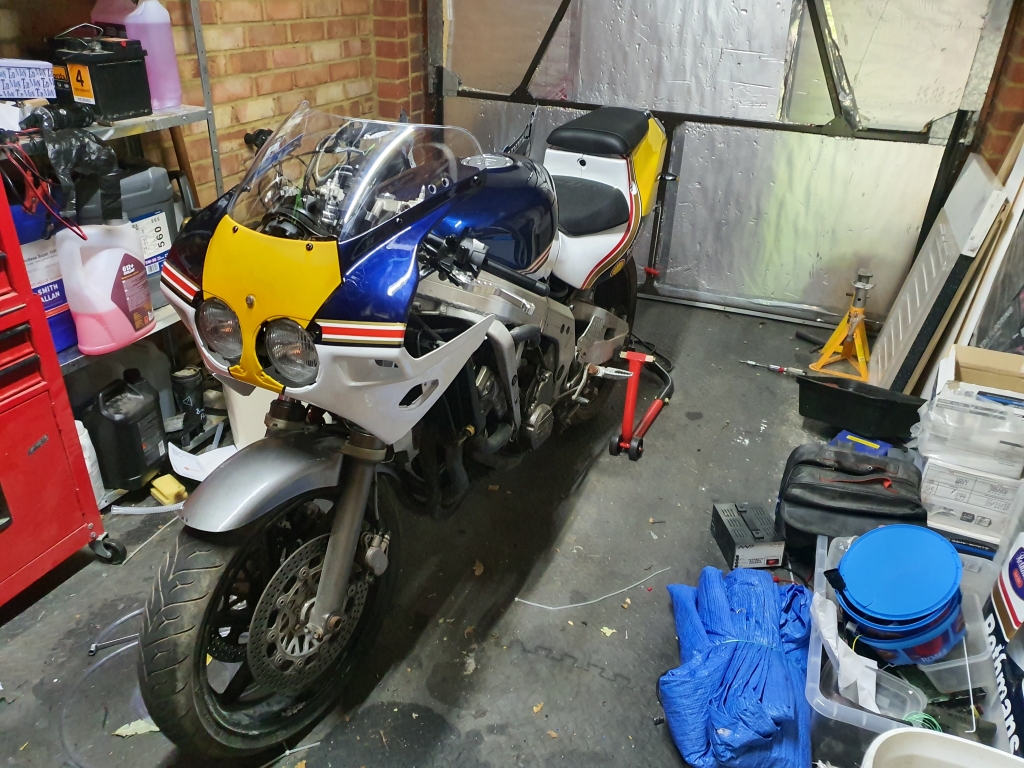
I did it again... Bought a baby blade to rebuild...

Next steps!

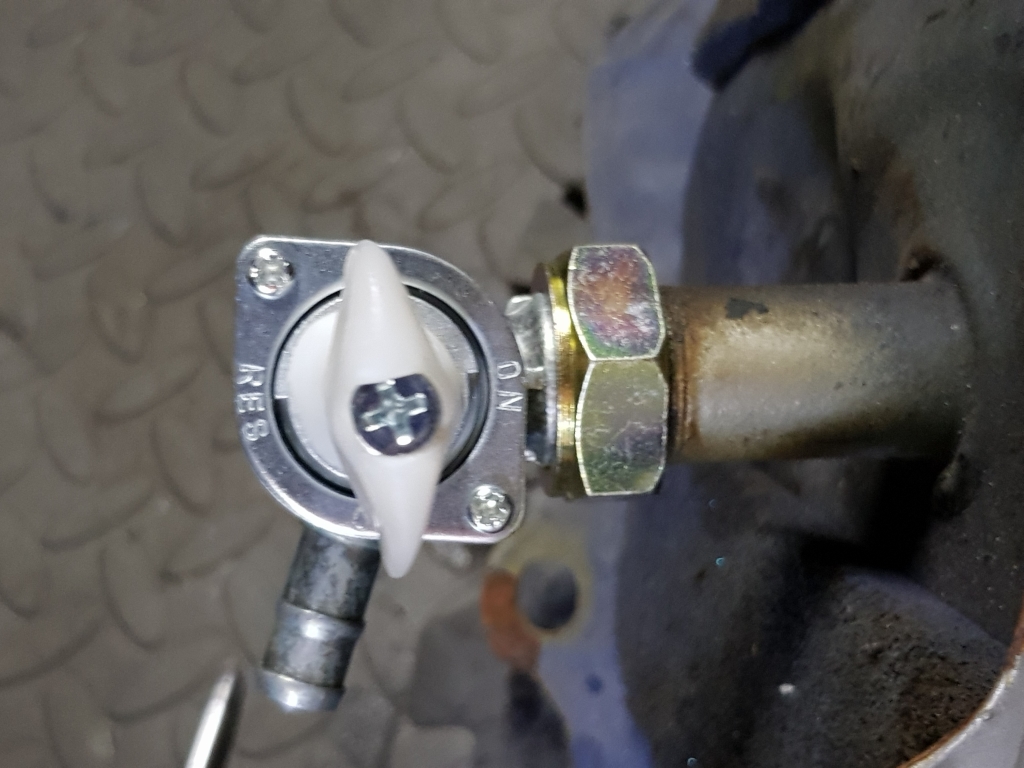
The new fuel tap/pre-filter arrived:
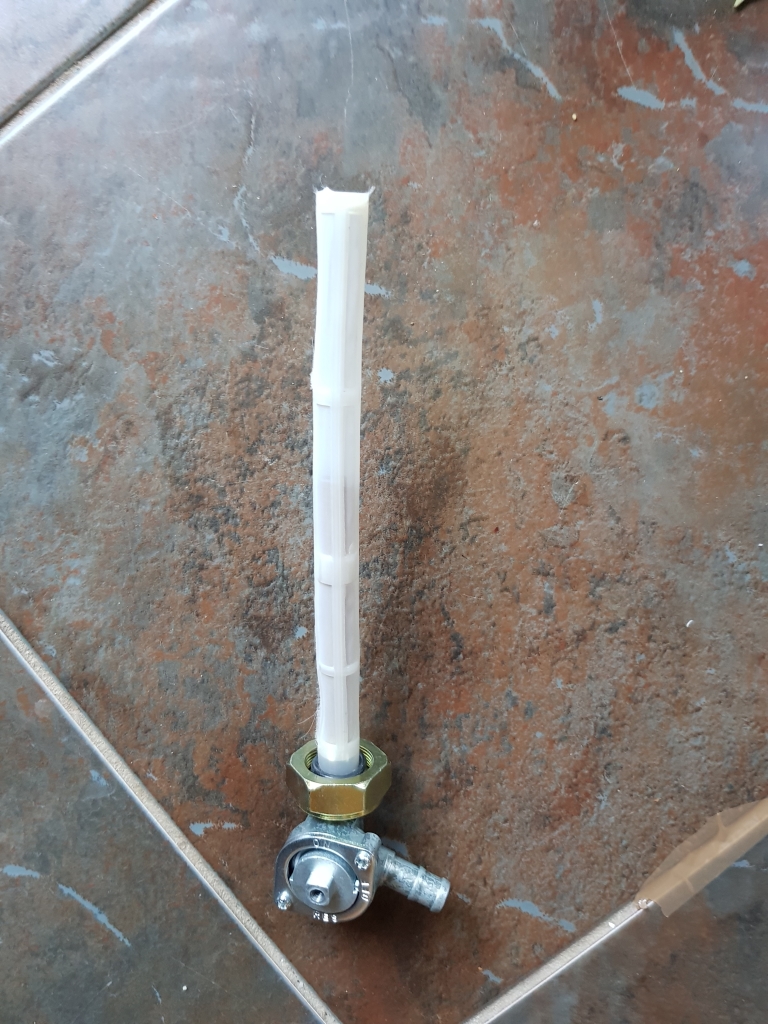
CBR400rr087.jpg


Bolted straight in to the newly cleaned tank.

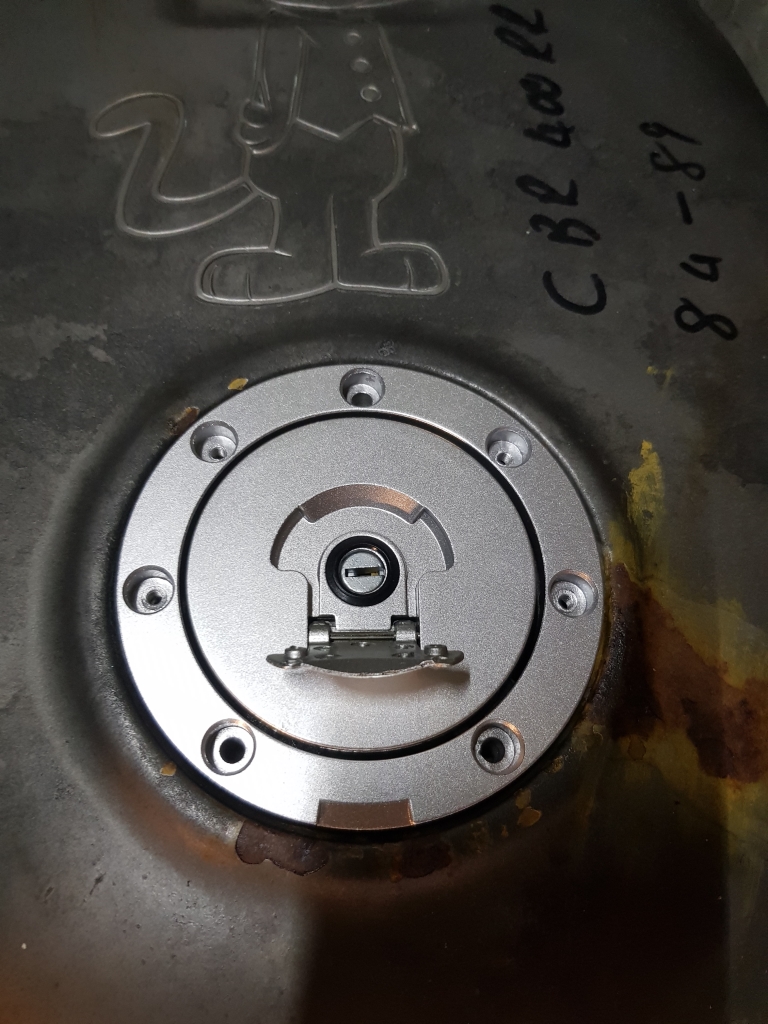
Then the new igntion/fuel cap arrived:
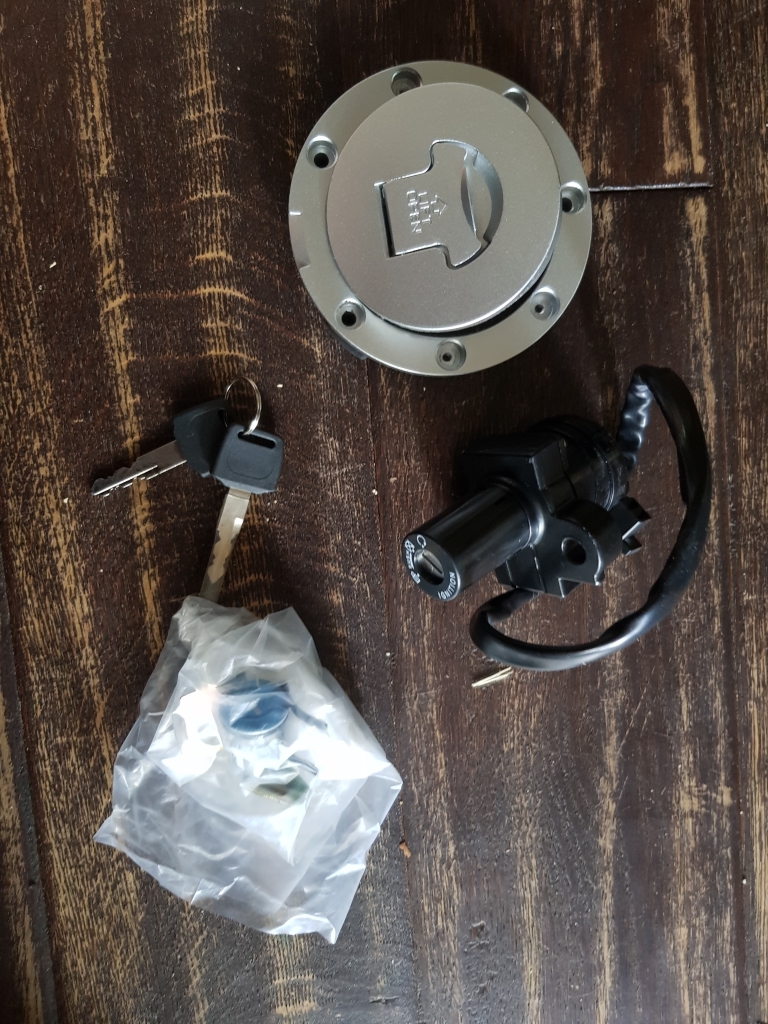
CBR400rr088.jpg


Slotted it straight in to check it it fitted:
CBR400rr089.jpg


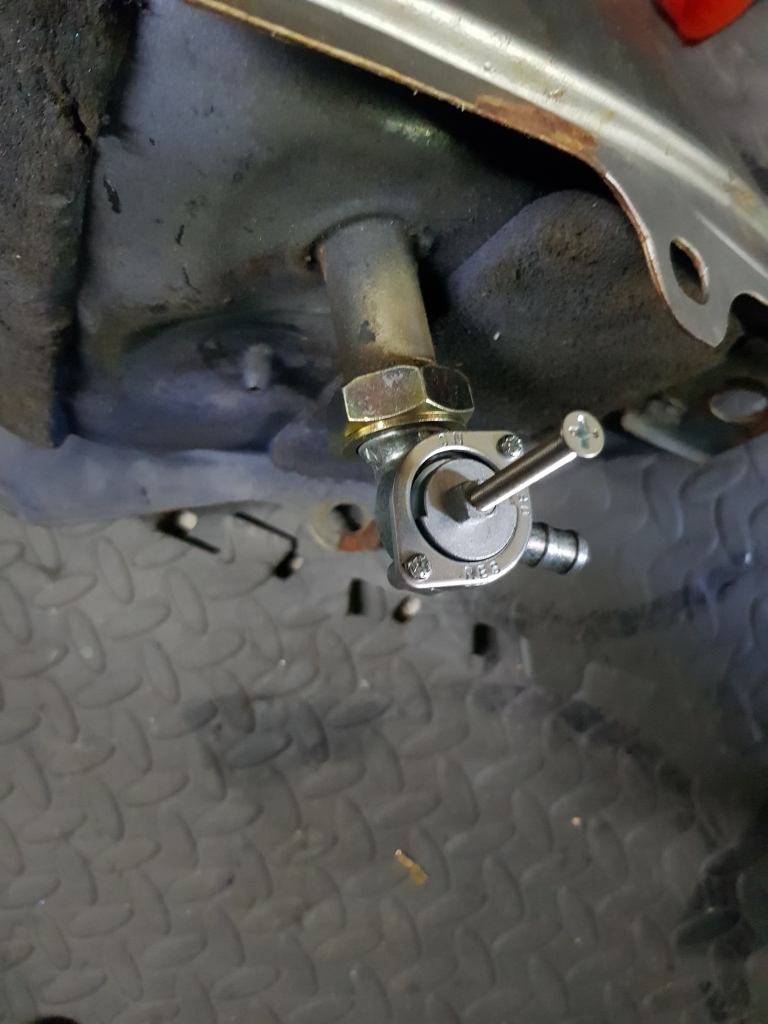
Now, as I do not have any plastics on the bike, i didn't have the fuel tap bolt/tap handle to use, so I had to improvise:
CBR400rr090.jpg


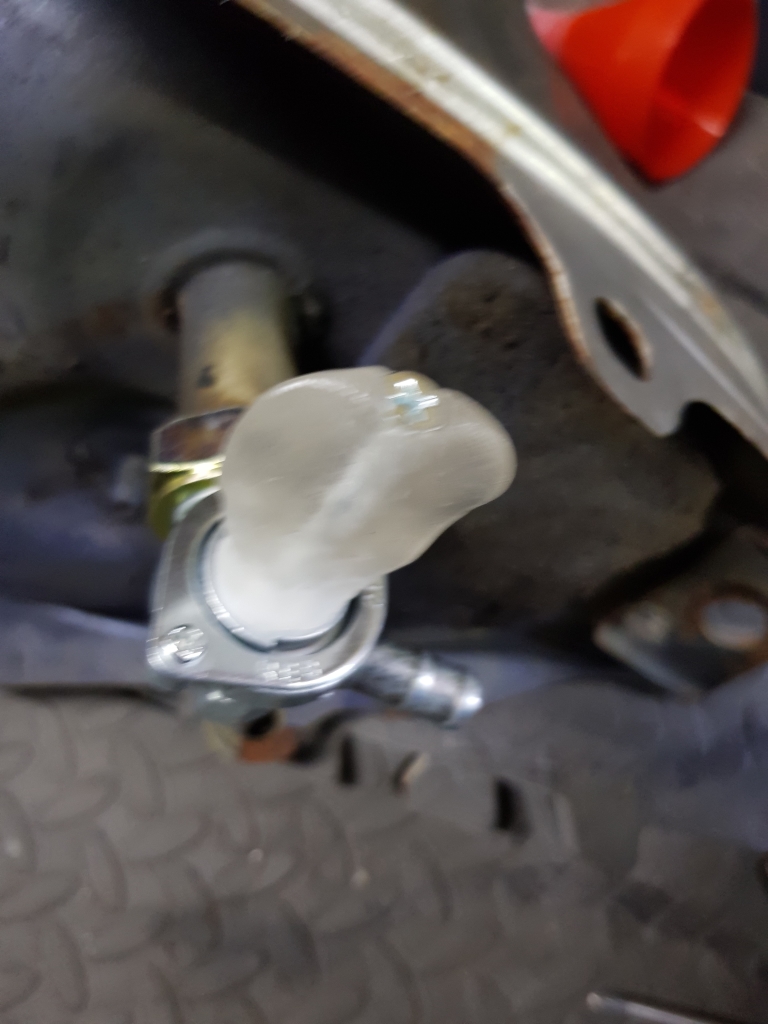
Ok, so that's ok, but i cant turn it well.. Whitemorph to the rescue!
CBR400rr091.jpg


Wait for it to cool:

CBR400rr092.jpg


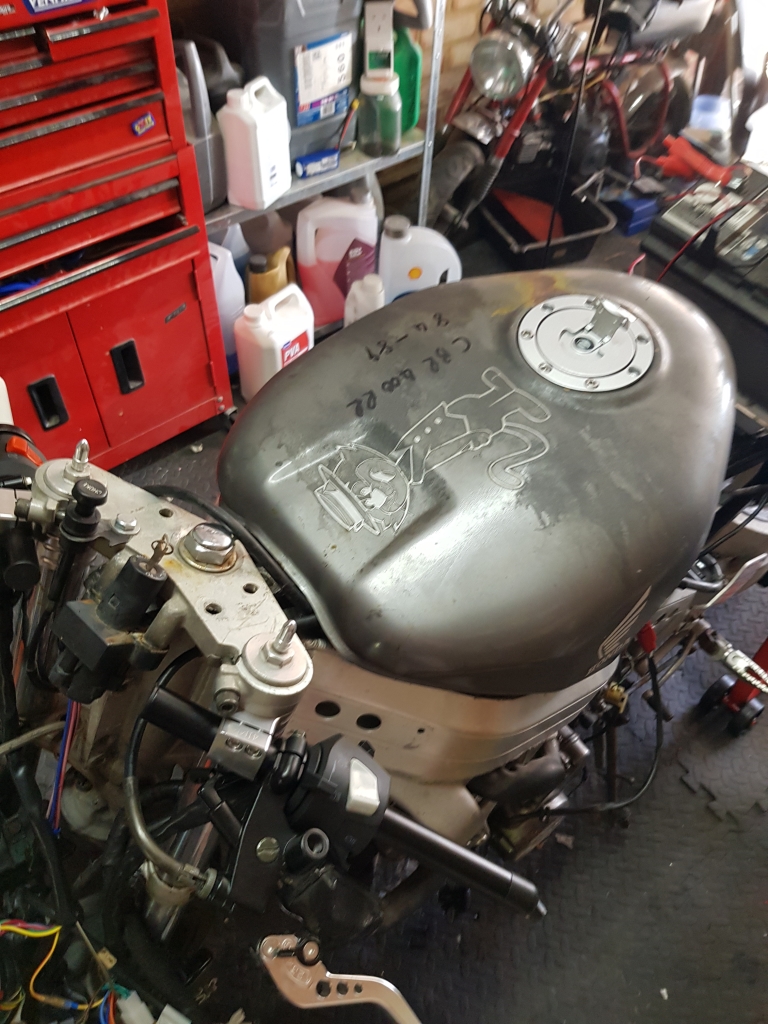
Boom, we have a tap that works! Now I can stick the tank in situ, and see if we can get it running properly...
CBR400rr093.jpg


I dropped some fuel in, and the fuel pump was spewing bubbles back into the tank, and not looking like it was behaving properly. So I had a think, and it seemed that the pump was perhaps working in reverse. So I whipped the fuel lines around, and then it choked a bit when I touched the starter

So I got the Mrs to come take a video:

Woo hoo!

Sounds a bit crappy, as the manifold is only attached to 1 and 4, and hanging off in the middle till I fix the broken manifold bolts. Idle is WAY high, but I think this is down to the new throttle being badly adjusted. But she is alive!!
 
For me it was learning as I went. Just doing jobs on the bike I thought I could do. If I didnt think I could do them I've been lucky enough to watch people doing the work and ask the odd question.
 
Amazing work so far. How did you learn how to do all this? I'd love to give this a go but I can barely tackle adjusting my chain.

Yup, just learning as I go. This is my fourth bike "project" now. All self taught, with a lot more to do!

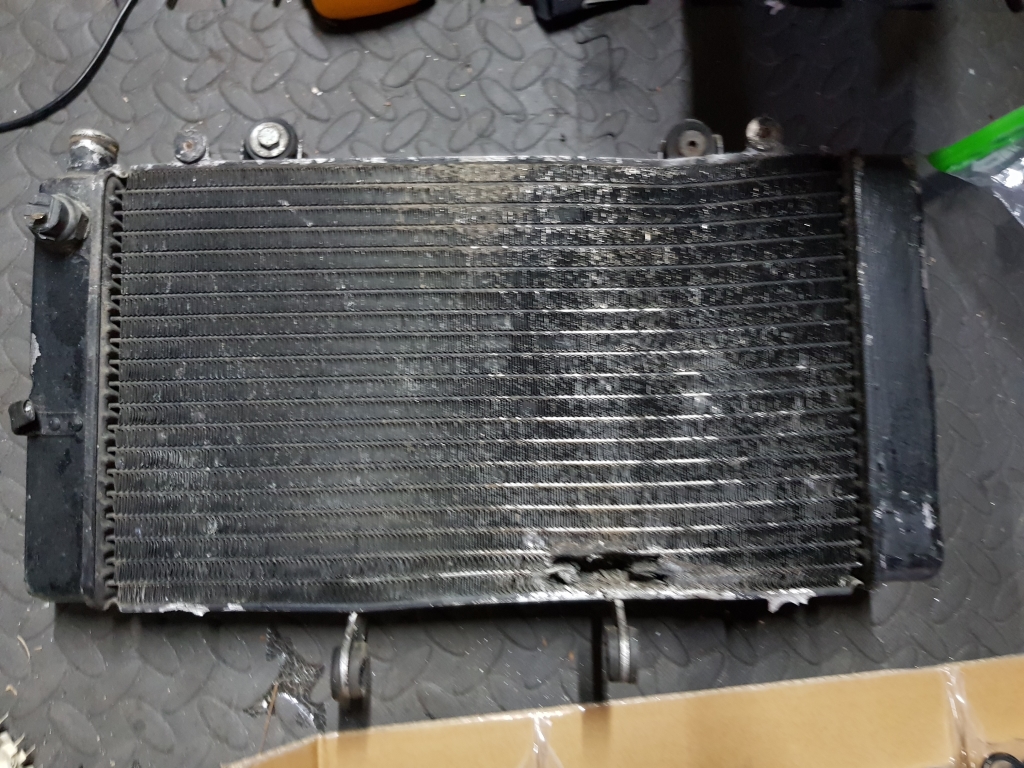
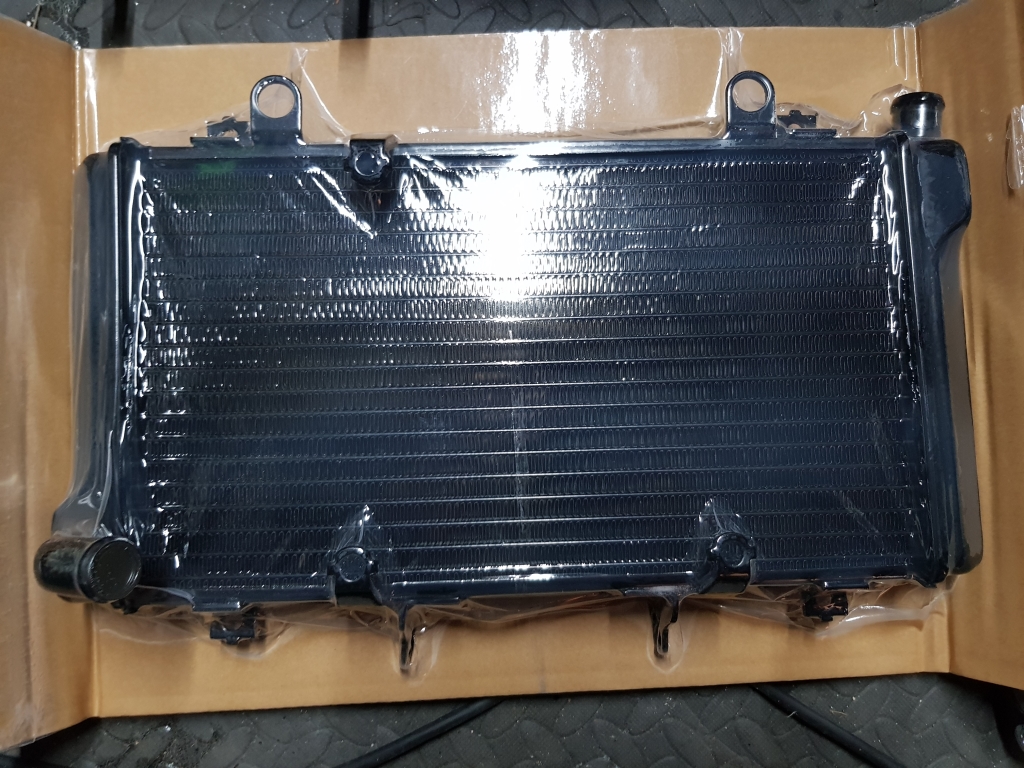
Just a quick update! I have been mostly sourcing parts, Clock and light frames, front lights, service parts, a new rear subframe and also a new radiator, as I found a rather Large hole in the original, alhough it was holding fluids somehow! Battery, oil, and a few other bits a bobs too. Last couple of bits to get (other than a complete new fairing set) are the mirrors and mirror framing for the front.

I have some time coming up when the kids and Mrs are away, so will likely try to get it ride-able to run it down to the local MOT garage to see if they will give it a ticket with no fairings on it!

I also now have a V5, it is insured, and on a SORN currently :) So it will be legal once MOTed, and I should be able to ride it legally sooner rather than later :D

Delays were mostly down to me worrying about the V5, as this would dictate if I could get it road legal, and what I would then do with it if it was not possible. I will try and get some pics and add to this post tomorrow
 
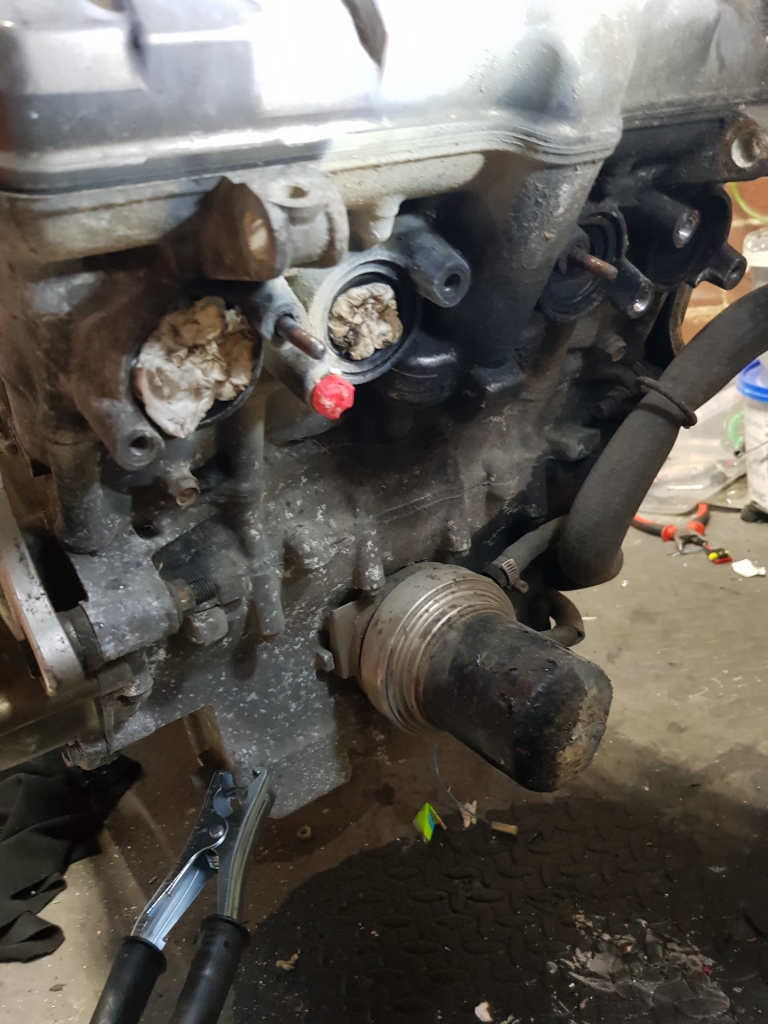
Next on the list was the removal of the stuck manifold studs. One was drilled out, and for the other I was having little success, so I decided to try and weld a nut onto it. So, first I had to buy a welder :D

Once cheap amazon welder later, and many tries later, I managed this:
CBR400rr094.jpg


Didn't quite hold, but I learnt a few things, and will give it another go shortly! I think I tried to remove it before it was cold and fully hardened. Lots to learn about welding it seems!

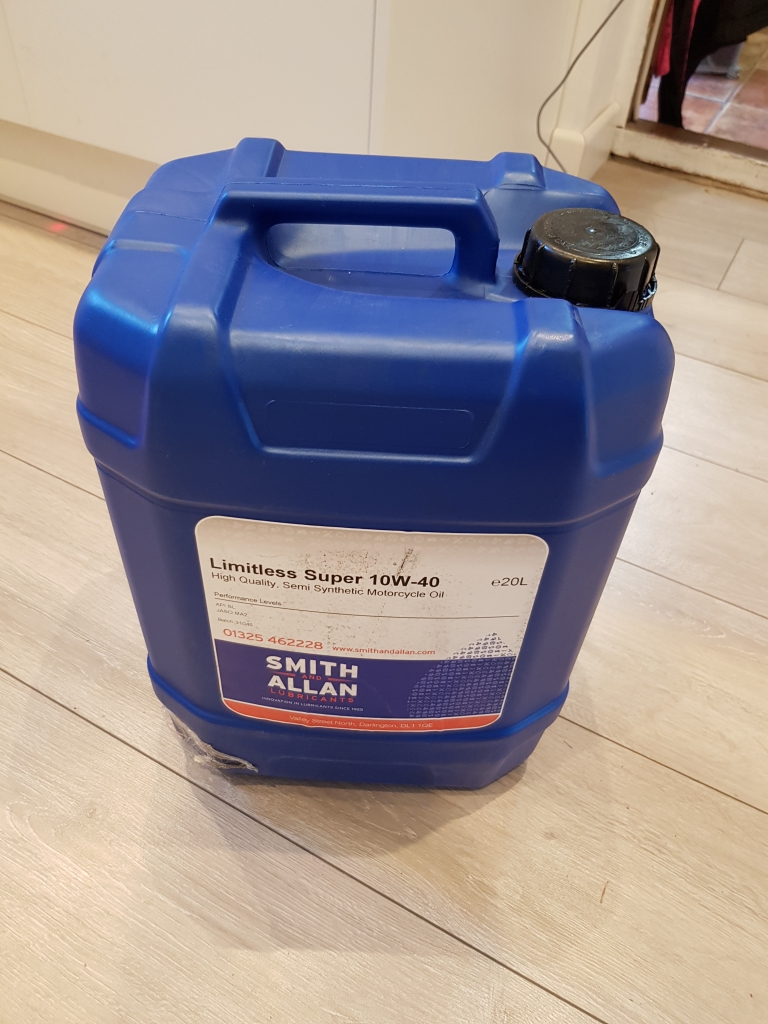
I managed to find a UK based supplier of oils, and these guys had lots of great reviews, and AMAZING prices. So i bought a 20litre drum, and it should keep me in oil for all my bikes for a while :D
CBR400rr095.jpg


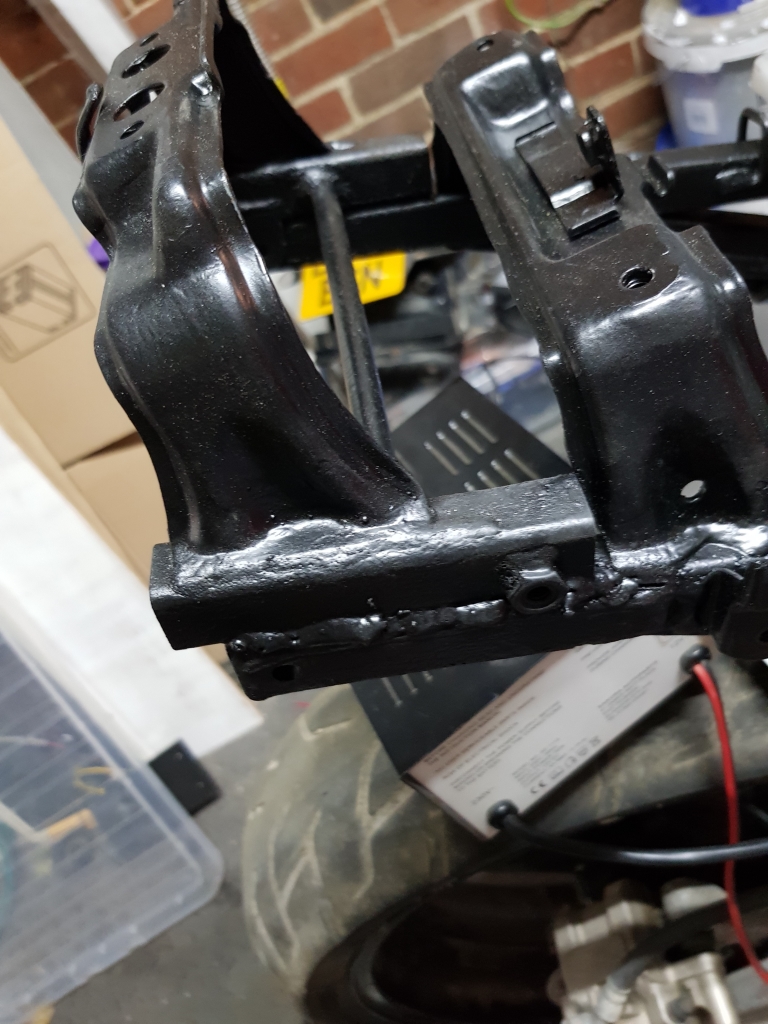
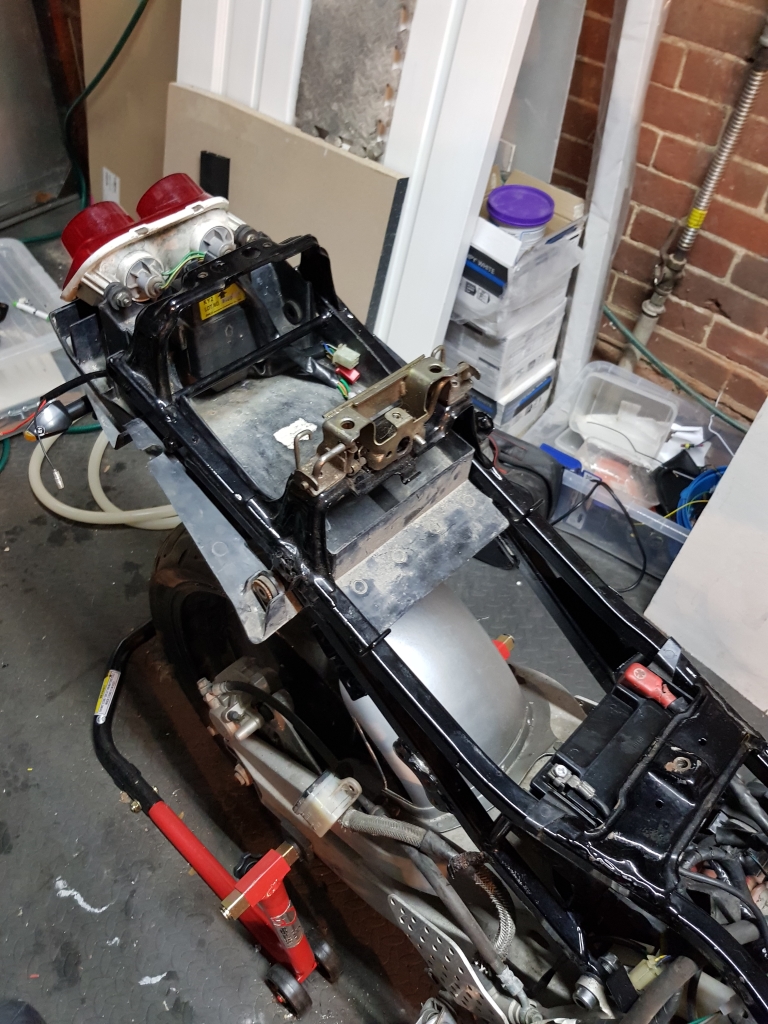
Then, i worked out that the rear subframe of my bike had indeed been shortened... So it would not fit standard fairings! DOH. You can see the cut and re-weld job here:
CBR400rr096.jpg


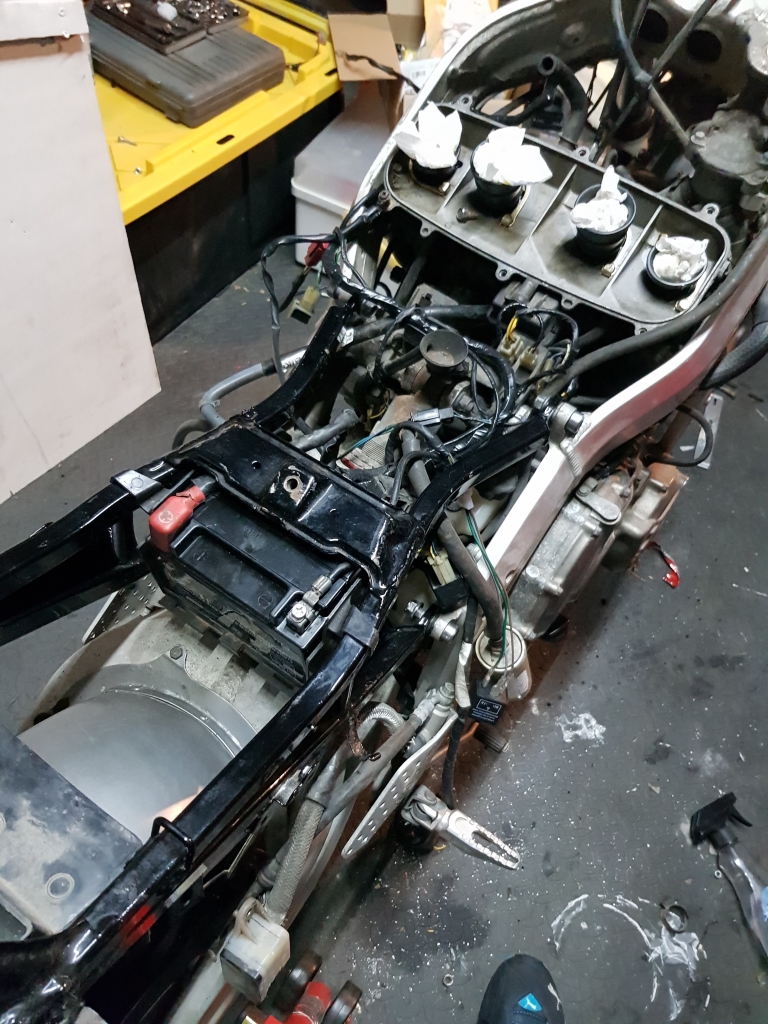
Not happy with that, I toyed with the idea of cutting/re-welding it, but figured it would be a faff, and hard to get lined up cleanly. So I bought a new subframe secondhand and already re-finished! Adding in the replacement rear infil panel, which had also been cut short to fit the altered subframe. You can see the new battery installed in the frame also. My ancient random 12v car battery has been retired and quite timely too, as it's basically unable to cope now :) ECU slotted into place, and lights test-fittted again.

CBR400rr097.jpg


Got to sort out the rat's nest and aftermarket shock remote placement soon too:

CBR400rr098.jpg


Was not happy with the rust on the screw clips on the new rear infill/splash panels, so swapped them over from the original one:
CBR400rr099.jpg


to this:

CBR400rr100.jpg


New front is on! Lights included, and also clock mounts so I can get the original clocks re-mounted :D

CBR400rr101.jpg


Lots of wiring routing/tidying/figuring out to do, but that felt like a big step!

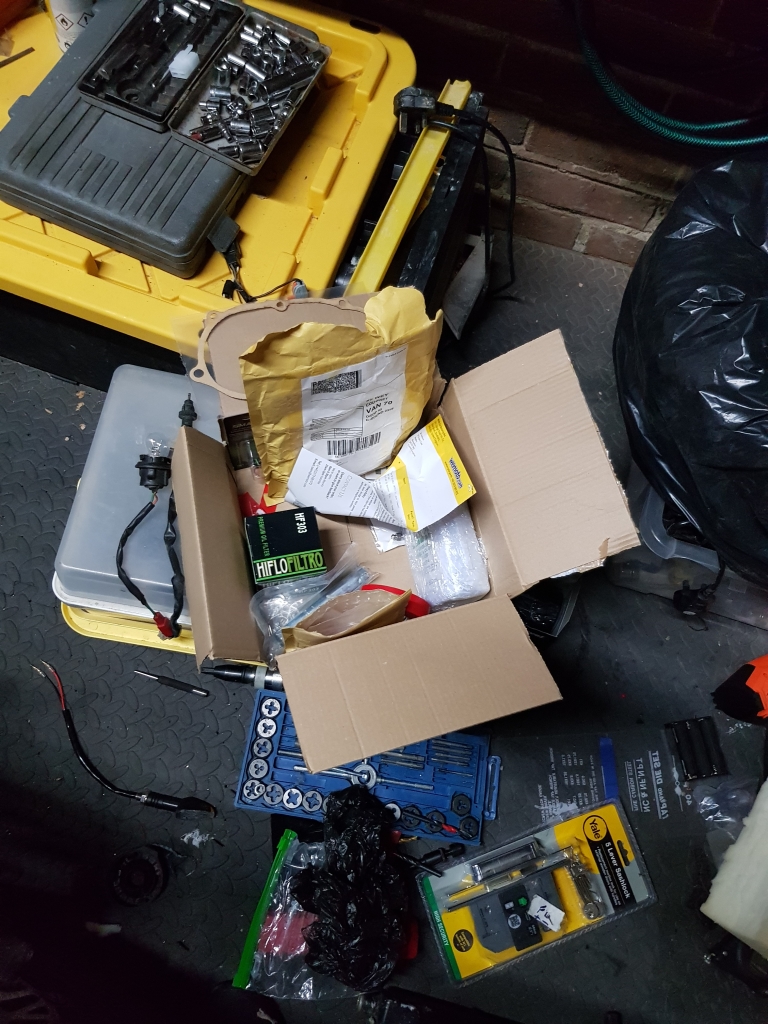
All the service parts, and replacement gaskets I need are all here:

CBR400rr103.jpg


CBR400rr104.jpg


I also found a rather large hole in the rad:

CBR400rr106.jpg


Very reasonable deal, and some surprisingly swift postage from China, and we have this!
CBR400rr105.jpg


Yummy!!

Got to move some of the fixings over, and get the manifold stuff sorted, and then I can think about getting the thing a bit more back together :D
 
More progress :)

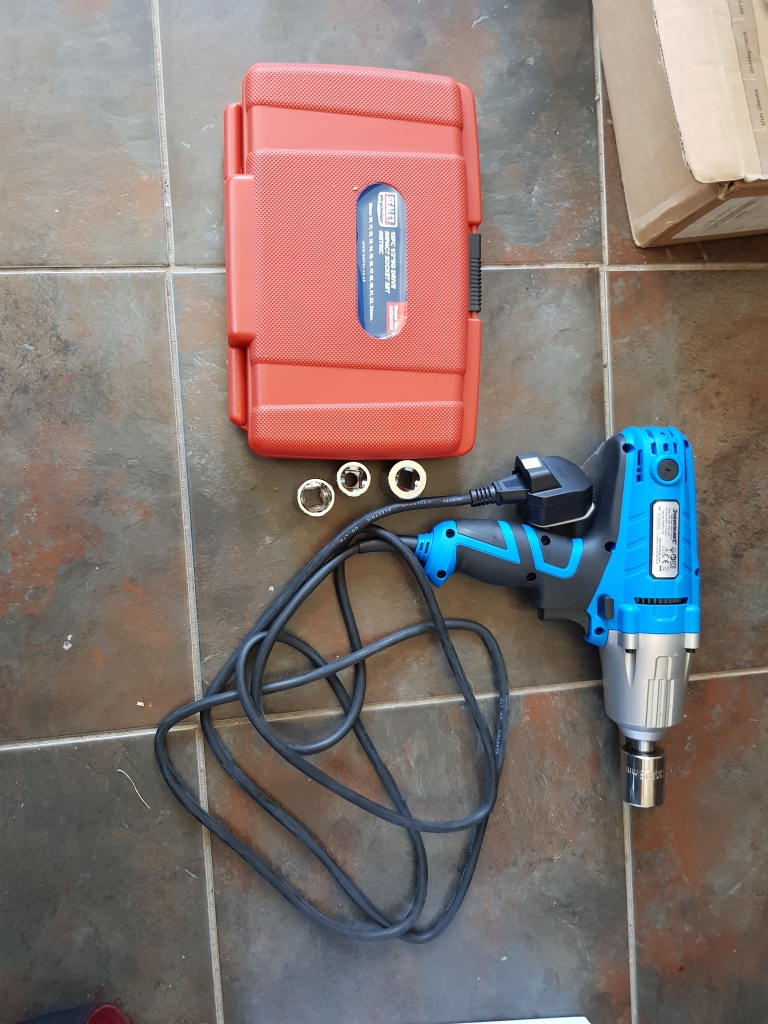
Got a new toy to play with!
CBR400rr107.jpg


Makes things quite a bit easier, buzzed off the front brake caliper in 2 seconds earlier, when it was in the way of some drilling! Actually bought it to help me with some jobs on the Mrs' car that I need to get done after the MOT had some advisories, but it will really help speed things up!

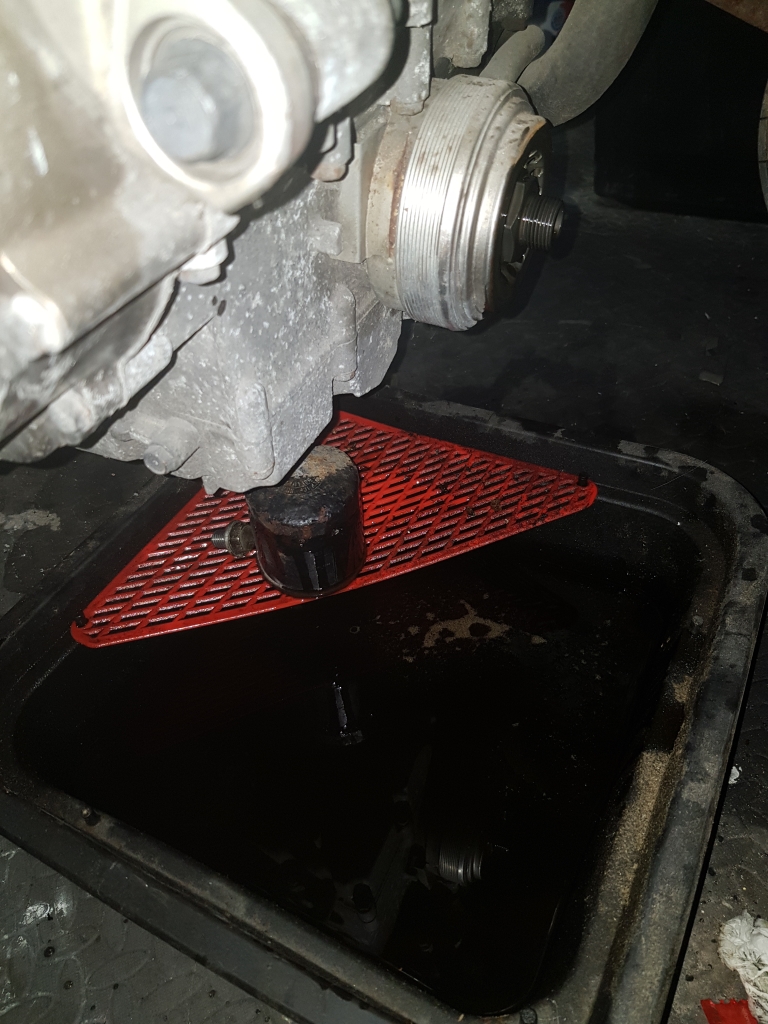
Boring bits, but needed - Oil changed:
CBR400rr108.jpg


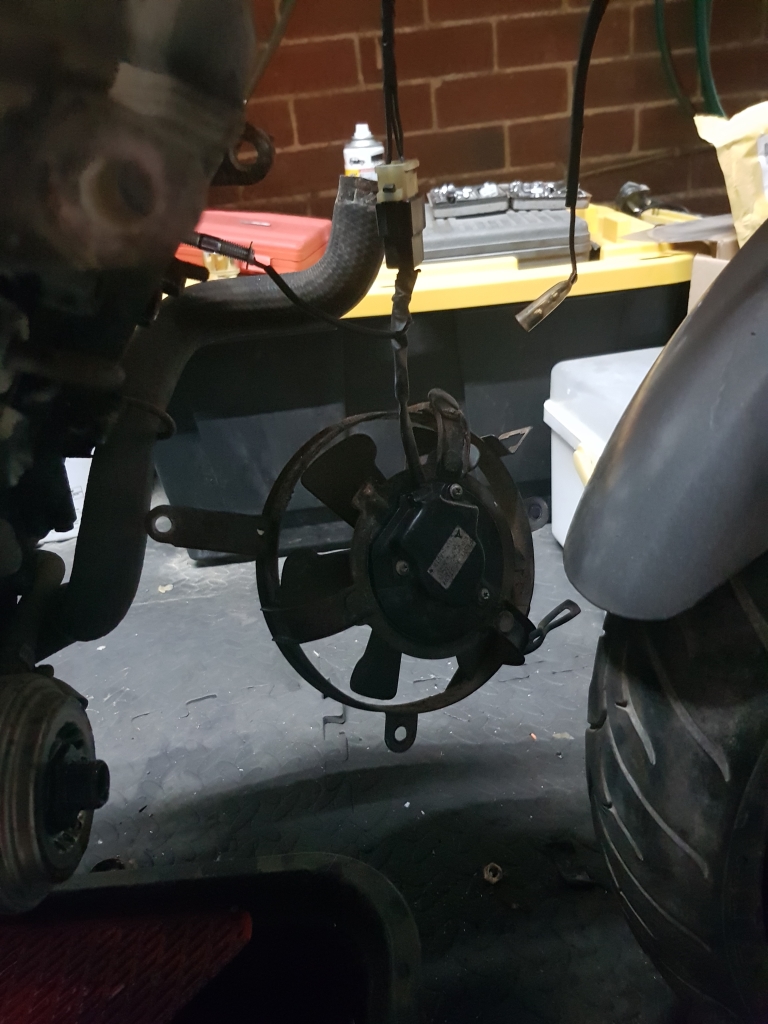
Rad fan was not working, so I whipped it out, split it open, and found the brushes were stuck. Cleaned them up, pushed them back into the spring housings, and lubed them up. Now they spring out, and the motor worked again with 12v applied :) I was sure it would be a total loss, so quite happy to save some dosh on that.

CBR400rr109.jpg


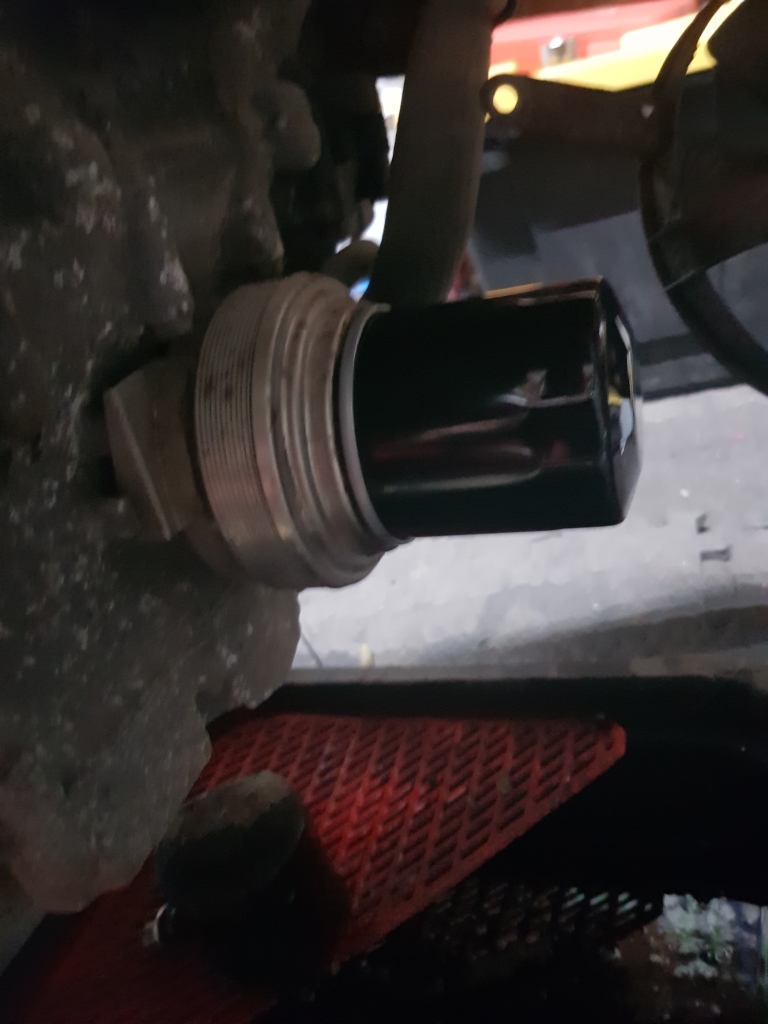
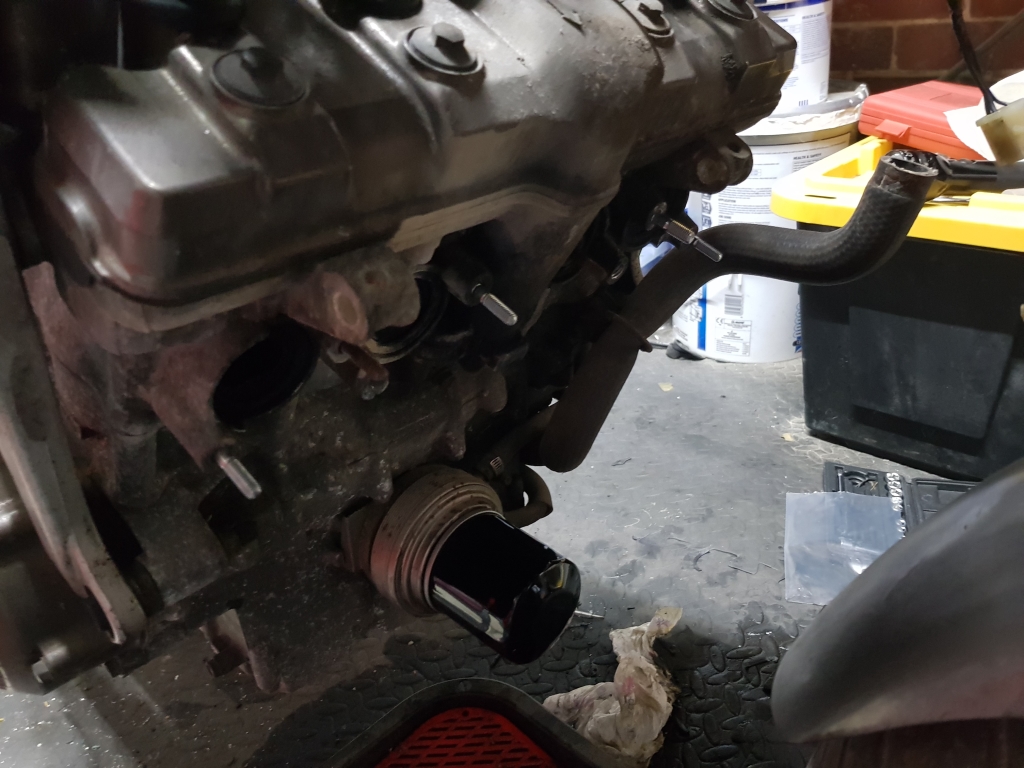
Fresh oil filter:

CBR400rr110.jpg


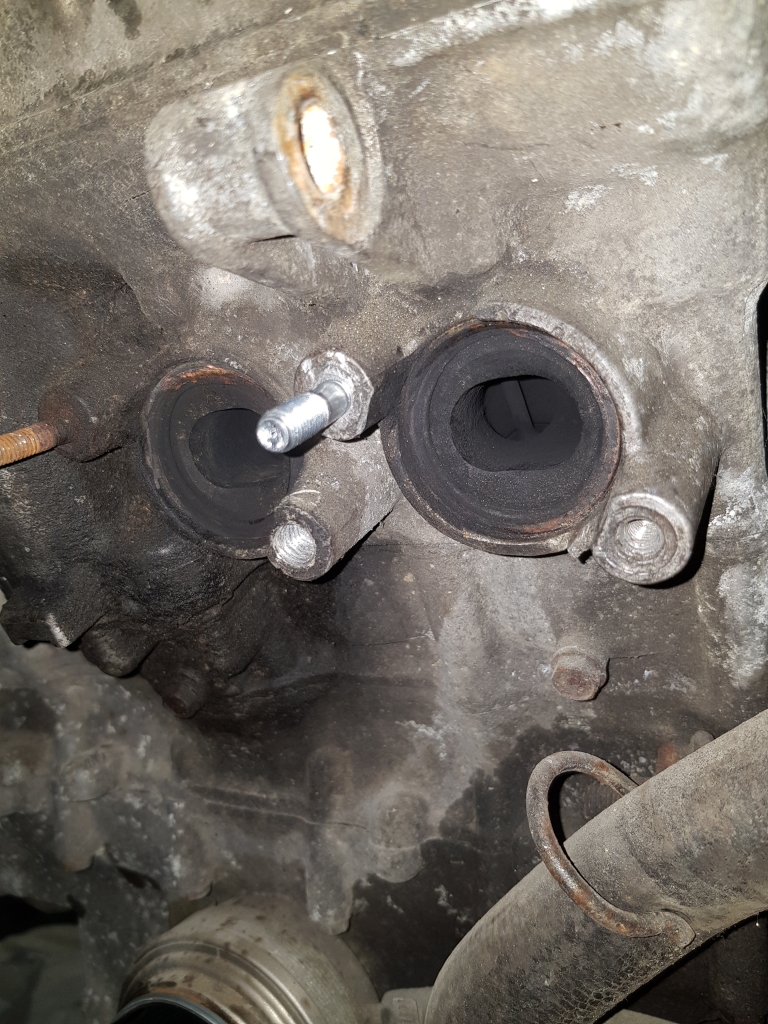
1 new exhaust stud some are original sized replacements, two are drilled out to 7mm, and one is a very large drilled out hole, which is also tapped. I think I will helicoil this, and put in a standard size, or 7mm depending on what I can get to fit, but it works as it is with an ugly large bolt for now.

CBR400rr111.jpg


More new studs going in:
CBR400rr112.jpg


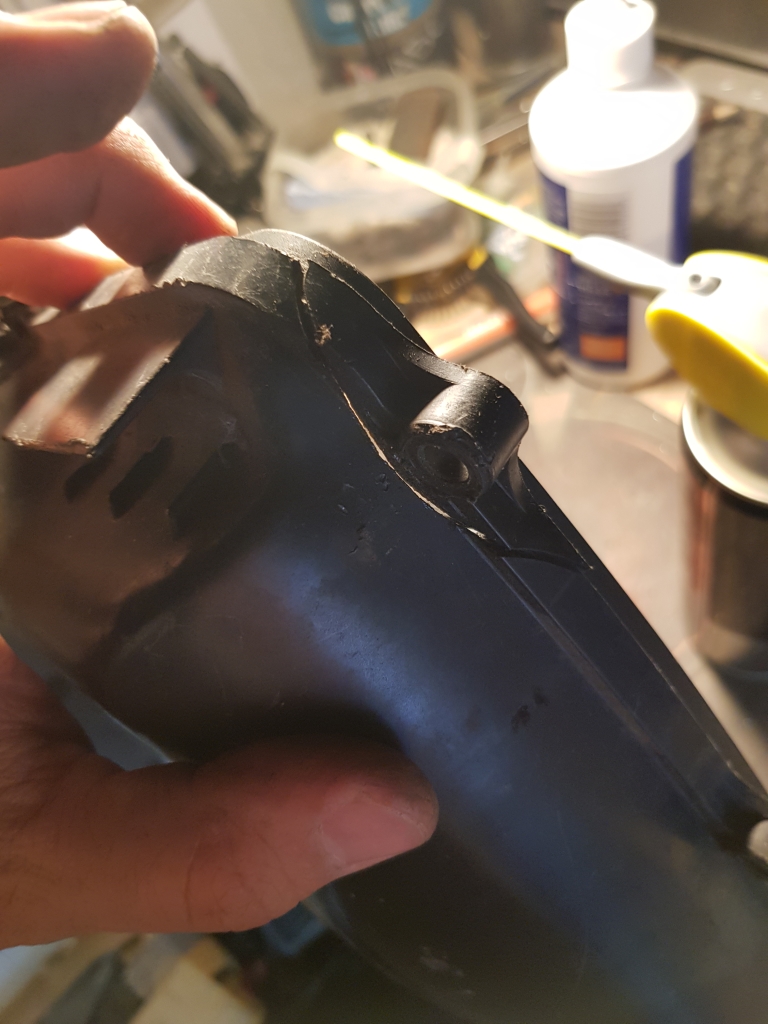
There are quite a few damaged plastic parts, this is an example of what they are like:

CBR400rr115.jpg


Fixed - using cyanoacrylate glue and looks pretty much factory again (forgot to upload the pic!)

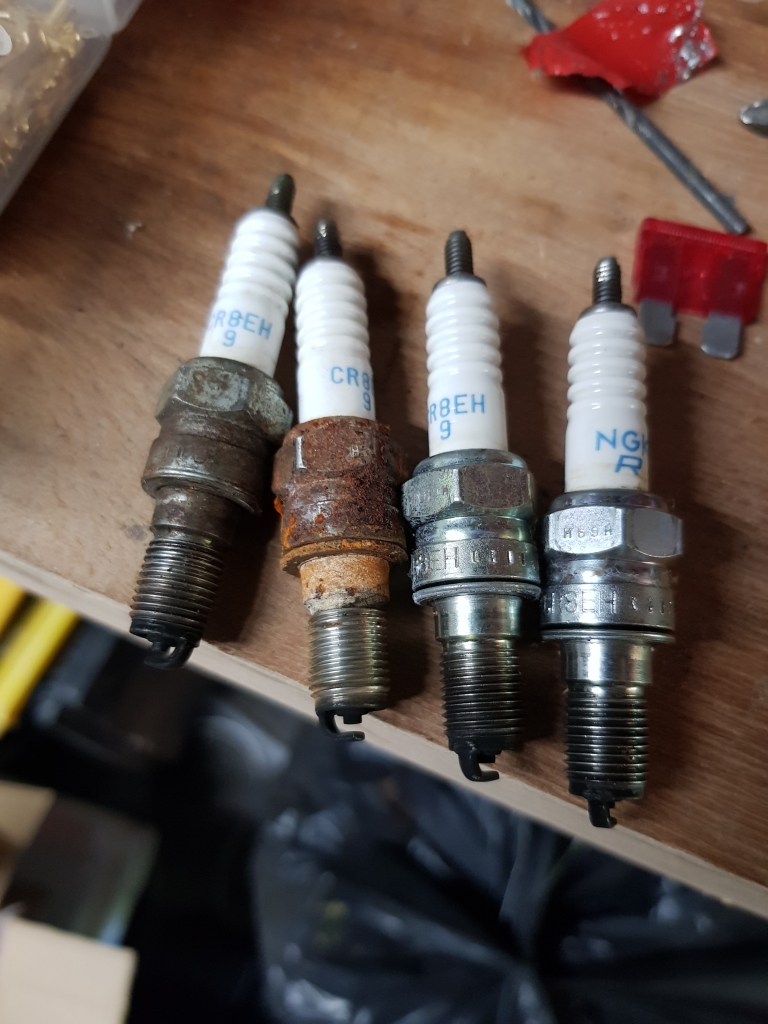
The spark plugs were not up to much:
CBR400rr116.jpg


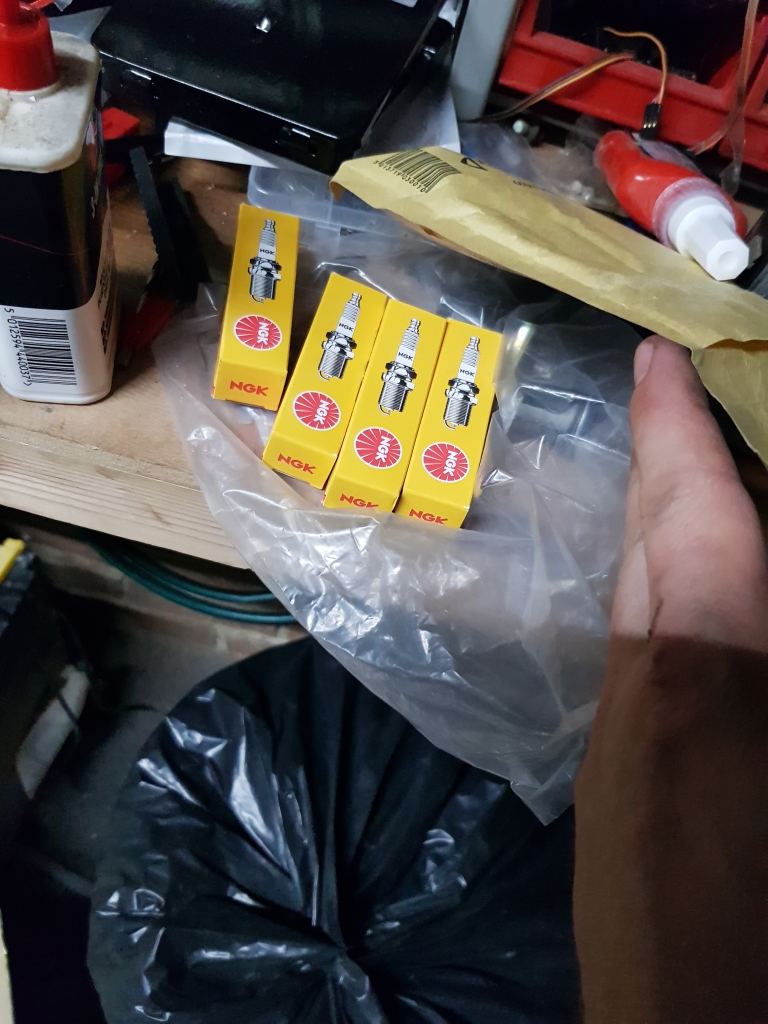
Whipped out and replaced with the spangly new ones from an earlier post.

So, without the exhaust, I fancied starting it again after the mini-service to see how it sounded. I had also sorted out the throttle, and adjusted to what I thought it should be, to stop the high idle it had last time I started it.


Today I managed to sort out the last exhaust stud, and actually got the exhaust mostly on. Need some better nuts for the manifold, but it was much quieter, will get that up online soon too. Sounds much less mental!

I did actually put it through all the gears when it was running after this video, and it changed through them all without issue. So fingers crossed the box should be fine too :D

*you might have also seen the growing oil slick under it over the thread, it was from the timing cover, whipped it off, changed the gasket and put it back together, and all is sealed again :)
 
Its what it is :D

With exhaust, mostly secured up. Not thrown in the new squash gaskets yet, as I may need to remove it again during the rebuild, so there may be small leaks still.


Going to be stripping and cleaning the brakes next, then it "SHOULD" be movable.
 
Latest update - after much faffing, I now have a front brake that works!

However, my web host has decided to change name servers, and no automatically update them in my control panel, so my site is playing up for up to 24 hours.. I expect the pics above are all missing for the time being :(

My plan is to now start, run and stop the bike tomorrow to check its mostly working, will try to get a video if I can :)

Then its just tidying up the wiring/sorting the rear brake, sourcing wing mirror mounts and mirrors themselves and pulling the trigger on some fairings.

I expect to fine a few more bits and bobs that are missing once I get the fairings in place. I think there are a couple of inductionr-ducts missing for example, but its hard to see till its all actually together again.
 
Grabbed this from my security cam when I took it out around the driveway...

http://maltopia.co.uk/images/CBR400rr/CBR400rrVid02.mp4

She moves! Had a bit of a faff with finding neutral, but it worked once I got it back up on the track stands, so I may have just been being a bit wussy with my trainers on.

Didn't want to do much, as its got no rad or coolant in it for the moment. Bit of white smoke, will see if that clears up when its run for a bit longer, otherwise, I may have some dodgy rings!
 
Didn't want to do much, as its got no rad or coolant in it for the moment. Bit of white smoke, will see if that clears up when its run for a bit longer, otherwise, I may have some dodgy rings!

Which reminds me, you'll have another dodgy ring if you use the stock/OEM seat. I suggest you look for an after-market/custom seat for it and thank me later :p
 
Which reminds me, you'll have another dodgy ring if you use the stock/OEM seat. I suggest you look for an after-market/custom seat for it and thank me later :p
Haha!! Will see what I can find :)

Put the thing mostly back together a couple of days ago. Sorted out a leaky front brake caused by a dodgy washer, put the repaired airbox/filter back on, along with the tank. I then replaced the manifold squash gaskets, which I think are mostly tight enough :D

The radiator is back in place, and almost fully installed. Its got coolant in it, and I just need to source some new stainless bolts/bushings and washers to make it look tidier.

Left to do:

Split, and rebuild back brake
Sort out the wiring routing up-front - its a bit of a rat's nest up there
Decide if I want to add a another relay, and use modded H4 bulbs, or spend the extra and get the needlessly expensive H4R bulbs.
Buy a new set of Chinese Fairings!!
Fairing fitting kit, as a lot of the original fairing fasteners were removed by the previous owners and lost
Source the air duct parts that I think i will be missing
Source a new pillion seat (or a cover for it?)
Get the tank stripped, tidied up and painted
Find a fuel tap lever (made one out of whitemorph for now, but its not ideal)
I think I also want to get the wheels painted white as the black on there is a little tired looking
Source an original fairing/mirror support for the front
Run it down for an MOT!
 

A little ride, just after i fitted the radiator to see if it warmed up

I may have also just splurged on a new set of fairings and a fitting kit.... Lets see how China postage handles it! I ordered from a seller who has shipped to the UK before, and I have spoken to the customer, and he has had no issues with the kit.

It also comes with a tank cover! Which saves me having to do a proper paint job on the tank. So, i just need to sand it back, and prime it to keep it rust proof, which I can do here without issue :)
Which seller did you use? I keep eyeing up a new set for the bird.
 
Rigghhttt, recovered from a 100k charity walk and I have finally done some little bits and bobs...

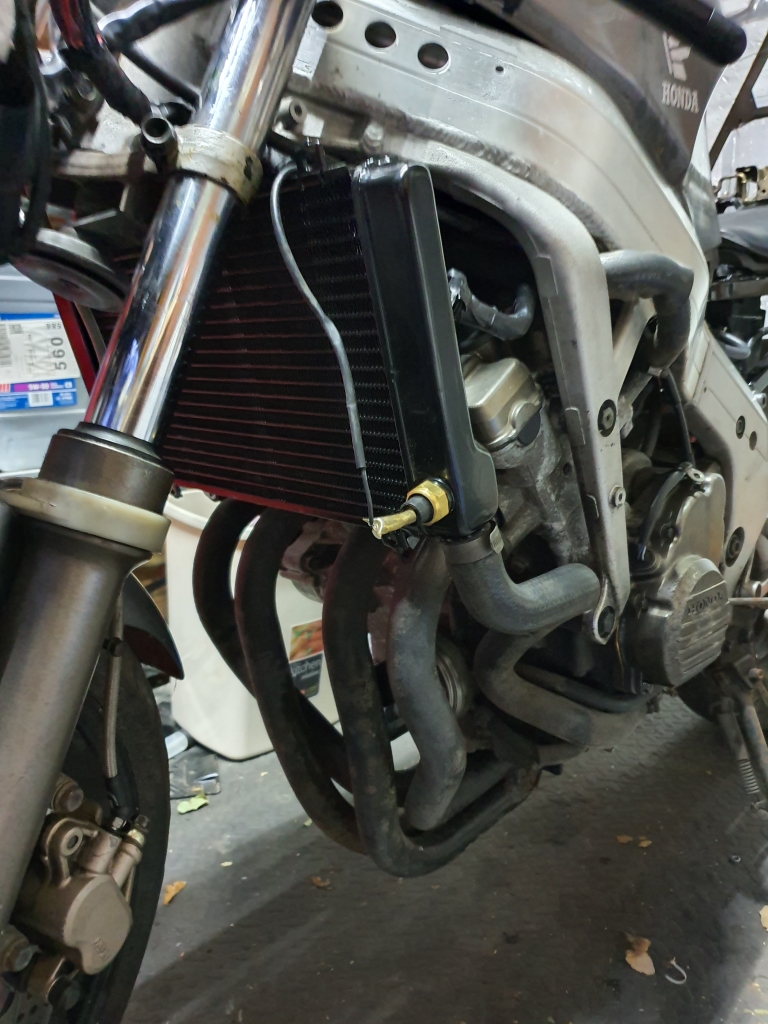
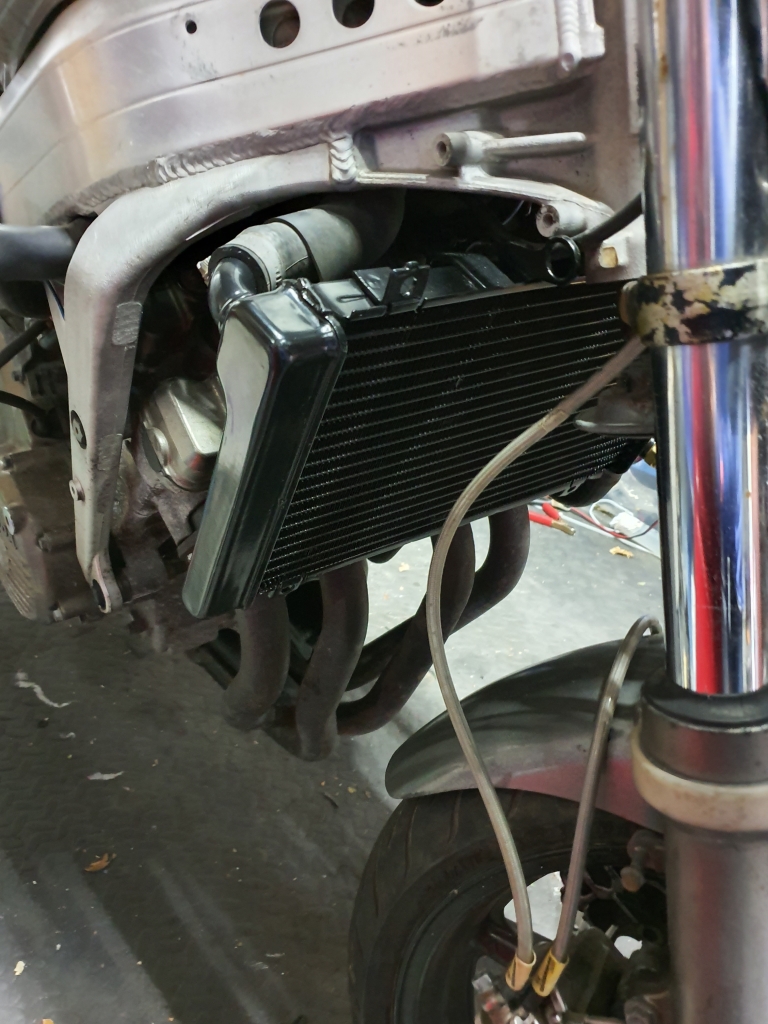
Firstly, I forgot to show the pics of the Radiator installed. Got to add some bits to the top mount to secure it in place properly, but its in, filled up and working.

CBR400rr117.jpg


CBR400rr118.jpg


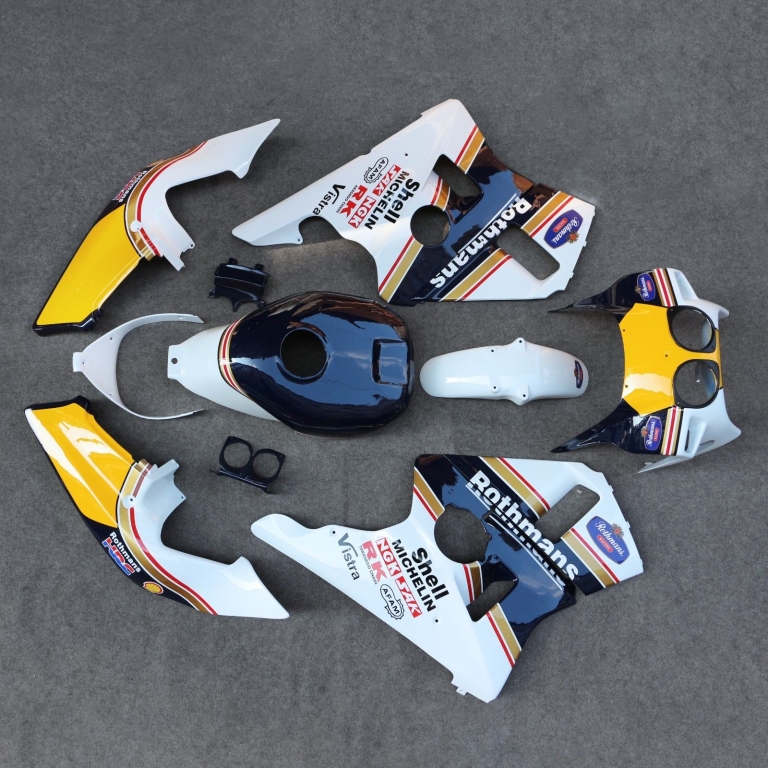
Then a massive box of fairings arrived, along with a fitting kit:

CBR400rr119.jpg


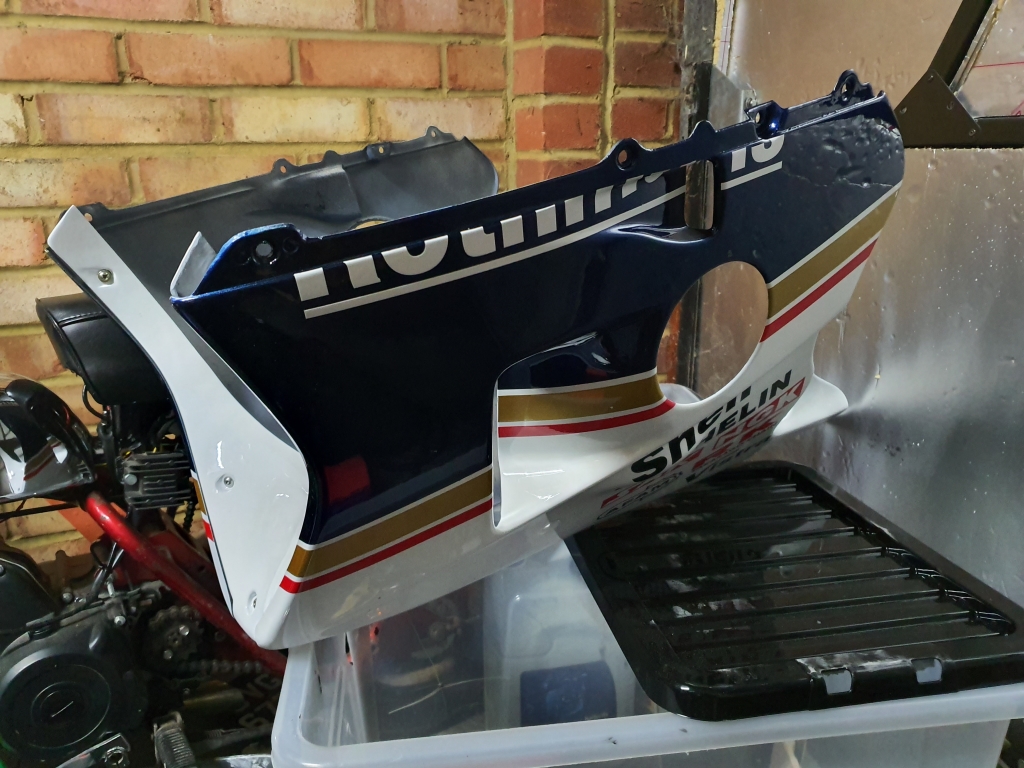
Tank cover went on, and mock fitted up the rear fairings:

CBR400rr120.jpg


CBR400rr121.jpg


CBR400rr122.jpg


I discovered the fairing push rubber for the right ride was snipped off the exhaust mount on the bike, so ordered one of those from ebay, should be here soon. Was pretty happy with the fitment and overall look.

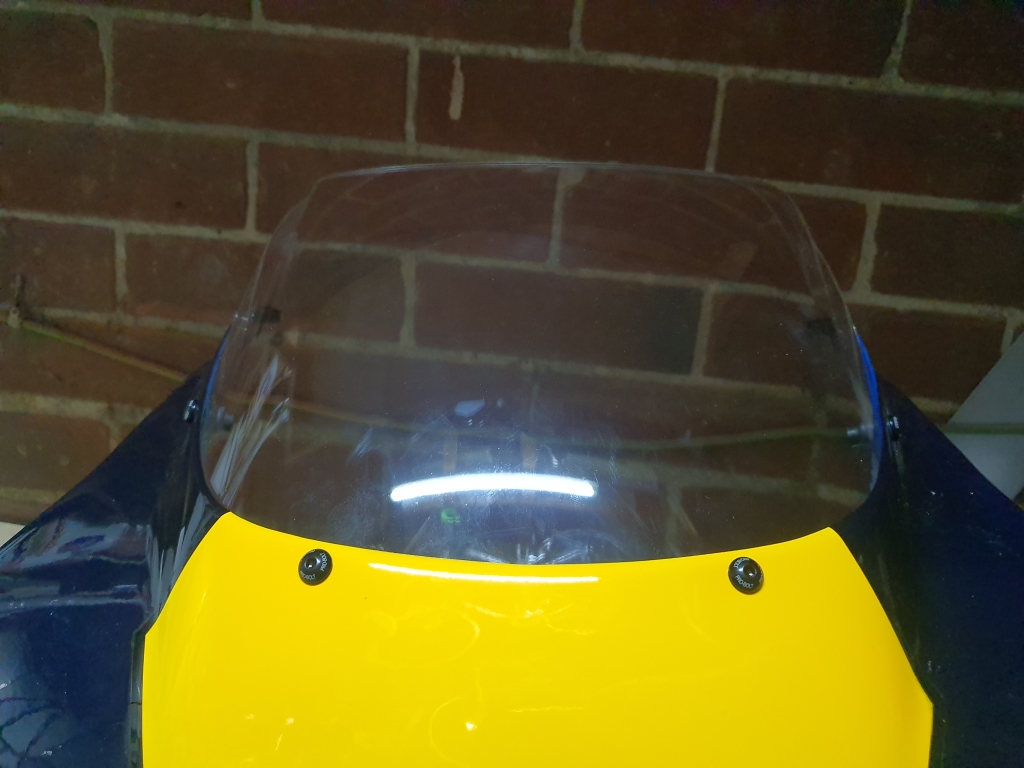
Had to buy a windscreen, and fitting kit for that also:

CBR400rr123.jpg


CBR400rr124.jpg


Really impressed with the quality!

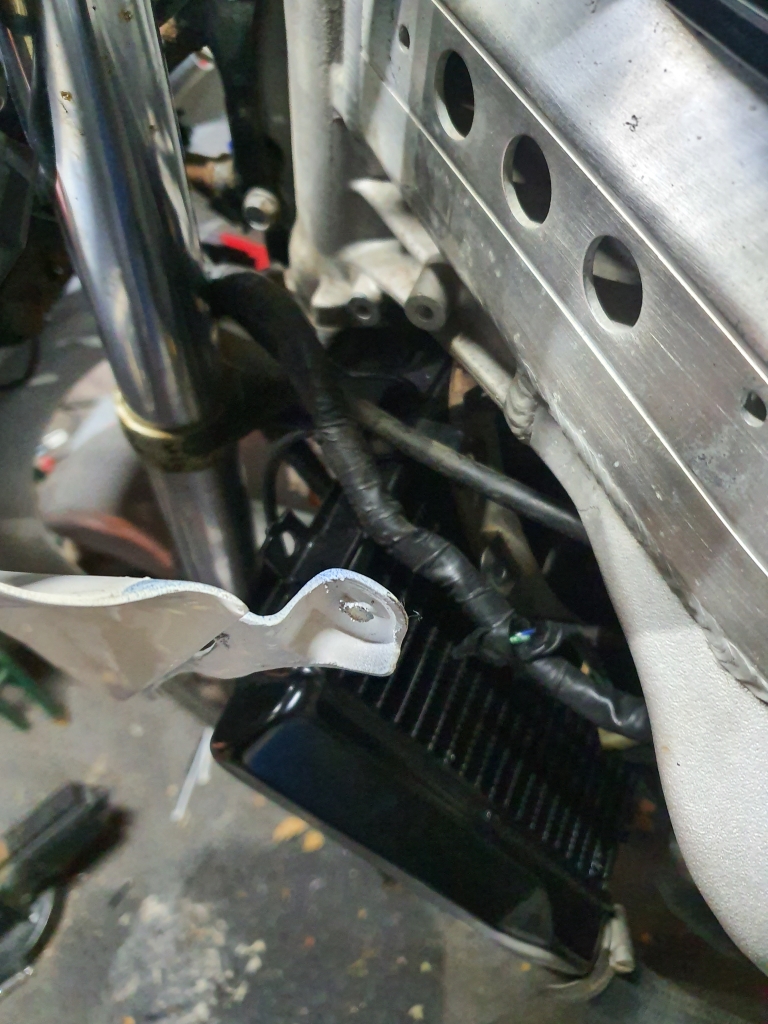
Tried to fit up the cowl, and found out that there are two brackets that come off the frame next to the radiator top rail that were missing. Found a guy selling a pair after using an owners group to track down the part numbers. Ordered, and should be on the bike this week.

CBR400rr125.jpg


The new pillion seat turned up too, which you can see here. BARGAIN at £20. It looks brand spanking!

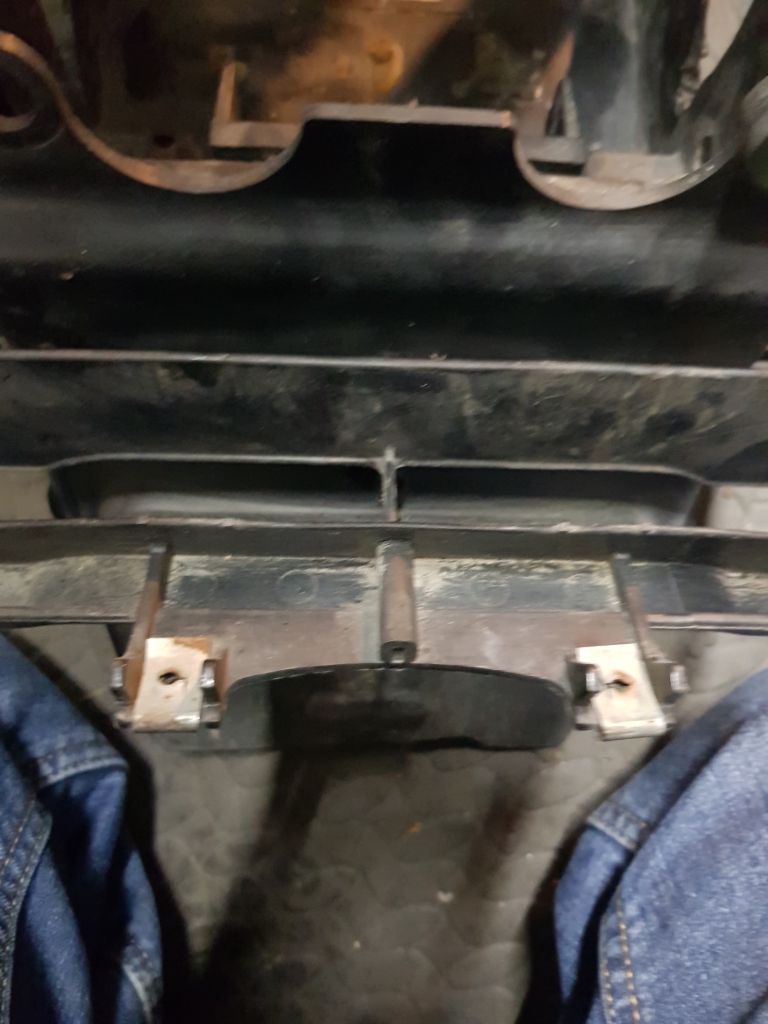
You can see the gap, and fairing mount hole just floating about in empty space below:

CBR400rr126.jpg


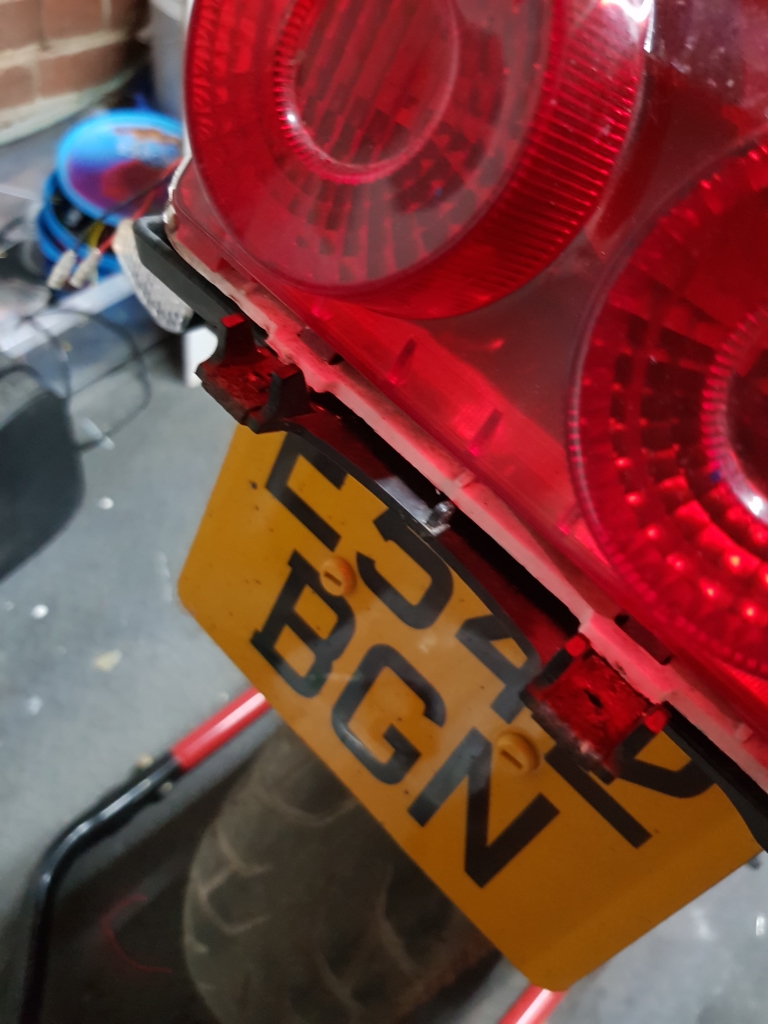
As such, its hard to get the cowl to fit correctly, so just did some mock ups to take a look at the overall lay of the land. This actually meant i found a split in the light mount, so went for the superglue approach and got it looking right, which actually let me fit the cowl fairing a little better later on. (No pics!)

Also discovered that I am missing the fairing brackets that hold on the belly sections, along with the wind-screen/mirrors bracket. So found a guy breaking a bike of the same year, and got him to send me a few bits in one order. This will be the various missing brackets, and some air-ducts/mounts that I also realised I was missing.

I must say the belly section does look pretty neat as it come together :D

CBR400rr128.jpg


Then I started doing some niggly jobs, routing cables, changing the ignition key to a new unit, trying to bleed the rear brakes/etc. However, the rear brakes are not playing ball, I think the master cylinder is knackered, so ordered a replacement to swap it over and take it out of the equation.

I keep finding more and more little bits that are missing which is kind of annoying, especially as I know the previous owner likely just chucked them into a skip :D Then just lots of fiddly little jobs, rear seat lock, more cable routing, fixing some mounts and cable wraps/etc.

Still it really feels like a lot of progress in a relatively short time and I really need to get a move on to get my MG back in the garage asap before it gets too wet/rainy, so I need to keep up the momentum!
 
Back
Top Bottom