[In Win 901] Celestial

Associate
Joined
25 Aug 2014
Posts
282
P1i2X8K.jpg

A new worklog!

And a long overdue one,this build has been in the wings for 6 months now while I clear the decks with IDORU and its 'adventures'....

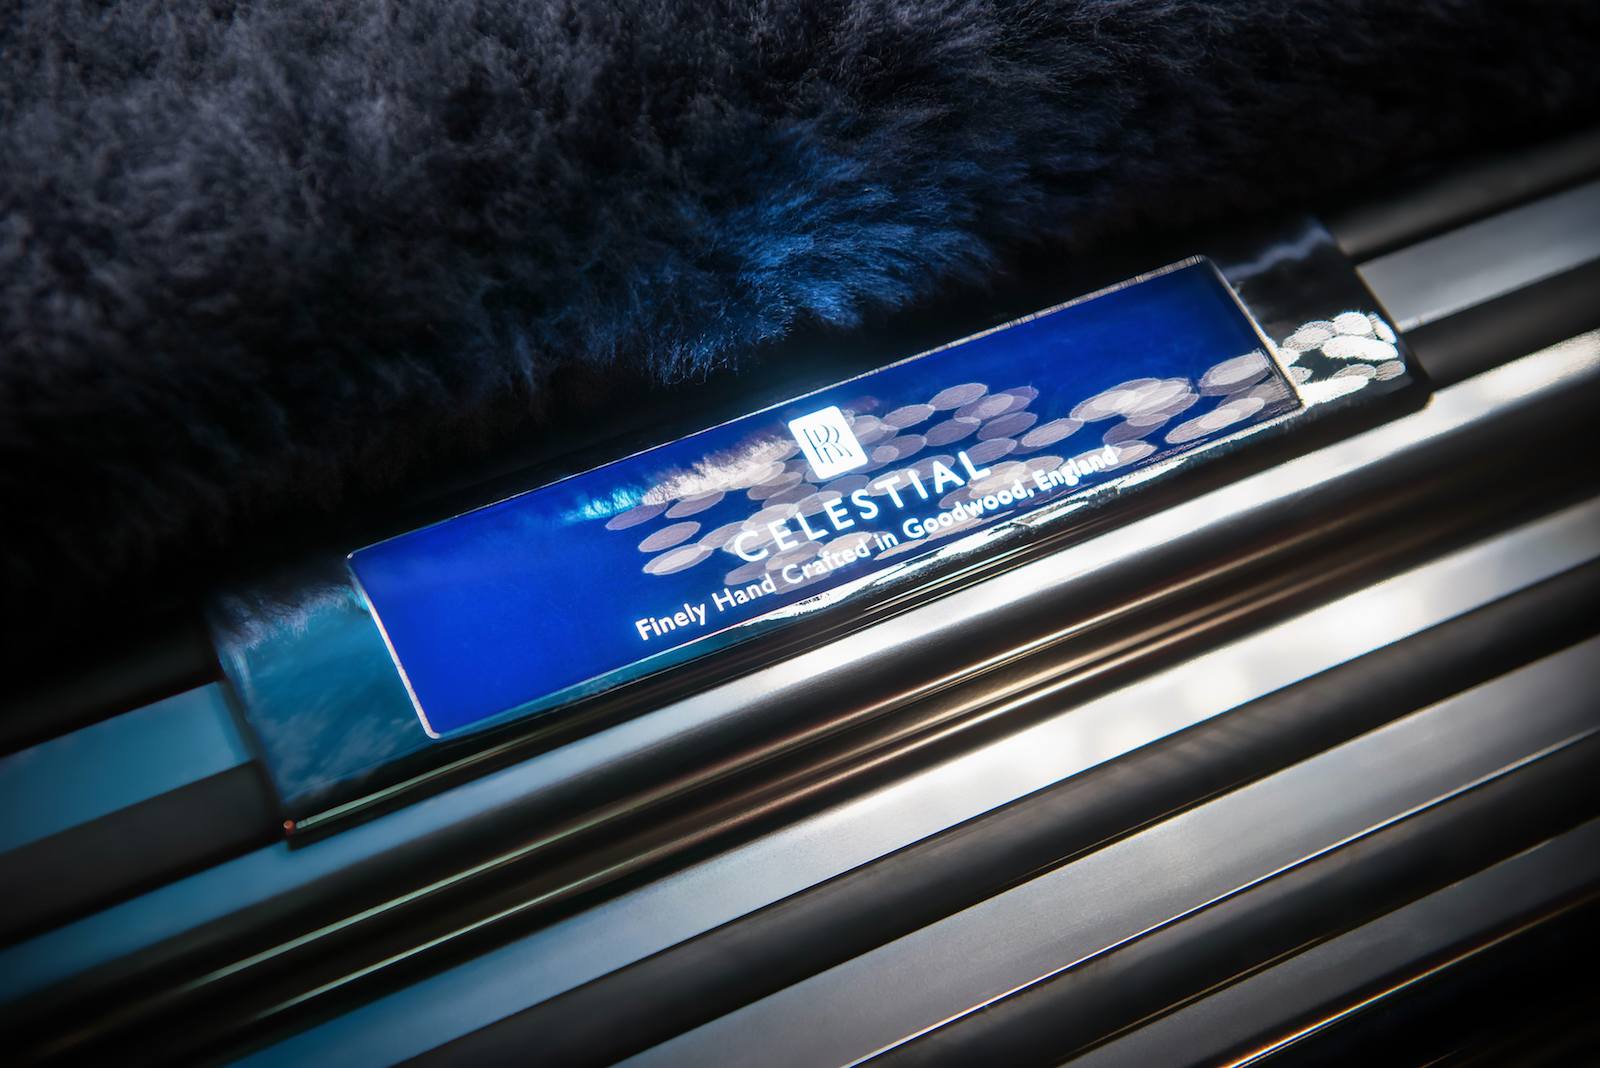
This build will be something 'adult' in theme,no Gamer theme here! Im using the awesomely decadent Rolls Royce Celestial Special edition as its inspiration,a car so heavy on details that it beggars belief!

Ppn0aaD.jpg

hxbFfej.jpg

bjaBFXj.jpg

DPsTOJV.jpg


That paint! Those diamonds! That lighting! The build quality!

I will be using as many of the design cues as possible for something that should be outstanding when completed.

You can see more of this amazing car here: https://www.rolls-roycemotorcars.com/en-GB/bespoke/celestial-craftsmanship.html

I still look at that car with utter jawdropping awe......I can only hope to do it justice.


The case I have chosen is an In Win 901 case,a compact case with a lot of potential,chosen mainly as i have not seen a really amazing build in one yet and certainly not with full watercooling.
This requires some pretty substantial mods.....in B NEG speak this means "I guttted the case"......I went back to my previous ethos of integration,mainly to open the space up and keep everything clean,small cases are hard to make tidy,efficient design can overcome this.
The hardware?
Im reusing a lot of kit from a previous build so Im well taken care of,a 4770k,z97 Impact and a 290x with 16gb of Crucial Ballistix as the main component list although....you never know......XD
Watercooling is a modified EK Predator kit with an EK impact block and a 290x GPU block.
PSU will be a Silverstone SFX 600w.

So....the Case?

** Images removed due to size, must be kept 1280 pixels wide or smaller **

J3Xbx9L.jpg

All those specs wont mean a thing for me tho......XD​
 
[img=[URL]http://i.imgur.com/P1i2X8K.jpg[/URL]]

Rather than bore you will unboxings......

This is the motherboard im using,a Z97 Impact with an EK Impact monoblock......Take a last look at the stock unit.....

TuP2xCU.jpg

All the mish mash of colour needs.....refining I think.

Lets start by covering all the caps with Anthracite grey vinyl....

3OS1mUT.jpg

Then maybe spray all the copper a dark grey matt?

YQnlmd6.jpg

kpTFf4R.jpg

And then do the I/O and all lthe little detail badges in the same Anthracite vinyl...

VXDWyYe.jpg

Much better,the red will not be noticeable once the kit is all bolted in place.

Much more subtle I think.​
 
Question, B Neg:

Which 290X GPU block are you using? I ask because as I've been measuring up for my project I've found that (at least for my Titan) an EK block with Terminal block on top is actually 5mm too tall to fit inside the 901 - looks like 120mm is your maximum GPU height, and the Titan block with Terminal is 125mm. Or have you given yourself more height with the innards you posted on Facebook?

I've been asking around a few places to make a custom EK Terminal block that's 20mm tall rather than 25mm but I've not had much luck (although I need to check in again with E22), and the intricate O-ring channels are too much for me to just stab a block of Acetal with a Dremel :p So, curious as to how you're approaching it and if it's something I can copy lol I have a viable alternative, but the original plan was to use EK.


I slimmed the tray total depth down where the mobo is by around 7mm. I very much doubt im going to put doors on this tho,I kinda like the open look.
 
0Rpcg3e.jpg

Now the tray needs to have all the mounting hardware installed and a quick proof of concept mount.

Here is the tray that PARVUM milled for me,I will be drilling the holes myself but PARVUM helpfully spot drilled the placement.

You can also see what remains of the 901 chassis.......which is not very much.

rBkOC9k.jpg

First thing to do is file back the mounts for the stock In Win internals,I want the tray on the external chassis as I will be drilling thru it and bolting the tray in place that way.
These holes will be ground flat and filled but for now a file is enough.

BX6B08H.jpg

Drill the holes,I used a 2.5mm drill

3g4QtXZ.jpg

A quick way of mounting standoff's in Acrylic is using a soldering iron rather than risk shattering the Acrylic with a tap.

74y9WMK.jpg

P23jQDw.jpg

UnmBG7O.jpg

All done!

Now,lets have a look at it in the case for the first time.

WWrhfE0.jpg

Add the mobo...

uyB6AkS.jpg

I used the GPU bracket from the remains of the DFM parts I didnt use in LUMO for a really clean look.

stpGgeU.jpg

02zCbrX.jpg


Very Clean,Im excited to see this come together!

Next update will feature.....


An 18w DDC PWM Predator?

lJEA0AZ.jpg


Love the I/O wrapping. How did you manage to get in all the nooks and crannies?!

Heatgun,you can get amazing detail with vinyl and a heatgun
 
The clear acrylic looks great, it should look tidy when its all fitted with the motherboard as the center and it allows for space for radiators, reservoirs and pumps to be fitted at the sides. :)

How much planning do you put into these builds or is it all done based on visuals?


I plan heavily with SFF stuff,I tend to make fully scaled 3d models.


Like this....

YsRhE7I.jpg

yHWzCXt.jpg
 
9P4OwPY.jpg

Evening.


So,an update?

Due to the space constraints,I am using the EK 240 Predator kit coupled with the blocks I already have instead of the MX block included in the kit.

But.....because I could rather than have to....I have modded the Predator with a 18w DDC rather than the stock 6w unit.

If unboxings offend then....tough. XD

5NrYRYc.jpg

wqZoqt8.jpg

The defunct MX block,I may do something with this and do a give away.

9dBIE5U.jpg

05DSfXr.jpg

AogBPq8.jpg

A look at the control board for the whole unit.

sv0ZI7y.jpg

Seems they use a once size fits all approach and used the same board with the 360 version.


Because the stock pump is a DDC 'clone',all the hardware is identical so,after swapping the wiring over to the new pump and an addition of a heatsink to make it all pretty, we have a 'AIO' with a 'proper' pump!

JS5U8Gm.jpg

k7g7tEa.jpg


Not much of a work update as I have finally finished the mill and Im ready to cut the rest of the panel work.
Had some interesting problems with HSMWorks and Carbide3d GRBL but,after much swearing and comments on the parentage of the GRBL designer,I got it fixed. Now the neighbours can have a variation of noises other than a compressors and power tools.....

The weekend promises to be busy!
 
I like it!.

When you say swapping the wiring over?, what does it involve?, i'm selling off most of my watercooling bits and planning to do the same thing with the 360 version.

Unsolder the existing wiring and solder the Predator wiring in its place,its a custom length wire and is also flat,makes it easier to refit.
 
Looking very stylish.

One comment on the Predator. Have you got the 1.1 version? The original has problems with the O rings causing leaks and EK issued a full recall.

It only affects the MX block....which im not using so im not overly concerned.

When are we due updates m9? :D

Weekend fella,did the test cut today and the laptop kept spazzing out. I have a USB isolator and ferrite beads for the power supply coming. Apparently this is a common problem with these spindles and laptops,lots of signal noise breaks the USB connection.


From what was cut,I can see that I did a half decent job truing it up!
 
3kmgHZn.jpg

I have been fighting disconnect problems with the mill so all my promising to get things done has been falling short....Not any more! I fixed the sognal noise problem with 100uf 50v cap on the 24v input,no more disconnects!

So,i made the first cover today,this one is in 2mm and is for the backside of the Acrylic tray. I sized it 5mm smaller than the acrylic piece so light will shine thru at the edges.

A little video of it in action...

And the finished piece!

CVIVZpB.jpg

PitJMmE.jpg

Im glad to say its cutting with .1 of PARVUM's big XYZ too.

Now I have to cut the other side and cut the midplate in 4mm.

So very glad its doing what its told now!
 
d8ceBxw.jpg

A productive day in the shed, after all the drama with the disconnect issues, means the tray covers have been finished....finally.

2mm Alu sheet so it adds rigidity the the acrylic.

I wanted to keep it clean and tidy,no fluff but a simple elegance,there will be some more accent pieces cut to frame the res slot and the wiring slots.
Obviously these parts need paint still but summer is coming and I have plenty to do in the meantime. The heatpress inserts are en route for the acrylic to make the anchor points for all the panels and to anchor the acrylic itself to the case body.

LVGGd2F.jpg

6nIAmSR.jpg

4N6qDGq.jpg

The panels are cut a few mm back so the internally lit acrylic will give the edges a nice soft glow,I will be using EL paper for this under the backside of the tray panel,this will back light the res too.

D5JOfI1.jpg

So next up is mount the tray and tray panels to the case then cut the midpanel,HDD mounts and the other pieces for backlighting the 'diamonds' on the front and top of the case.

Im also looking for a 600w Silverstone SFX PSU if anyone knows anyone.......


Drive careful now!
 
Y5eeuhE.jpg

Today was all about getting the tray and vanity panels mounted.

lXS9eA6.jpg

We start with how im going to anchor the acrylic,normally i would tap the acrylic but this presents a very real problem of potential breakage so I looked to another way.
I used these instead.

U9aqg6x.jpg

Drill a 3.5mm hole and I used my trusty soldering iron to heatpress the inserts into place,now I have a breakproof thread that wont wear out!

Im drilling thru the case to mount the tray,I gave the holes a nice deep countersink to aid the filler by giving it some room to grab when it comes time to backfill.

cRiSFkM.jpg

CnrqQdd.jpg

I offered up the tray to the fresh holes and just marked the hole centers on the acrylic for drilling

AJZcdf6.jpg

4Gu8CeV.jpg

OoqjUT1.jpg

6mm deep as required by the inserts.

Success!

9BOq4Pf.jpg

raGImr7.jpg

7jX2vBn.jpg

Now to drill and countersink the panels,again with a deeper than usual countersink to allow for paint ,if its done to size now then the screws will certainly be proud come the refit.

bFxwfzj.jpg

LC6kzjJ.jpg

Then I did the other side...

zHzfN0P.jpg

Remount the panel and it looks pretty good I think.

jjBhxKA.jpg

ycyCoRg.jpg

m1X4mRD.jpg

BIfJSrQ.jpg

Next up is cut and fit the midpanel and look at getting the PSU,sort the loom and get that Predator rad in. Then I can work towards doing the rad covers.
These will be mimicking the sills on the Rolls Royce Celestial.

73536-c-rr.jpg


Drive safe!​
 
Damn that's looking good, and fair play, that's some top quality craftsmanship you've got. The amount of work going into this build is unbelievable :eek: :D

Im all about the details.
Believe it or not but the hard bit is done!

Loving it, but I will confess to freaking out a little seeing you drill the outside of that lovely brushed aluminium, especially given how paranoid about scratches and fingerprints when measuring mine.

Can't wait for more updates.

It will be painted,I need to find a replacement for the ground glass RR use for the paint to work tho...and thats proving hard....

Awesome, I love the inspiration from Celestial. I might have to show the boys at work!!

Cool beans! Where do you work?
 
Great stuff as usual! Are you concerned about all of the weight being supported by just the corner? If you're essentially melting those inserts into the acrylic is there some risk they could become loose and fall out?
The midplate is doing all the heavy lifting,these are just to hold everything in place.

They are designed not to pull out,the acrylic melts around it and holds it fast,the knurling is quite deep.
 
See if RR will give you their blessing and donate some paint :D

I cant see that happening tbh,I have asked but got no reply.....

I live about 10 mins from one of the RR places.... Reckon they leave the paint kicking around? I could go on the rob for you ;)

Doubt it,it will be in a climate controlled store. Go have a look anyway,I want to see the security video of you hauling yourself over the chain link and landing in a undignified heap on Crimewatch. :D
 
Last edited:
Back
Top Bottom