Soldato
- Joined
- 22 Jul 2012
- Posts
- 16,084
- Location
- London
PICS ADDED:
So, the arch-aircooler finally gets around to dipping a toe in the wet stuff
I honestly don't need to improve my CPU or VGA temps or anything, it's just that building a loop looks like a lot of fun and I can't resist any more, so here goes!
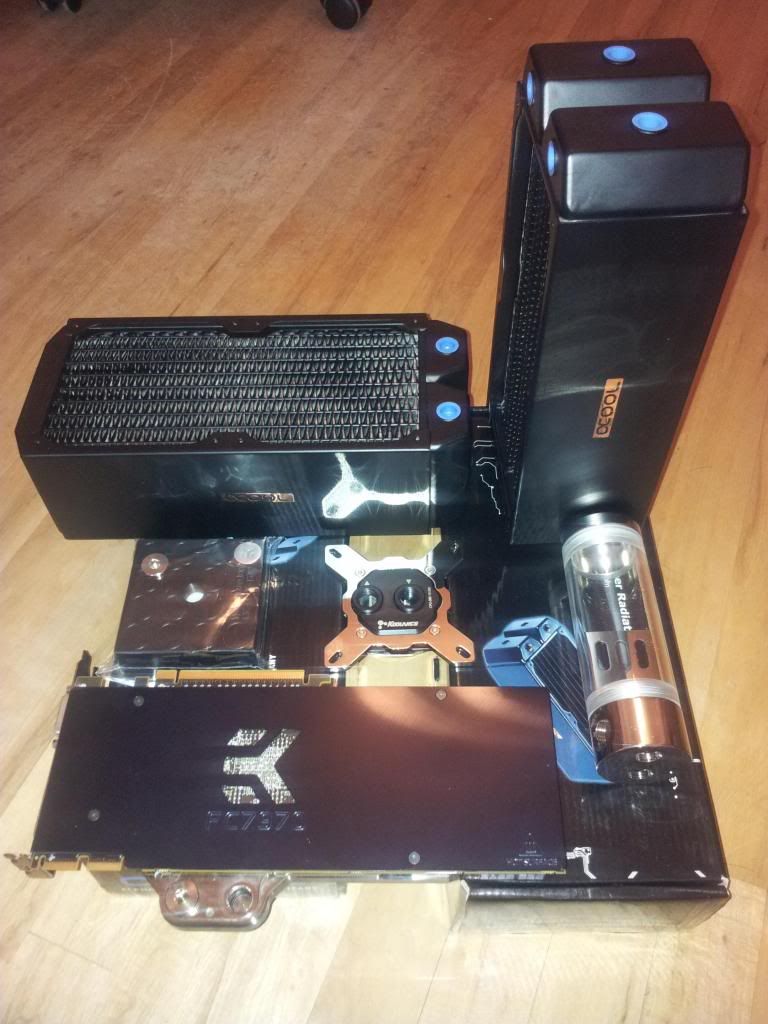
So far, we have:
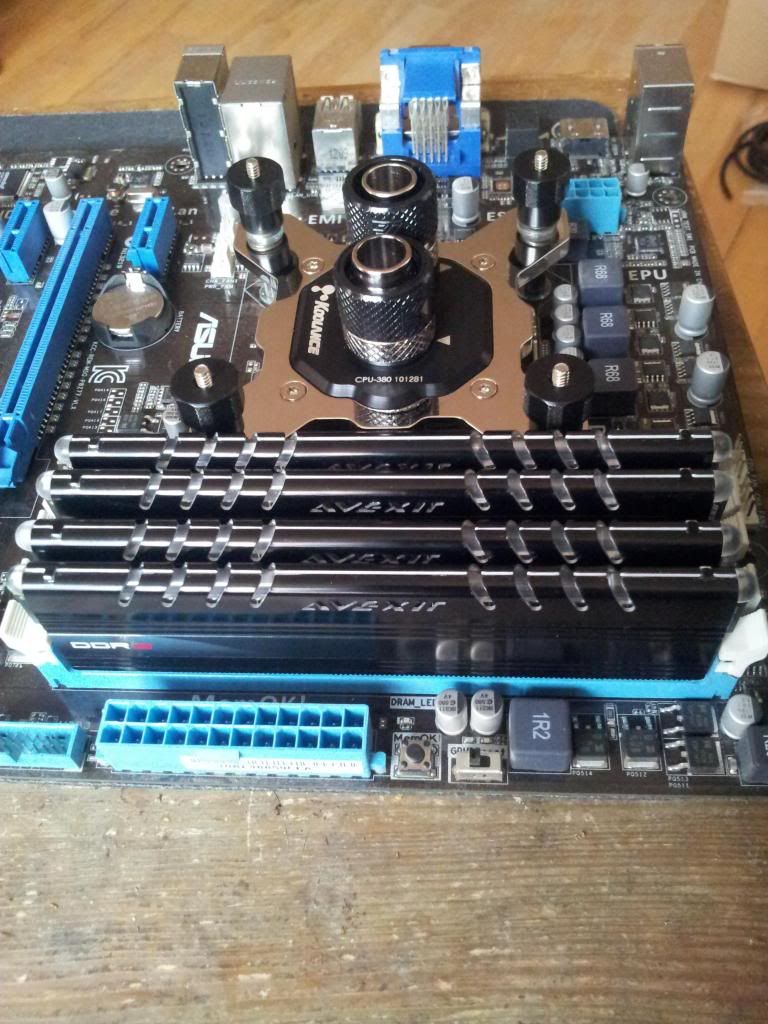
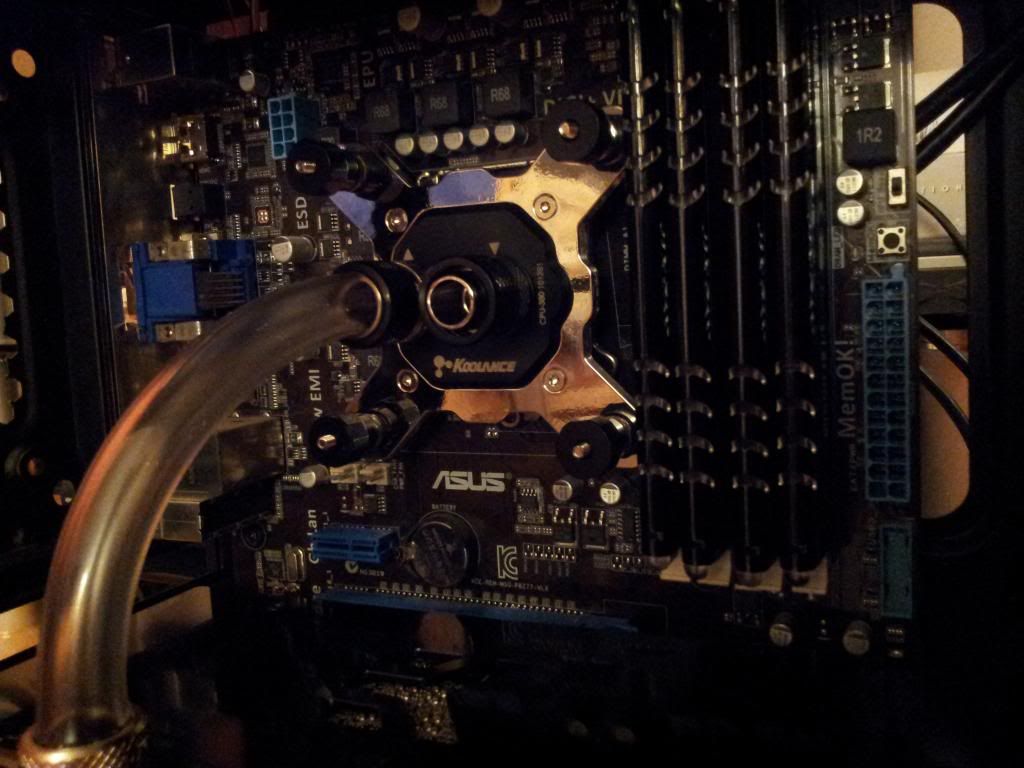
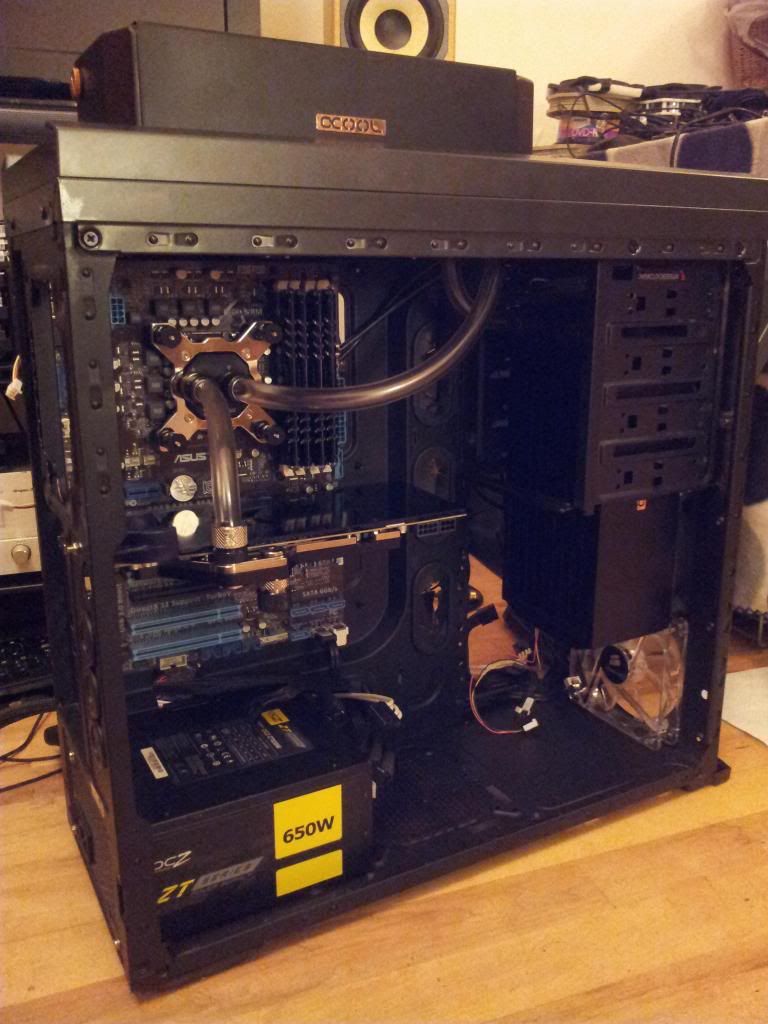
- Koolance 380i Cpu Block
- EK FC7970 Block + Backplate
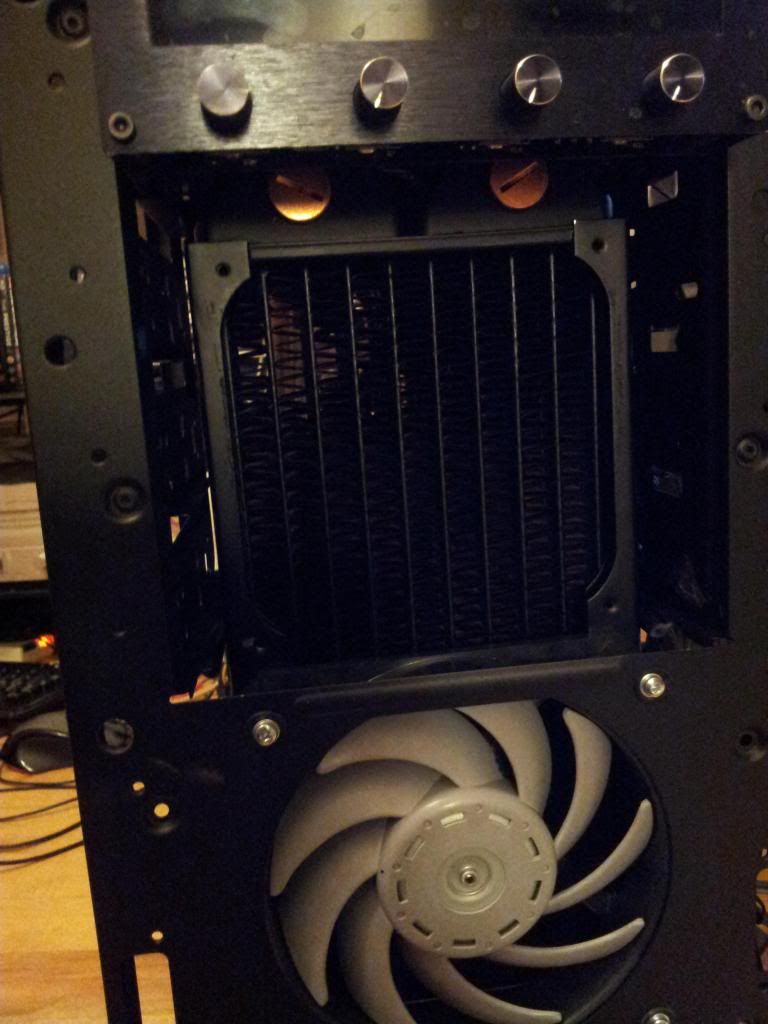
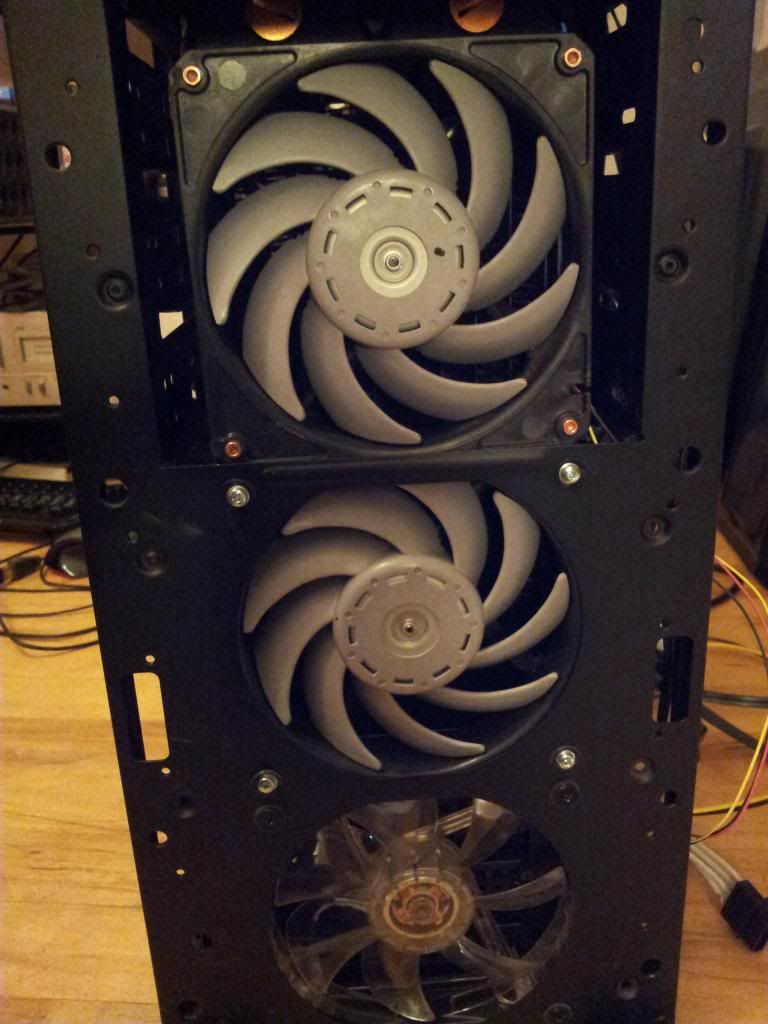
- 2x 240mm Alphacool Monsta Rads *giggle*
- Phobya 150 Reservoir
- EK D5 CSQ Pump top
- A bunch of EK compression & rotary fittings.
Soon to come:
-D5 pump
-Tubing/coolant etc
-Misc stuff + a few more fittings
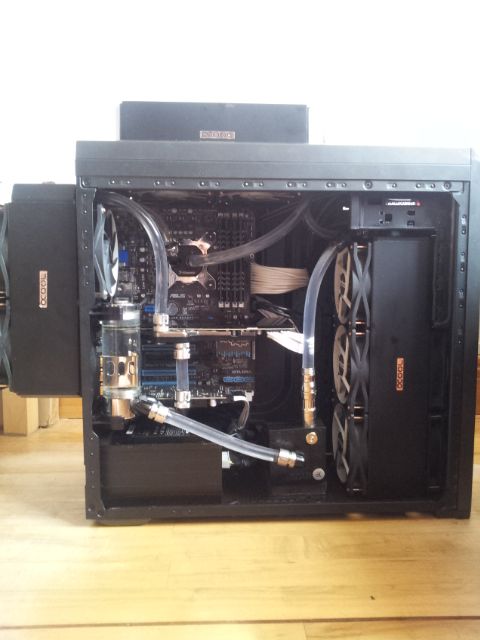
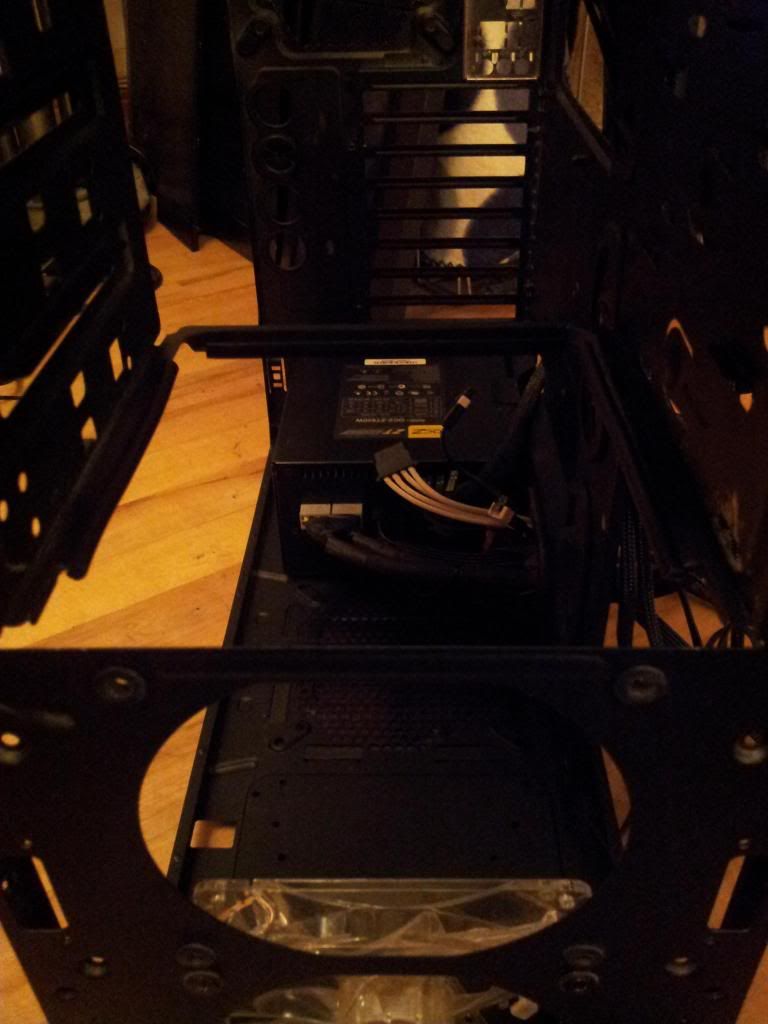
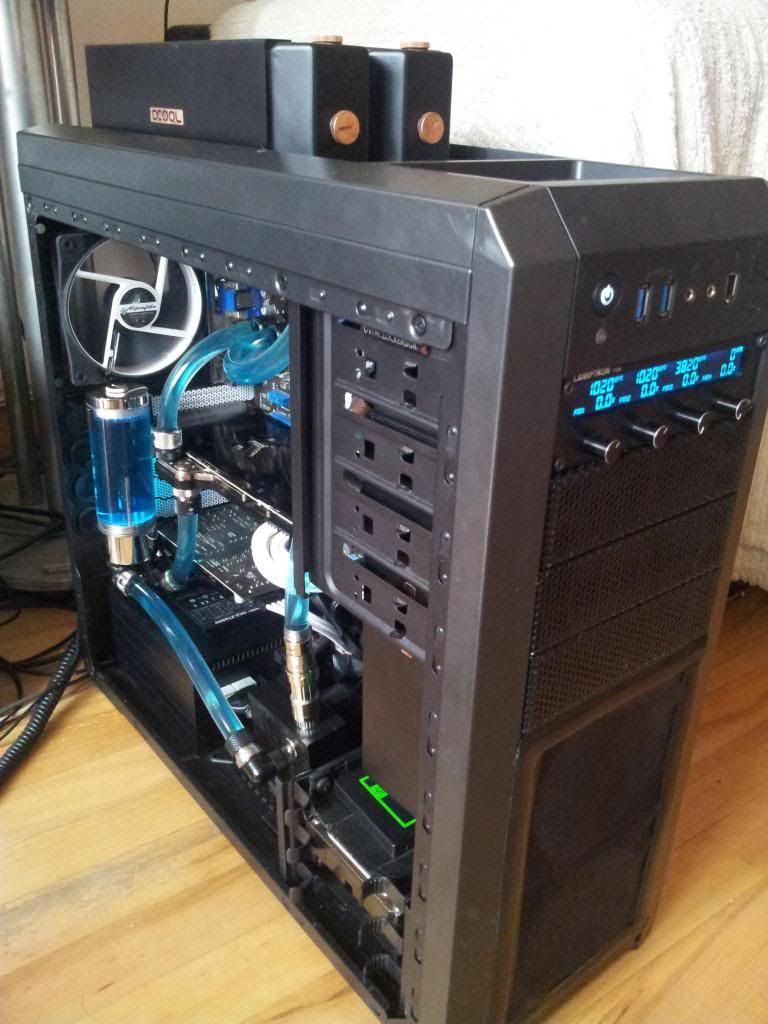
Stay tuned to find out how this all gets shoehorned into a Corsair 500R and expect plenty of pics

EDIT:
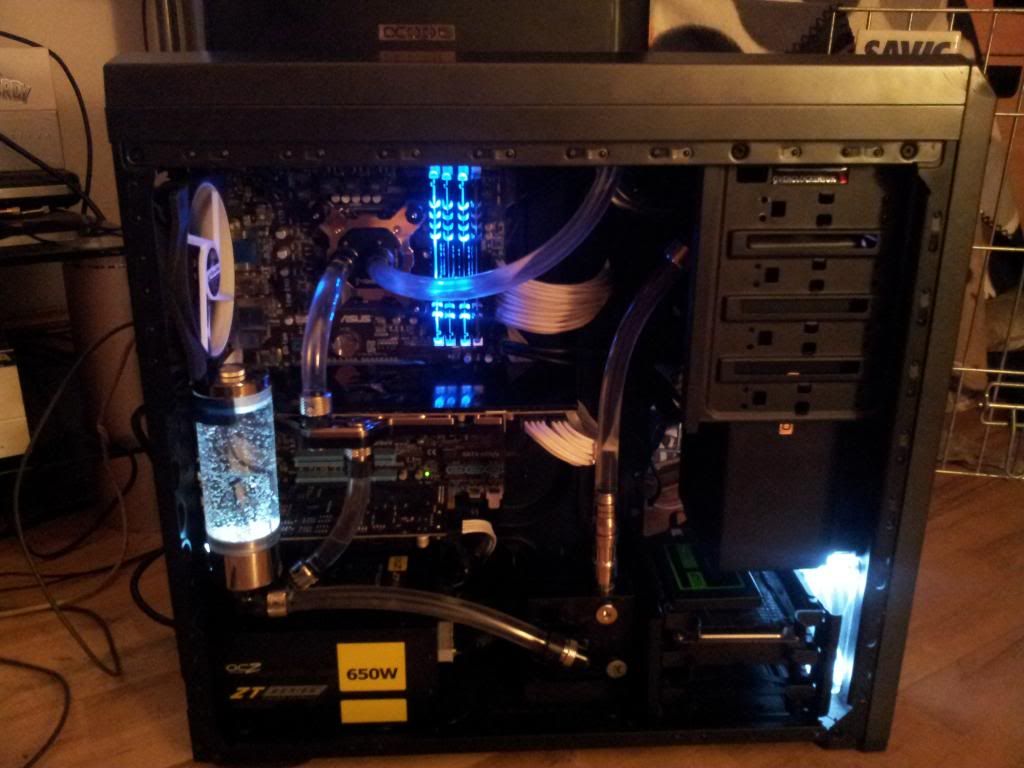
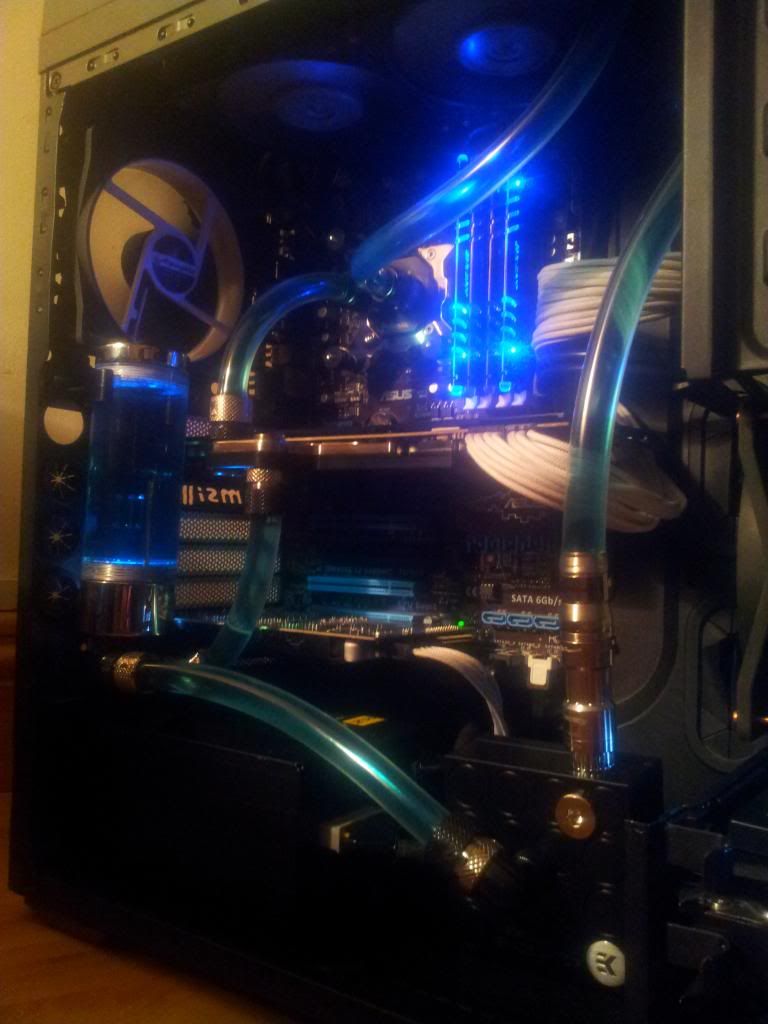
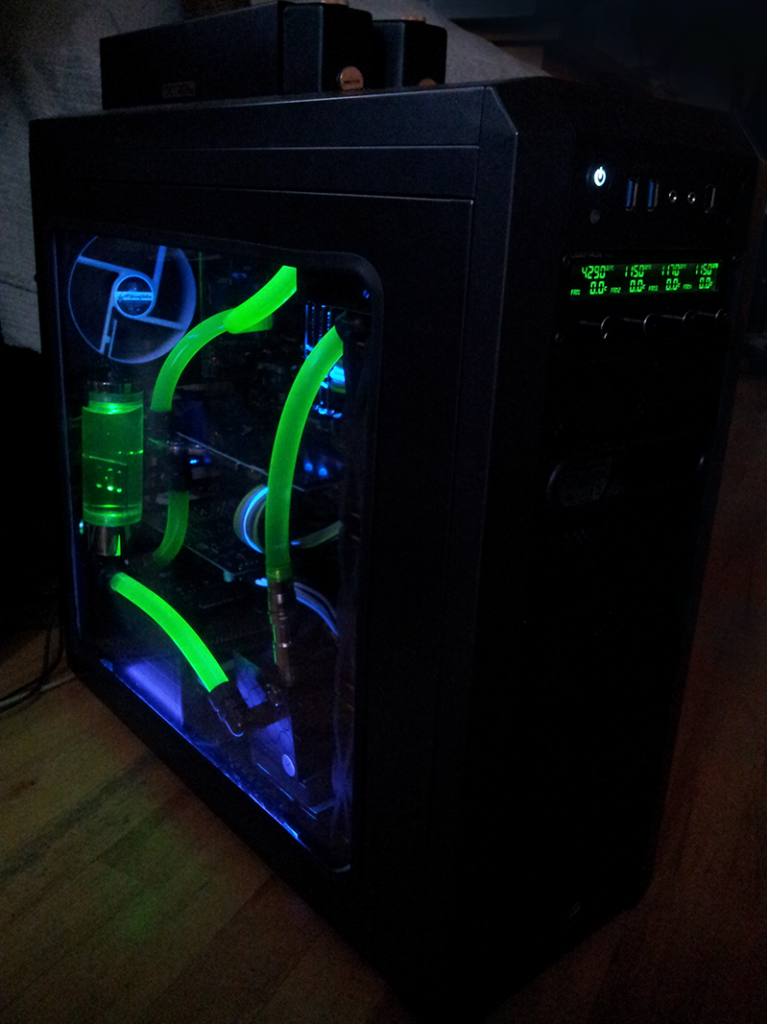
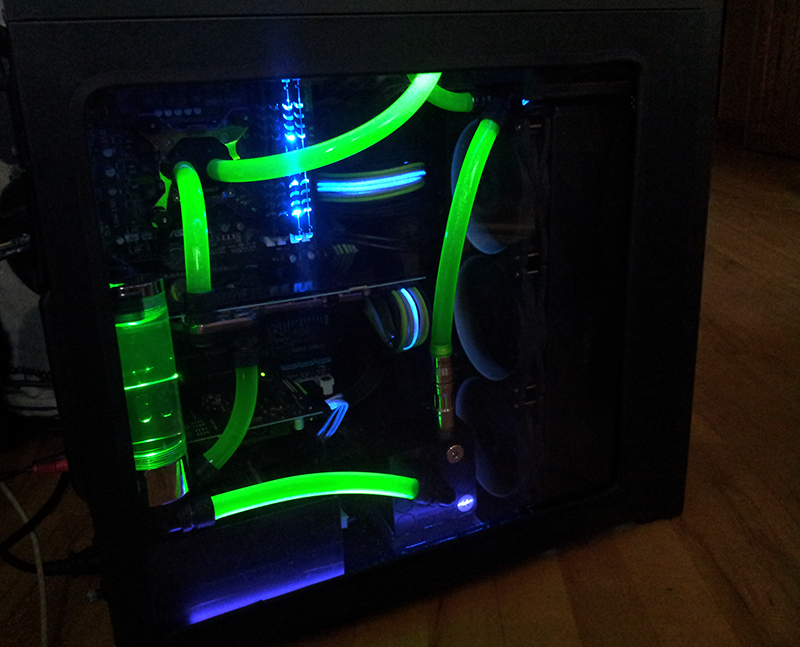
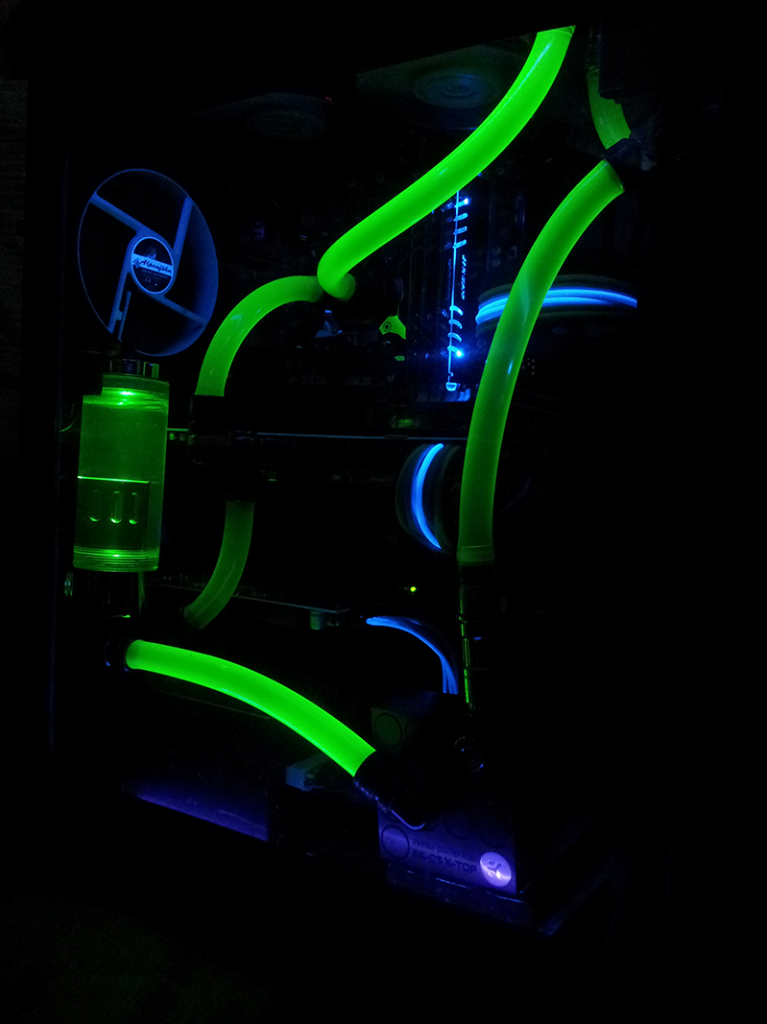
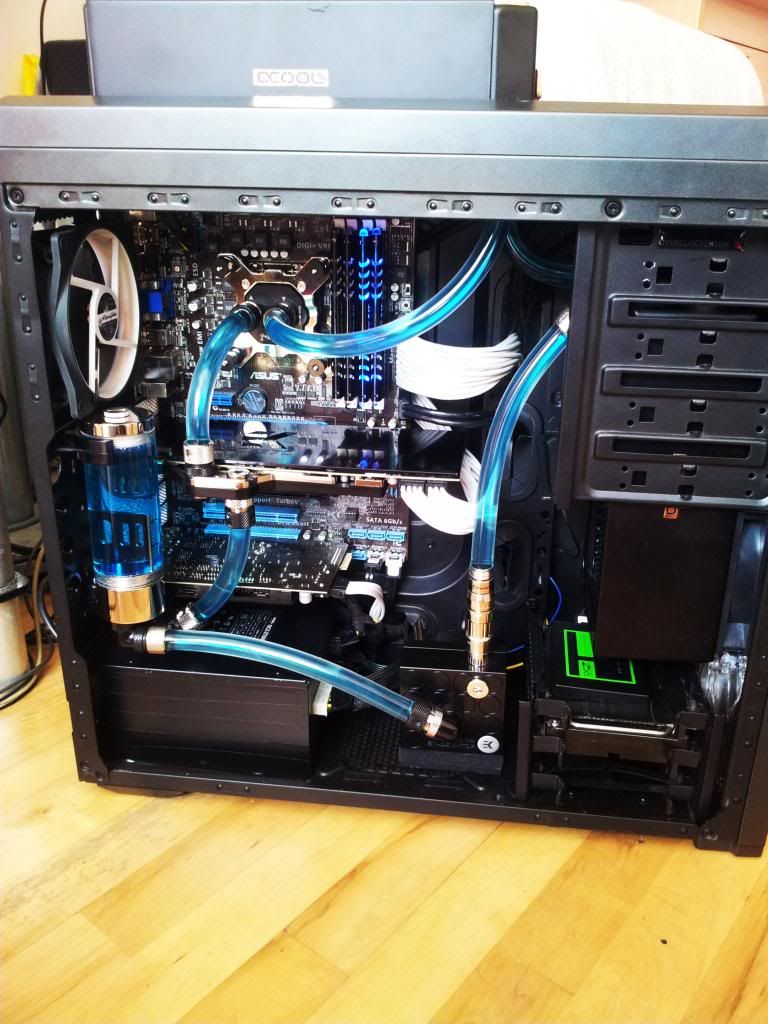
Full WC component list
- Koolance 380i Cpu Block
- EK FC7970 Block + Backplate
-2x 240mm Alphacool Monsta Rads 360+240 Monsta Rads
- Phobya 150 Reservoir
- EK D5 Pump top
- XSPC D5 Vario pump
- EK 45° + 90° rotary fittings
- EK compression fittings
- Koolance VL3N-FG Quick Release Connector Female G1/4
- Koolance VL3N-M13B Quick Disconnect Male Barb for ID 13mm (1/2in)
- Phobya Noise Destructor V.1 (the pad under the pump)
- XSPC UV green 7/16 5/8 tubing
- Mayhems X1 clear coolant
+ A couple of LED G1/4 lighting modules and a twin 5mm white LED cable for the reservoir.
Looked great with clear coolant, but the blue dye killed the lighting effect Edit: Turns out the LEDs just went bad..
Thanks to Tonester (GPU block/backplate, Scythe GT's and rotary fittings), Space Monkey (CPU block and pump top) and Fireisdangerous (Most of the compression fittings) for your MM bargains that made this possible
So, the arch-aircooler finally gets around to dipping a toe in the wet stuff

I honestly don't need to improve my CPU or VGA temps or anything, it's just that building a loop looks like a lot of fun and I can't resist any more, so here goes!
So far, we have:
- Koolance 380i Cpu Block
- EK FC7970 Block + Backplate
- 2x 240mm Alphacool Monsta Rads *giggle*
- Phobya 150 Reservoir
- EK D5 CSQ Pump top
- A bunch of EK compression & rotary fittings.

Soon to come:
-
-
-
Stay tuned to find out how this all gets shoehorned into a Corsair 500R and expect plenty of pics


EDIT:
Full WC component list
- Koolance 380i Cpu Block
- EK FC7970 Block + Backplate
-
- Phobya 150 Reservoir
- EK D5 Pump top
- XSPC D5 Vario pump
- EK 45° + 90° rotary fittings
- EK compression fittings
- Koolance VL3N-FG Quick Release Connector Female G1/4
- Koolance VL3N-M13B Quick Disconnect Male Barb for ID 13mm (1/2in)
- Phobya Noise Destructor V.1 (the pad under the pump)
- XSPC UV green 7/16 5/8 tubing
- Mayhems X1 clear coolant
+ A couple of LED G1/4 lighting modules and a twin 5mm white LED cable for the reservoir.
Looked great with clear coolant, but the blue dye killed the lighting effect
 Edit: Turns out the LEDs just went bad..
Thanks to Tonester (GPU block/backplate, Scythe GT's and rotary fittings), Space Monkey (CPU block and pump top) and Fireisdangerous (Most of the compression fittings) for your MM bargains that made this possible

Last edited:


