You are using an out of date browser. It may not display this or other websites correctly.
You should upgrade or use an alternative browser.
You should upgrade or use an alternative browser.
Monsta 500R - The further adventures of Petey
- Thread starter Uncle Petey
- Start date
More options
Thread starter's posts- Joined
- 22 Jul 2012
- Posts
- 16,128
- Location
- London
Replied to your trust, Illuz.
@silk300
I should mention that the bottom of the case needed cutting to allow the rad to sit low enough to line up with the fan screw holes.
Sorry I didn't post pics of that.
In all honesty, I didn't do the greatest job with the tools I had and made the hole a little too wide on one side. Right now, the gap is covered with a strip of electrical tape and it's next to invisible.
If you were to take greater care than I did and perhaps use a dremel, it'd be a piece of cake to get it bang on.
Or you could just cut new screw holes about 5mm or so higher than the existing ones and have the fans sit slightly higher.
If you cut the floor, you can still drain the rad from the bottom port though.
- Joined
- 22 Jul 2012
- Posts
- 16,128
- Location
- London
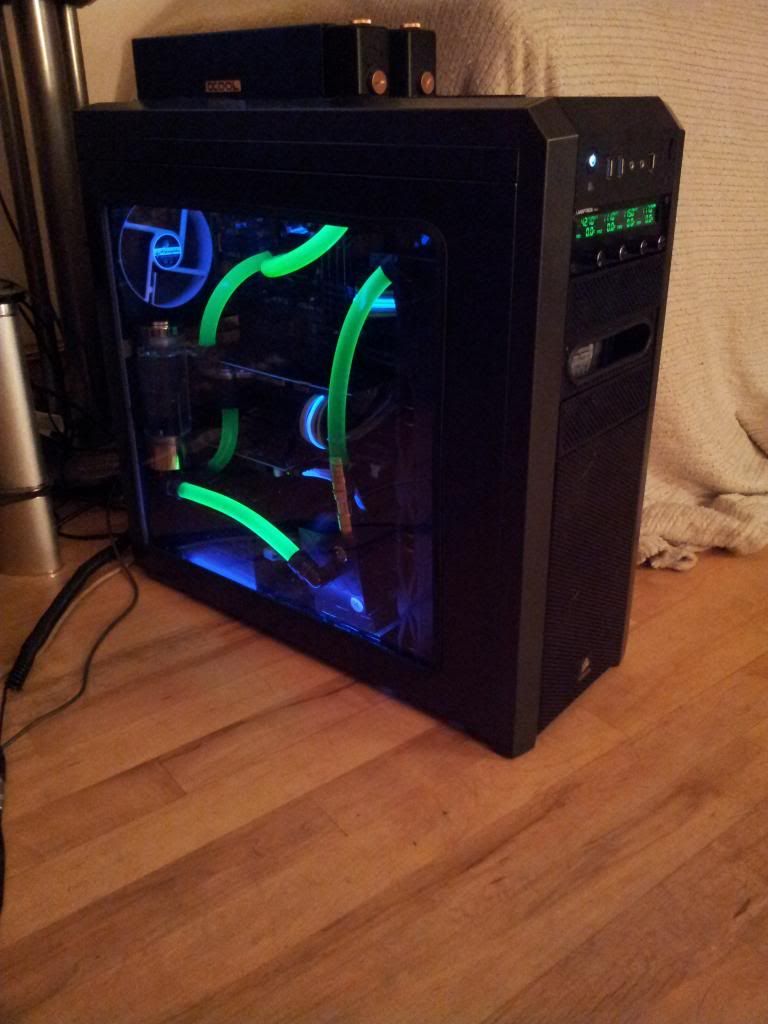
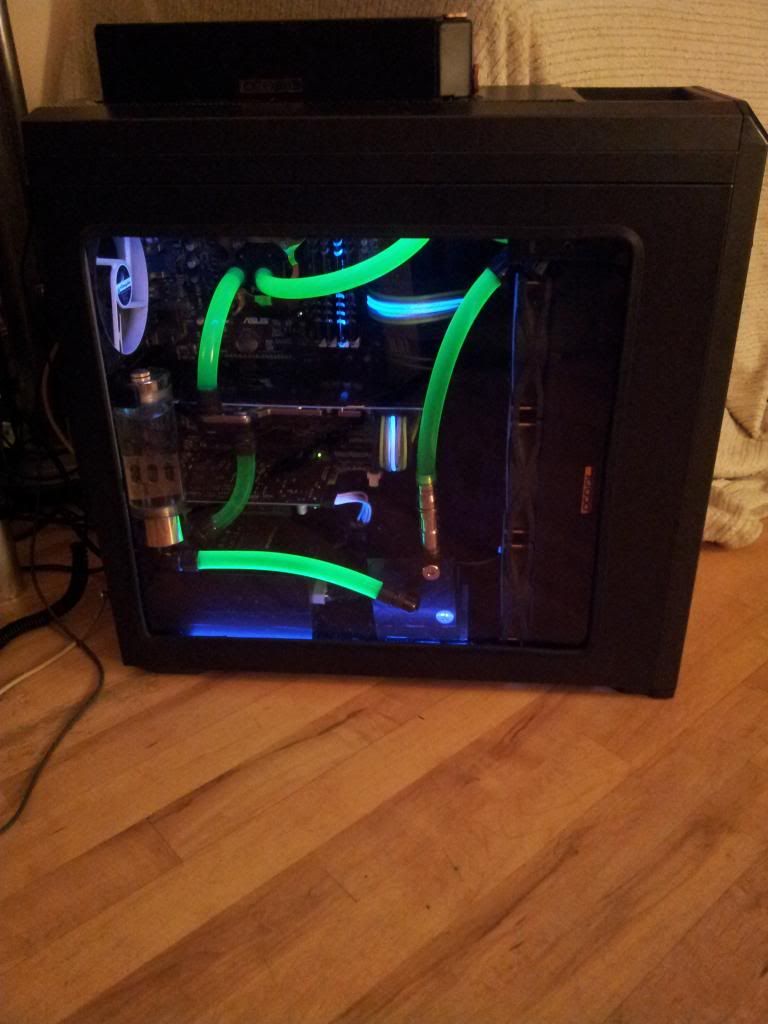
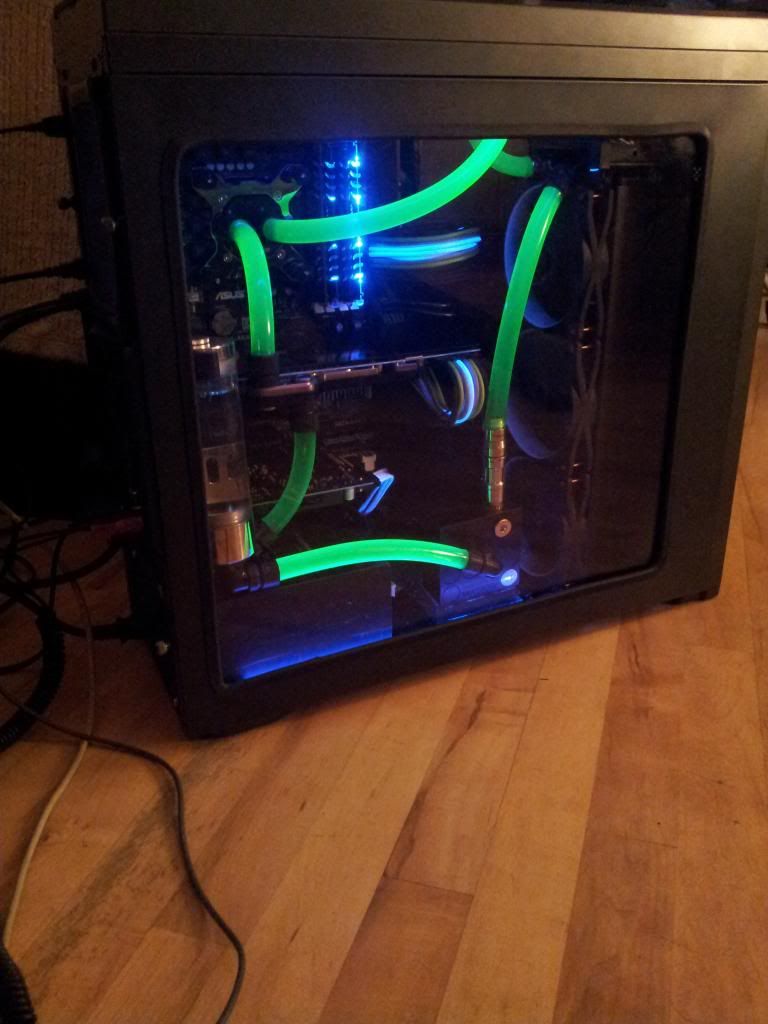
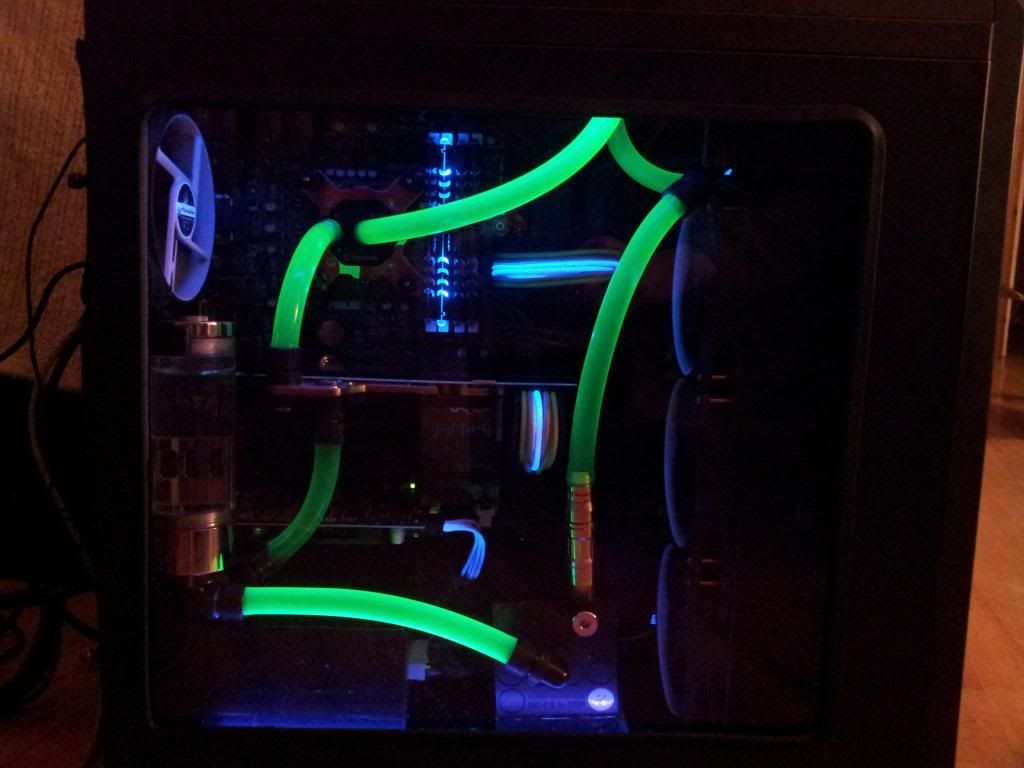
Here's what I've been up to 
I'll get some daylight pics tomorrow.


The UV glow looks a lot nicer in person. Blast my crappy camera...
I switched the front rad to exhaust and put the original mesh back without the inner filter mesh and it doesn't seem to restrict the air too much.
The 5.25" bezels were replaced with some lian li's I had lying around, again, with the filters removed.
I tried a little experiment with cutting an oval hole and lining it with edge trim, but seeing as they didn't restrict too much anyway, I didn't bother with the rest.
There were plans to get Coldzero to make me a custom, two-tone front mesh to cover the entire length of the front panel up to the fan controller, but they haven't got back to me and this seems fine, not to mention free
I originally had another UV cathode under the GPU which gave all the tubing a uniform glow. Looked great, but it caused interference issues with the graphics output. Scared the crap out of me. Thought my card had gone belly up but it was ok after removing the light and giving it 5 minutes. Phew!
Oh, and I got some custom cable extensions made which actually work out cheaper than the Bitfenix extensions I had there previously... Alas, the green stripes aren't UV reactive, but they look nice in daylight when the UV's off.

I'll get some daylight pics tomorrow.


The UV glow looks a lot nicer in person. Blast my crappy camera...
I switched the front rad to exhaust and put the original mesh back without the inner filter mesh and it doesn't seem to restrict the air too much.
The 5.25" bezels were replaced with some lian li's I had lying around, again, with the filters removed.
I tried a little experiment with cutting an oval hole and lining it with edge trim, but seeing as they didn't restrict too much anyway, I didn't bother with the rest.
There were plans to get Coldzero to make me a custom, two-tone front mesh to cover the entire length of the front panel up to the fan controller, but they haven't got back to me and this seems fine, not to mention free

I originally had another UV cathode under the GPU which gave all the tubing a uniform glow. Looked great, but it caused interference issues with the graphics output. Scared the crap out of me. Thought my card had gone belly up
 but it was ok after removing the light and giving it 5 minutes. Phew!
Oh, and I got some custom cable extensions made which actually work out cheaper than the Bitfenix extensions I had there previously... Alas, the green stripes aren't UV reactive, but they look nice in daylight when the UV's off.
Last edited:
- Joined
- 22 Jul 2012
- Posts
- 16,128
- Location
- London
Thanks a lot mate. Not sure it deserves such high praise, but I'll take it 
Replaced the pics with slightly better ones. Wish I had a DSLR... My phone just isn't cutting it.
ED; Forgot the temps
Looping heaven for half an hour with the GPU at 1200/1800 1.238v and the cpu at 4.5ghz:
GPU core: 37°C
VRM1: 42°C
VRM2: 35°C
Not sure about the CPU in heaven tbh, but an hour of prime95 @4.5ghz 1.376v (yeah, auto voltage...) gets to about 45°C.
Room temp around 20°C.

Replaced the pics with slightly better ones. Wish I had a DSLR... My phone just isn't cutting it.
ED; Forgot the temps

Looping heaven for half an hour with the GPU at 1200/1800 1.238v and the cpu at 4.5ghz:
GPU core: 37°C
VRM1: 42°C
VRM2: 35°C
Not sure about the CPU in heaven tbh, but an hour of prime95 @4.5ghz 1.376v (yeah, auto voltage...) gets to about 45°C.
Room temp around 20°C.
Last edited:
- Joined
- 22 Jul 2012
- Posts
- 16,128
- Location
- London
Hehe, it's called the Monsta 500R for a reason 
Seriously though, they're great but I doubt that they offer significantly better results than a good 45-60mm rad. I just had to have them is all.
Ps, I checked out that slightly bent fin and it's so minor, it really wasn't worth mentioning. There when you want it mate

Seriously though, they're great but I doubt that they offer significantly better results than a good 45-60mm rad. I just had to have them is all.
Ps, I checked out that slightly bent fin and it's so minor, it really wasn't worth mentioning. There when you want it mate

Seriously though, they're great but I doubt that they offer significantly better results than a good 45-60mm rad. I just had to have them is all.
Ps, I checked out that slightly bent fin and it's so minor, it really wasn't worth mentioning. There when you want it mate
I know exactly what you mean...


No bother at all man, cheers!
- Joined
- 22 Jul 2012
- Posts
- 16,128
- Location
- London
I couldn't contain the monsta 

Looks good m8, them rads look great, really wanna swap mine for them now....I was gonna do exactly the same thing regarding removing all the HDD trays and sticking a big rad in hte front as i wanted to go all SSD, but i couldnt afford a Big SSD yet so just sneaked a 120 rad in underneath them.
- Joined
- 22 Jul 2012
- Posts
- 16,128
- Location
- London
Cheers mate.
Yeah, I can't afford a massive ssd right now either, so I just stuck the hdd in an external caddy and tucked the ssd behind the front rad.
Btw, the top rad looks far bulkier in the pics than it does in reality.
Could've been conventional and stuck a 30mm rad inside the case or gone with a 45mm and it'd only have stuck out by 10mm. Screw convention I say

- Joined
- 22 Jul 2012
- Posts
- 16,128
- Location
- London
Luckily, there were a couple of perfectly placed, pre-existing holes there already. If not, I'd have just drilled them myself.
- Joined
- 22 Jul 2012
- Posts
- 16,128
- Location
- London
 It was great fun. Shame I'm pretty much finished now...
Not sure what's going on with the res lighting though. In the first build it lit up really well, then I put the blue dye in and it dulled it down. Now I've gone back to clear liquid and it's barely visible even in low light.
Baffled... Might have to stick another lighting module in the top cap and see how it looks.
Associate
- Joined
- 2 Jul 2012
- Posts
- 1,115
- Location
- Berkshire, UK
That looks awesome!
- Joined
- 22 Jul 2012
- Posts
- 16,128
- Location
- London
Ta very much 
Just wish the pics did it proper justice

Just wish the pics did it proper justice


