Hi all,
I've mentioned in the Amiga thread that I used to own one when I was younger when about 10-12 years old. Previously I had a C64c. It was the Silca pack which came with a few games and over time was lucky my parents let me add in the extra 512K memory, second floppy drive (very useful for multi disk games) and the CDROM which bolts on the left side which was amazing. My brother had one as well and we had them linked up with a null modem cable for multiplayer games - I especially remember dual split screen 4 player Lotus!
I have no idea what happened to my much loved machine, I eventually moved onto a PC with Windows 95.
Anyway so there is the back story. In the last year I've been following more and more YouTube retro channels and watching loads of videos of various computers and consoles and always had this thought that it would be nice to have another Amiga 500+ again. I've tried various emulators over the years and found they took ages to set up and get working with each game and you didn't spend much time actually enjoying the games. If the C64 Mini was better then that may have scratched my itch for a while but sometimes you can't beat the real thing, you know?
So last week I hunted around and was toying either getting an A500+ which was untested/for spares and fix it or one which is working but is cosmetically not great. I chose the latter as I'm no good with a soldering iron and have no testing kits so although that'll be nice to learn, at least this time around I will just keep to simpler fixes.
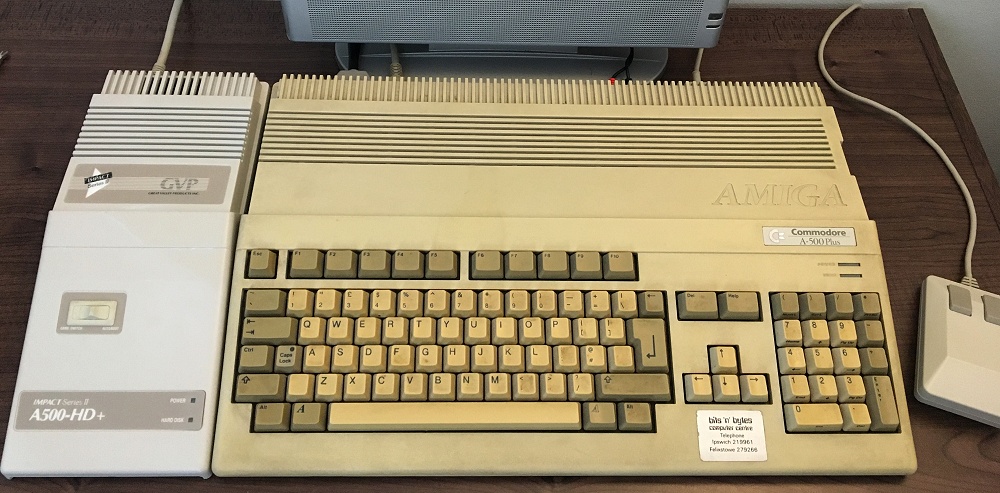
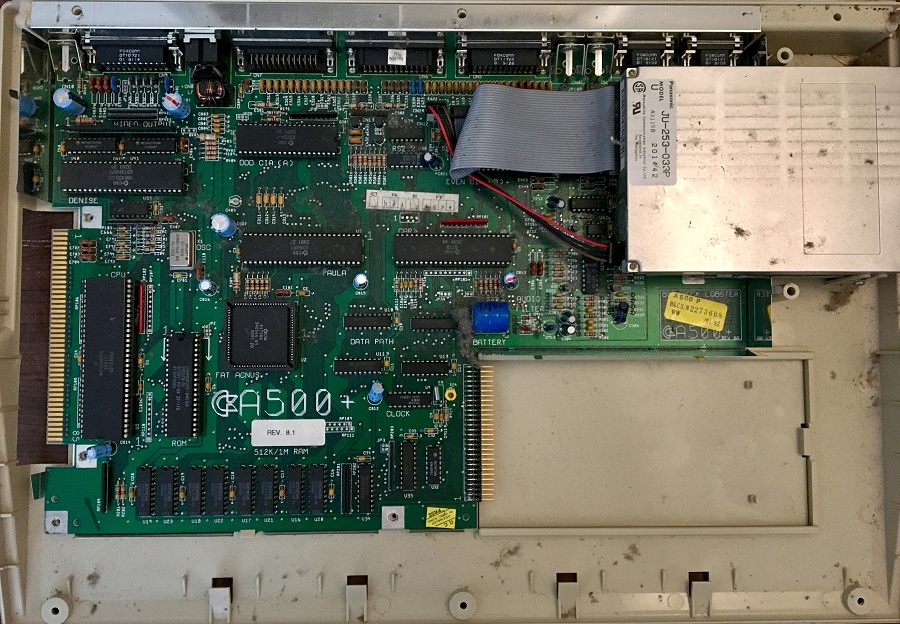
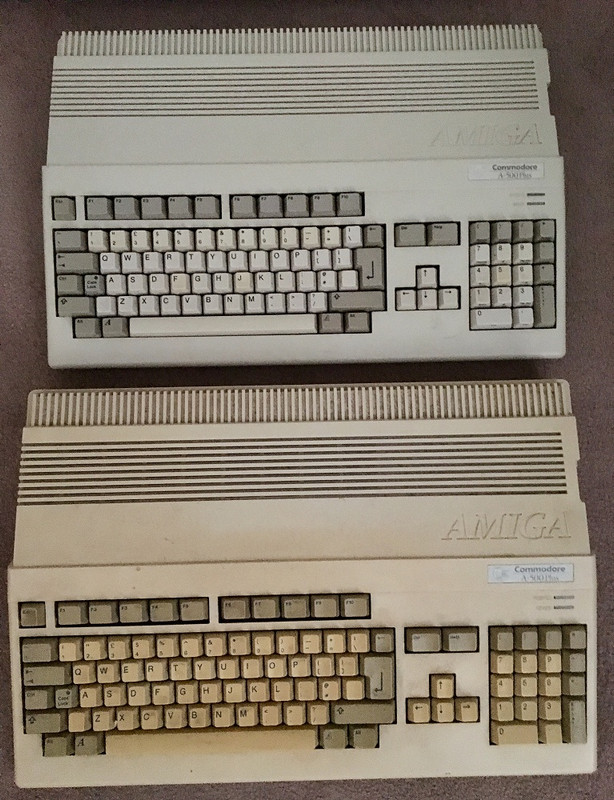
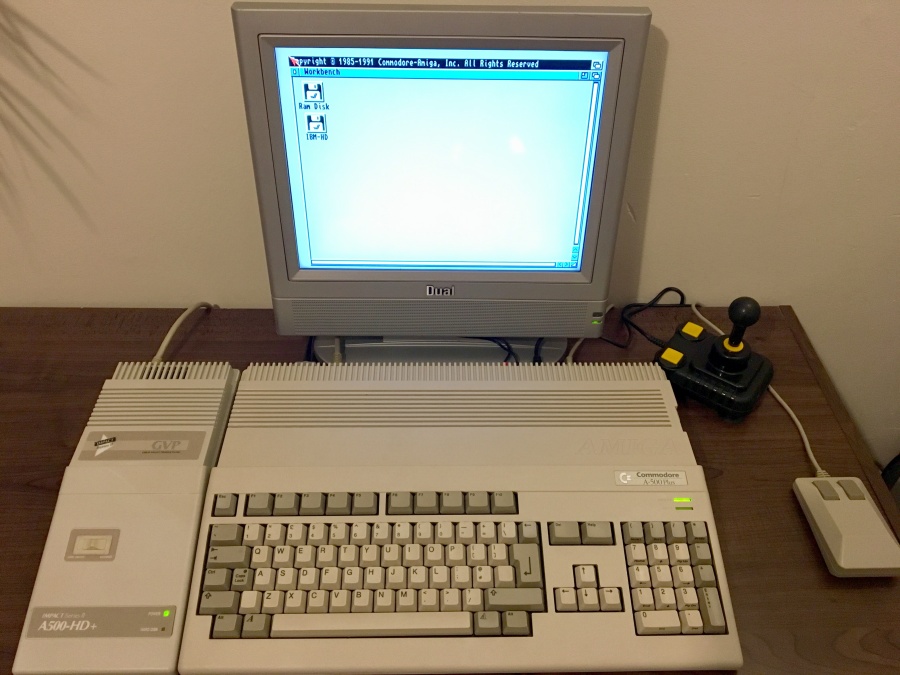
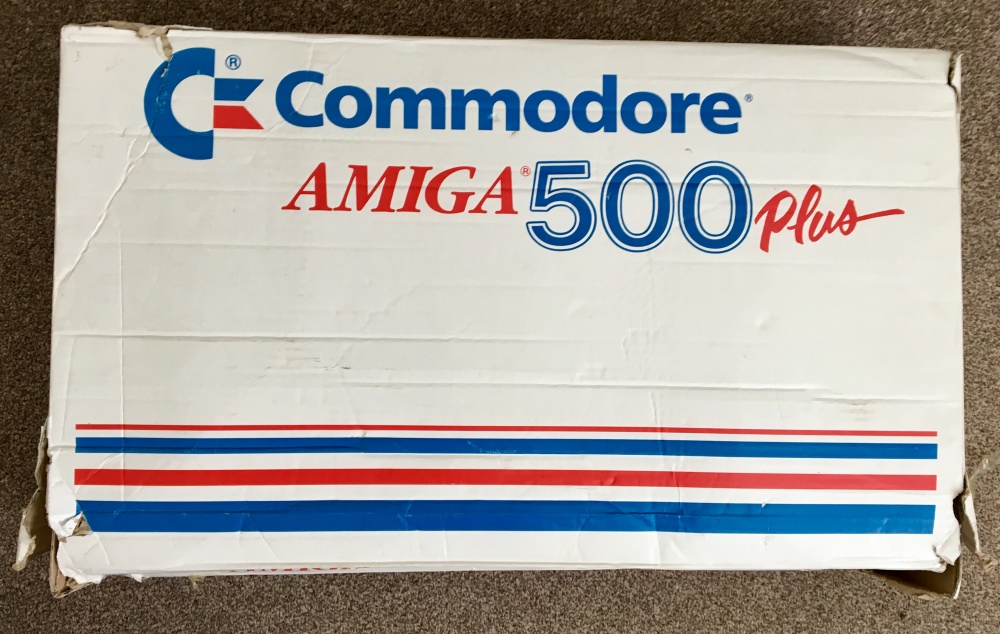
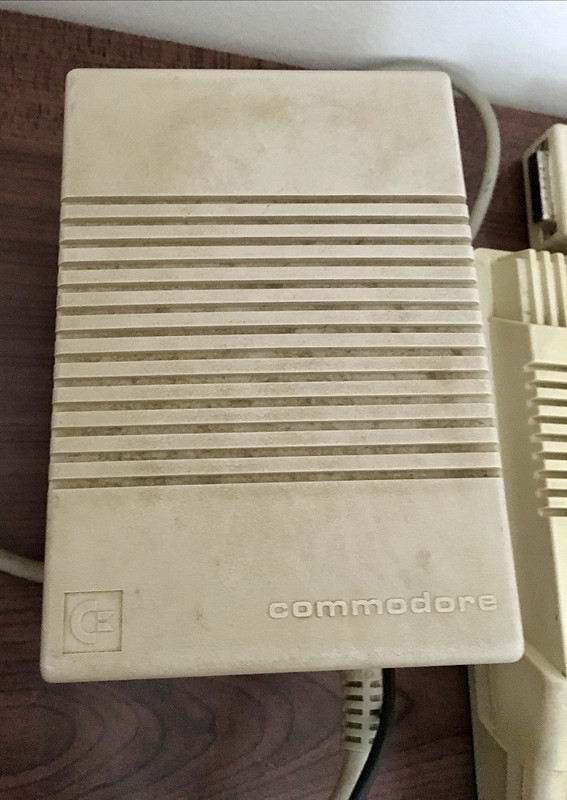
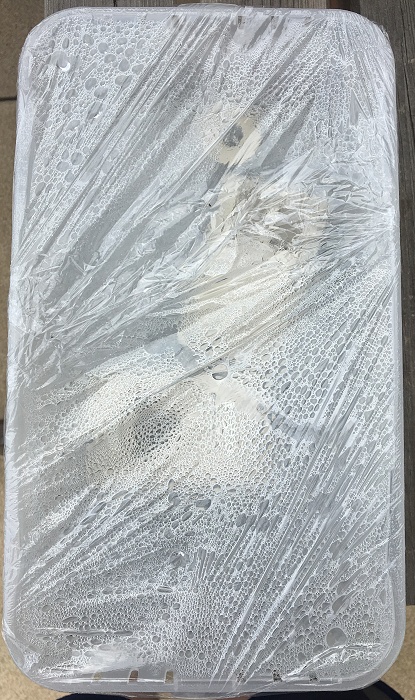
Today the beast arrived. She is a dirty one alright For the sum of £80 I got a boxed A500+ with powerpack and RF modulator:
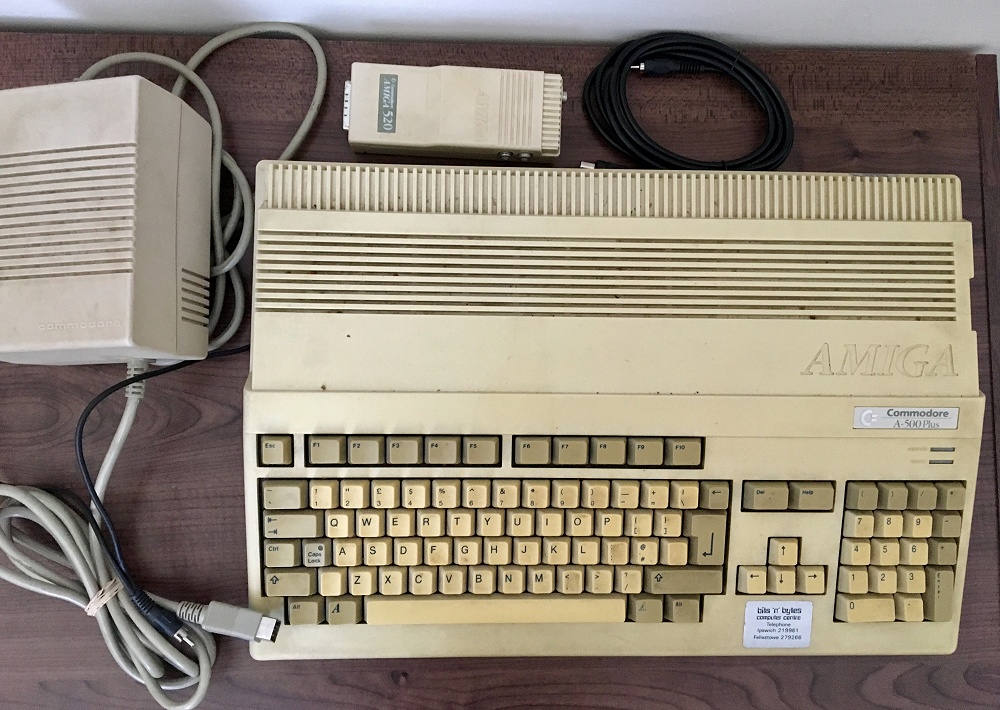
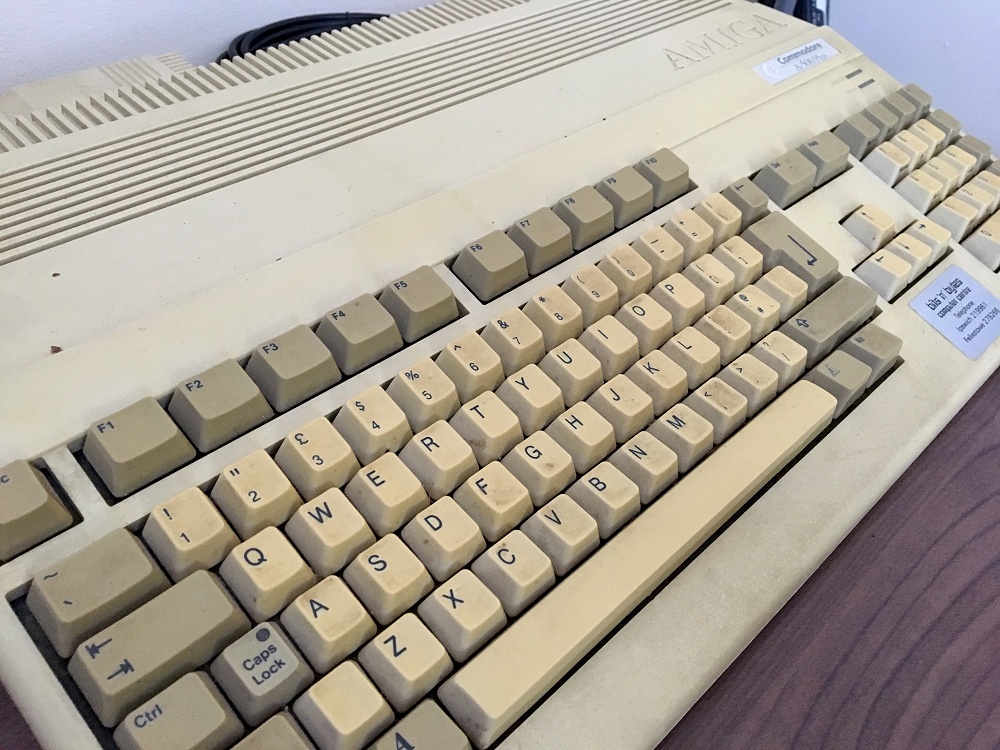
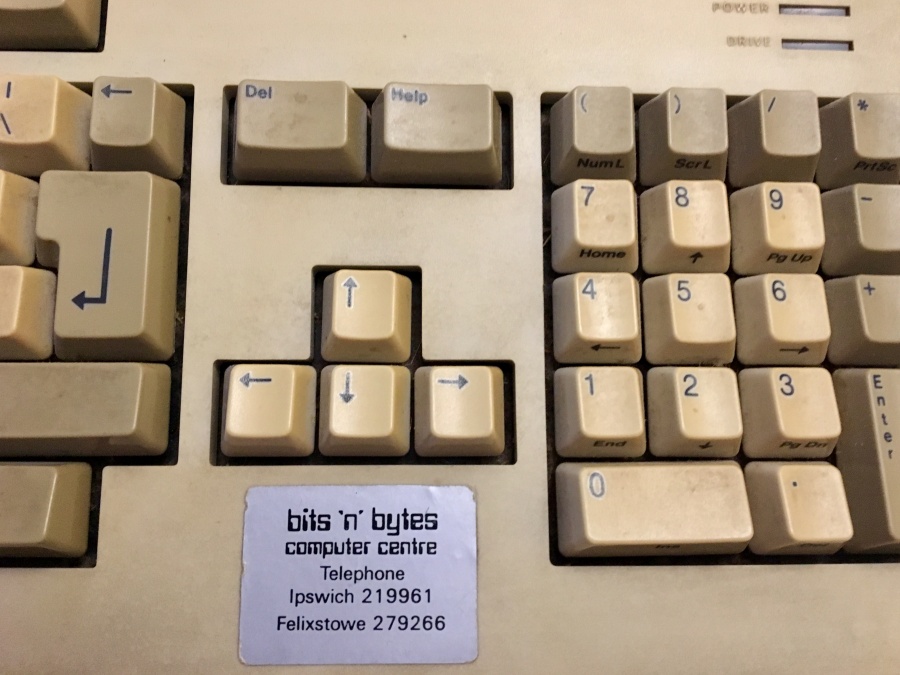
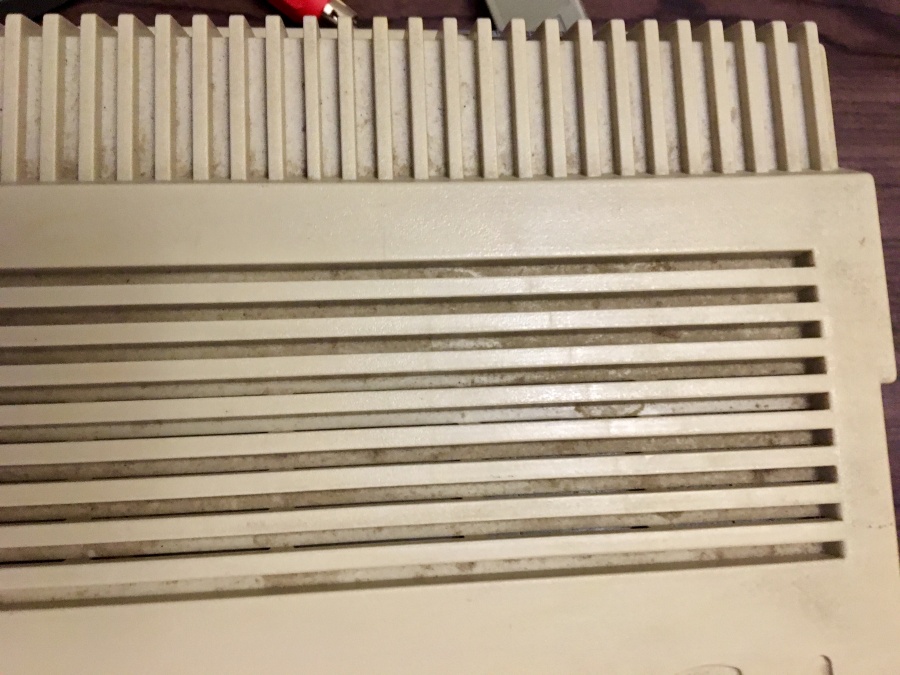
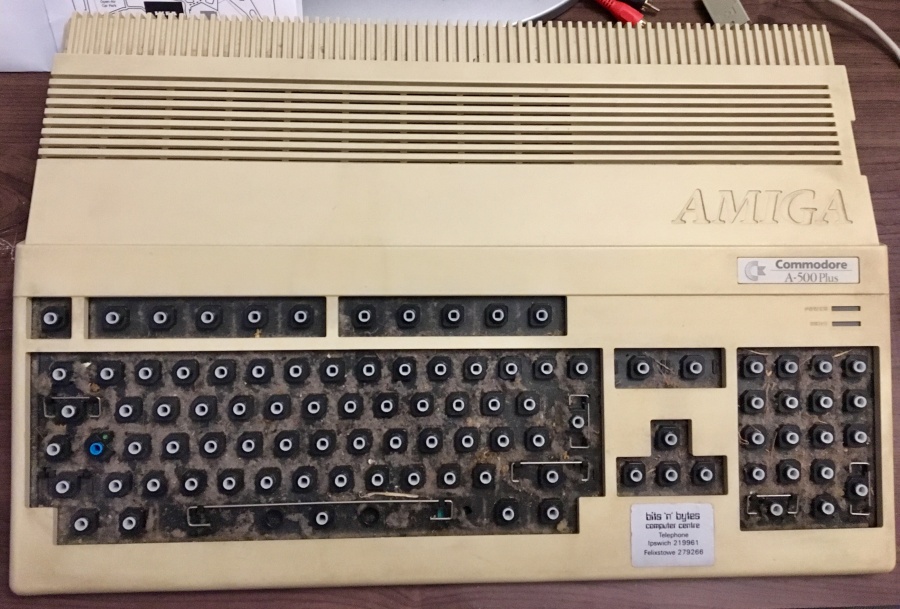
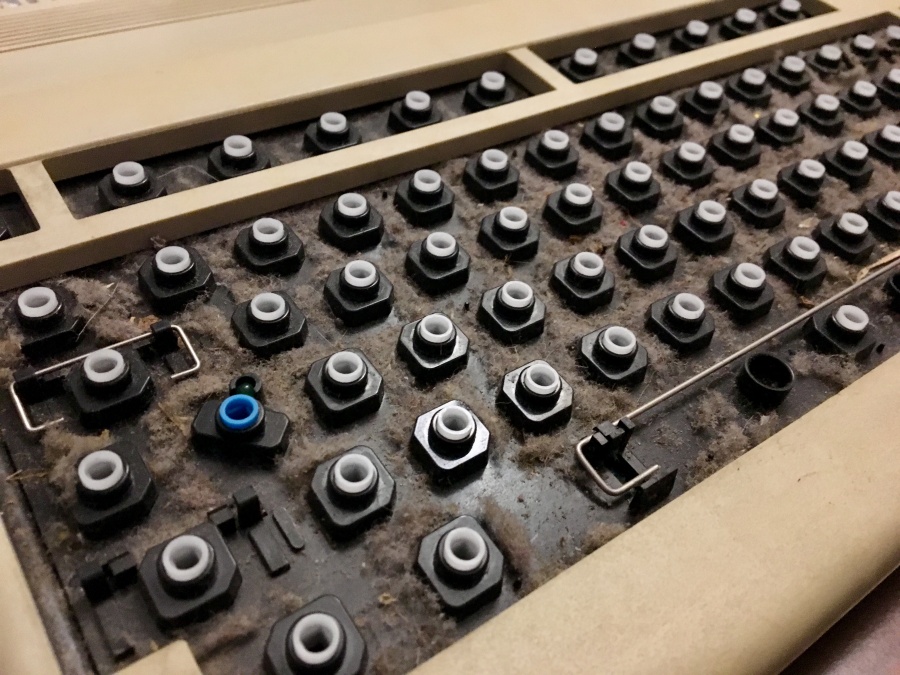
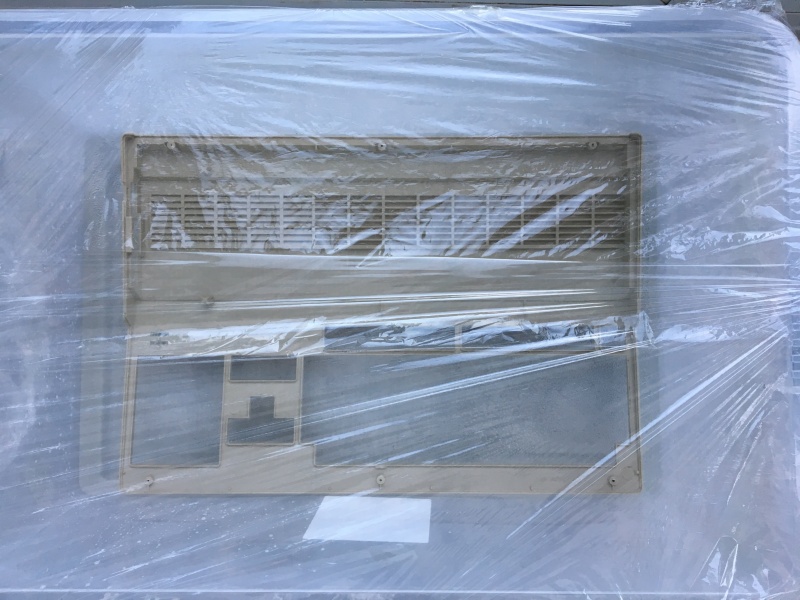
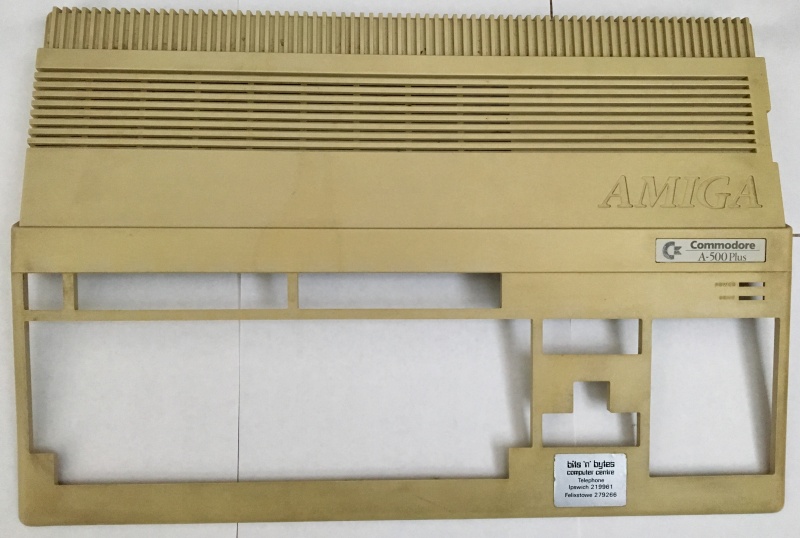
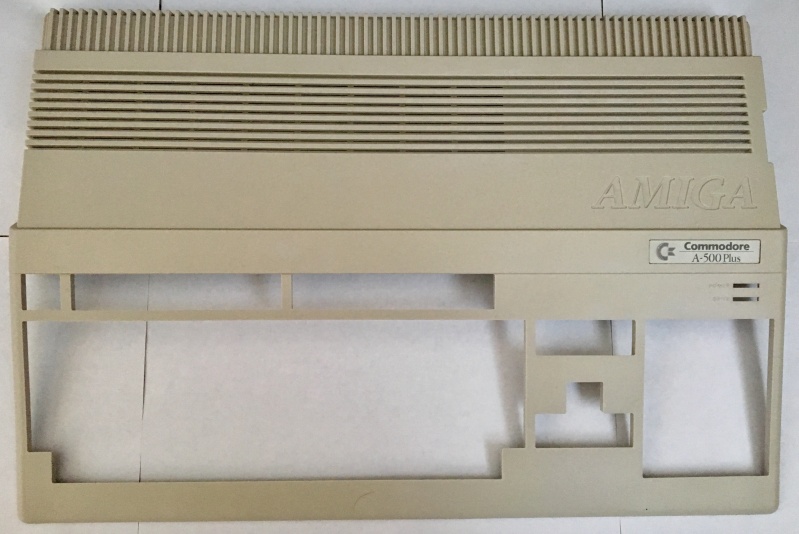
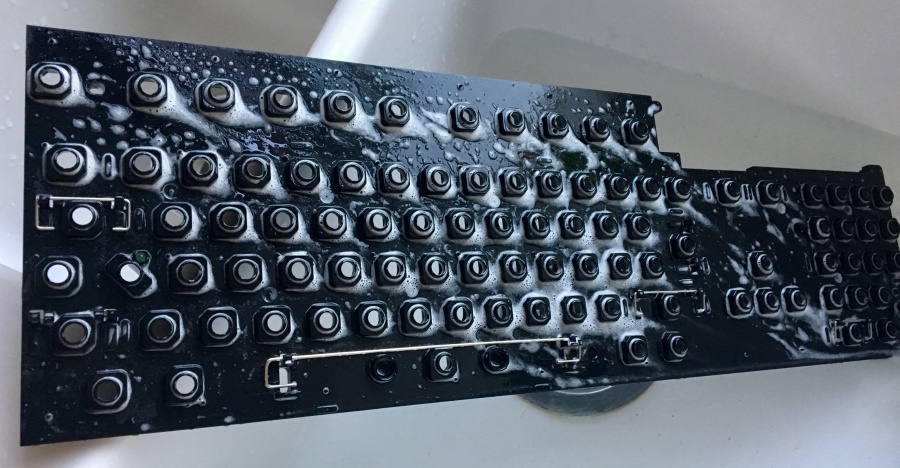
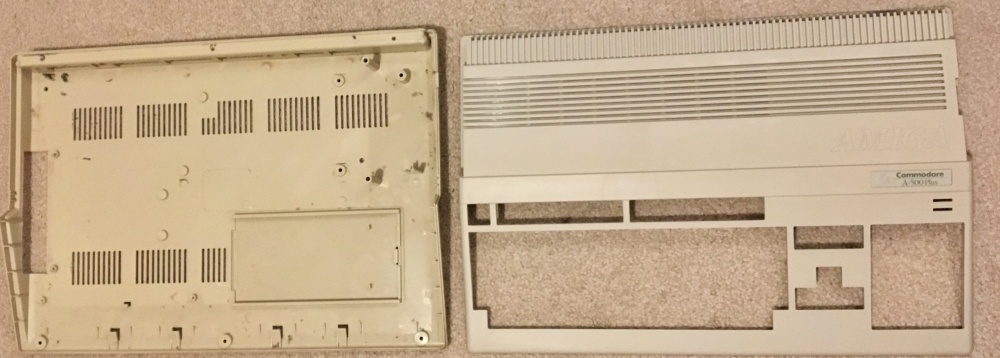
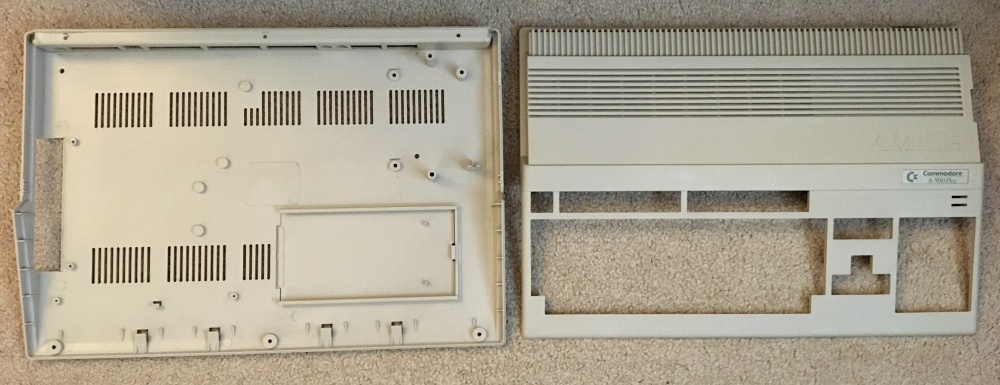
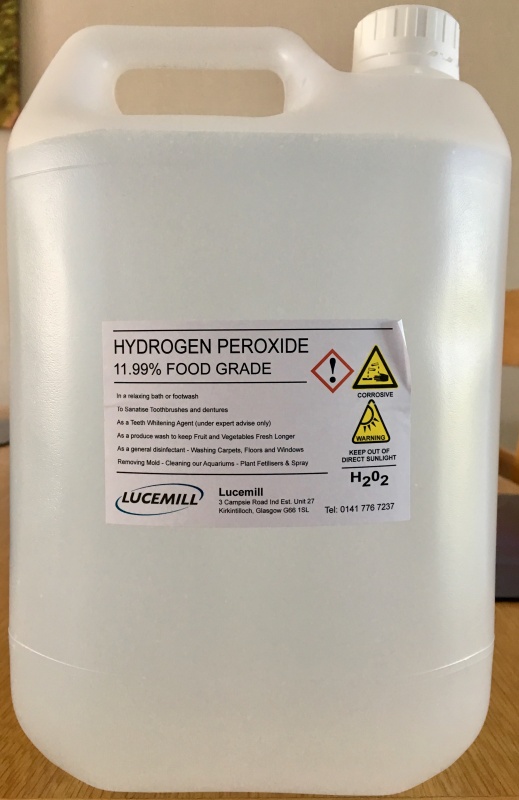
As you can see it will need a deep clean first including getting rid of the labels and stickers and other gunk - inside and out. The yellowing on this, especially on the keys, is particularly impressive. As I knew what was coming, I read up again on the best retro brighting methods and will be doing a post on that soon..
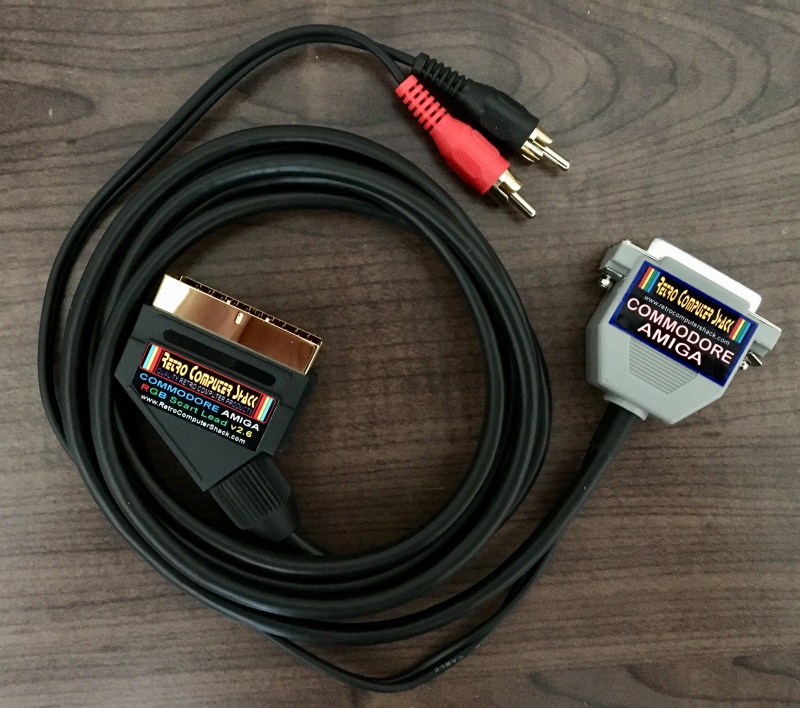
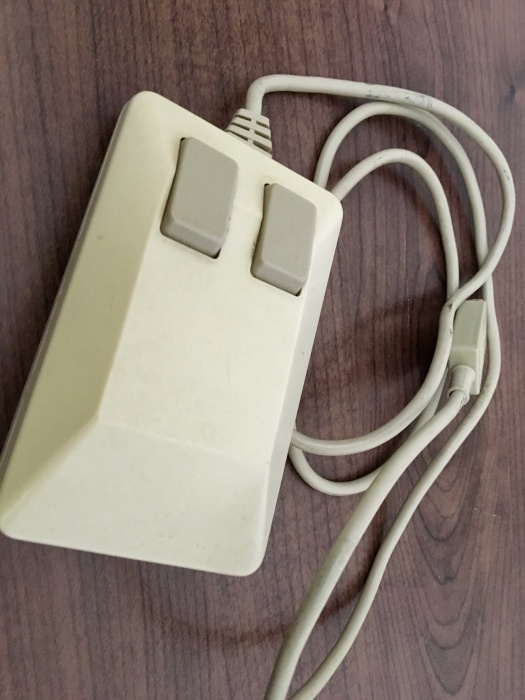
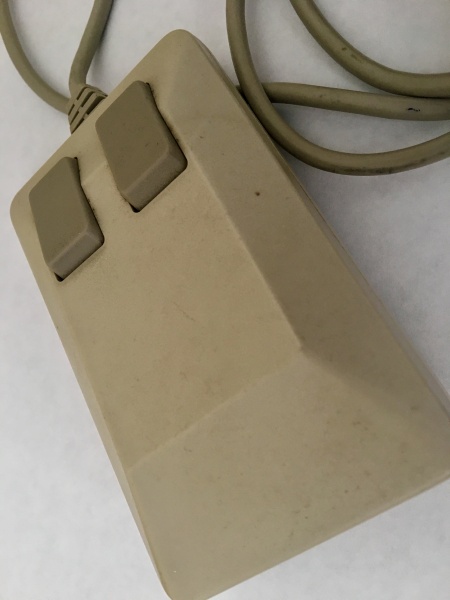
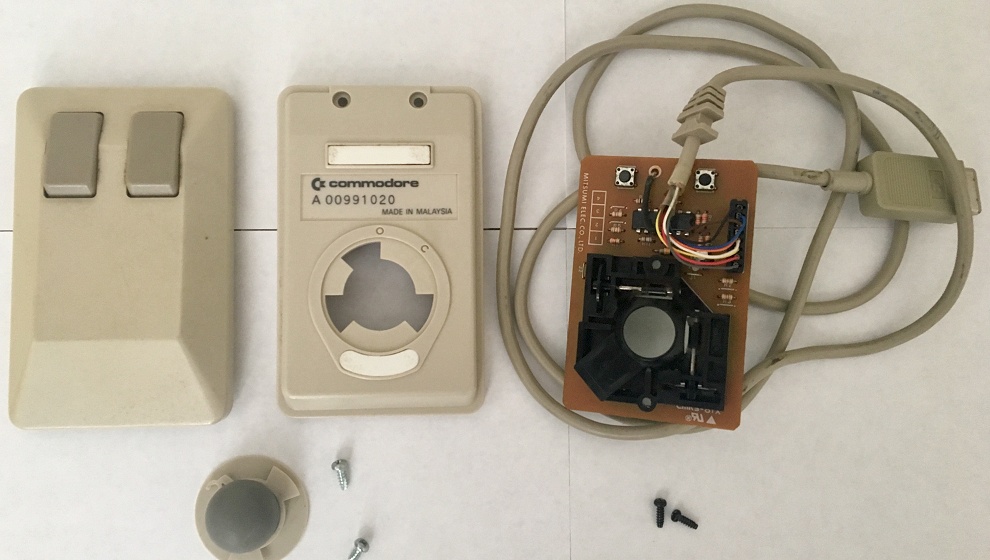
For now though I'm waiting on a mouse and cables to connect to a TV or monitor I don't yet have There are a surprising amount of things you have to think and get when dealing with an older machine. I'll update the thread once the cables arrive and with my screen set up.. there are loads of ways of doing it but have decided on what is generally the most straight forward and cheapest.
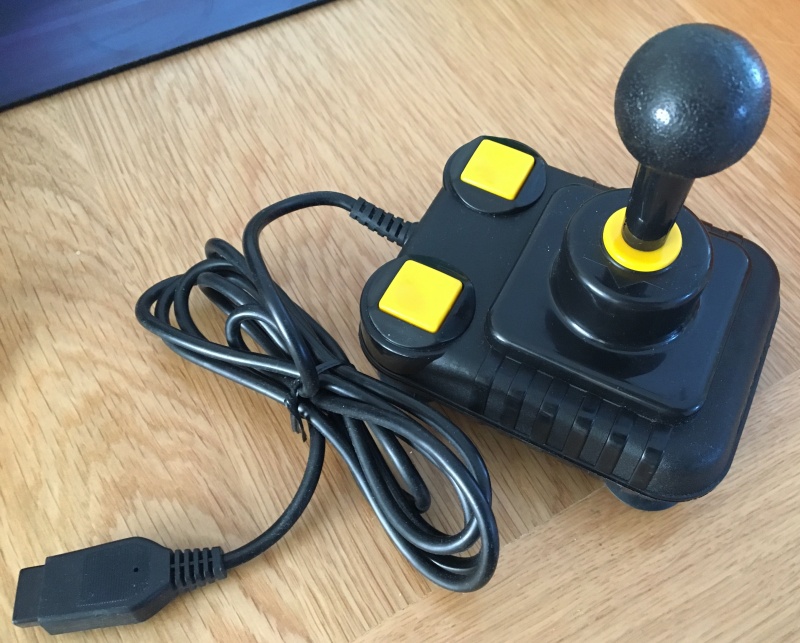
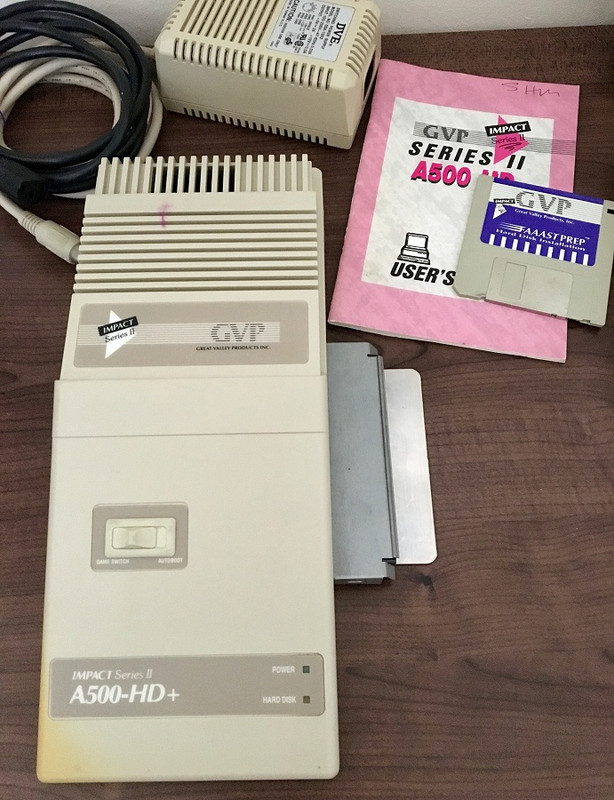
I have one other original thing on the way which isn't what I had before but does attach on the side expansion connector.. any guesses?
I've mentioned in the Amiga thread that I used to own one when I was younger when about 10-12 years old. Previously I had a C64c. It was the Silca pack which came with a few games and over time was lucky my parents let me add in the extra 512K memory, second floppy drive (very useful for multi disk games) and the CDROM which bolts on the left side which was amazing. My brother had one as well and we had them linked up with a null modem cable for multiplayer games - I especially remember dual split screen 4 player Lotus!
I have no idea what happened to my much loved machine, I eventually moved onto a PC with Windows 95.
Anyway so there is the back story. In the last year I've been following more and more YouTube retro channels and watching loads of videos of various computers and consoles and always had this thought that it would be nice to have another Amiga 500+ again. I've tried various emulators over the years and found they took ages to set up and get working with each game and you didn't spend much time actually enjoying the games. If the C64 Mini was better then that may have scratched my itch for a while but sometimes you can't beat the real thing, you know?
So last week I hunted around and was toying either getting an A500+ which was untested/for spares and fix it or one which is working but is cosmetically not great. I chose the latter as I'm no good with a soldering iron and have no testing kits so although that'll be nice to learn, at least this time around I will just keep to simpler fixes.
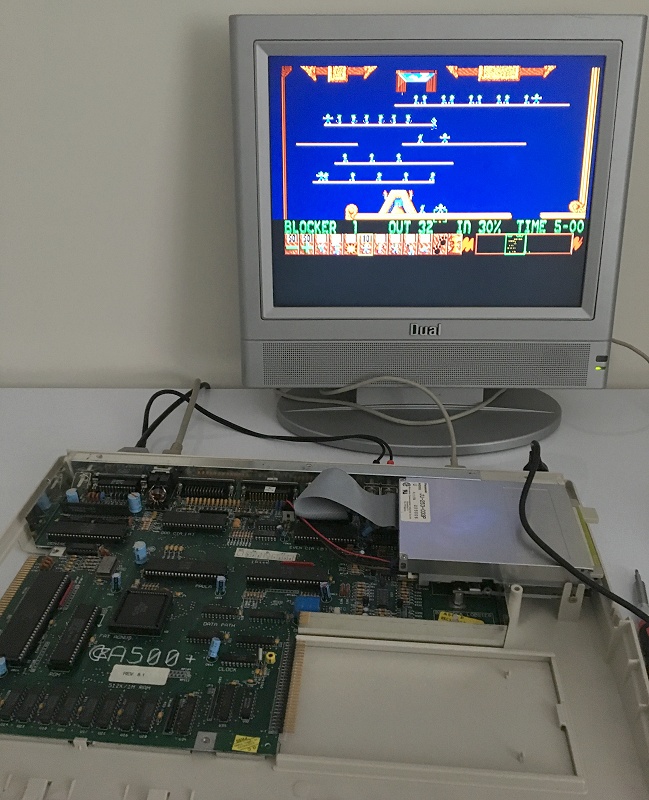
Today the beast arrived. She is a dirty one alright
For the sum of £80 I got a boxed A500+ with powerpack and RF modulator:As you can see it will need a deep clean first including getting rid of the labels and stickers and other gunk - inside and out. The yellowing on this, especially on the keys, is particularly impressive. As I knew what was coming, I read up again on the best retro brighting methods and will be doing a post on that soon..
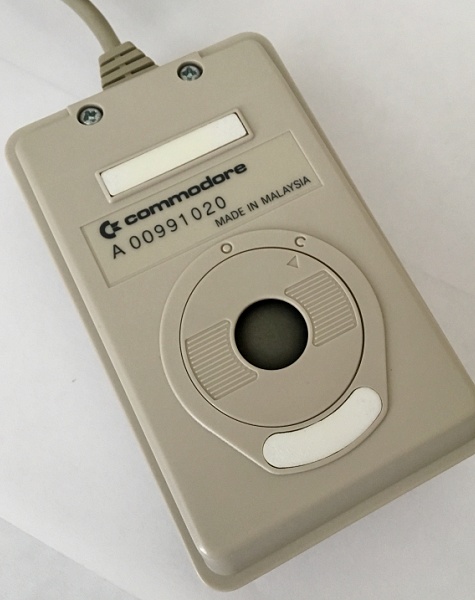
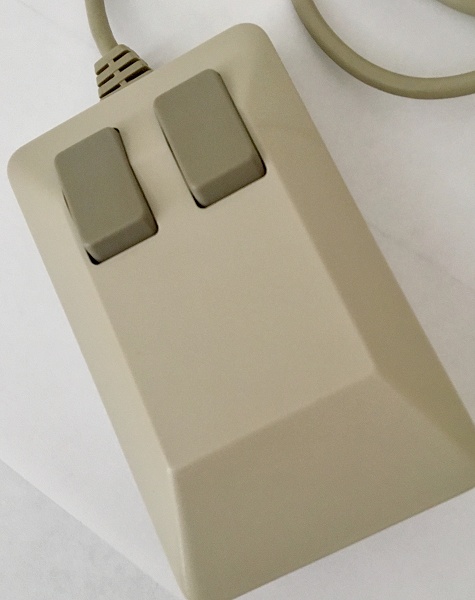
For now though I'm waiting on a mouse and cables to connect to a TV or monitor I don't yet have
There are a surprising amount of things you have to think and get when dealing with an older machine. I'll update the thread once the cables arrive and with my screen set up.. there are loads of ways of doing it but have decided on what is generally the most straight forward and cheapest.I have one other original thing on the way which isn't what I had before but does attach on the side expansion connector.. any guesses?
Last edited:


") There were a load of folders on there including 'games' but sadly they were empty - damn it! But its great to know the disk is working.
There were a load of folders on there including 'games' but sadly they were empty - damn it! But its great to know the disk is working.