Another update, flying along here today!
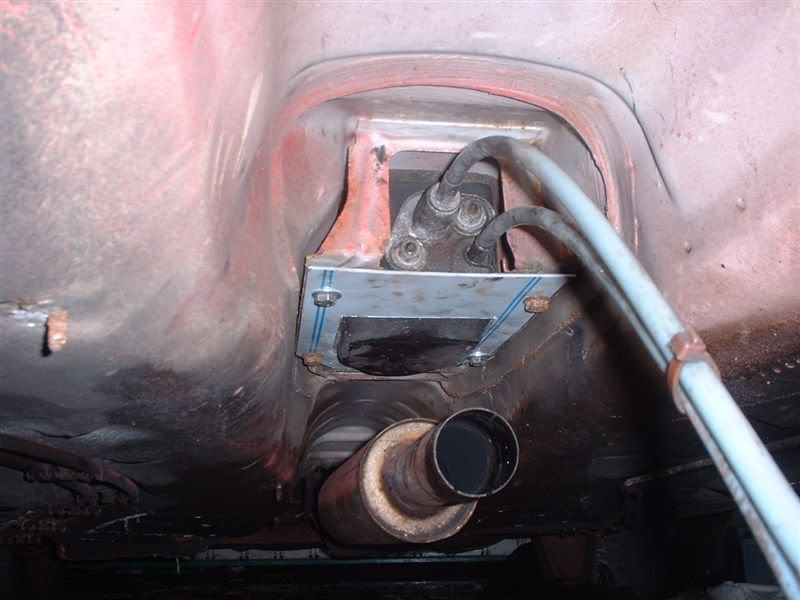
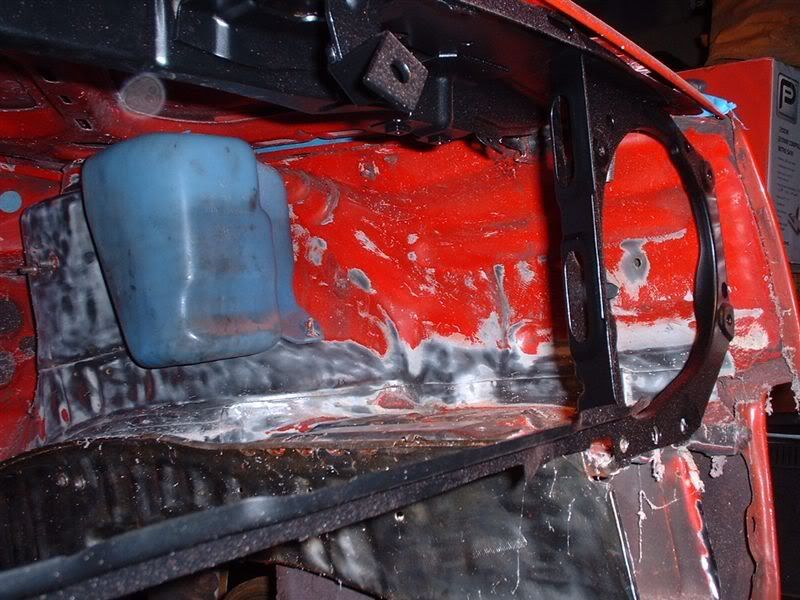
I need to move the battery from the passenger side to the drivers side as the 20V engine air filter will be on the passenger side and it will impossible to have the washer bottle, battery and air filter in the same place.
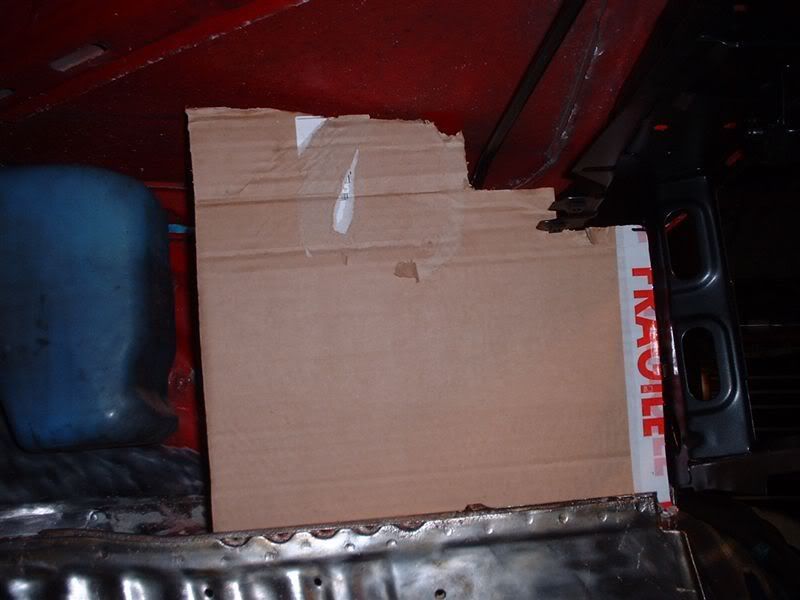
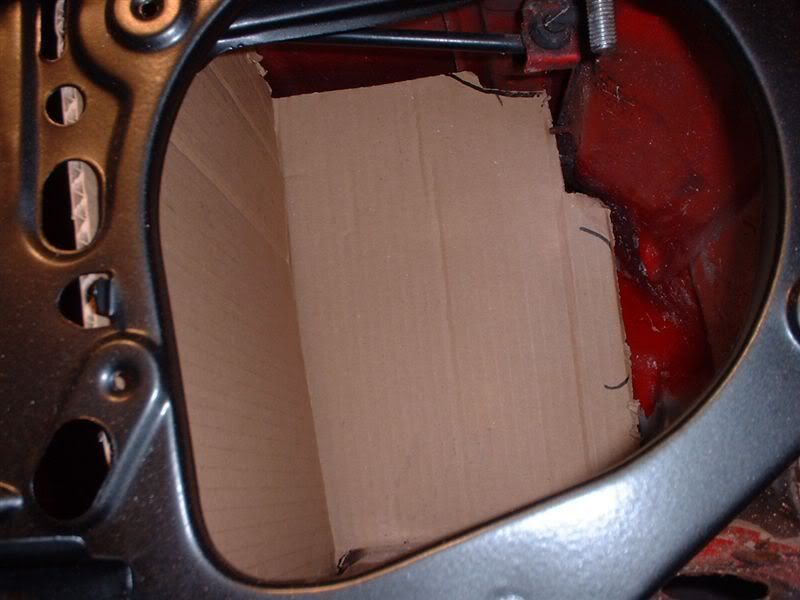
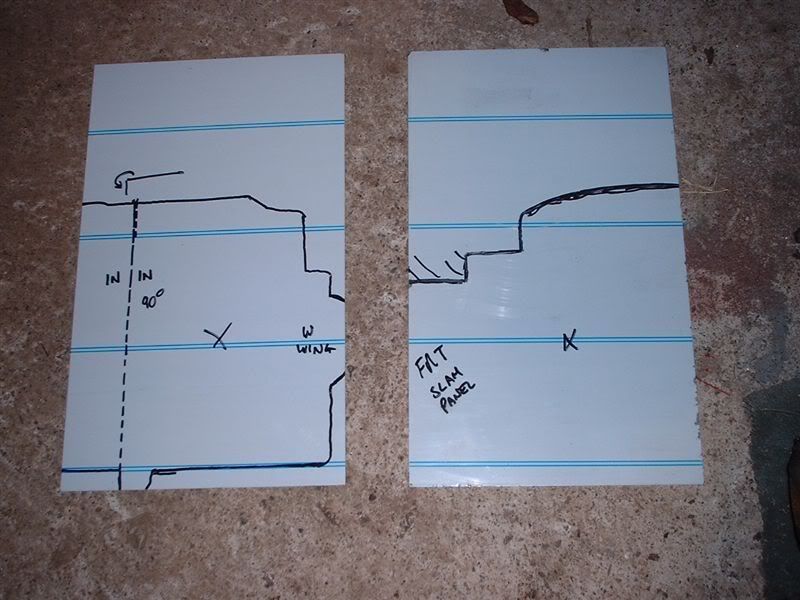
So I've removed the battery bracket and air box brackets from the engine bay. I will need to get the battery bracket welded on the drivers side. This is how I went about it:
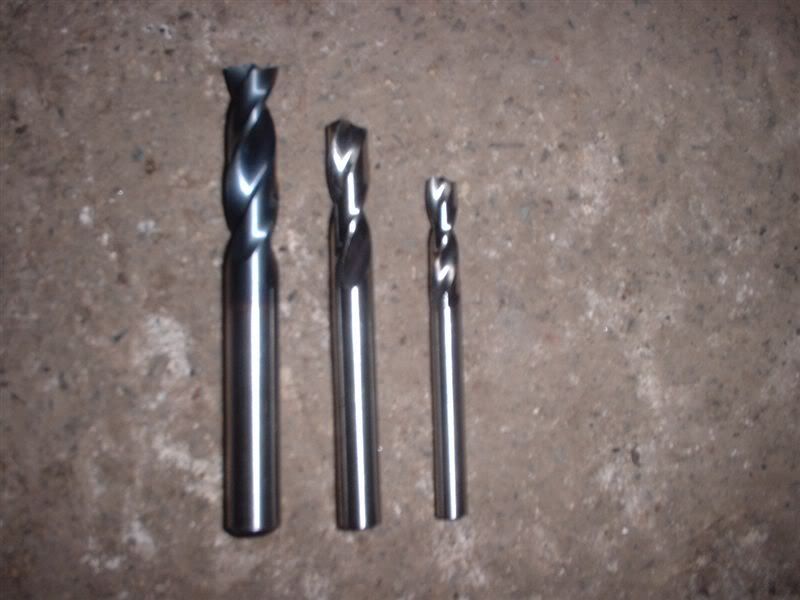
Spot weld drill bits
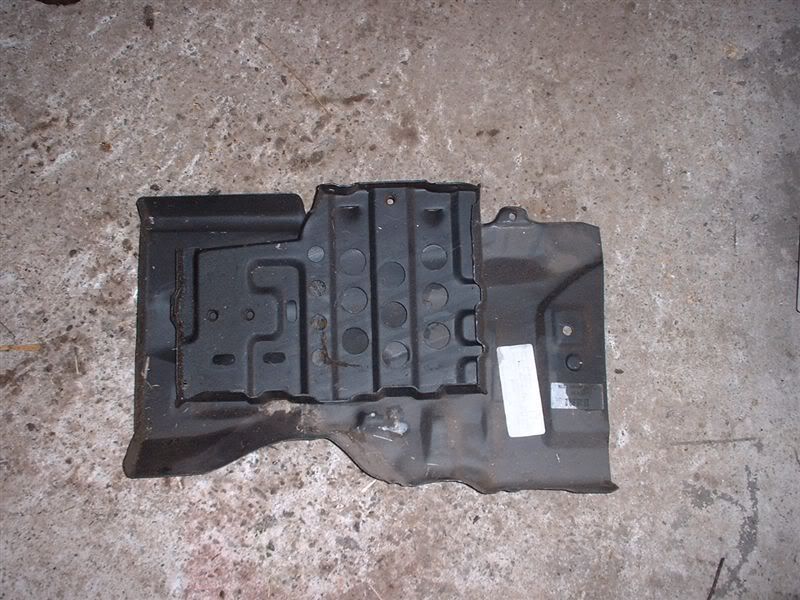
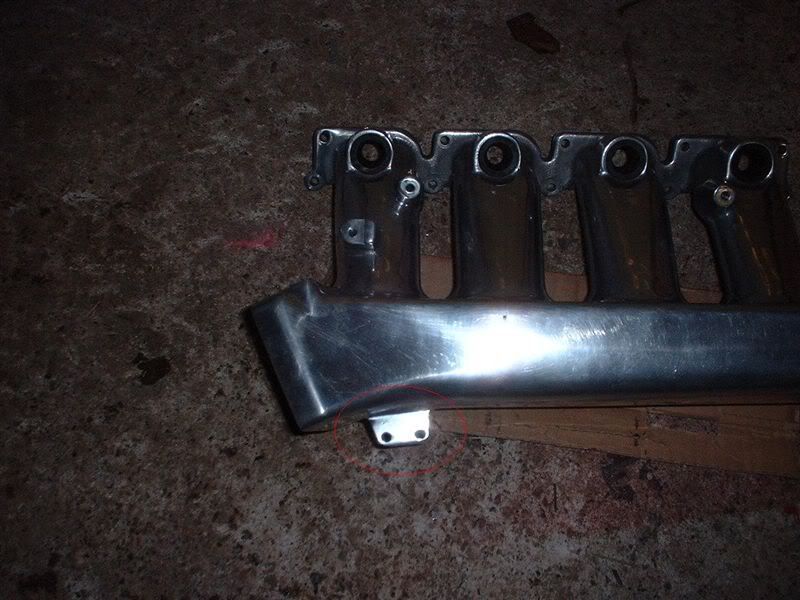
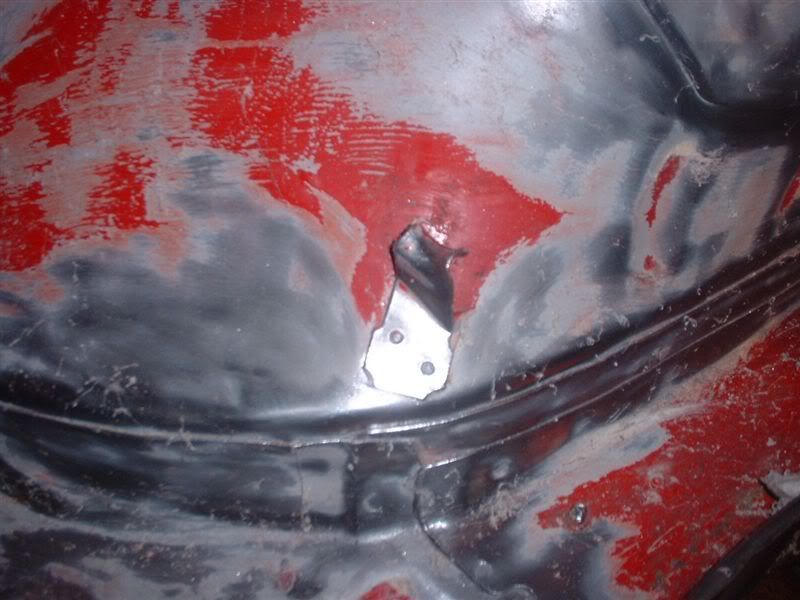
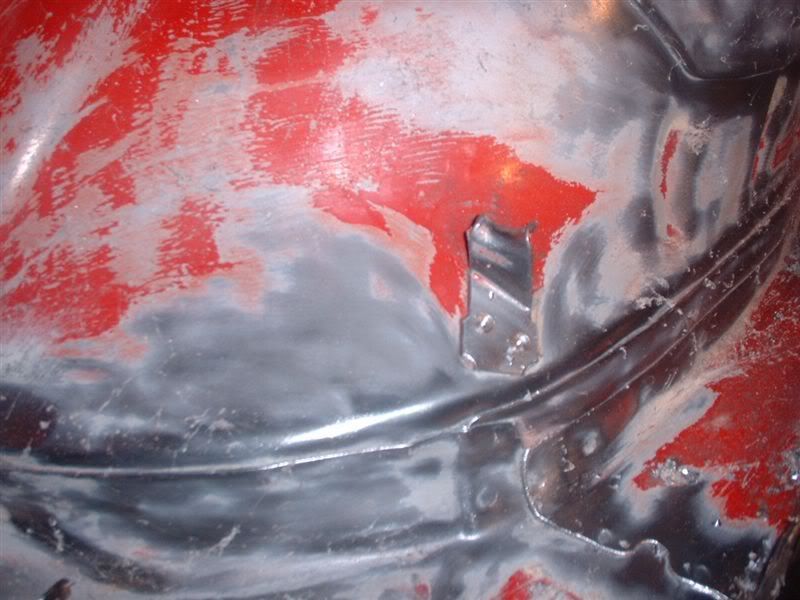
Air box bracket
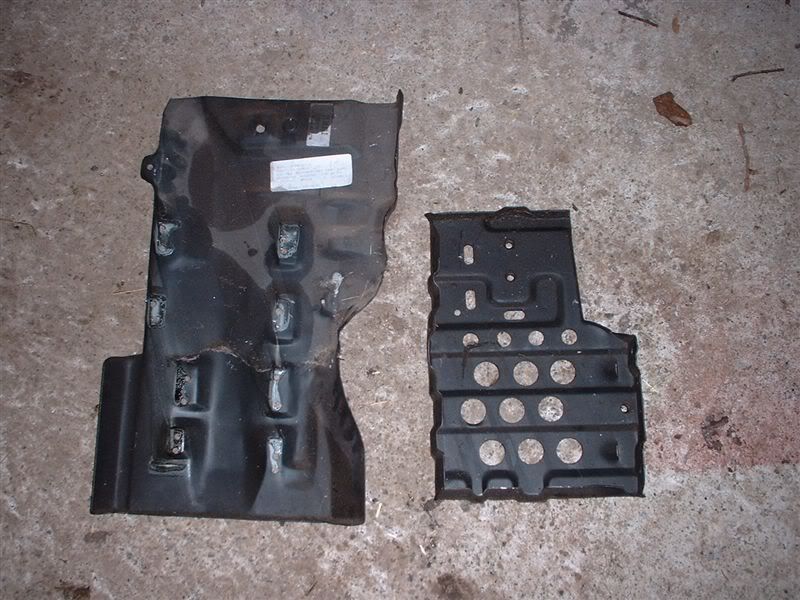
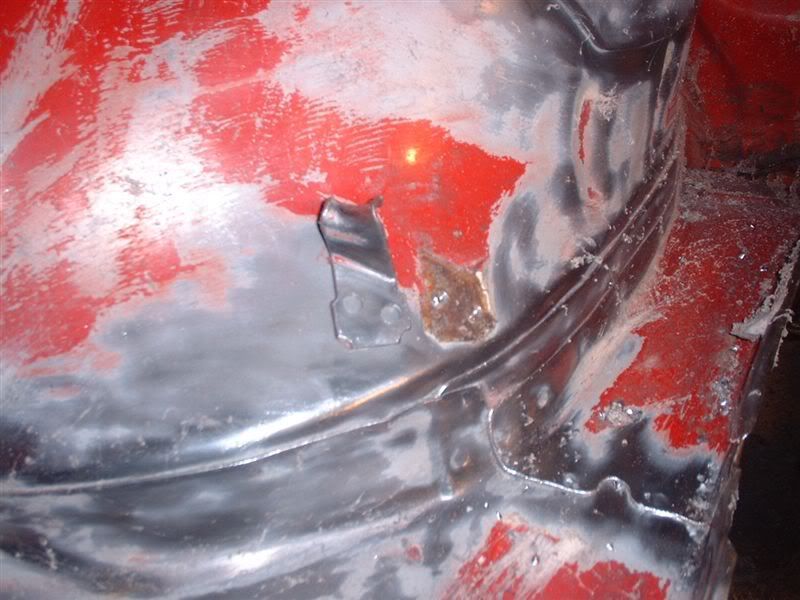
Both welds drilled out
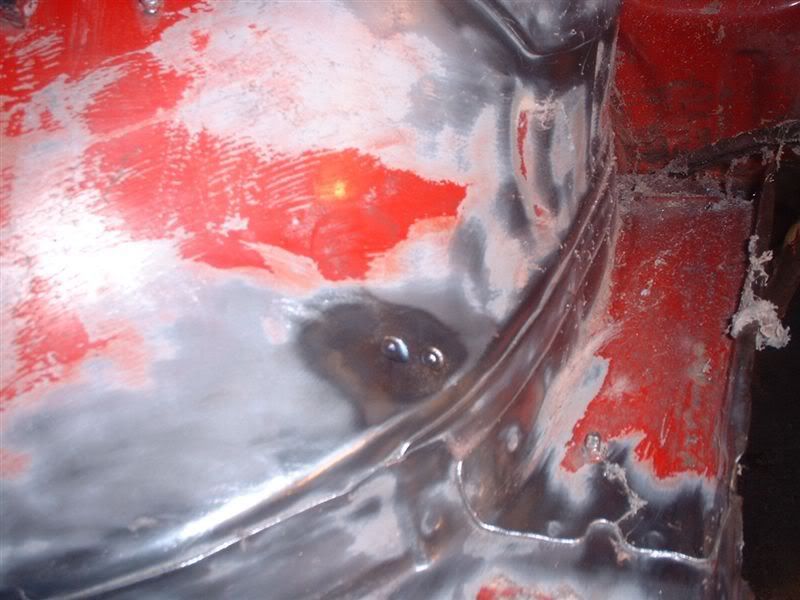
Slight tap with a hammer and
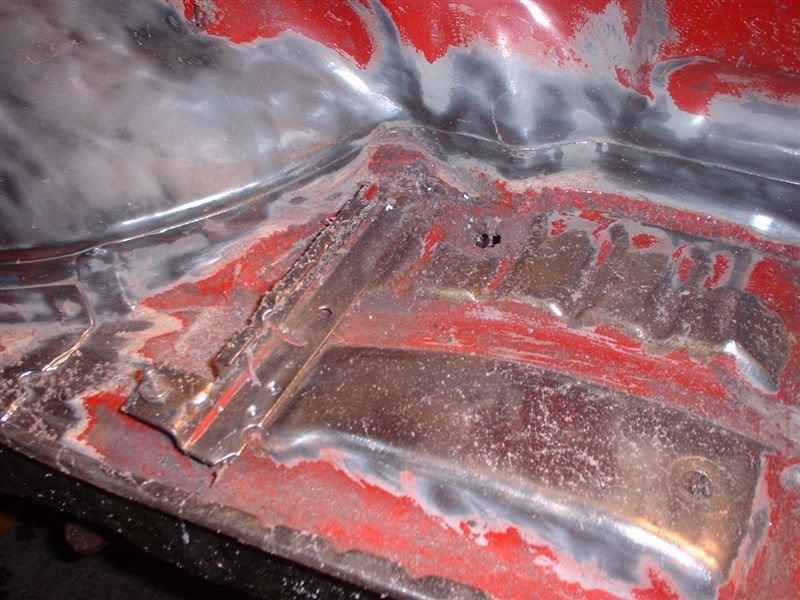
Area cleaned up with wire brush
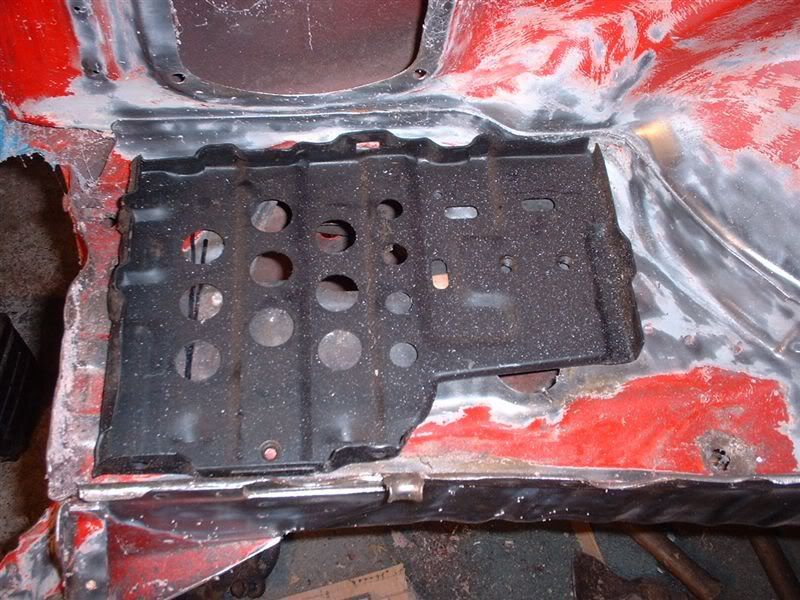
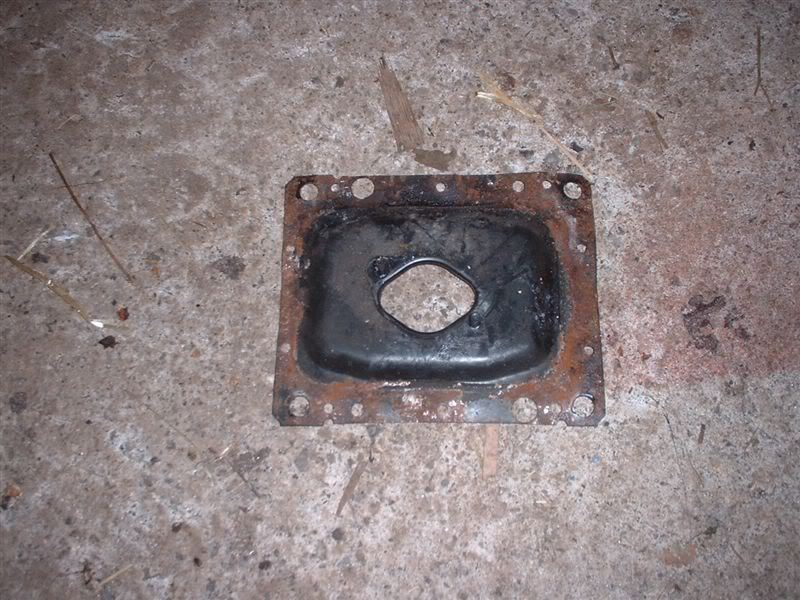
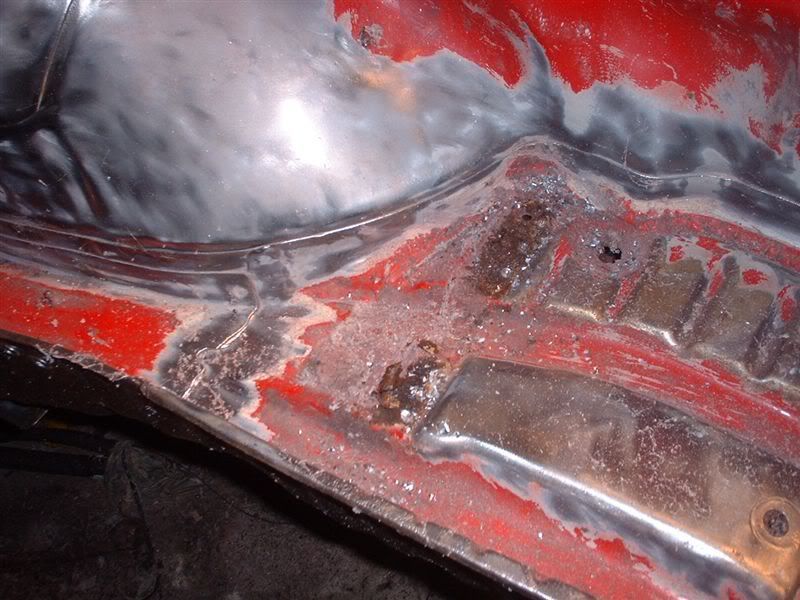
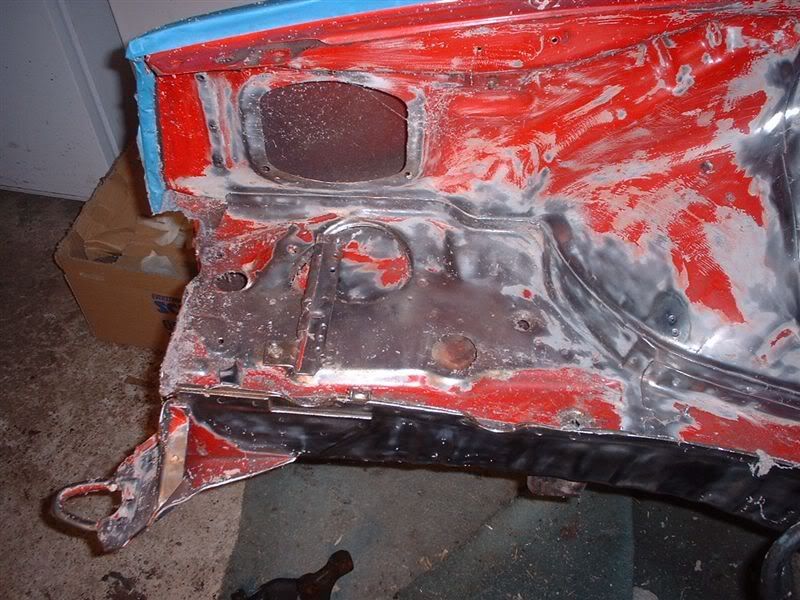
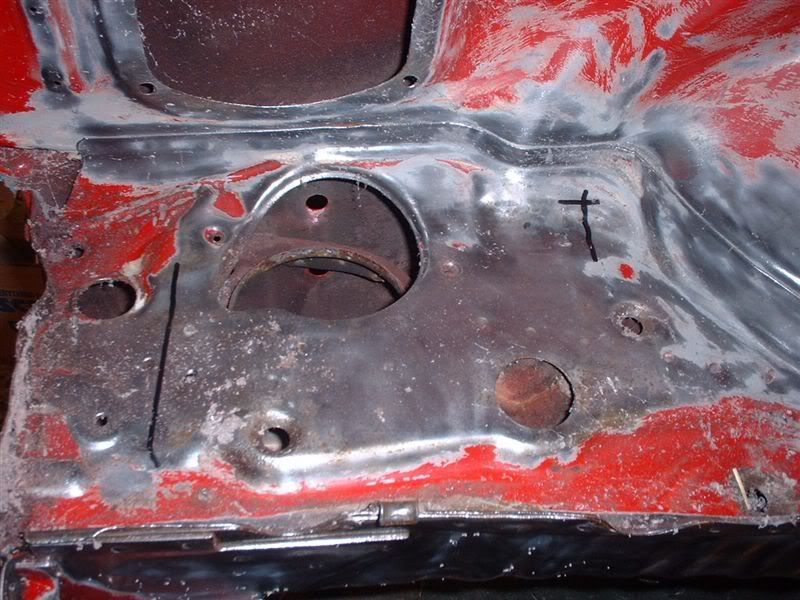
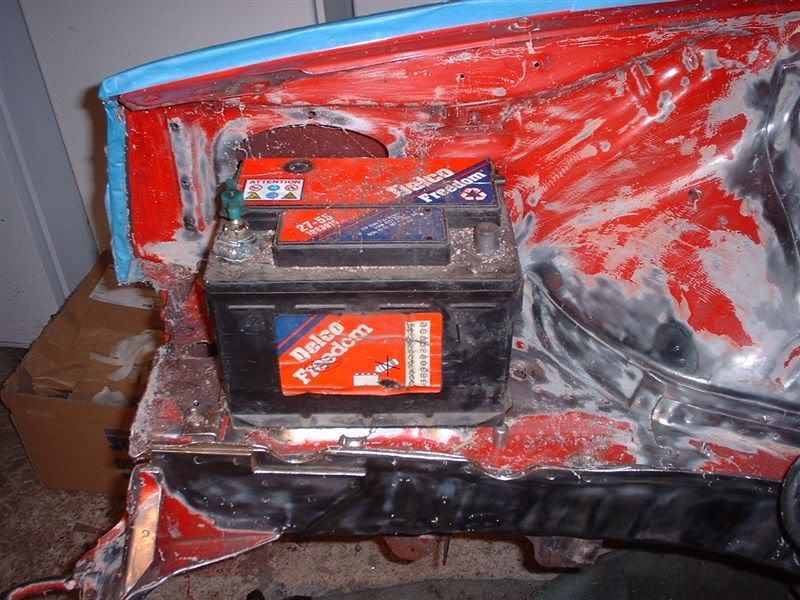
I need to move the battery from the passenger side to the drivers side as the 20V engine air filter will be on the passenger side and it will impossible to have the washer bottle, battery and air filter in the same place.
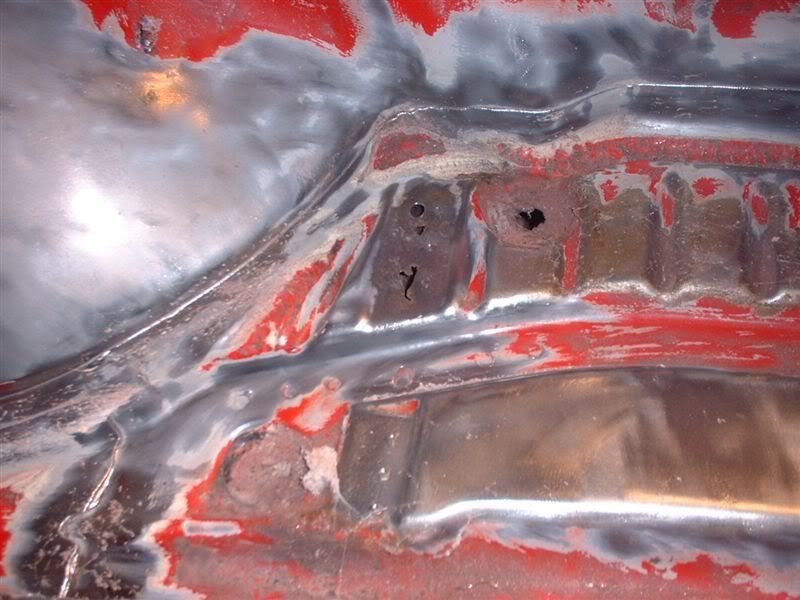
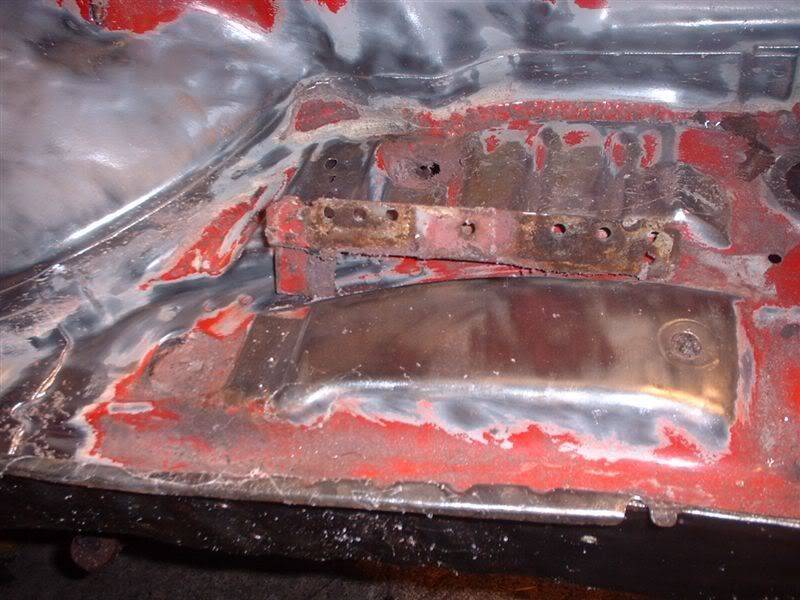
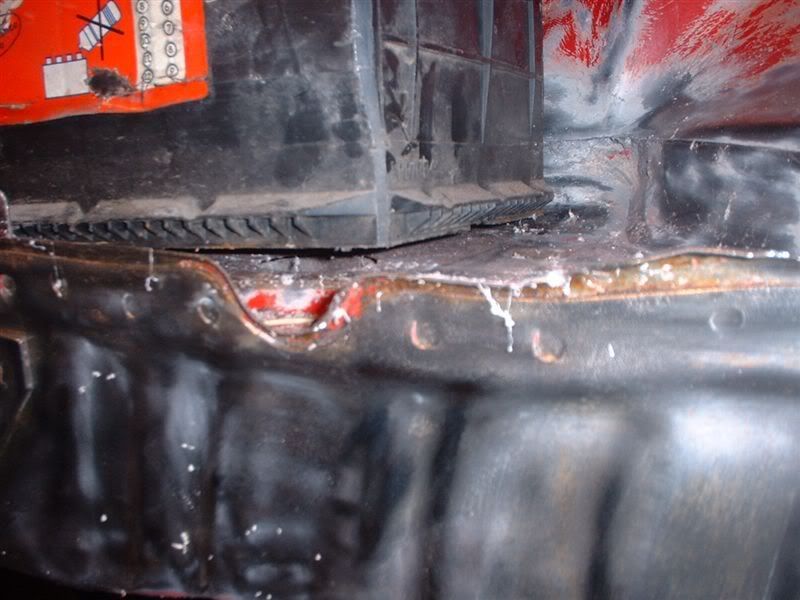
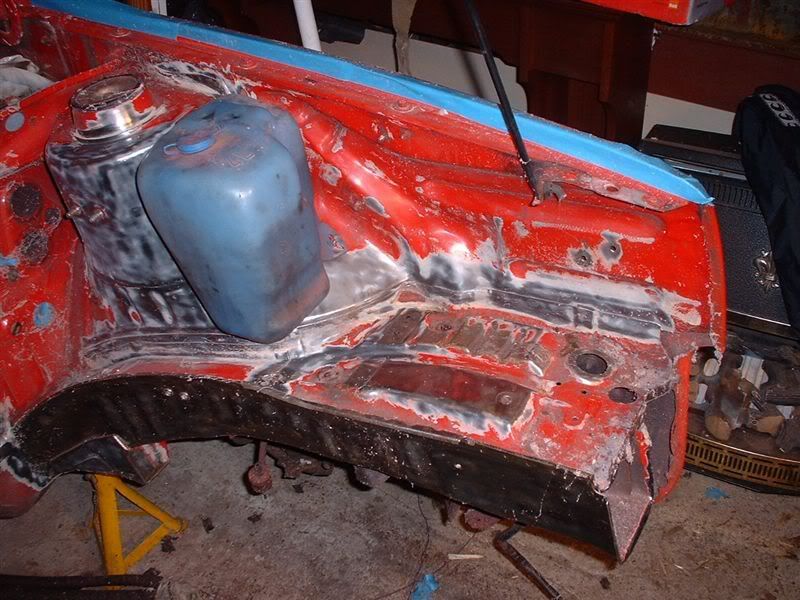
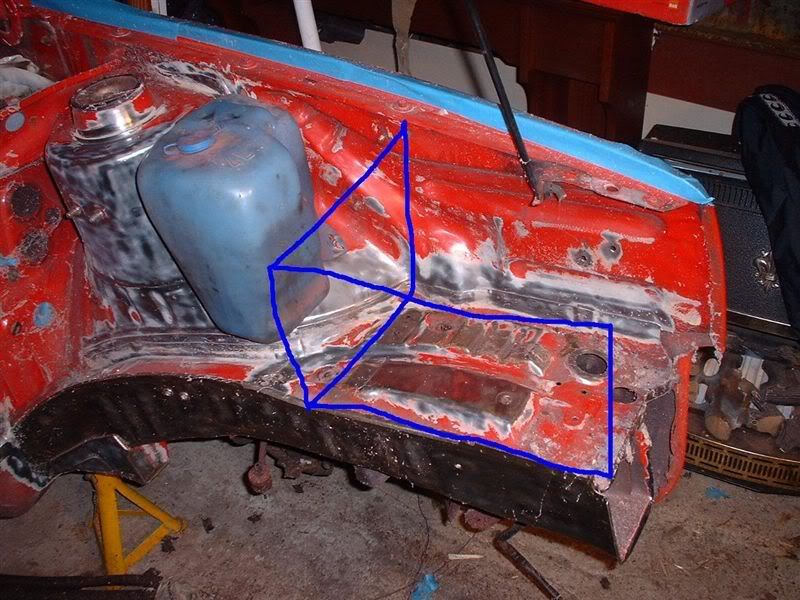
So I've removed the battery bracket and air box brackets from the engine bay. I will need to get the battery bracket welded on the drivers side. This is how I went about it:
Spot weld drill bits
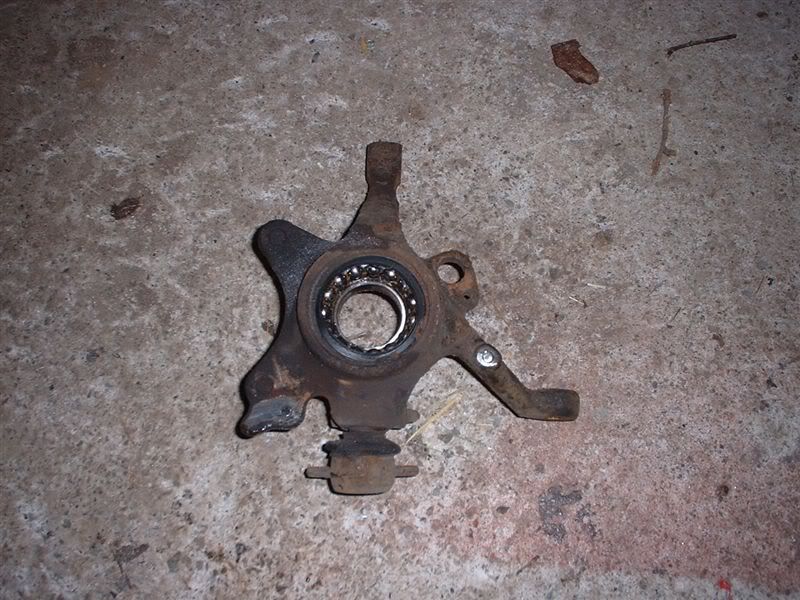
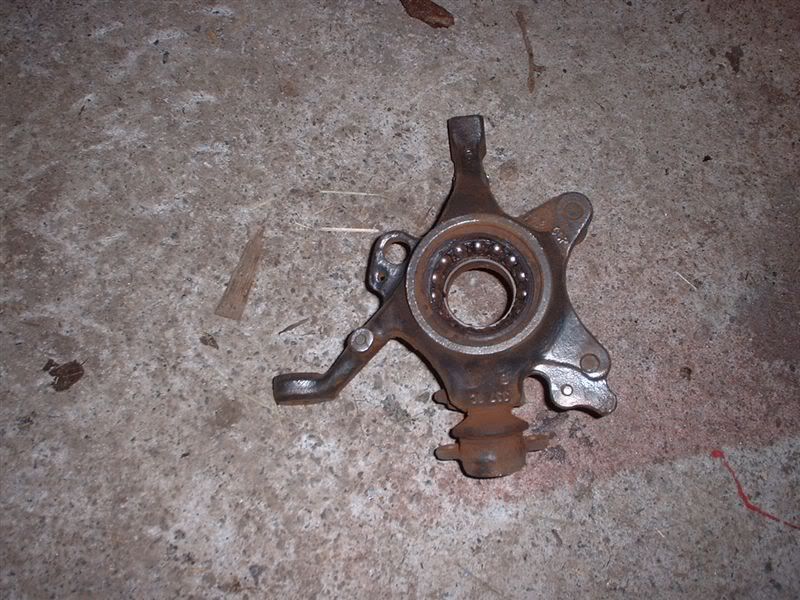
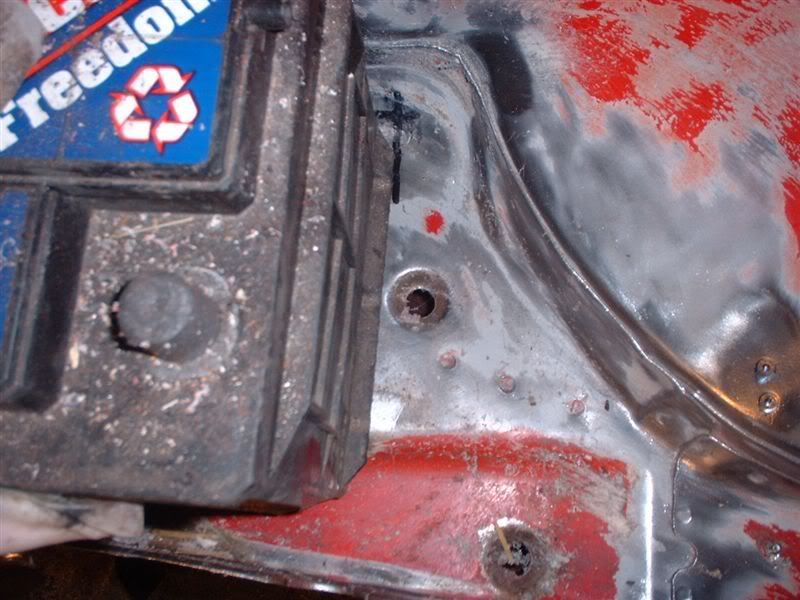
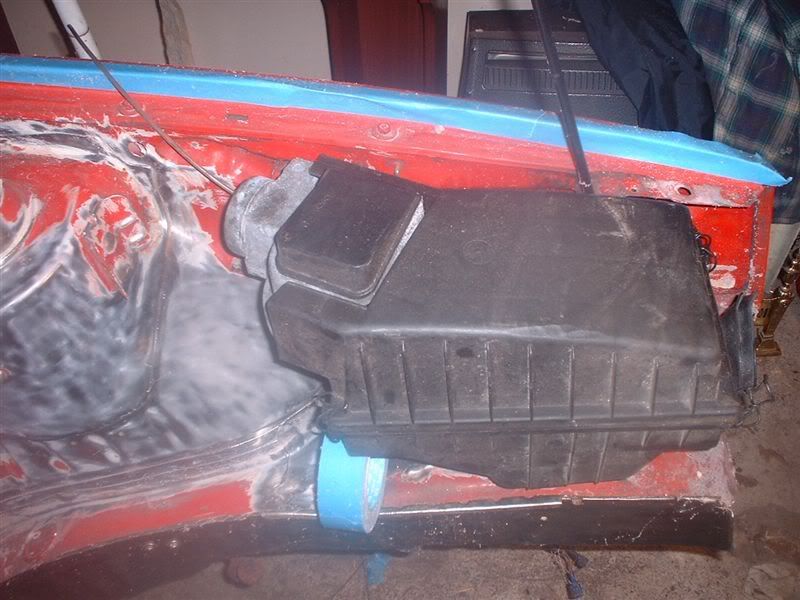
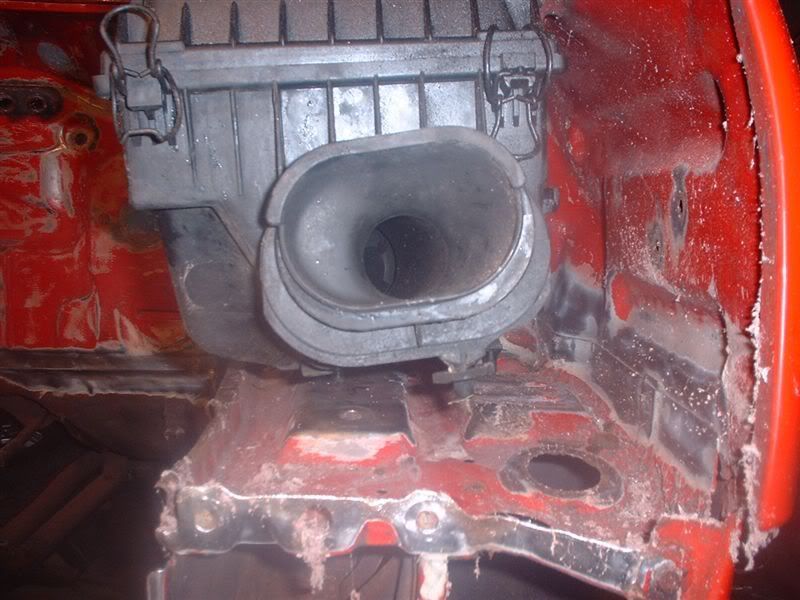
Air box bracket
Both welds drilled out
Slight tap with a hammer and
Area cleaned up with wire brush
")
")
 Keep up the good work