

You are using an out of date browser. It may not display this or other websites correctly.
You should upgrade or use an alternative browser.
You should upgrade or use an alternative browser.
Opteron Prime - Supermicro 4P folding mayham
- Thread starter Hukkel
- Start date
More options
Thread starter's postsThat looks so cool great work
Thanks a lot!
Bloody amazing mateI am so jealous.
I look forward to the numbers this thing produces.
Thanks man. Me too. Need to do some stuff first, but I can't wait to spin up this thing.
Wowo! Crazy amounts of watercooling!
So have you fired her up yet or only had the pumps going?

Only the pumps so far. Need to turn them up a notch as well I am affraid. I can barely hear them and the airbubbles won't go out of the CPU blocks.
it looks crazy! i love it!
haha Thanx. Crazy is good right?
")
That is nerd p0rn!!! Stunning build and well documented. Hope all the hard work was worth it!!
Good to read there are users that are enjoying the expansive worklogs
When the loop was leakfree I was a happy bunny for sure. Now to get this thing going.
haha Thanx. Crazy is good right?
crazy is definitely good! it's quite an inspiring build
crazy is definitely good! it's quite an inspiring build
Thanks man that means a lot!
Nice work, not to be a downer but wouldn't your CPUs loop have the most restriction.
Splitting the RAM and CPU together into two loop would probably make it look messy... but the pumps would have equal work load.
But then I'm new to watercooling...
The build is actually one big loop now. It does the CPUs first, back through a res into a pumnp and a rad and to the memory and back again.
Since ram won't get hot as much at all that part of the loop might even lose some heat before if gets cooled again before entering the CPU loop.
But we will see how it goes. Thanks for the comment though
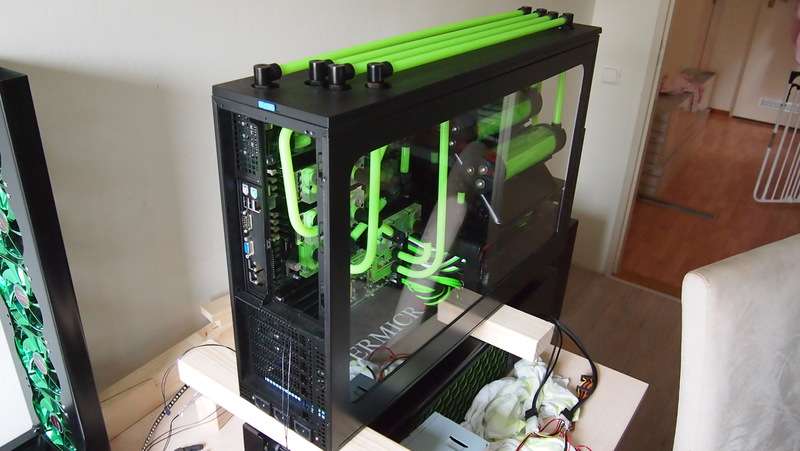
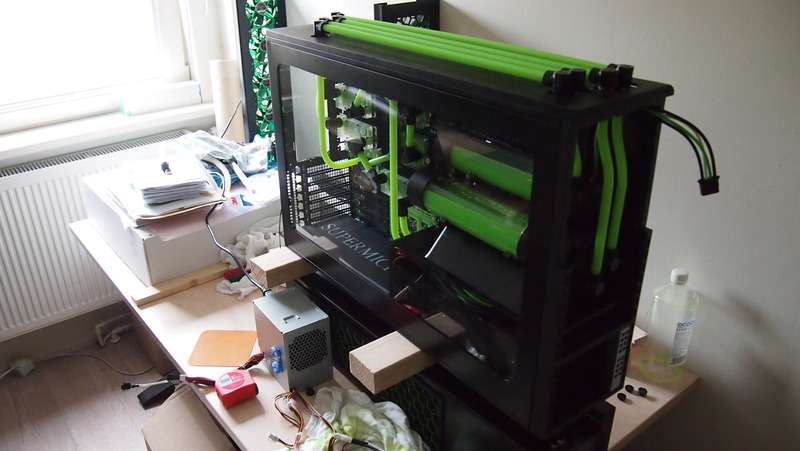
Time for a small update. I am really busy now trying to sort out all the small stuff I still needed to do. I don't want to cut any corners now I am so closing to finishing it. All the small stuff is important as well. Here is a small picture loop of the progress so far.
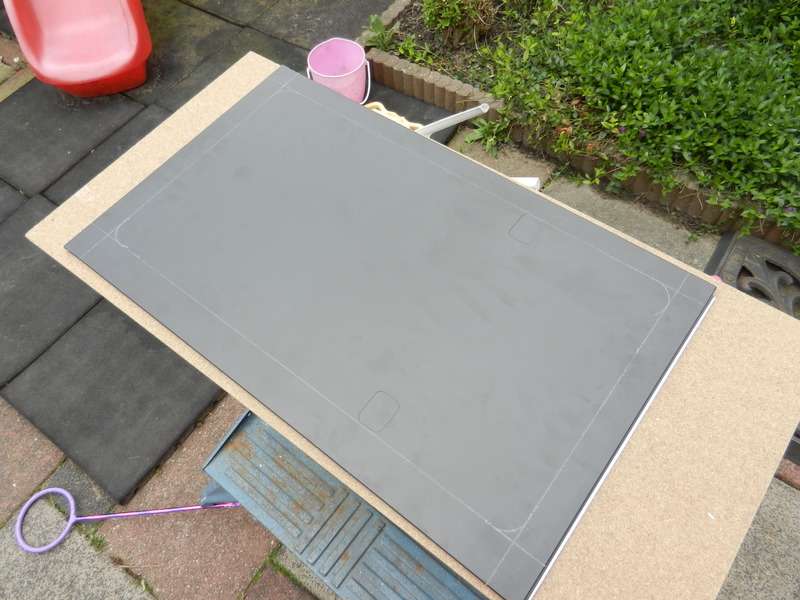
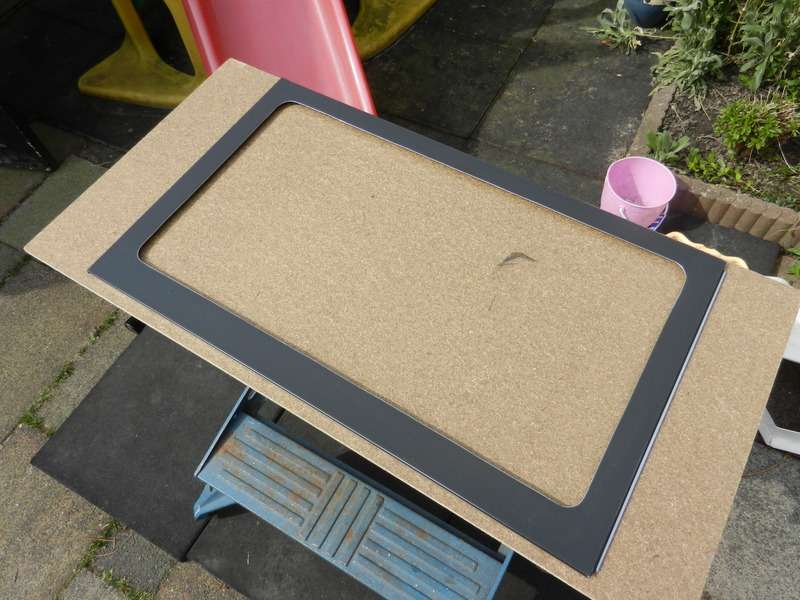
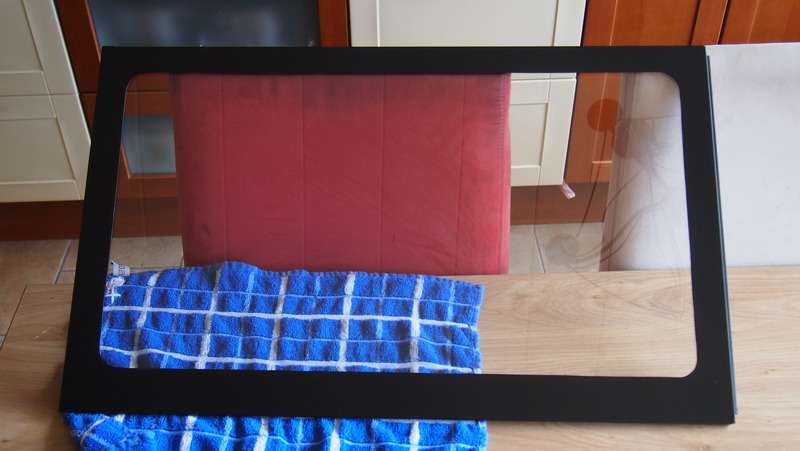
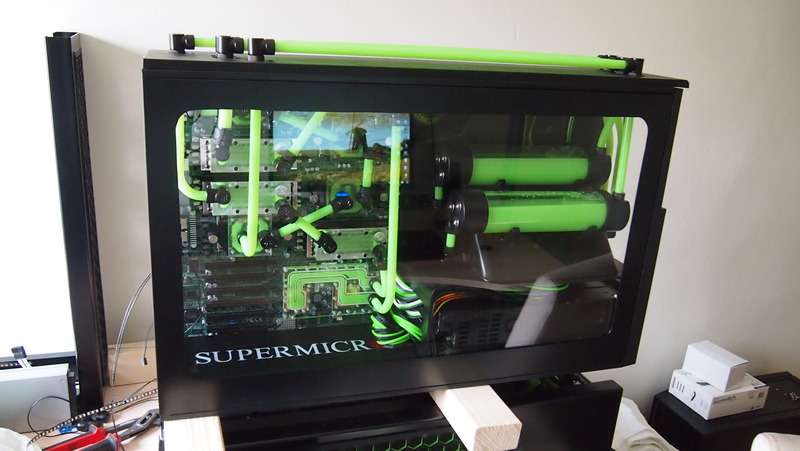
First I started work on the sidepanel. It needed a big window to show all the goodies. I am normally not a fan of just one huge window. But I have so much stuff to show it was kind of inevitable.

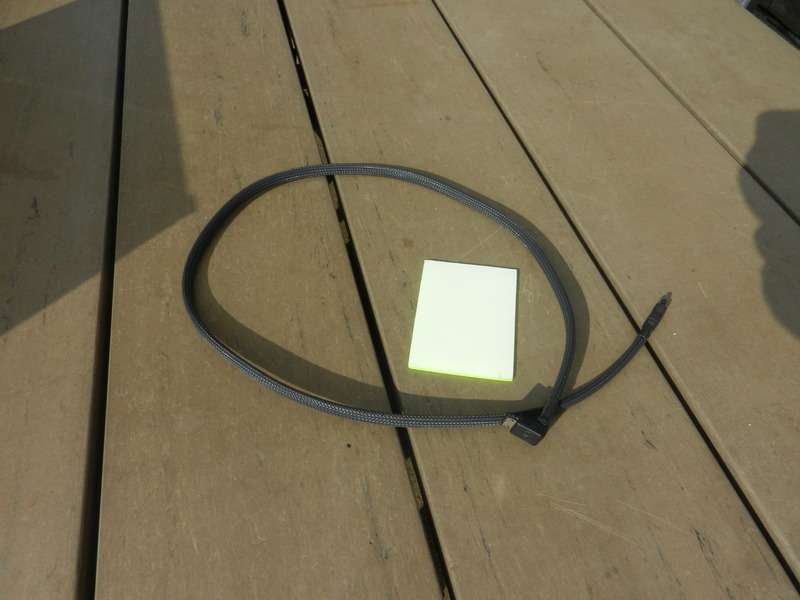
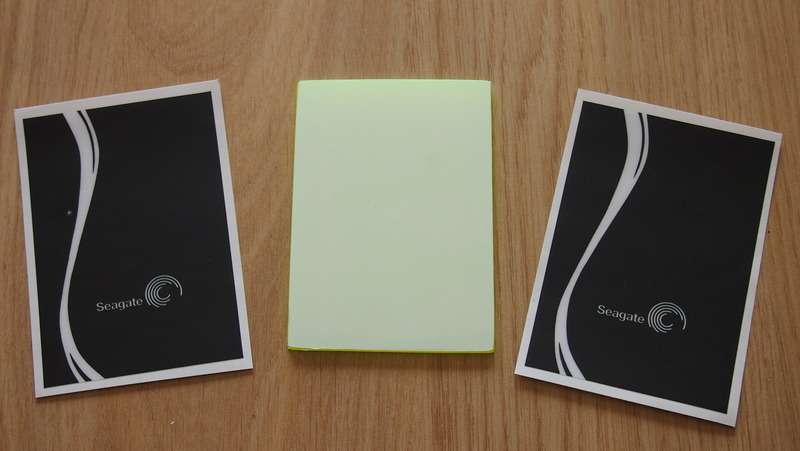
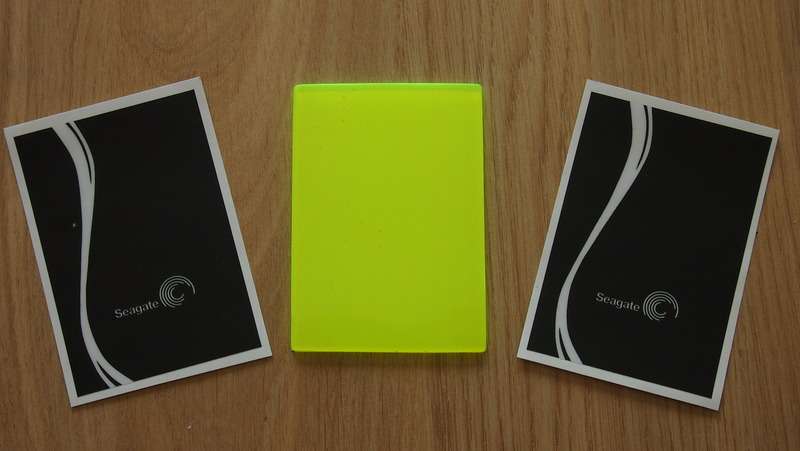
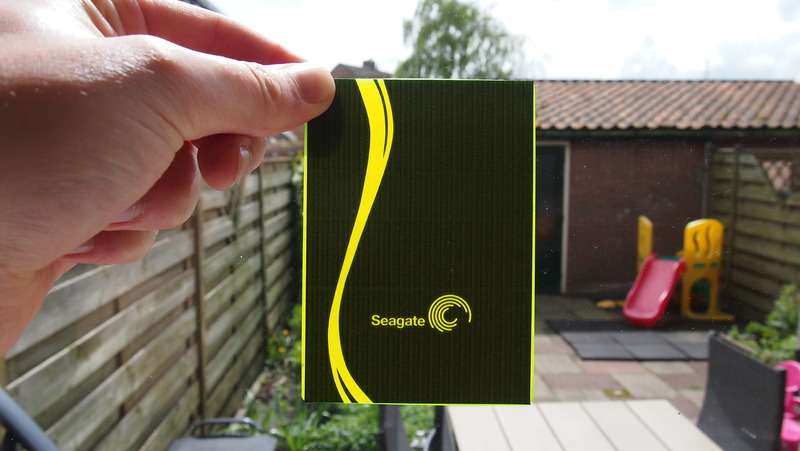
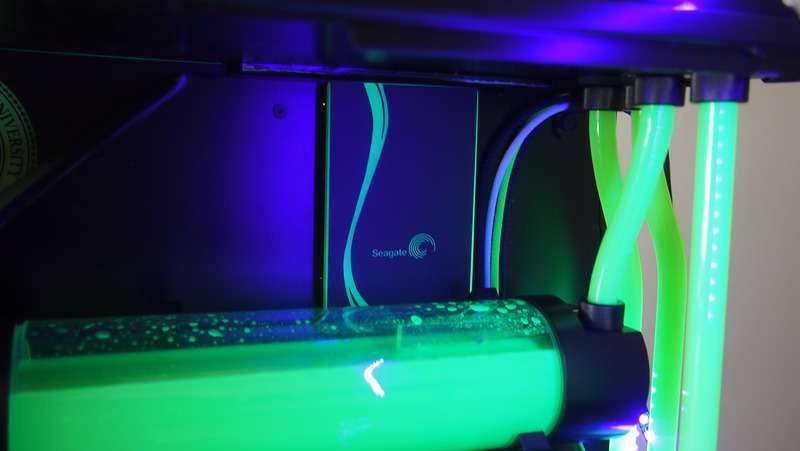
He is the cover for the SSD I made from the UV Green acrylic. Ianovski made a vector for me for the sticker thqat will cover it. You will see it later.
Also here is the 1m sata cable I ordered for the SSD. All sleeved in shade 19 by MDPC-X. Turns out later it was a) too long and b) the 90 degree connector was too long making it get into a conflict with my illuminated midplate. Needless to say.... the midplate won. I ordered another SATA cable now.
Back to the sidepanel. Here is it all sanded and cleaned. Ready for its coat of primer.
I received my SSD cover sticker. The company that did it was different from last time. They took a million years to reply to an email. These guys also sent me 2 (in case I would do a boob and destroy the first one). As you can see coverage of the black isn't as good as the other one when backlit. But when in the case you cannot see this as it gets frontlit.

Here are the panels done.
It was NOT an easy trip to get here.
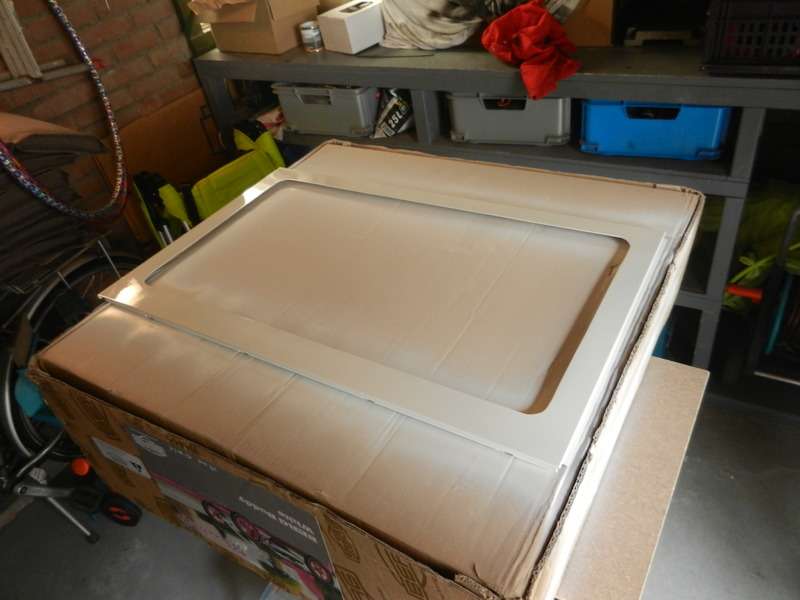
I have just shown you a picture of the door in primer.
So I prayed it black (soft shine).
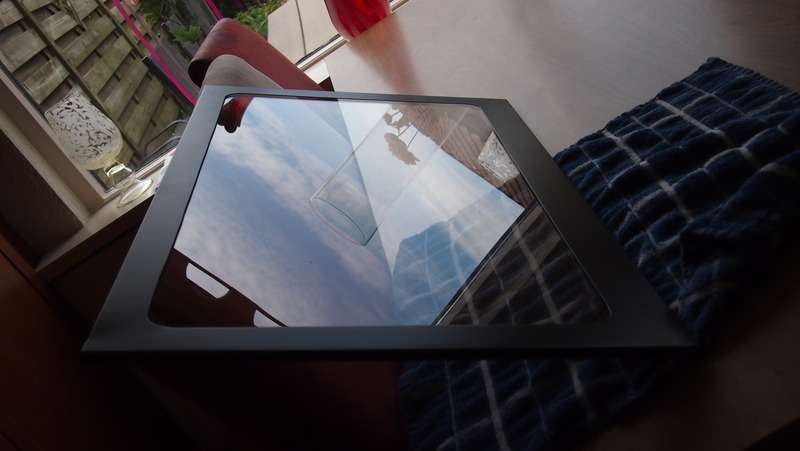
First the inside of the panel. One coat, a small wait, another coat, perfect!
Turned it around, one coat, nice and clean, wait a bit, the second coat...during this second coat the can of spraypaint started to spit big blobs of paint instead of a nice even spray. Finish completely destroyed grrrr. Had to wait till it was dry next day to sand it all of again and spray it again. So next day in my lunchbreak went to a DIY shop and found they only had MOTIP spraypaint. Which was matt black. Meh spraypaint is spraypaint. So I bought a can. That evening I sanded, cleaned, sprayed....son of a gun.
The spraypaint was enjoying the primer as much as Oekrain and Russia at the moment. In some spots it looked like the paint had been attacked with paintremover. It just bubbled up with cracks and all. ARRGGHHHHH
Now I got angry and actually grabbed my can of paint remover. Decided to go back to the metal this time. Got almost everything off. Sanded it nice and flat with 400 grid. Primed it AGAIN, went to my usual shop to get the spraypaint I usually use. Sprayed it again using 3 layers of black soft shine. And here we go. Finally ...
Nice and clean and it fits the pedestal very well :thumb:
I am working now on two more covers and have ordered some aluminium L-pices to hide the UV-strip in. See you next time.
First I started work on the sidepanel. It needed a big window to show all the goodies. I am normally not a fan of just one huge window. But I have so much stuff to show it was kind of inevitable.


He is the cover for the SSD I made from the UV Green acrylic. Ianovski made a vector for me for the sticker thqat will cover it. You will see it later.
Also here is the 1m sata cable I ordered for the SSD. All sleeved in shade 19 by MDPC-X. Turns out later it was a) too long and b) the 90 degree connector was too long making it get into a conflict with my illuminated midplate. Needless to say.... the midplate won. I ordered another SATA cable now.

Back to the sidepanel. Here is it all sanded and cleaned. Ready for its coat of primer.


I received my SSD cover sticker. The company that did it was different from last time. They took a million years to reply to an email. These guys also sent me 2 (in case I would do a boob and destroy the first one). As you can see coverage of the black isn't as good as the other one when backlit. But when in the case you cannot see this as it gets frontlit.


Here are the panels done.
It was NOT an easy trip to get here.
I have just shown you a picture of the door in primer.
So I prayed it black (soft shine).
First the inside of the panel. One coat, a small wait, another coat, perfect!
Turned it around, one coat, nice and clean, wait a bit, the second coat...during this second coat the can of spraypaint started to spit big blobs of paint instead of a nice even spray. Finish completely destroyed grrrr. Had to wait till it was dry next day to sand it all of again and spray it again. So next day in my lunchbreak went to a DIY shop and found they only had MOTIP spraypaint. Which was matt black. Meh spraypaint is spraypaint. So I bought a can. That evening I sanded, cleaned, sprayed....son of a gun.
The spraypaint was enjoying the primer as much as Oekrain and Russia at the moment. In some spots it looked like the paint had been attacked with paintremover. It just bubbled up with cracks and all. ARRGGHHHHH
Now I got angry and actually grabbed my can of paint remover. Decided to go back to the metal this time. Got almost everything off. Sanded it nice and flat with 400 grid. Primed it AGAIN, went to my usual shop to get the spraypaint I usually use. Sprayed it again using 3 layers of black soft shine. And here we go. Finally ...


Nice and clean and it fits the pedestal very well :thumb:


I am working now on two more covers and have ordered some aluminium L-pices to hide the UV-strip in. See you next time.
Associate
- Joined
- 16 May 2011
- Posts
- 1,308
- Location
- Staffordshire
Oh how I envy you 
I love the choice of colour in this build
I love the choice of colour in this build
Outstanding Tim
Thank you very much sir.
keep on looking at this build! impressive!
(the girlfriend just walked behind me and said "you're not getting that"...)
hahaha that made me laugh so hard. Thank you for that.
I think when this is built youll need to find another use for it, not long now before these quad cpu sets ups are no longer supported by standford. unless you run normal work units
I believe beginning 2015 the support for Big adv will stop indeed.
Well untill then I will be folding like it's nobodies business. After that I guess we will see what happens. I could do 4 threads of regular CPU units. Or someone will use this to render at an alarming speed xD
Oh how I envy you
I love the choice of colour in this build
ThanX MM
Truely fine work sir, its stunning !
Look forward to seeing your next update.
Good to see you back in this log sir. Happy to see you're still enjoying it
-----------------------------------------------------
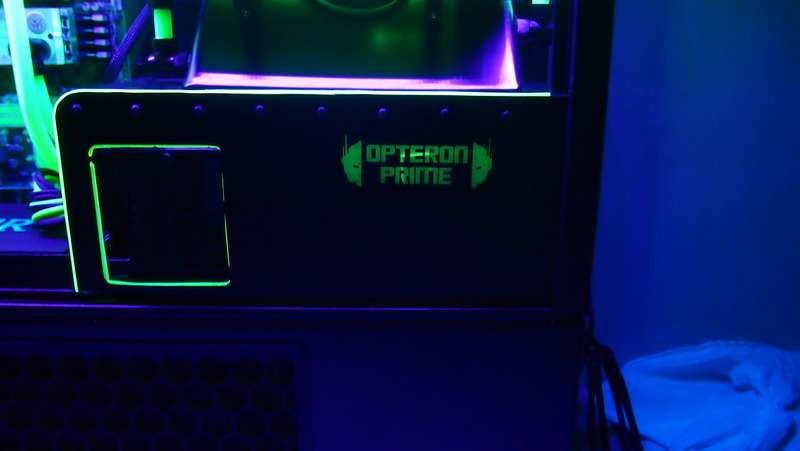
I have been working on a cover for over the IO ports (to cover the silver boxes) and am still working on a cover for over the PSU compartment. Next to this I have bought an Olympus Pen3 camera (PL3) and I am slowly trying to learn how to make photos and from what angles and lighting etc. So I added two okayish photos xD
The IO cover can't be seen very well in the photos. Because there is so much going on there I just grabbed a piece of UV green acrylic. Bent a 90 degree angle in it. Kept it short so the heatsinks would still get airflow but the silver boxes can't be seen. Painted the entire outside black but kept the sides uncovered so a small line of UV remains visible when looking from certain angles.
The PSU cover is not done yet but some from photos you can guess how it will look when it is finished. I wanted to re-use the material that came from the sidepanel when making the hole for the window.


I just read through the whole thread in 1 sitting, looked away from the monitor and my world is scrolling up! So many pictures of this epic build!
Looks amazing and thanks for the 45 mins of work avoidance!
That is quite the read mate
Thank you for the kind words
--------------------------------------------------------------
Back with another update.
I today almost finished the 2nd cover I was making.
This is for the PSU section.
The placement of the illuminated logo is so that when the sidepanel is on the logo is viewable through the window in the most right bottom corner.
The hole on the left of the cover is for venting the PSUs.
There is a big vent there originally and didn't feel like torching them up.
So tried to create something around the vents that was in line with the feel and look of the build. I hope you guys think so as well.


PS due to a wrong cut by me in the acrylic I had to make the rear of 2 separate pieces sadly as I was fresh out of UV green plexiglass.
I don't know what happened, I have lost some photos on my computer somewhere.
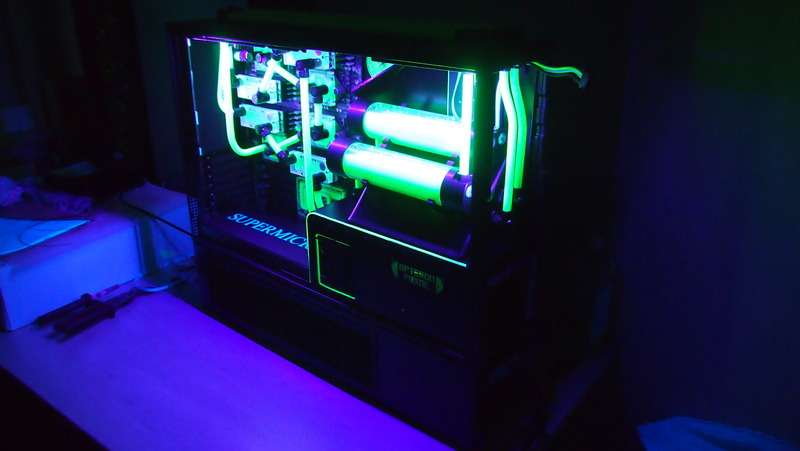
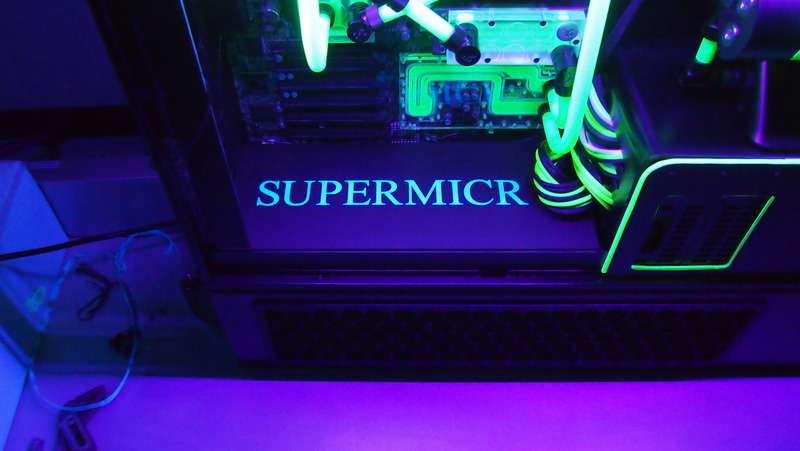
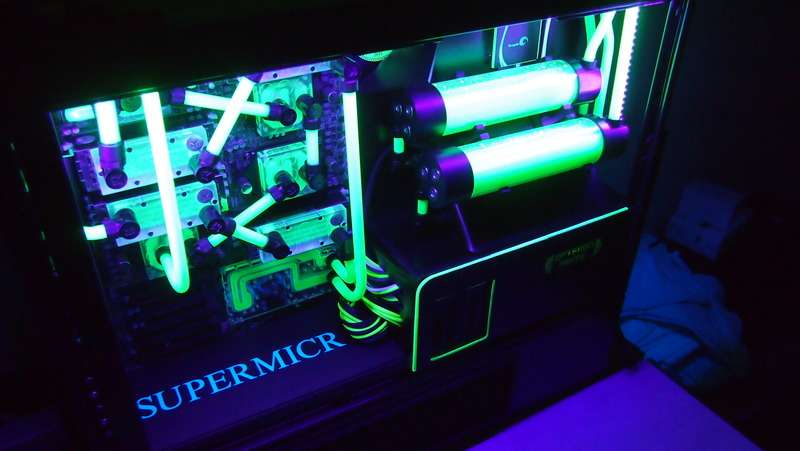
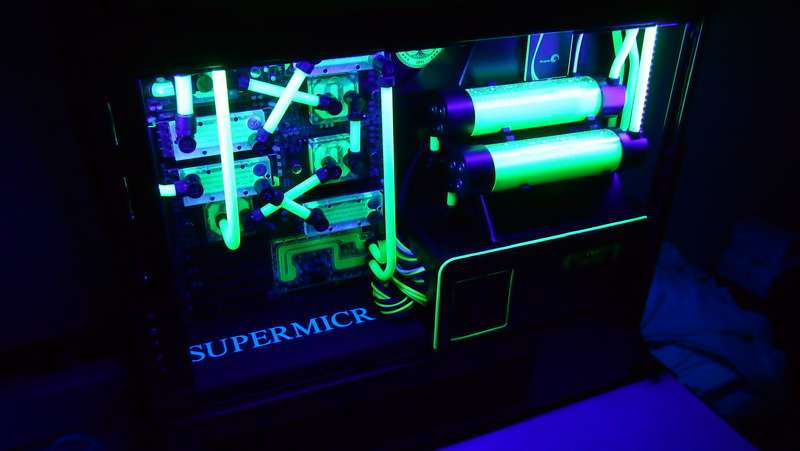
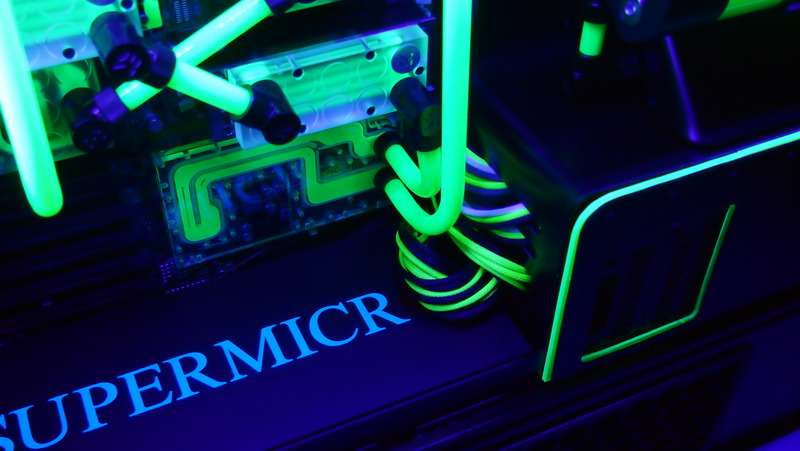
I bought aluminium L-pieces to put in front of the midplate and on the sides to cover the UV LED-strip.
I sanded, cleaned, primed and painted them. And mounted them and the LED-strip afterwards. I am really happy how the midplate turned out now.
Except for the fact the O of Supermicro is hiding under the wiring now :facepalm:
I will get a new one made up with their update logo as they have changed it a while ago. A tad smaller and a tad to the left.
Removed the wood from in between the pedestal and the main case.
This is how it looked afterwards.
I have now installed the arch as well, but my camera batteries are empty :facepalm:
So you will get the 99% done pictures VERY soon.


so nice! I'm jealous. I wouldn't need something like this (ever) but I'm still jealous
haha thanks man. Glad you like it
thats such nice work im sooooooo jealous i need a rig like this in my life
Thanks a lot. Drop me an email and a bag of monies and I'll see what I can do


