You are using an out of date browser. It may not display this or other websites correctly.
You should upgrade or use an alternative browser.
You should upgrade or use an alternative browser.
Opteron Prime - Supermicro 4P folding mayham
- Thread starter Hukkel
- Start date
More options
Thread starter's postsAssociate
Holy Moly!
The board is huge, but still looks normal inside that cavern of a case.
The board is huge, but still looks normal inside that cavern of a case.
Associate
wow!!!
Just incredible work. Stunning throughout. Have never seen a build of this scale. Amazing cause too, can't wait to see it finished!
Thanks a lot man, appreciated

Outstanding build
Keep going with this one, can't wait to see the final result of it. *Sub'd
Thanks for following Crypto.
mental stuff - more more more please!
More you want, more will come sir.
Holy Moly!
The board is huge, but still looks normal inside that cavern of a case.
Yeah man the empty case was also enormous to the eye. But my plans make it feel really tiny and hard to work in sometimes

Thanks for the kind words Chris

wow!!!
The exact response I was hoping for

----------------------------------------------------
I didn't feel like sleeving today so had a go at the left side of the loop this evening. I am happy with two connections, unhappy with 1 and not sure on the last one.
Here are some pictures. I am defenitely changing the wide bow to the left. It just doesn't suit this build and its other connections.


http://img12.imageshack.us/img12/7060/vzis.jpg
Last edited:
Excellent work ^
Thank you my good sir.
It's like an all you can eat buffet, more pictures and updates. Perfect!
Thanks Crypto!
Many many many more to come

-----------------------------------------------------
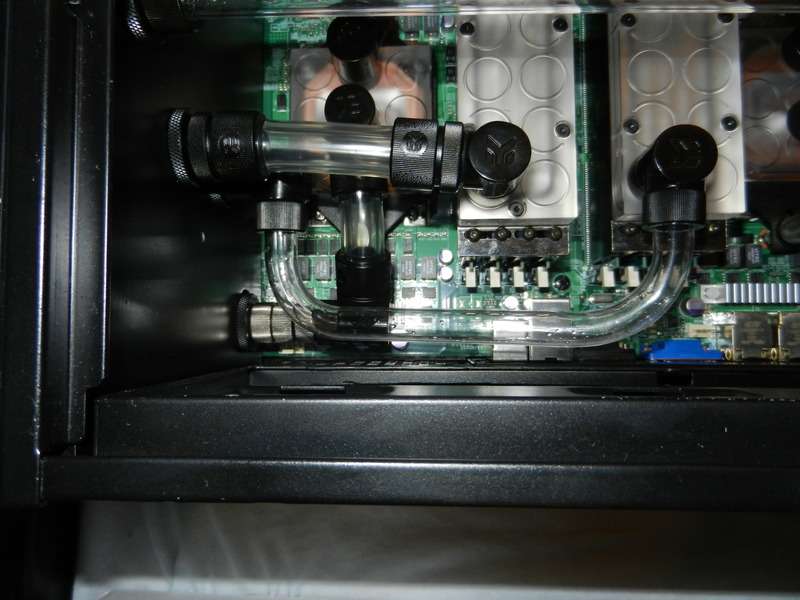
Alright I had another try in the meantime. Tried with a bend acrylic tube this time. I have to say it looks better that before. I am not sure about it yet :think::nothappyyet:
I am just not sure. I NEED the tubes to end in the top holes or the top piping will be messed up. The new solution is better. But not perfect. Maybe it is easier to see once there is coolant in these pipes :think:
http://img13.imageshack.us/img13/8036/1iq6.jpg



Last 2 evenings I have been working on the 24 pin. The standard 24 pin cable would have been a mess to sleeve and make work so I chose to go this route. It won't be easy fitting this inside the PSU cover. But I made it extra long so I could try and make a large bend and make it work. I hope you guys like the colour combination :interview:


PS forgive my constant "meh" quality photos. My camera is giving up on me, won't focus half of the time. *sigh*
Last edited:
Associate
This really is one hell of a build!
And that sleeving! *drool*
And that sleeving! *drool*
This really is one hell of a build!
And that sleeving! *drool*
Thanks a lot man!
Looking great man, tell me are those little transparent things that are holding the cables neat and tidy are they going to be permanent? or just a sleeving aid?
Kind of curious in both their use and where they are from.
Hey crypto. Well E22 sells them. I used them purely for photo here. I have no room for them in this build.
Thanks a lot btw

Love the sleeving colours, and the pipework is incredible. Have you done much bending with hardpipe in the past or is this first time?
I have done it before on my Game Hard, Fold Harder project (other log on this forum as well). I have also done a loop for a friend with it. Once you get the hang of it cool things are possible

-------------------------------------------------
Did a lot of work since the last update.
First a short molex to sata cable with a dummy 5th wire.
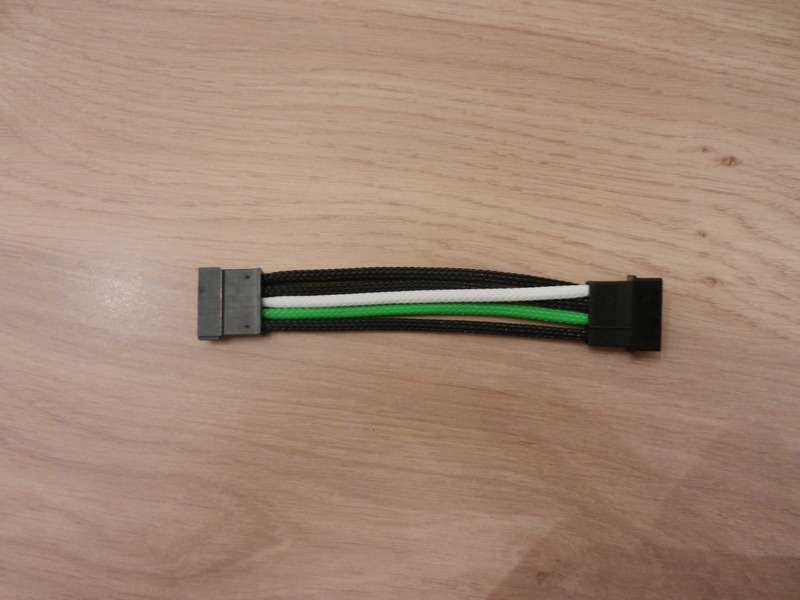
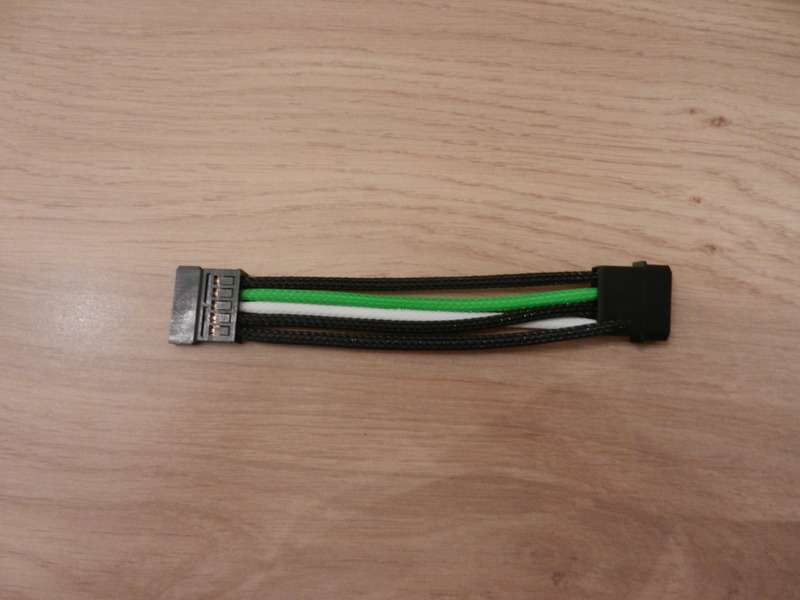
Here is the idea. They will come from behind the reservoir stand.
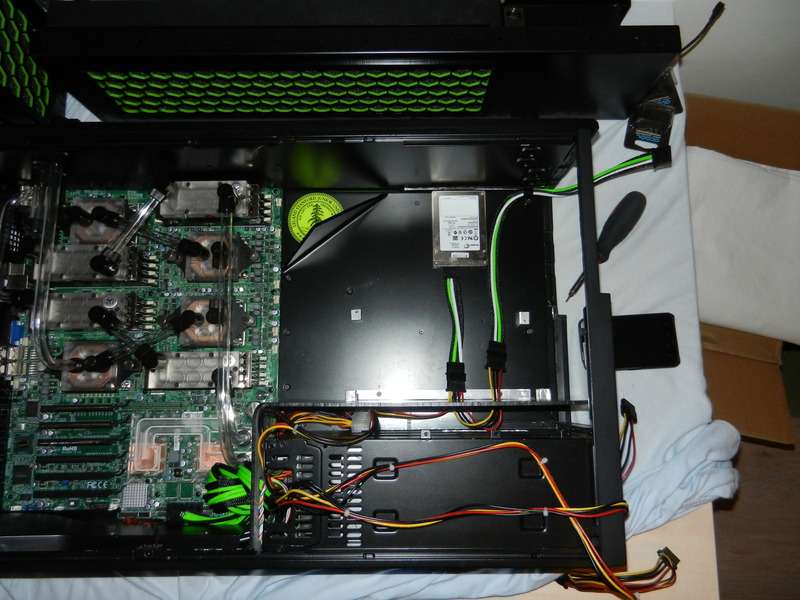
I tried to make some photos of the fitting of the 24 pin extension. it is just sooo small and tight. Not easy, especially in the evening with bad light.
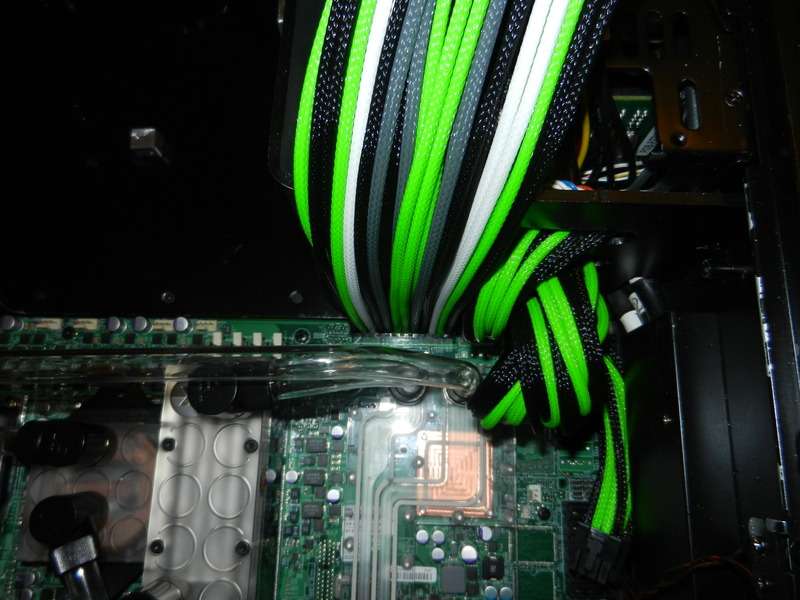
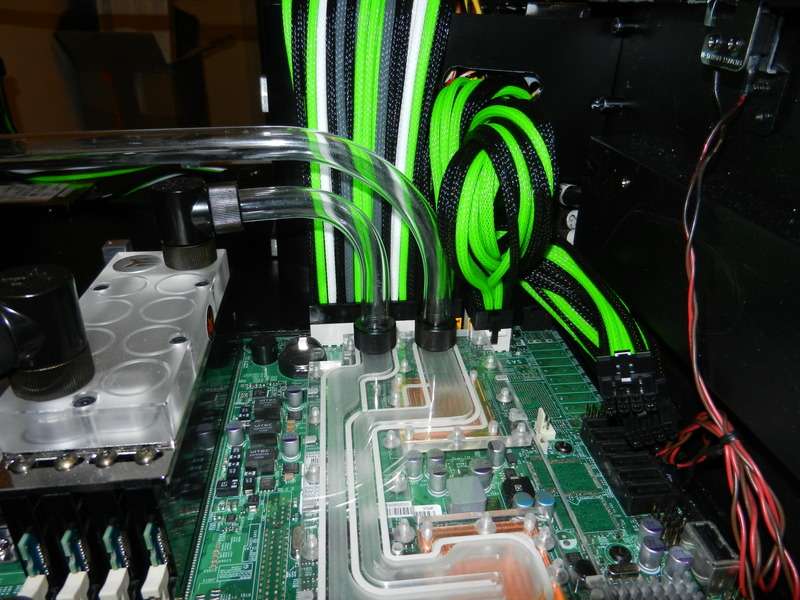
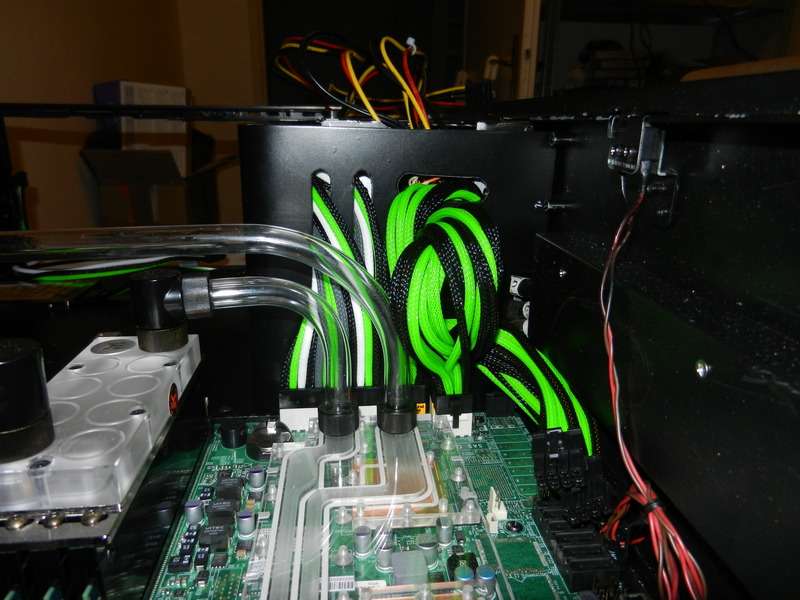
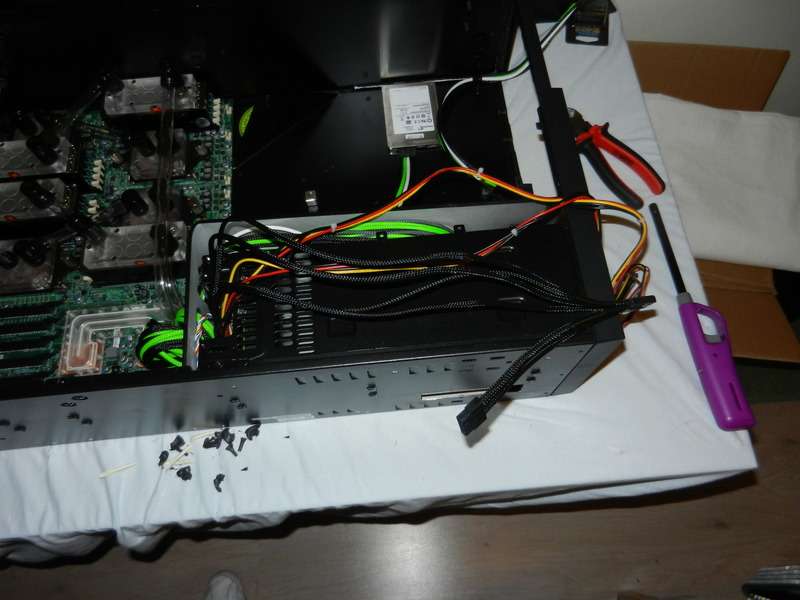
Then went on to shorten and sleeve the molex cables as well.
One had like multiple connectors I didn't need.
So ended up with 3 cables: a double going up, a double going down and a completely stripped one that only had one left that went down (into the pedestal).
All sleeved black.
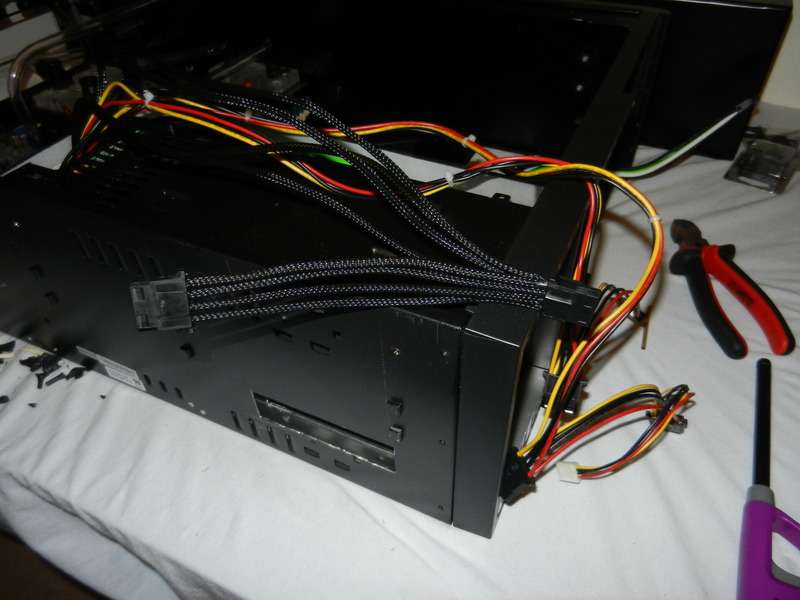
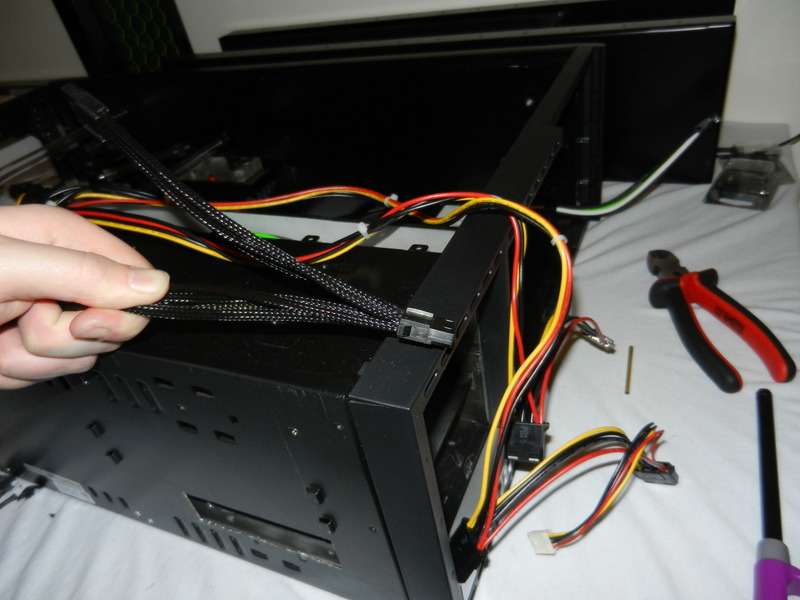
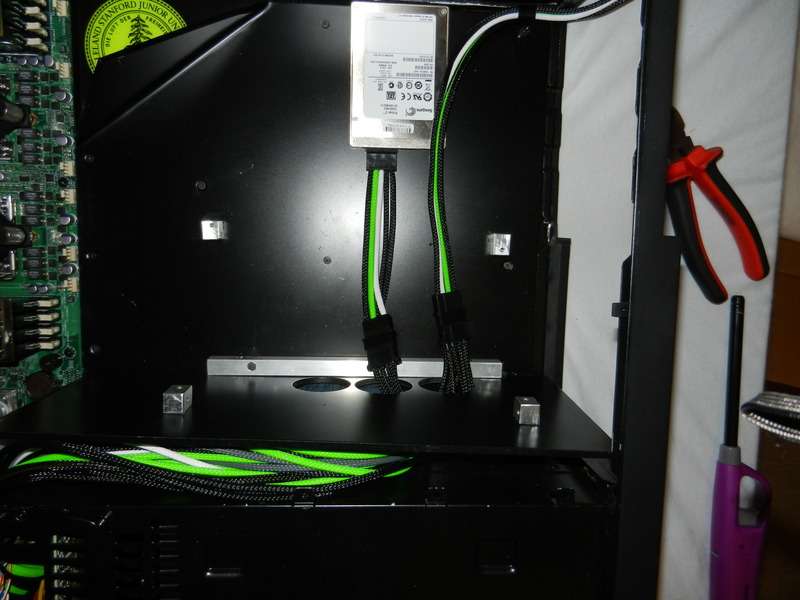
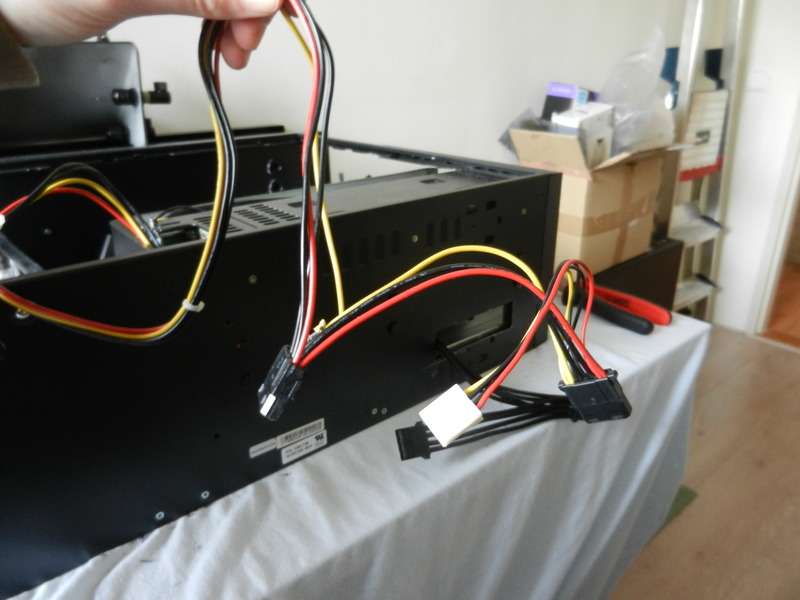
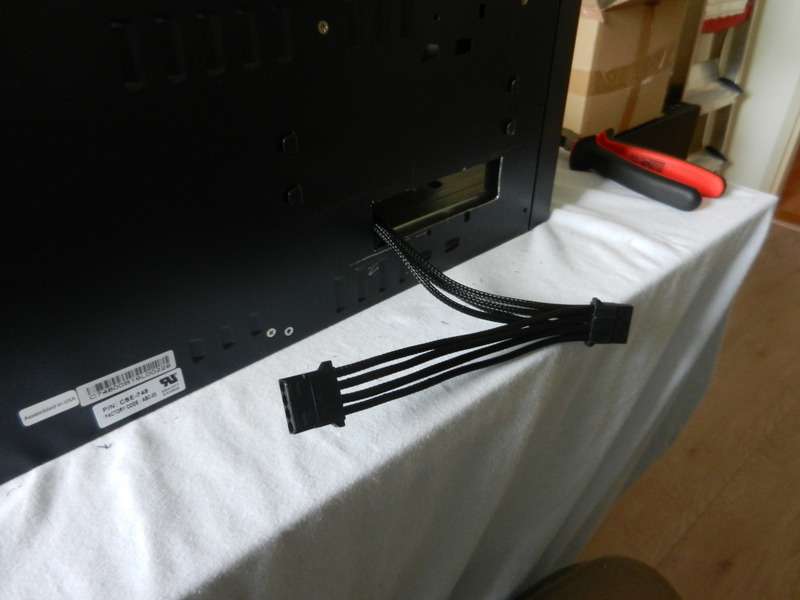
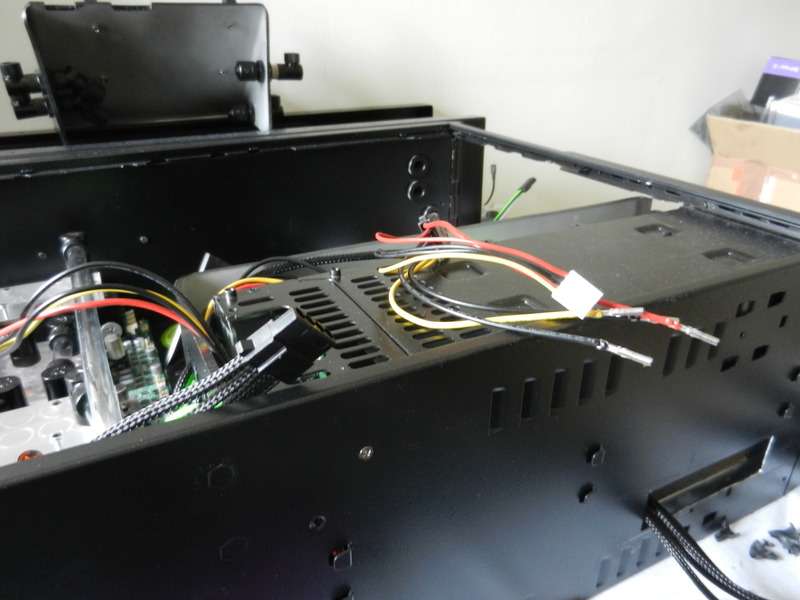
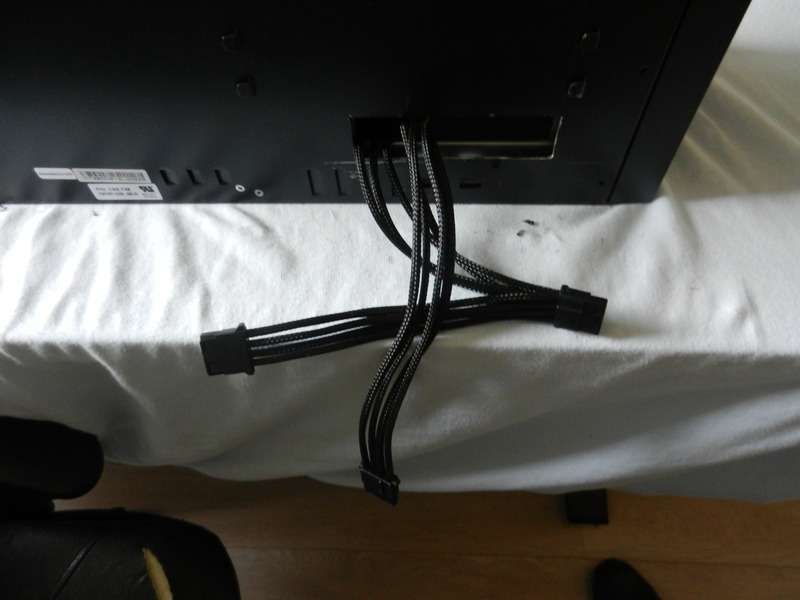
Next up the "Viking hat" LOL
All fittings are fitted. Ready to put the hoses on.
I put a sticker on all hoses to know what they are for. Otherwise it might end up being an extremely short loop :wallbash:

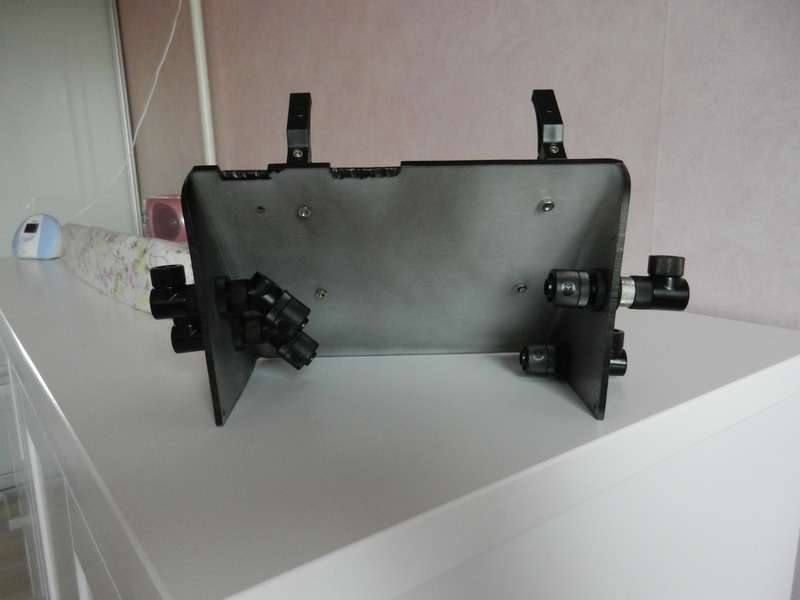
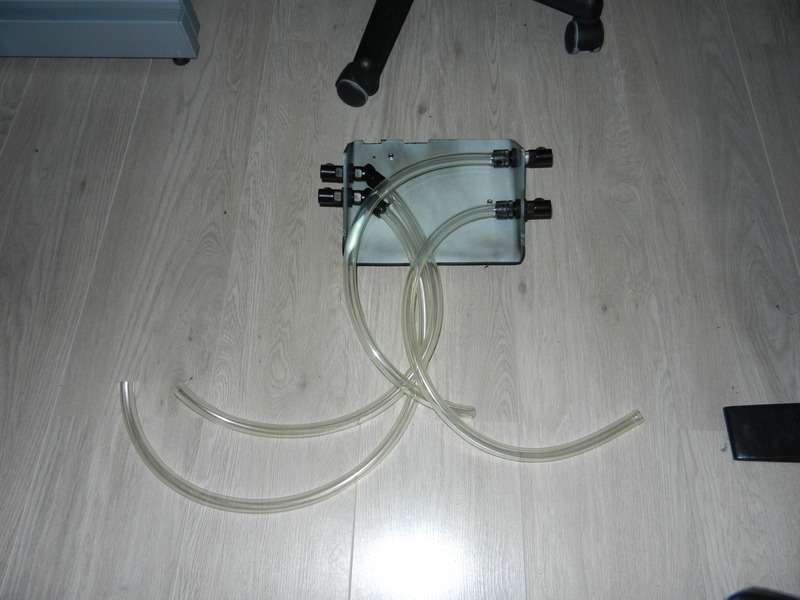
I am currently working on the pedestal. Fitting the AQ6 to the flowmeters, making fan extensions to fit to the AQ6 as well. After that is done....placing the case onto the pedestal.
Reminds me of this:
http://www.youtube.com/watch?v=ehCgG9yZQmg
http://www.youtube.com/watch?v=ehCgG9yZQmg
Associate
So cool! Amazing work ,need more updates! 

Brill job on the braiding, looking really good
Thank you very much sir!
Nice work on the cables, cannot wait to see this finished anything black and green gets my vote : )
Thanks Aneskimo, some here

Nice job on the sleeve, looks the dogs !
Thanks mr rally world champion.
In the words of the great Peter Andre - this is Insania!
bahahaha
No but seriously it is the most insane thing I have seen on these forums - gonna need a forklift to move it I reckon?
ahhhh those wise words from such a wise man
xD
Yeah man

It is seriously heavy. Well both parts are. When combined it will be a pain to move I am sure. But I need to move it to another spot somehow when it is finished and running. I will need the space for more modding!

Reminds me of this:
http://www.youtube.com/watch?v=ehCgG9yZQmg
ha someone posted that before, thanks though. That is a proper SUPER PC!
So cool! Amazing work ,need more updates!
Thanks. And FINE JEEZ here comes another update. grbbllblblbl -_-
Time for another update. Rolled up my sleeves to get some work done.
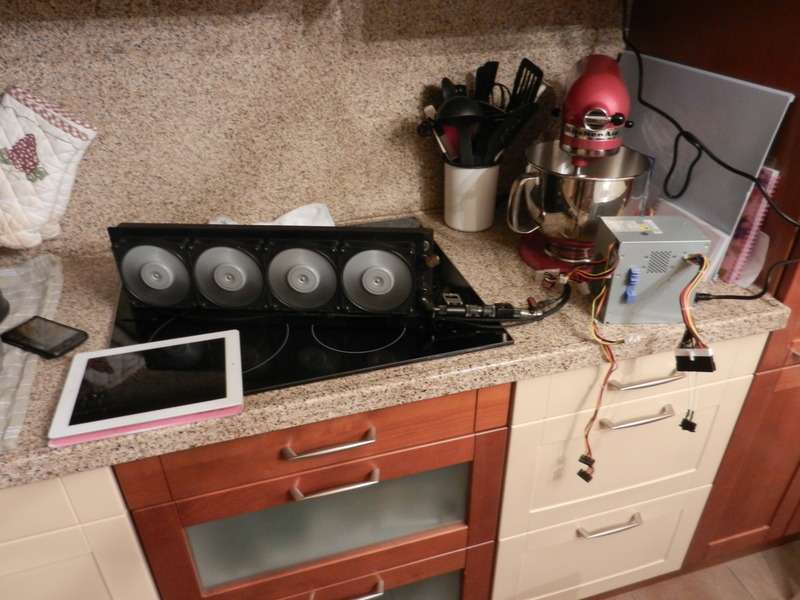
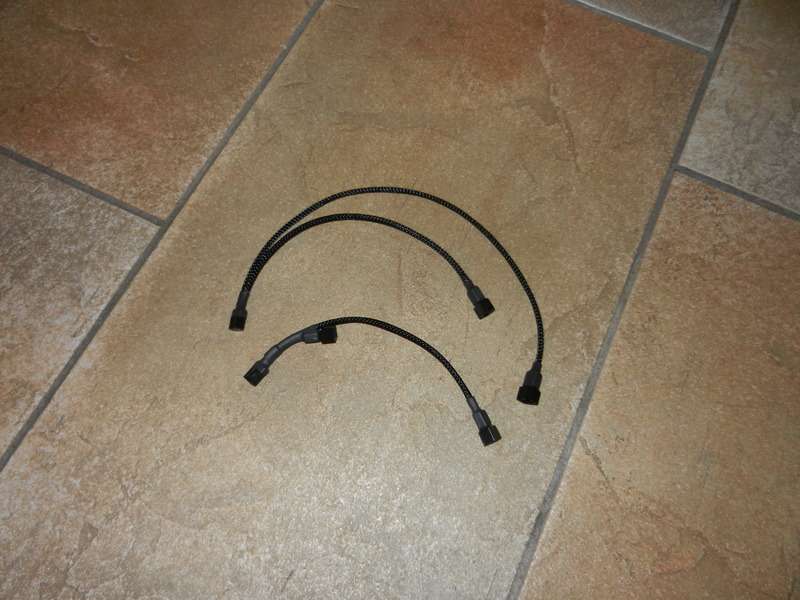
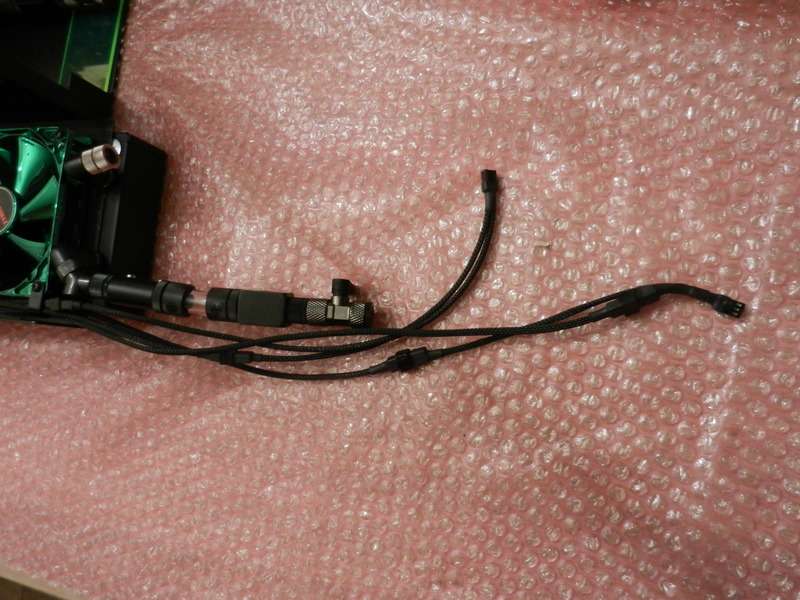
First I create 3 fan extension cables: a single 1>4 for the Typhoons and a dual 1>2 for the Enermax green fans. Of course added them right away and tested them because I had to know if there would be fireworks. Lucky me, I actually made decent extensions :hehe:
The Typhoons spin up nice and even. That cable is ready for the Aquaero 6.
#ghettotestpsuftw
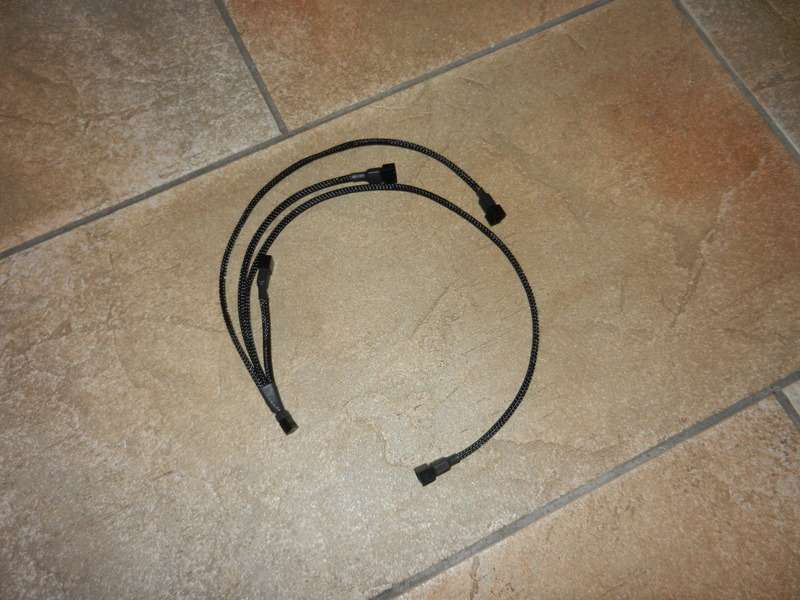
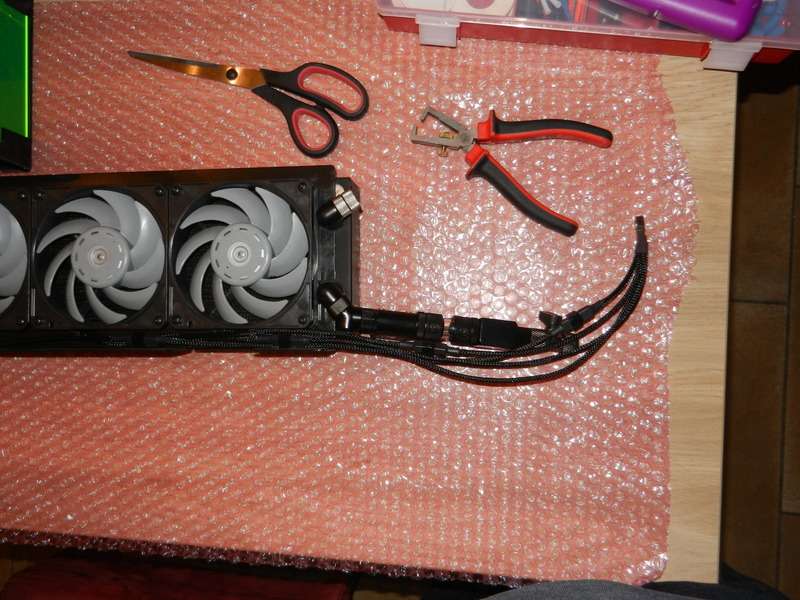
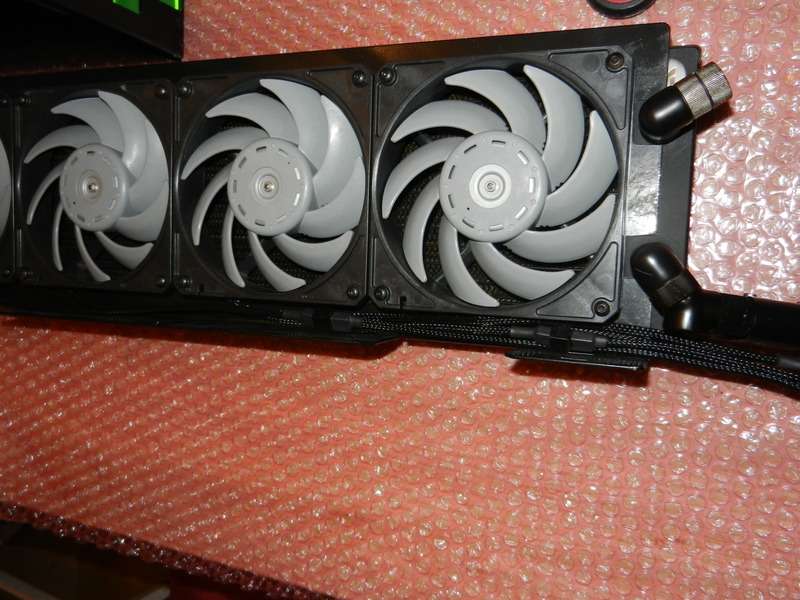
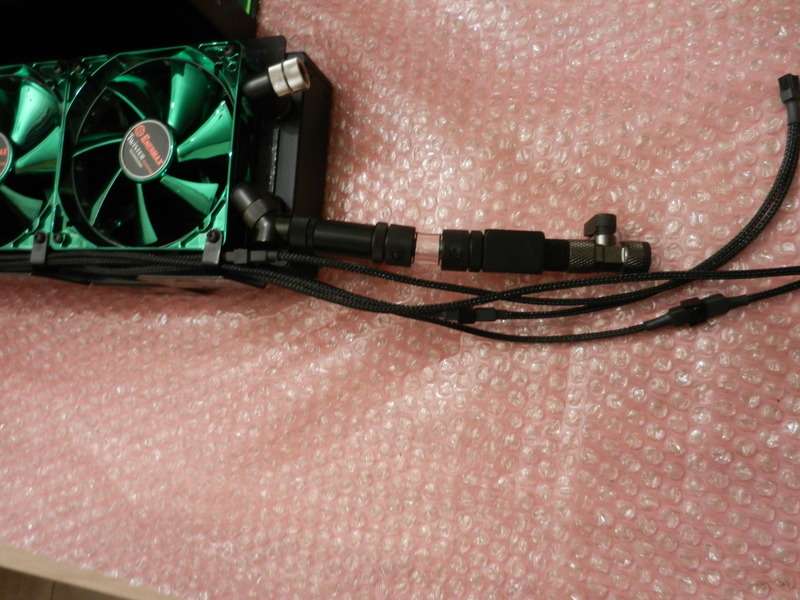
And then... I just cannot get enough of this sight. These grills with those fans in combination. I just LOVE it. This project will look absolutely the dogs....errhmmmm "well you know what" in the dark. Imagine also seeing the inside of the case with UV lit UV green fluid everywhere.

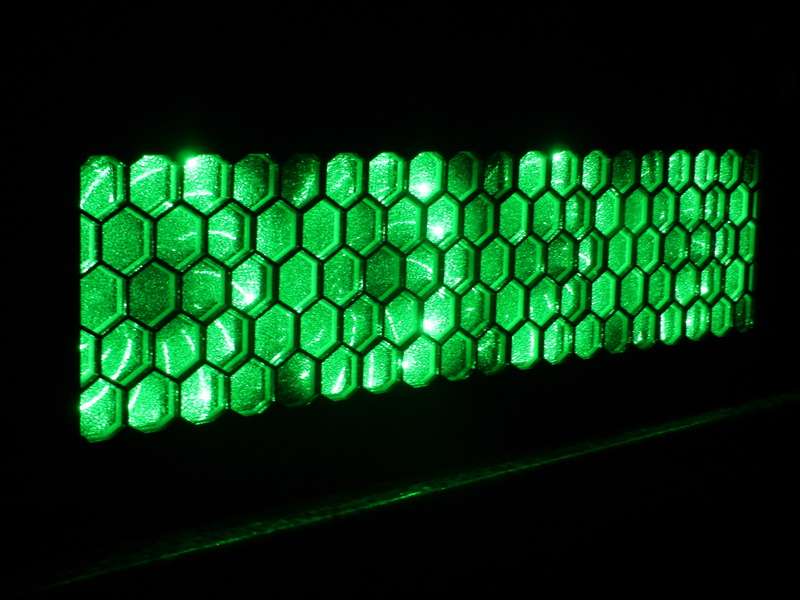
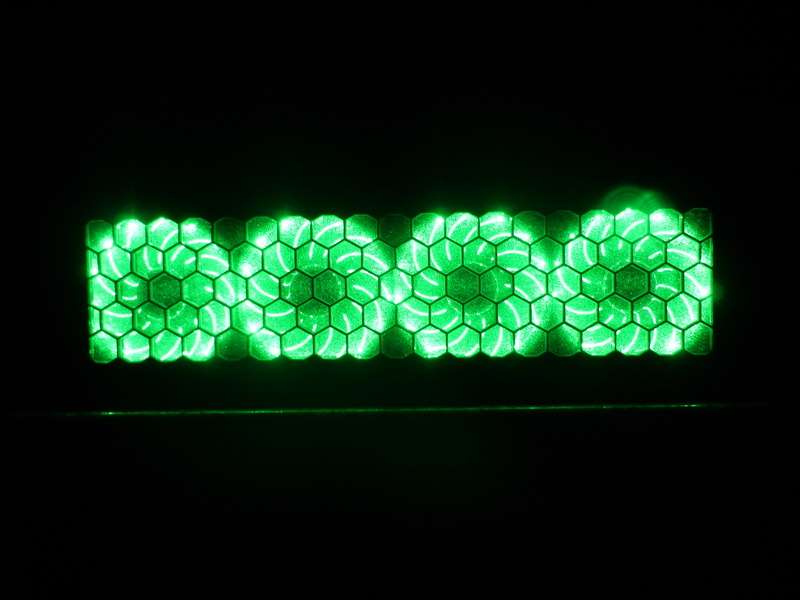
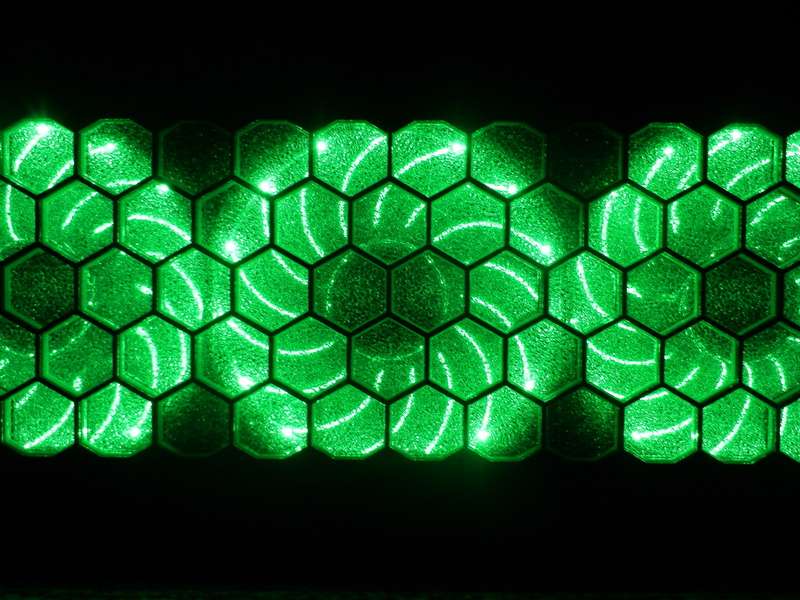
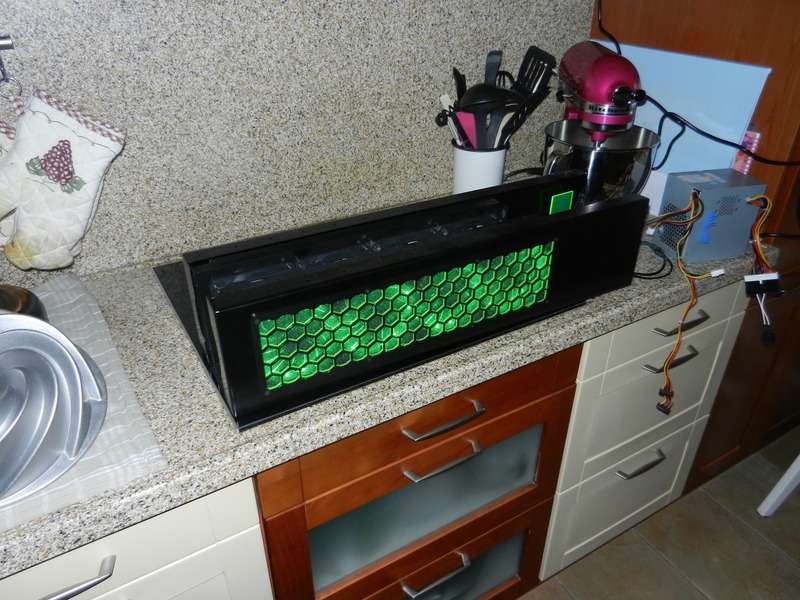
After this I tried to mount the Aquaero 6 only to find out there was something wrong with the measurements and it was too small.....:wallbash:
I am NOT going to remake this again. I want to fit the bloody thing already.
So I grabbed a nice piece of UV Green plexiglass, my saw, the heatgun and my drill and came up with this.
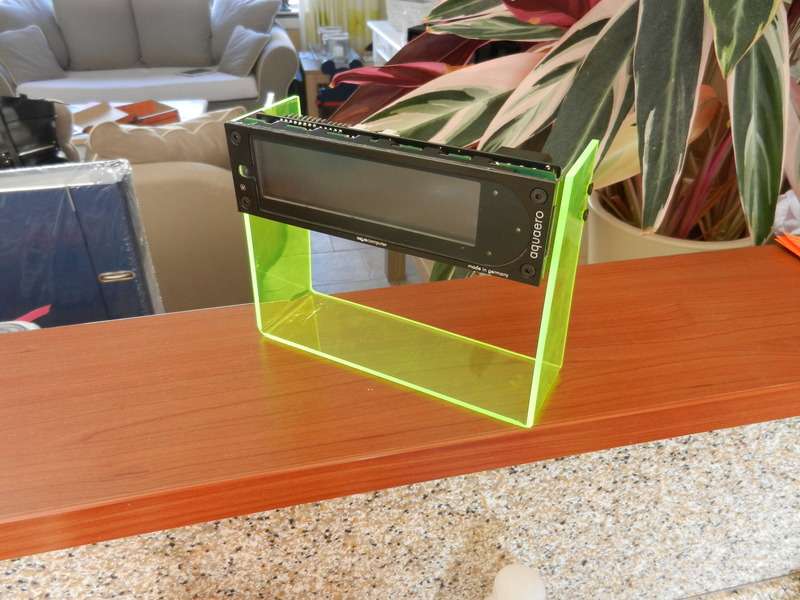
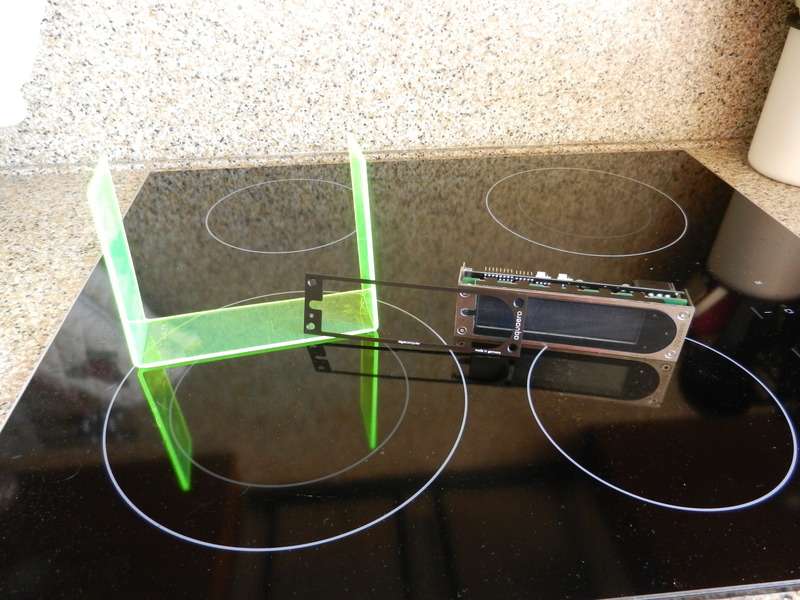
Not too bad actually. Also leaves room for my hands to work in the super small area.
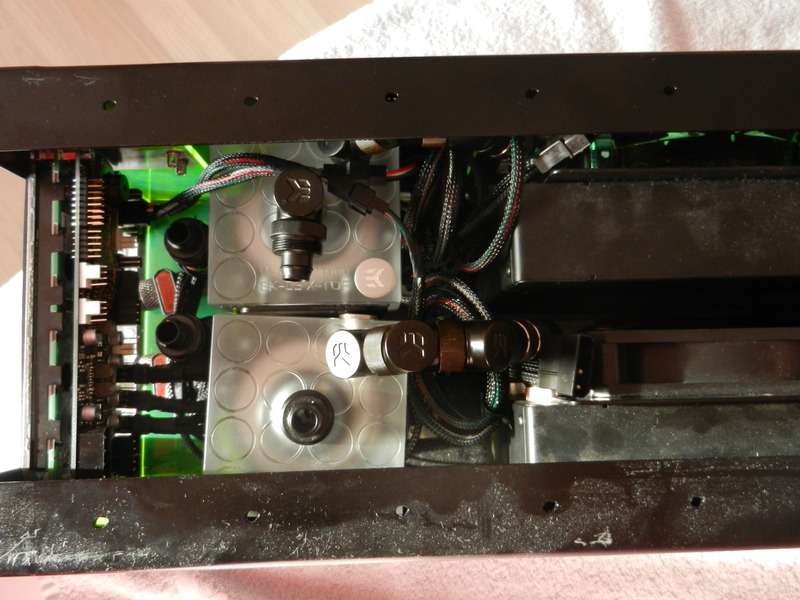
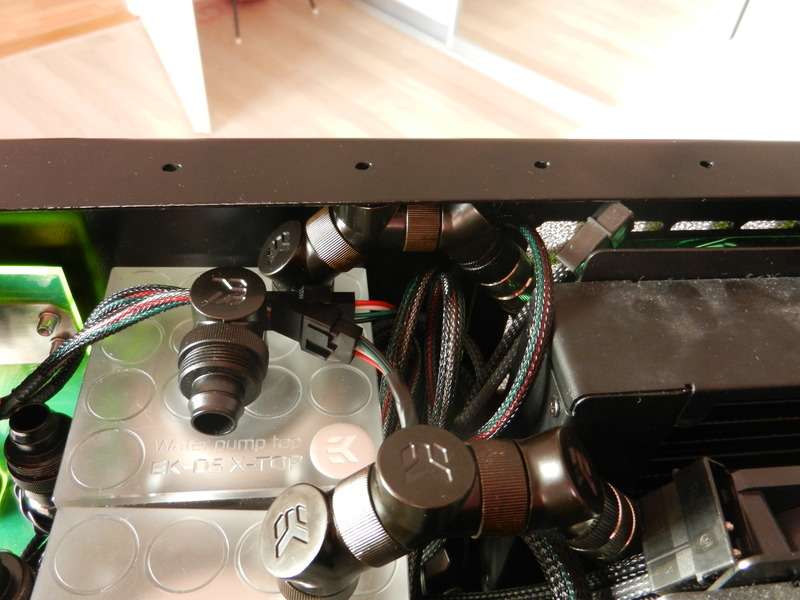
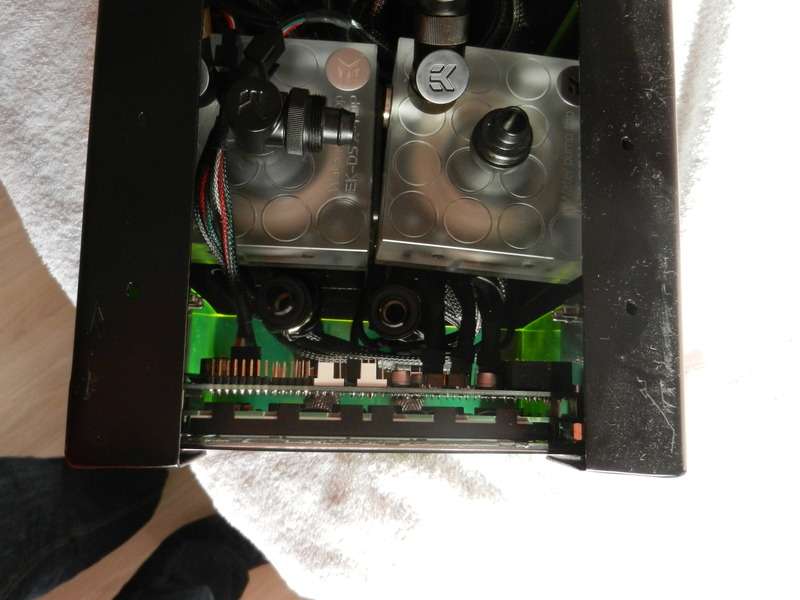
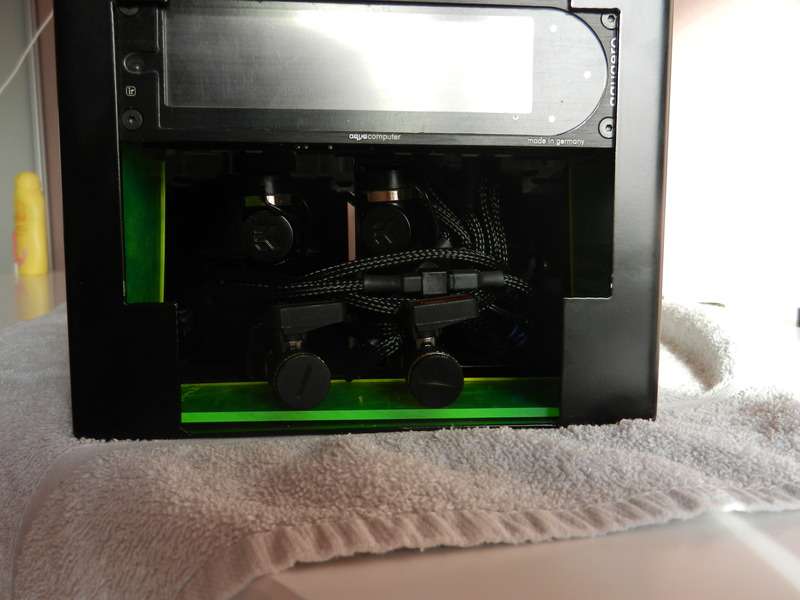
After this I somehow found a way to also get the pumps with tops and brackets in there. I already wired up the flowmeters, added a few 45 degree angles afterwards and added two temp meters as well. One for each loop. Now I can monitor each loop with its own flow and coolant temps all over the Aquaero 6. Plus I can arrange the bottom fans with it as well.
Man if you held the pedestal when it was empty you would think it was enormous and ridiculous. Now I filled it up and it is seriously cramped in there!
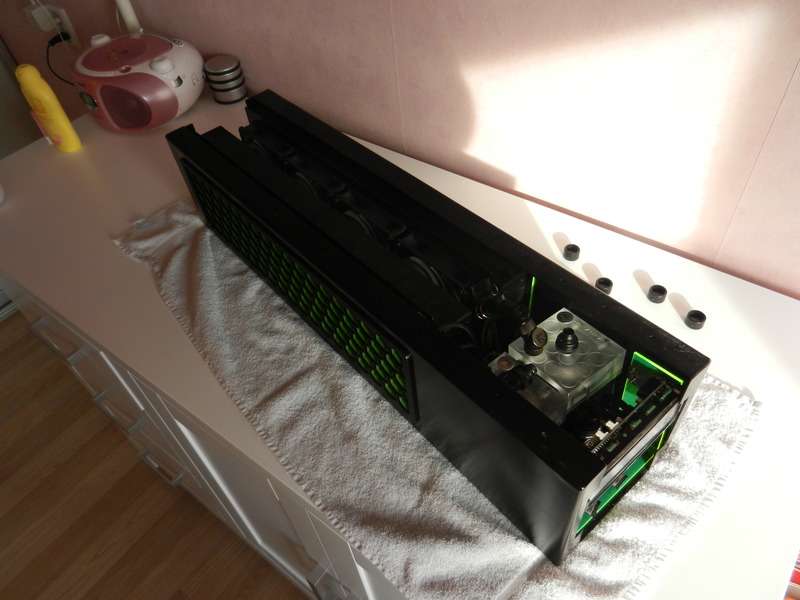
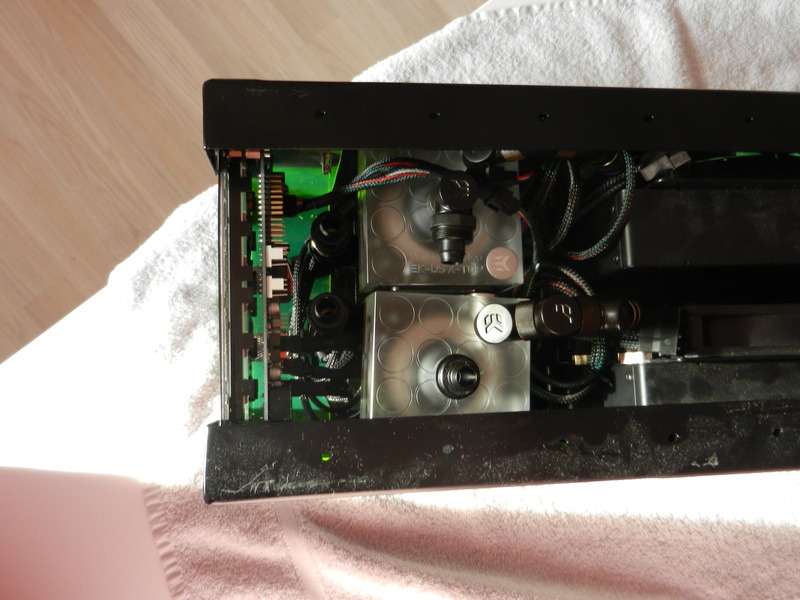

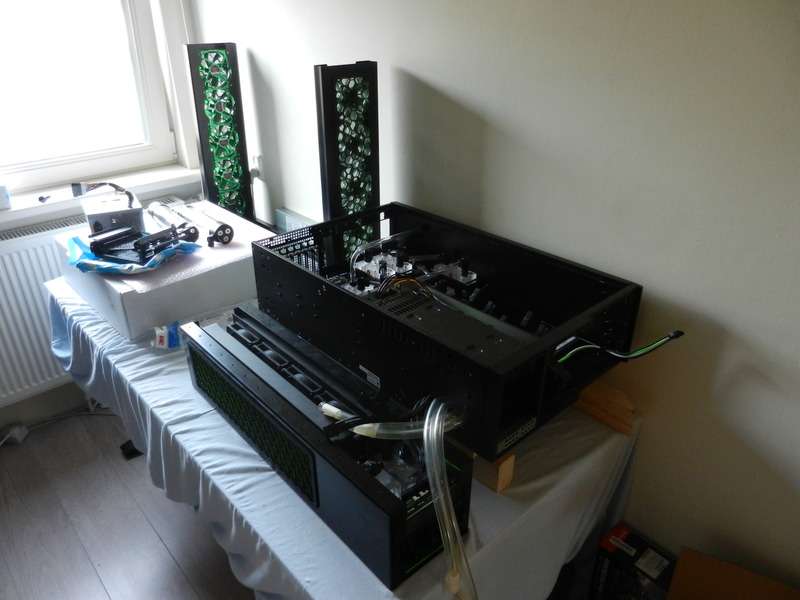
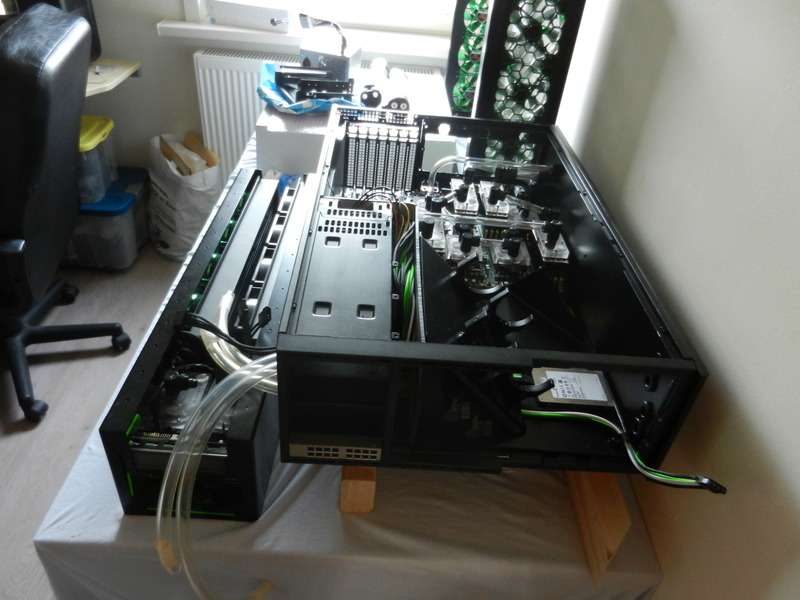
Well here are the 3 pieces now. The arch in the back. The case on its side and the pedestal in front of it.
Now comes the hardest part of the entire build. To fit those 4 hoses (which I will shorten of course DUH). Room is going to be EXTREMELY cramped. I will most probably put like 3 bars on top of the pedestal and the case on to op that. Then shorten the hoses as short as I can and see if I can fit them. Pray the blocks won't slide from between (or I will have some serious pain). And pray I will be able to actually fit the hoses to the right fittings and be able to lower the case.
First I create 3 fan extension cables: a single 1>4 for the Typhoons and a dual 1>2 for the Enermax green fans. Of course added them right away and tested them because I had to know if there would be fireworks. Lucky me, I actually made decent extensions :hehe:
The Typhoons spin up nice and even. That cable is ready for the Aquaero 6.
#ghettotestpsuftw


And then... I just cannot get enough of this sight. These grills with those fans in combination. I just LOVE it. This project will look absolutely the dogs....errhmmmm "well you know what" in the dark. Imagine also seeing the inside of the case with UV lit UV green fluid everywhere.


After this I tried to mount the Aquaero 6 only to find out there was something wrong with the measurements and it was too small.....:wallbash:
I am NOT going to remake this again. I want to fit the bloody thing already.
So I grabbed a nice piece of UV Green plexiglass, my saw, the heatgun and my drill and came up with this.


Not too bad actually. Also leaves room for my hands to work in the super small area.
After this I somehow found a way to also get the pumps with tops and brackets in there. I already wired up the flowmeters, added a few 45 degree angles afterwards and added two temp meters as well. One for each loop. Now I can monitor each loop with its own flow and coolant temps all over the Aquaero 6. Plus I can arrange the bottom fans with it as well.
Man if you held the pedestal when it was empty you would think it was enormous and ridiculous. Now I filled it up and it is seriously cramped in there!


Well here are the 3 pieces now. The arch in the back. The case on its side and the pedestal in front of it.
Now comes the hardest part of the entire build. To fit those 4 hoses (which I will shorten of course DUH). Room is going to be EXTREMELY cramped. I will most probably put like 3 bars on top of the pedestal and the case on to op that. Then shorten the hoses as short as I can and see if I can fit them. Pray the blocks won't slide from between (or I will have some serious pain). And pray I will be able to actually fit the hoses to the right fittings and be able to lower the case.


