Project Alternate

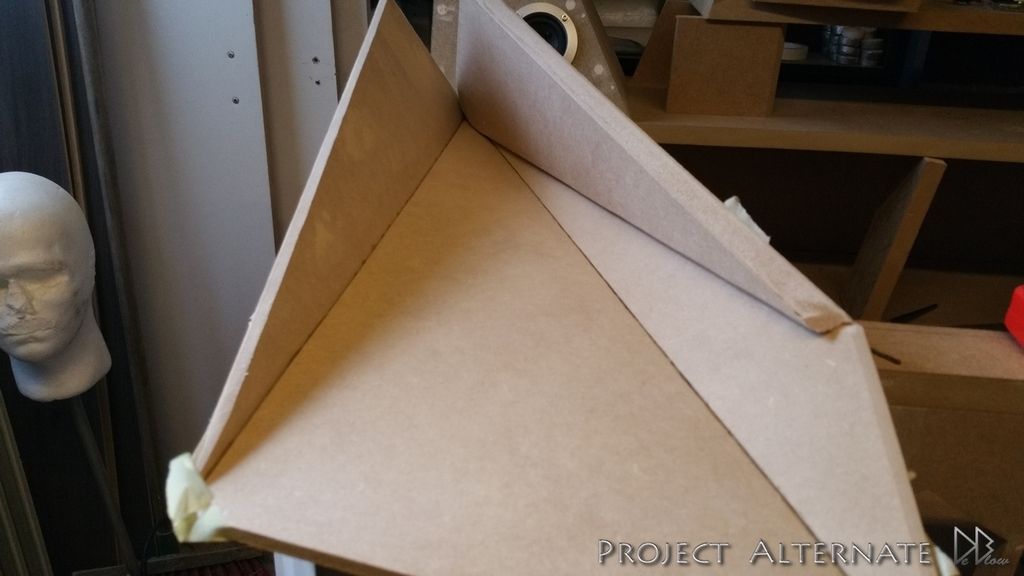
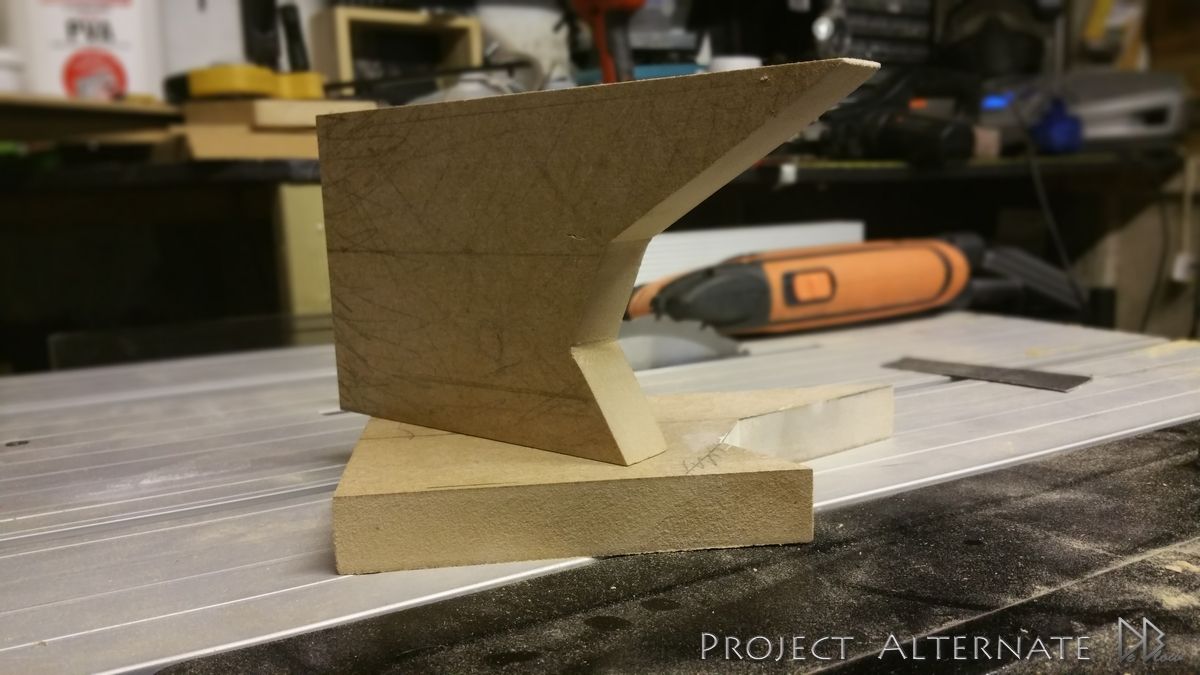
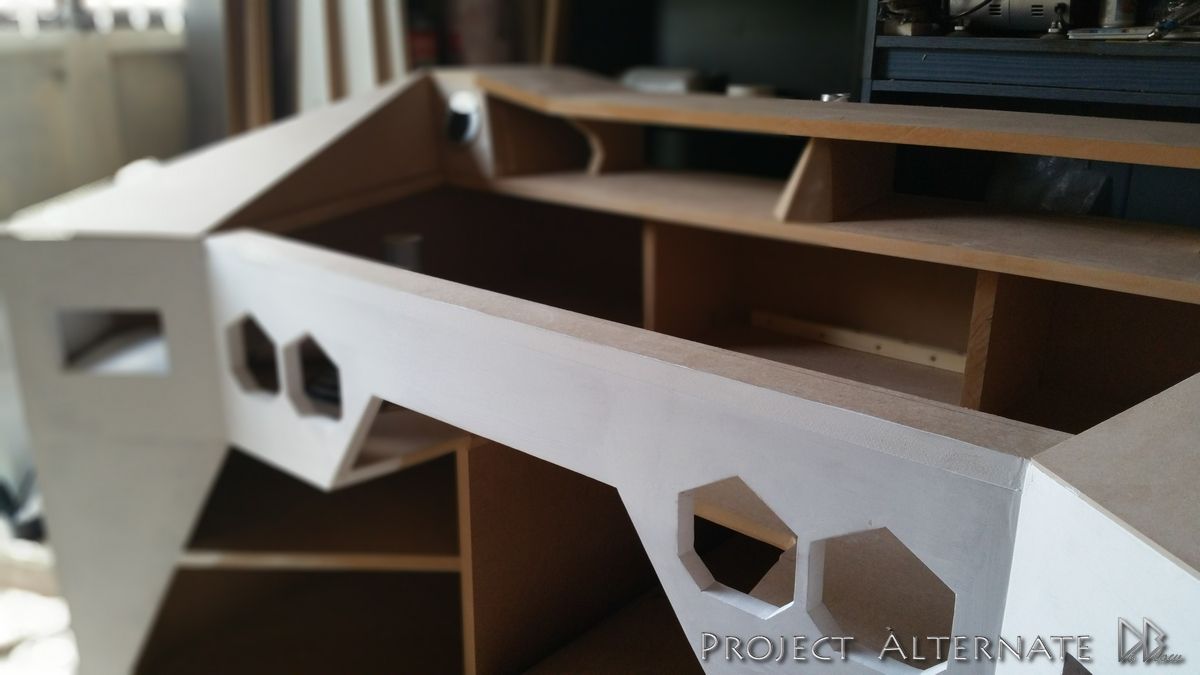
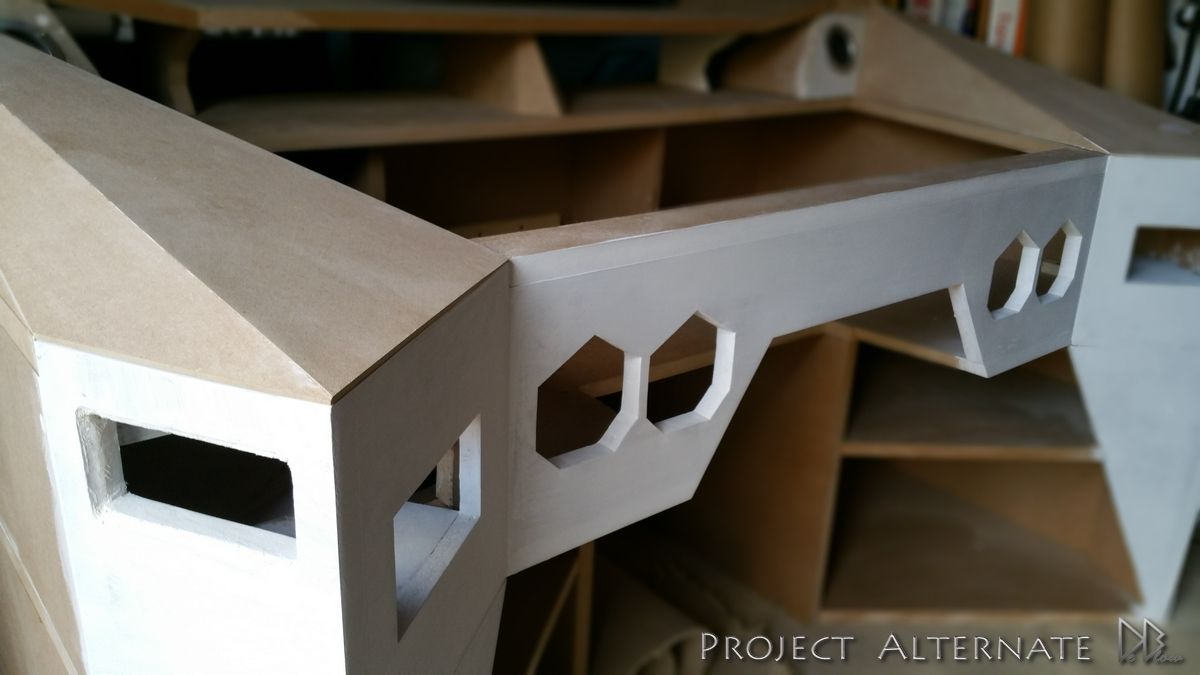
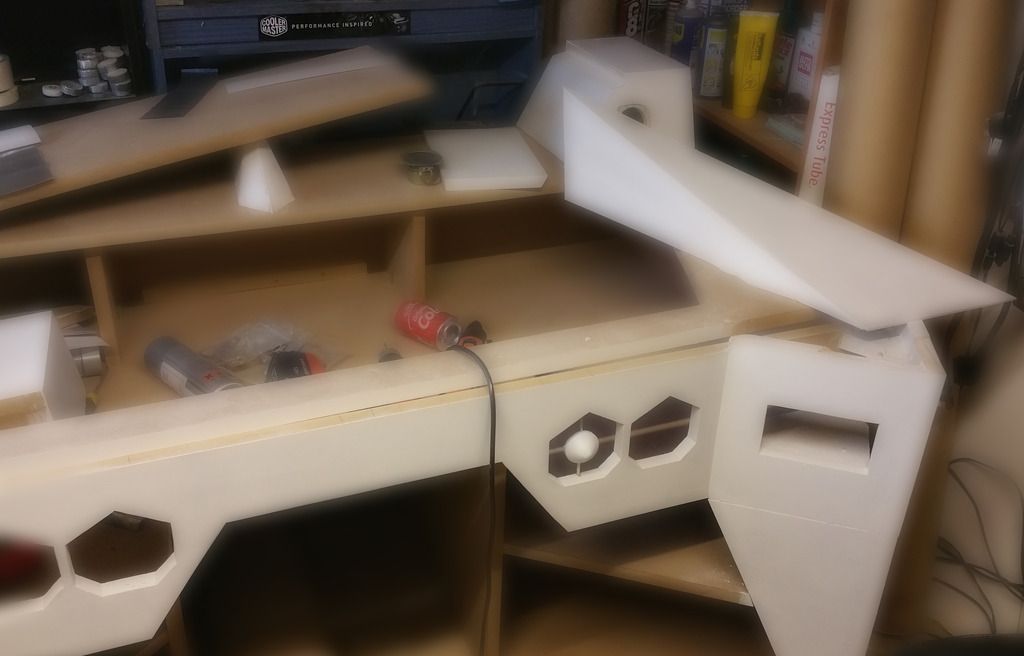
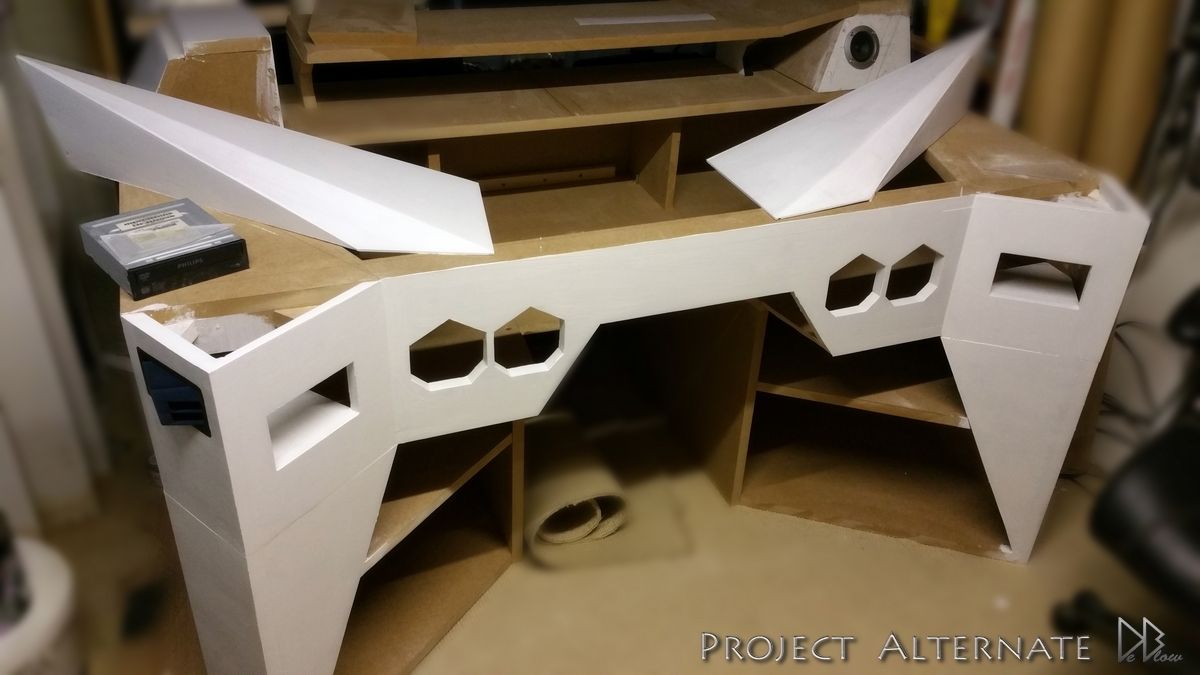
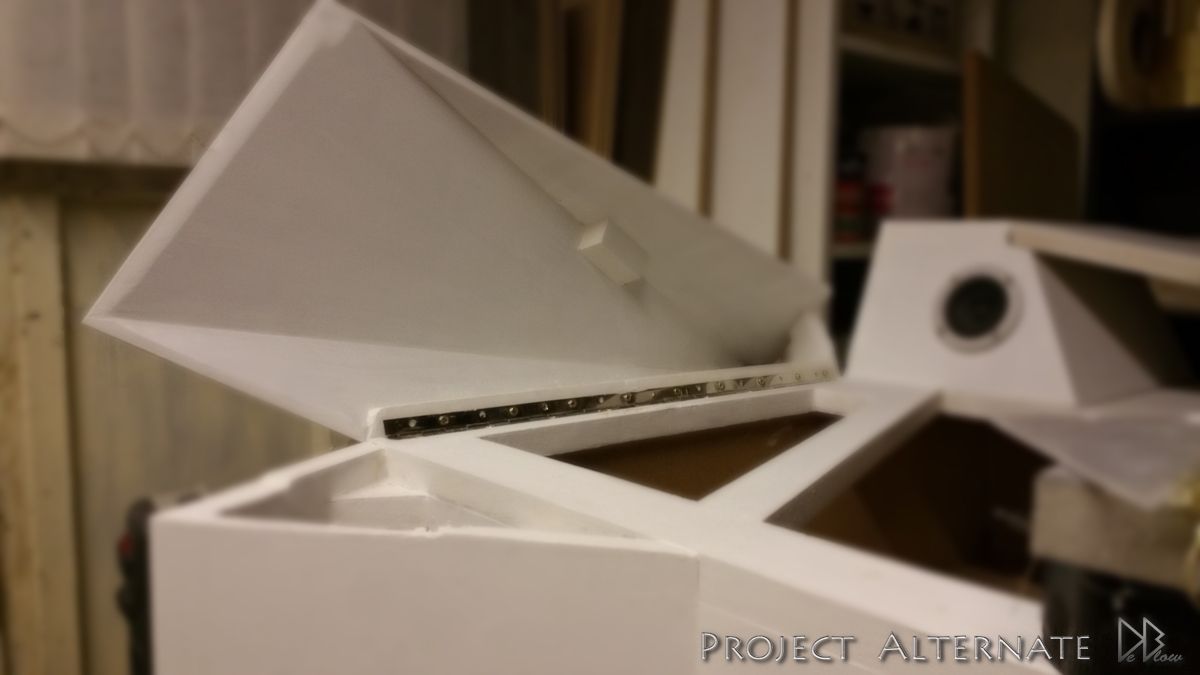
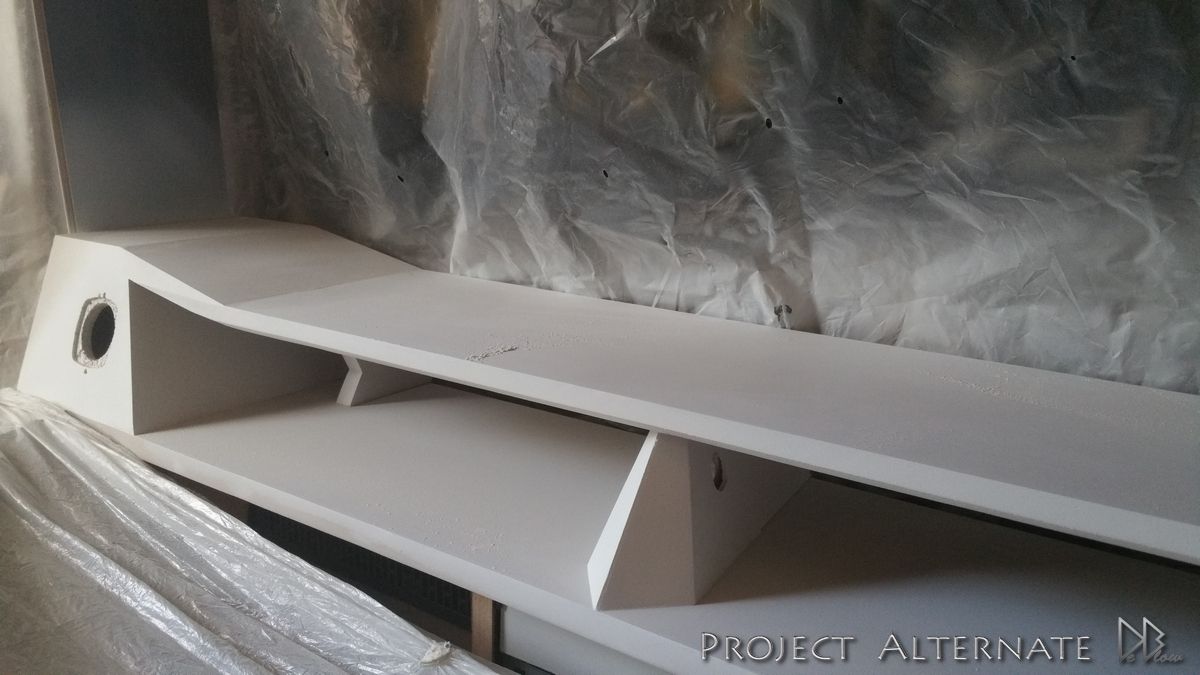
Both the corner parts now built, they will house the speakers & also act as part of the upper shelf for the monitor/monitors.


Image00001_zpsq7pxnx5y.jpg


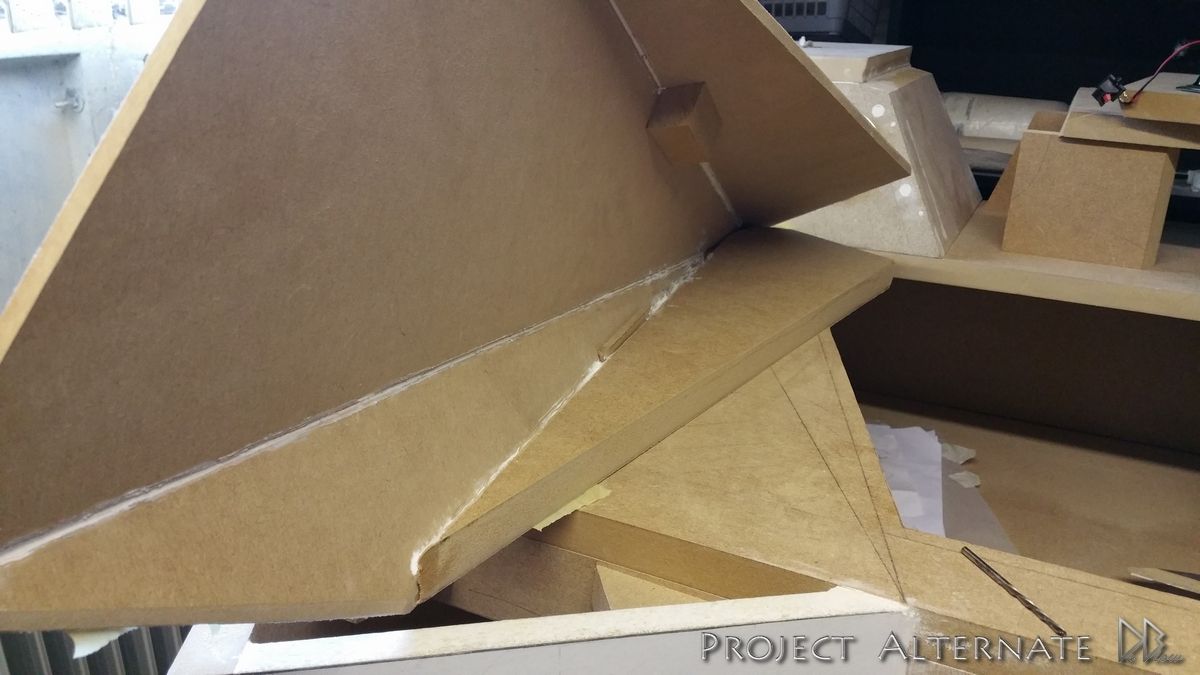
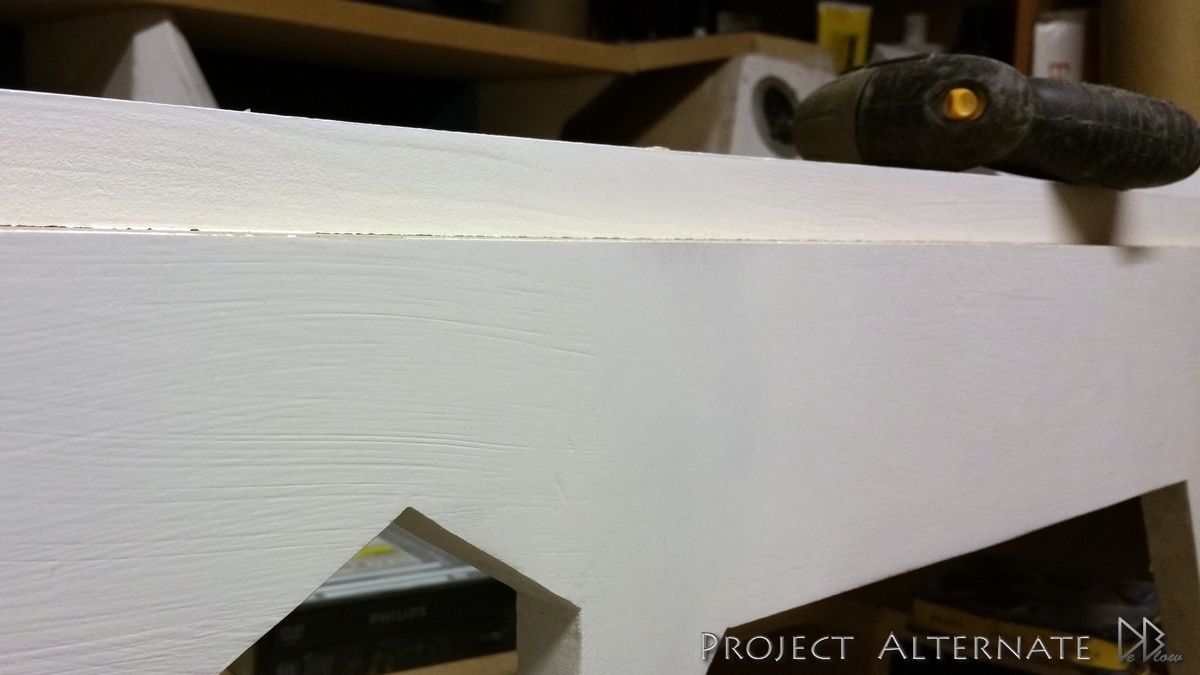
After making the above parts I could then start to work on the tricky parts, the 2x side covers that need some careful cutting in order to look the part & take some pressure.
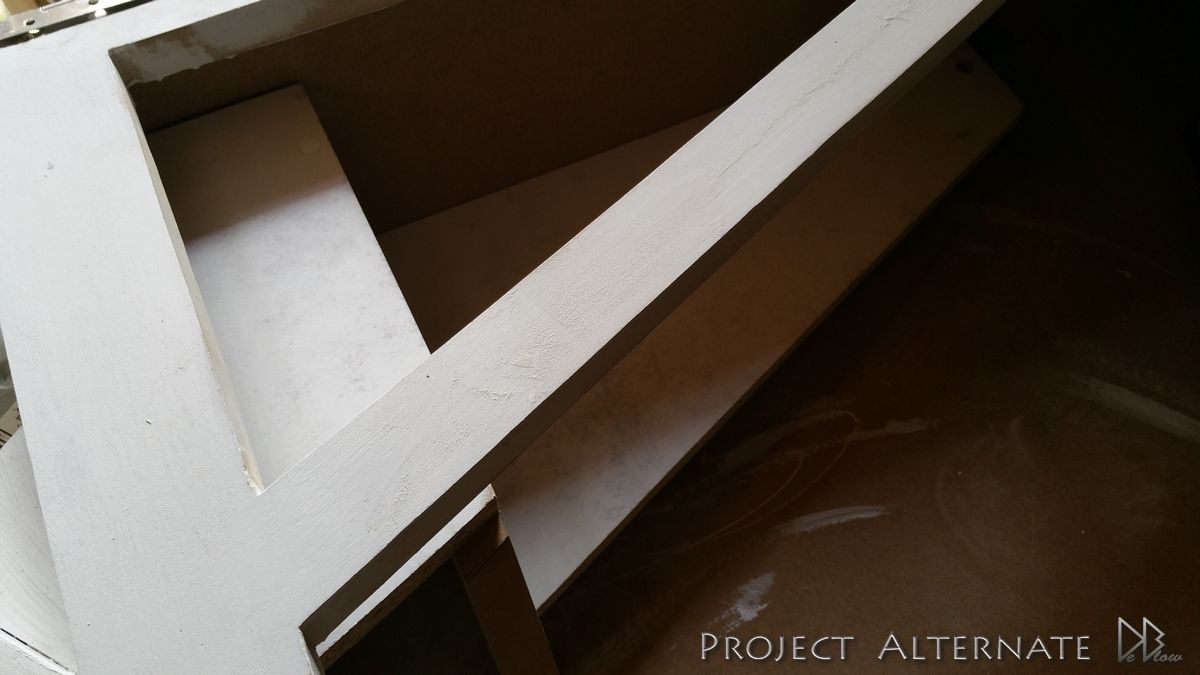
Used glue to hold the parts together then when it was dry I added some blocks for extra strength.
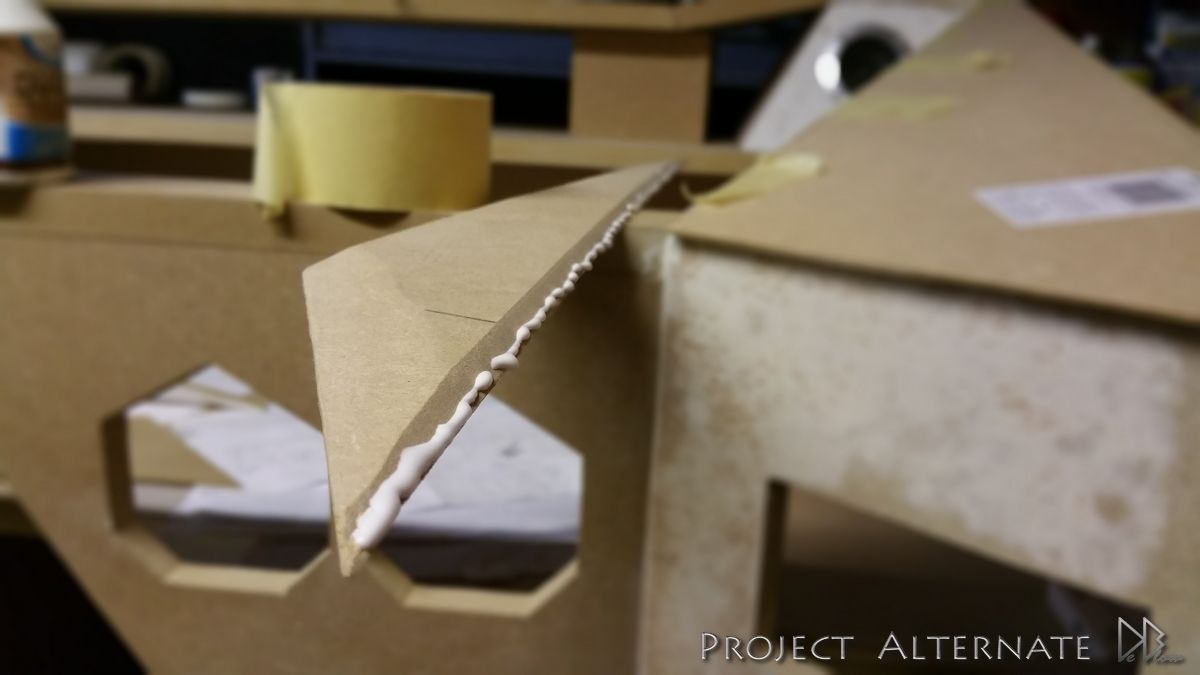
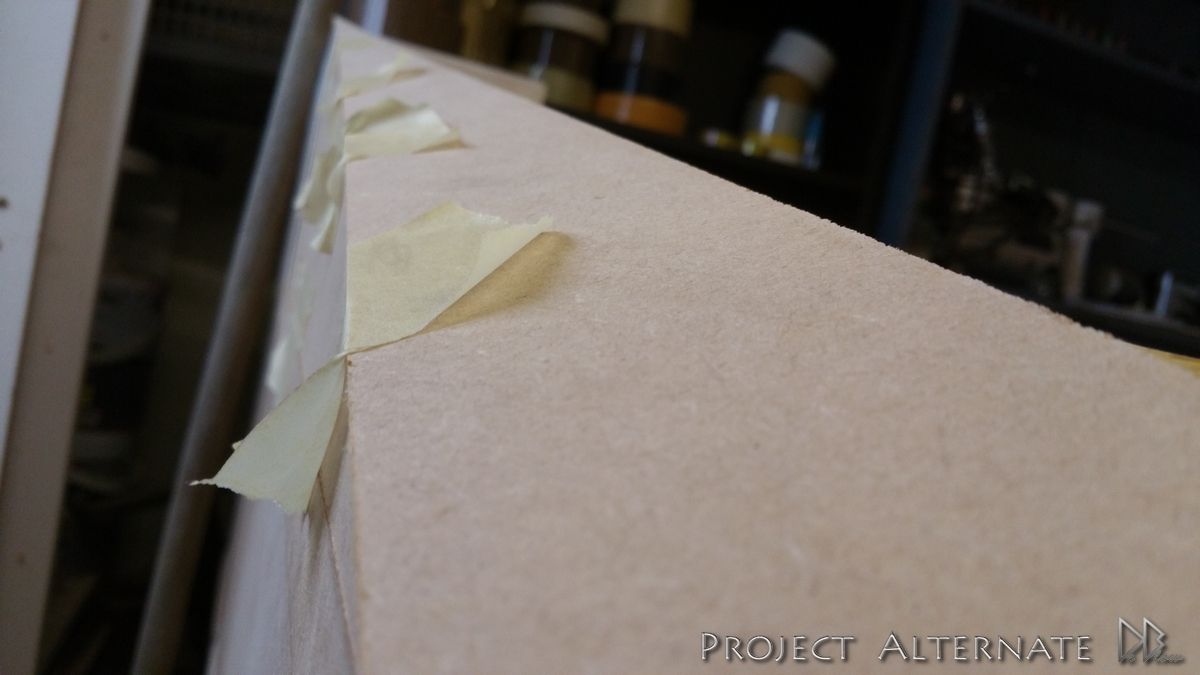
Image00002_zpsnyrwbvxt.jpg


Image00004_zpslbbmowcc.jpg


Image00005_zpsuf68y7yz.jpg


Image00006_zpsdzvkeabh.jpg


When I was happy with all the parts & placement I then went back to the corner parts to add the speakers, did it in this order so i could double check how it looked
before adding the speakers, just encase I wasn't happy with them in the position I had them on the art work.


Image00007_zpsrdqdqmf1.jpg


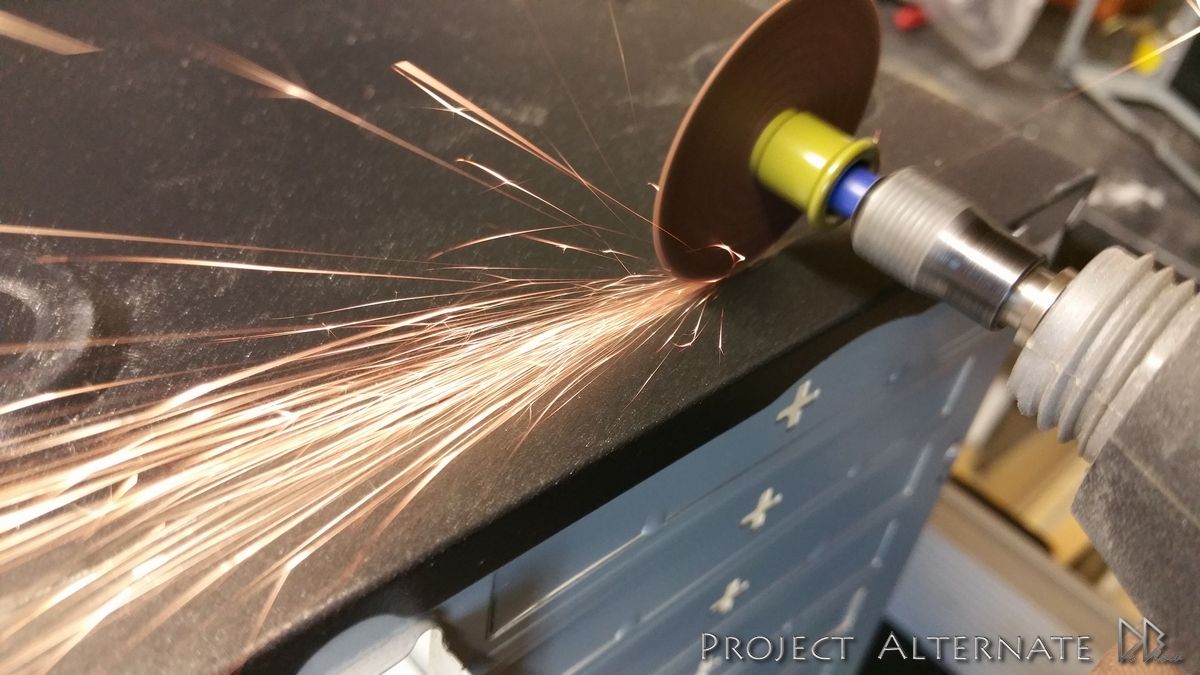
This is a dodgy tool, almost had my hand of a couple of times, but did the job in the end :)

Image00008_zpsy2e7kyia.jpg


Added some sealant to prevent dust & help with the speaker sound.

Image00009_zpsyrvmqhaj.jpg


Image00010_zpsun9muiic.jpg


Image00011_zps2d4yycvu.jpg


Image00012_zpszveojxr0.jpg


Image00013_zpsdups536l.jpg


Image00014_zpsrdeezthc.jpg


Image00015_zpsbeix72e7.jpg


Image00016_zpsrtc9nqno.jpg


Image00017_zps1zg0hjug.jpg


Starting to take shape now, really nice to see it looking a bit like the design I spent months working on :D

please note, the sides ain't fasten down yet & still need some sanding to be done later in the build,
the shelf is also just resting there atm, the blocks holding it up are just for demonstration & will be replaced.


Image00018_zpswrfoy8us.jpg


In the next stage im going to dismantle the desk & reduce the height by 2 inch, the main reason for this mod is so im not towering
above my friends on my high chair as they sit on the small visitor chairs :)
 
Last edited:

Thanks Dice :)

Wish i had the time, money and space to do something like this. Haven't found a desk build on the forums I haven't loved yet! Can't wait to see the finish!

I wish everyone had the opportunity to have a go, has its highs & lows
but very rewarding if all goes to plan

Today was a good day, very sunny so i decided to paint the shed instead of working on the desk,
had been waiting for a day like today for ages :D
 
This is epic. I'm really impressed. Looking forward to seeing it finished

I really want to give something like this a go, just don't have the kind of space.

Thanks mate :)

Looks really good, love the lines.

Are you spraying it or wrapping?

Well, glad you asked, my original plan was to wrap it in a dark grey wrap but the only grey I can find at good quality Im not 100% sure about.
its hard to picture what it would look like when the desk is totally covered.

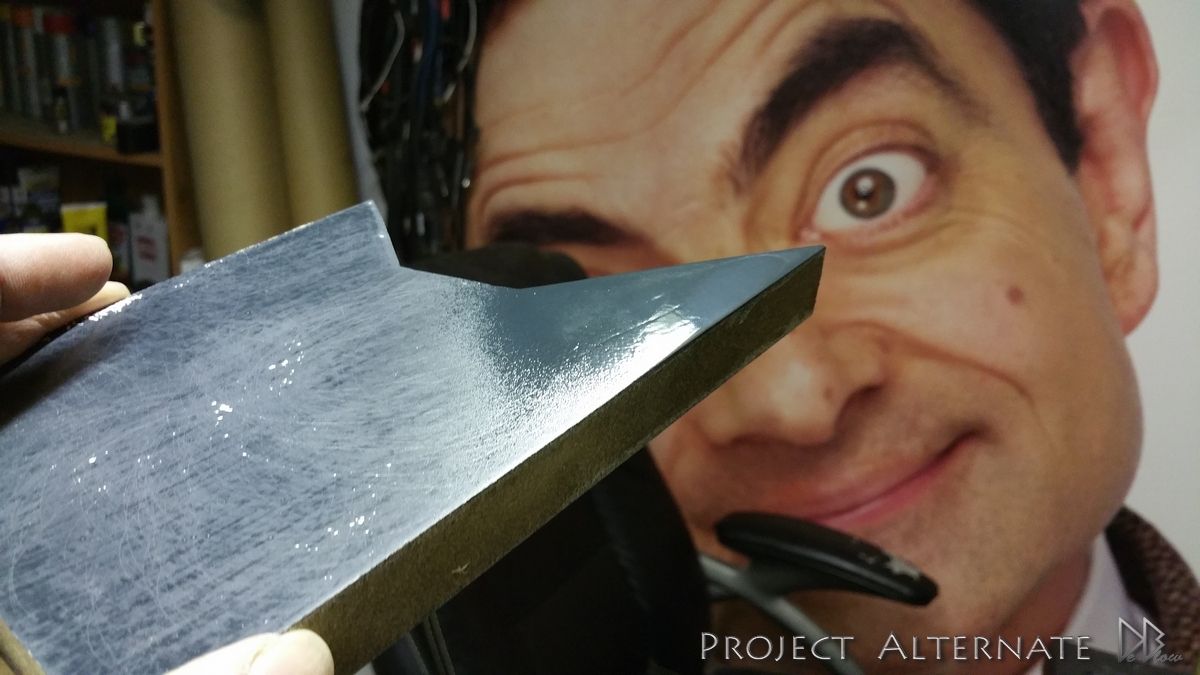
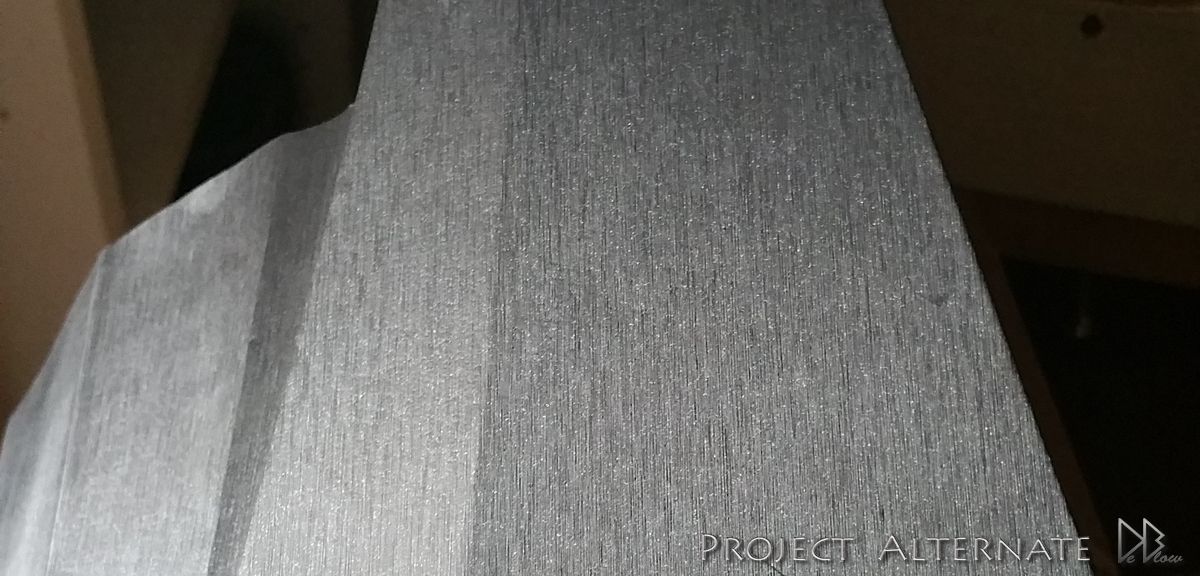
Because I was unsure Iv started to play with some paints. the one in the pictures is a dark blue grey, I was messing about with the paint a bit so its not a great finish.


Image00015_zps6xt68li9.jpg

This was not dry, so looks a bit cloudy on the edge
Image00020_zpsdzm0b3az.jpg
Image00033_zpssafkyikv.jpg


What do you think would look best?

I know the wrap will be the easy option & less messy :D
but im leaning towards good old paint & plenty of sanding lol
 
Last edited:
If you can't find a high quality wrap that you like then I'd say spraying is the only viable option.

You could use multiple coats and sanding to achieve a nice texture and look to it (if you've got the time :p)

Thanks for the input, think i will look for other wraps then maybe paint & wrap %10 of the desk so i can get a better idea..

This has been the hardest choice so far
 
Over the past week or so I have finished lowering the desk by 2"
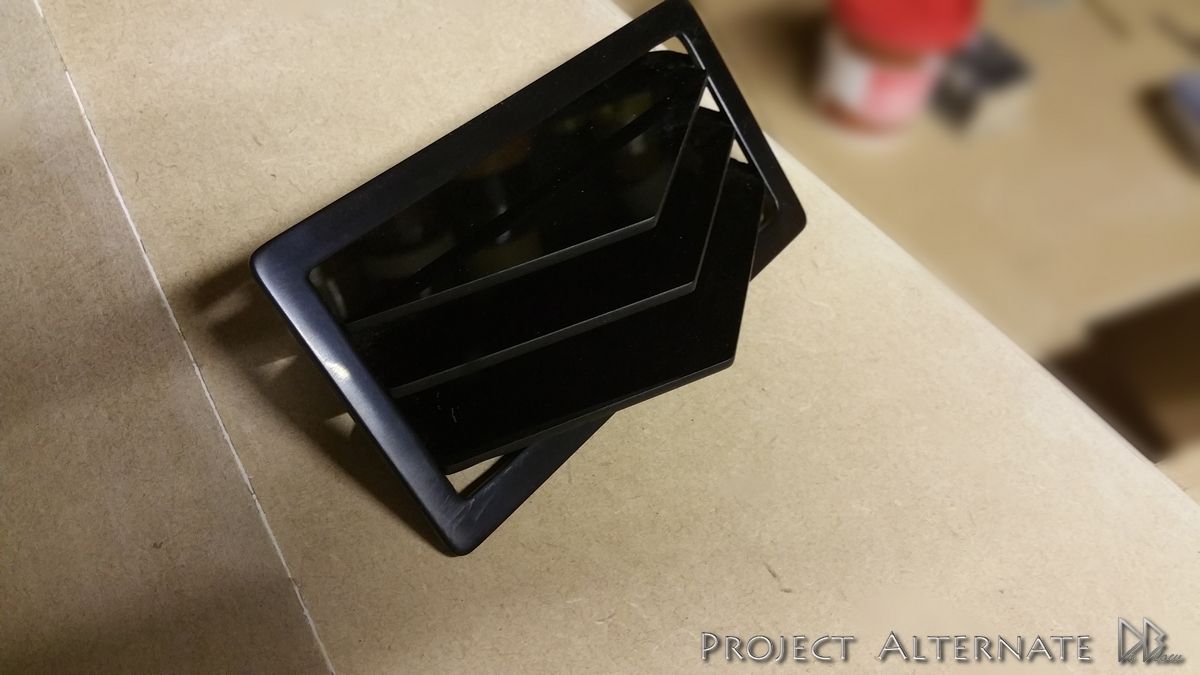
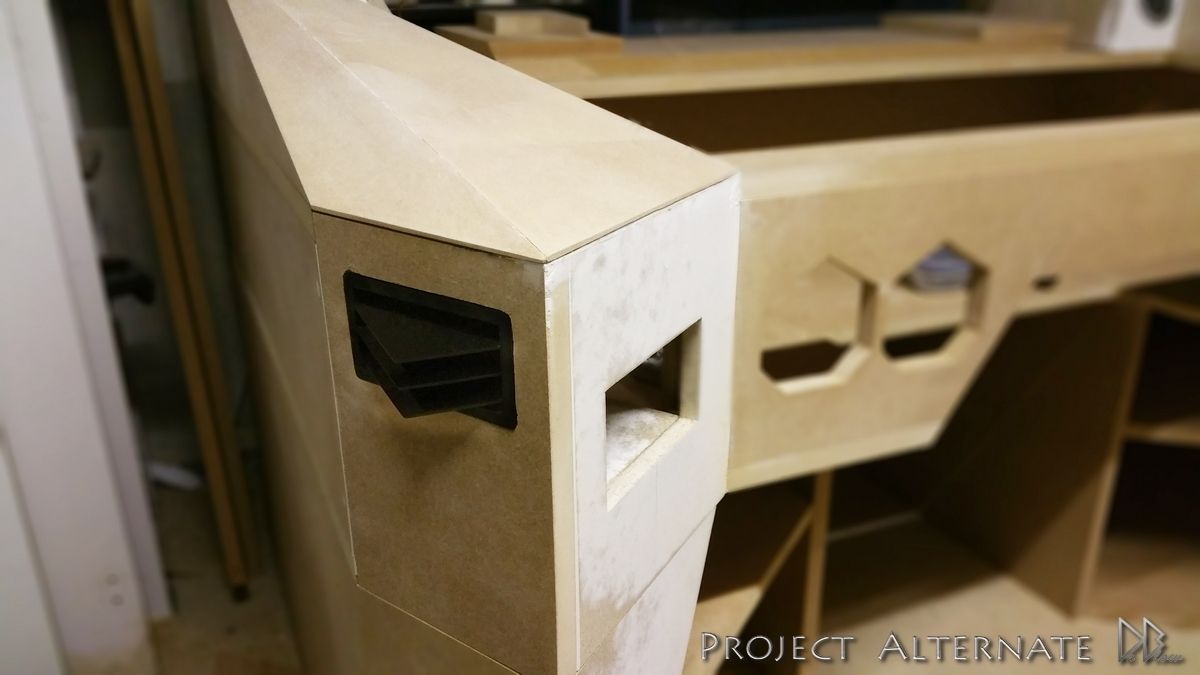
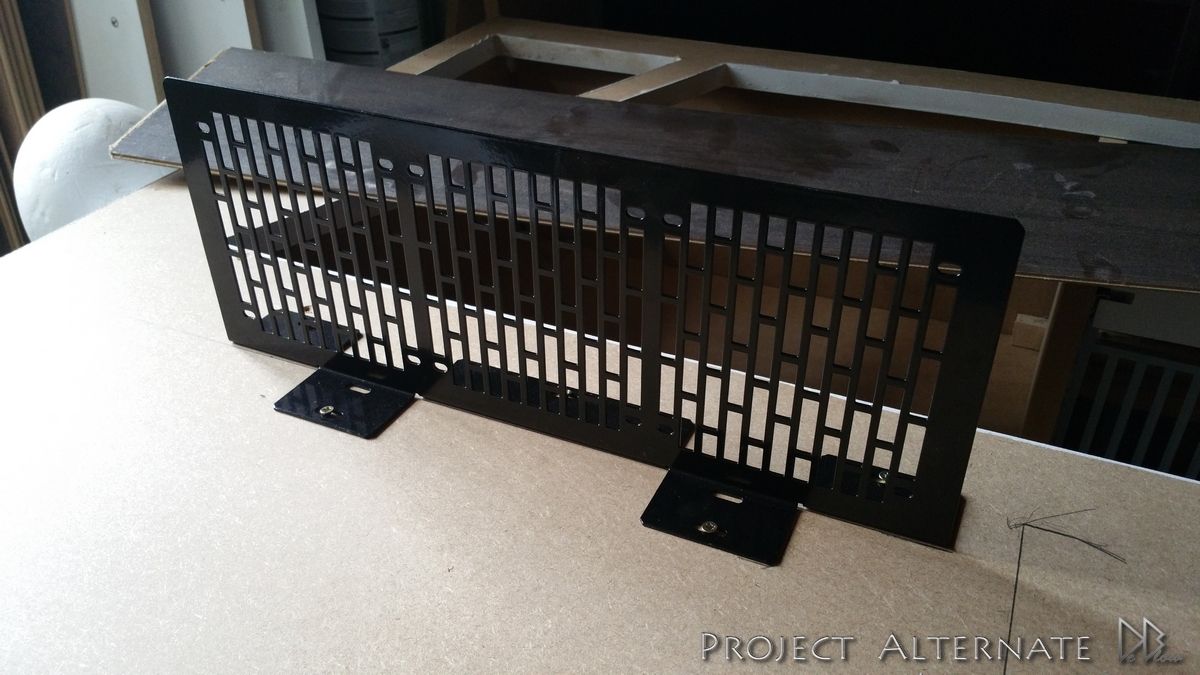
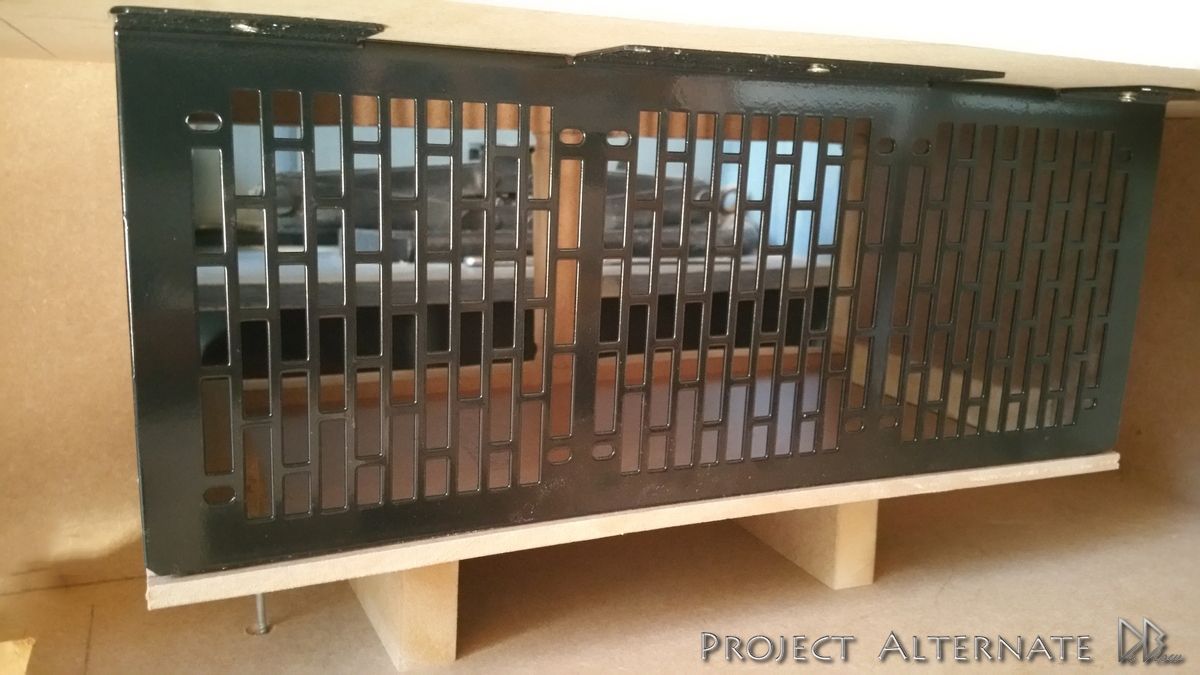
cut the air-vent hole, made the vent cover & some other small bits like the shelf mounts.
I cant attach them properly yet & do the fine adjustments until some of the components arrive so I can check placement & sizing.

Iv also started to undercoat some of the desk & done lots of sanding.


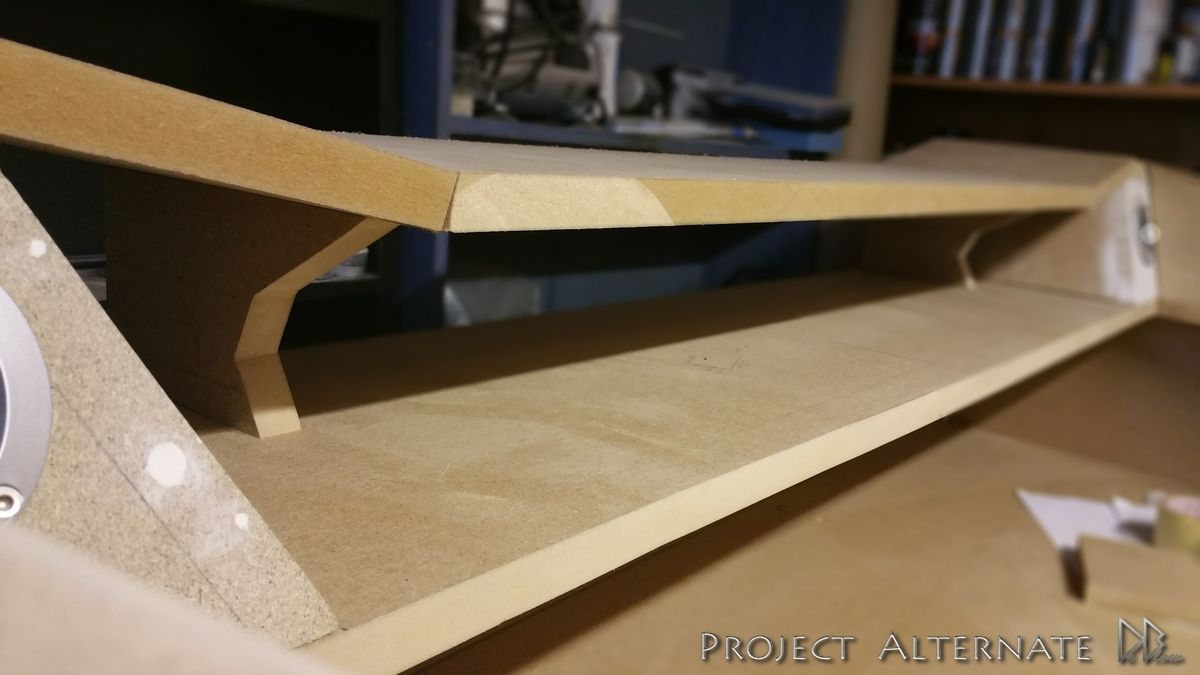
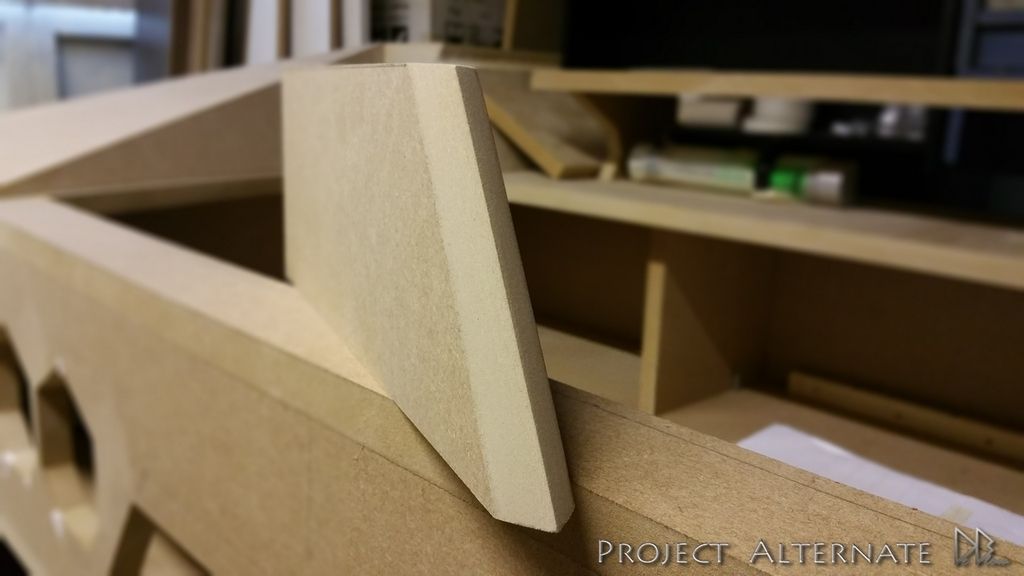
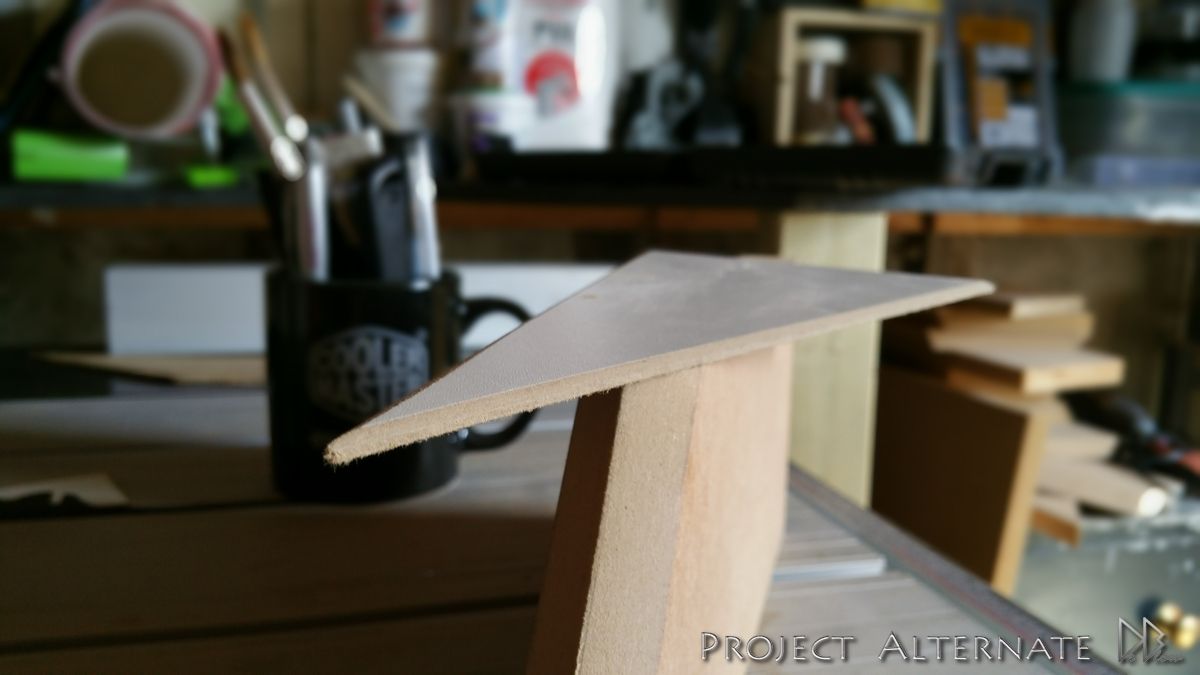
Here are the 2 shelf supports, they might need some adjusting at a later date when i start to fit the RES, there will be 2x 450mm reservoirs on each side on the shelf bottom.

Image00001f_zpsmrolz56r.jpg


here they are in place, the shelf isn't shaped & fasten in place yet.

Image00002f_zpswsxho34f.jpg


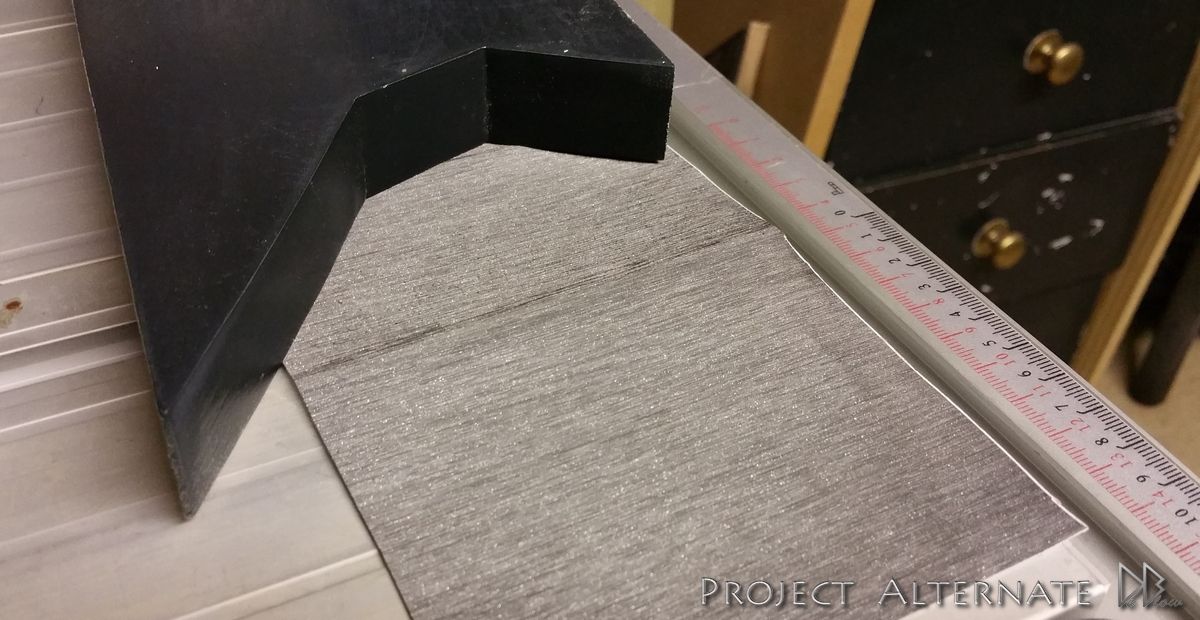
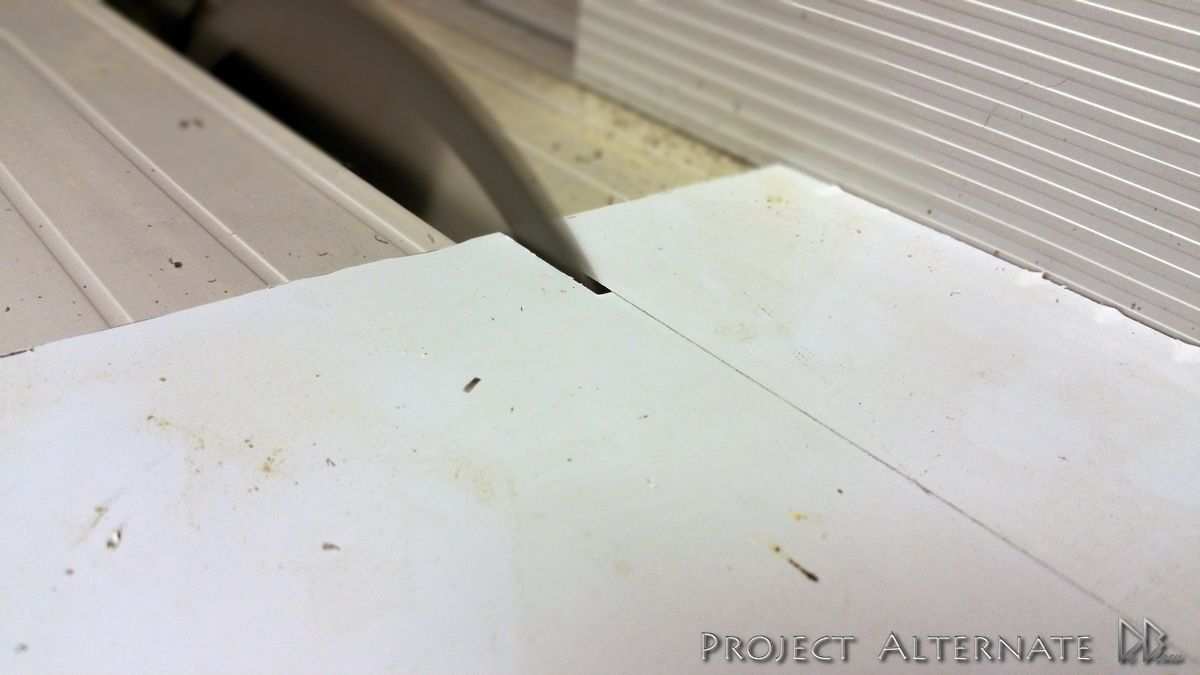
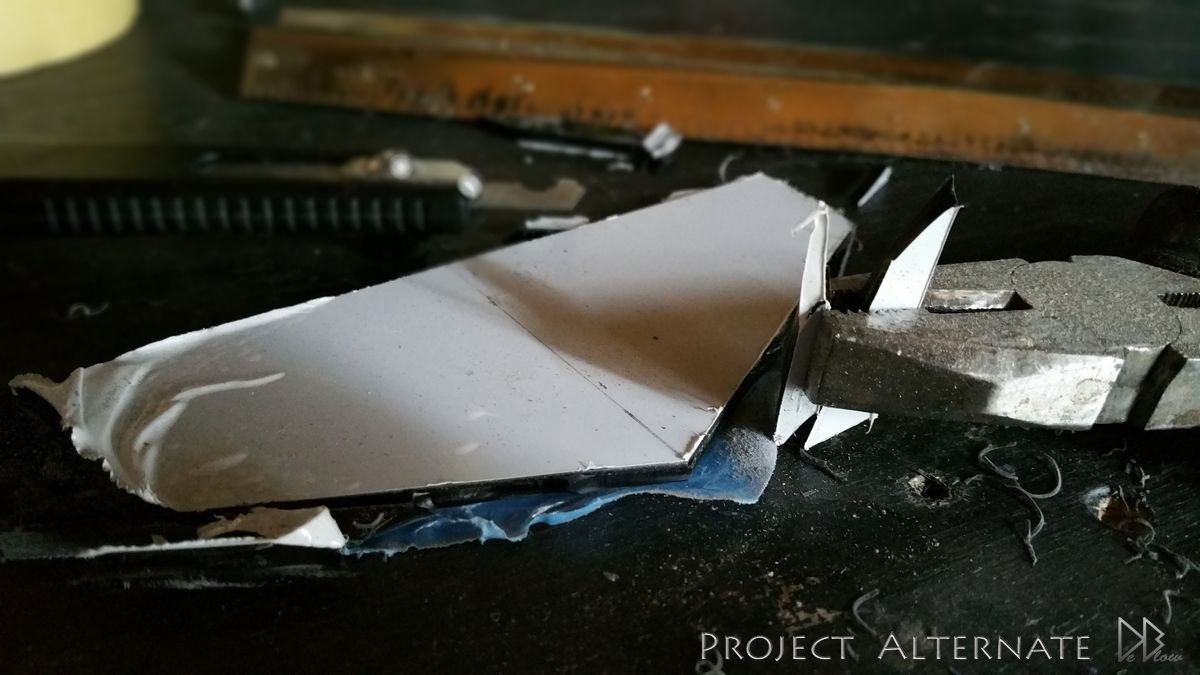
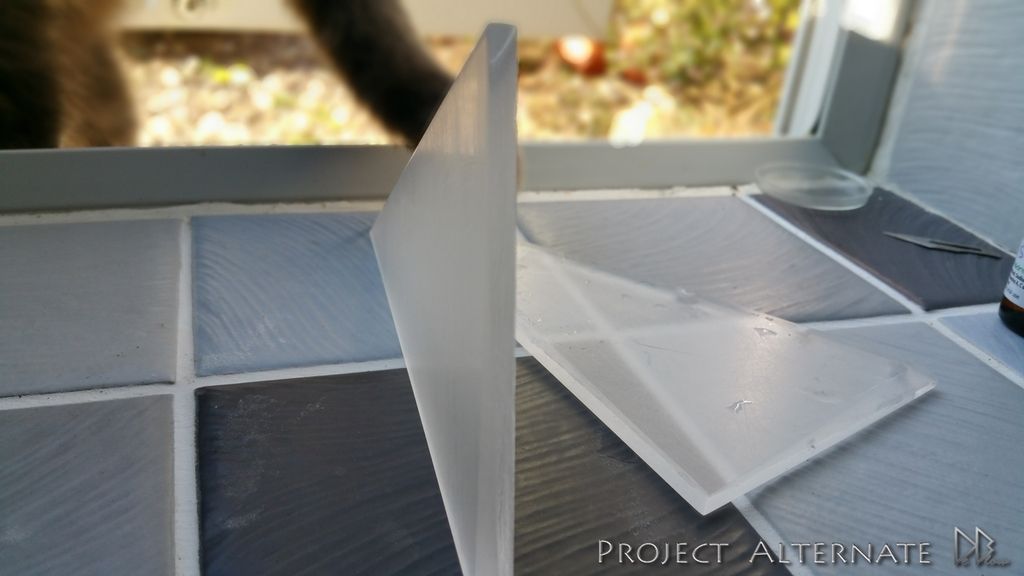
Cutting the 3mm black plexiglass that will be used for the vent cover.

Image00003f_zpsdaujfs3b.jpg


Image0f0005_zpstw2a7kdn.jpg


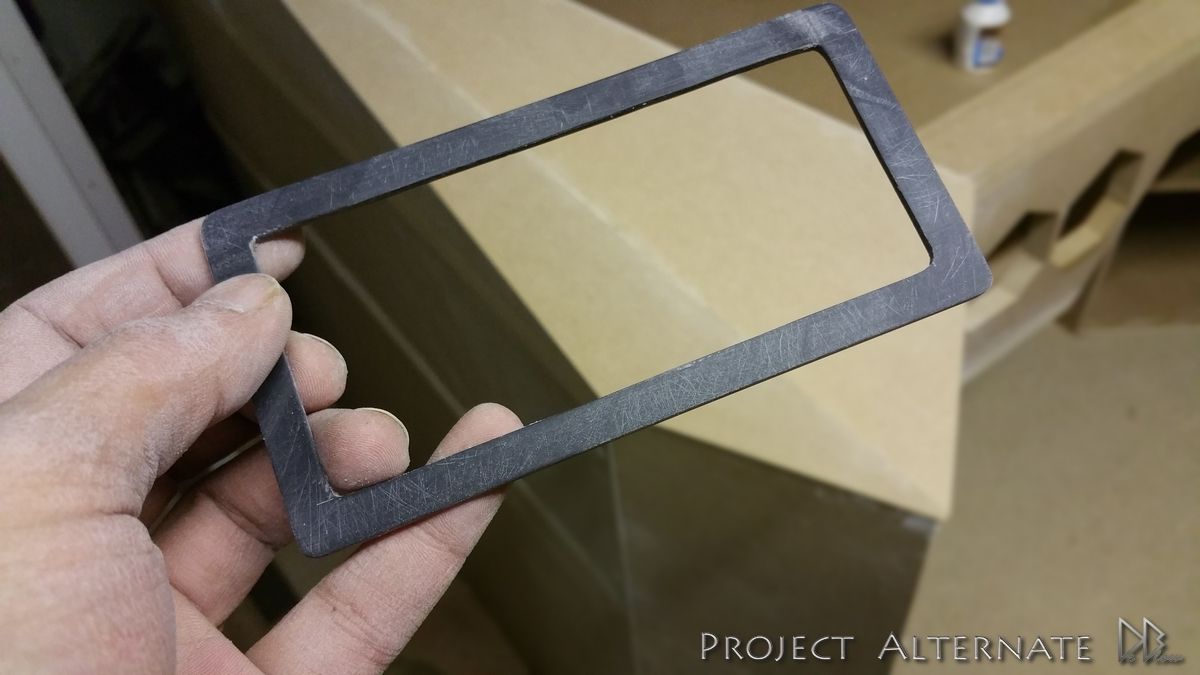
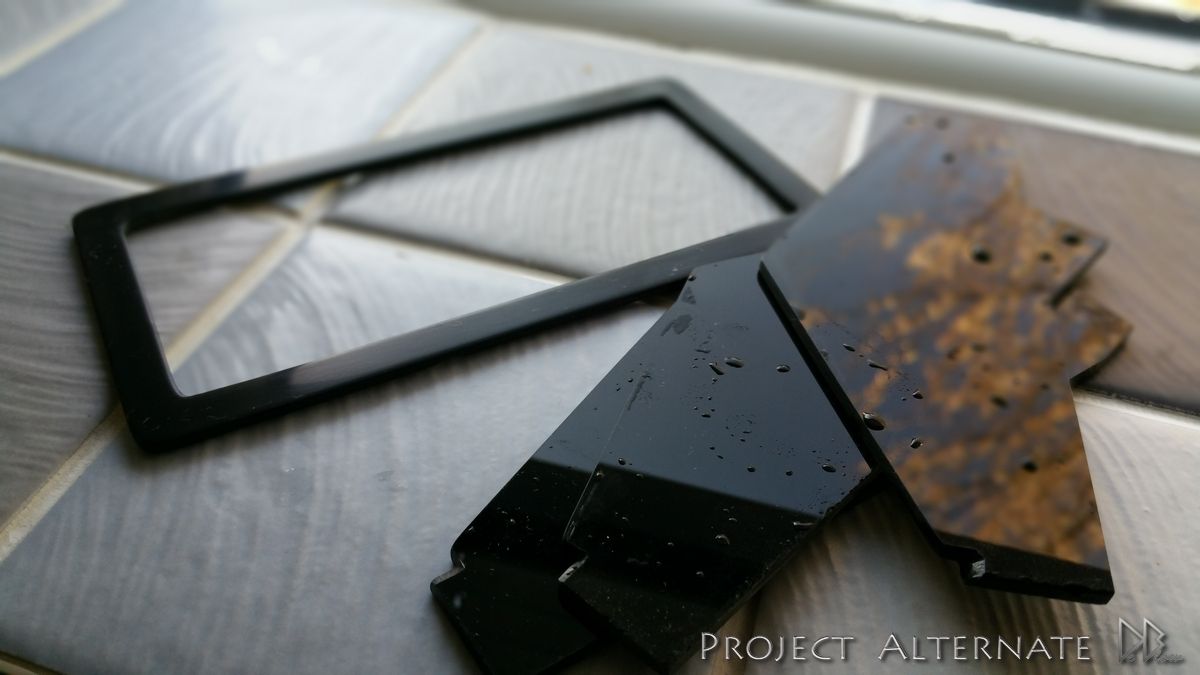
This is the frame for the vent cover, think im going to have this with a mat finish & the blades will be polished to a shine

Image0000f4_zpsfnskzwox.jpg


Image0000f6_zpswivxsmvv.jpg


Image0000f7_zpsrkvilwkg.jpg


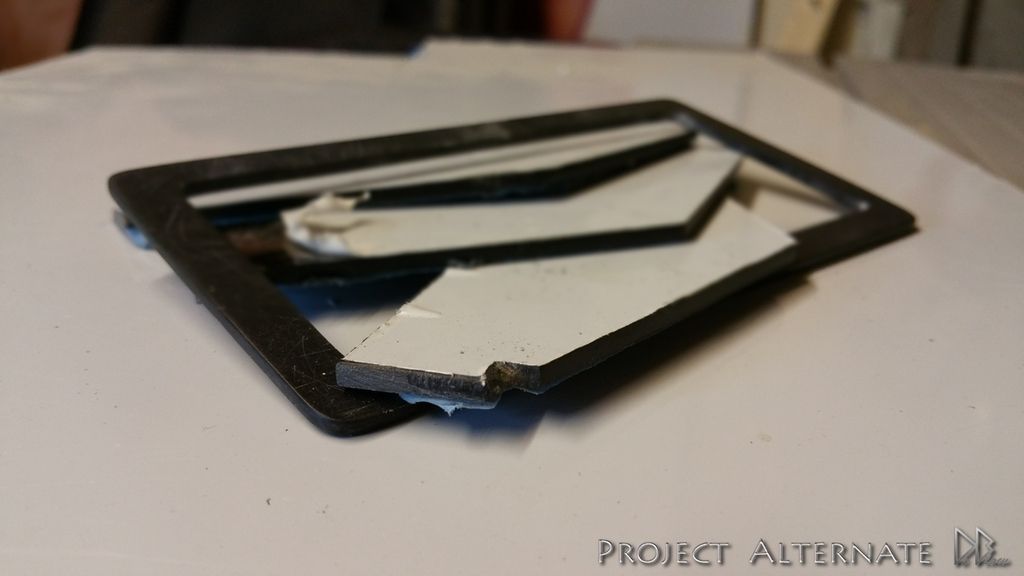
I'm not that great with plexiglass, so this took some time lol

Imagef00008_zpsxtlghev8.jpg


Imafge00009_zpsnrkvbtst.jpg


Thinking the blades might be a bit too long, will cut them down later in the build if I don't change my mind...

I'm short on time today, so I will try add more updates tomorrow.

Thanks for for looking :)
 
looking interesting, will keep an eye on this one.

great job so far :)

Thanks ED209
:)

I'd say the blades are a little long, hard to tell without the rest of the build so may look alright later on..

Again, really liking the build and I'm sure you hate hearing it by now but good job so far!

Thanks Luke, I think they need a cutting down tbh, will wait until I have the desk painted or wrapped before I make a move :)

& no, compliments on the build help my confidence :D
 
This already looks incredible! Can't wait to see it finished.

I'd go with a dark grey or blue for colour :D

Thanks Andreas, been looking at some more wrap options, im now thinking about mat black wrap, it looks more like a very dark grey.
will order a small sample to check how it looks
 
I reckon if you just cut the vent blades straight across parallel to the hole they will look great.

Nice to see it shaping up so well.


Thanks mate, yeah going to play with them a bit more later in the build...


A quick mid week update for you,
Started work on the center shelf holder that I plan to also run the water tubing though,

The shape might change slightly later in the build when i have the 2x RES in place.

78_zpsyvxzeacb.jpg


79_zpspall4fje.jpg


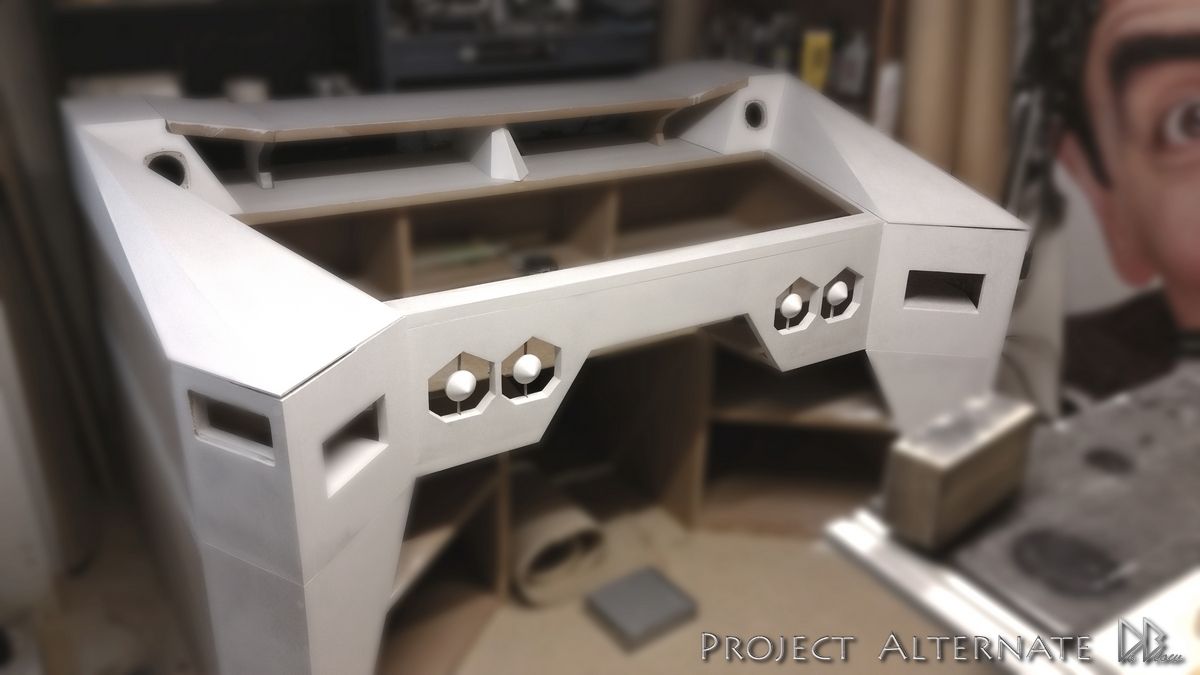
Here it is in place, as you can see Iv also started to undercoat some parts, I started this now to see how well it would hold up & to help show imperfections.

80_zpsggdhbms6.jpg


You can see the parts I started to sand down, I have now given the desk 1 coat of MDF primer & 2 coats of white primer, sanding after every coat apart from the last one..
Whether I use a paint or go with wrap the surface will need to be sanded as good as possible. :(

81b_zpsze2nmno4.jpg


81_zpsiin3vz8k.jpg


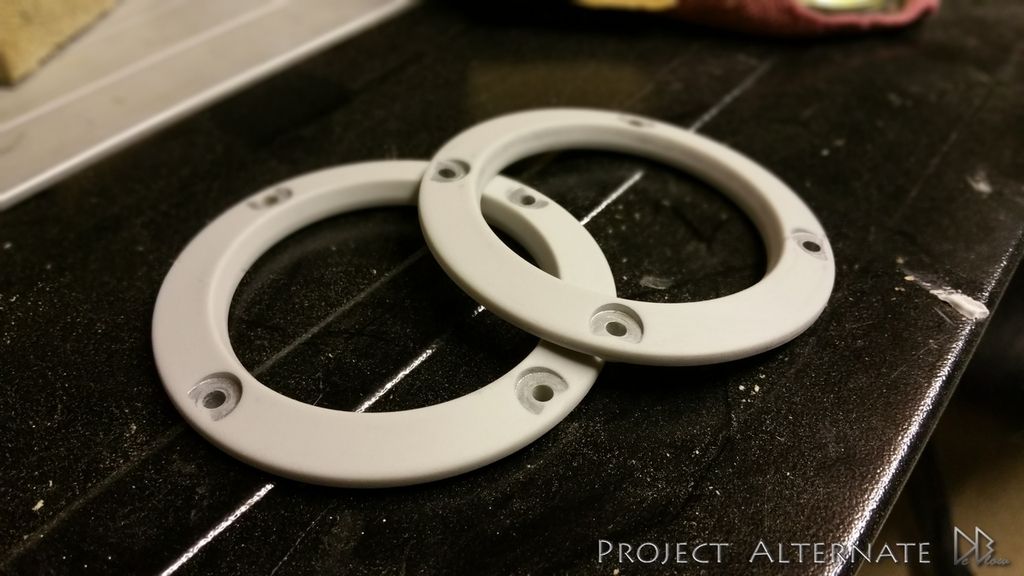
Sanded down the speaker covers, not sure what colour Im going to use yet.

85_zpswticm7xd.jpg


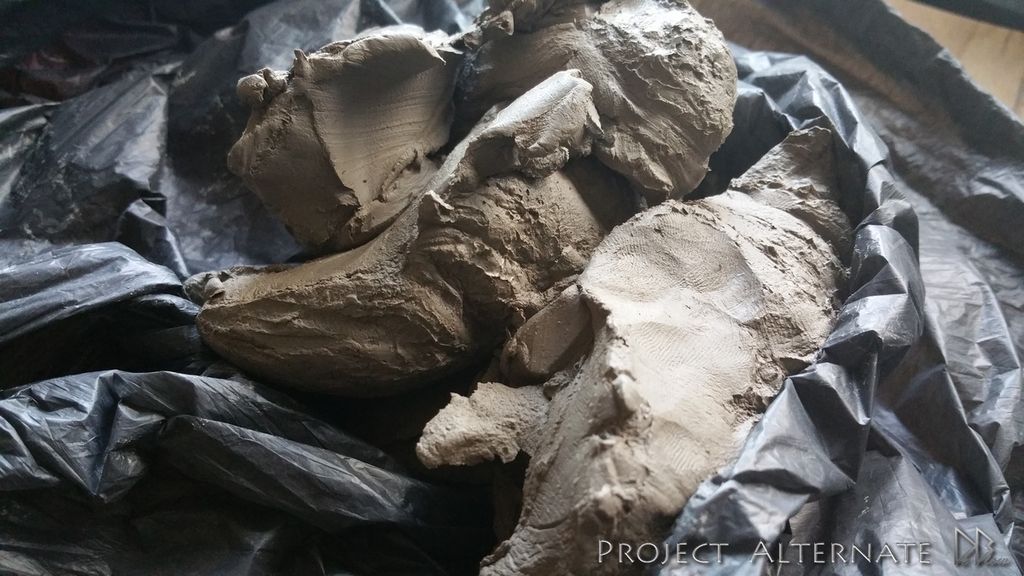
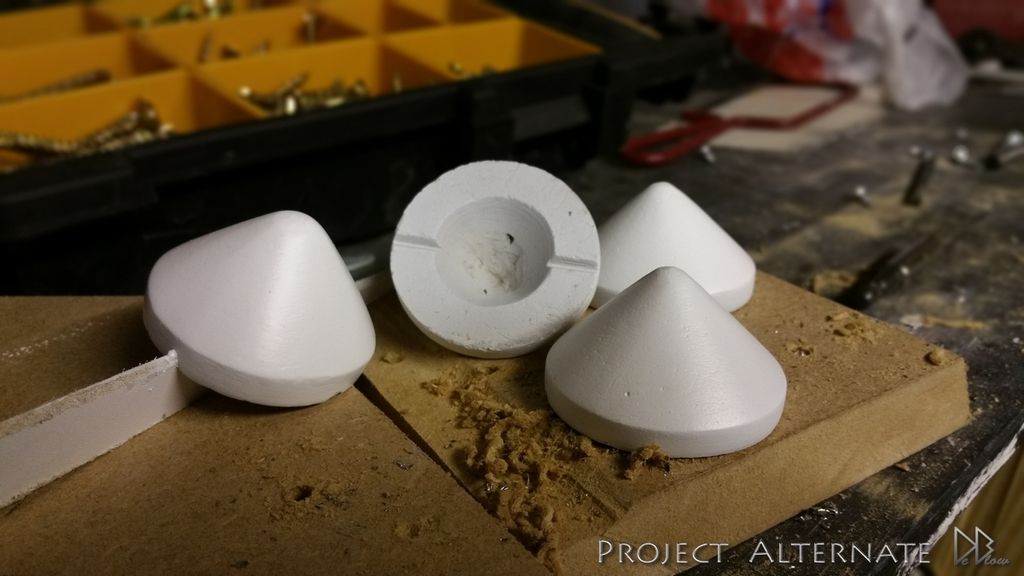
Decided to make the cones for the front of the desk from clay lol, yes clay... thought why not, I need the practice for a later
none PC related mission :)

86_zpswxelrqm9.jpg


87_zpsnj9ftsbg.jpg


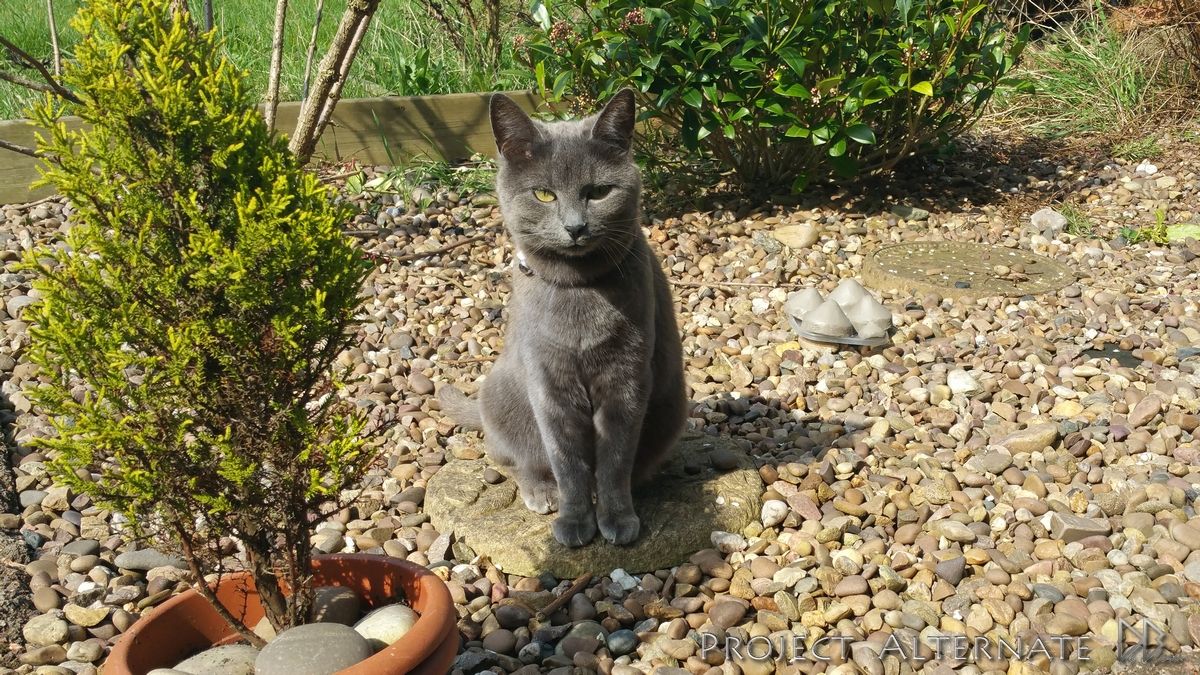
Its air dry clay, so my cats looking after it for me as its out in the sun for the day :)

88_zpssfnpnqx0.jpg


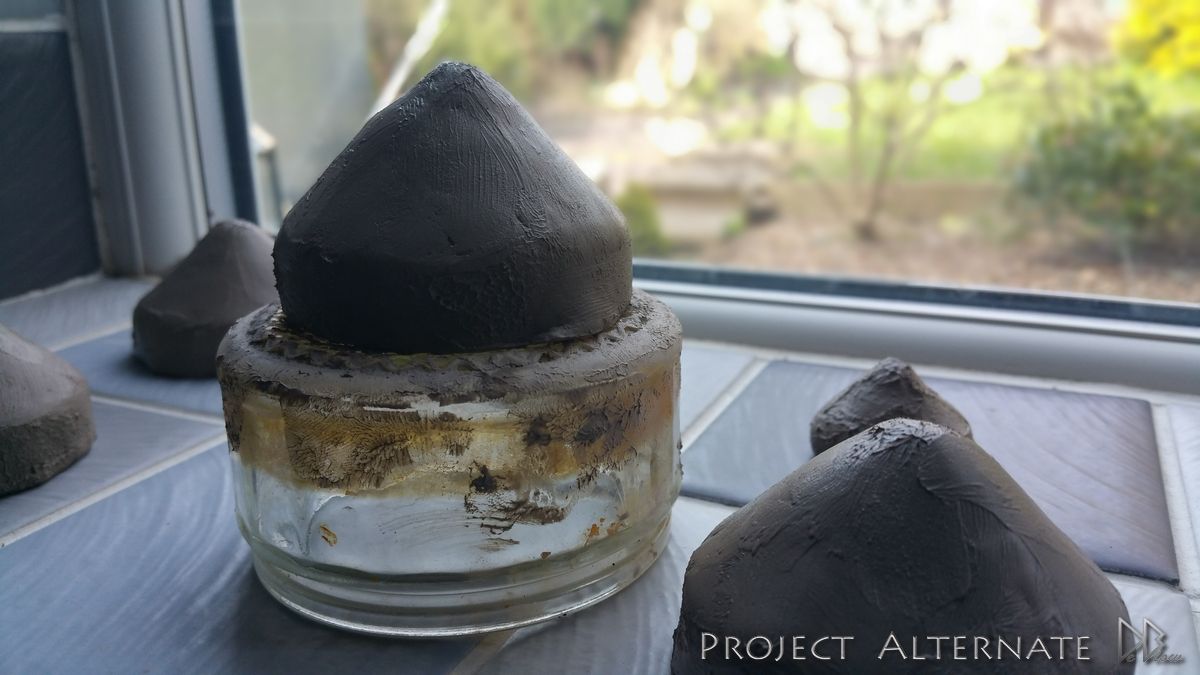
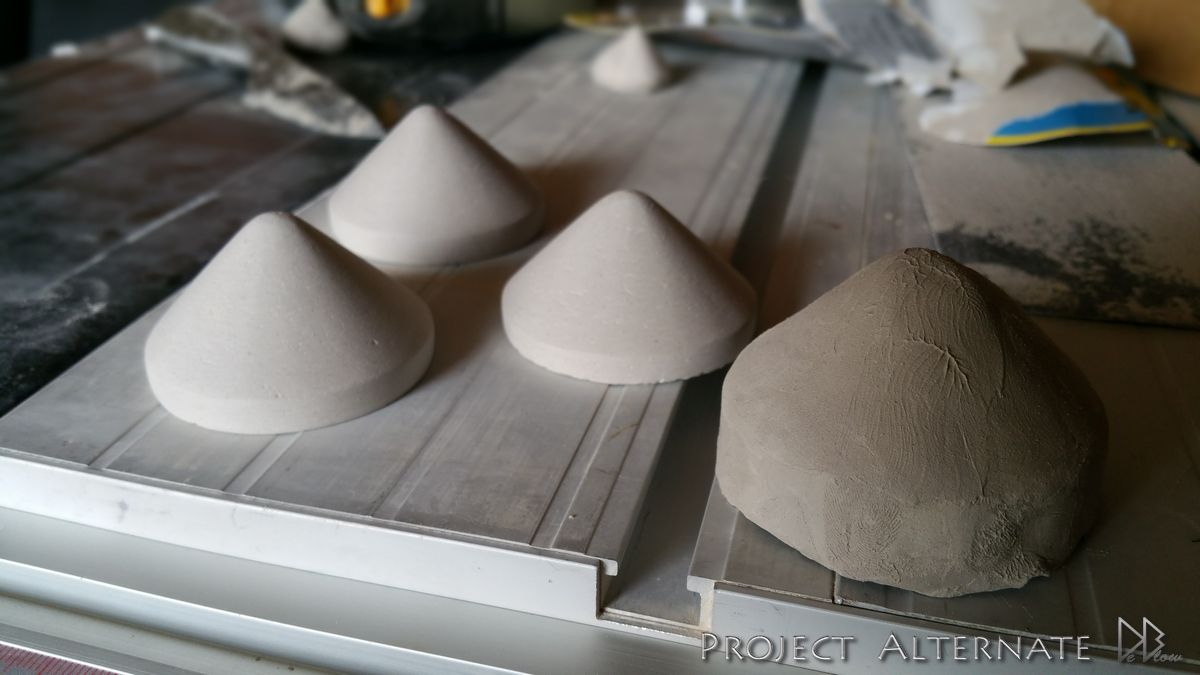
once it was hard enough I sanded them down to a better finish ready to prime & sand once more, I hate all the sanding :(

89_zpsifybhtzn.jpg


I also hollowed out the center to reduce the weight & cut some groves for the bracket.

90_zpsagd3q6rm.jpg


Thats all for now, I will try have more updates for you at the weekend.. :)
 
It's definitely unorthodox. I'm interested to see how the clay parts will turn out.

your wish is my command ;)


here they are fitted, still just the undercoat until the build is complete

20150411_155503_zpsssrng6po.jpg


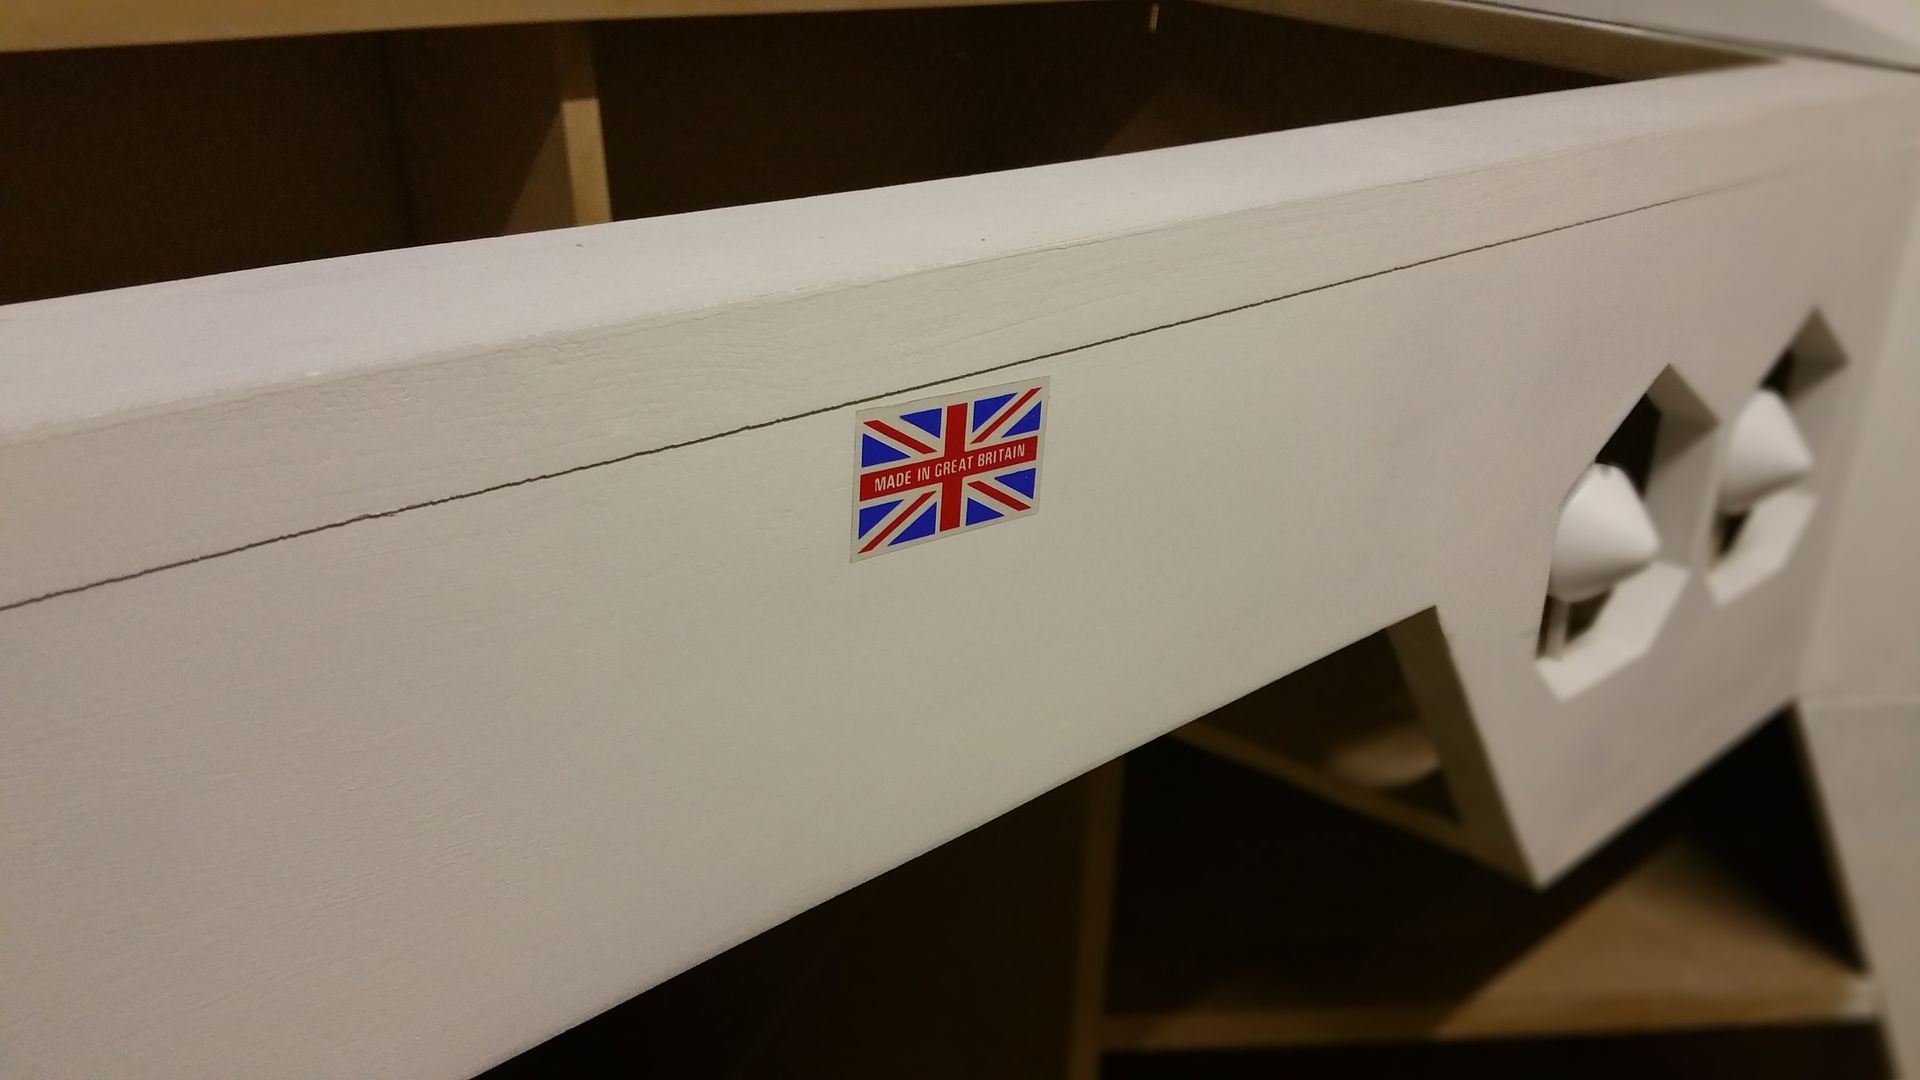
the gap wont be there when fastened down,

20150412_203123_zpskx0mqahb.jpg
 
Looking good. I like how you opted for the various angular sections, even though in practice they are much more demanding than a paper exercise.
To get a good paint finish, which can be difficult on MDF, I apply a few coats of shellac to act as a filling primer and blinding coat. Any base paint finish can be used over this. Just a denibbing with 600 grit paper between coats will give you a very good finish. Triple application on cut edges if you are to leave them as cut. This MDF core is the most difficult to apply a paint finish to with any success.
Which leads to my next point: Why no edging?
I have built many different cabinets using MDF and always apply a solid timber edging, it makes for a better fixing surface and protects the vulnerable edge...The surface of MDF is very compact and has a good resistance to knocks, but this skin is on a few millimetres thick and the core gets softer towards the centre and lacks the baked toughness of the surface. Catch an edge here, and the surface layer can easily part company with the core..Not too important on a prototype, but could be a disaster on a finished design.
I most often use oak veneered MDF and make and apply solid oak edging and that combination really can take knocks.
Edging is applied with just PVA and cramps, screws, biscuit joints etc not ideal, may fix well but the board will swell at that point eventually.
Unaware of what machinery you have, only seen a table saw and router in the pics. but either of these could be used for another consideration: Rebates.
I host all my horizontal panels ( apart from the top) into rebates in the vertical panels, makes a neat gap free finish and gives greater gluing area on final build. Also makes it easier when constructing for a dry fitting run. assemble on its back lock span with a couple of cramps, or even web straps. and then sit it upright. Plus if you depend on screws for this stage it wears out the holes too much for final build.
Your desk looks well thought out and designed, the cuts show attention and detail and the use of alternatives such as clay show great resourcefulness in achieving what the designers eye sees.
Good luck to you, and most of all enjoy it!


Ok thats the longest response iv ever had :D
But very helpful,Thanks!
I'm going to save this to my computer for any future MDF projects.

I'm using some MDF primer that seals the ends very well so they can be sanded down without that fluffy finish, I just used screws on the bottom without glue, just encase I have any problems when moving, all parts on the middle & top section have been glued & screwed in place.

Its a good job I just used screws on the bottom because I decided to take it apart to reduce the size by 2".

I to started undercoating a bit sooner so I could see if I would have any problems.
only problems I had was with the white primer as it was causing the ends to swell about 0.5mm so I used some MDF primer first

yes I just got the table saw for this project, also have a dremel router but its not very powerful, should have invested in a proper one :(

"Which leads to my next point: Why no edging?" Never thought about it until you mentioned it :eek:

The angles was a challenge & I though I was done with them, forgot that all the inside has LOTS more angles :(
just one part I did today had 6 on one piece & 16 in total :O
 
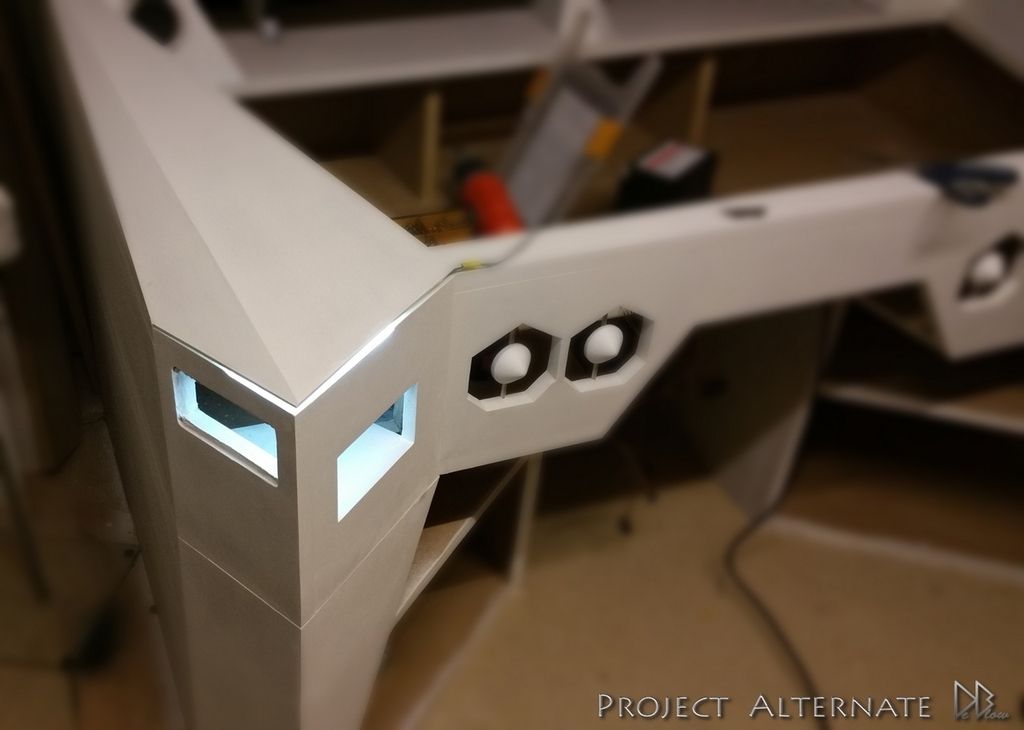
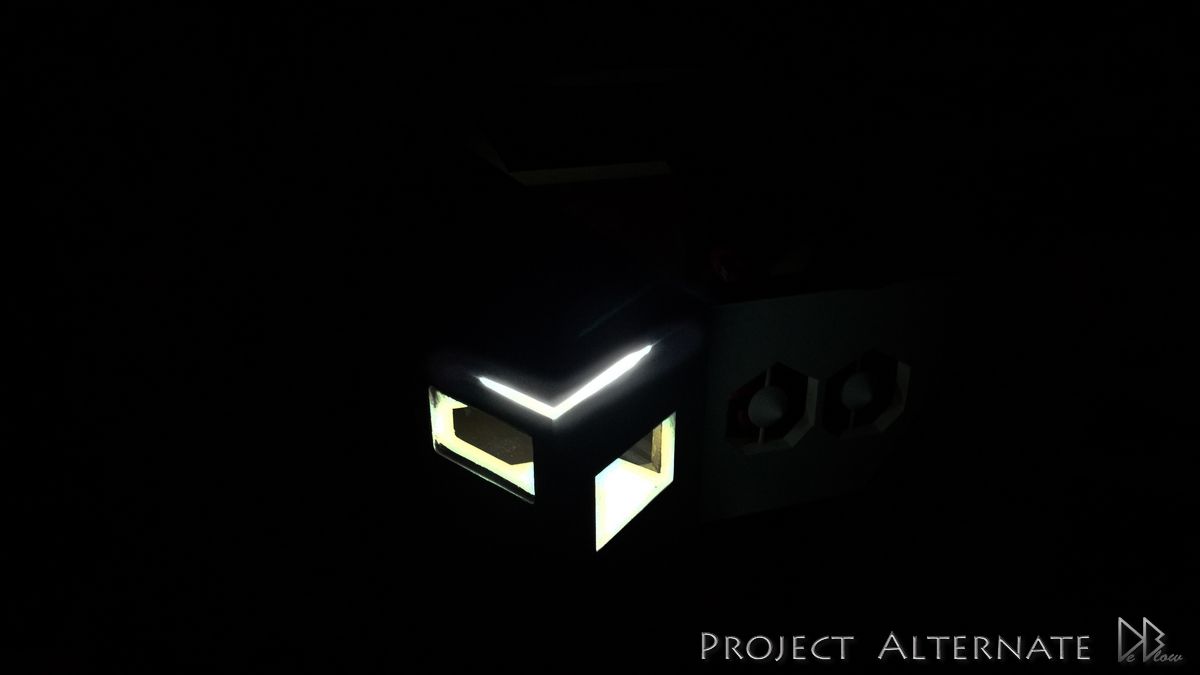
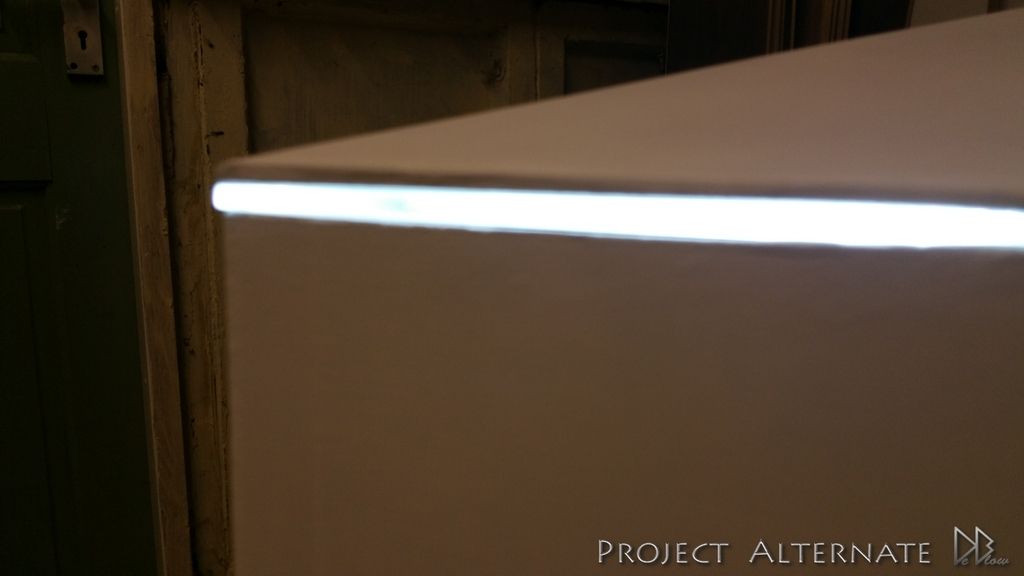
A plan from the start but not shown to everyone was some front lighting, I decided to keep it on the down-low encase I failed,
as Iv never done Plexiglas with LEDs..

Anyway, I think its looks good for now, should I change my mind later in the build when iv
painted or wrapped the desk I will cover them over :(

your thoughts on them would be appreciated, good or bad about anything on the build, constructive criticism can be a great help :)

don't want it to look too cheesy, but as there at my side I think they could act as nice room lighting :)


Started by cutting some plexi to the same angel as the front corners,

82_zps6xgwn3ps.jpg


83_zps1mqnockn.jpg


Sides move out the way so I can cut some groves for the plexi.

84_zpscb6s1p10.jpg


Did a bit more undercoating & the groves are now cut on both sides, top shelf still not completed as im awaiting the RES before
I make final cuts.

20150412_131804_zpskocvdk3y.jpg


20150415_224445_zps5execcwe.jpg


20150415_225343_zpsq3zstsww.jpg


Oh, Im just using super bright white LEDs for the front, its possible I could change them for RGB at a later date?

20150415_230057_zpsdyqipxue.jpg
 
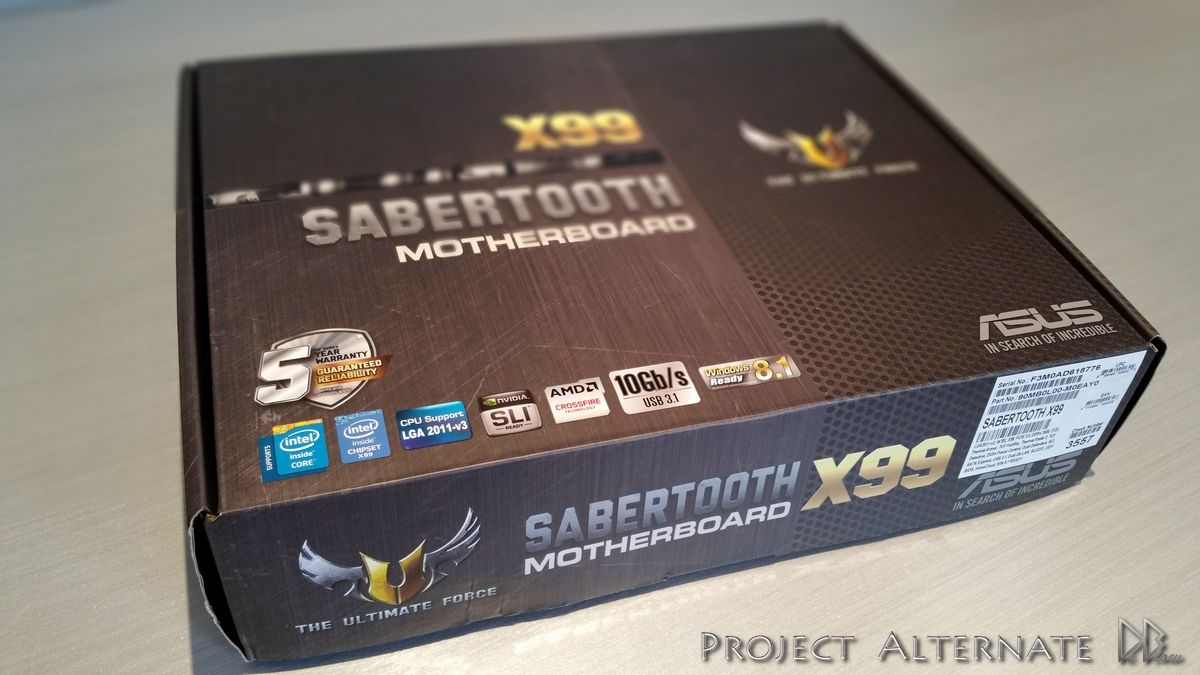
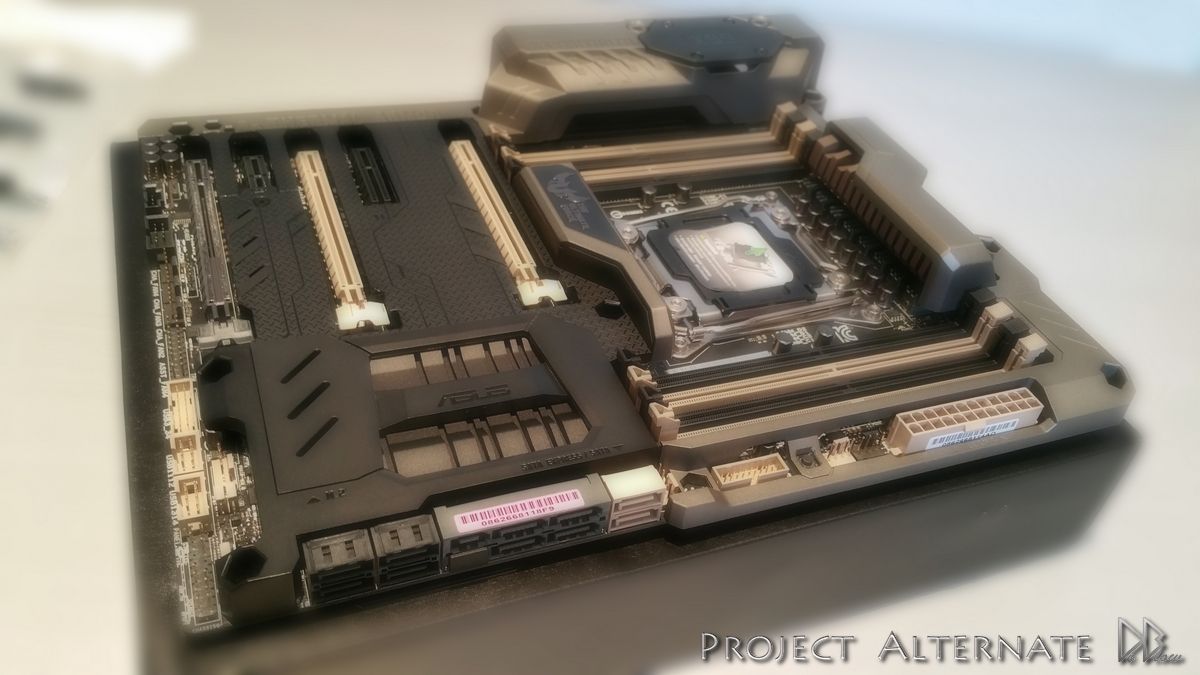
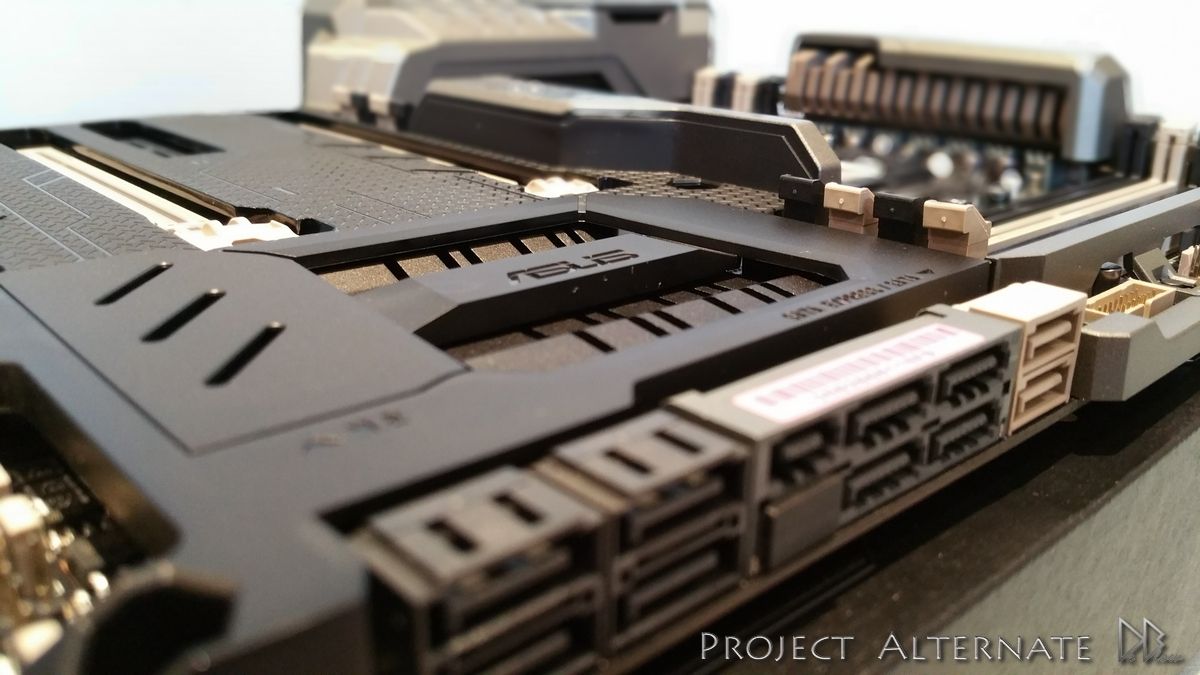
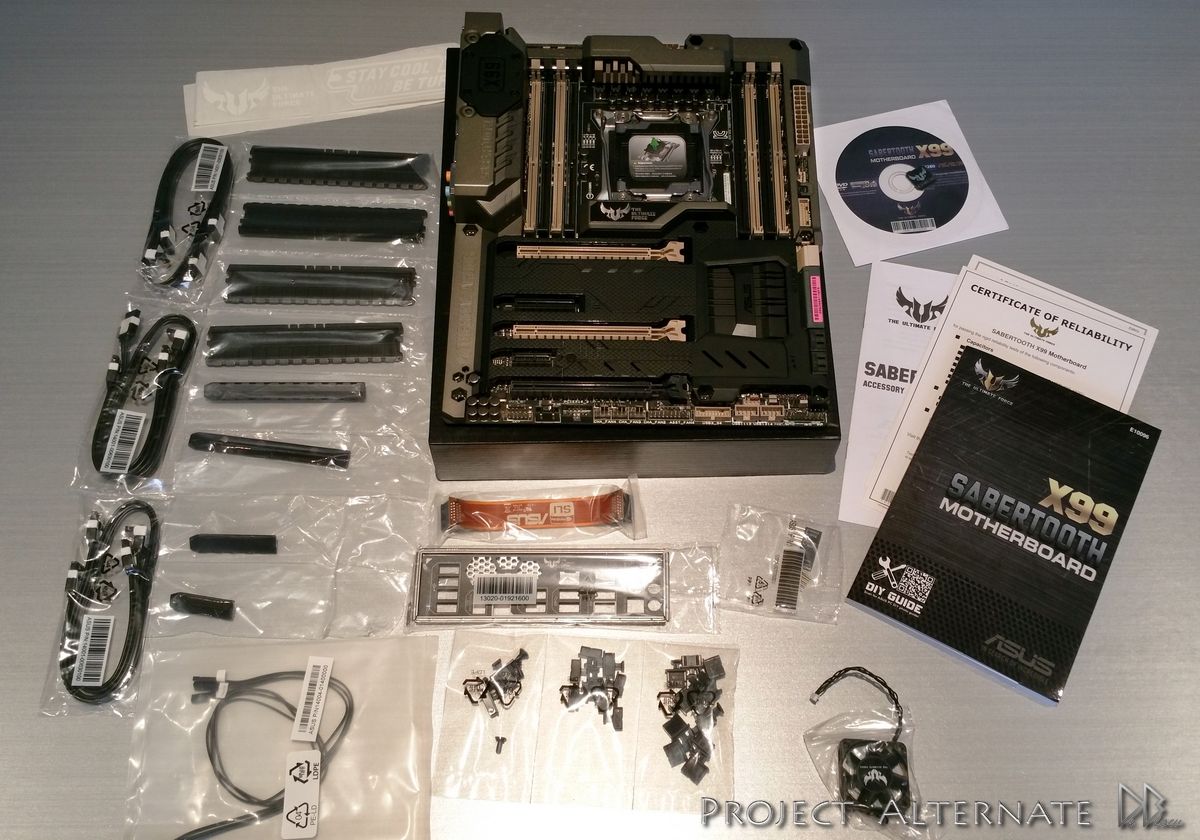
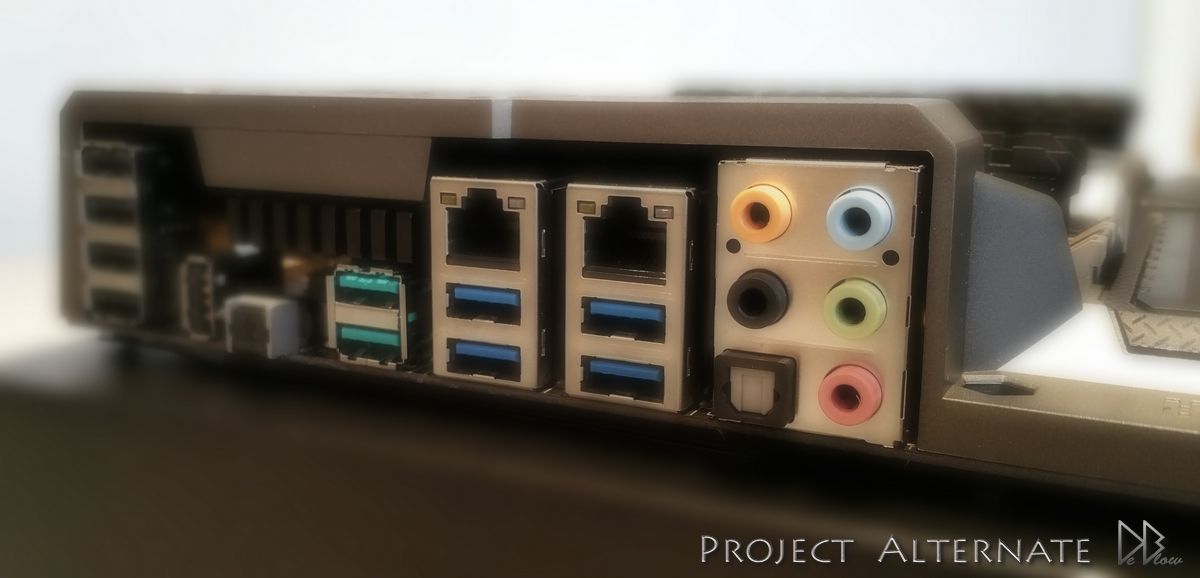
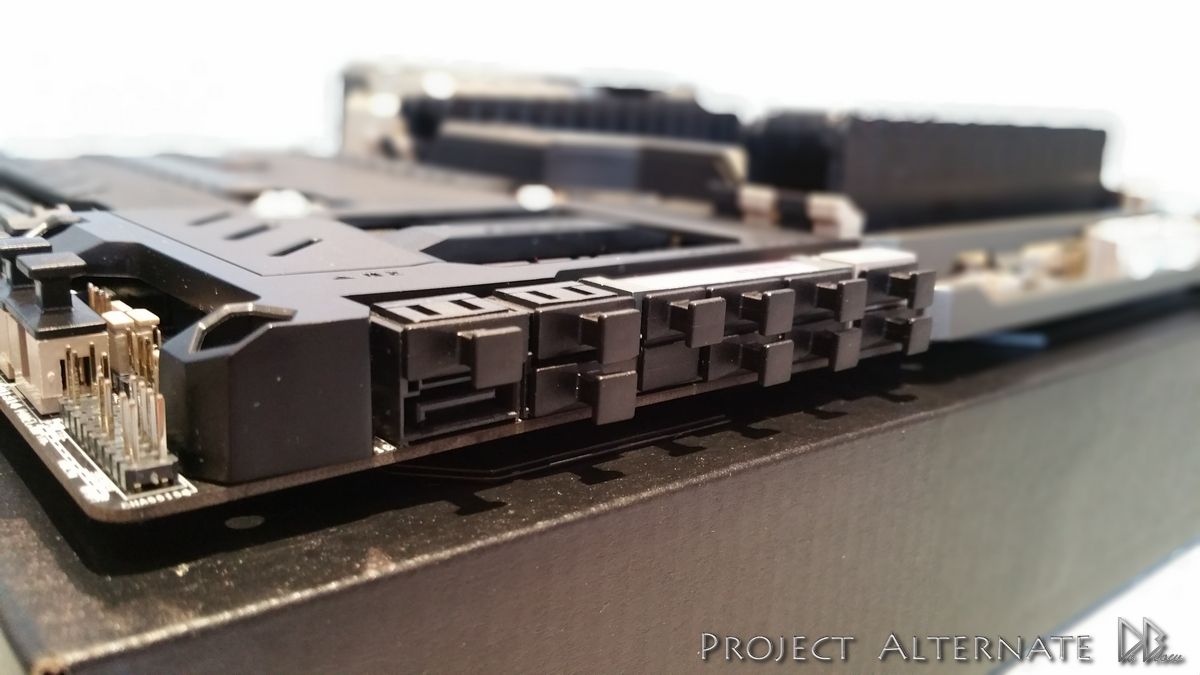
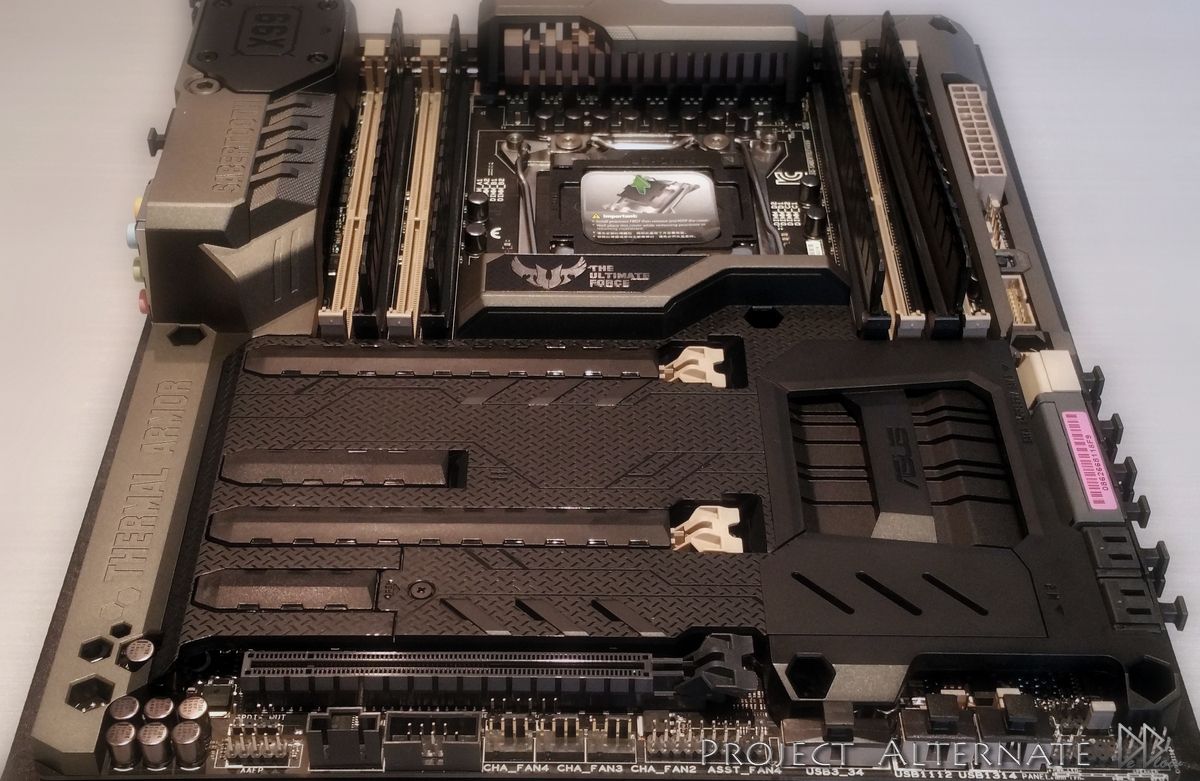
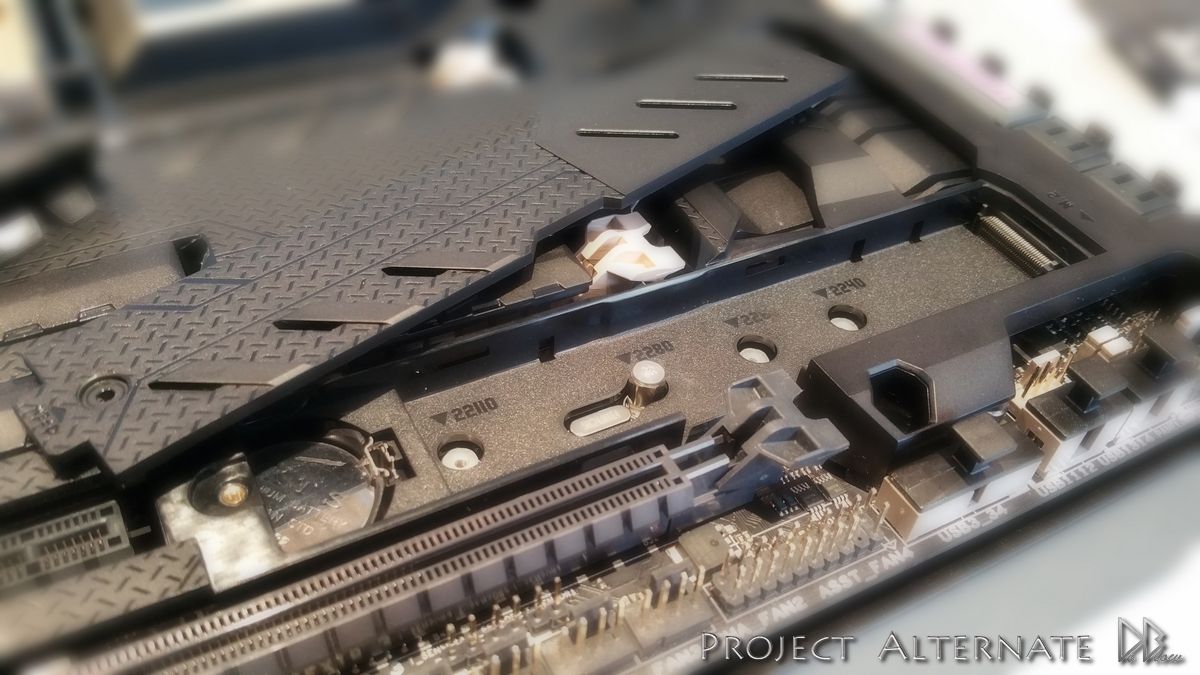
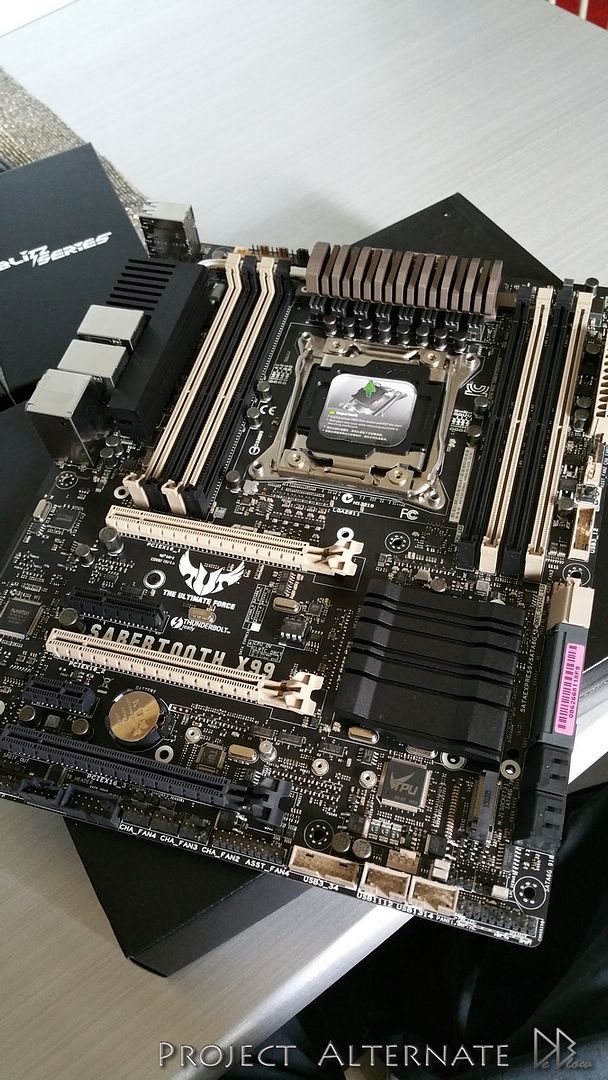
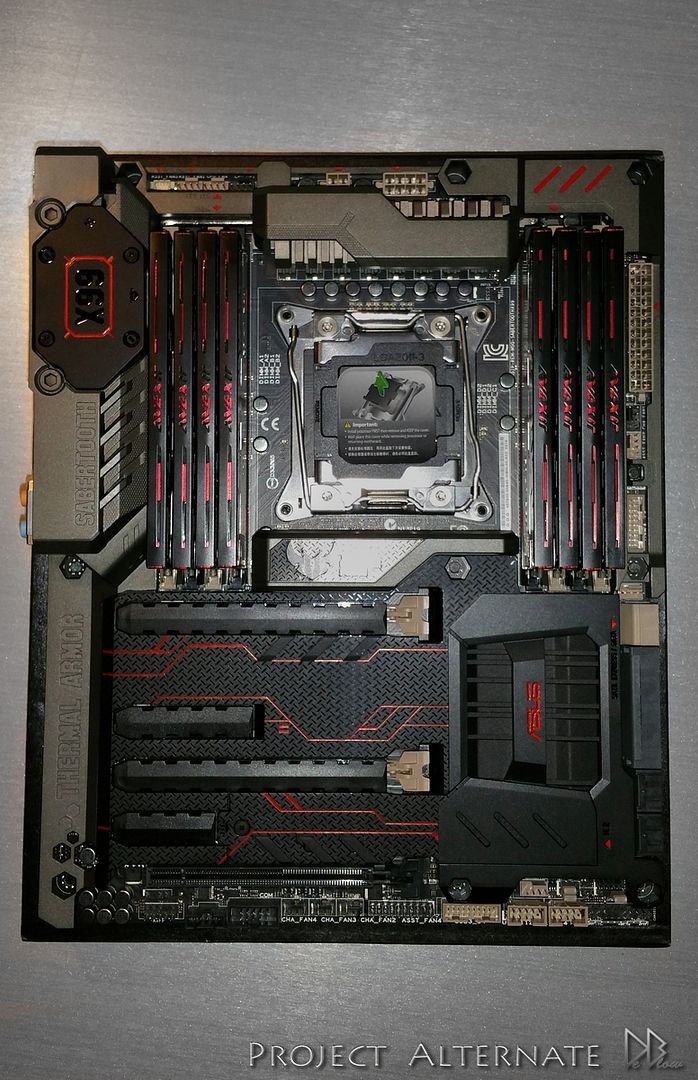
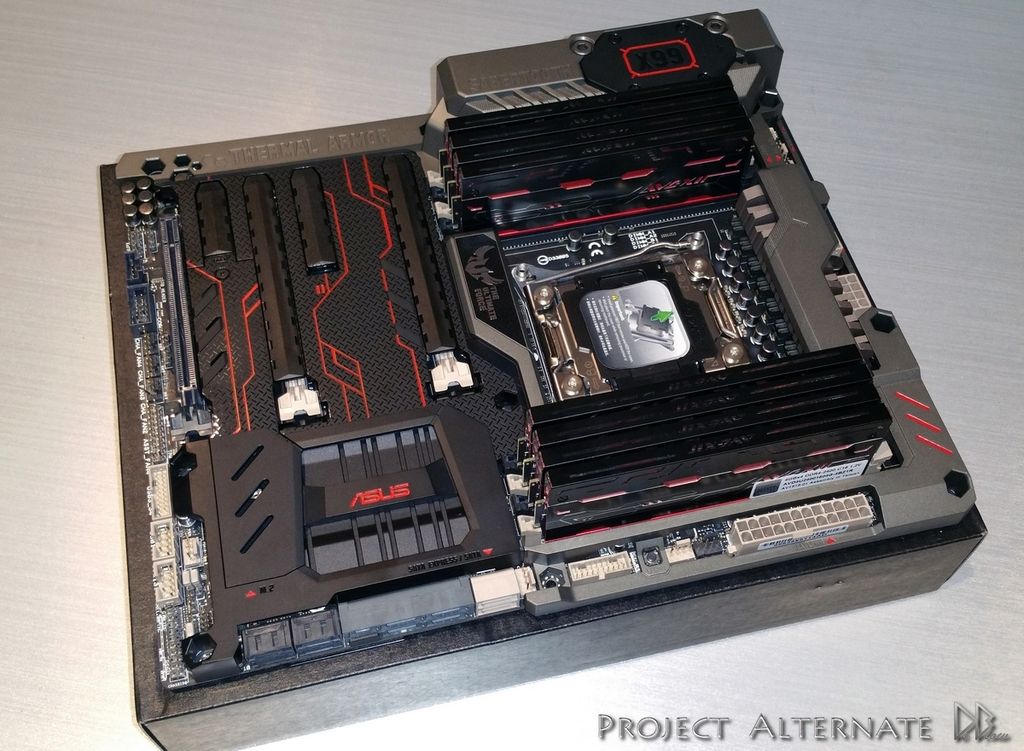
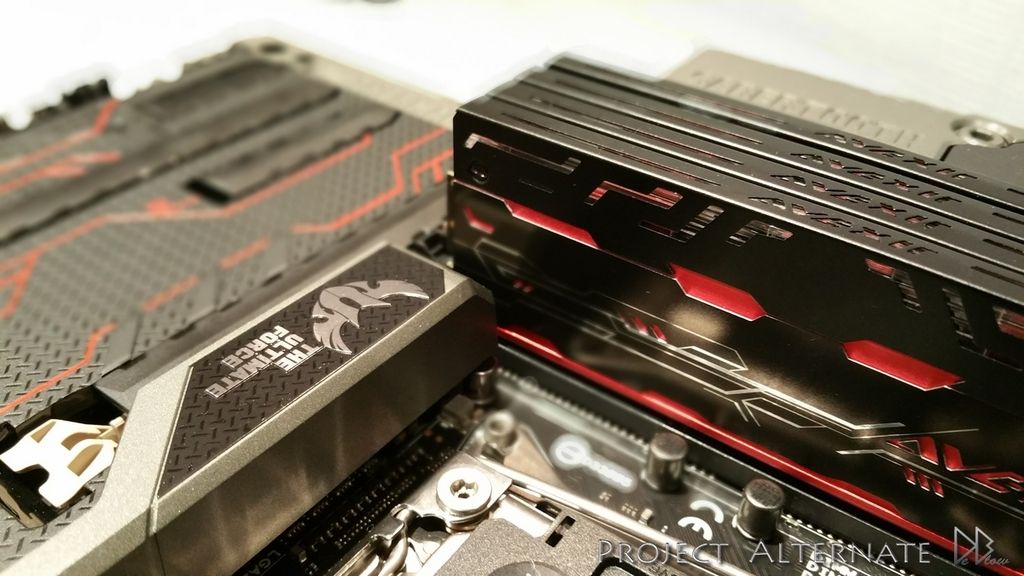
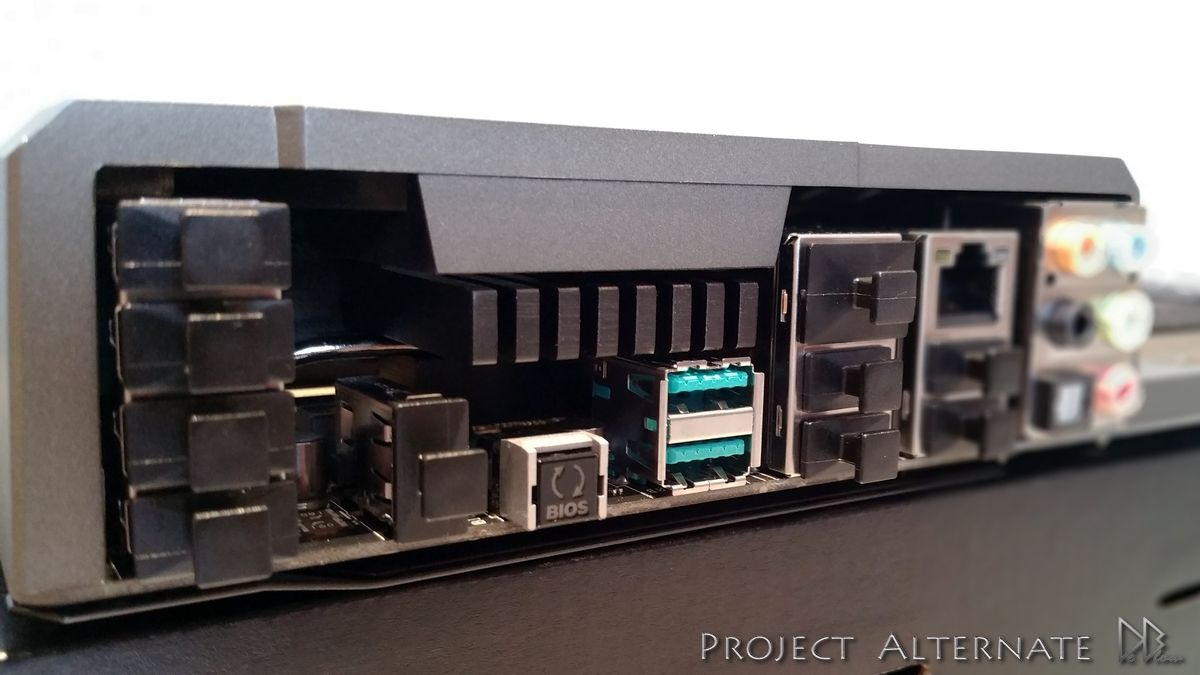
The ASUS Sabertooth X99, the most tidy looking motherboard iv ever seen, should be quite easy to mod to my colour scheme.
Will be using this MB along with some DDR4 & the Intel i7-5820k.

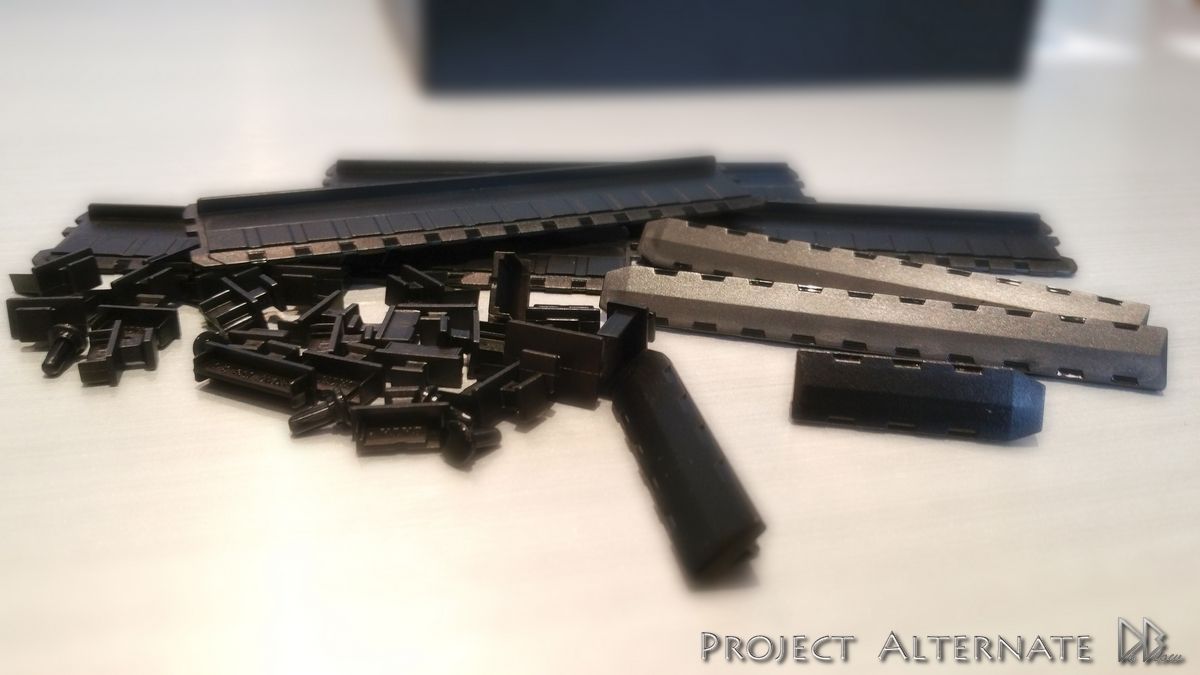
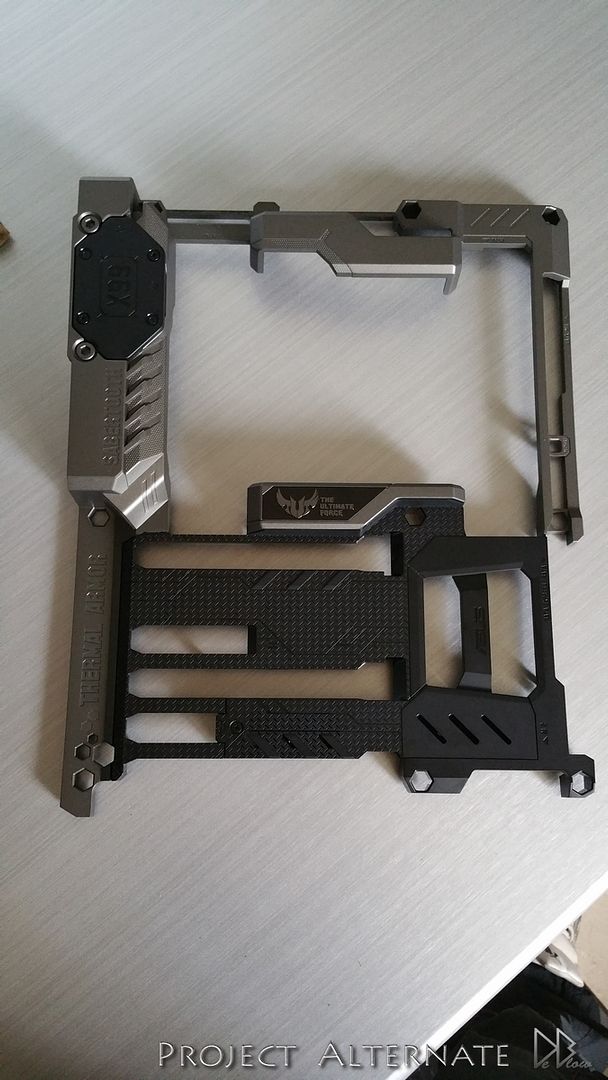
Done some shots with & without the caps/covers

20150416_143340_zps5xdedqdl.jpg
20150416_143720_zpsxpgi9fbi.jpg
20150416_143808_zpseqc9i11m.jpg
20150416_143934_zpsx4lsfviq.jpg
20150416_144250_zpsyz8klmh8.jpg
20150416_144456_zpsx5lm8igv.jpg
20150416_145158_zpson7ifka1.jpg
20150416_145133_zpscbeeelr3.jpg
20150416_145304_zpseozb4ah2.jpg
20150416_145523_zps8uojhuev.jpg


P.S 1st page has been updated with some specs
 
Last edited:
Iv stopped working on the outside of the desk for the moment as Im awaiting the reservoirs so I can complete the top shelf
& start to fasten things into place,
but with the arrival of most of the other Phobya & OCOOL parts & the X99 motherboard, I could start working in the inside,
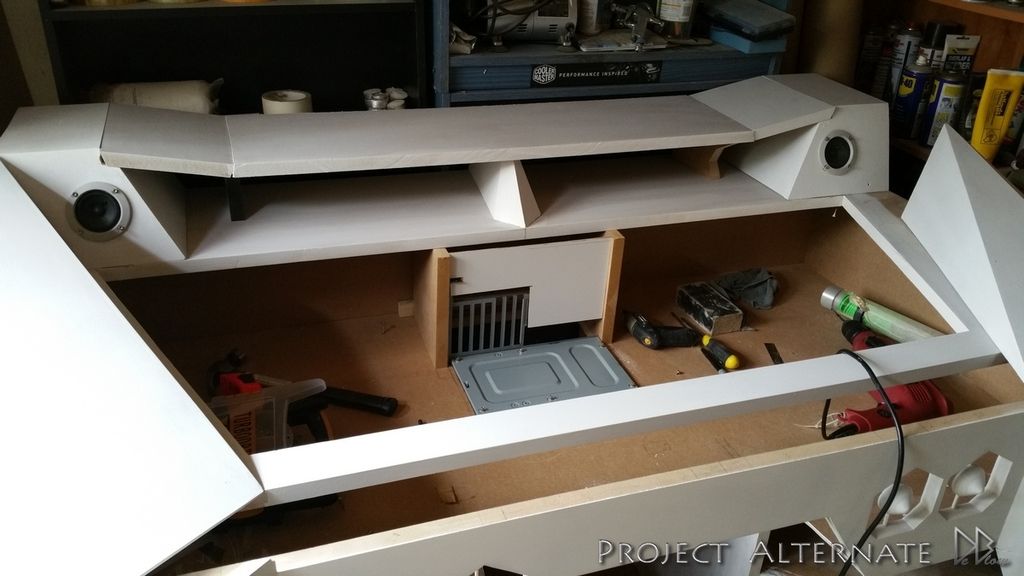
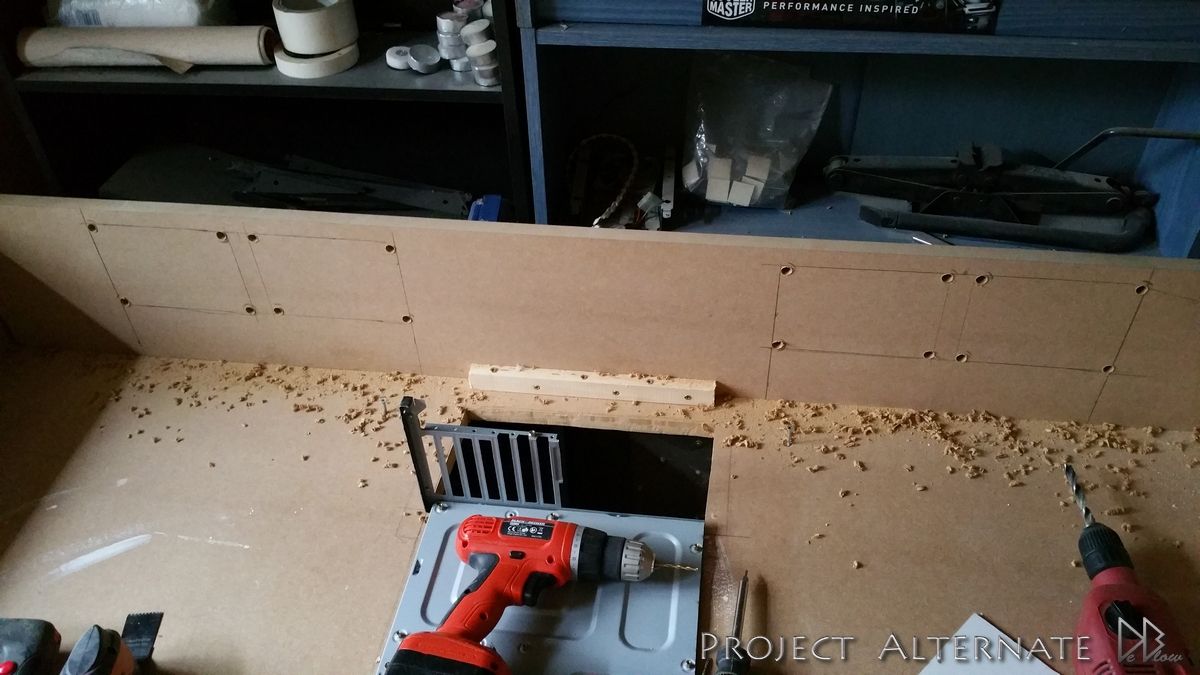
so Iv fitted a motherboard tray & sorted the housing for the 2X RADs.

I'm not following a design for the inside so I tend to spend hours just sitting looking at the empty cavity & trying
to picture ideas in my head lol
however I have worked out where the main components will be going.


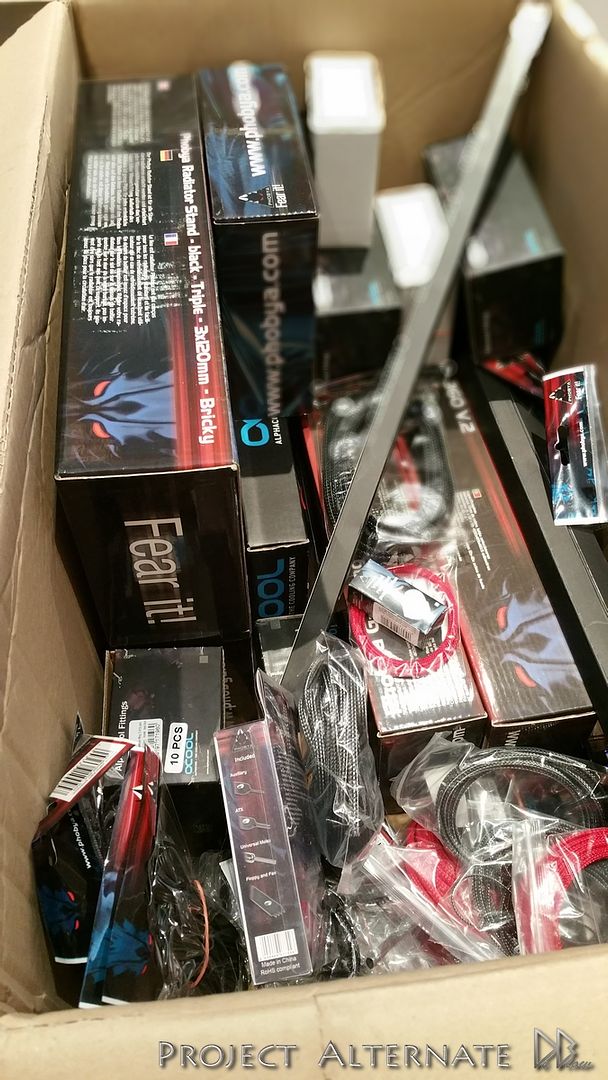
here's one of the packages I received thanks to Phobya & OCOOL (Alphacool)
All sorts of goodies, RADs, controllers, cables, hard tubes, switches, GPU & CPU blocks & many more that I will show in more detail
as the build progresses :)

20150416_122307_zps8bw0phex.jpg


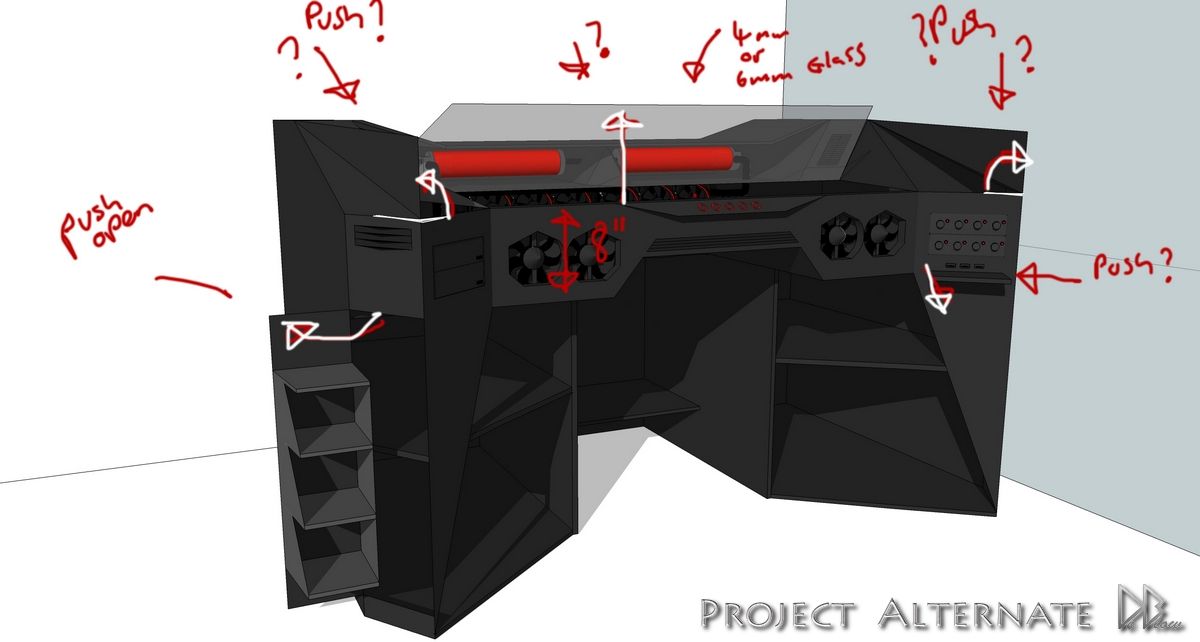
Another secret I keep to myself & a couple of people was the idea to have the sides lift away from the desk to make room for
storage & also make use of all the available space...

As both the secret ideas worked out ok I will show you one of the original designs for the desk, kept them a secret encase things
went wrong with the plan.

Speaker%20OPEN%202_zpsb7c2ljqr.jpg


I played with lots of ways to accomplish the task, the first two ideas FAILED :(
but after one more attempt I cracked it :D

So now the side will lift up & out to the side making room for my gamepads & other bits that make desks look a bit untidy.

20150415_233537_zpsletepshw.jpg


Almost all the parts inside the desk are removable, no screws used so as to make it easyer to MOD at a later date & also reduce the
weight when moving.

This double platform will hold the pads & bits, can be lifted out from the top or from the side.

20150420_141643_zpsme3bjddy.jpg


They all still need tidying up a bit & sanding down,
waiting until most of the desk is complete so if anything gets damaged as im working I wont have wasted too much time.


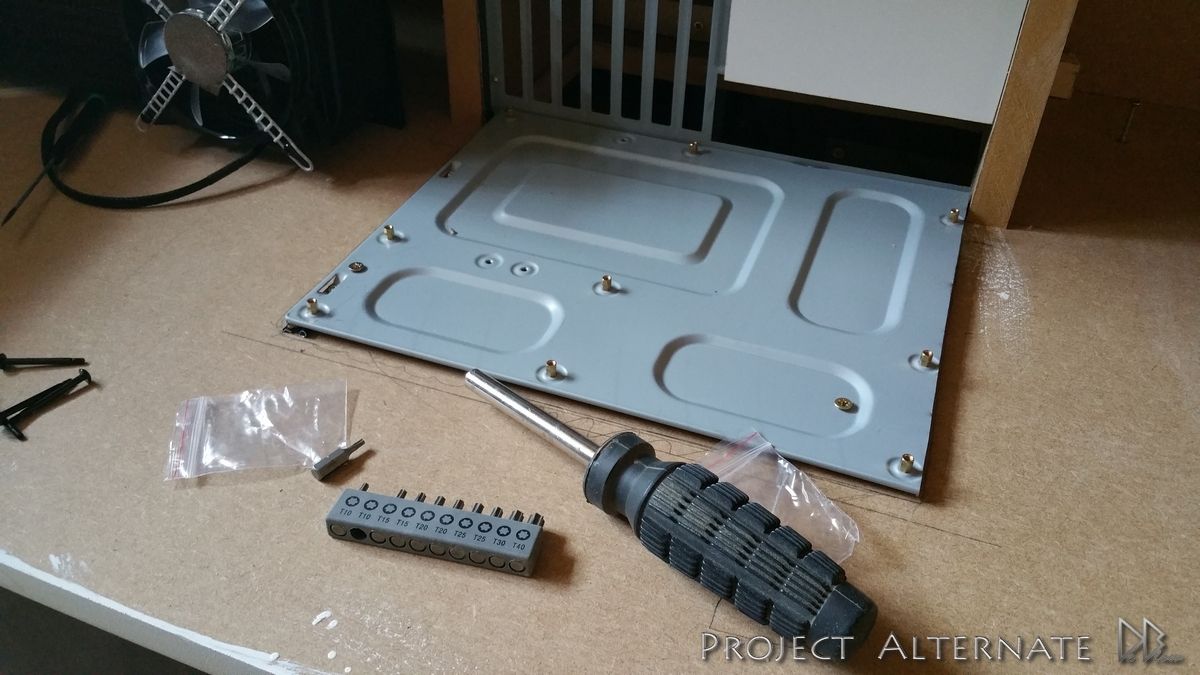
Cutting up a cheap old case for the parts, MB tray & front drive bays.

20150416_162213_zpsjir9ypzt.jpg


MB in place, will MOD more at later date.
For now I just want to make sure everything has a place.

20150417_155608_zpsbwsas2oa.jpg


MB back plate is just temp & will also be changed later in the build.

20150417_140623_zpsoftw8neu.jpg


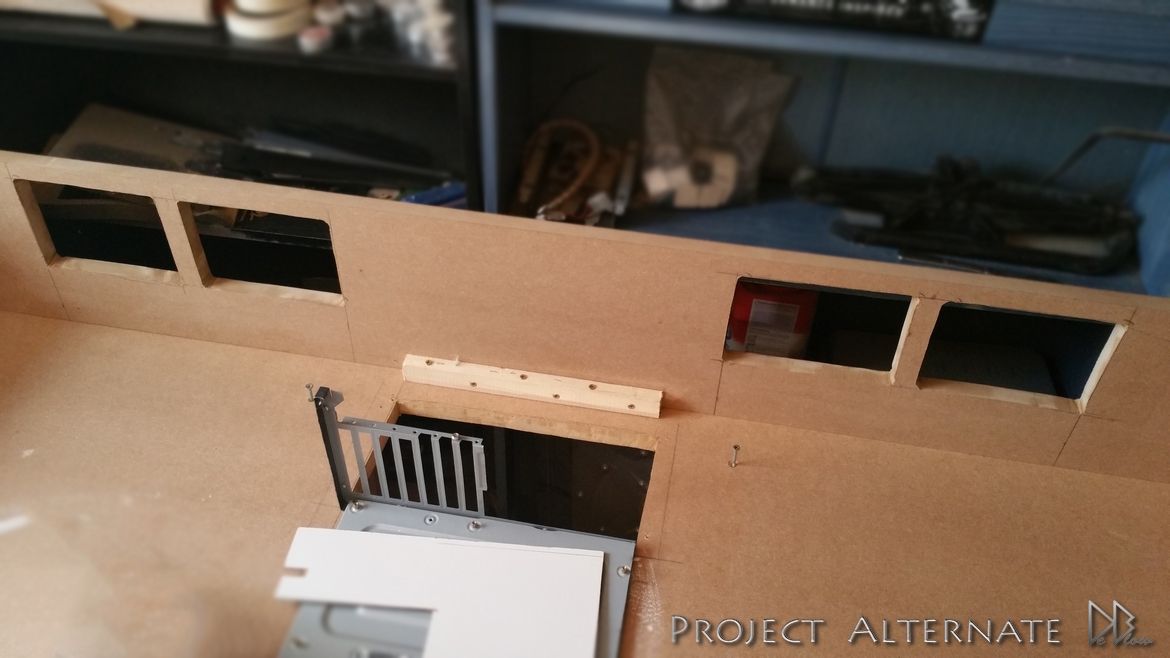
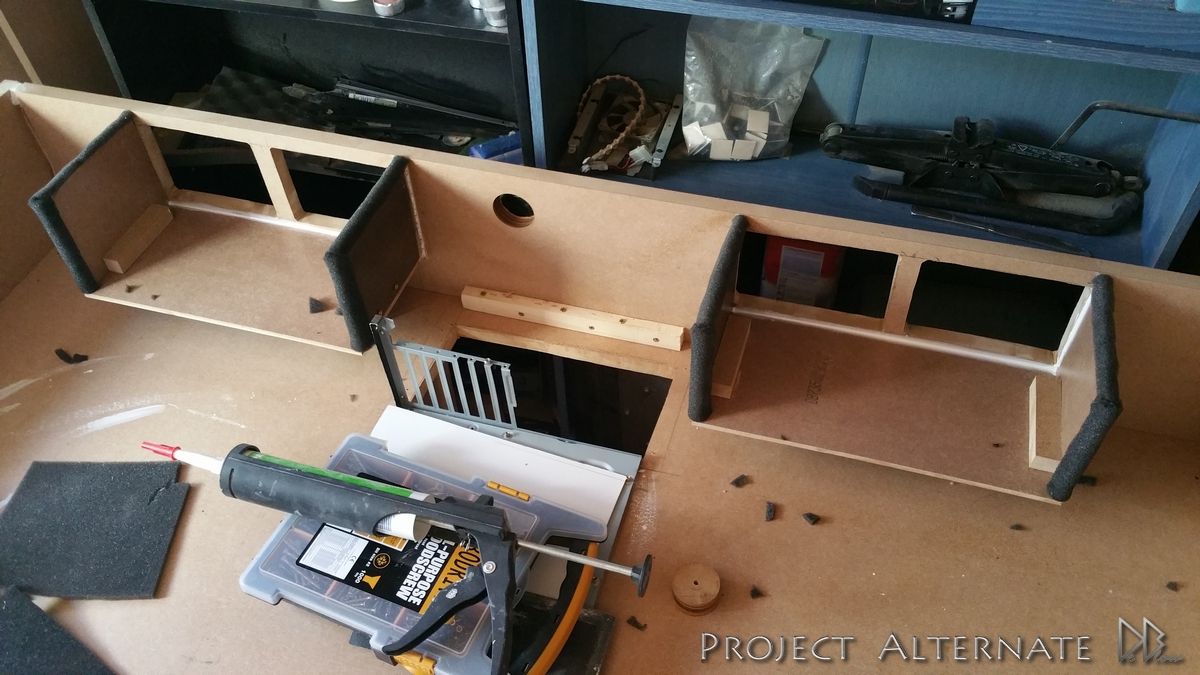
Cutting 4 holes for the RADs exhaust.

20150417_173259_zpsgsj9vz32.jpg


20150418_131210_zpshysul0oz.jpg


I will be using 2X Phobya RAD mounts to fasten the RADs to the underneath of the desktop.

20150417_162217_zps8gmpsryk.jpg


As Im wanting the RADs further away from the back I added some barriers for the hot air, raised as high as possible.

20150418_140542_zpsr5gi0w76.jpg


20150418_142210_zpss1l6sdpg.jpg


The RADs are attached to the desktop but the exhausts are attached to the back of the desk, I made the fittings as tight as possible
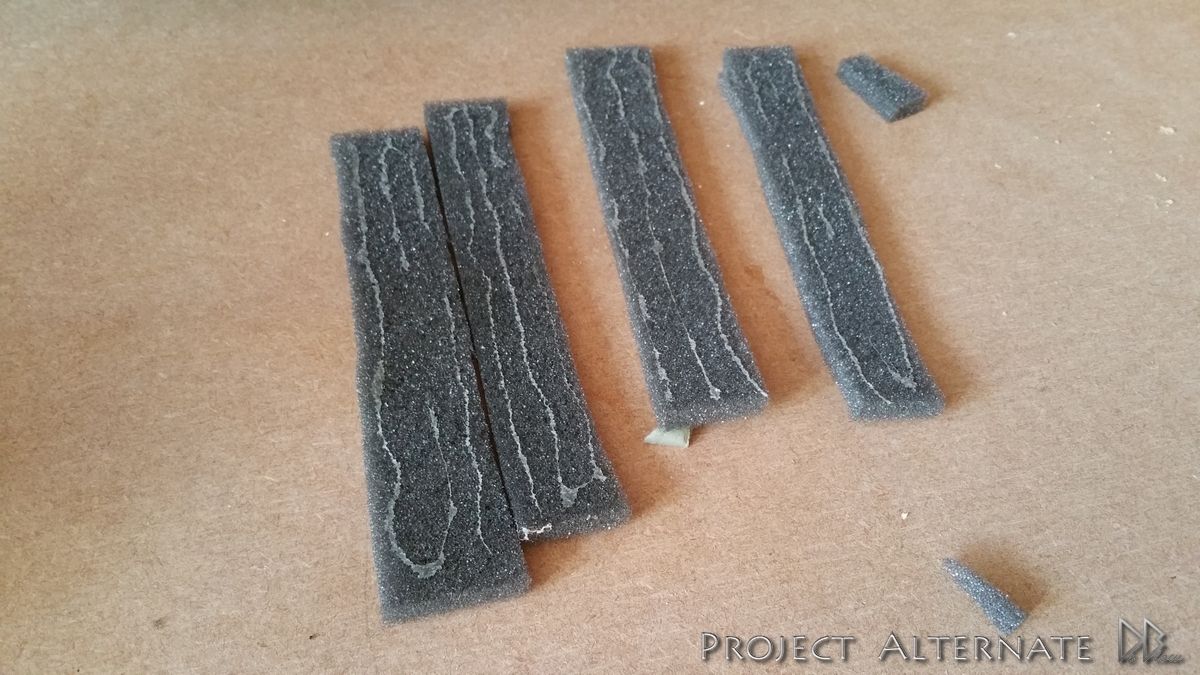
but to eliminate any small gaps that hot air could escape though Iv added some padding that's been coated to help keep the softness but also create a thin skin.

20150418_152804_zpsnyzzxn9y.jpg


20150418_160039_zpsmajoxjtd.jpg
 
Last edited:
Wow now it's really starting to look like something.

Friggin HOOJ though. My lady would use my guts for garters if I dared make a desk that big :D


Im still getting told
"YOU CANT HAVE THAT *bleeep* HUGE DESK IN THE HOUSE!"
lol

I try explain to her its only 2" bigger than the one I already have :D
 
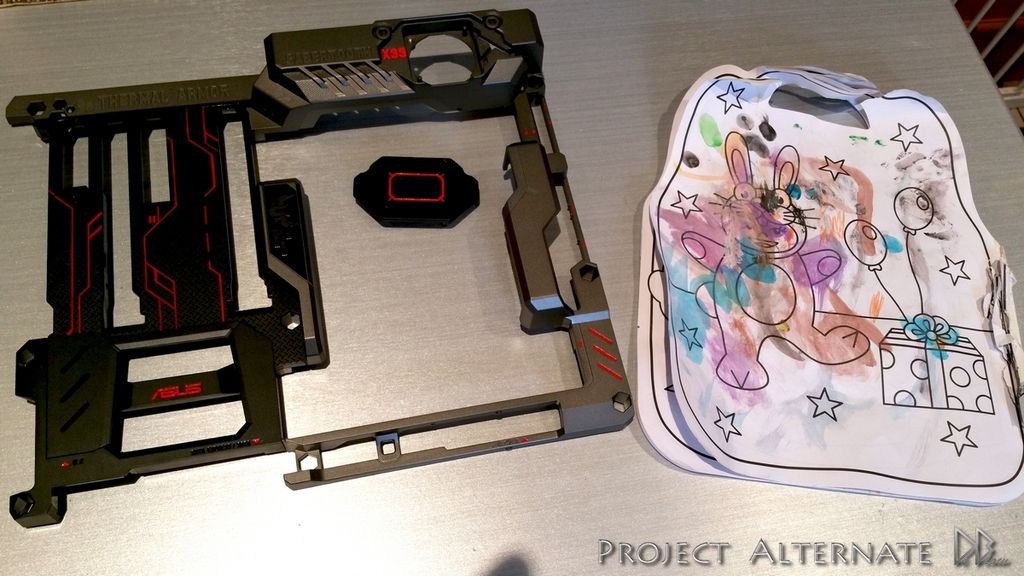
Me & my daughter have been doing a spot of painting :D

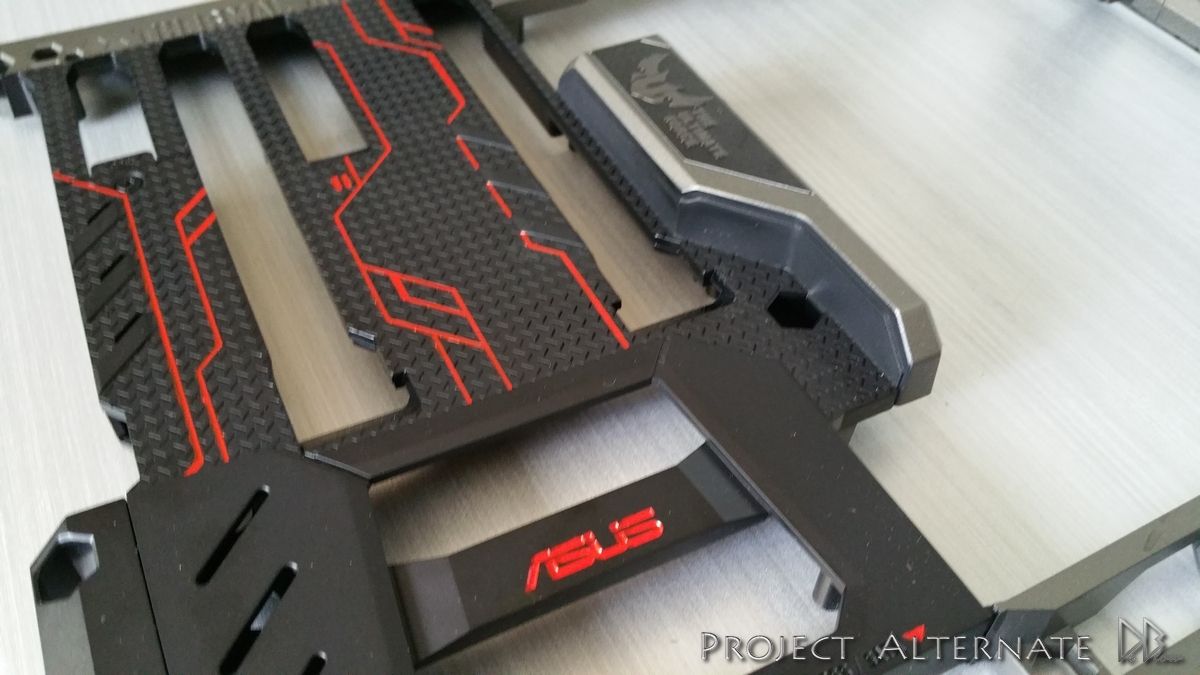
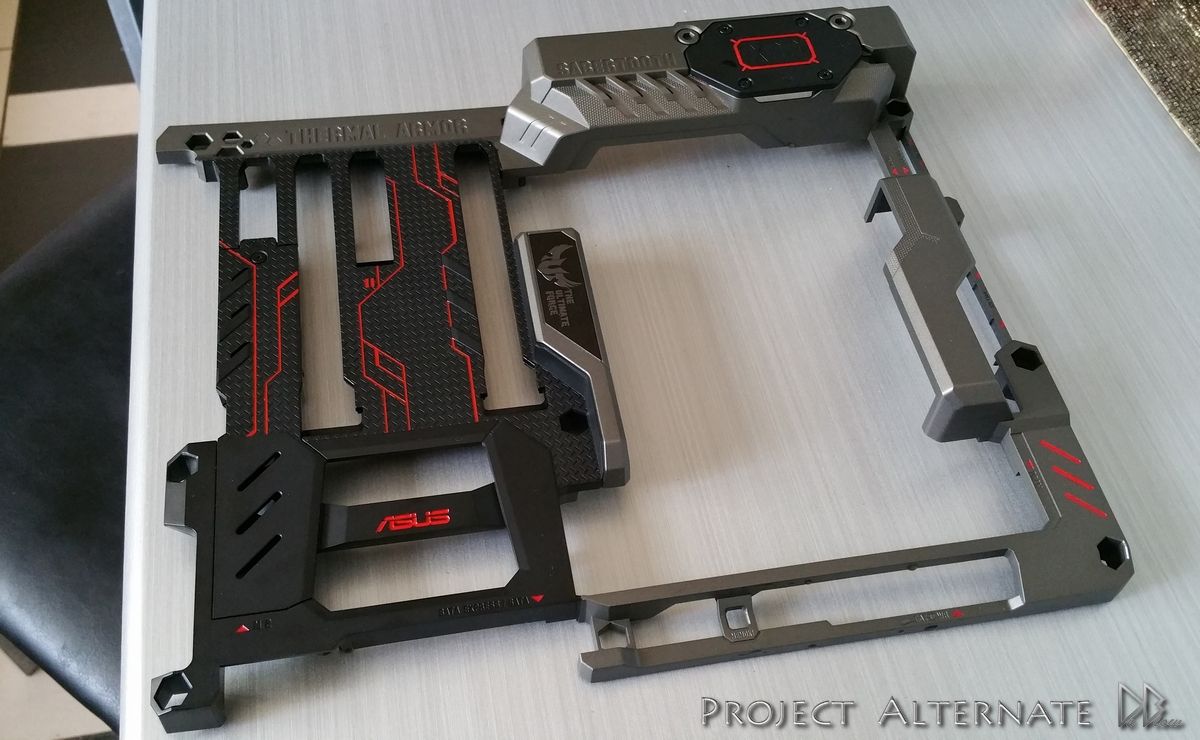
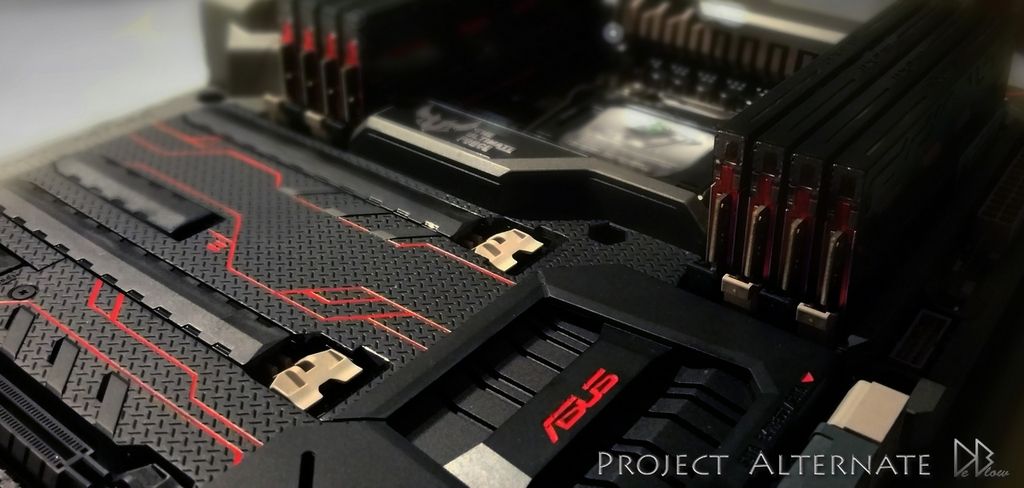
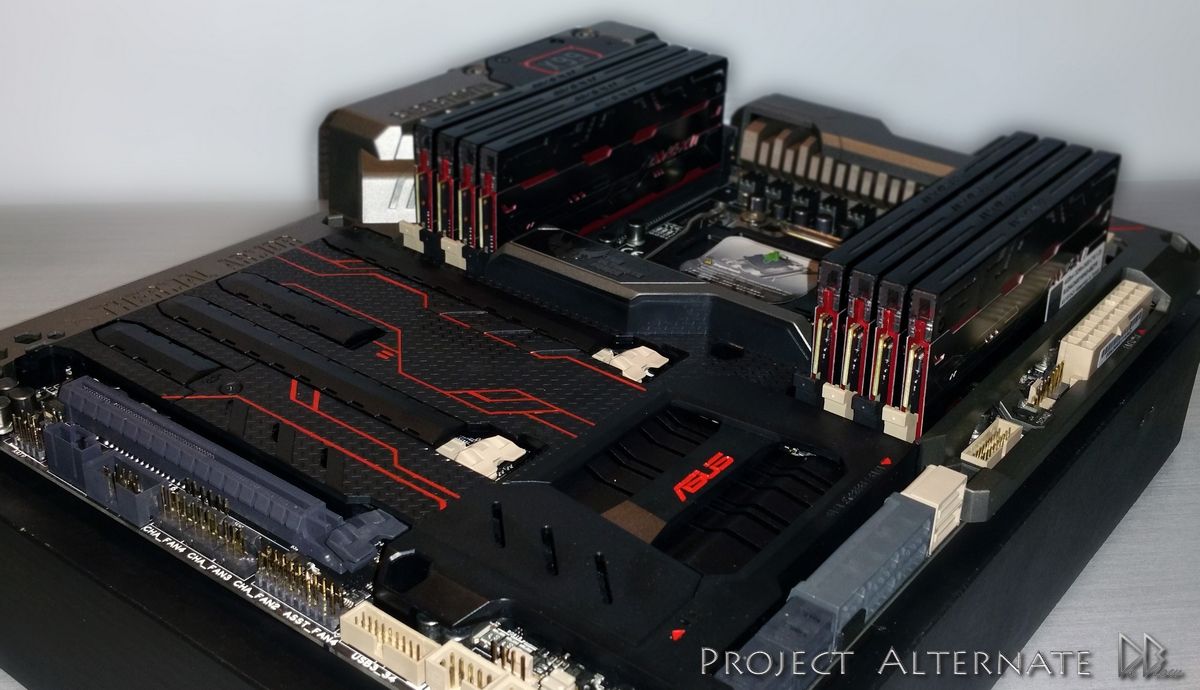
Added some red to the Sabertooth x99 MB to tie in with my desk colours a bit better..

Mine is the one on the left!

1_zpsfd8e4zz4.jpg


Top plate off

2_zpssffzv9si.jpg


3_zpsg4zigbag.jpg


20150427_173037_zpsiublctcq.jpg


20150427_173043_zpsiufzo7tp.jpg


20150429_213126_zpsn37ganbk.jpg


20150429_213204s_zpsqpfinmco.jpg


20150429_213219_zpslojnteeo.jpg


20150429_213240_zpses8xyrn7.jpg


20150429_213312_zpsenvwuqmj.jpg
 
With the arrival of my reservoirs I could start fastening down the top shelf & shape it better,

20150503_183505_zpsmto3veij.jpg


I also did some work on the inside but had to stop for a bit as I await the pumps so I can make the cuts
needed before working on the layout a bit more.

while I wait I'm getting on with other bits, painted the MB last week & this week iv been making the
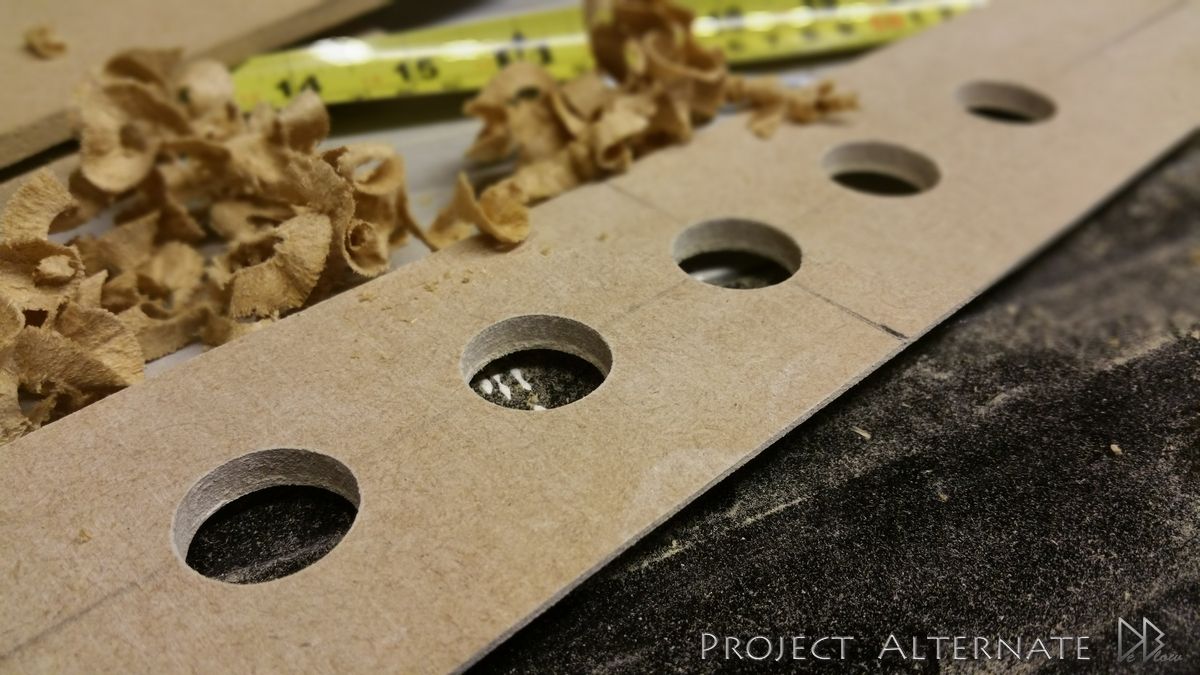
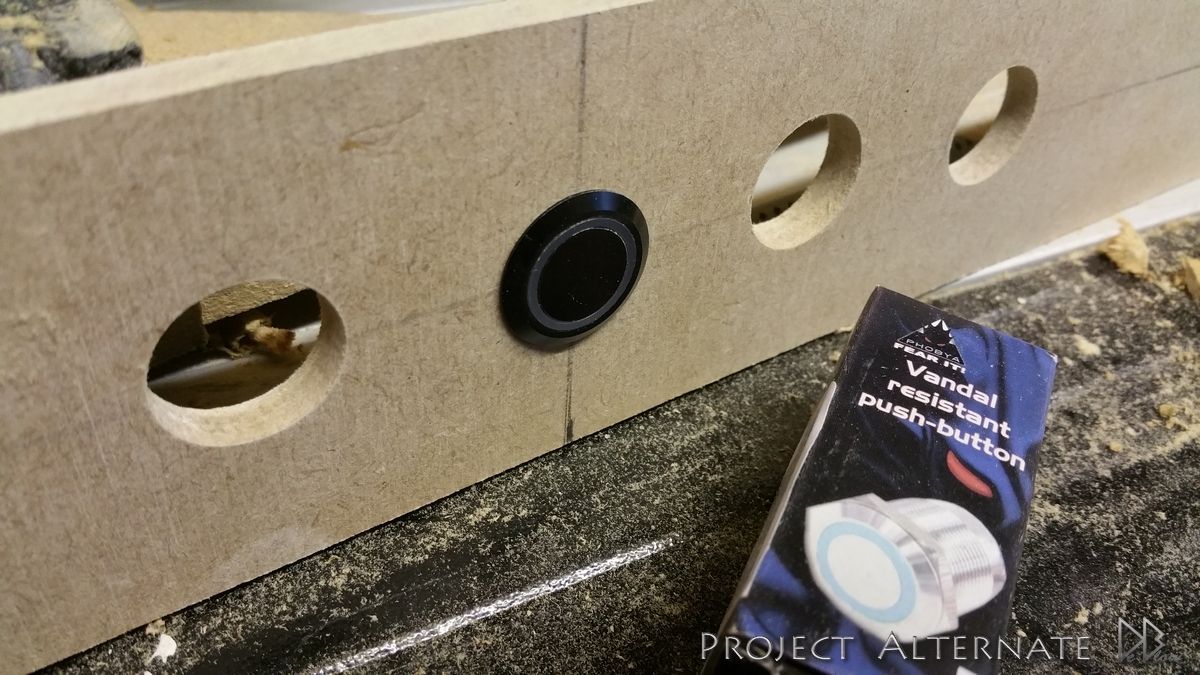
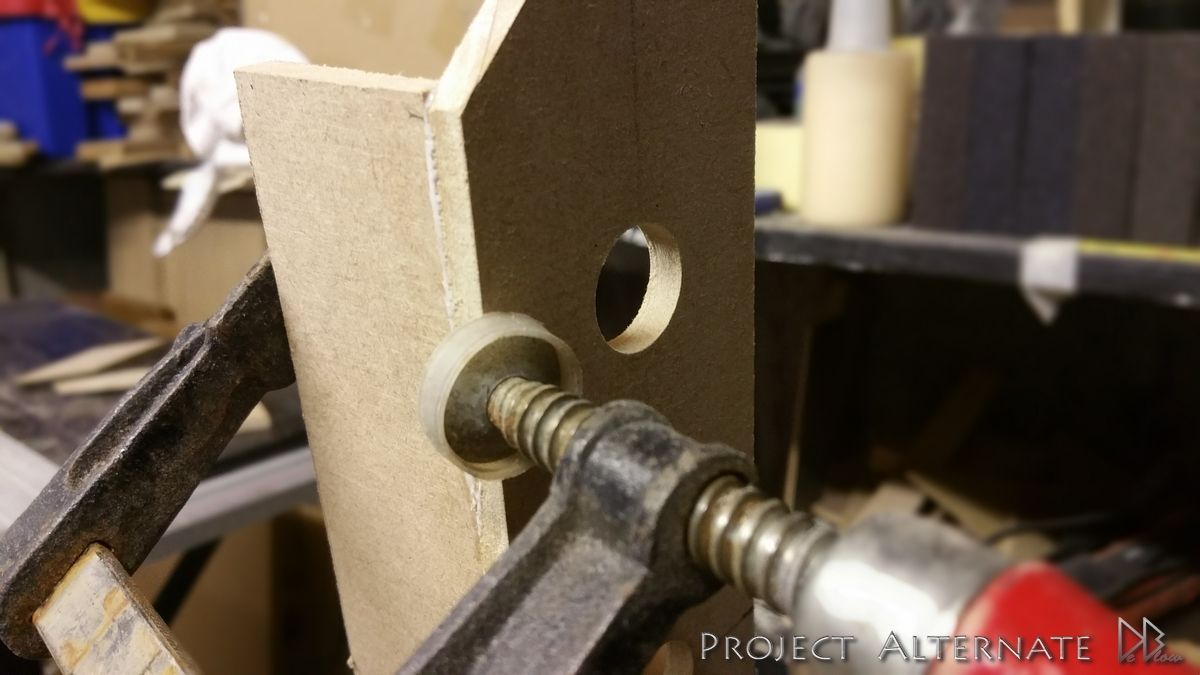
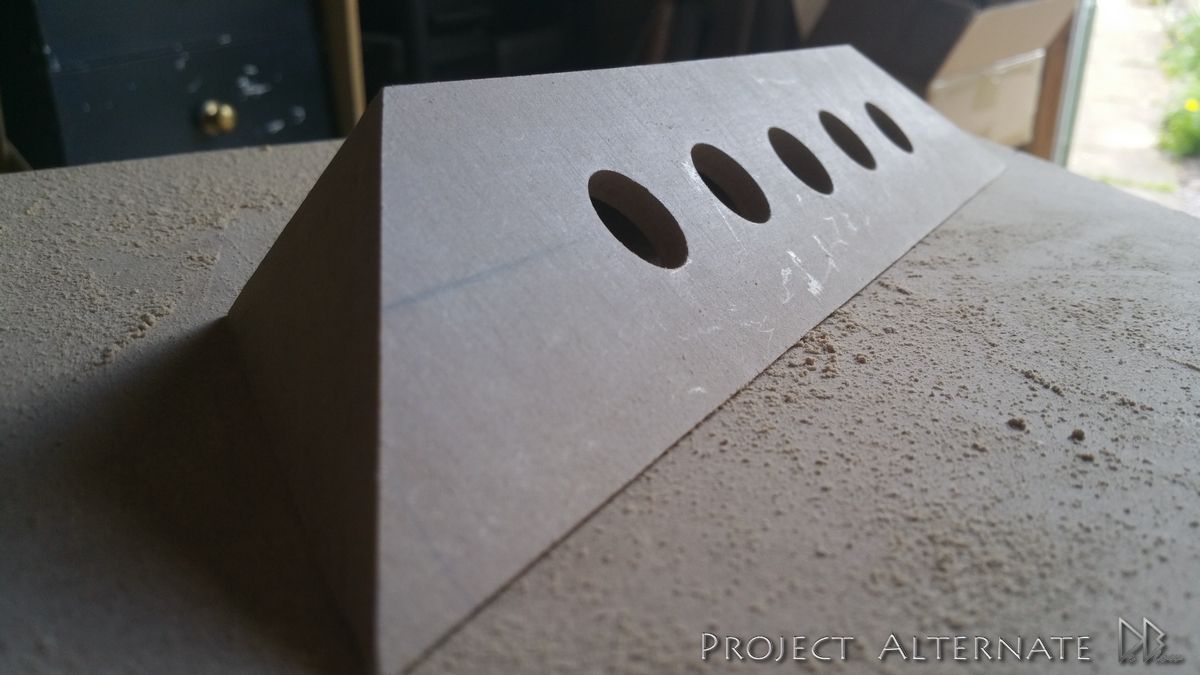
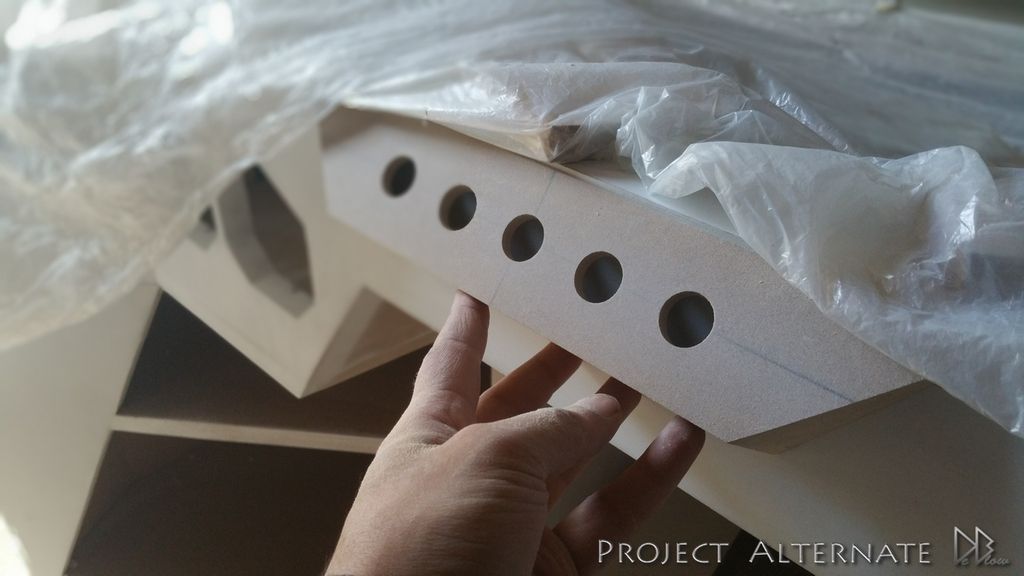
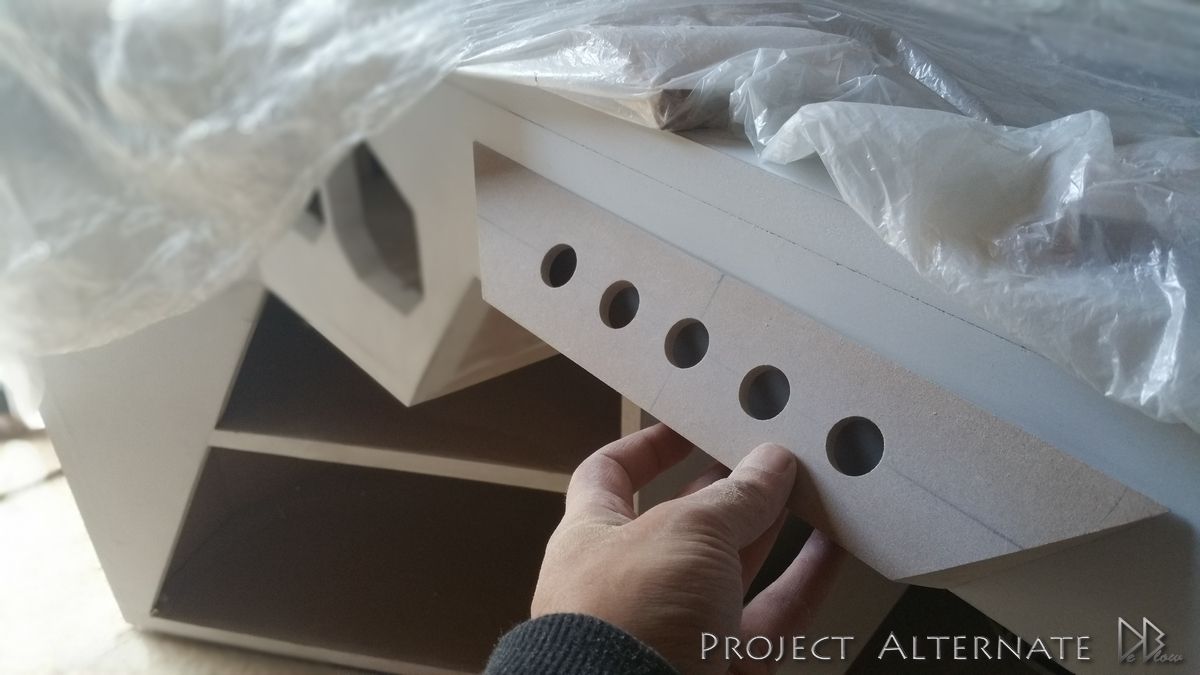
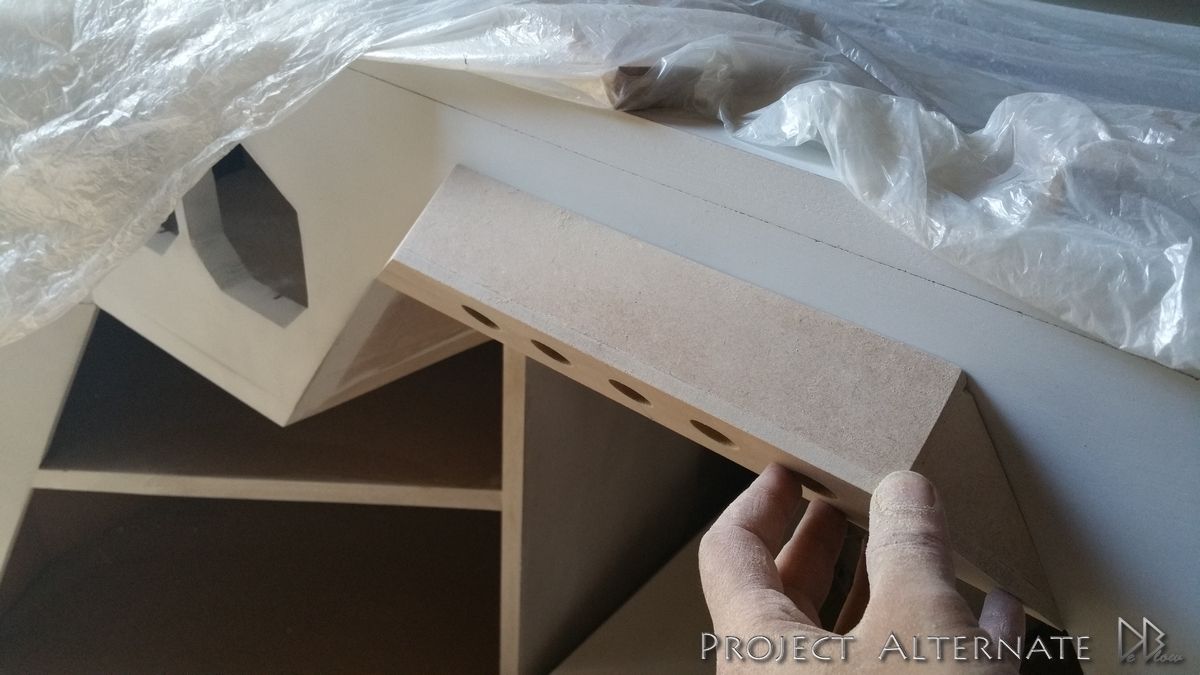
front switch panel to house 5 Phobya push switches..

20150502_165013_zpsoicebgns.jpg


20150502_165158_zpspfibmgtt.jpg


20150502_170658_zpsb3rk8ynn.jpg


20150503_183335_zpsr9kcirwb.jpg


could have the switch holder in a couple of different positions.
feel free to add your thoughts on what you think looks best :)

1

20150503_183436_zpsq8y3h6rp.jpg


2
20150503_183451_zpspys3fqtx.jpg


3
20150503_184155_zpsjo5zx2bs.jpg
 
#2 would be my vote.

your the 2nd to say that, think im going to cut a angle on the top edge if the desktop/front. will help reduce damage from my arms when using the mouse & should look better i hope.
then I think the 2nd will be an even better match ;)
 
Back
Top Bottom