Project Alternate

This is going to be one of the bigger updates, mainly because i forgot to add some bits earlier in the log
& iv also decided to cover my desktop lifting mechanism that i filmed some months ago.


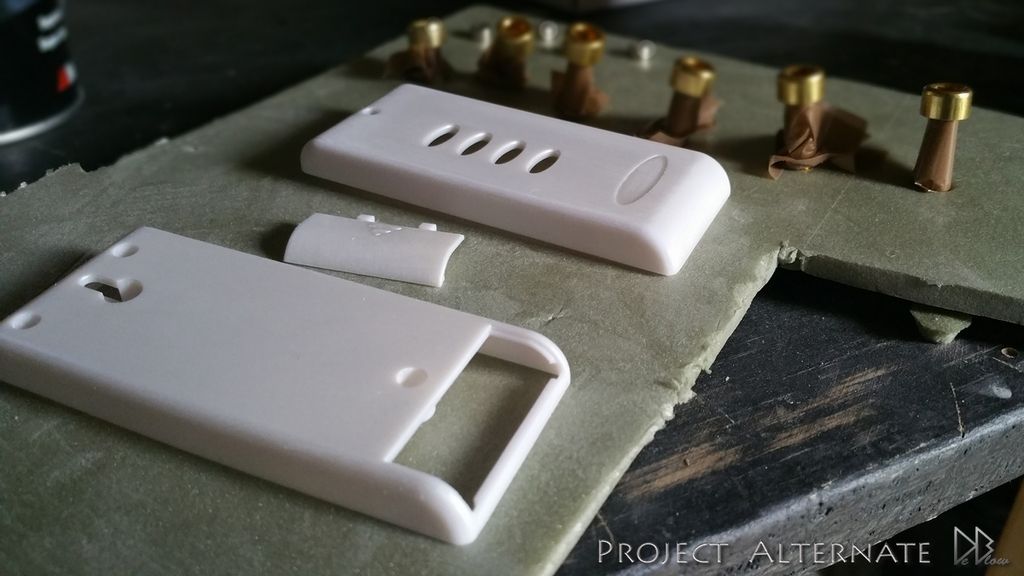
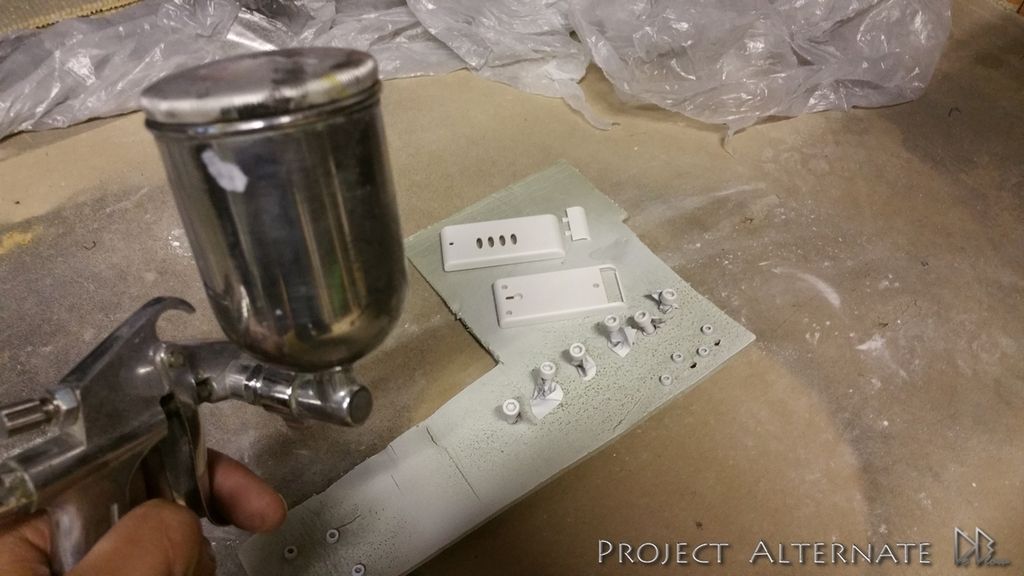
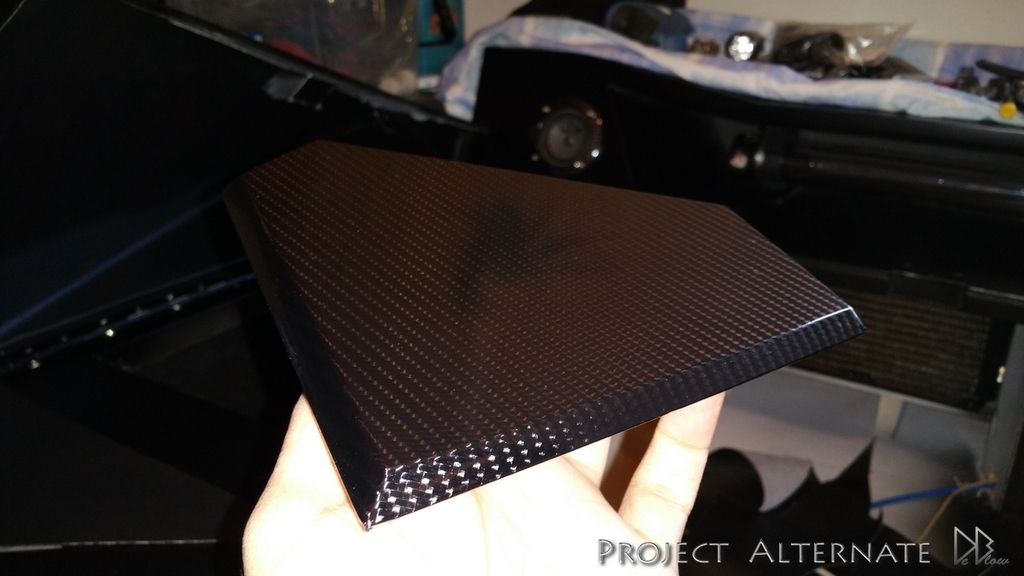
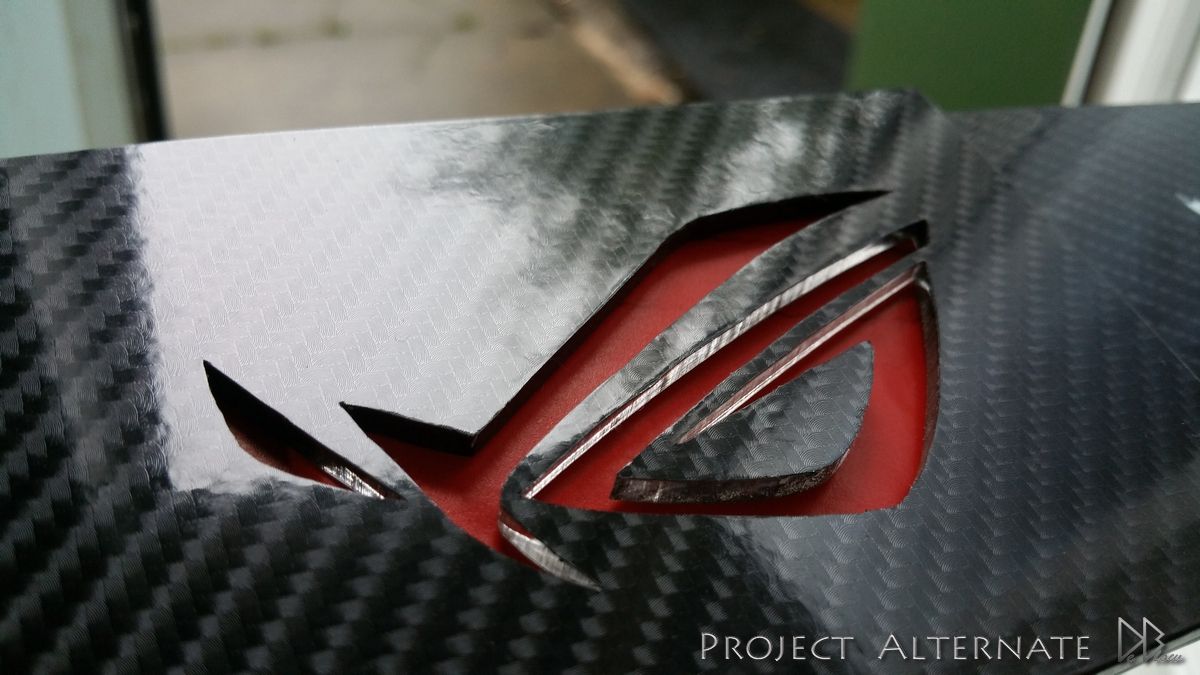
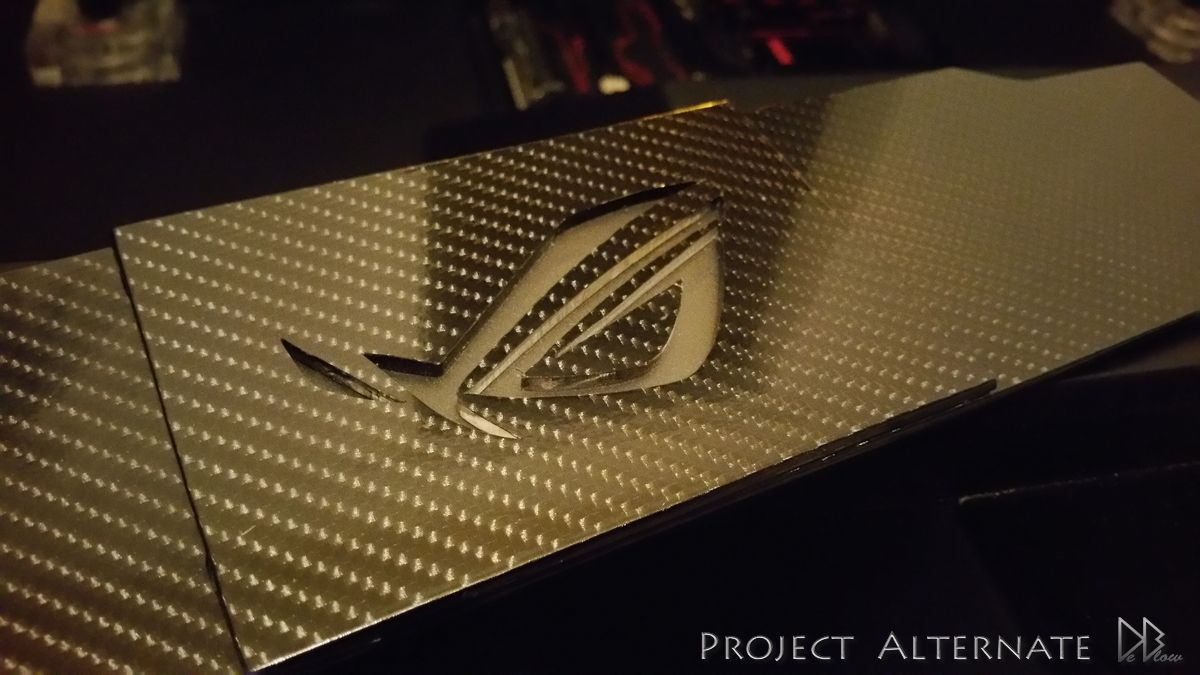
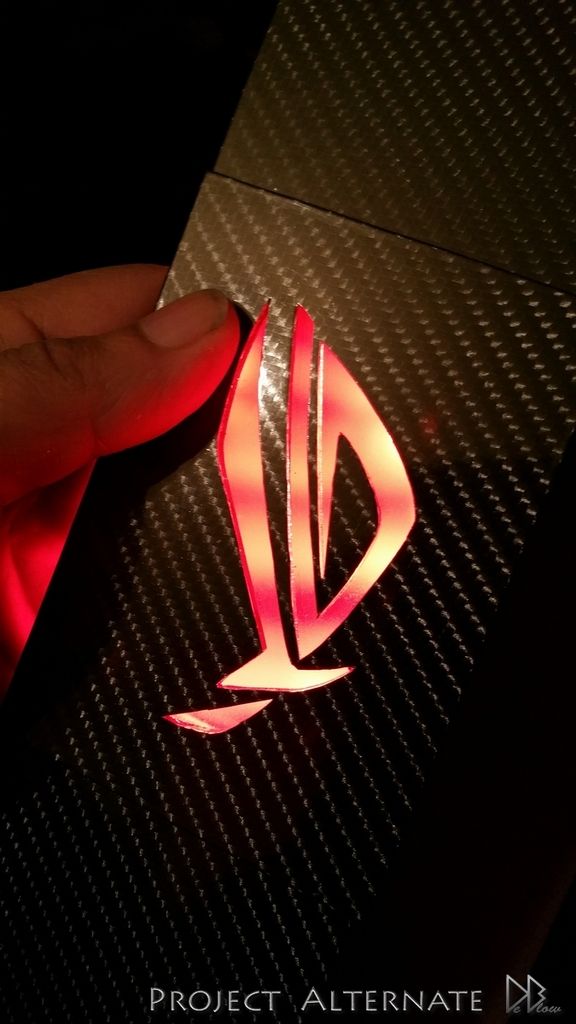
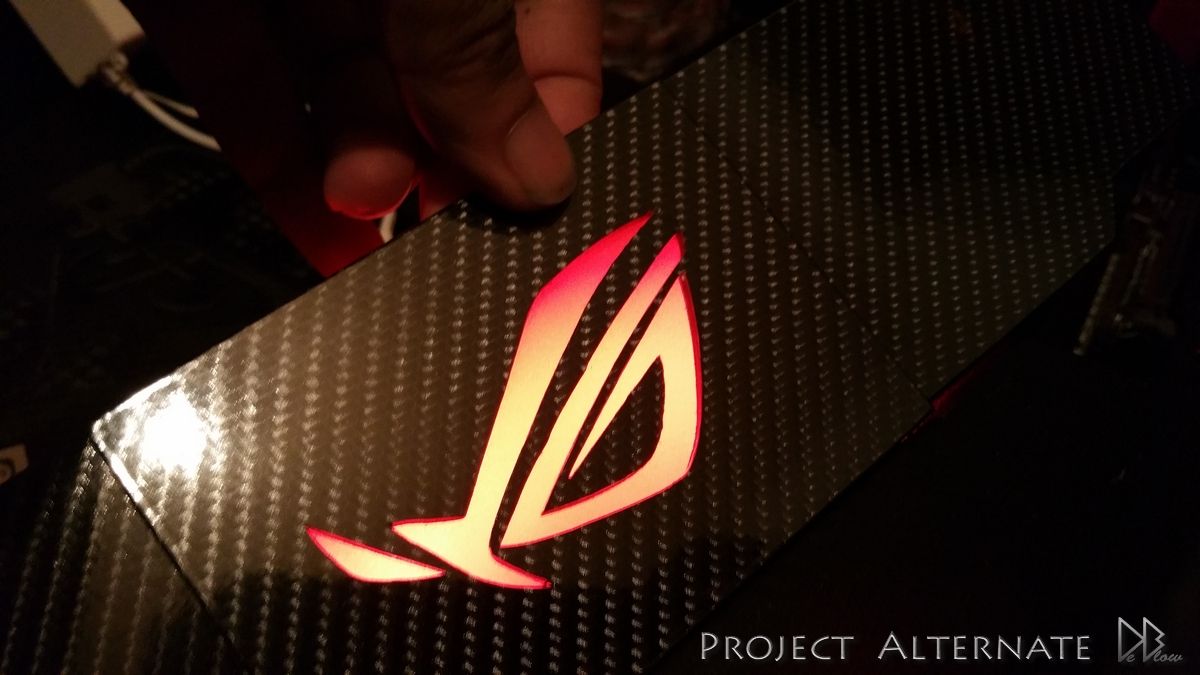
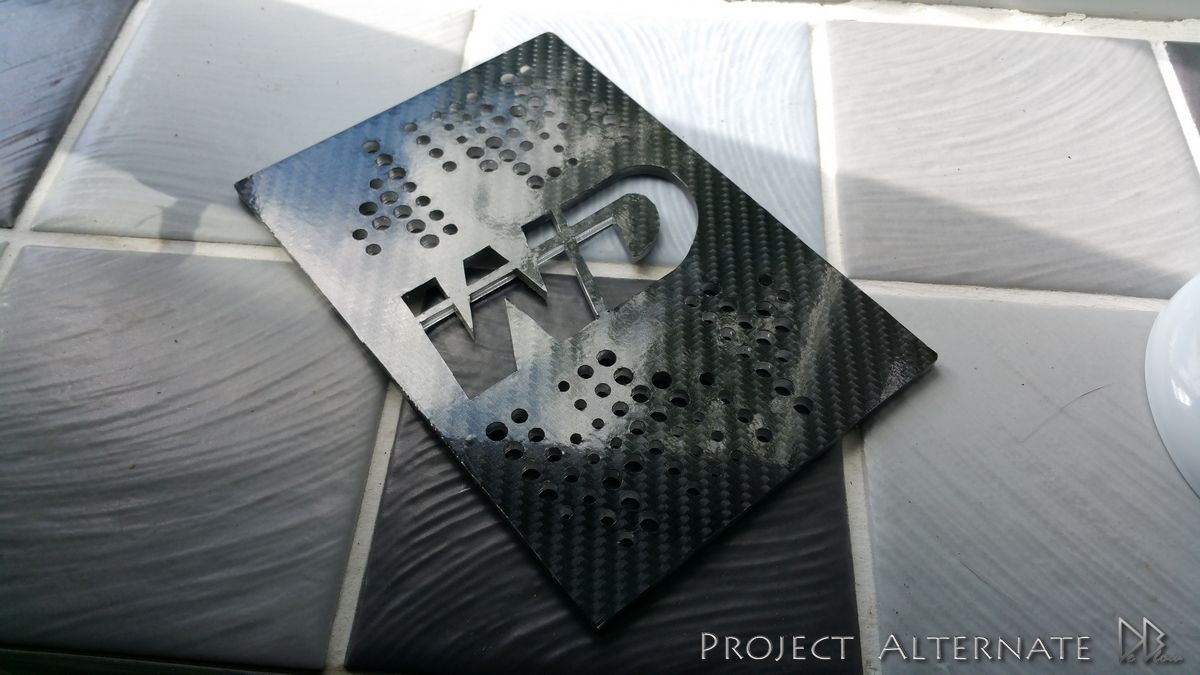
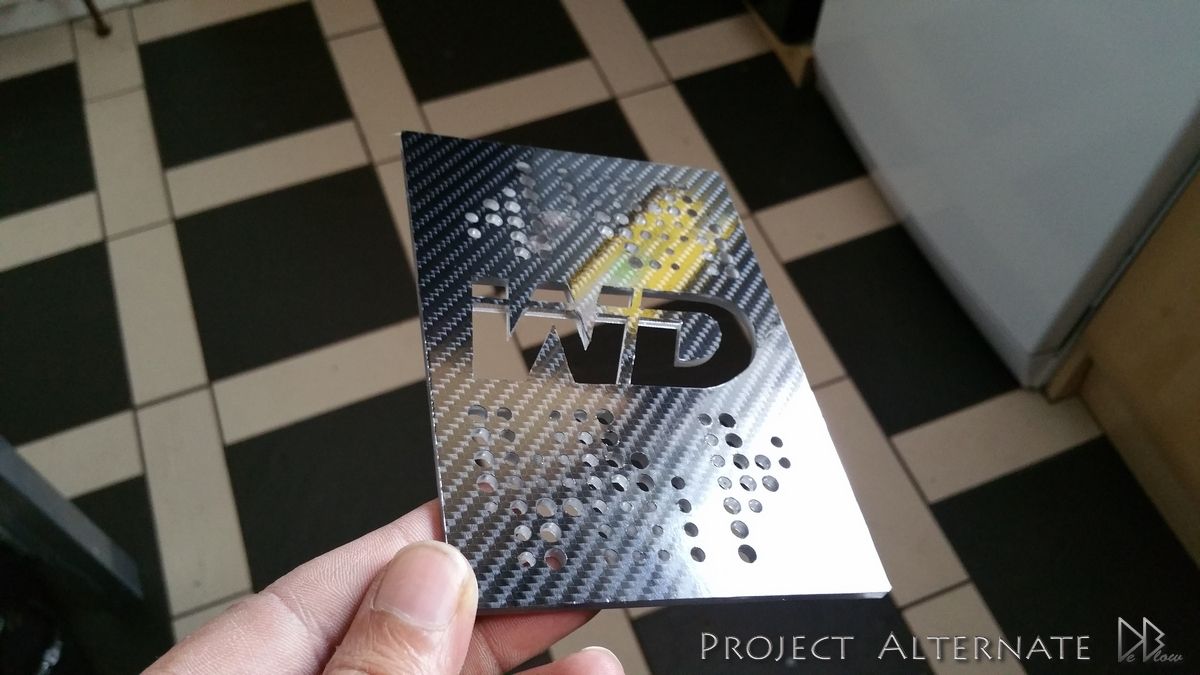
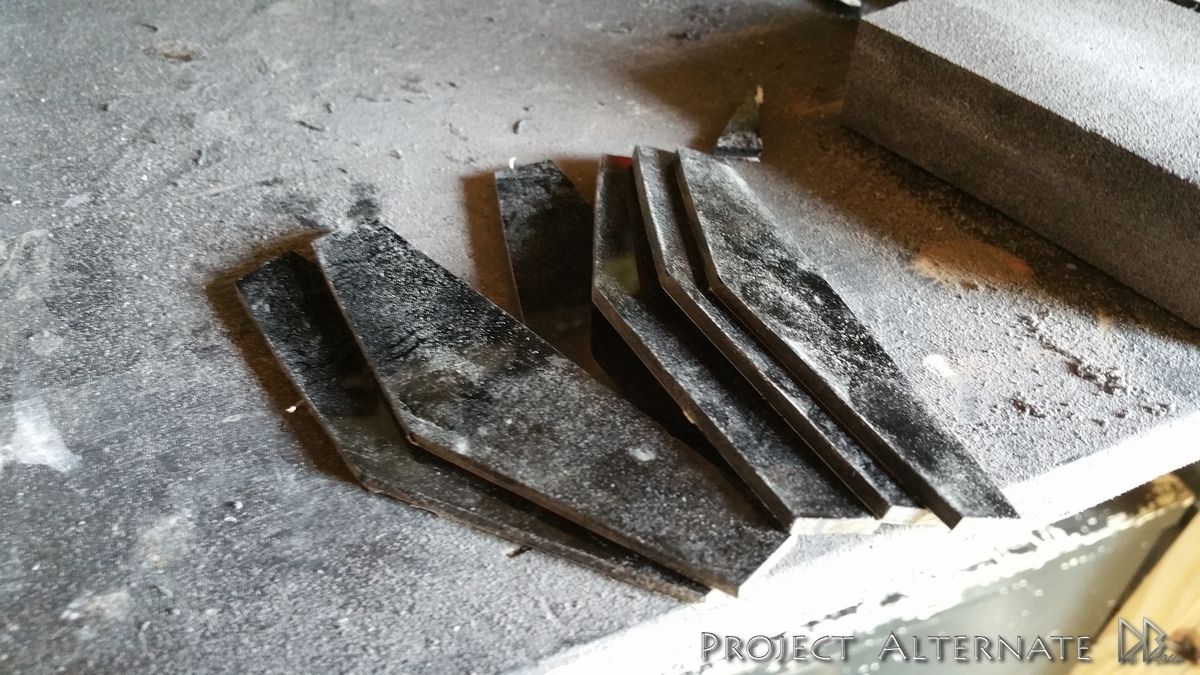
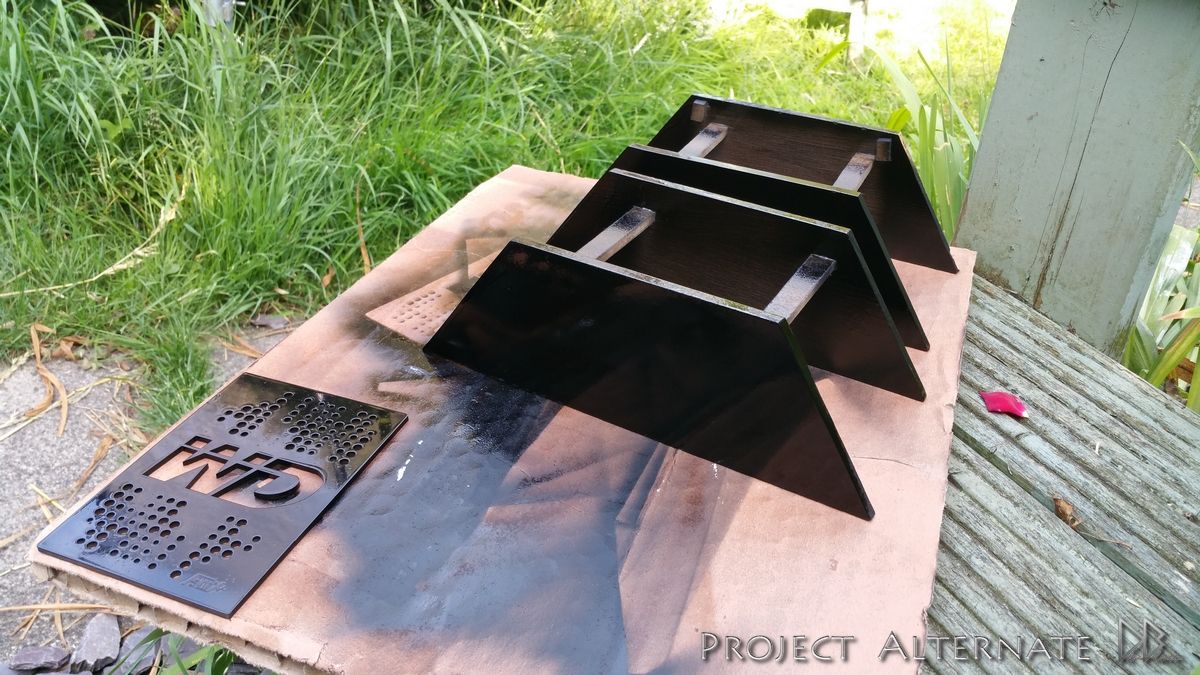
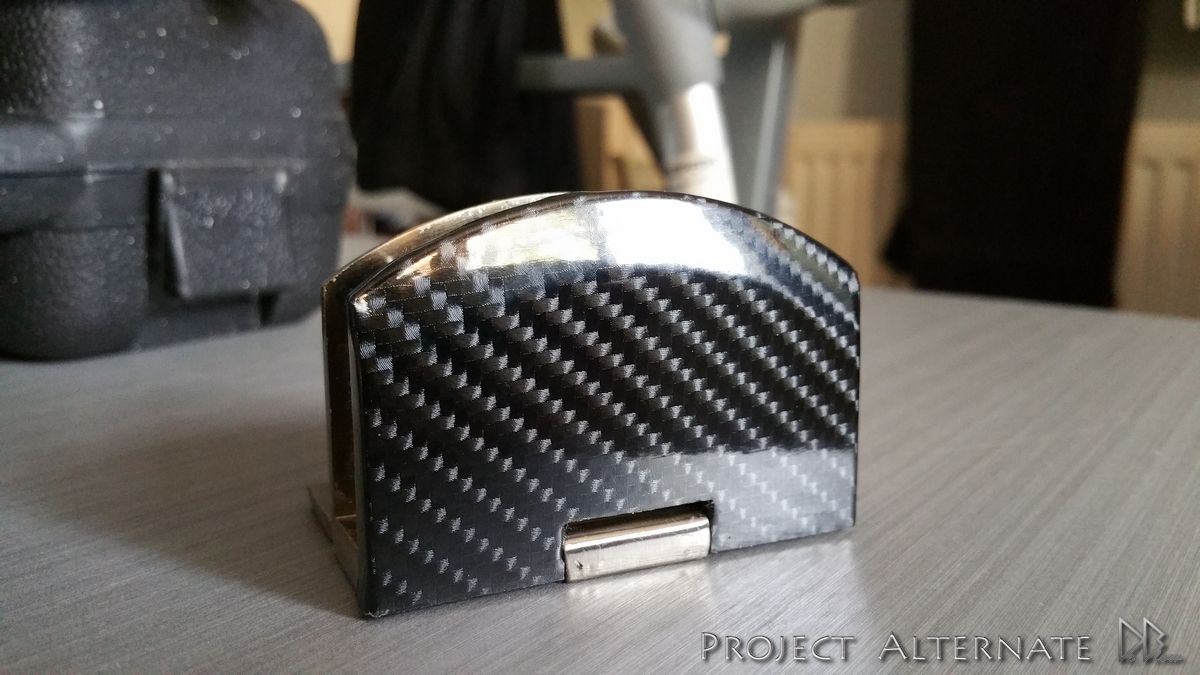
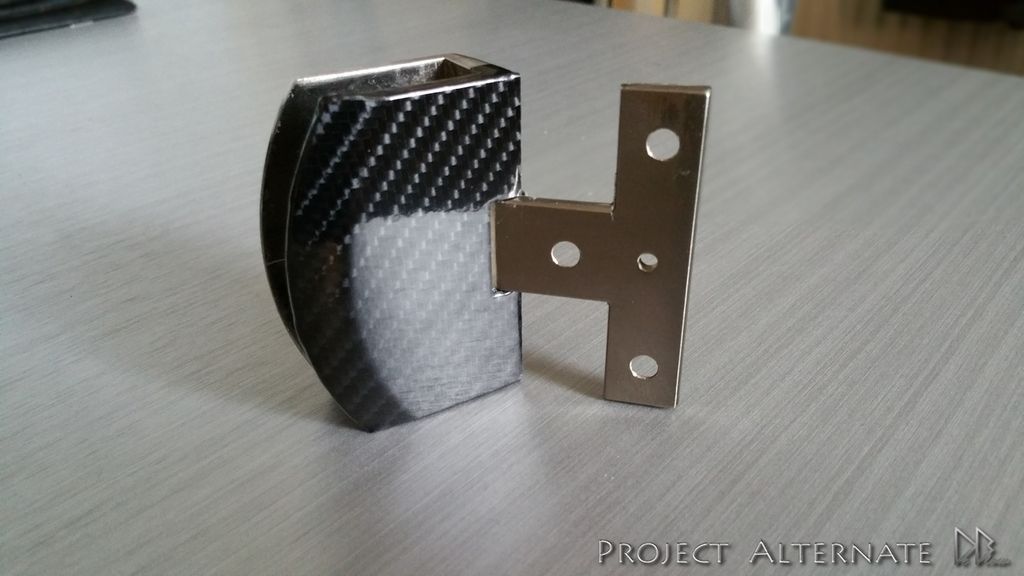
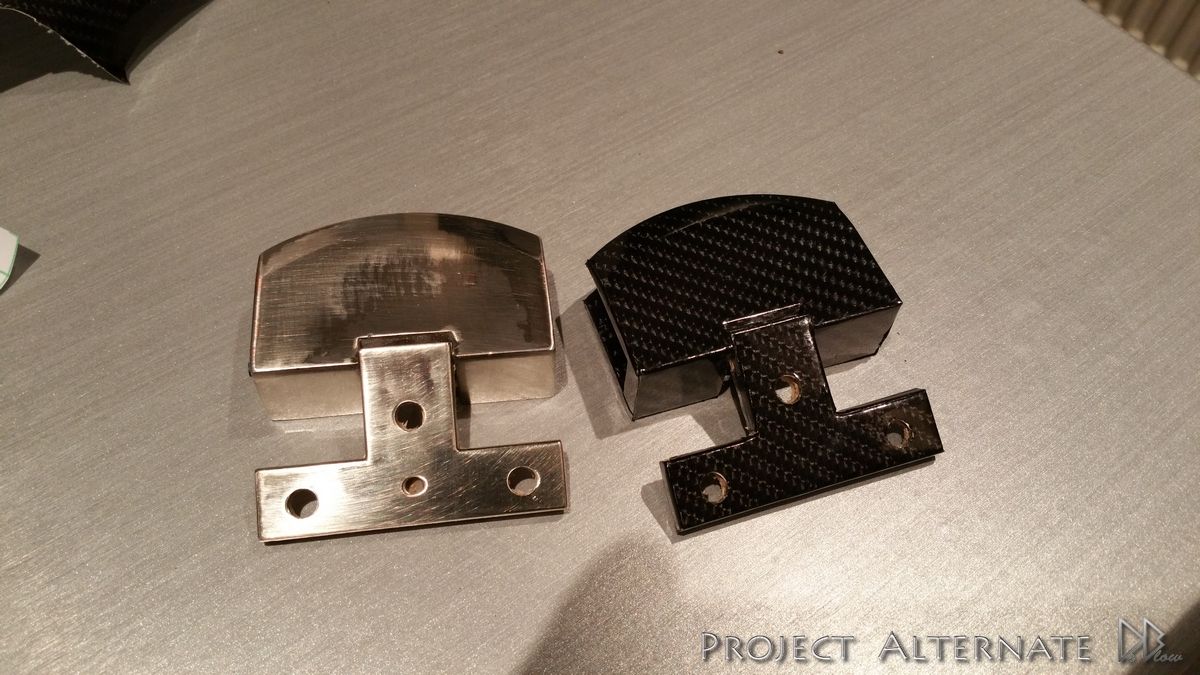
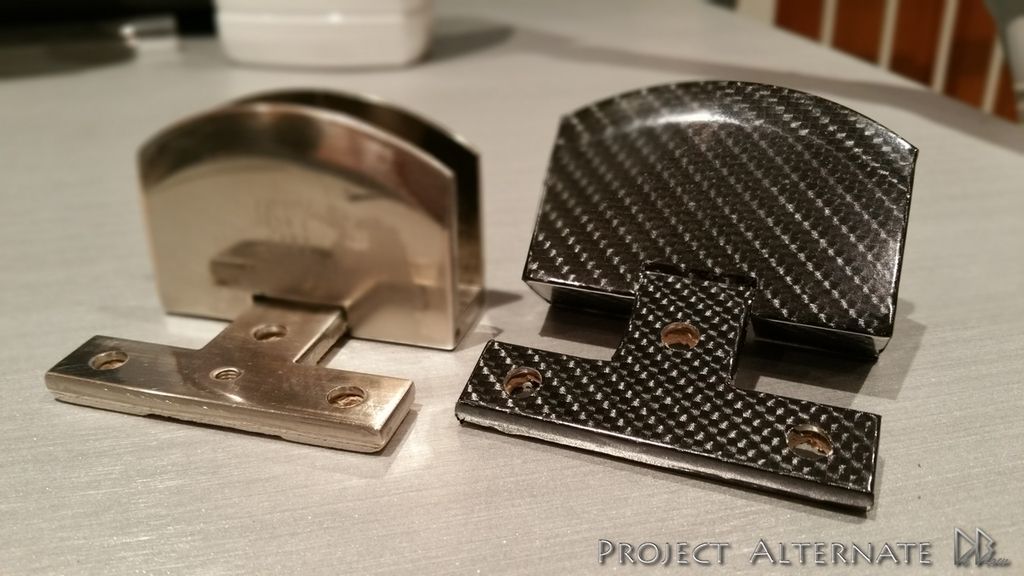
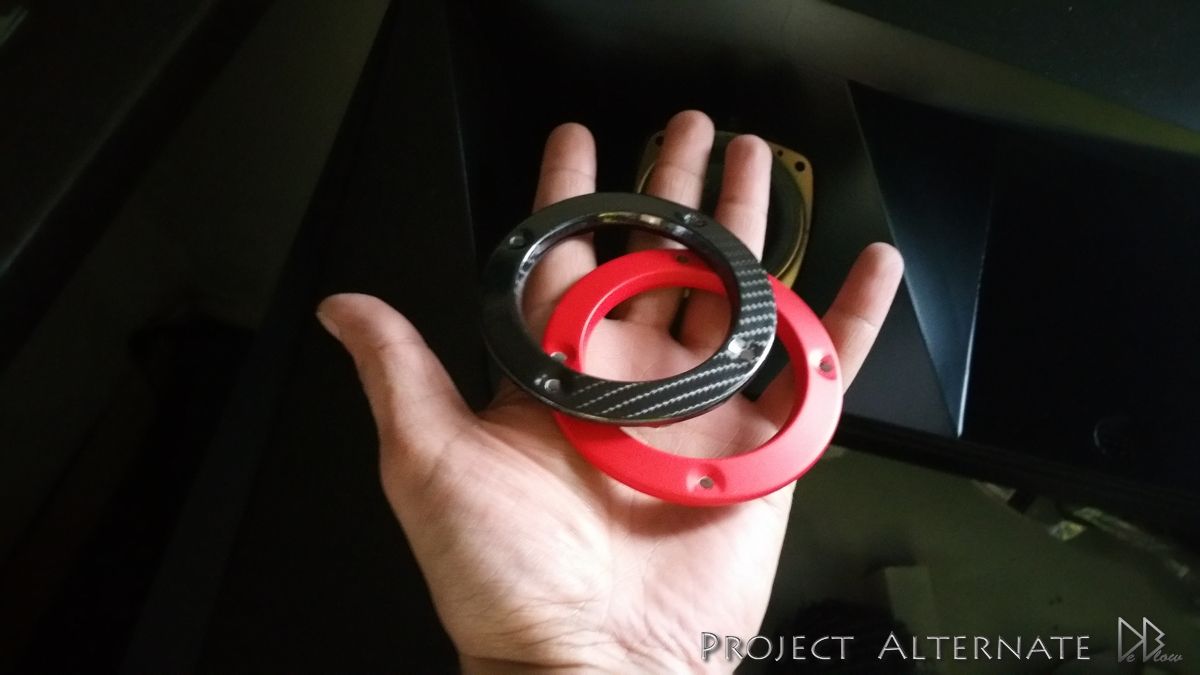
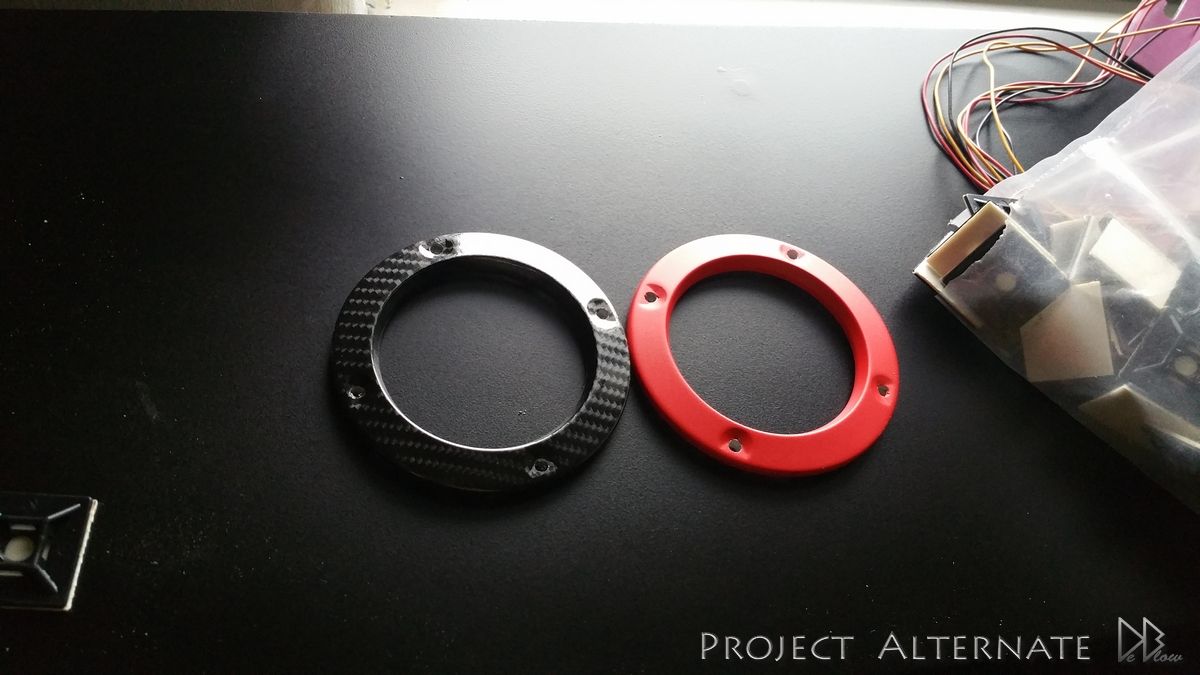
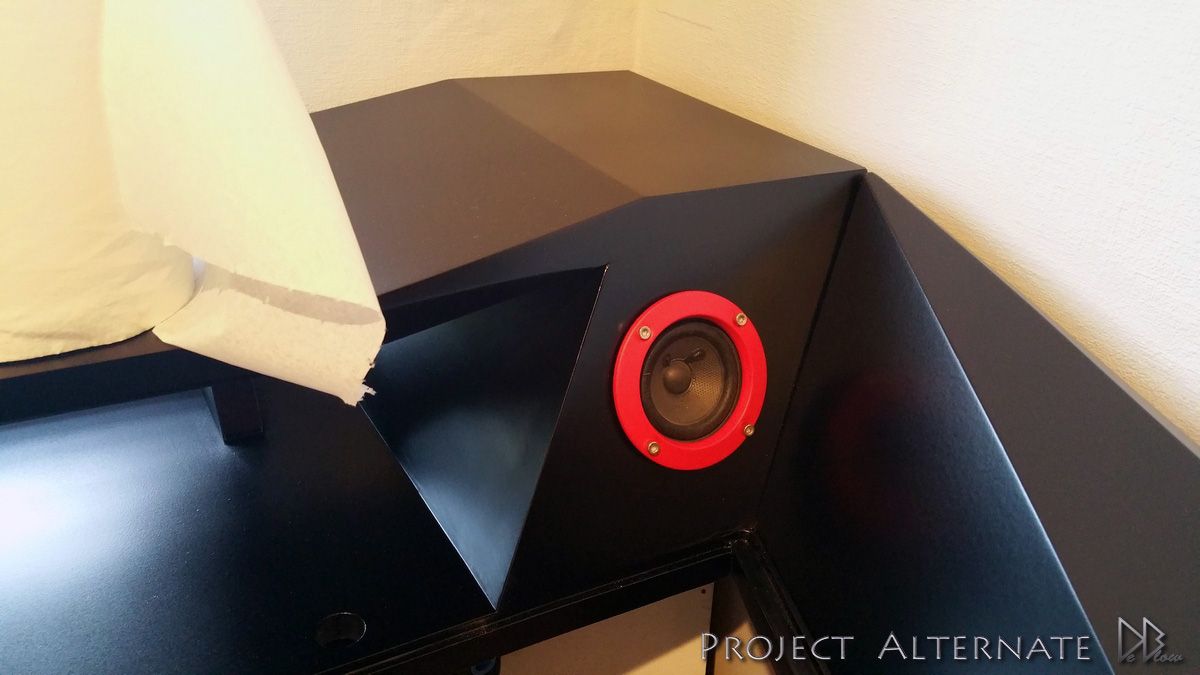
So to kick it if I will start with the hinges that had been covered in wrap, decided to cover them as
they didn't look to match the desk in plan silver, for now there carbon but this could be changed to red
as the build progresses.

your thoughts on the carbon vs red for the hinges & speakers would be appreciated, but i think its best
to wait until the internals are completed.

20150526_192408_zpsegabncex.jpg

20150526_192544_zpsqvutm4mz.jpg

20150528_213711_zps7wajrymu.jpg

20150528_213826_zpsv6l4rdsi.jpg


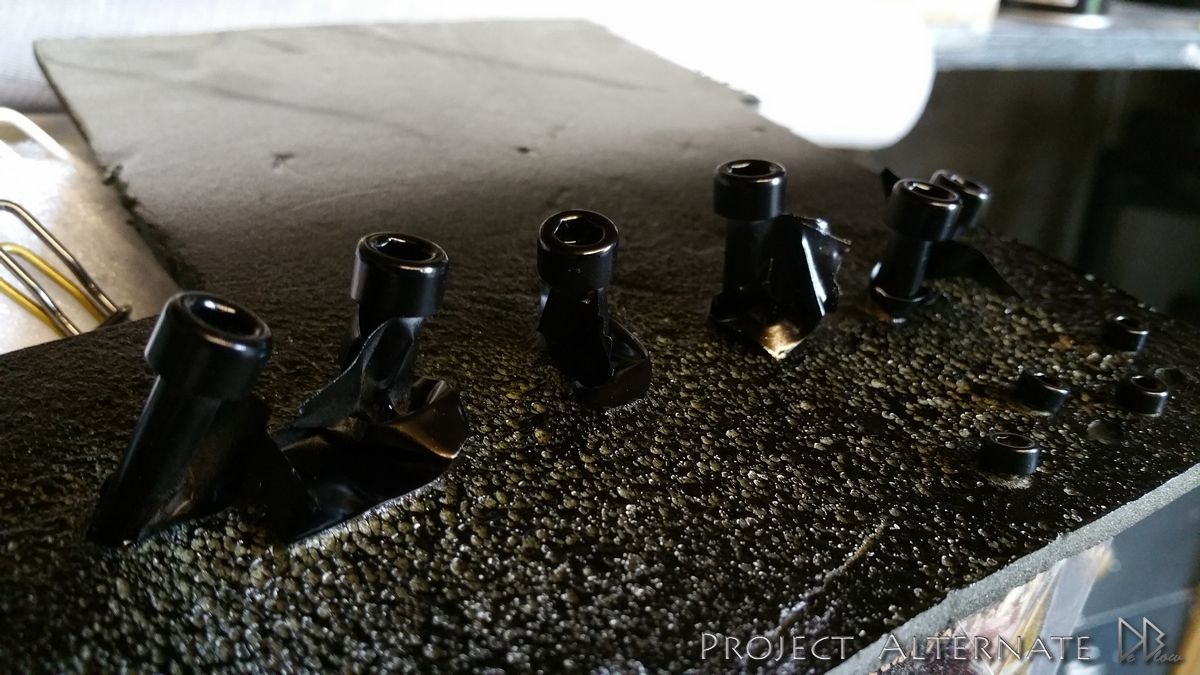
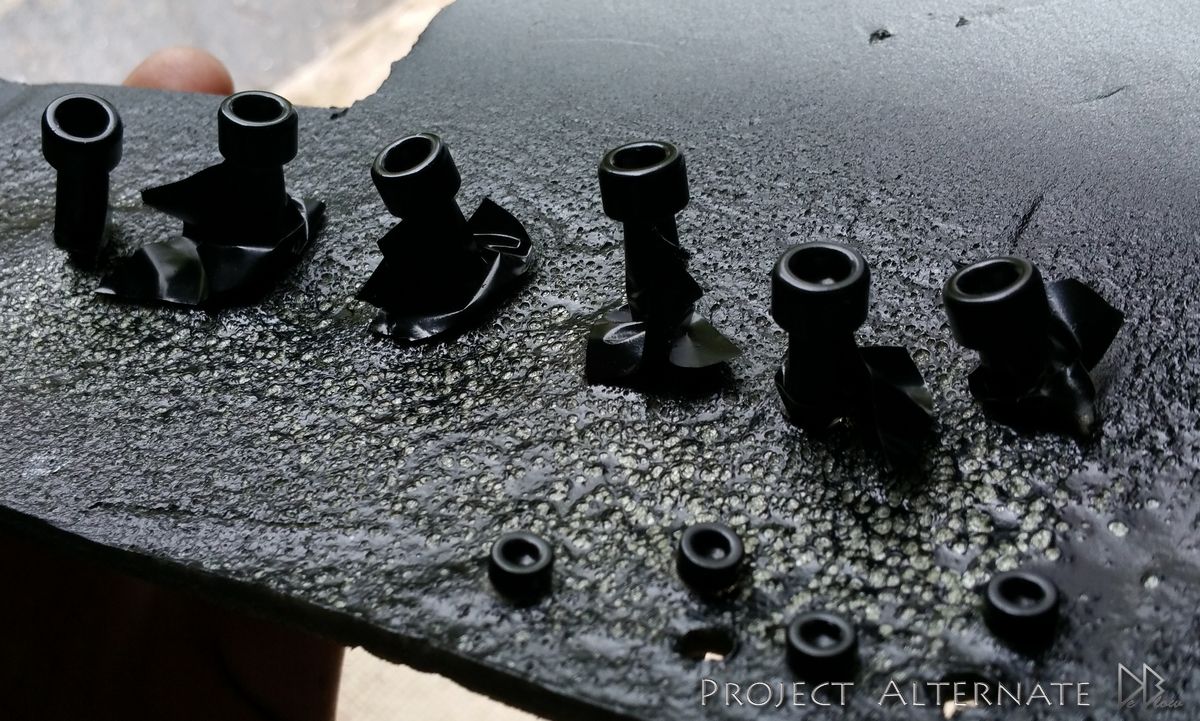
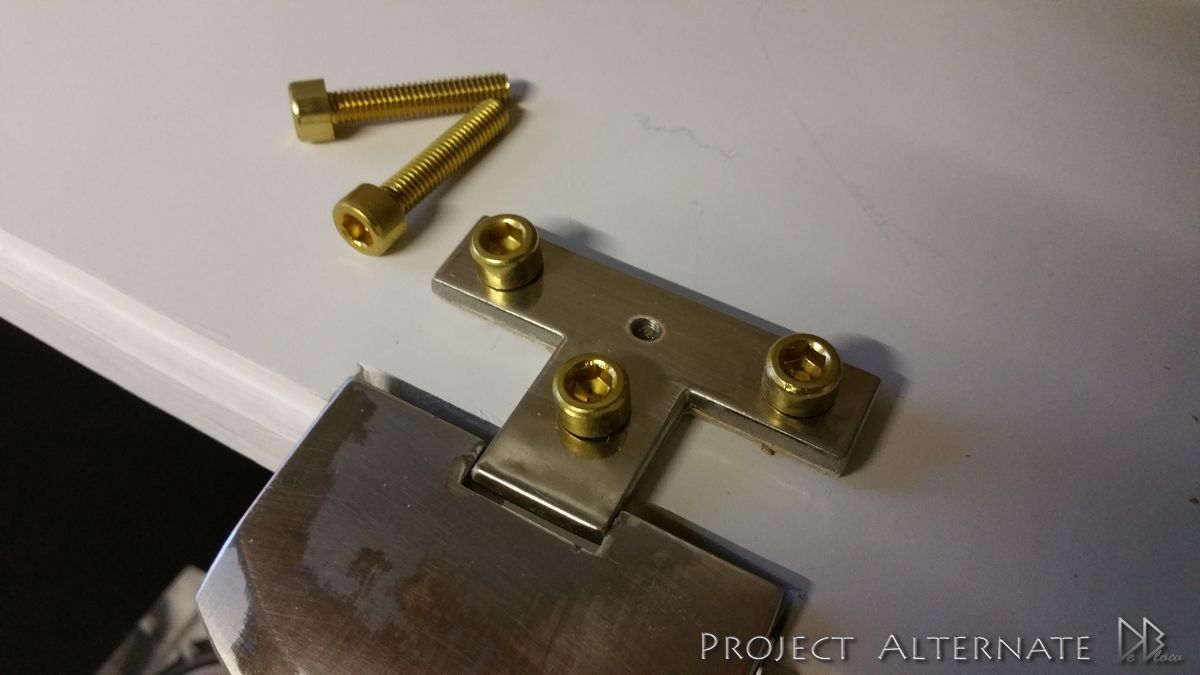
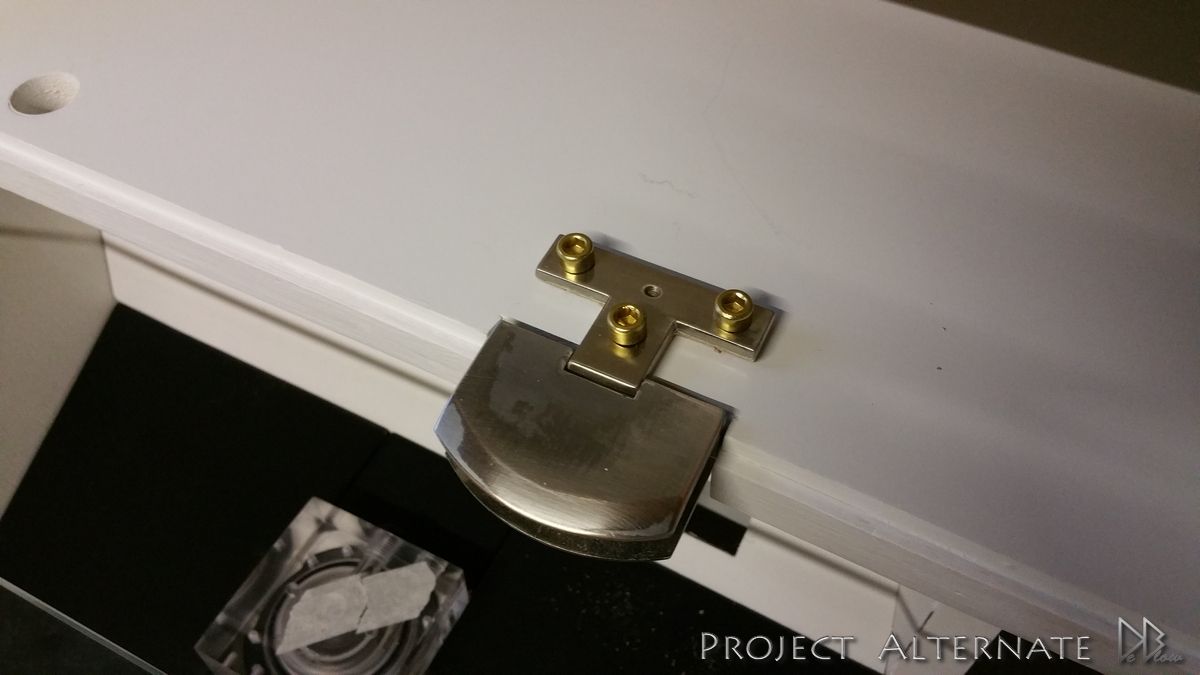
Im using some motobike bolts from my old Honda, made from titanium like my leg, they should help reduce the weight lol

20150528_200155_zpsuzgtnbr9.jpg

20150528_200136_zpstxyisape.jpg


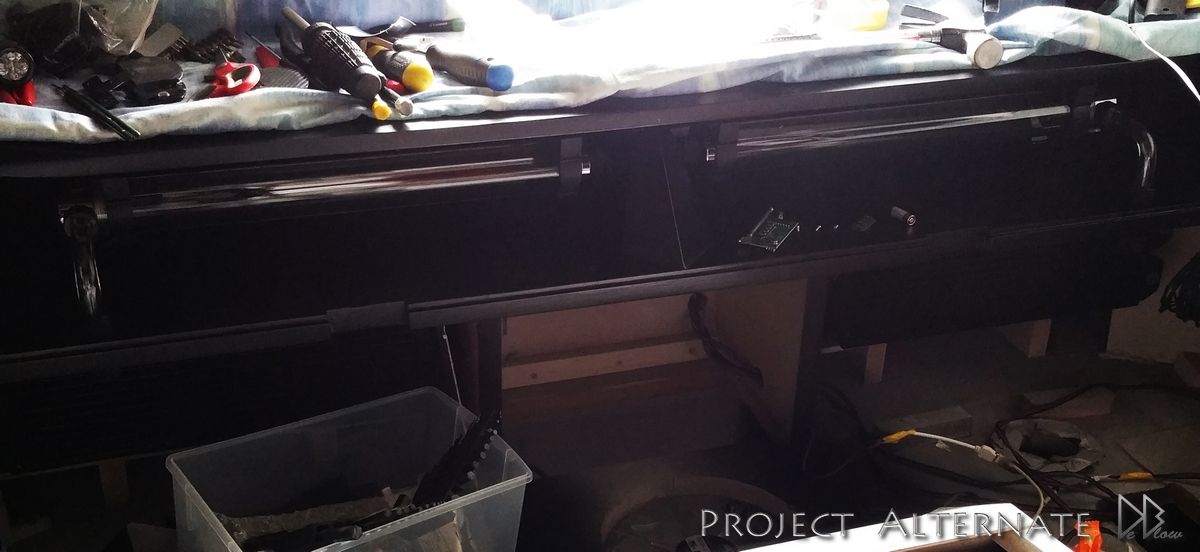
My friends was kind enough to move my desk inside the house for me, turned out to be more easy that expected with no damage
to report or broken bones :)
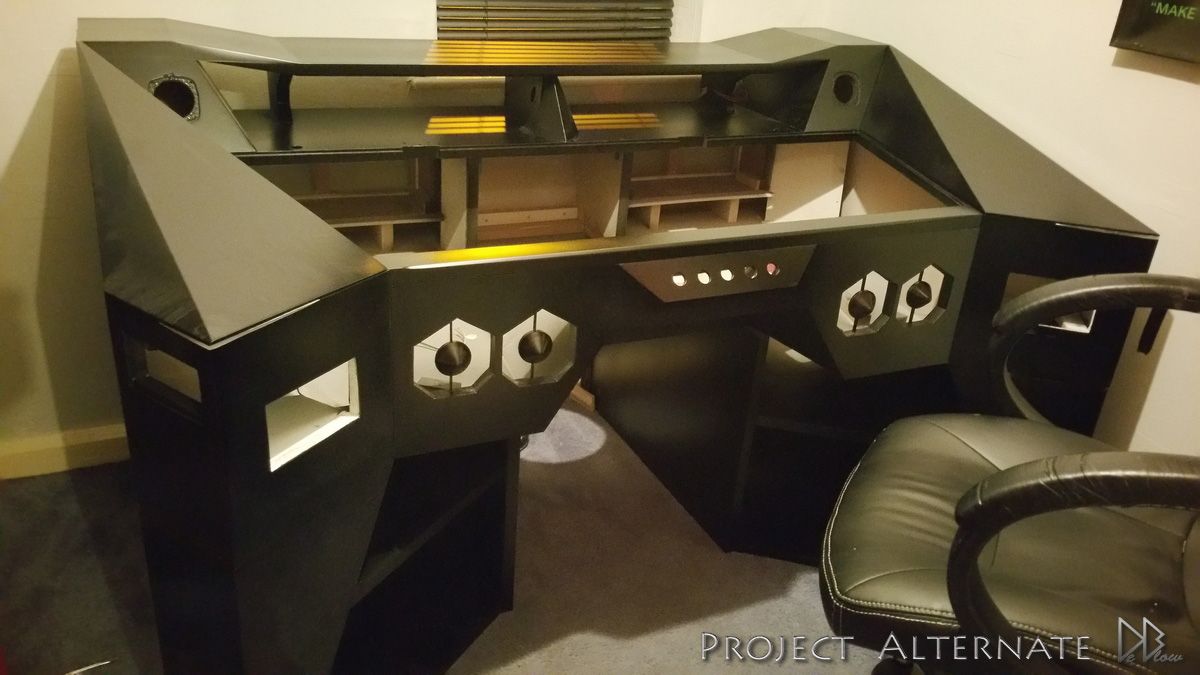
the heaviest parts was the 2 bottom sections, but after about 30mins they was all setup in my room & fit perfect

20150613_194354_zpsqxl4edeb.jpg

20150613_222458_zpswrzzqohi.jpg


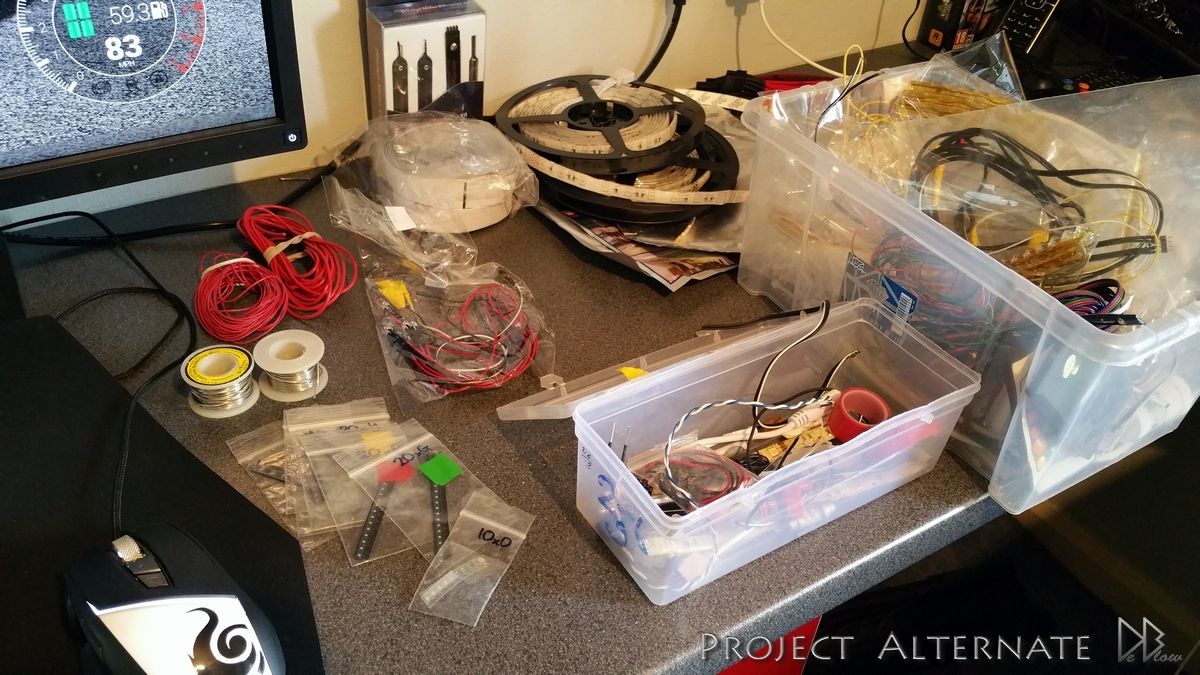
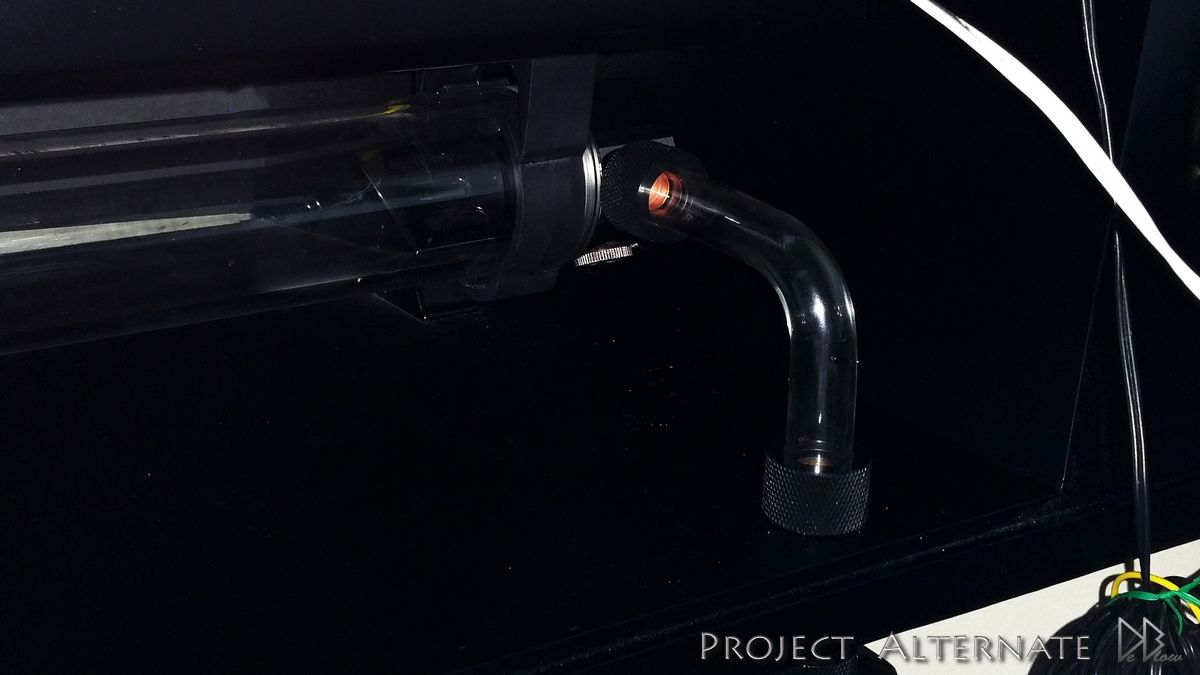
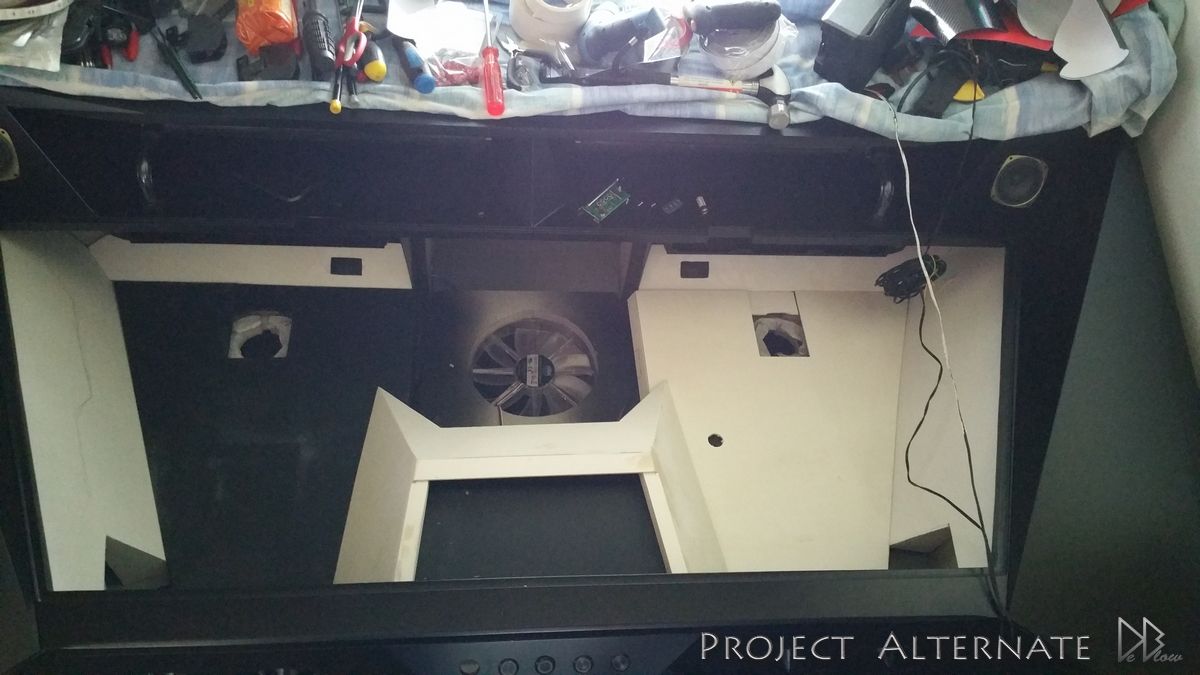
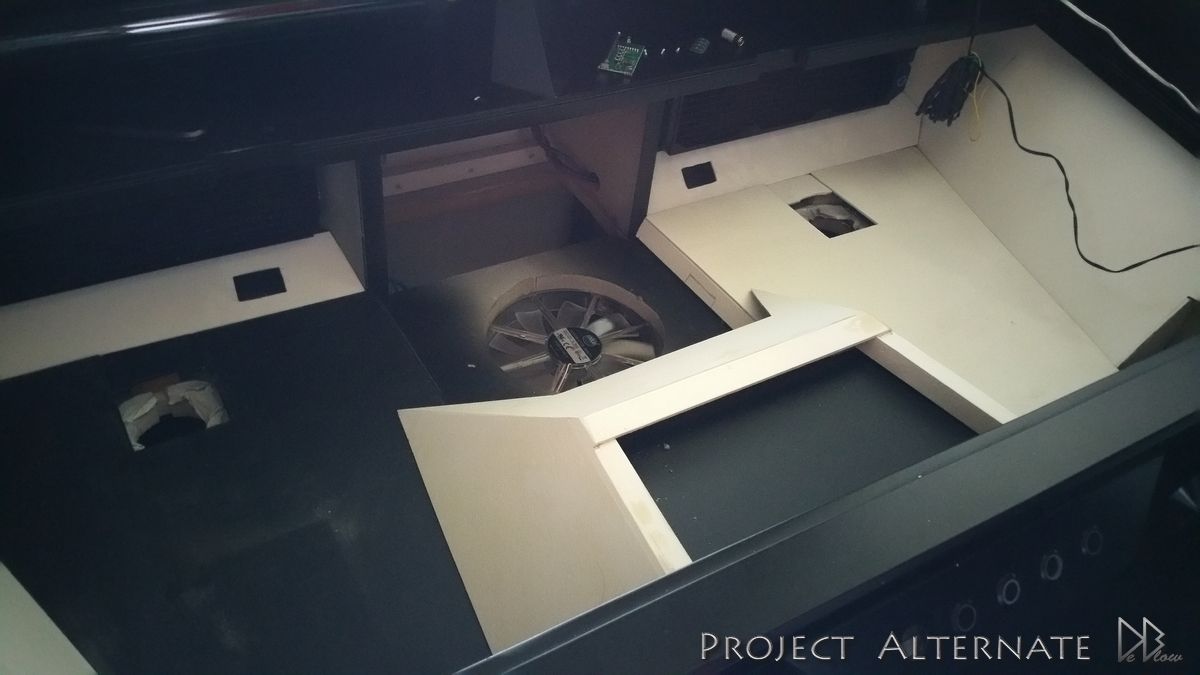
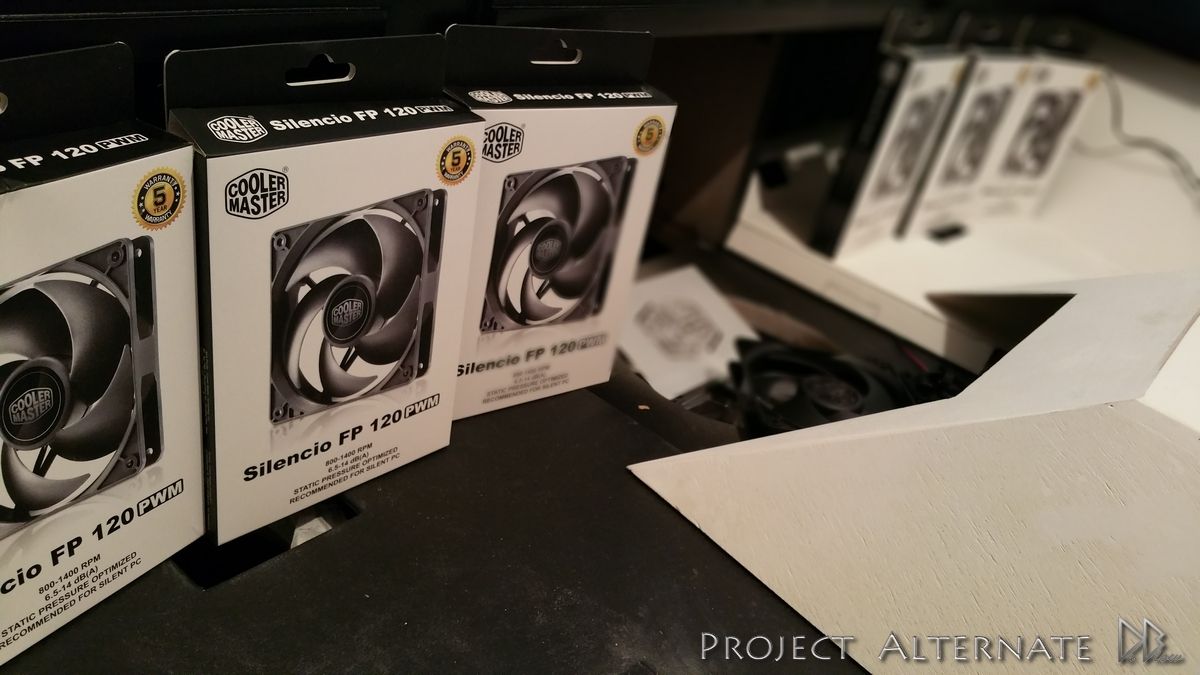
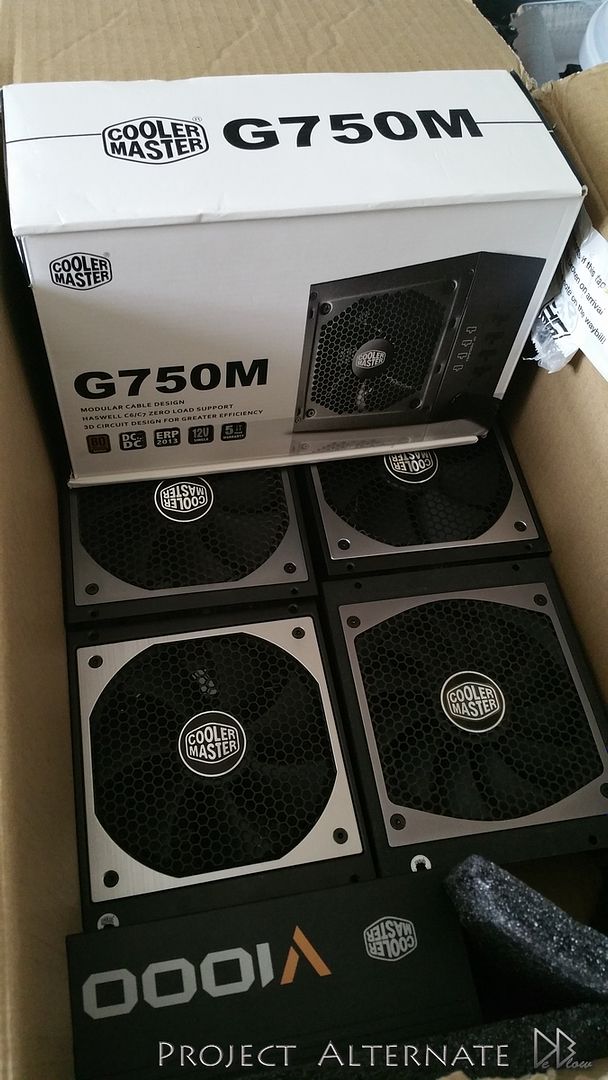
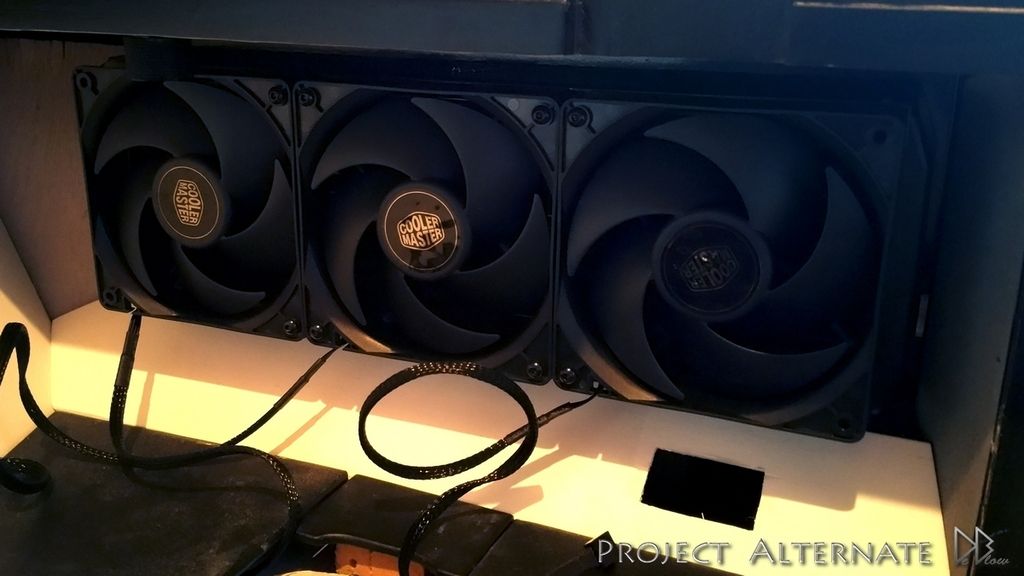
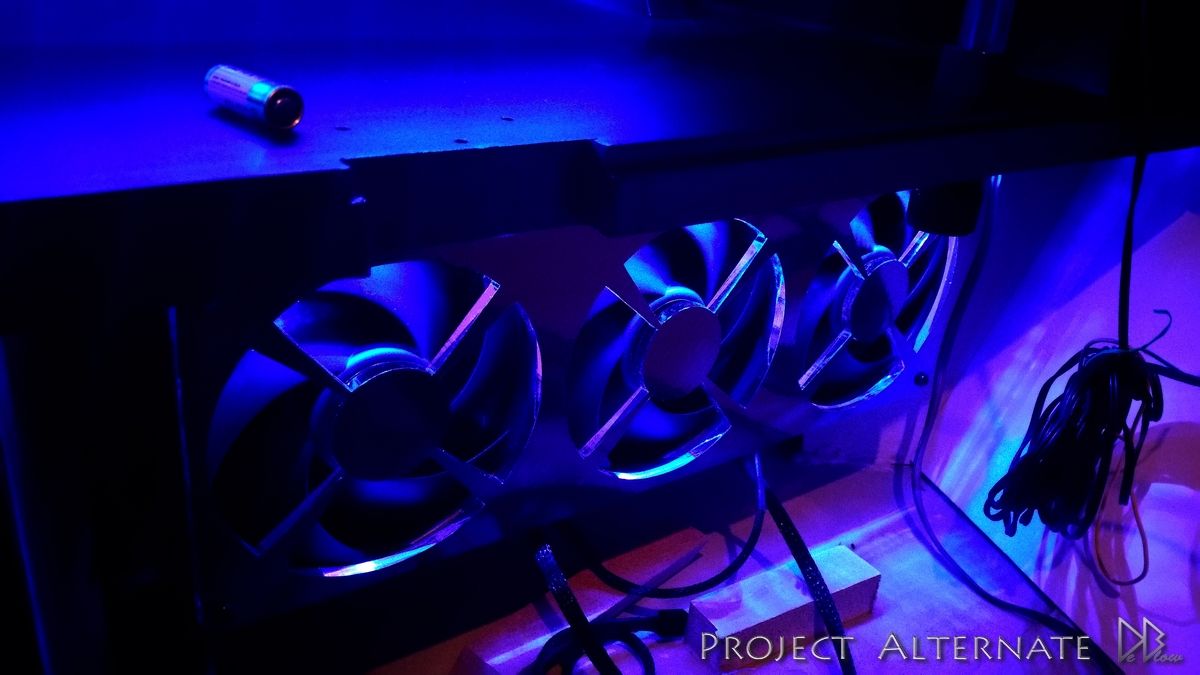
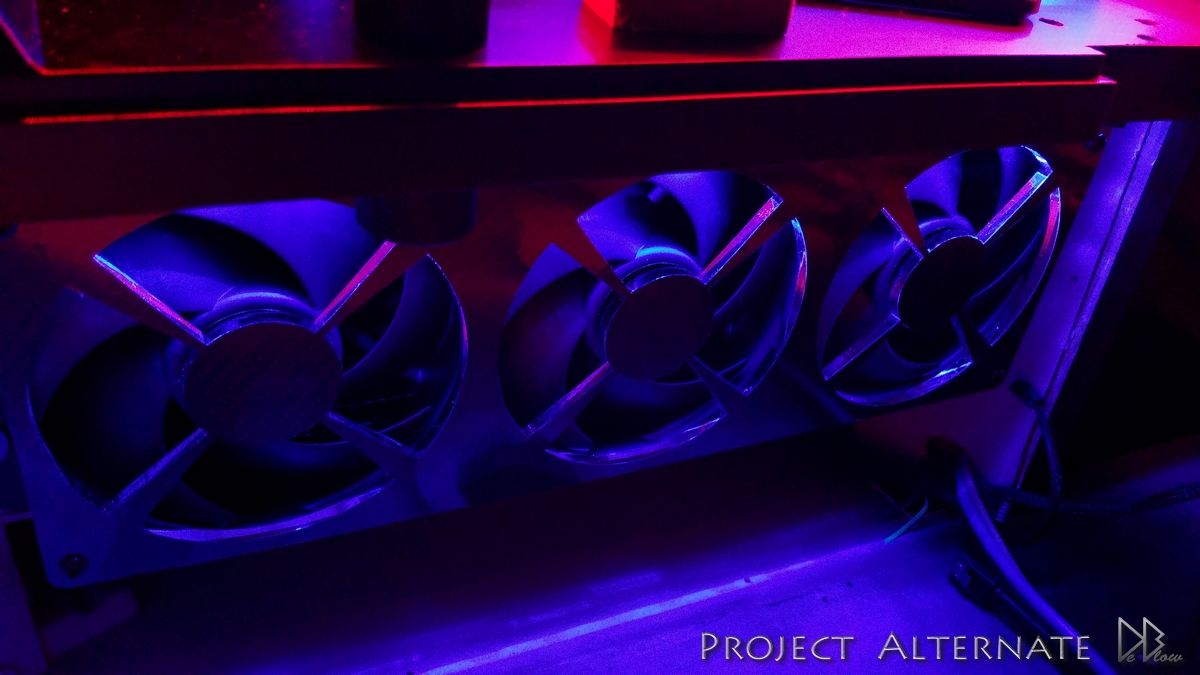
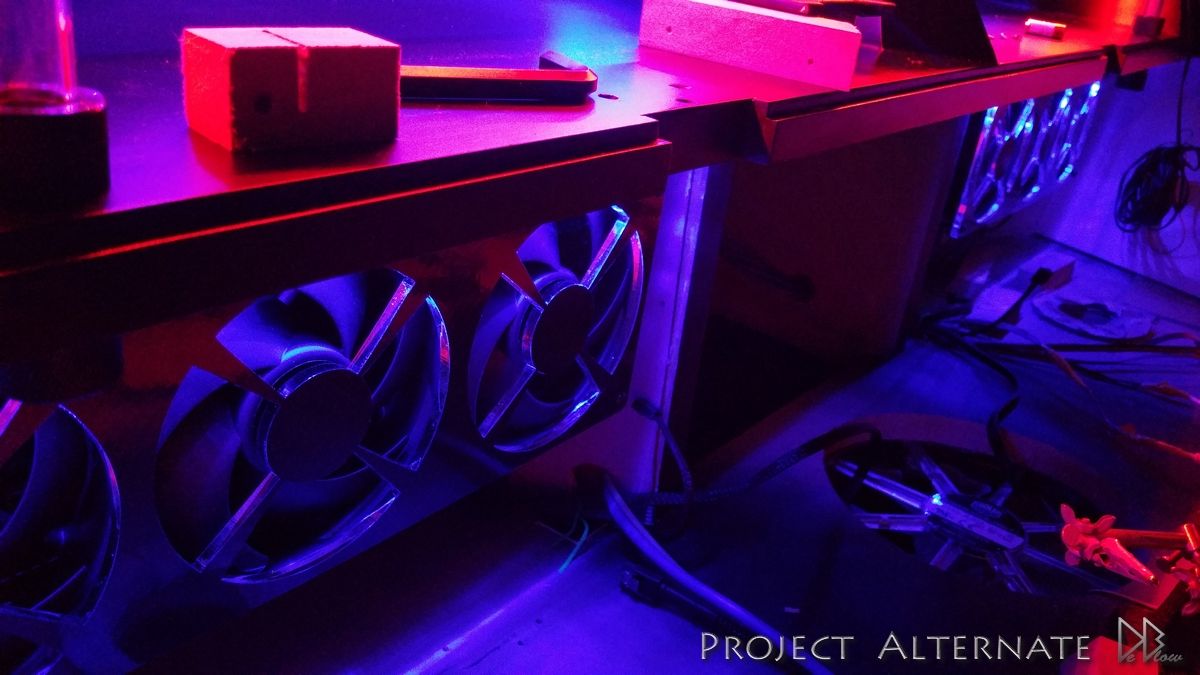
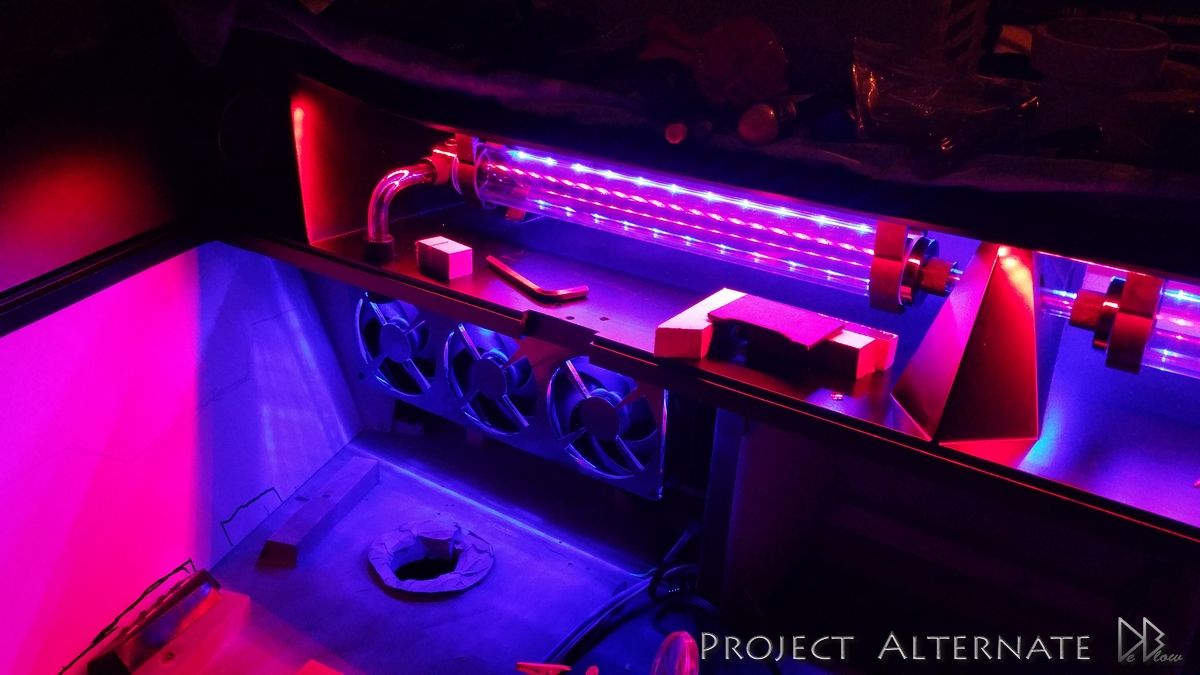
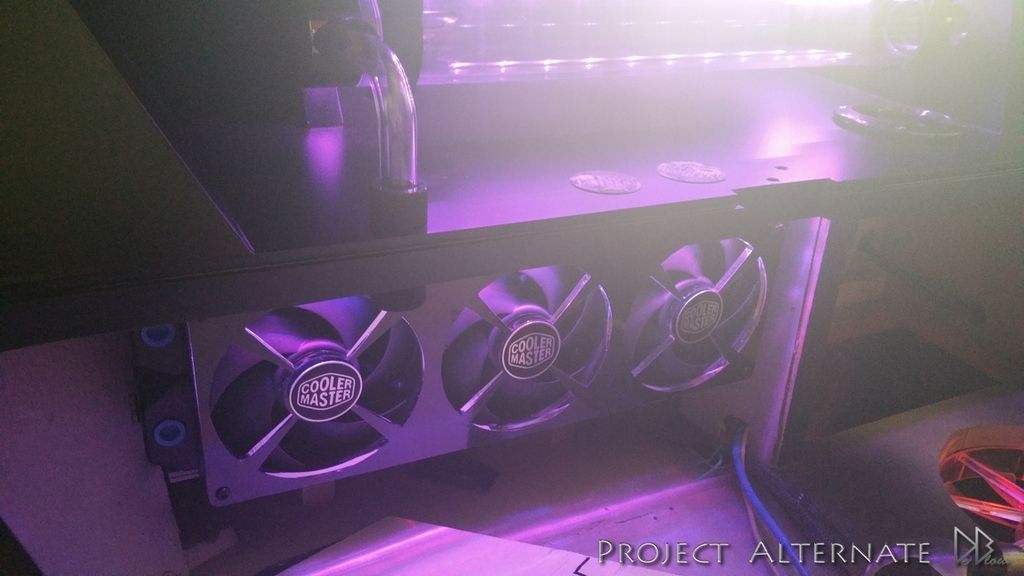
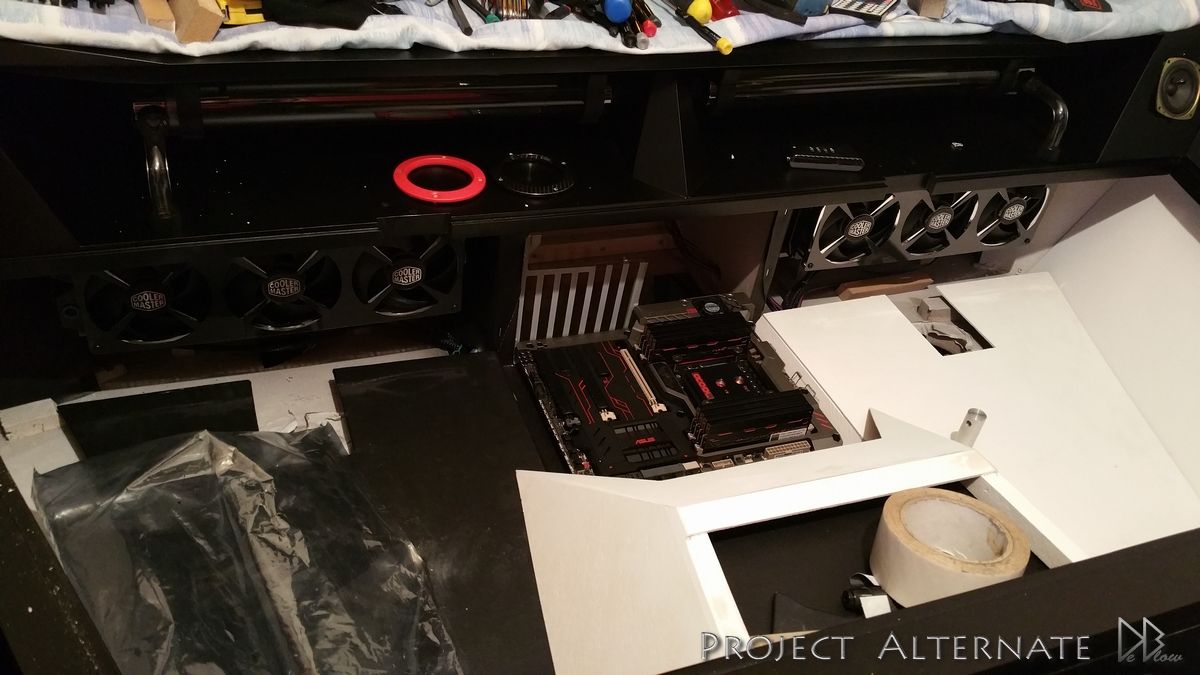
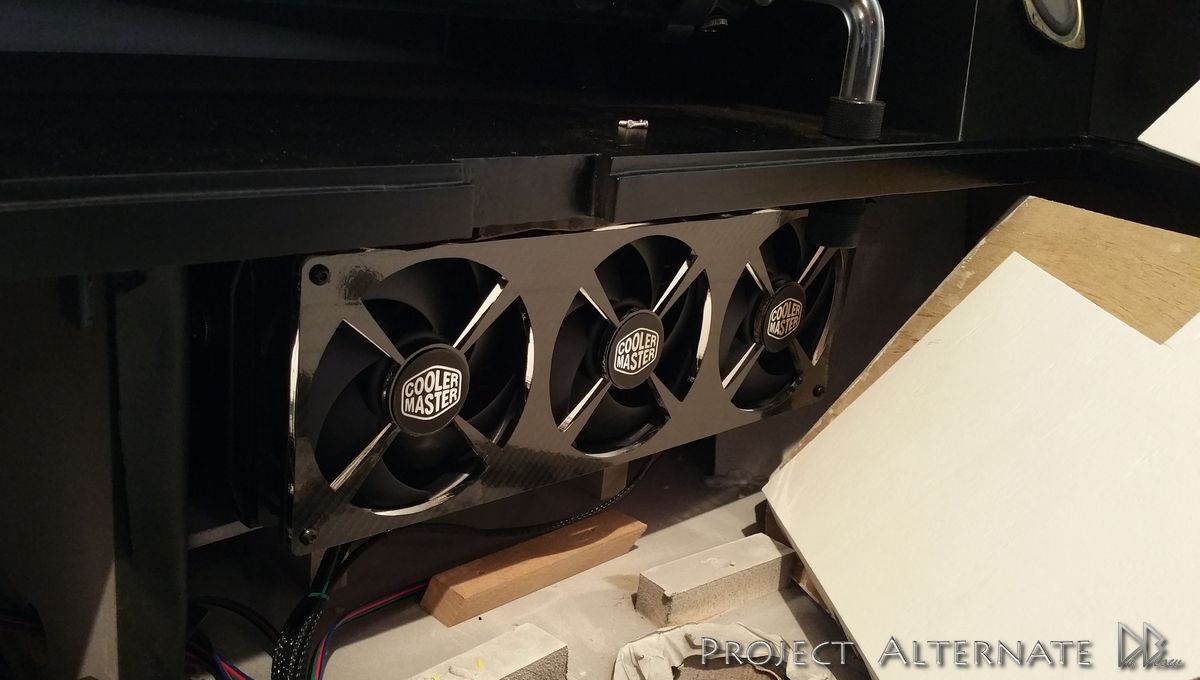
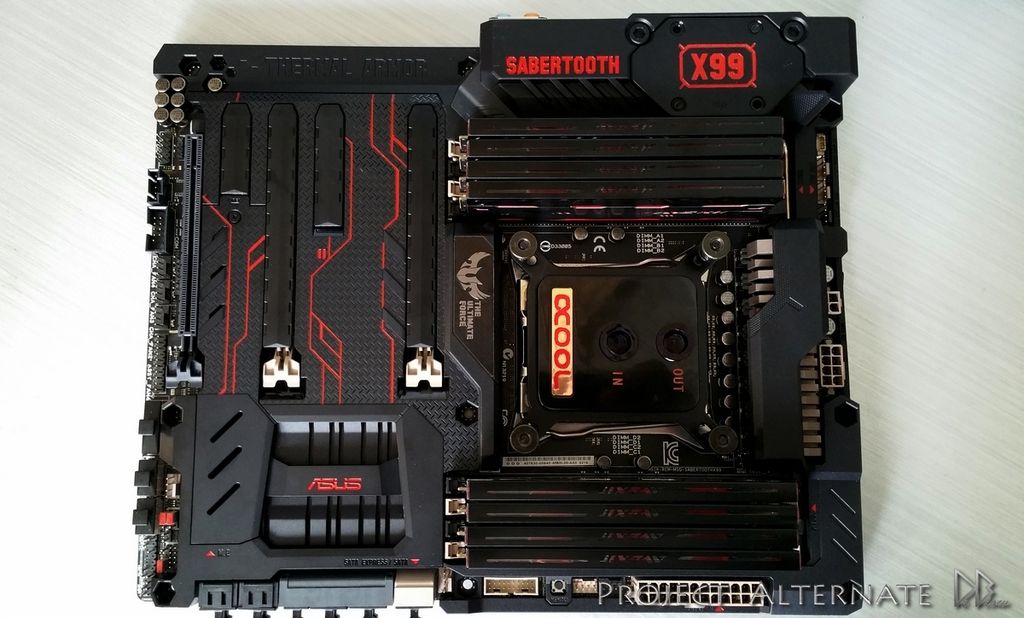
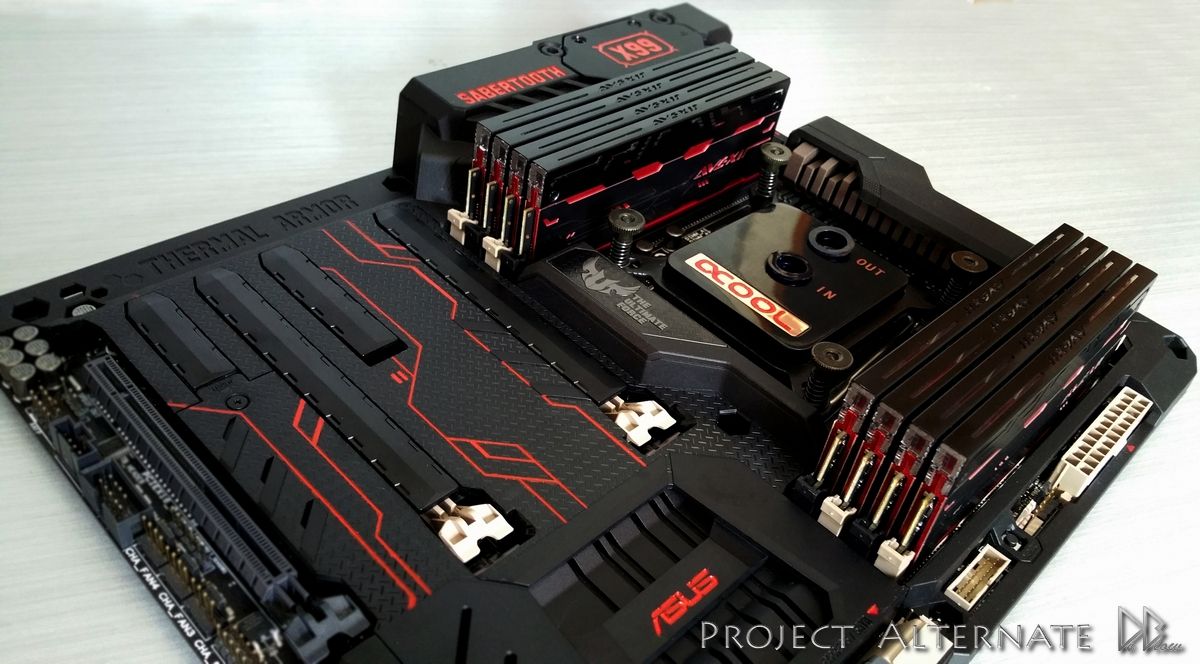
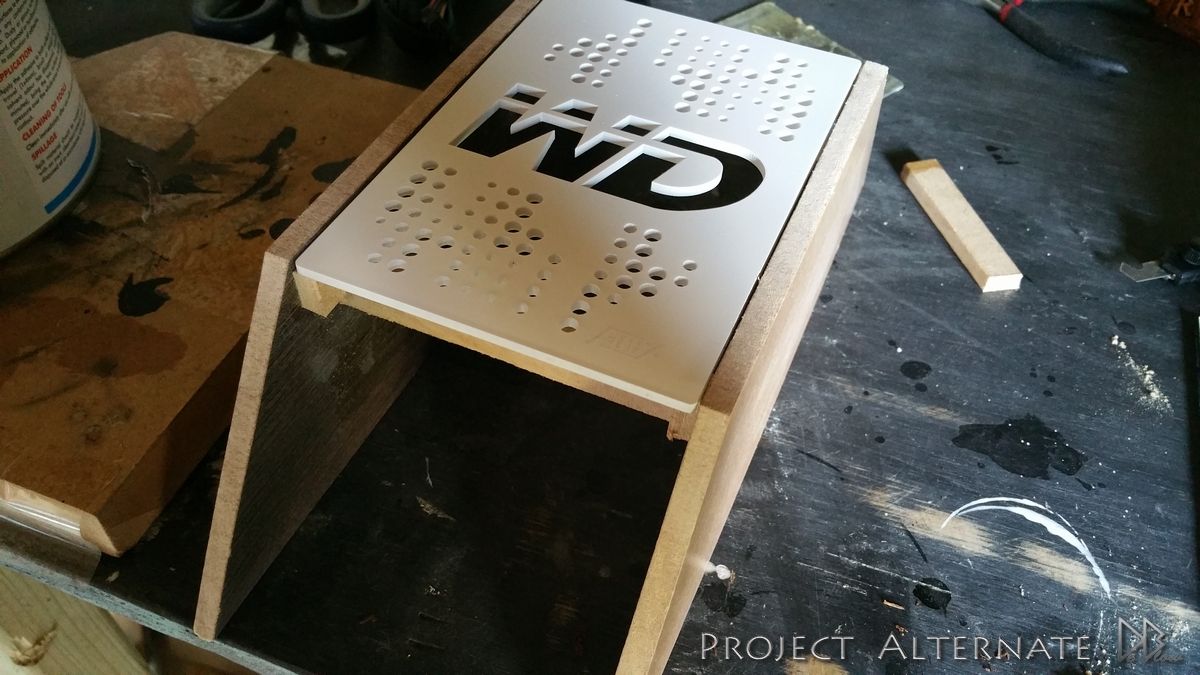
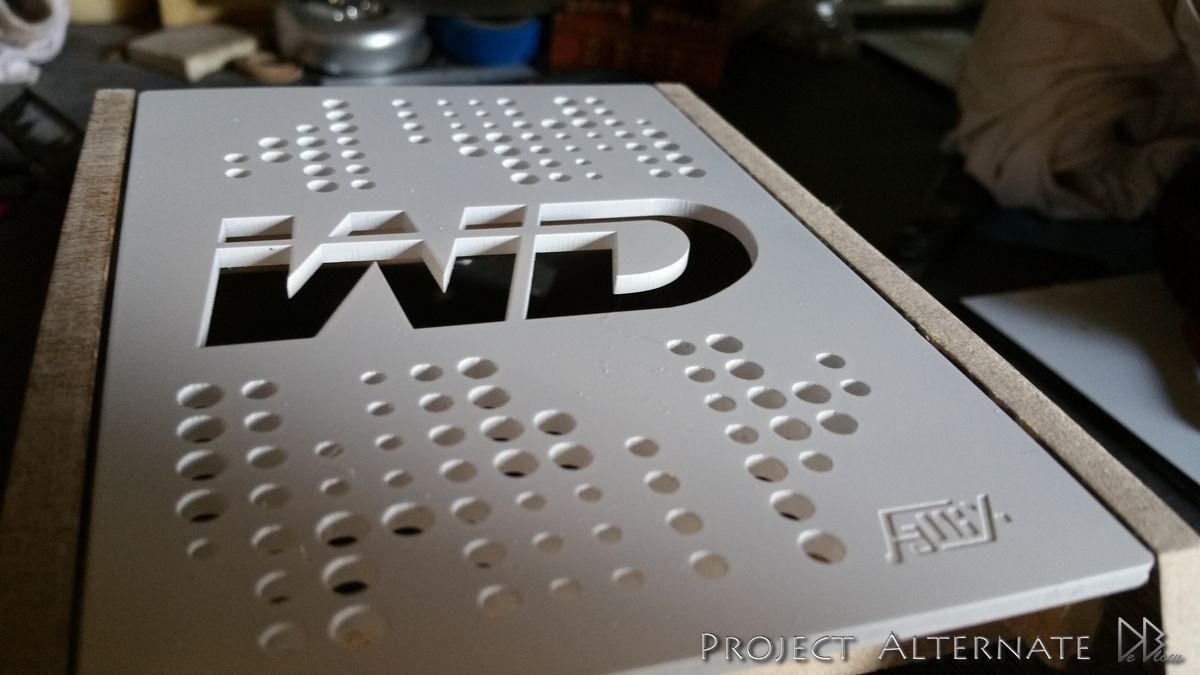
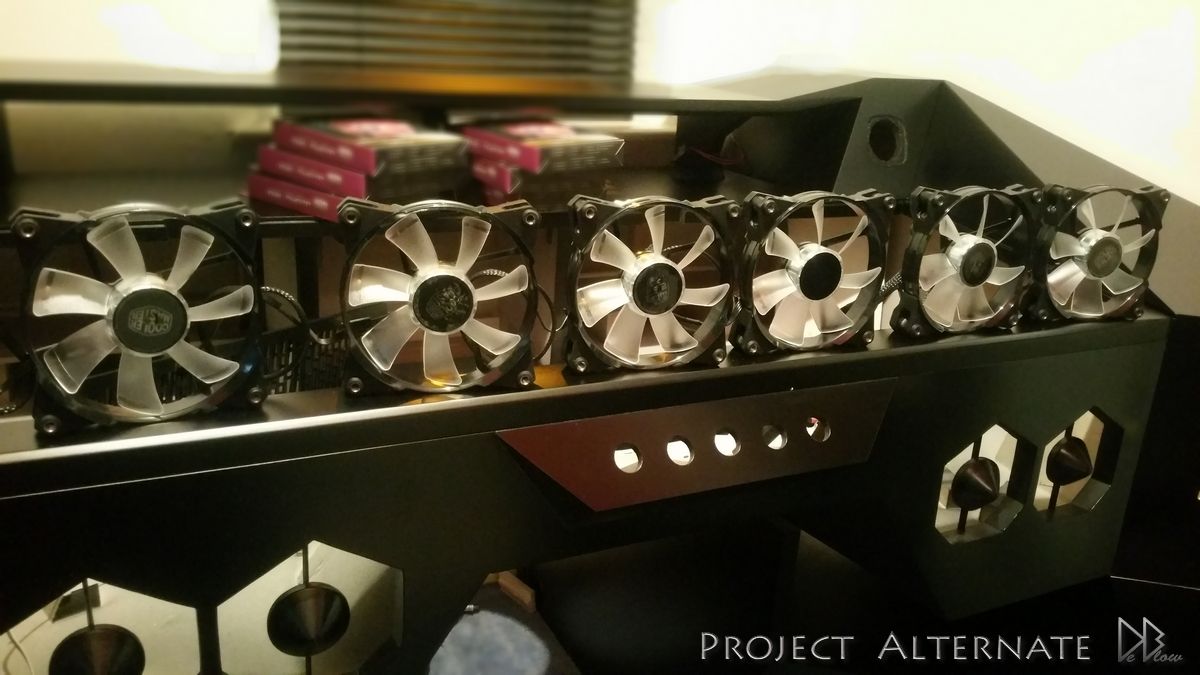
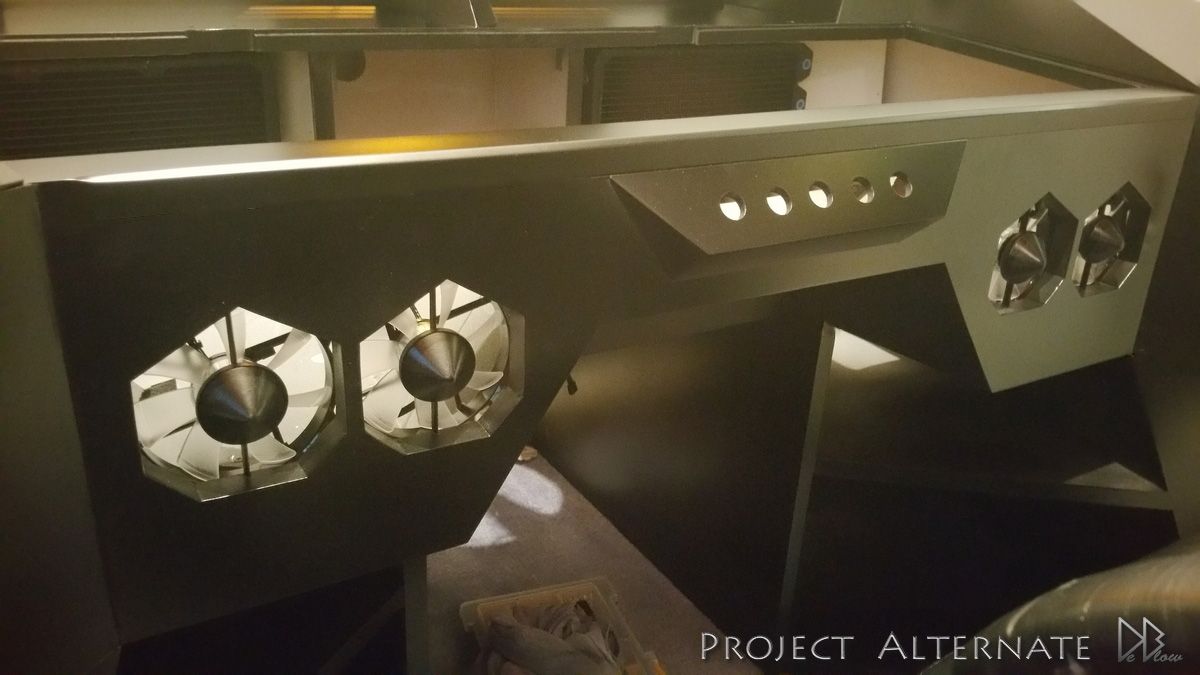
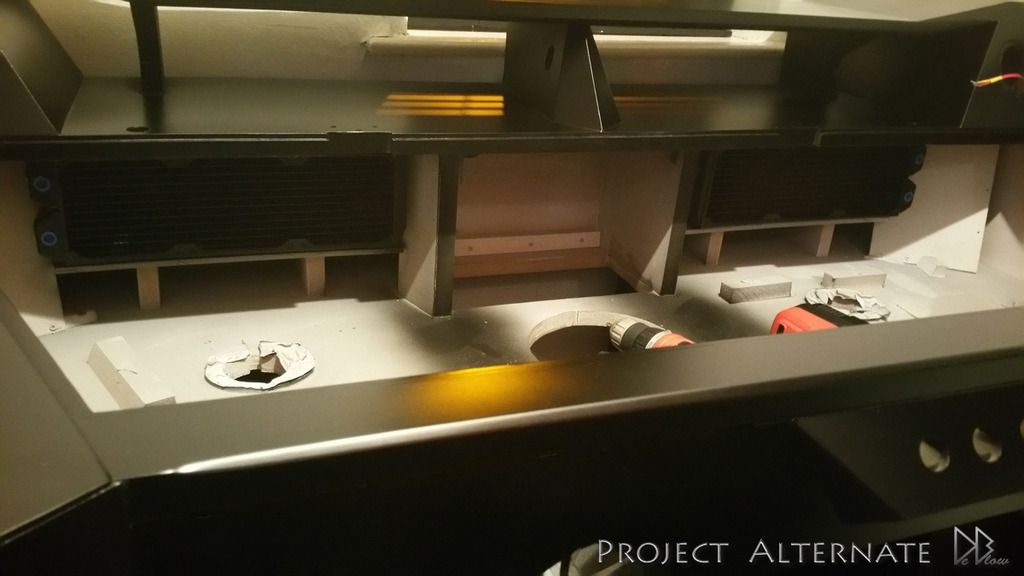
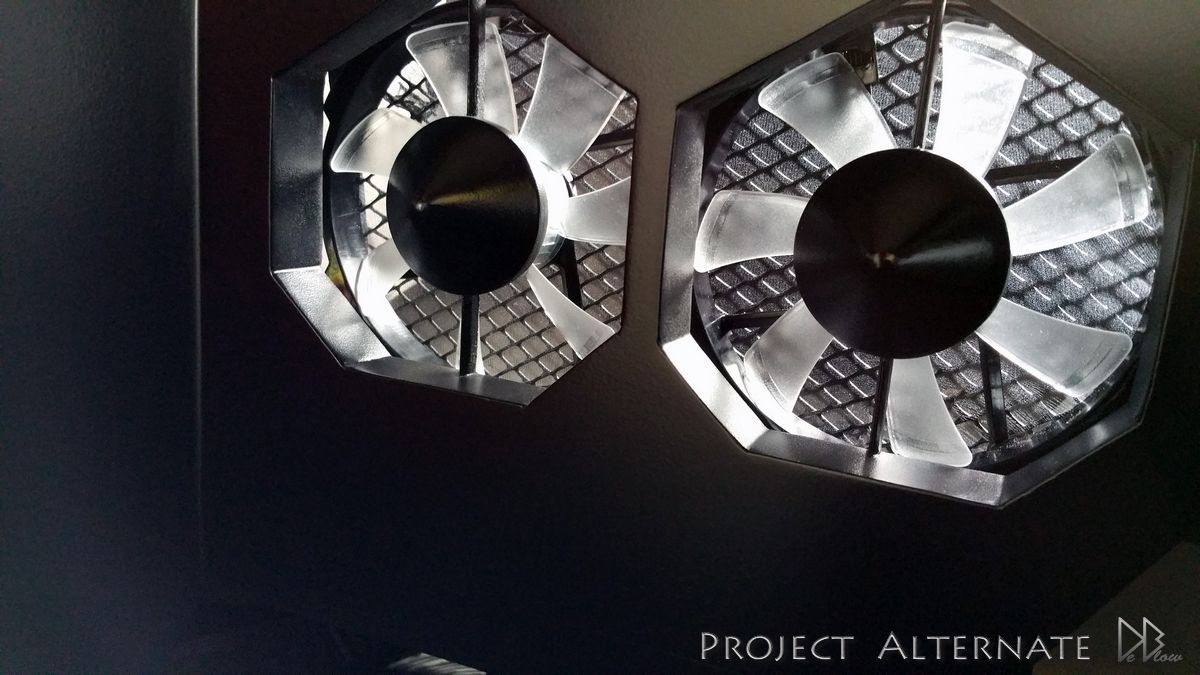
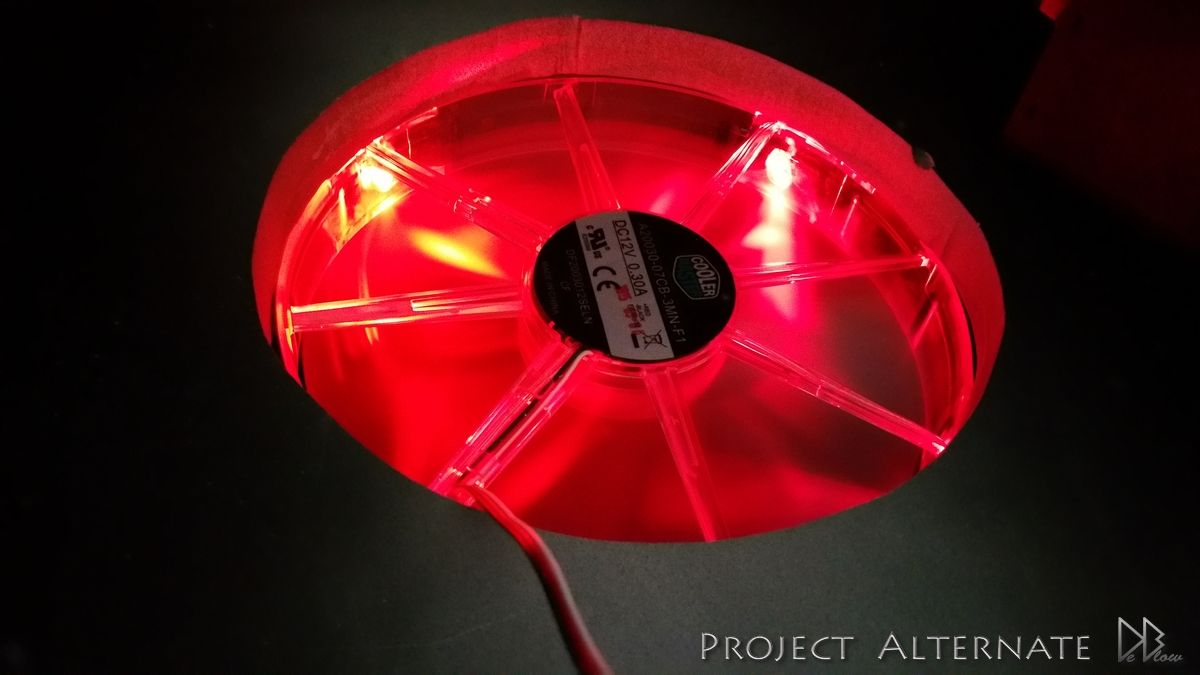
1st things on the list to do was adding the fans, RADs, RES & some wiring
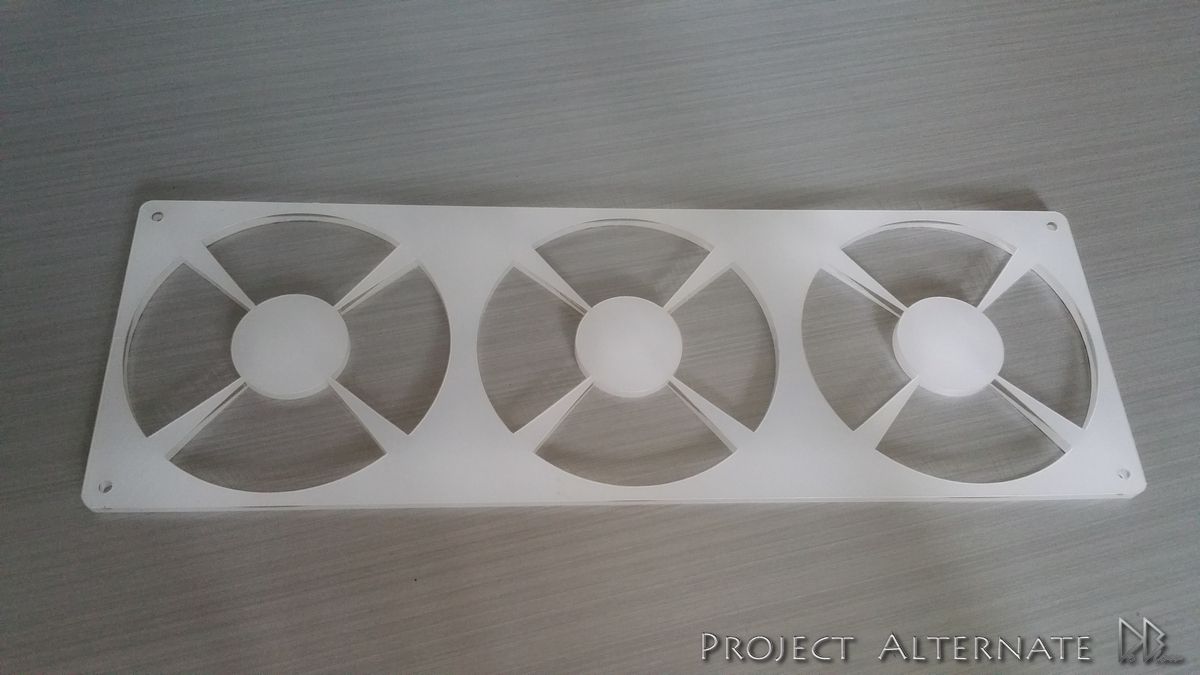
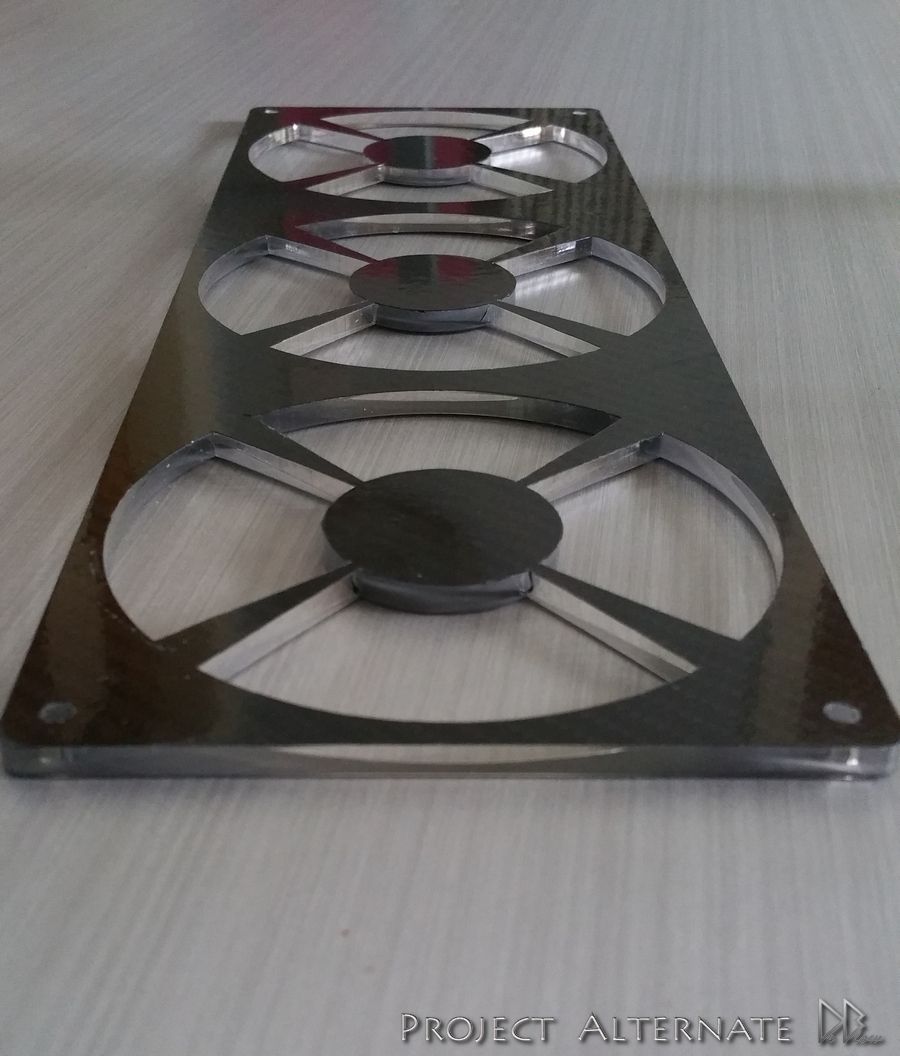
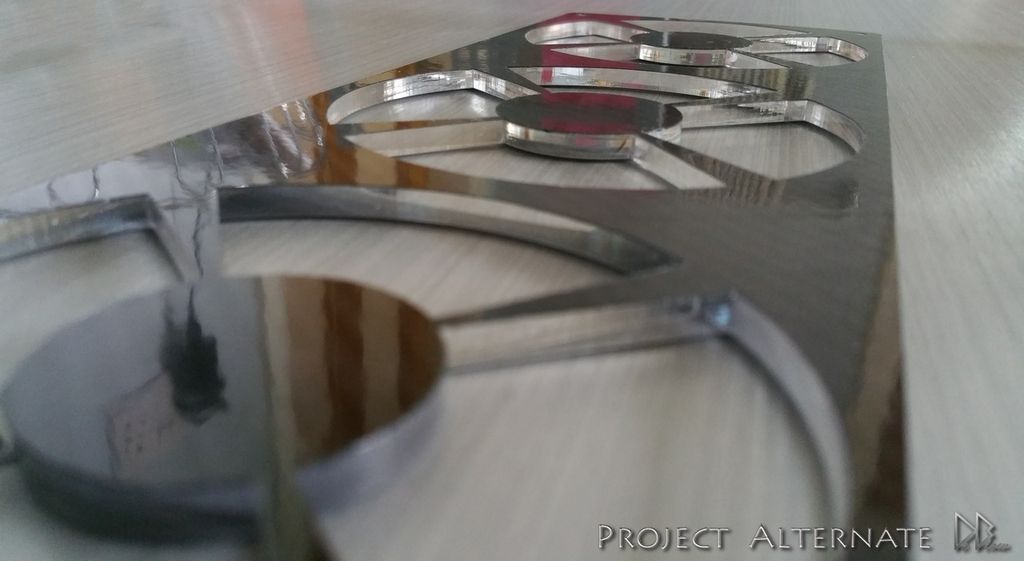
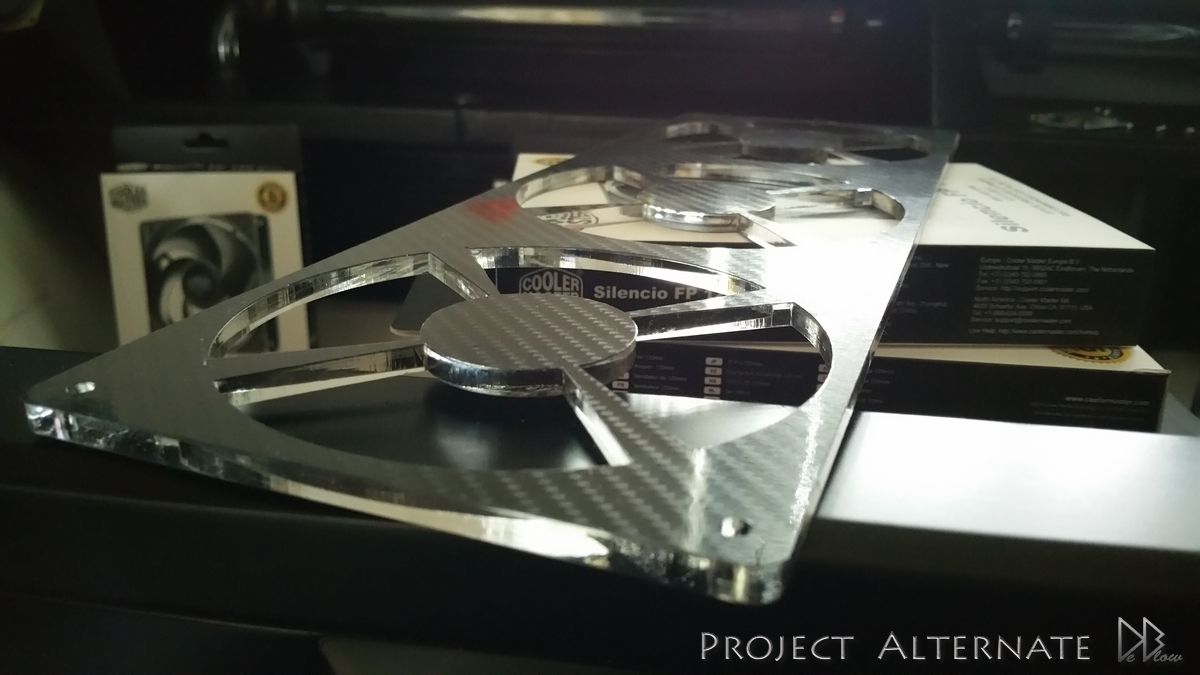
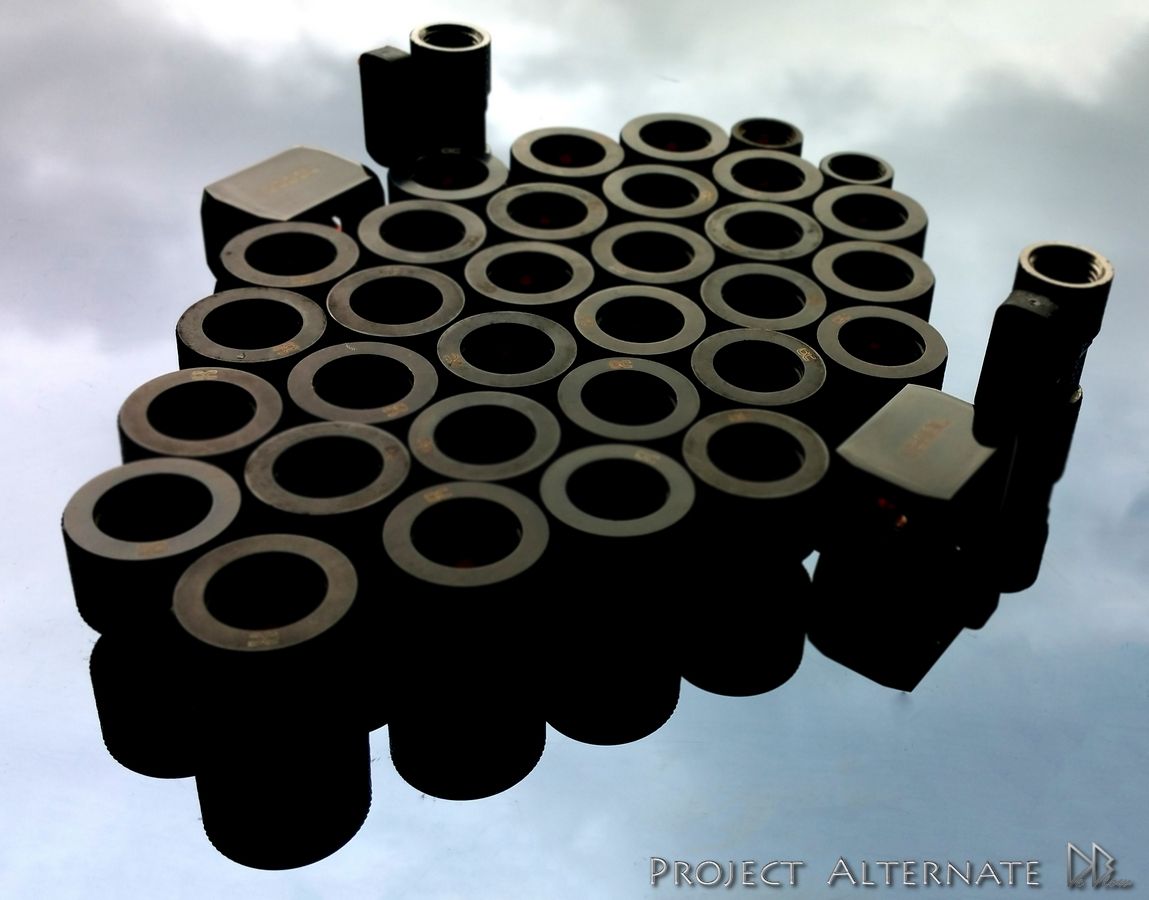
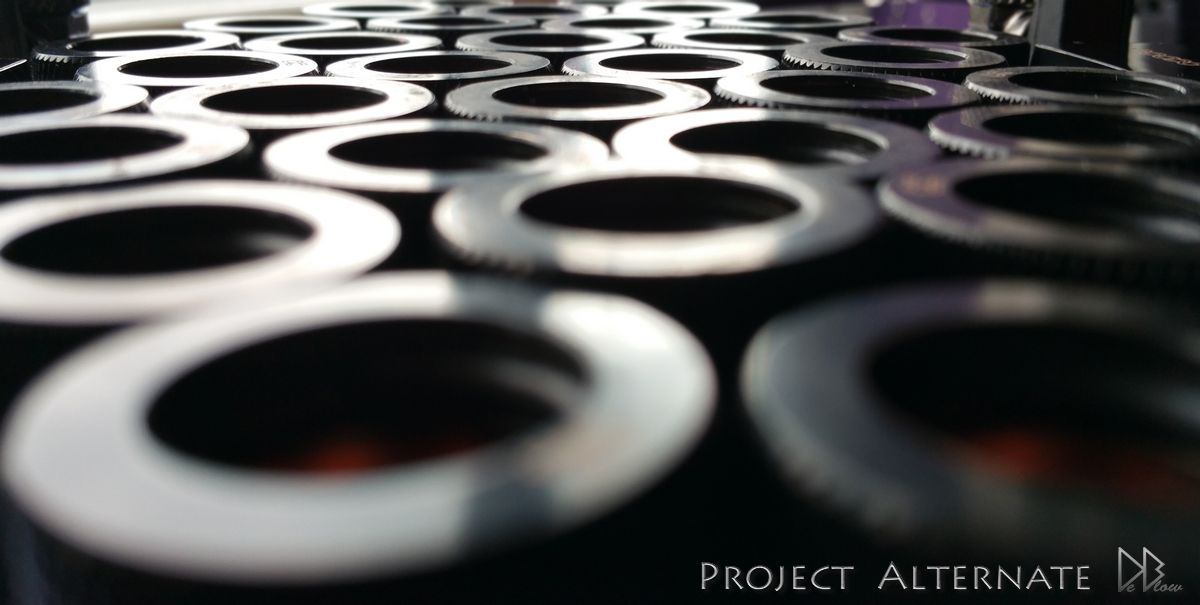
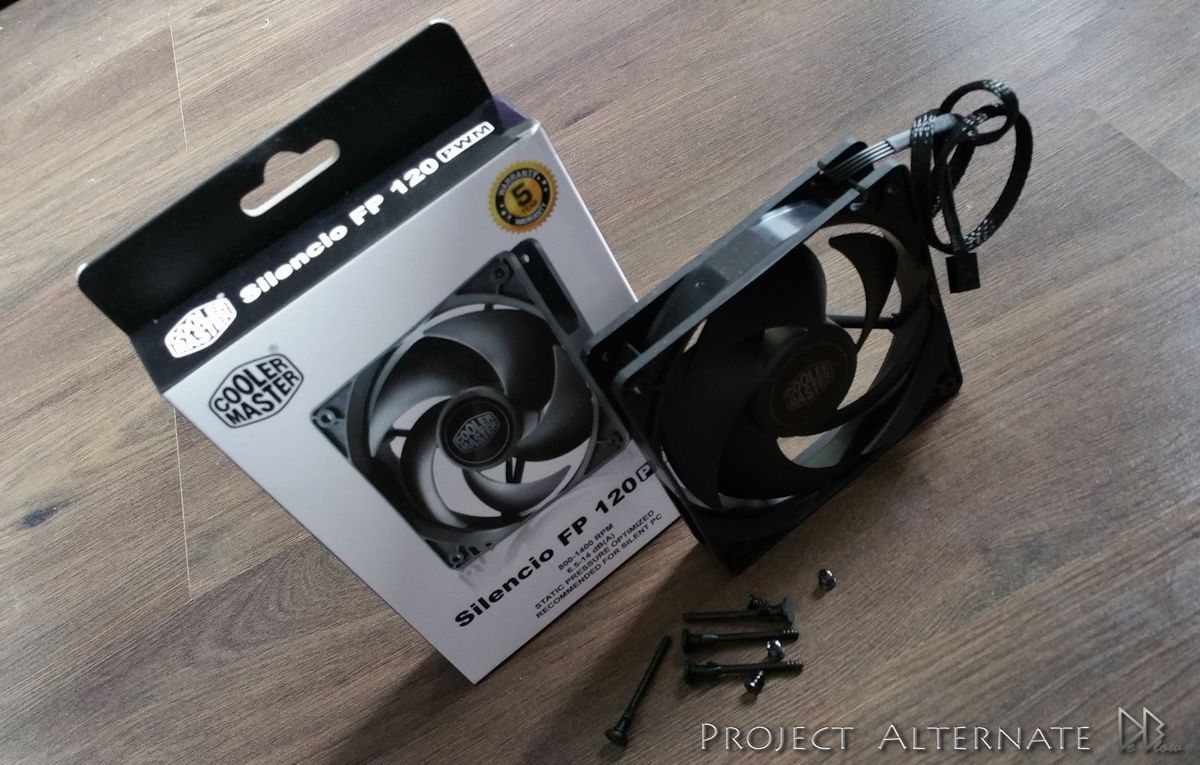
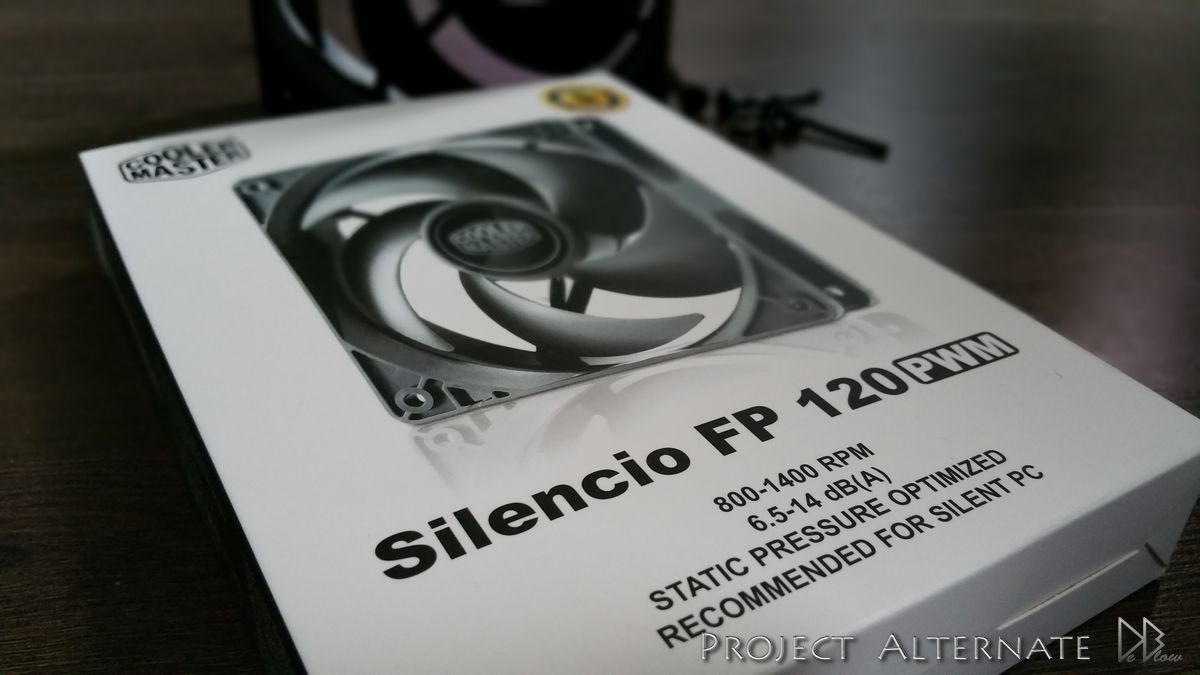
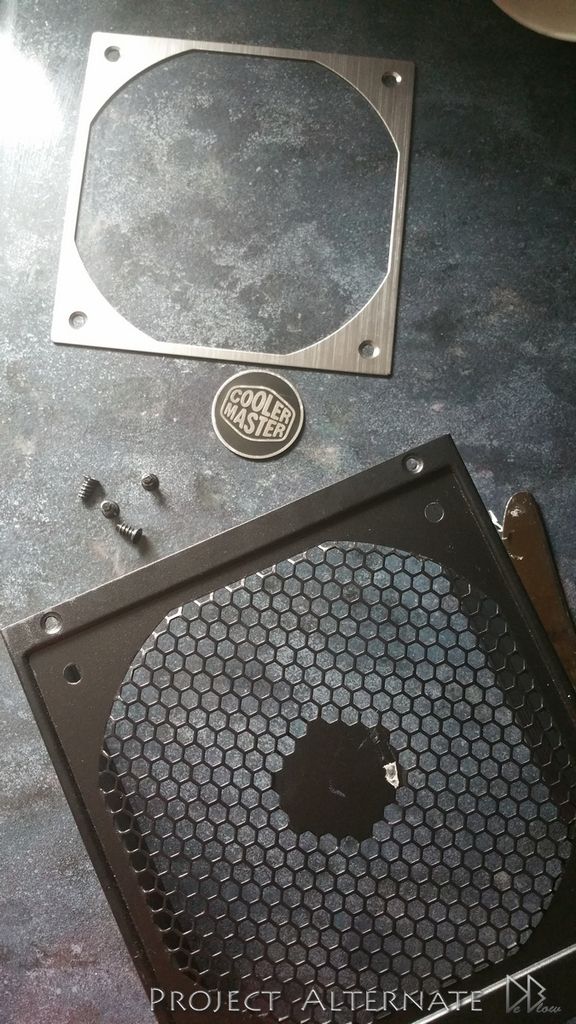
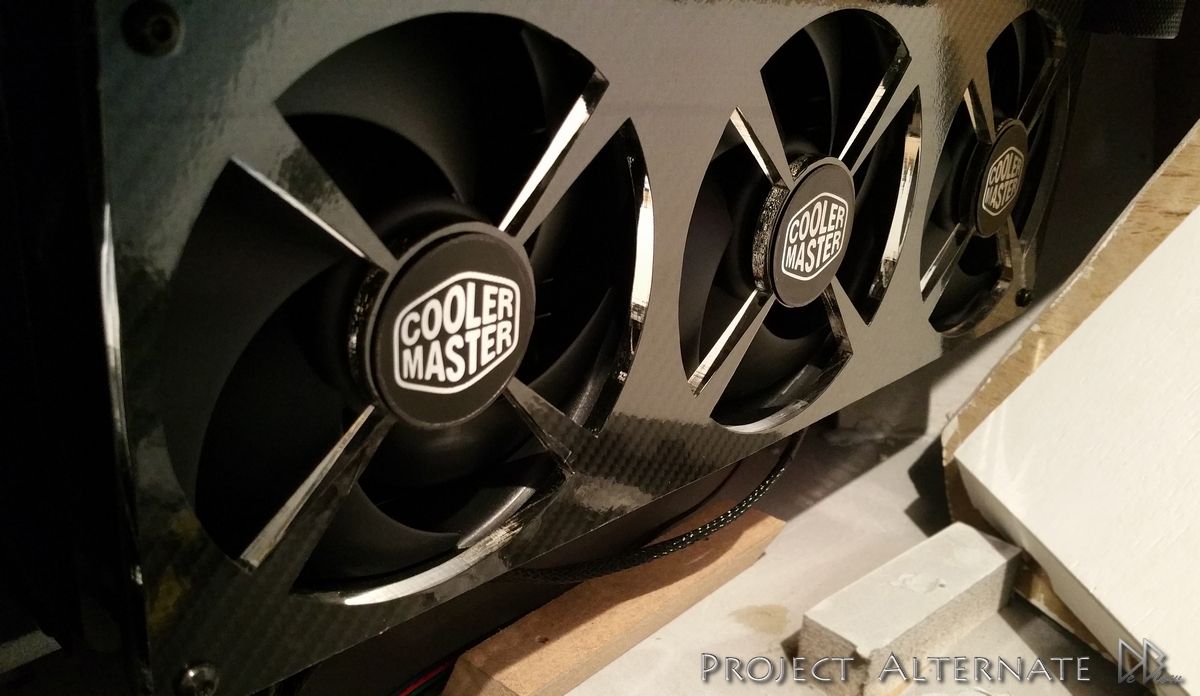
Jet Flow 120s

20150613_232240_zps0h0kn8d0.jpg

20150613_235127_zpsa3lxmoyn.jpg

20150614_013454_zpsnmq1jvju.jpg

20150614_013501_zpssq8isbic.jpg


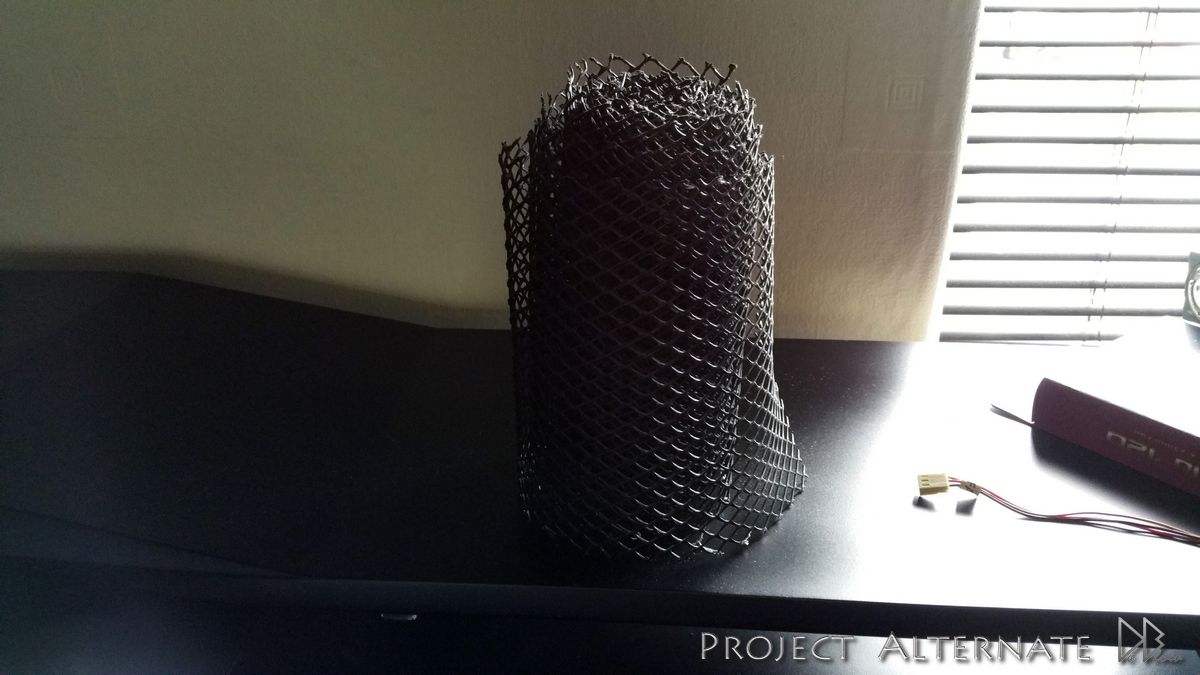
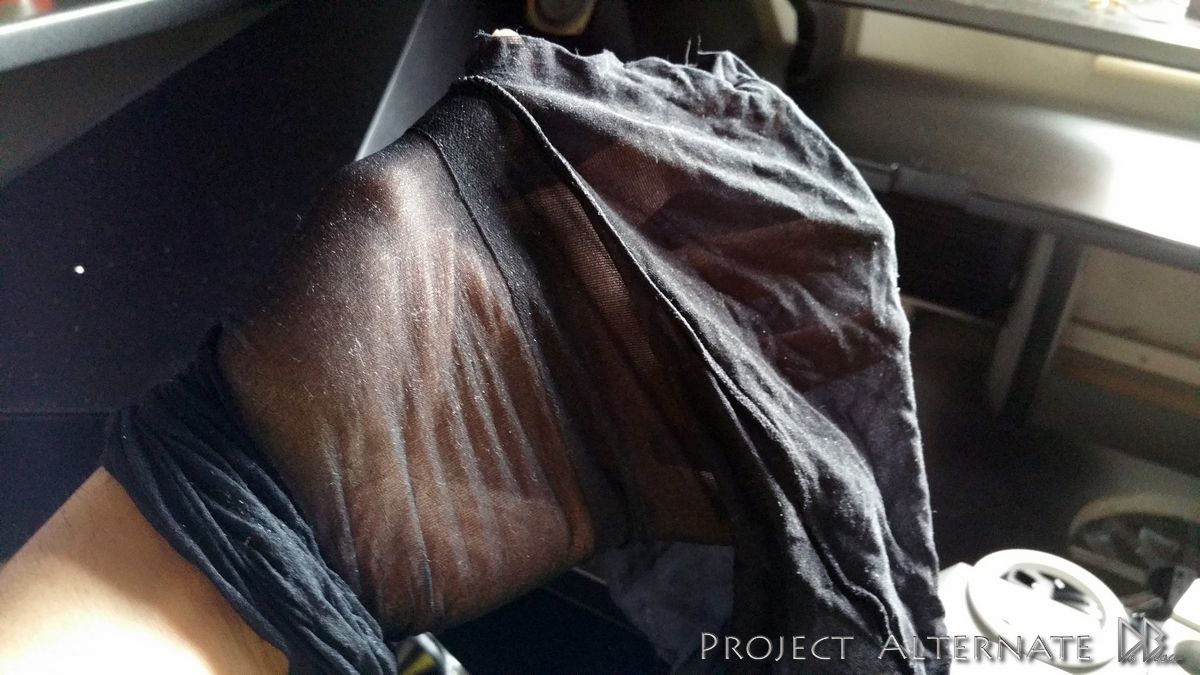
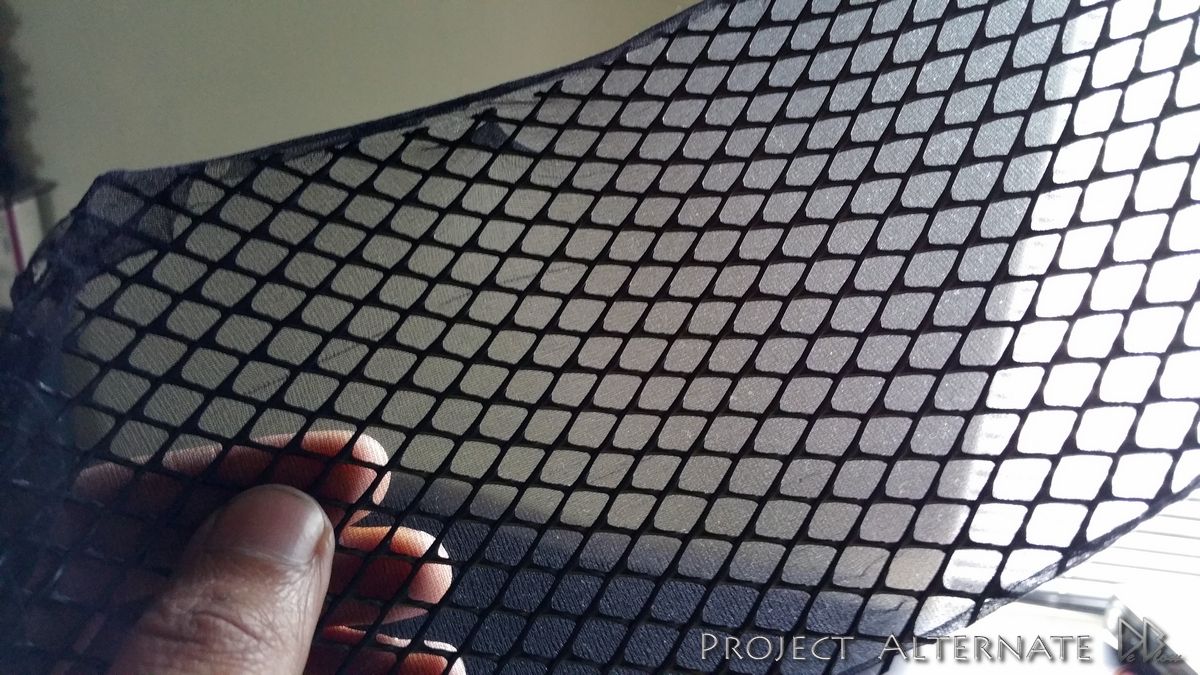
used some mesh & tights as the filters again, this method work so well for me over the last 5 years I cant see me changing anytime soon,
& its a good reason to have some ladys stockings in my room ;)

20150615_144655_zpsn1gukaoz.jpg

20150615_145013_zpsewrixayz.jpg

20150615_145502_zpstt5hja6g.jpg

20150615_151147_zpsdegdolee.jpg


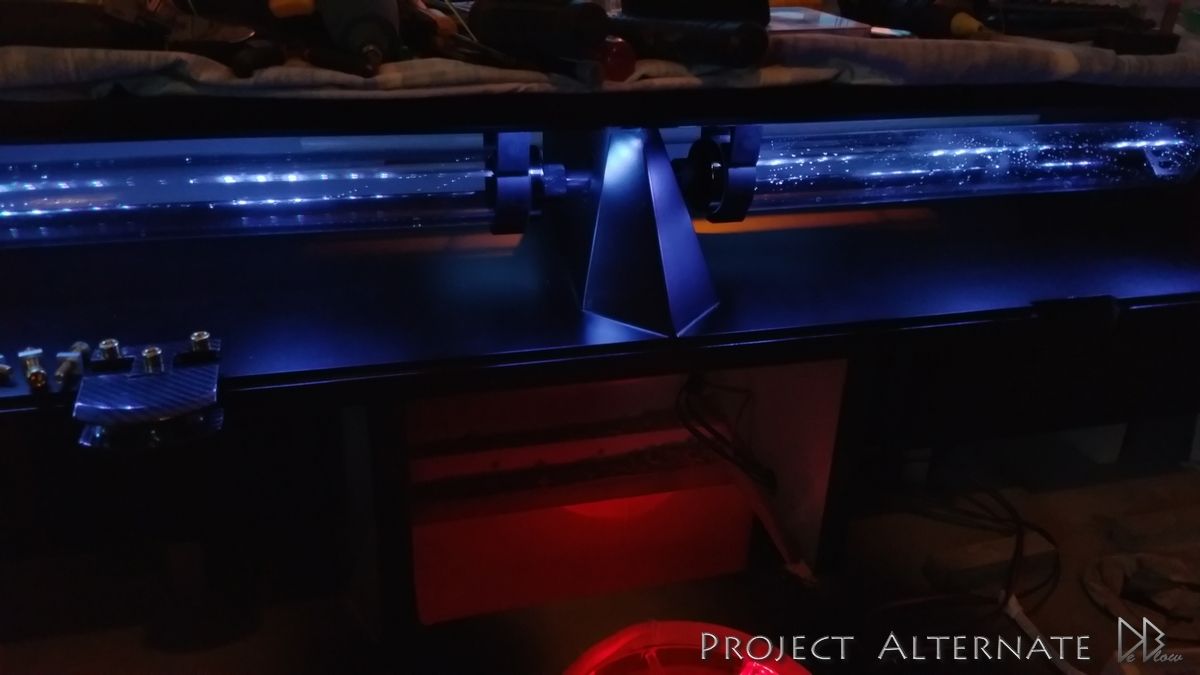
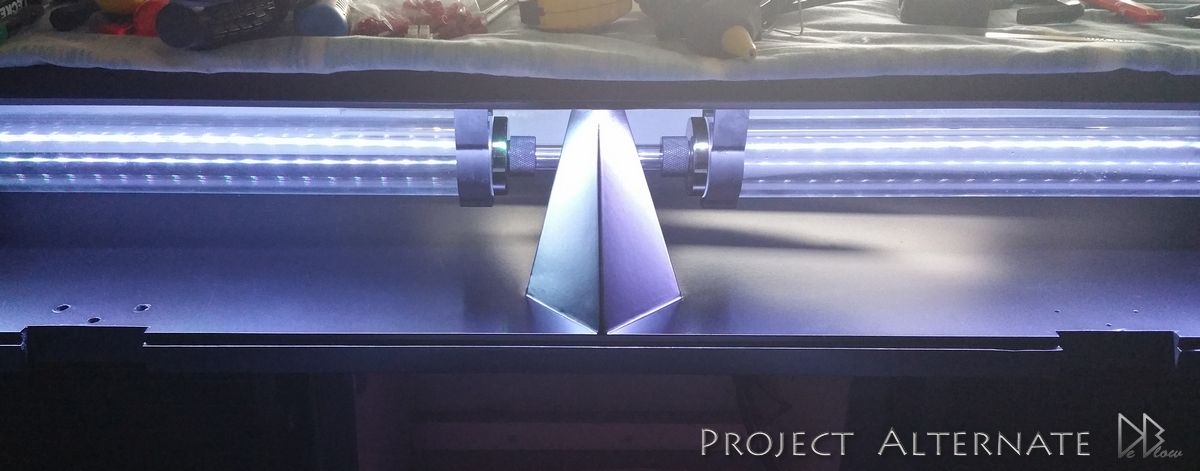
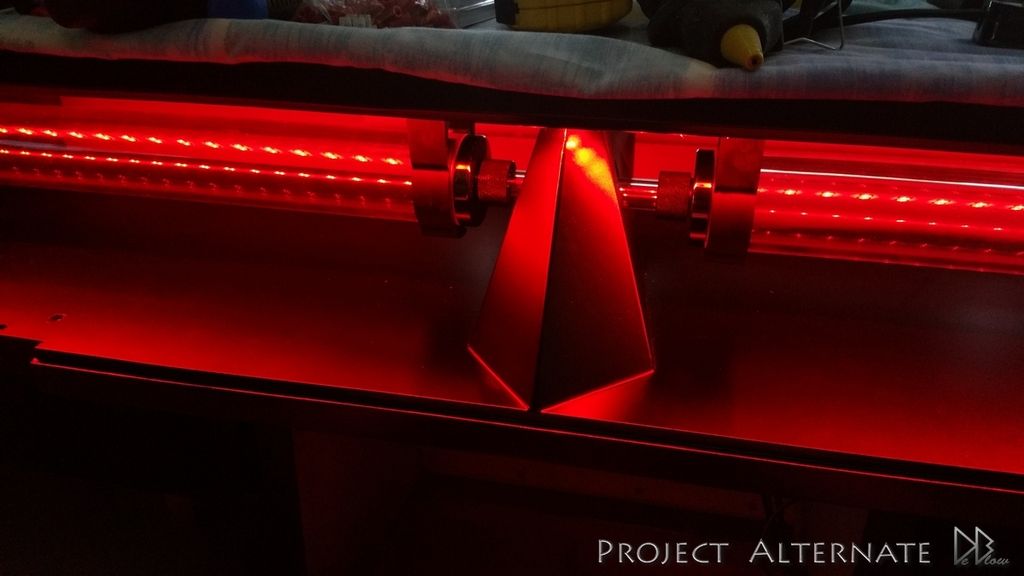
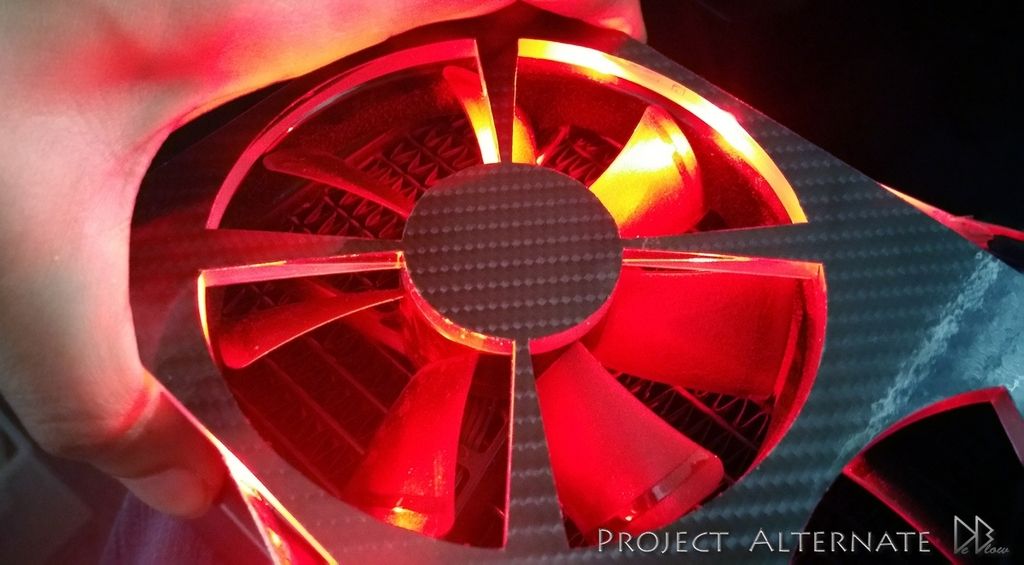
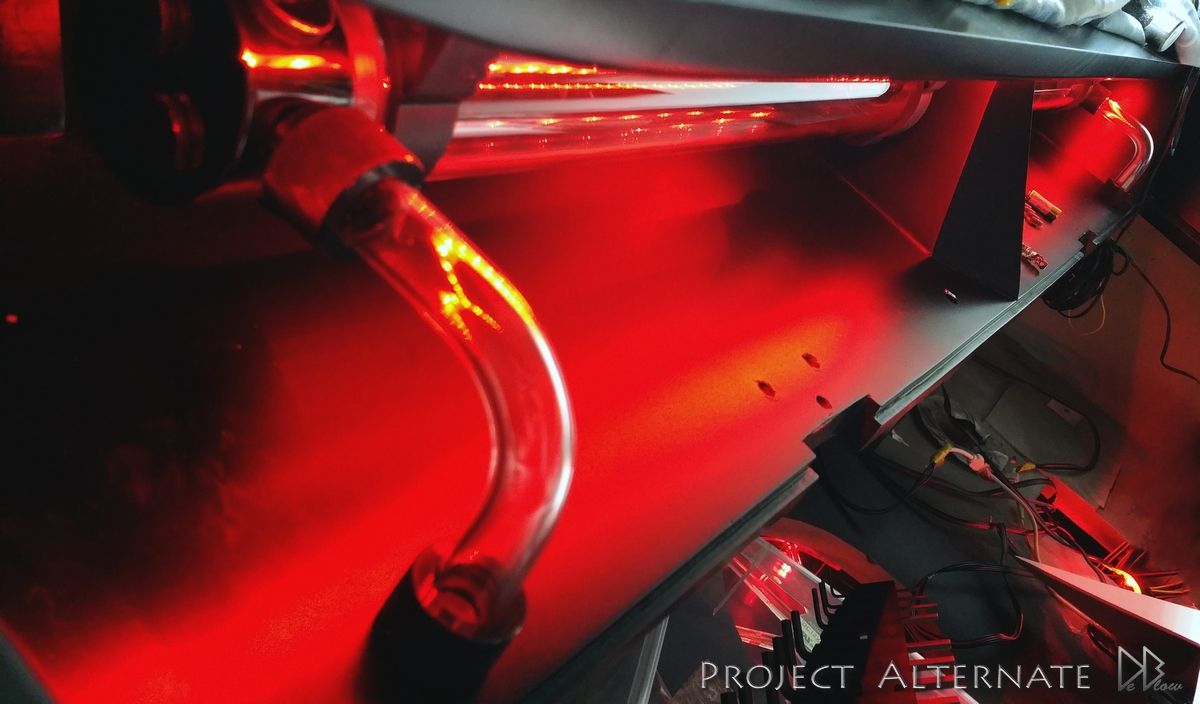
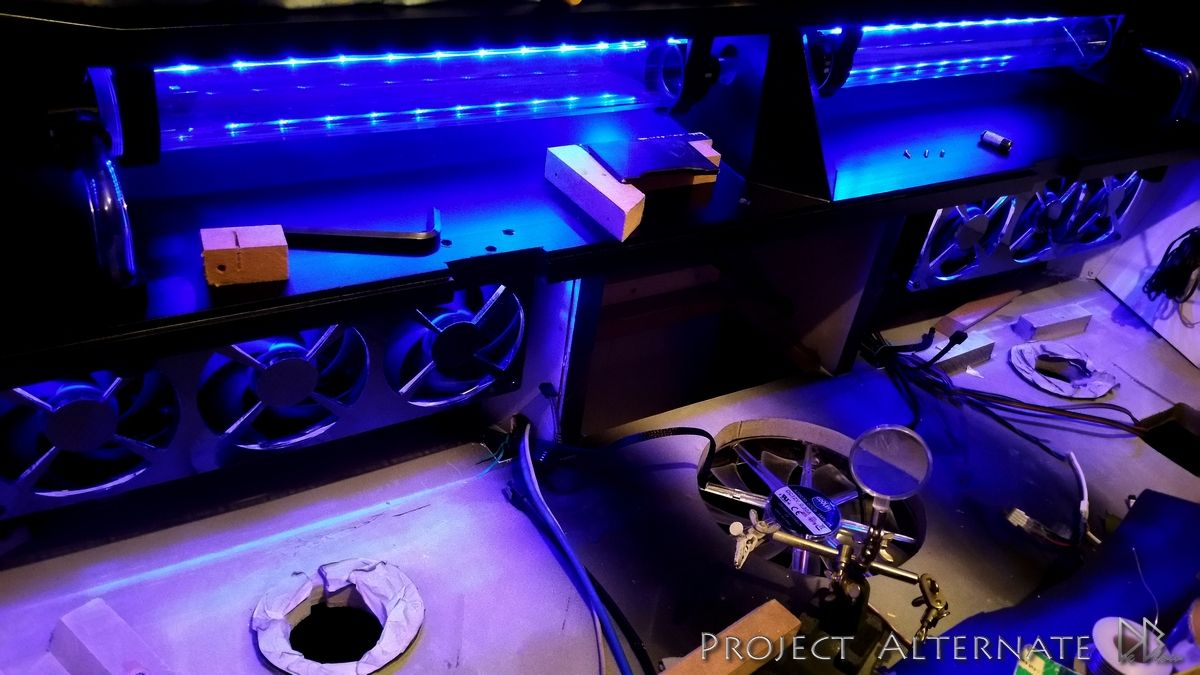
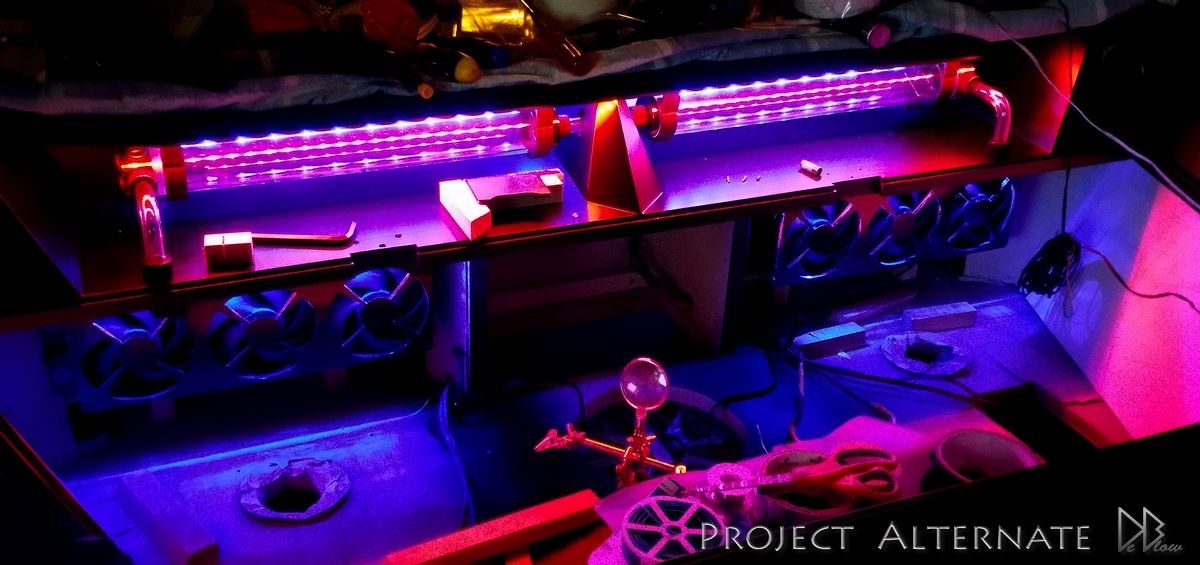
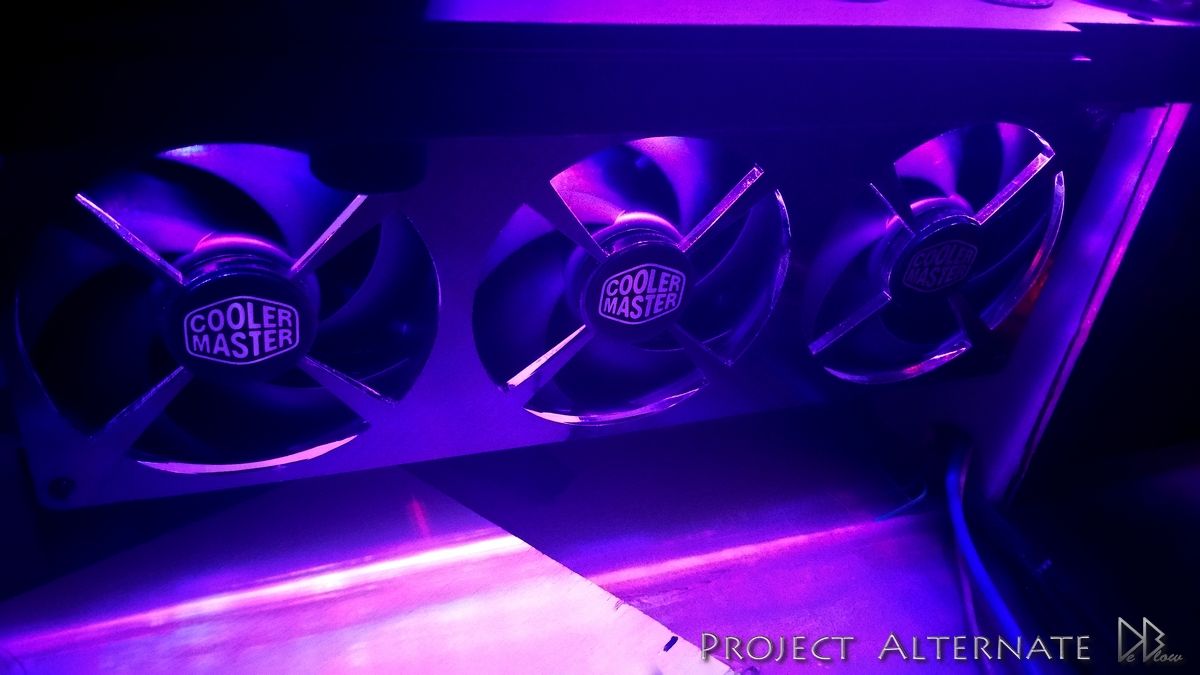
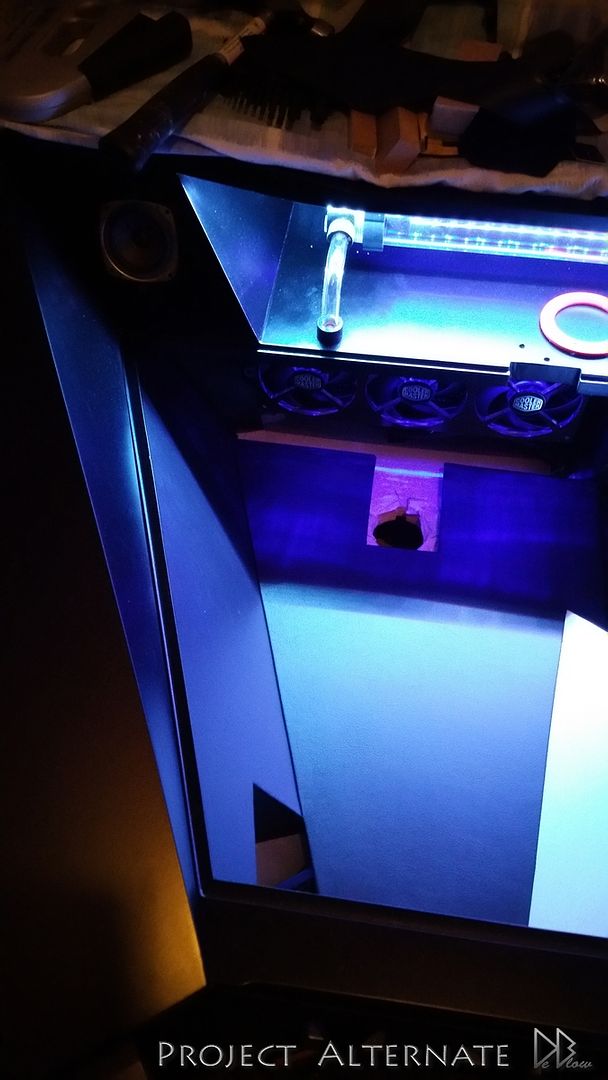
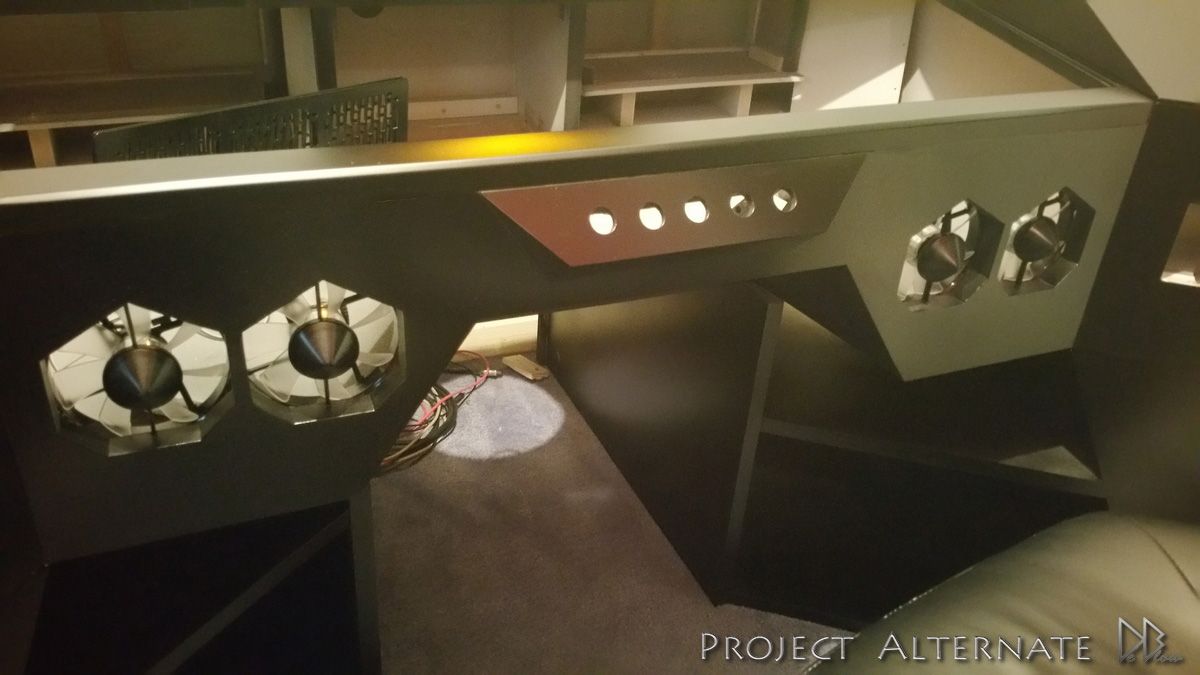
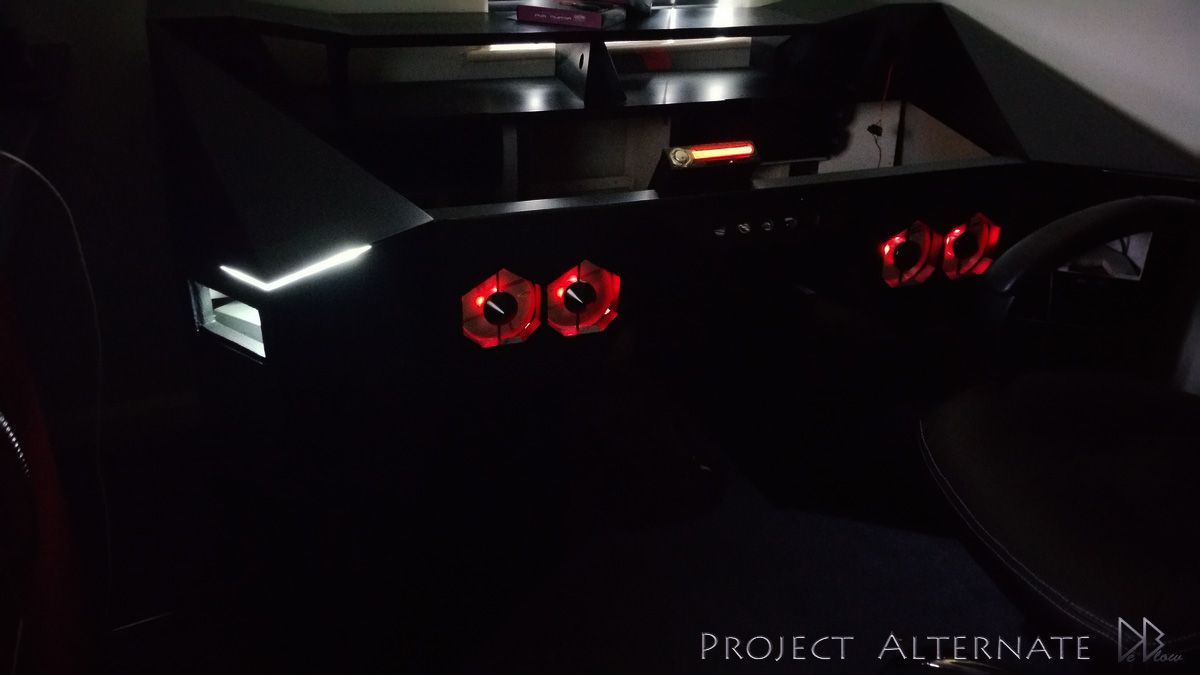
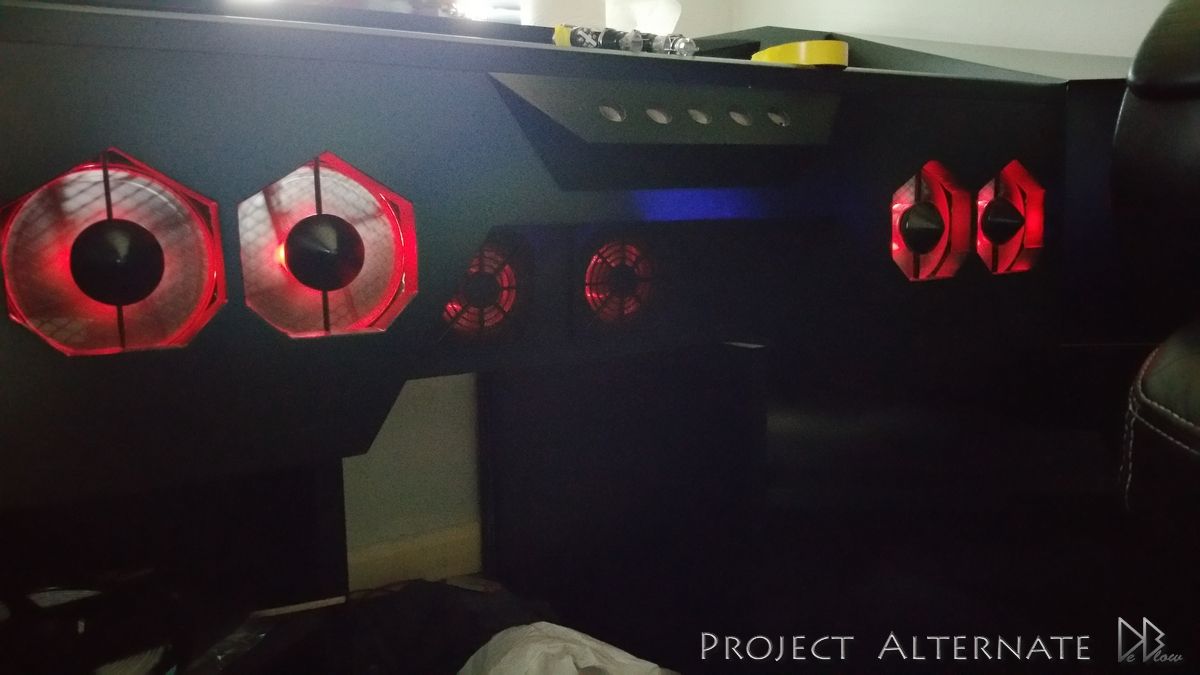
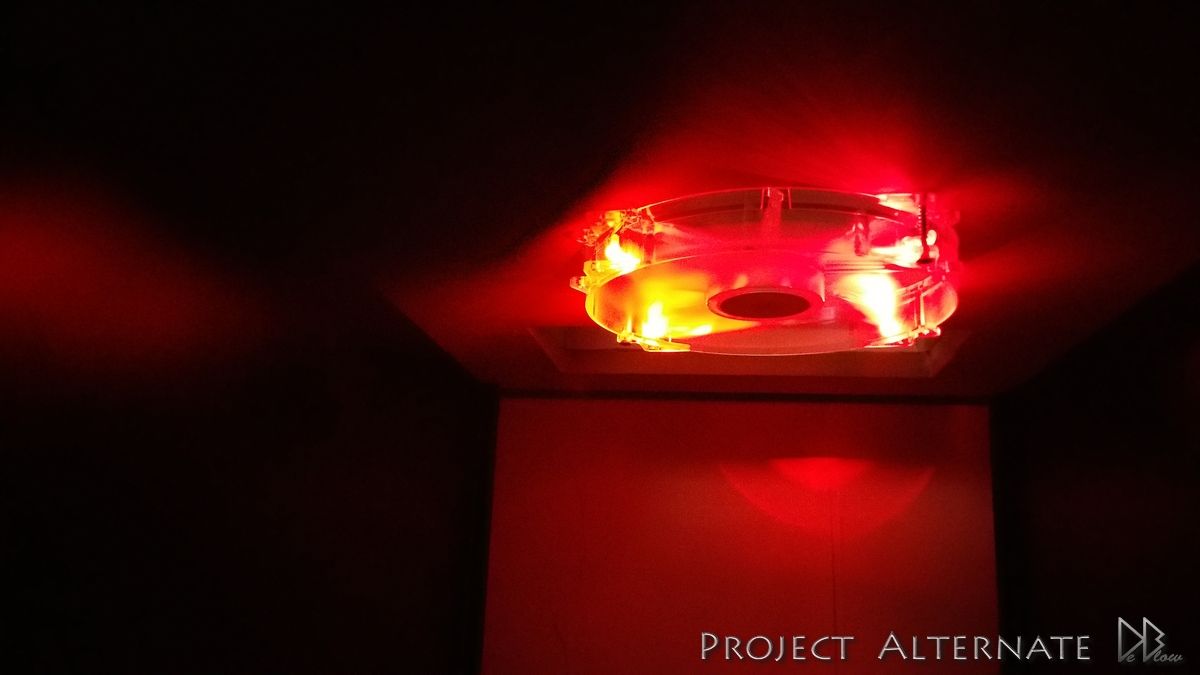
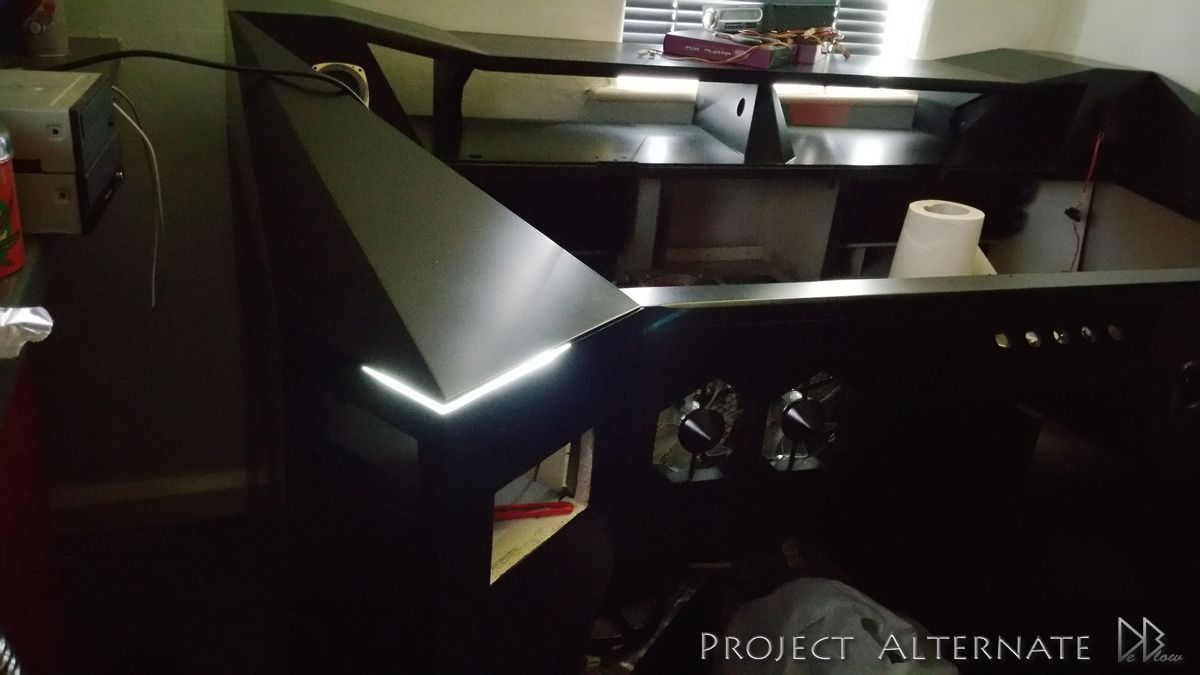
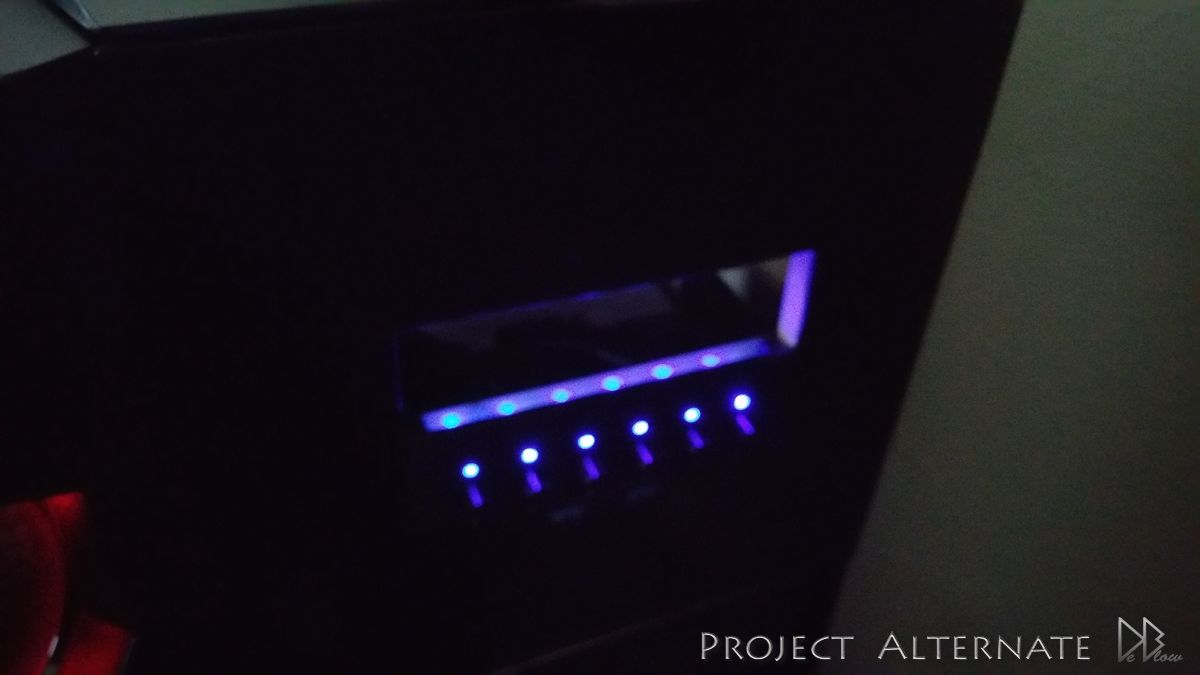
Quick test of the side lighting & some fans, the light bleed on the side lights has now been corrected
20150614_120721_zpsikahpm1q.jpg

20150615_173231_zps4vc5hb6p.jpg

20150615_173342_zpsilziqmxc.jpg

20150615_173348_zpsvnytk846.jpg

20150615_161811_zpsrc6wh9i2.jpg

20150615_173548_zpsbvwdrlwx.jpg


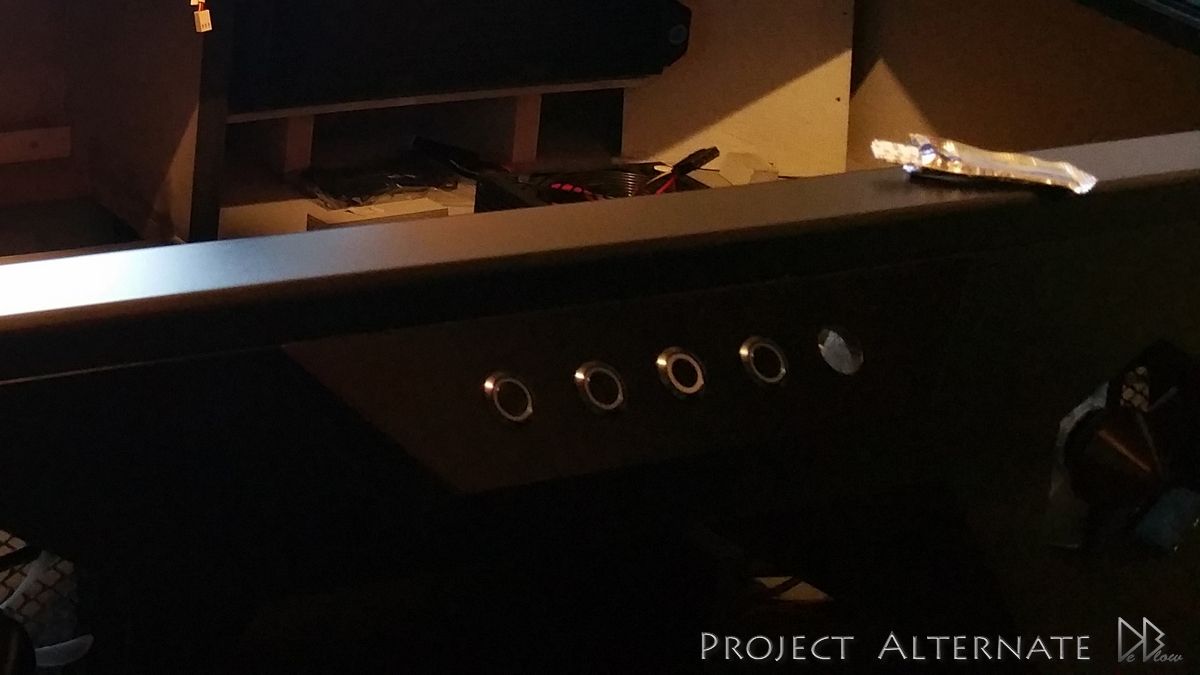
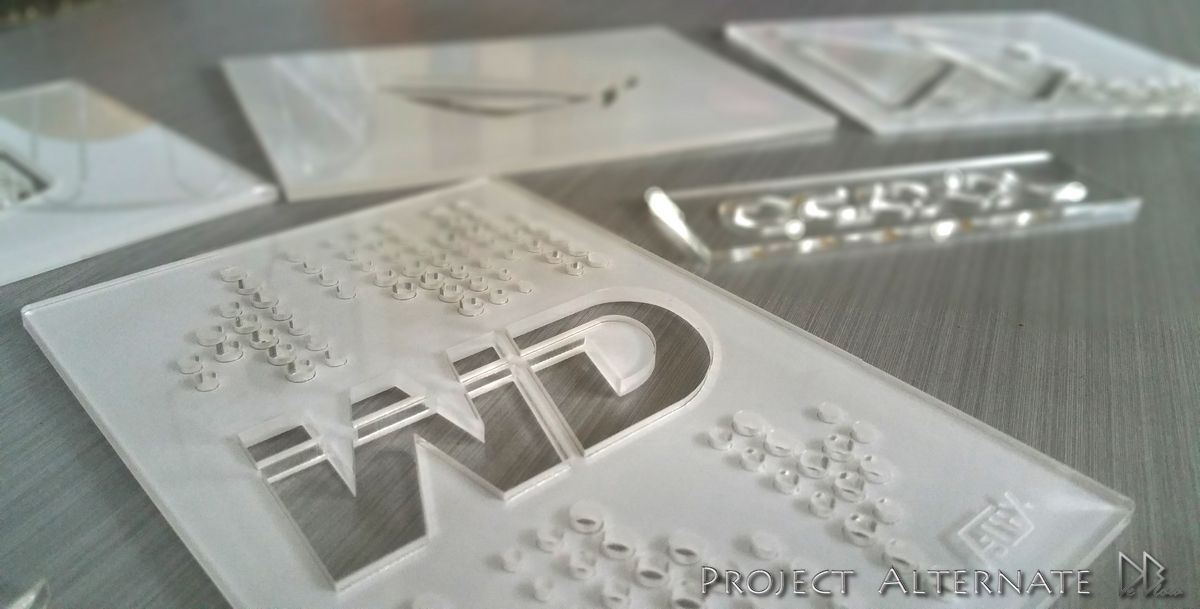
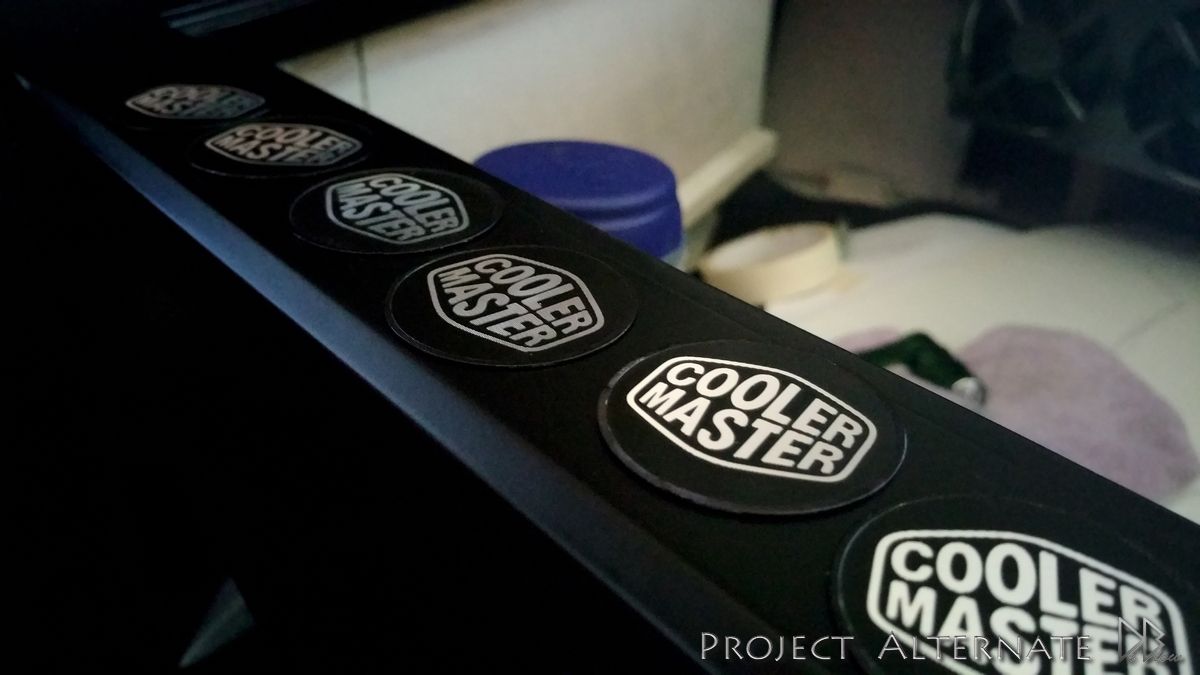
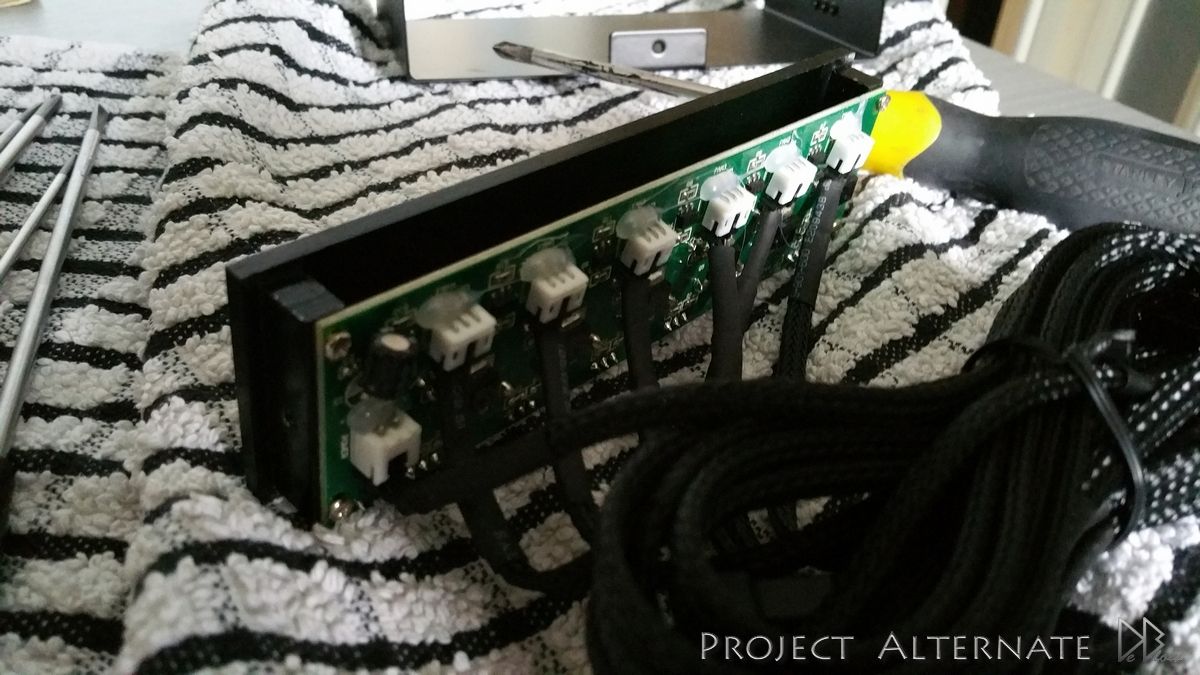
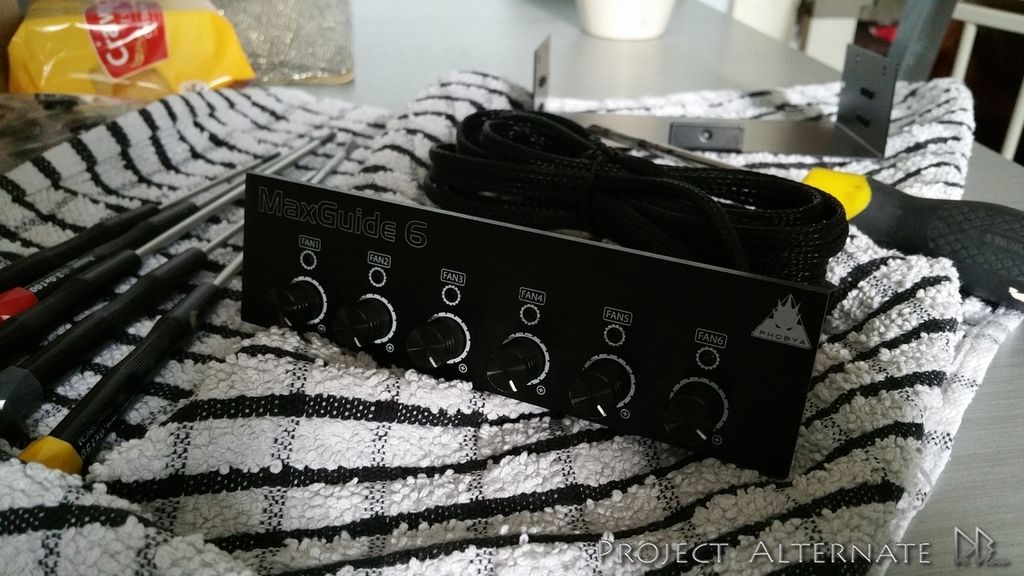
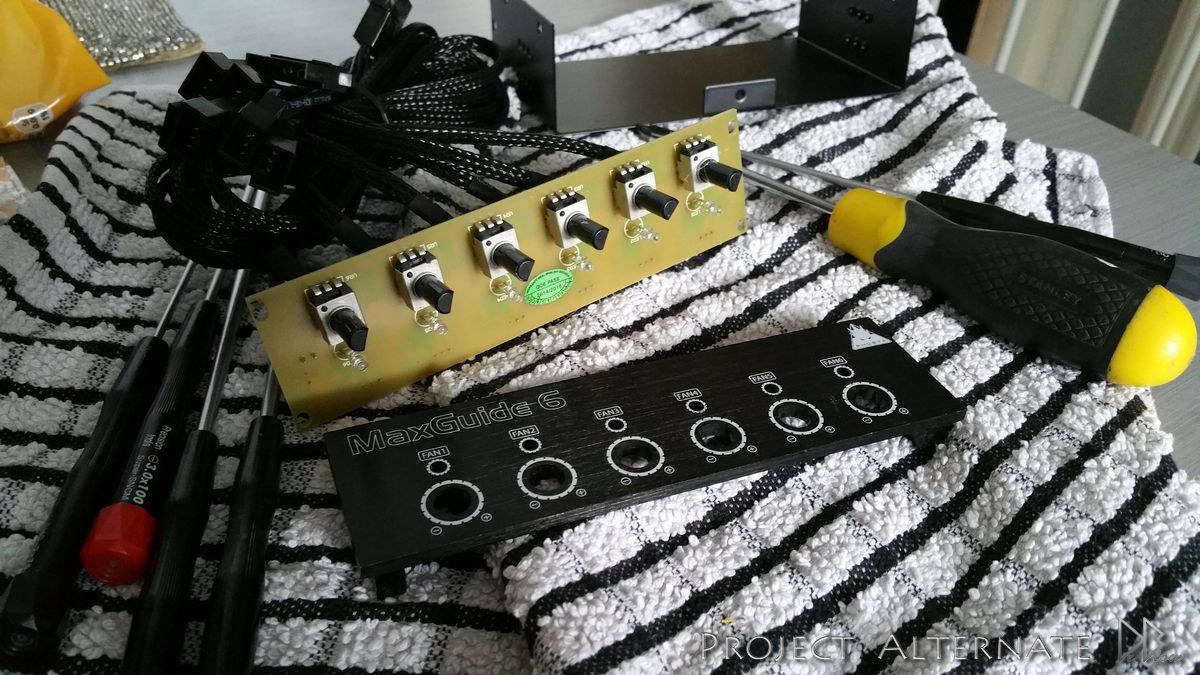
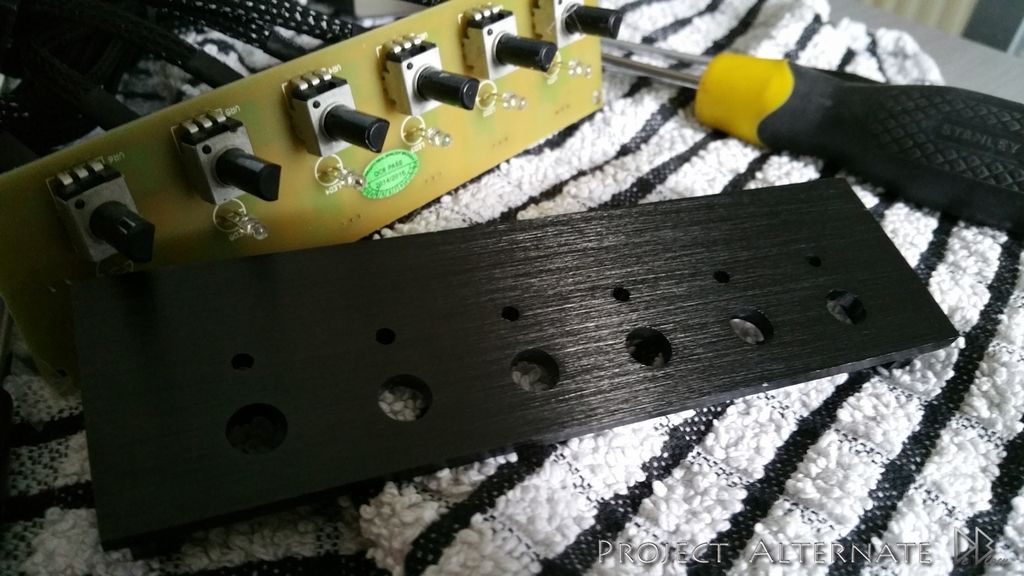
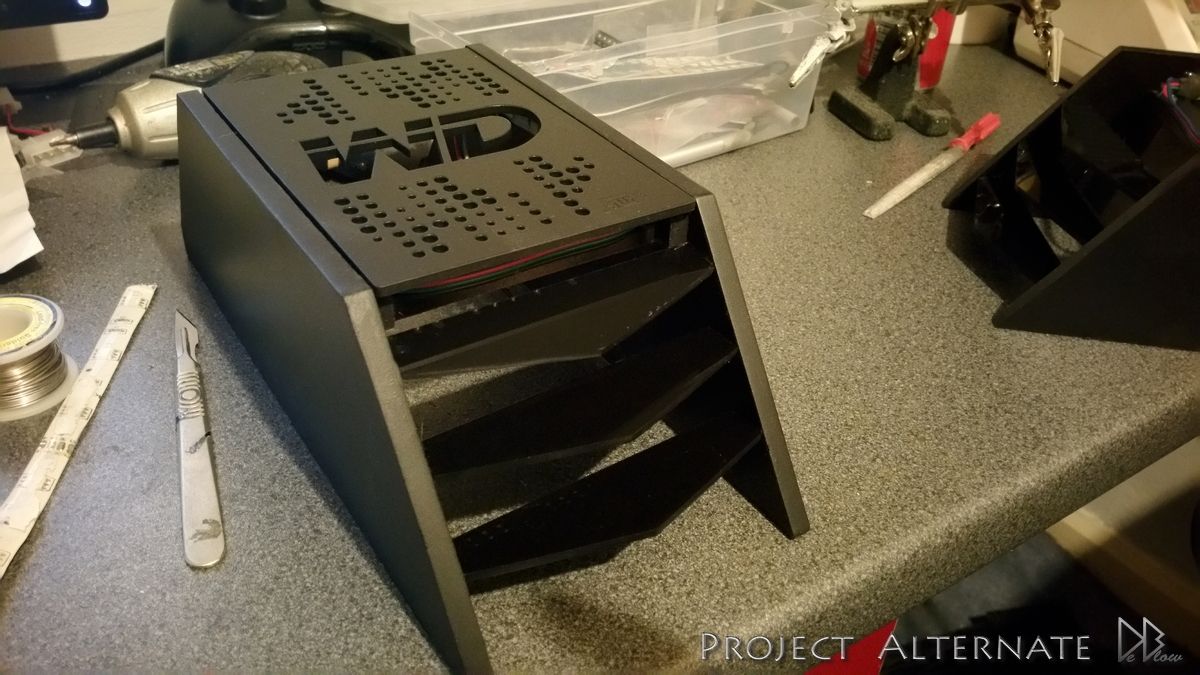
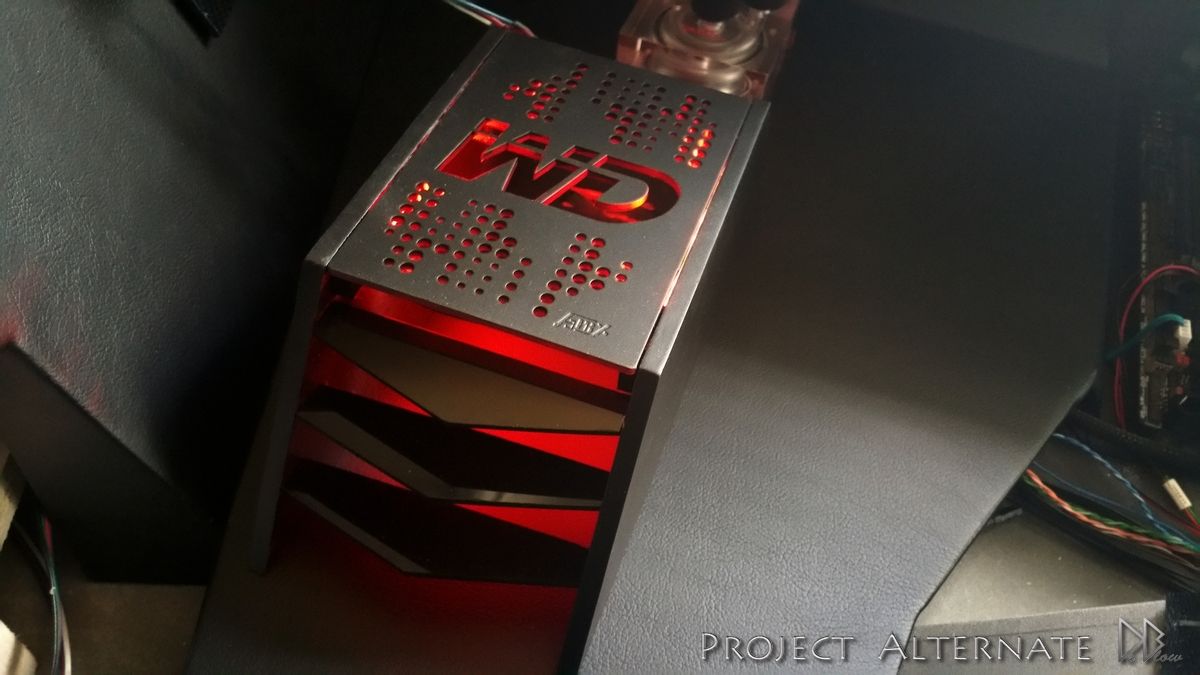
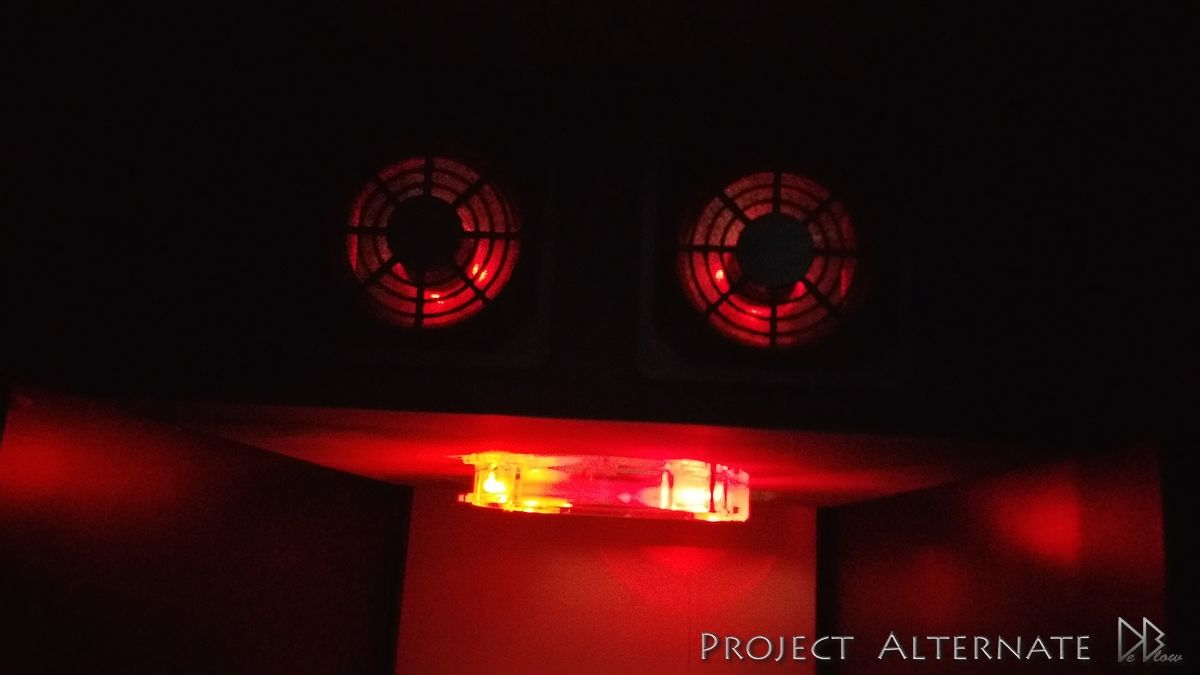
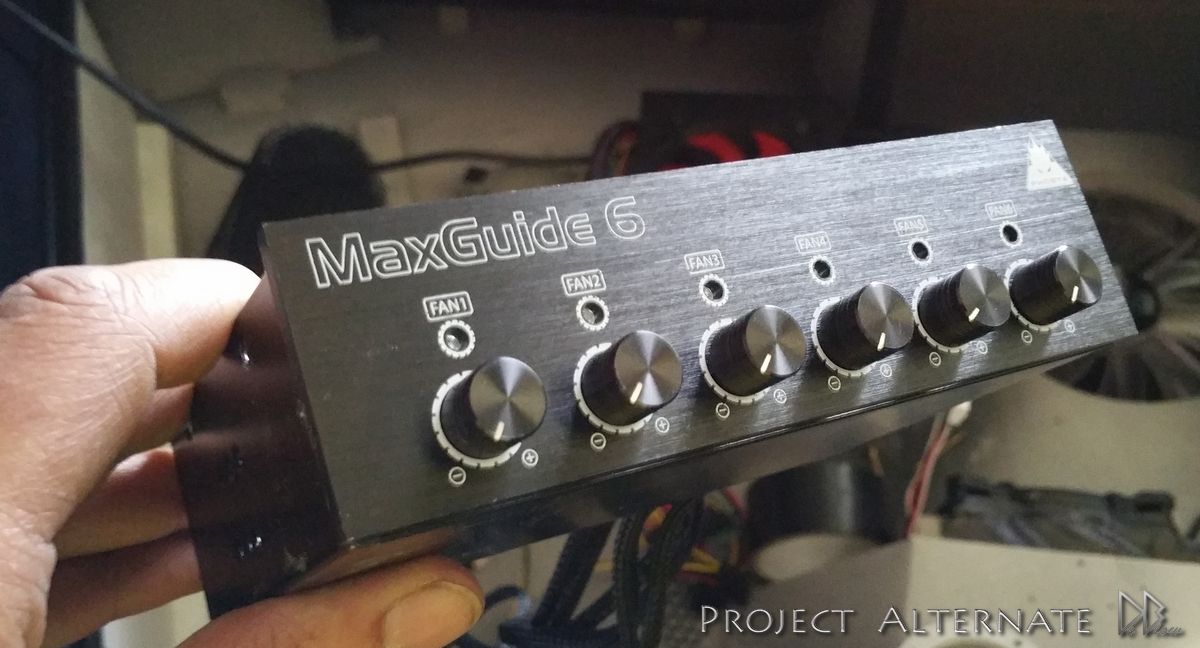
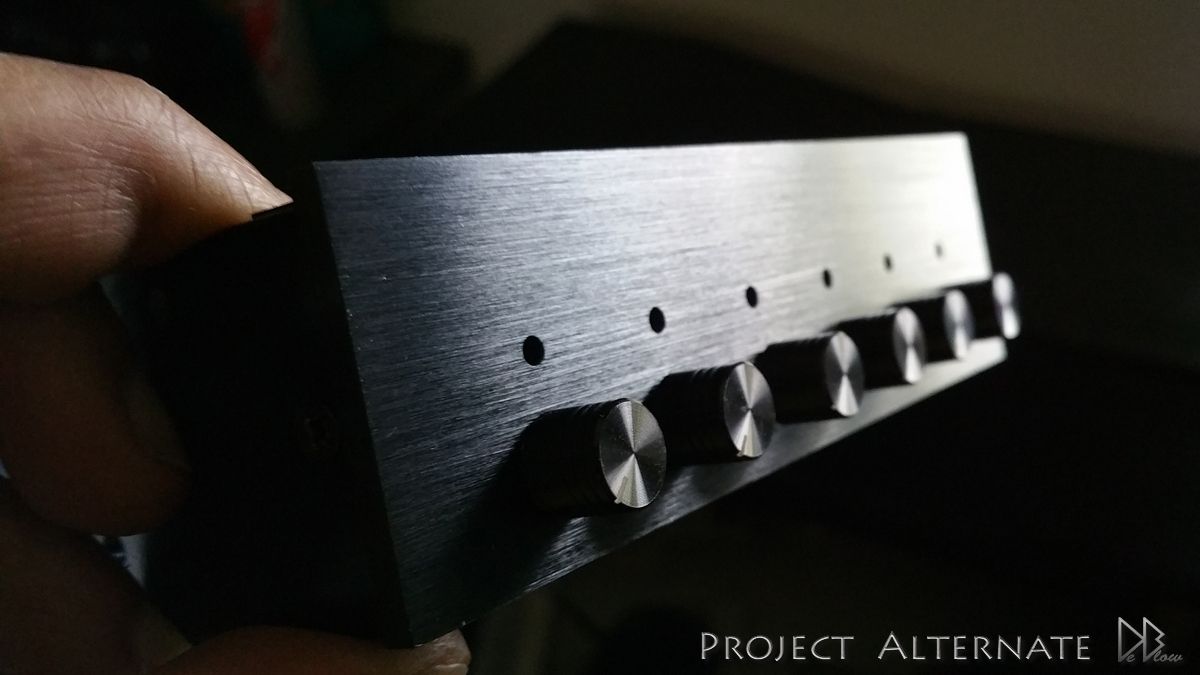
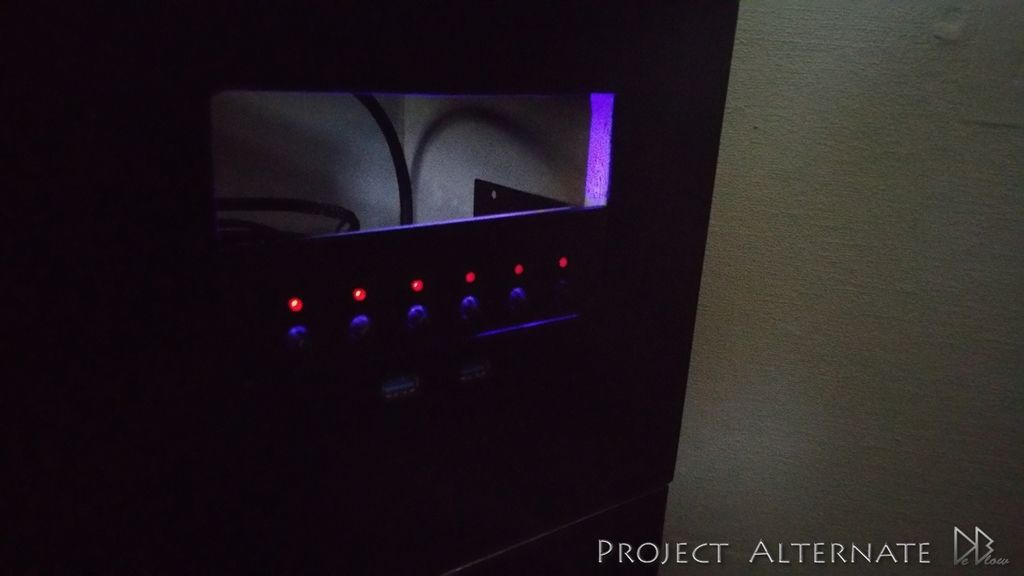
Fan controler I will be using, removed the white parts & now the LEDs on the front lightup red instead of blue.
just waiting for some Phobya logos that i will stick on the front

20150615_162232_zpsrpmrdxk2.jpg

20150615_172301_zpsjxexdavn.jpg

20150615_180706_zps6fa39icy.jpg

20150615_181728_zpsvuas7eox.jpg


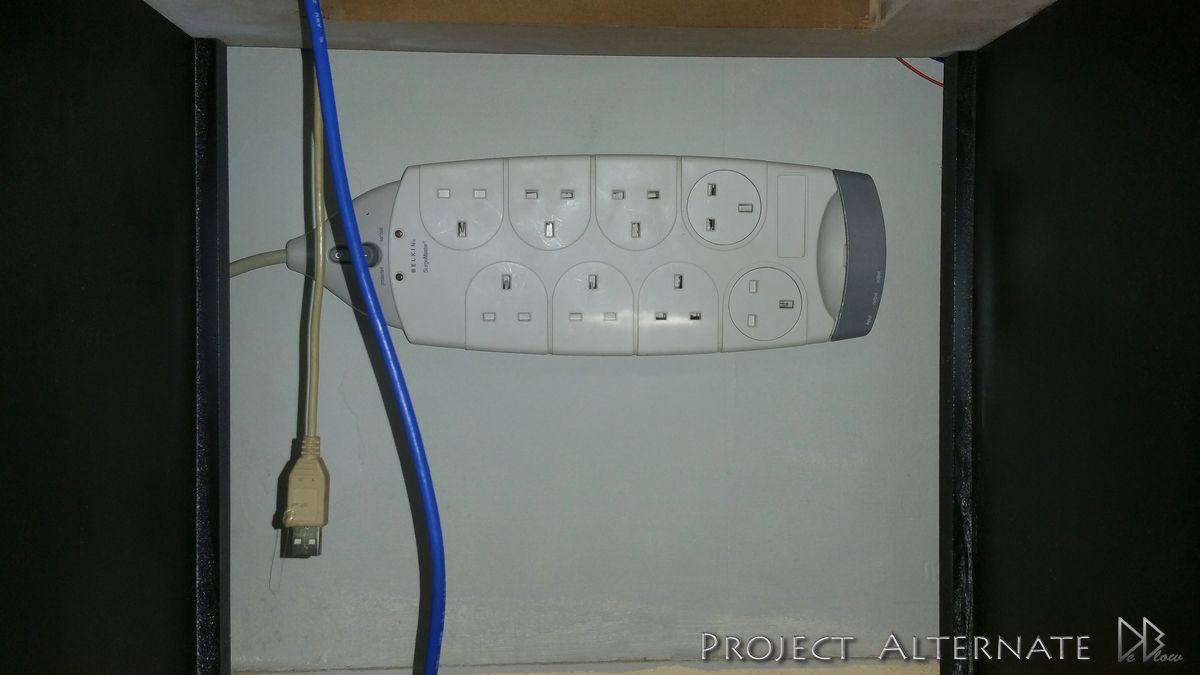
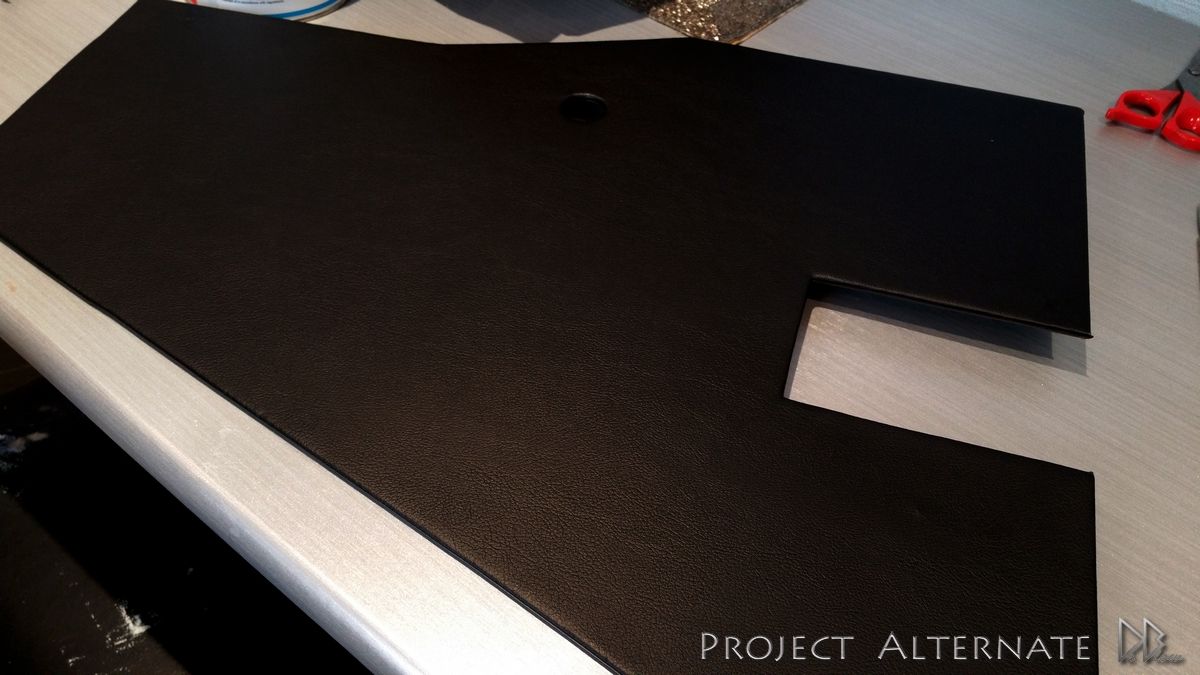
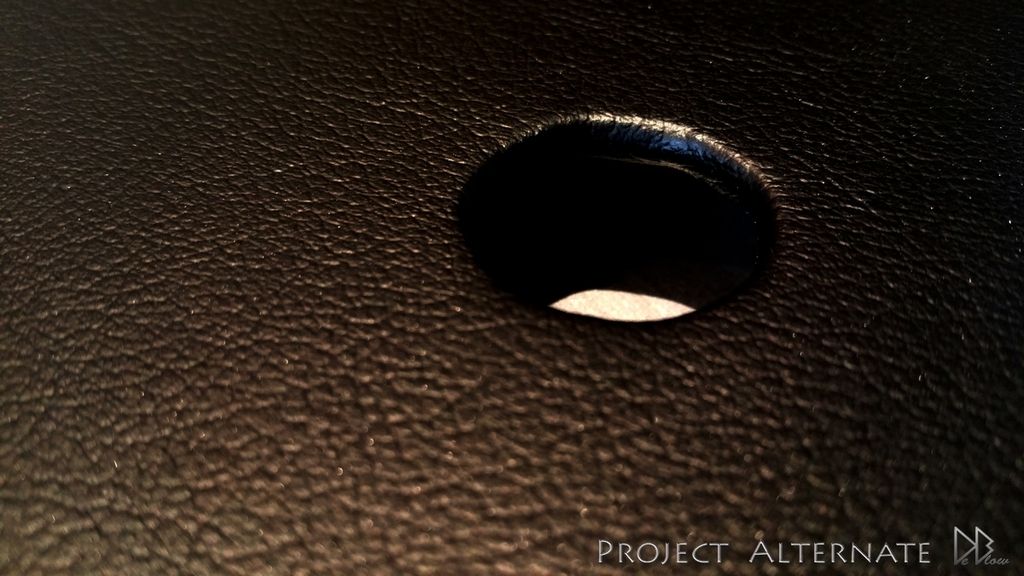
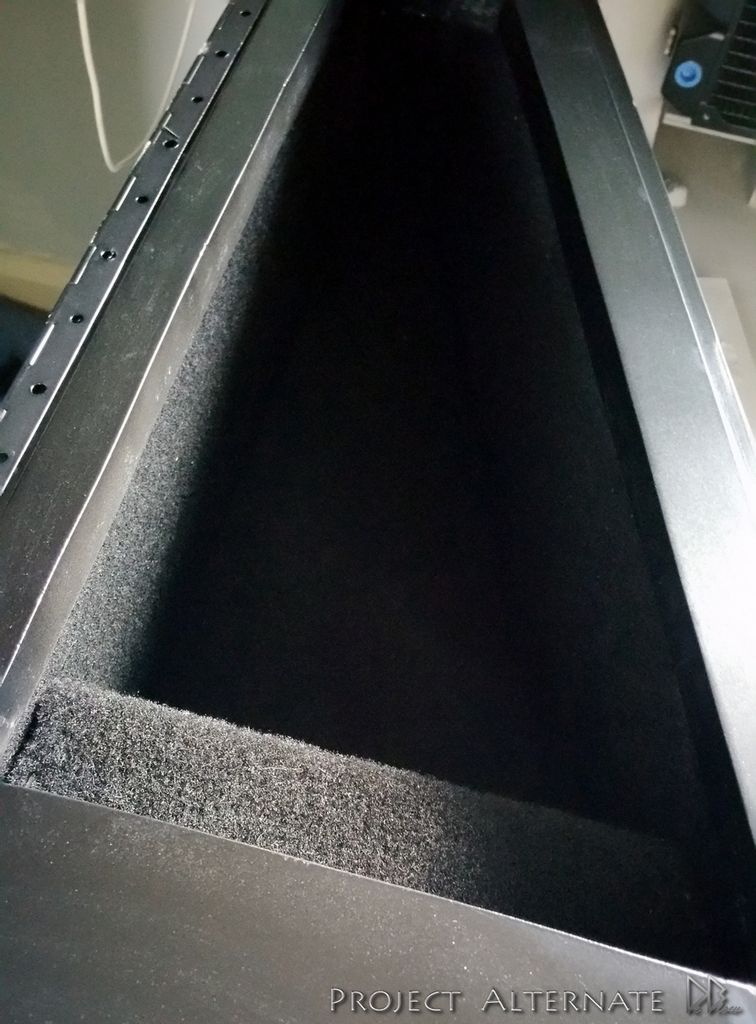
forgot to give this a clean, but this is one of the side compartments, covered in carpet, this will hold cables, gamepags & other bits that would
normally clutter the desktop

20150615_142429_zps5nvkrpac.jpg


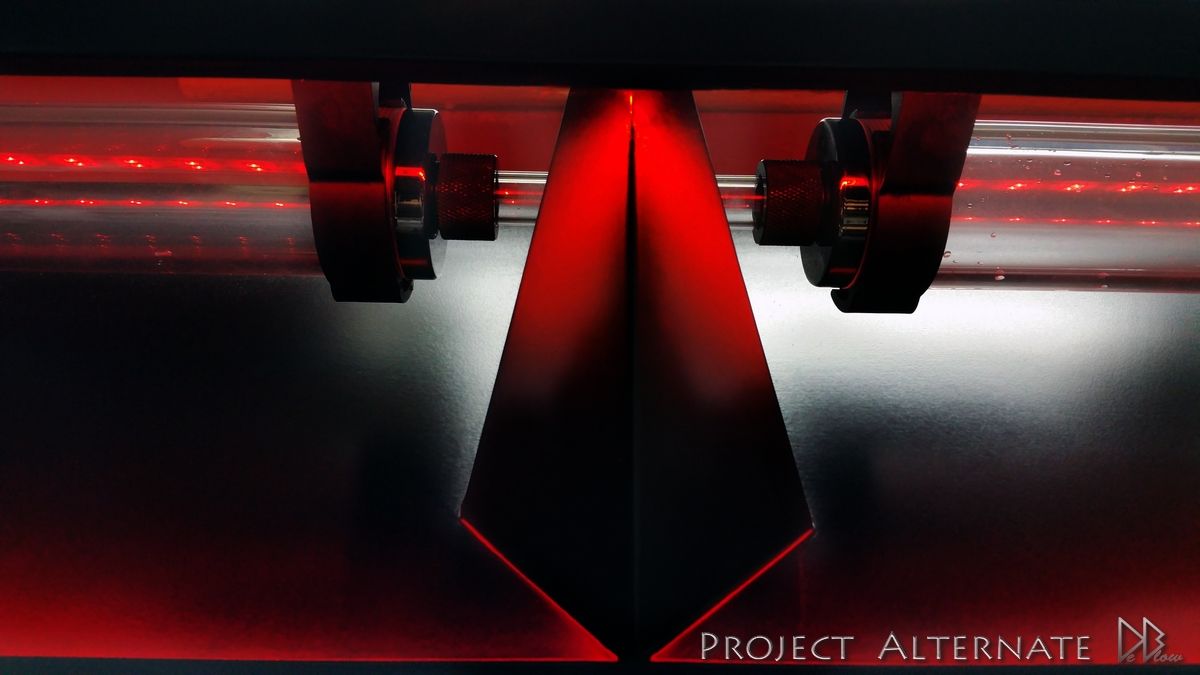
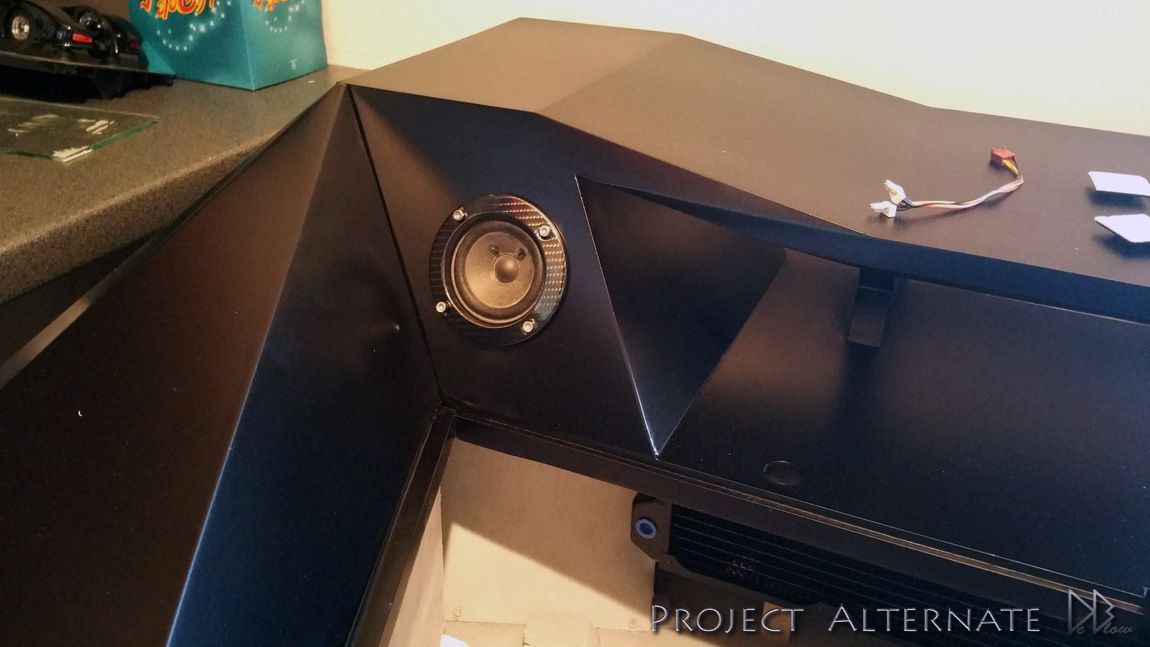
as I said before, the hinges & speakers are getting wrapped, im still unsure what wrap i will go for,

20150615_195150_zpscyrxjcco.jpg

20150615_195221_zpsj5o3x5kk.jpg

20150615_195816_zpsugog9mlm.jpg

20150615_195820_zpsnknaowqo.jpg


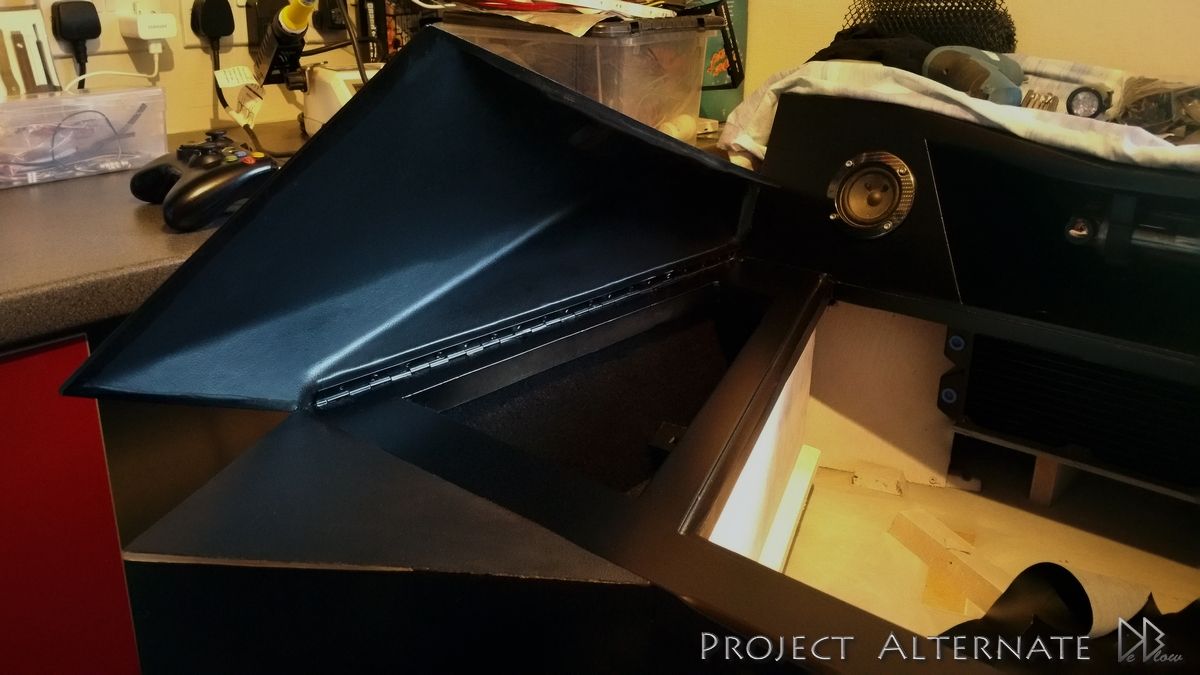
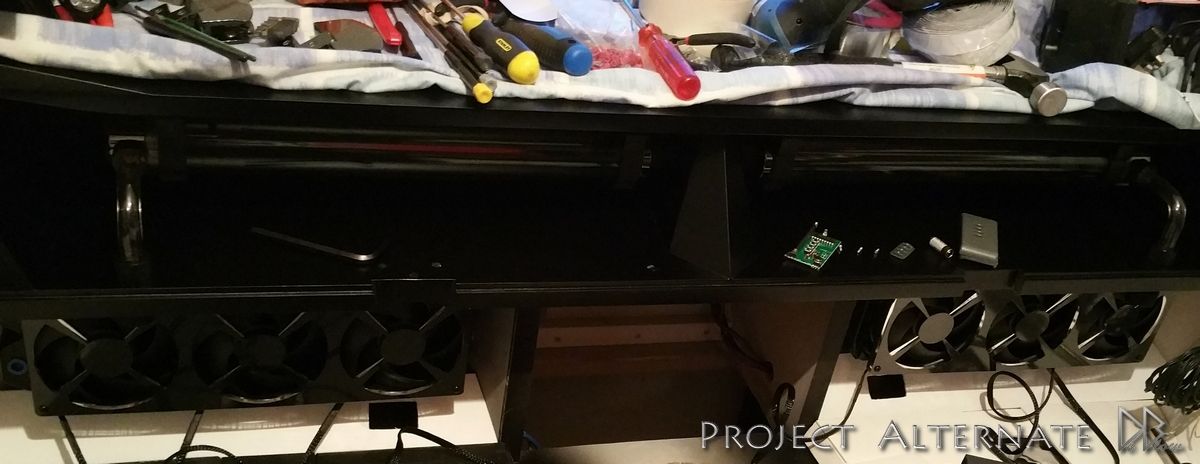
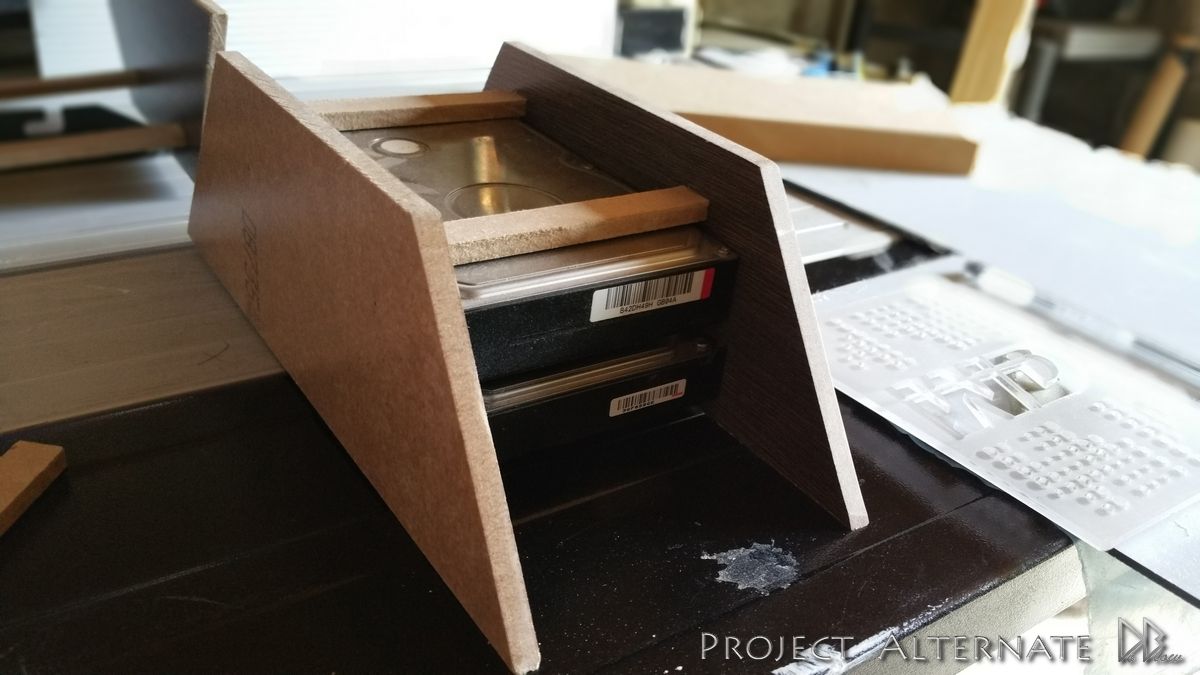
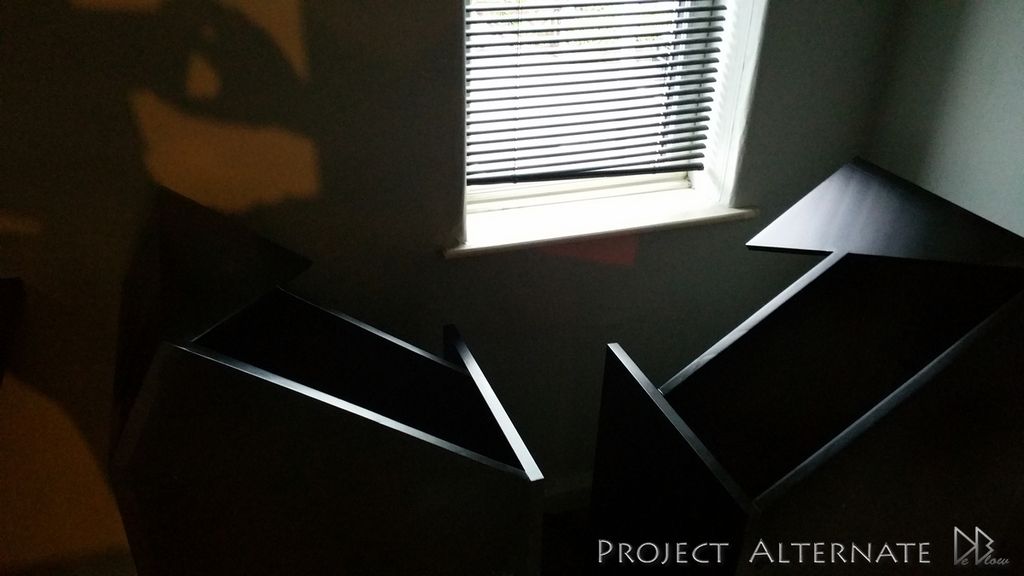
One major part of the desk thats not been mentioned before is the lifting mechanism im planing to use.
via remote the motor will lift the glass top high enough for me to work on the inside of the desk,
but the glass can also be pushed together back if needed & rest on the speakers & top shelf nicely due to the
carefully planed angles

for the motor demo & to see the desk live please checkout the video...

https://www.youtube.com/watch?v=HxFLFPlbAgw


More updates next week hopefully :)
 
Another amazing Desk :D Great work! I personally would go for red ones to make desk stand out a little as you have red led's fans and it will match perfectly.

so far most people have gone with red, in person the carbon looks best but hard to show in the photos.
red really stands our from the black though & internal parts, lighting & water will all be red so this is making it very hard to pick one lol

will wait until iv done with the inside & have the water running so I have a better idea,
was also going to do around the fan parts in red to see how it looks
 
If it's real carbon, then carbon. If it's fake carbon, than anything else but fake carbon!

This is for the looks, not the properties of the materials,
Its carbon wrap not the real thing.
if it was for an important part of some new sports car or low weight bike then i would agree
But i have some real carbon products & the wrap actually looks better

its going to be a hard choice to make, so sticking with 1 of each until the other parts of the desk are completed lol
 
I know it's not for the material properties, but I've seen some truly awful renditions of carbon fibre, especially in car trims, that really spoil the look. I've worked with carbon in a previous life, so perhaps I'm biased. With this said, the fact I had to question if it was real or not goes to show that a) it's good wrap and b) it's well applied!

I too have seen some very badly applied carbons, there's also 4 types out atm
2D, 3D, 4D & now 6D/8D

the problem with the carbon i have atm is its impossible to show the effect in photos :(
I did do a video covering some all the carbon wraps that you might be interested in
https://www.youtube.com/watch?v=EsvuPj__gEo
 
Going to be a busy week, wife due to pop any day now, more packages have arrived that i've been eagerly awaiting
so I can get to work on the internal panels & logos.

during the past week I started painting my nutz & remote for the desk lifting motor, painted now so there nice
& hard ready for when i pick the speaker housing finish & fit the glass top.

20150621_173819_zpspjgpwaya.jpg


20150622_150845_zpsqaqal0pl.jpg


Same finish as the desk, matte black

20150622_151844_zpsy9jvgv6i.jpg


20150622_170021_zpsgotv7bxt.jpg


also did the top shelf lighting, using strips & 2 other types of single LEDs on the desk.
on the shelf I now have chaser lights 10 pin & standard 5050 4 pin LEDs,
this gives me hundreds of lighting options & also means I'm able to have chasing lights
set to any shade I want while also having a second light pulsing or one of the other options.


The only downside is, I needed to solder 54 points just for the shelf :(

20150616_132903_zpszuyusbd1.jpg


20150615_202042_zpsgcnjpnpp.jpg


20150616_220638_zpsrnf2btcy.jpg


20150617_164411_zpsffxhvvnm.jpg


20150620_144140_zpsevkzvevn.jpg


20150620_144315_zpsjxrswxdg.jpg
 
Fenix has helped me out by getting most the logos laser cut for me along with
2 360 RAD covers that I plan to wrap & add some bits too later in the build

20150623_144956_zpsycjyanj3.jpg


20150623_145034_zpsow8kseaq.jpg


20150623_145331_zps4j5dryt2.jpg


20150623_145405_zpsezs5hto2.jpg


20150623_165938_zpsokc0rey4.jpg


Plan to add some lighting to the RADs that can be changed to any colour should I fancy a change from the current red & black theme


20150623_150702_zpsjxjtnttu.jpg
 
Final update for today & im happy to report Iv bent my 1st hard tube with success :D

Using 16mm Alphacool hard tubing with the 16mm Alpha fittings in black for this build, not as easy has the rubber im use to
but should look a lot cleaner

20150622_175756_zpsprzqiv9g.jpg


20150622_175925_zps2d2wvfd0.jpg


20150622_175956_zpssjpkn9s3.jpg


20150508_121323_zpsc1ggvetm.jpg


heres my 1st bend, used my motorbike internal gloves as i forgot to buy some
heat gloves

20150622_230048_zpspwdpa9j5.jpg


20150623_125205_zps8pnkewmo.jpg


20150623_125257_zpsru6zobbw.jpg


20150623_125418_zpsfeb1znqb.jpg


20150623_125456_zpso9x4llqz.jpg


and heres a quick look at the internal setup work thats started, going to be wrapped with leather & carbon for sure.

20150623_160447_zpsc9zbk01h.jpg


20150623_160454_zpslyiqskxw.jpg


Now i have the fan covers & logos I started to add the CM Silencio FP 120 fans to the RADs

20150623_164902_zpsvrn4h5hi.jpg


20150623_164935_zpsg44ldyxx.jpg


20150623_165033_zpscsxpv9nx.jpg


20150623_165106_zps7nv7flwy.jpg


20150623_165523_zpst6h89d20.jpg


also been working on covering the side compartment with the leather

20150621_194056_zpsdjoksgvw.jpg


20150621_194138_zpsg5r19soo.jpg


most of the above is still work in progress, should be able to show more detail when i get hold of a better camera
thats all for today, hope you like it so far? :)
 
This is awesome man. Can't wait to see the finished result. Also can't wait to get my own place and have a go at a desk build :) Your last project and this one + the other guys desk build, inspiring stuff! I want one! :D

I was just like you 10,20 years ago
did my 1st custom desk in 2002 but was very basic, took all this time to have the space, cash & time to do this build,
hopefully wont take you that long lol but good luck with it!

Loving this, a true one off, top work!

cheers Buck!

this is so nice i would love a build like this

Thanks Keechy, good to see your still with me :D
 
Cooler Master found me to be using an older CM PSU as the power source for my LEDs,
Motor & other none main PSU dependant parts, so kindly offered me a nice new G750M

This will be more than enough for my setup & can even act as a power source for a 3nd/4th GPU
should I add them later down the road.

so the main PC parts are running on the V1200 & extras run from the G750M.
I also got my hands on some other CM parts that I plan to breakdown & use on the desk

20150624_155907_zpsqpbluued.jpg

20150624_160616_zps3ulnj2xl.jpg

20150624_160717_zpszcankpwt.jpg


Fitted the RAD covers & added some independent RGB lighting to them

20150623_201320_zpsuoqplp2i.jpg

20150623_220015_zpssrxbzs1u.jpg

20150624_015014_zpsqvedmdqe.jpg

20150624_024621_zpsxrlyl3pd.jpg

20150624_025018_zpsiq7ctqk6.jpg

20150624_025103_zpsyu6aciwv.jpg

20150624_025110_zps8tupcsof.jpg

20150624_030404_zpsaplgq5m9.jpg


Both the PSU's are going under the right side of the desk on the top shelf,
this is so they have some fresh air & dont add to the temps inside the main part
of the desk,
I can also get to them more easily should I need.

20150624_212710_zpsismjzrwk.jpg


Installed the main power on the back wall under the desk in the center, this is also so I can get to it easily.

20150624_214414_zpsnxywgkep.jpg


Breaking down some of the PSU housings so I can use the badges on the RAD covers

20150625_142651_zpsvm690u6x.jpg


just a quick test fit to see how they looked so not stuck on 100% correct, decided to blackout the outer circles

20150625_144028_zps5ghl1gs9.jpg

20150625_153518_zpscgtf3h2r.jpg

20150625_174709_zpstwonsqye.jpg


Think they look better now
20150625_221941_zpsjfbjvoci.jpg


in this pic you can see some of the internal panels have been covered with black leather (flux)
have never seen anyone do this before so thought it would make a nice change :)
still lots more to be done to the panels though.

20150626_025725_zpsfdzee8u0.jpg


20150626_155709_zpswqsyqavf.jpg


20150626_155720_zpsgkfmzjbm.jpg


Started to mod the 2nd Phobya Fan Controller, removing the white print, changing from blue to red LED & adding a new logo.

20150626_153707_zpsocfdoshe.jpg

20150626_153715_zps7vgawazd.jpg

20150626_153904_zpssrlzauxi.jpg

20150626_154506_zpsrafgyjur.jpg


Still loads more to do, but with some luck I hope to have this completed within the next 4 to 5 weeks or maybe sooner :)
 
You know when you start something and immediately you know, " this is gonna look really good"? You could tell from your very first post!

Amazing work man!

You could easily sell these setups.

Thanks mate, glad i'm living up to the hype then :D

I did try to not over do the 1st posts, left some bits out like the motor, side lights & some other little bits,
was sweating at bit at the start when looking at my artwork & uncut MDF lol
 
amazing work also that a lot of cooler master psu :)

People can build this from scratch with no guides, and i can't even follow ikea's instructions when they have 2 screws that are exactly the same but are diffrent models and im just like a monkey :( , Looks cool though, would totally want a computer in a desk


I had a baby boy last week so things going a bit more slow atm, also too hot, especially for the soldering that's the next thing I need to do...

Keetch! thanks again m8, I only have 2 PSUs, a V1200w (main) 750w (extras)
the other PSU bits are just the outer shells with fans..

Rehok, Thanks & I think we all have problems with IKEA's flat packs lol
never had one that wasn't a pain in the a** to put together.
 
Things are calming down a bit here now so im continuing with the lighting,
I've now moved on to the logos & some internal lighting..

Also now covered all the internal panels with leather, the leather is in keeping with the overall look of the desk,
not too shiny (glossy) yet still able to reflect some light in the places I want.


This is the main right side cover, hole for the lift & square cut for the pump

20150626_192157_zpsjclbgecr.jpg

20150626_192202_zpsum8zezau.jpg


Having 2X ASUS ROG logos, 1 per side that will be RGB lighted, Red & white main, & then the full RGB options should I fancy a change :)

20150706_195510_zpsa9txnjxv.jpg

20150706_195528_zps9t2yyb3g.jpg

20150706_195442_zps3ykultcs.jpg

20150709_002043_zps5sbliqva.jpg

20150709_013744_zpsuxlbpkjr.jpg

20150709_013832_zpsmq5qhipn.jpg


This is one of the HD covers, will also be RGB lit
going at the back of the desk above the MB.

20150707_170140_zps1rh5prei.jpg

20150707_170207_zpseg0r1i1k.jpg


This is one of the bigger logos, my own, will also be RGB controlled & im going to trey blend it in best I can.

20150708_220614_zpspu3t2pbf.jpg

20150709_031927_zpsuhl3wiad.jpg

20150709_031943_zpscoq27qvx.jpg

20150709_032038_zps5pp3mcj6.jpg

20150709_032132_zpsmh1bixn2.jpg

20150709_032247_zpsdzcupc82.jpg

20150709_032306_zpsjrkzjuih.jpg

20150709_032315_zpsfaptcmku.jpg

20150709_032325_zpsk8kkinkb.jpg


Thats all for today as im needed for daddy duties :D
 
Reworked the Sabertooth a bit more, decided after seeing it inside the desk that the silver
would look better black to match the other parts.

I left some brown bits but if there still seen when the components are added then I will most
likely also paint them Red or black.

20150704_155915_zpscklcywnz.jpg

20150704_162235_zpsde97dae4.jpg

20150704_162247_zpszeq8le1q.jpg

20150707_201131_zpssucocmm1.jpg

20150708_181233_zpsedgpnnvh.jpg

20150708_181247_zps3veu1v4y.jpg

20150708_181314_zps2svaqpp7.jpg

20150708_181405_zpsurjscqcj.jpg

20150708_181412_zpsrhtqhyqj.jpg
 
Looks smart that. What paint did you use for the details? Brush or spray?

Thanks, I used both, the red is brushed with water based paints & the blacks are done with plastic dip paints.
easy to remove if needed & shouldn't damage the plastics hopefully.
 
Almost done with the 3.5 HD racks, they will each hold 2 drives for now, but can be adjusted to fit 3 if needed.

Made from wood like almost everything.

20150714_151134_zpsjmjn4vc6.jpg


20150714_171500_zpsatauh1ye.jpg

20150714_171510_zpsho97rfpk.jpg


Made some grills that match the ones I did for the sides of the desk a couple of months back.

20150714_152320_zpsukux5ld1.jpg

20150714_153207_zpstsppd6rw.jpg

20150714_155424_zps6xg1x0en.jpg


Painted in flat black to match the other components & desk.

20150714_181356_zpsm5a6m0zh.jpg

20150715_225441_zpss0sxhkqf.jpg

20150715_225459_zpsmkralikt.jpg

20150717_222511_zpshmpsgahz.jpg


Added some RGB lighting, so they will have independent options as do all the other parts of the desk, this will give endless lighting/colour
options & modes.

20150718_092132_zpsszqztpae.jpg


once the HD racks are completed I can then move back on to the hard tubes :)
 
Back
Top Bottom