Iv stopped working on the outside of the desk for the moment as Im awaiting the reservoirs so I can complete the top shelf
& start to fasten things into place,
but with the arrival of most of the other Phobya & OCOOL parts & the X99 motherboard, I could start working in the inside,
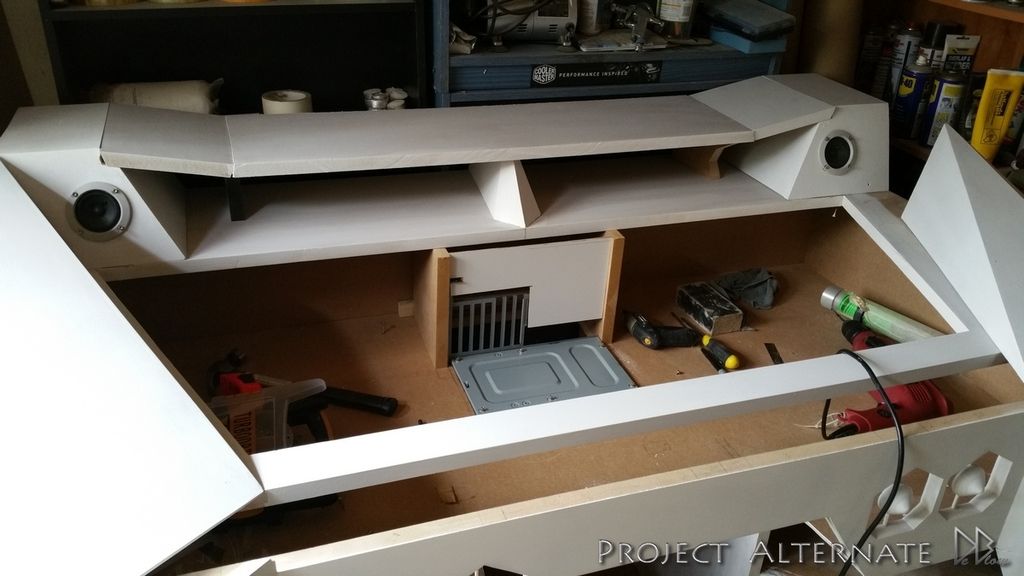
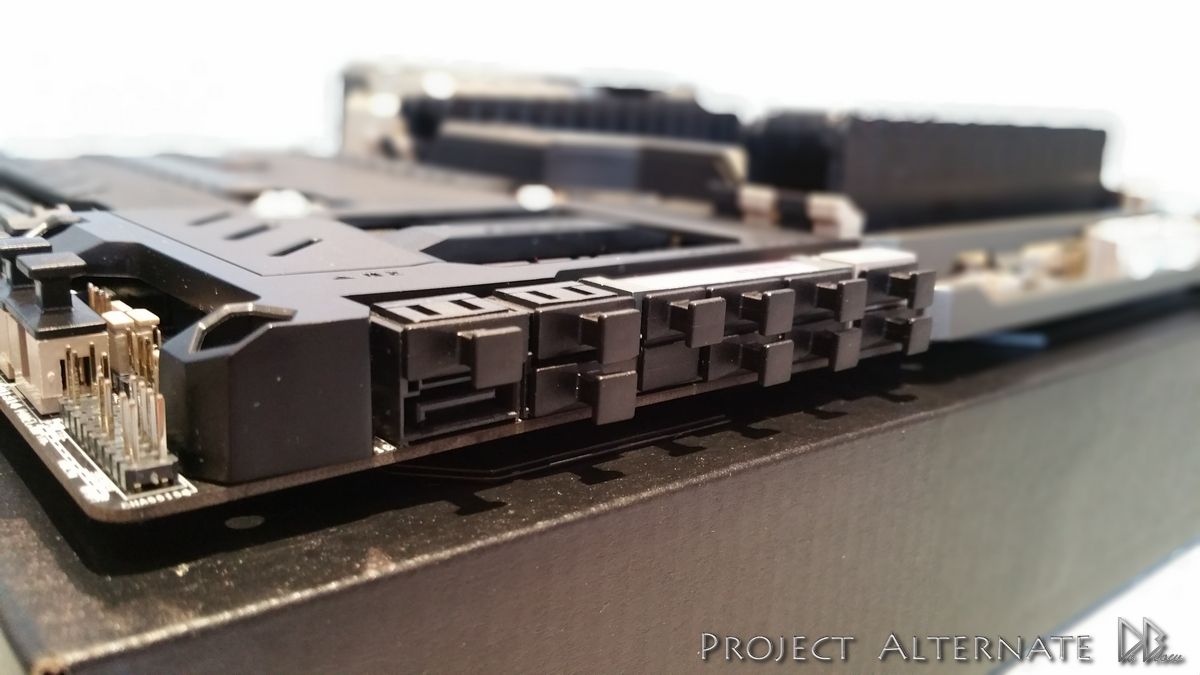
so Iv fitted a motherboard tray & sorted the housing for the 2X RADs.
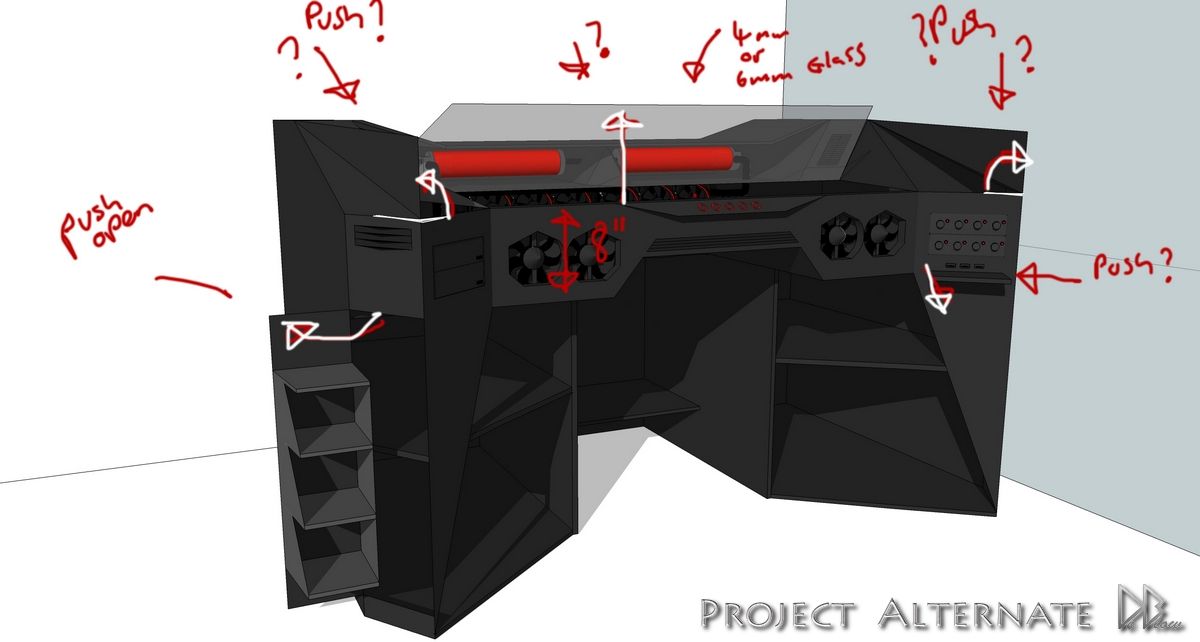
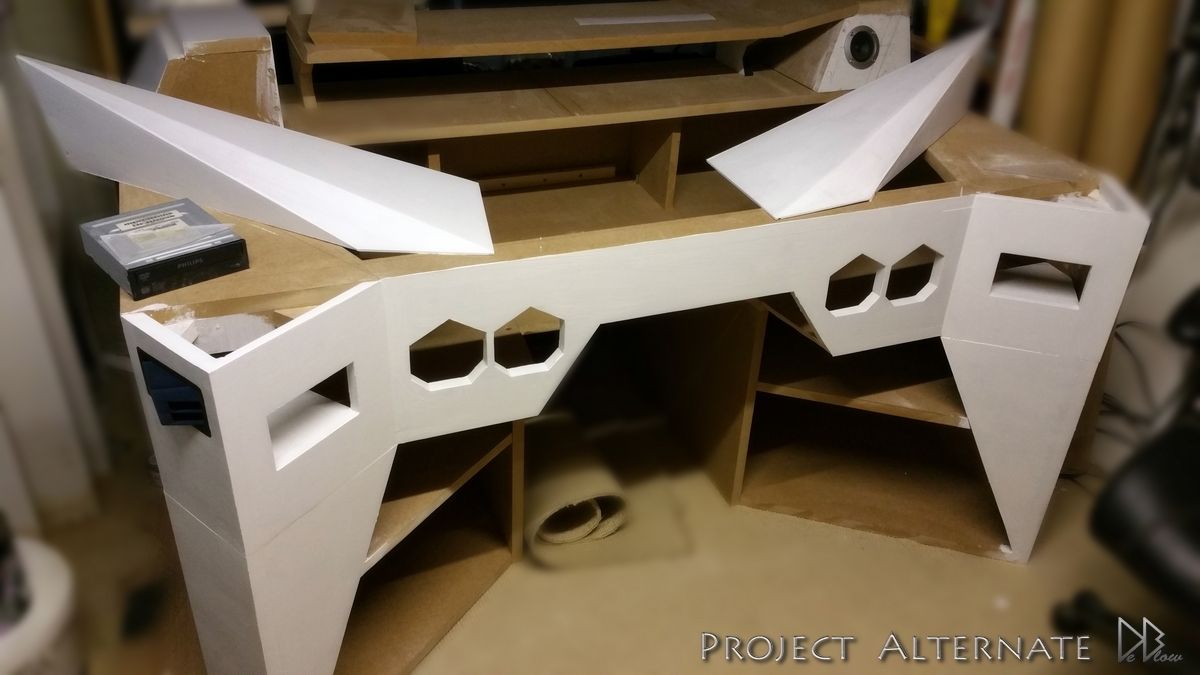
I'm not following a design for the inside so I tend to spend hours just sitting looking at the empty cavity & trying
to picture ideas in my head lol
however I have worked out where the main components will be going.
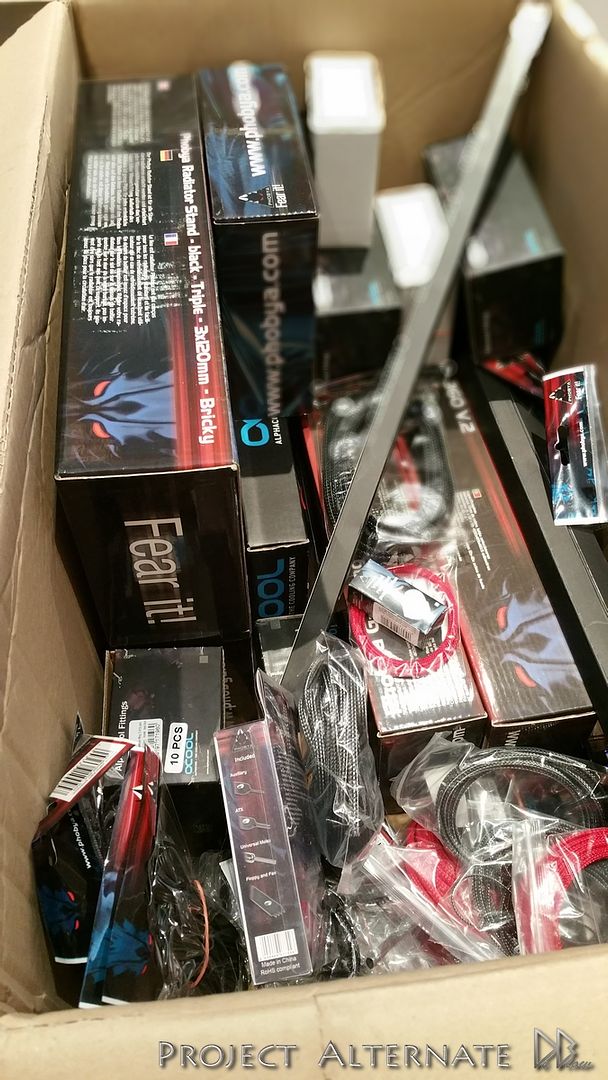
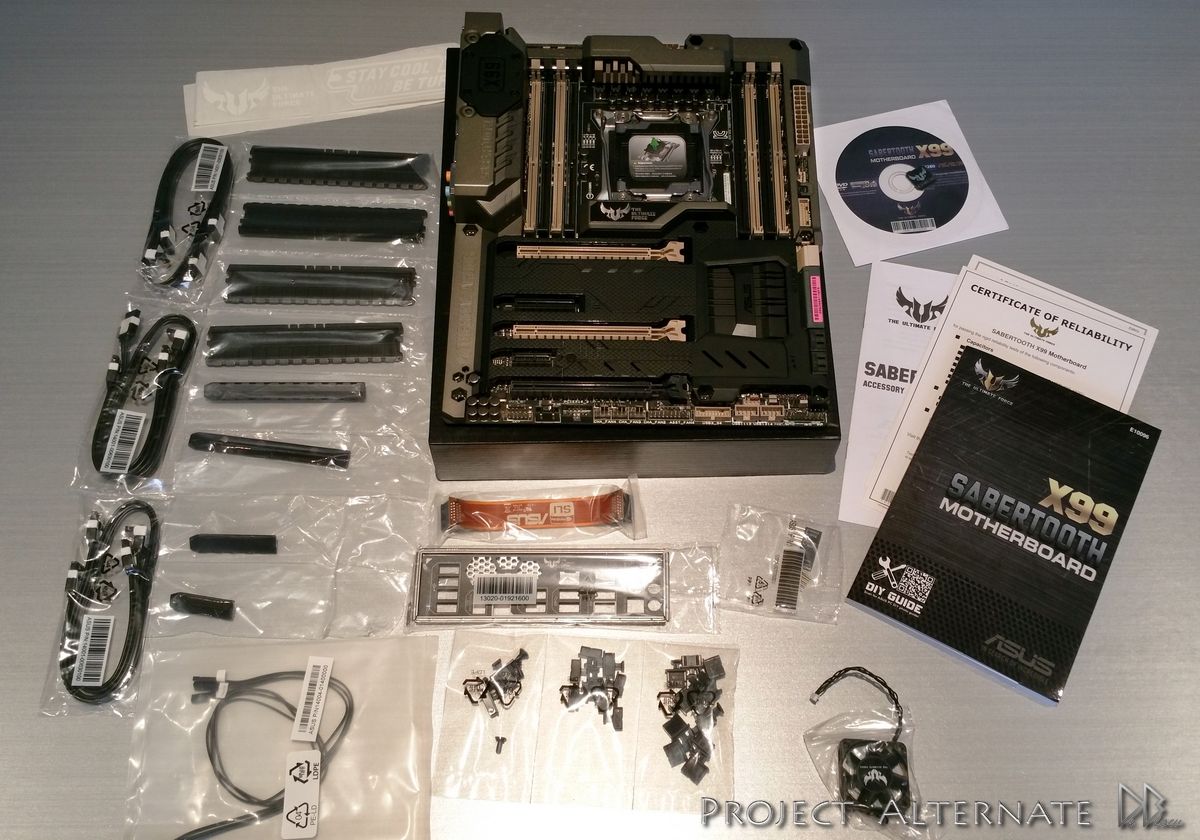
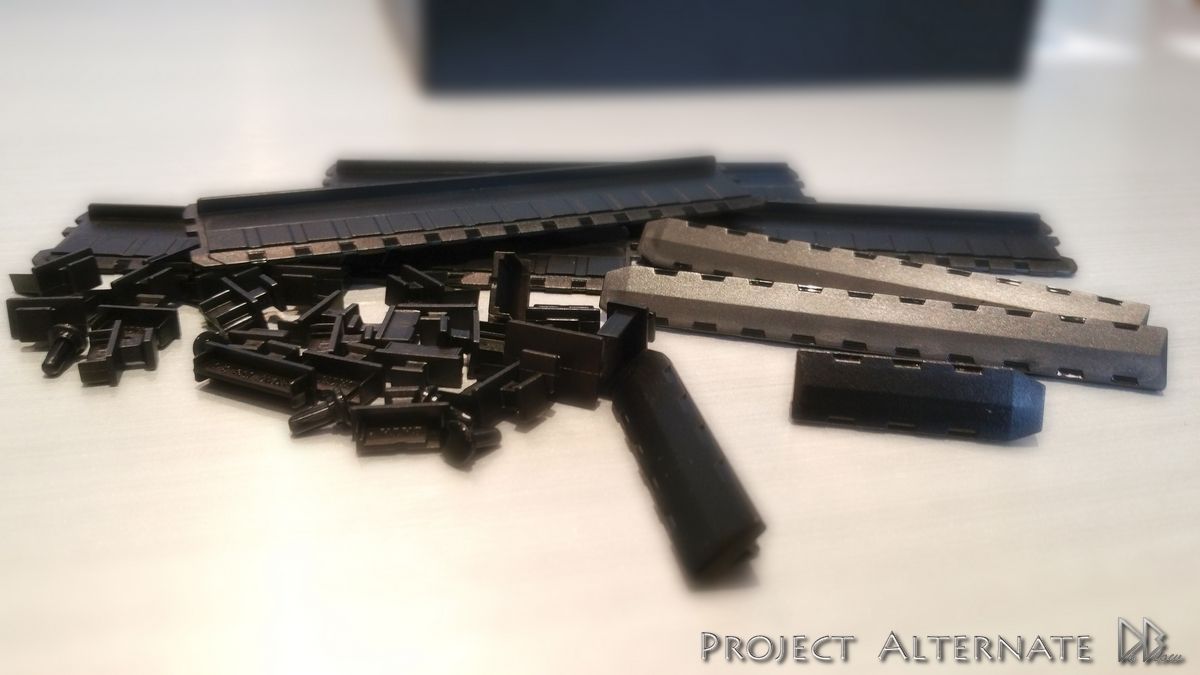
here's one of the packages I received thanks to Phobya & OCOOL (Alphacool)
All sorts of goodies, RADs, controllers, cables, hard tubes, switches, GPU & CPU blocks & many more that I will show in more detail
as the build progresses
")
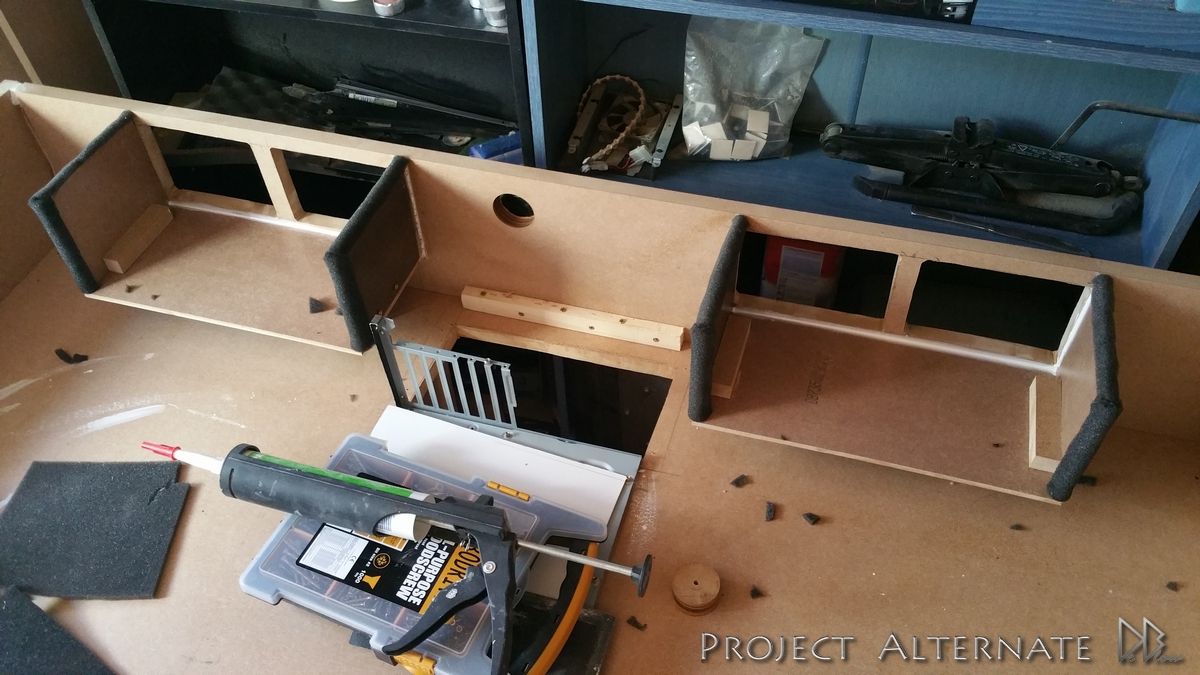
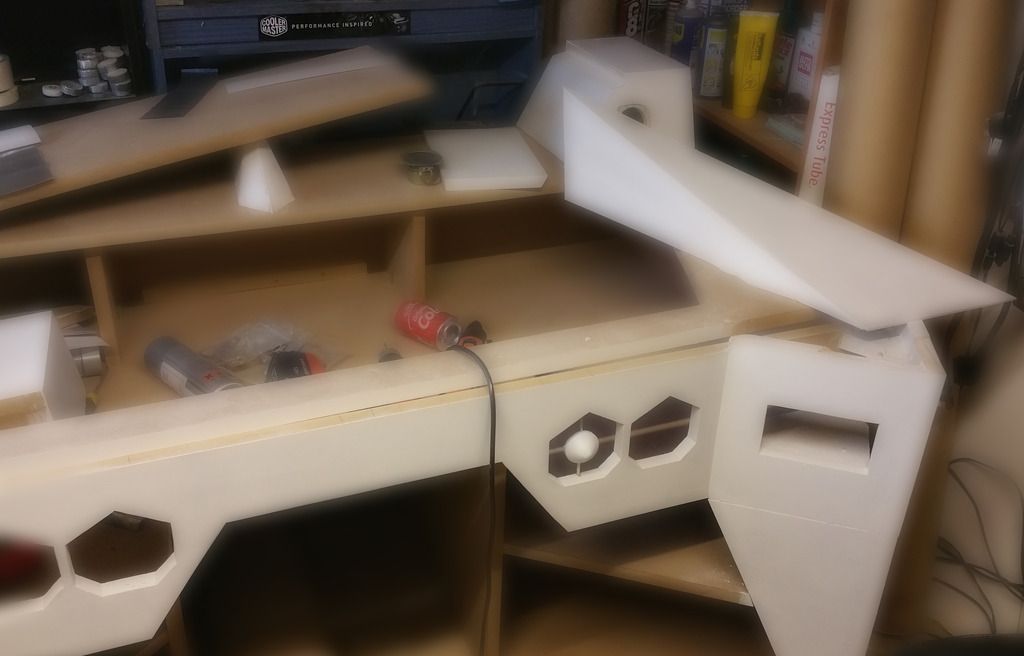
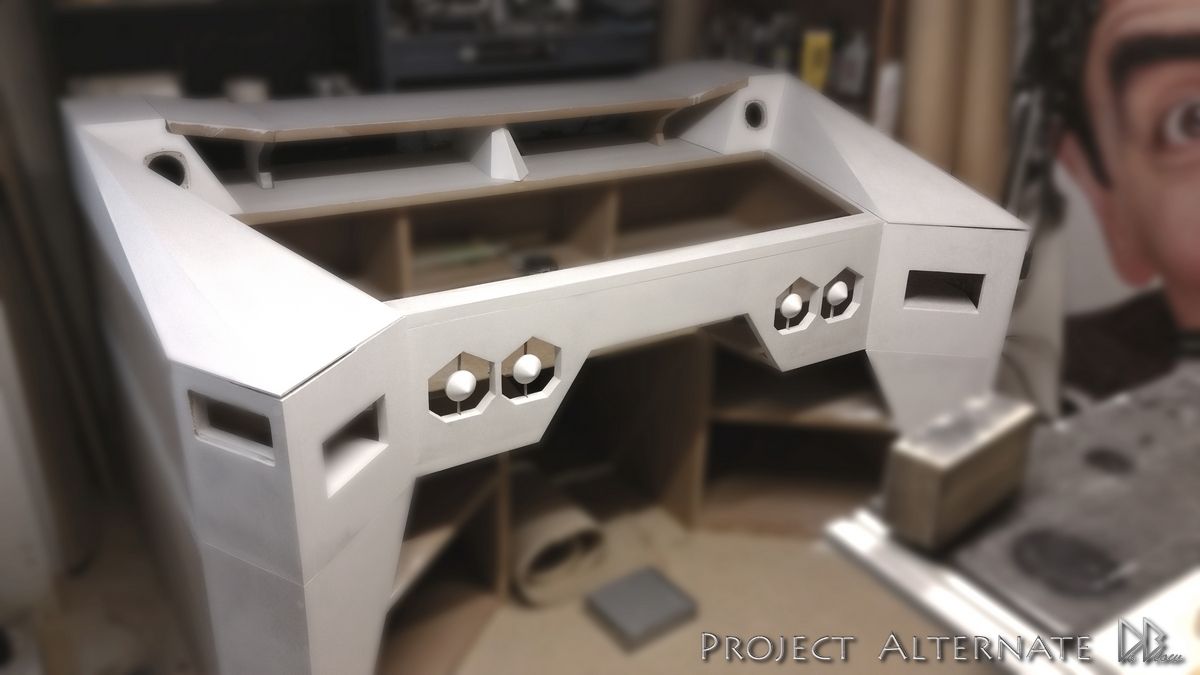
Another secret I keep to myself & a couple of people was the idea to have the sides lift away from the desk to make room for
storage & also make use of all the available space...
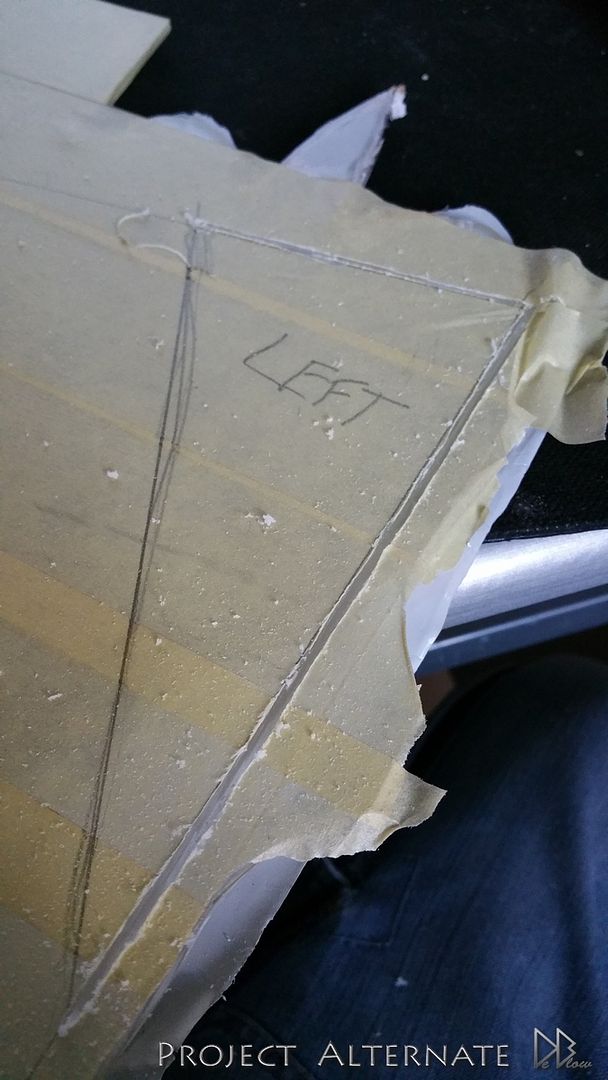
As both the secret ideas worked out ok I will show you one of the original designs for the desk, kept them a secret encase things
went wrong with the plan.
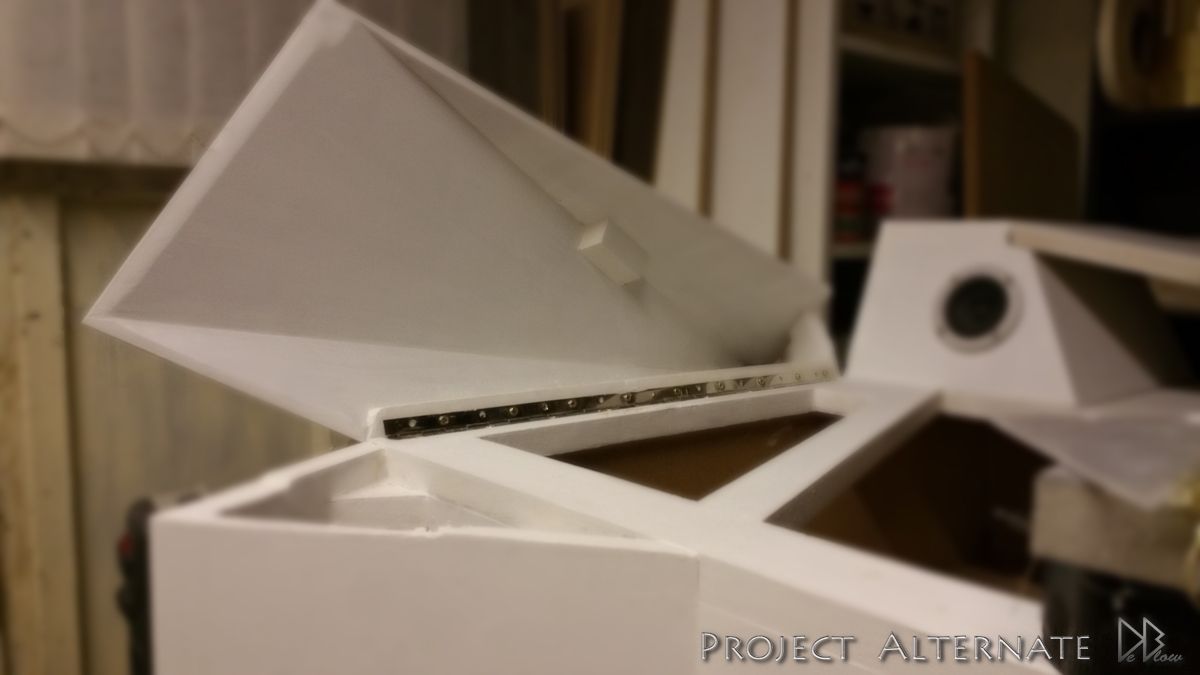
I played with lots of ways to accomplish the task, the first two ideas FAILED

but after one more attempt I cracked it

So now the side will lift up & out to the side making room for my gamepads & other bits that make desks look a bit untidy.
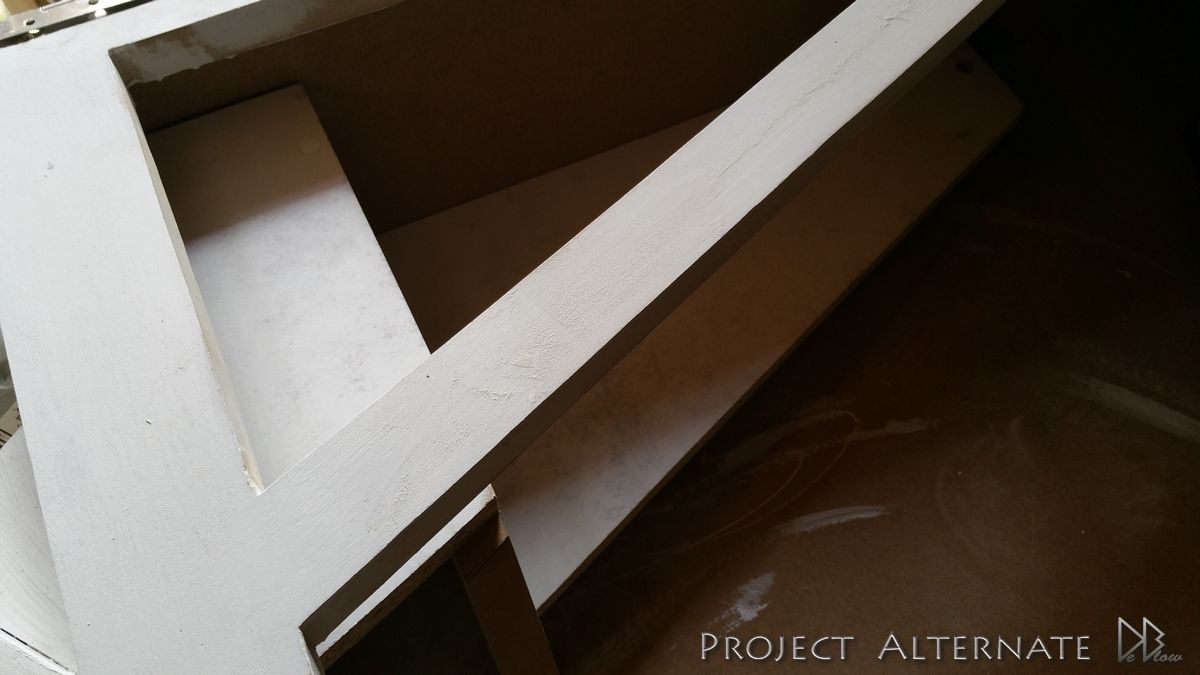
Almost all the parts inside the desk are removable, no screws used so as to make it easyer to MOD at a later date & also reduce the
weight when moving.
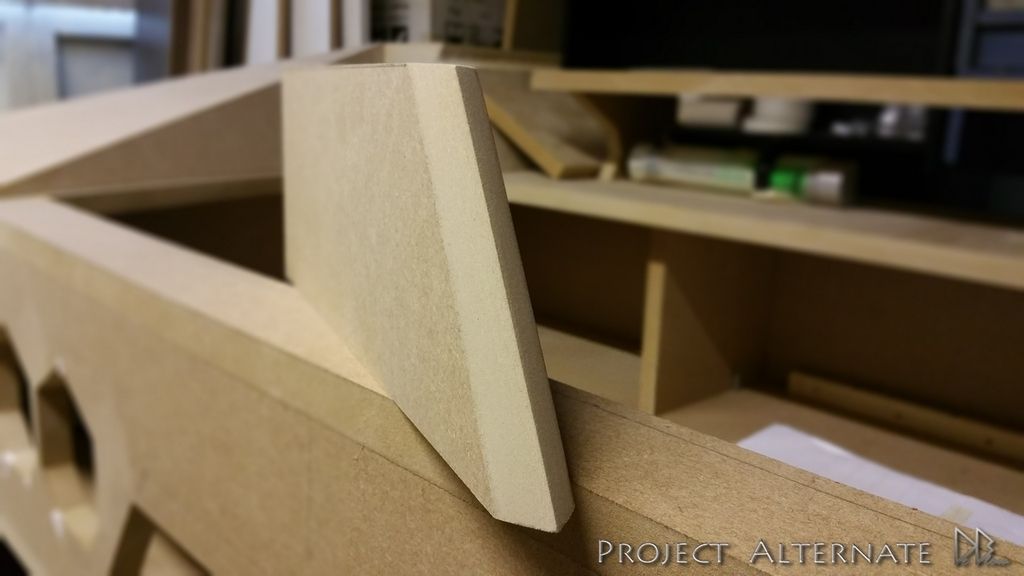
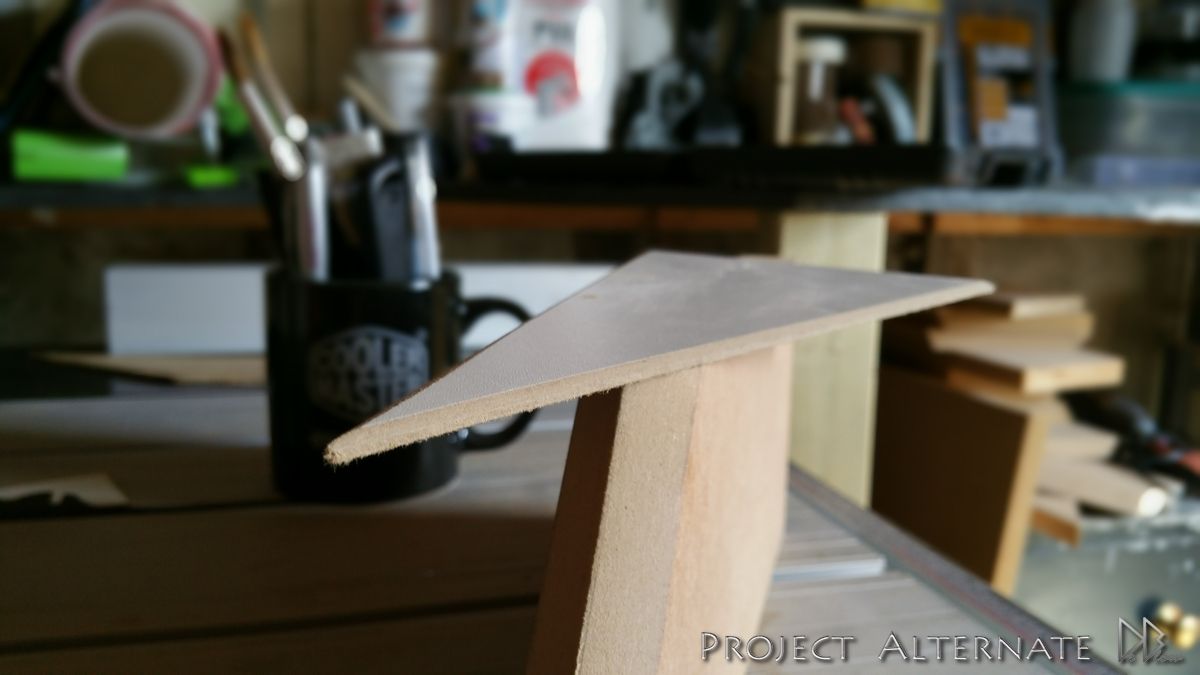
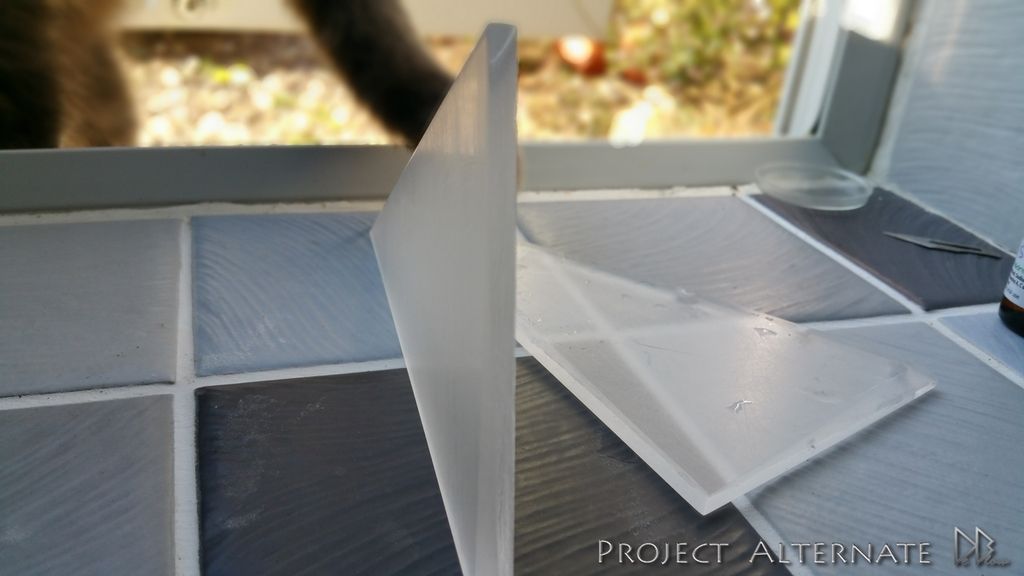
This double platform will hold the pads & bits, can be lifted out from the top or from the side.
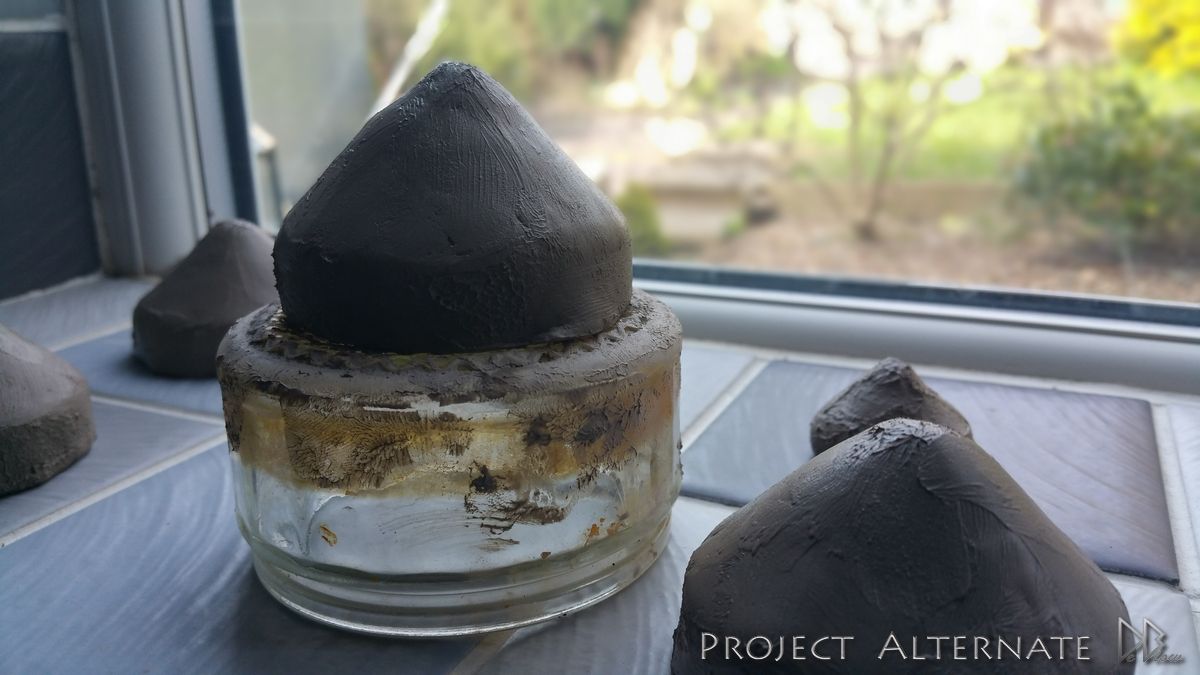
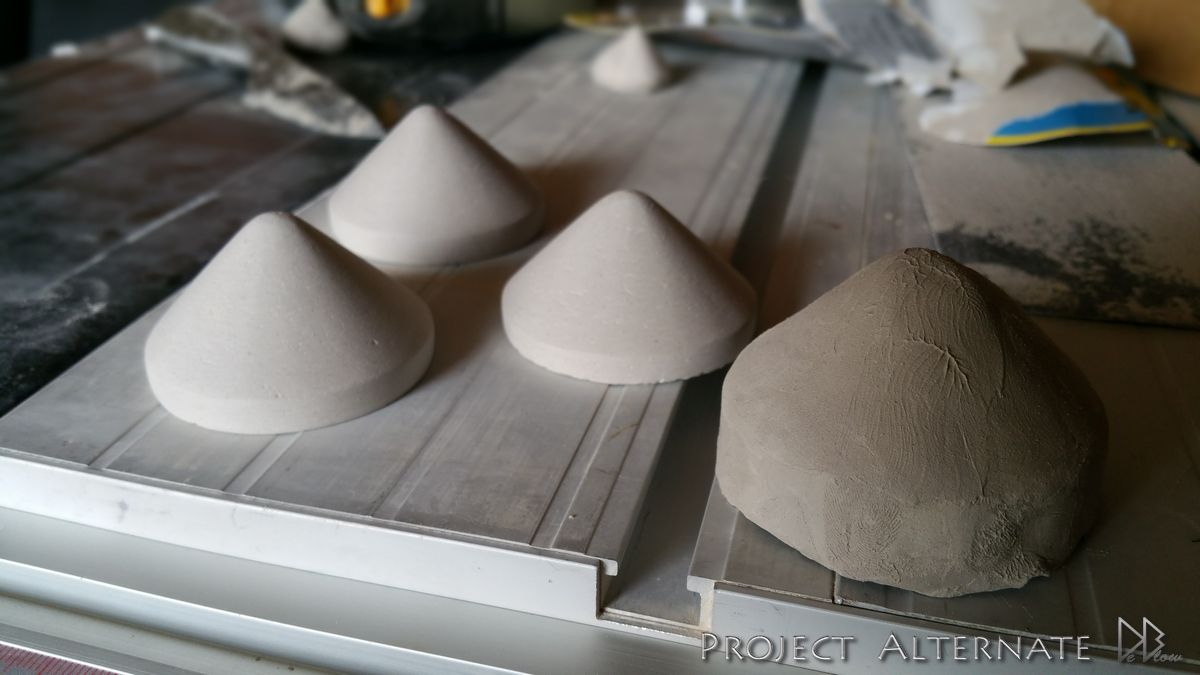
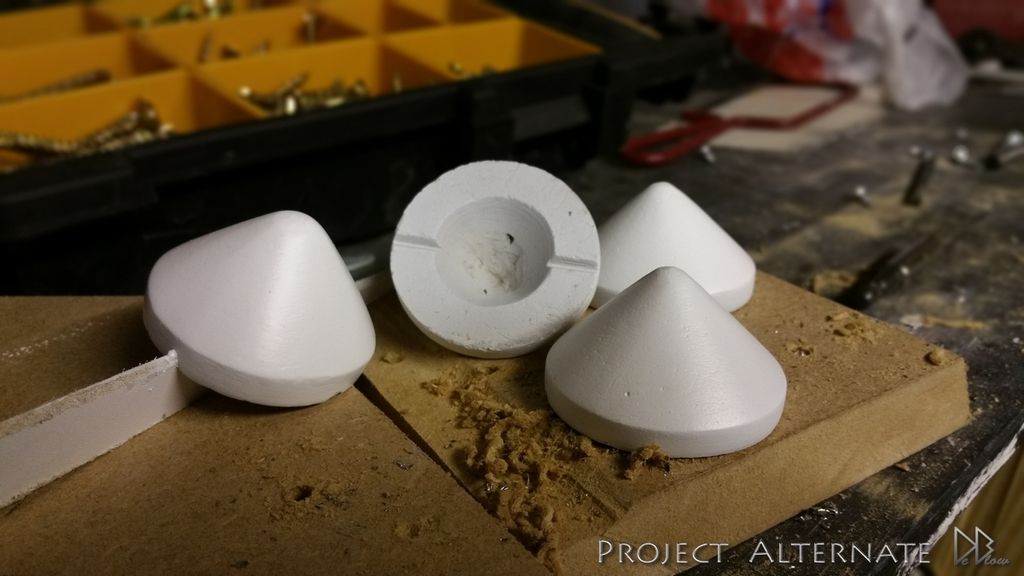
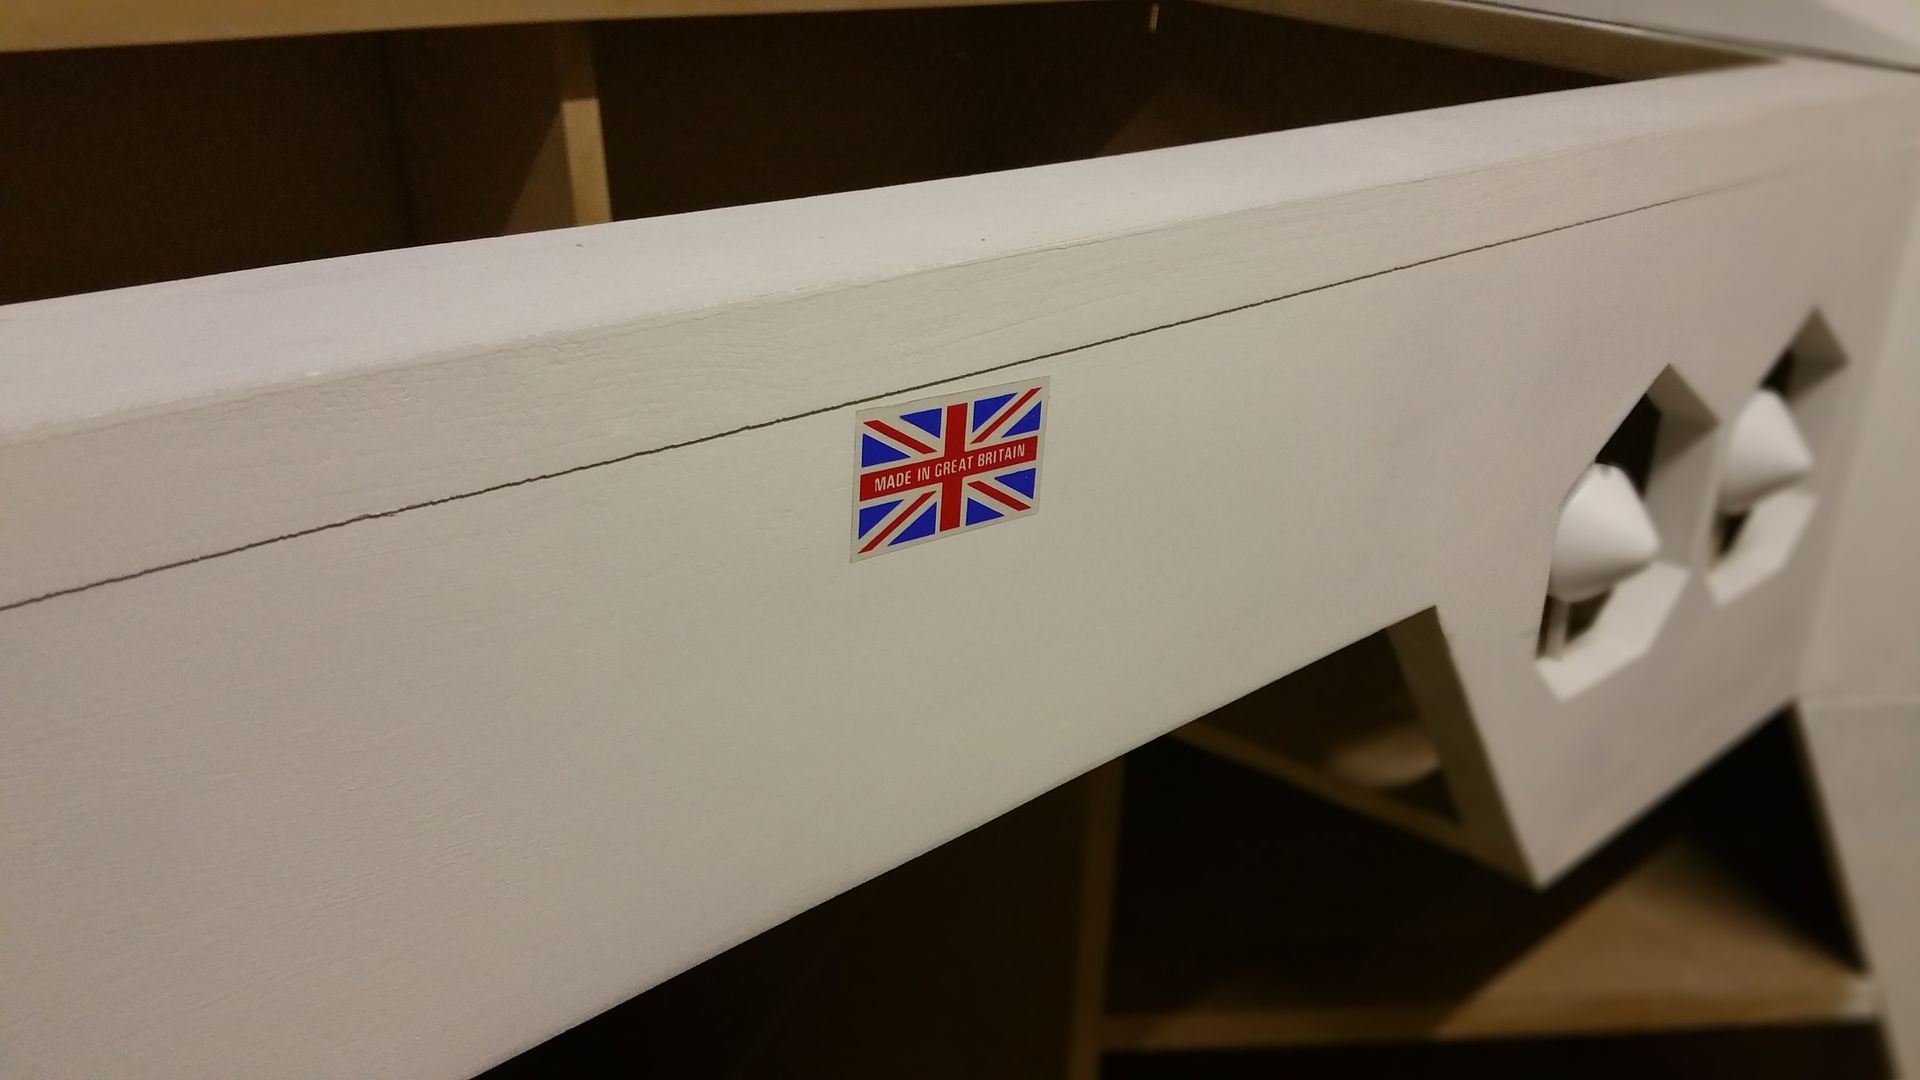
They all still need tidying up a bit & sanding down,
waiting until most of the desk is complete so if anything gets damaged as im working I wont have wasted too much time.
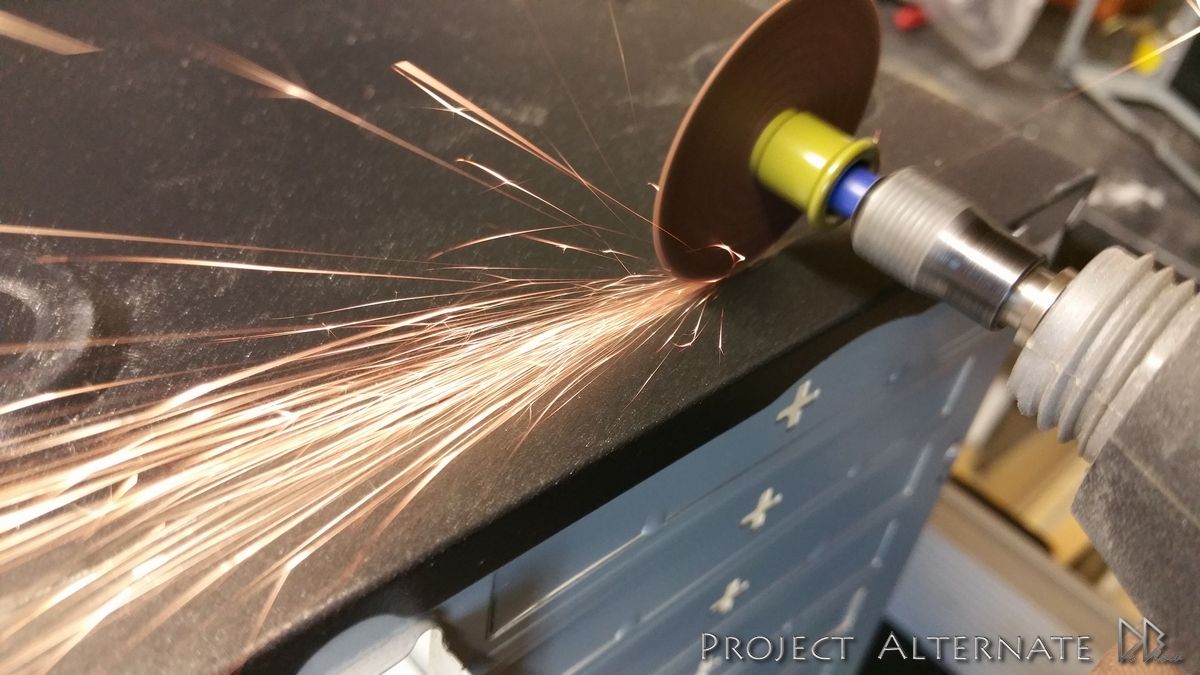
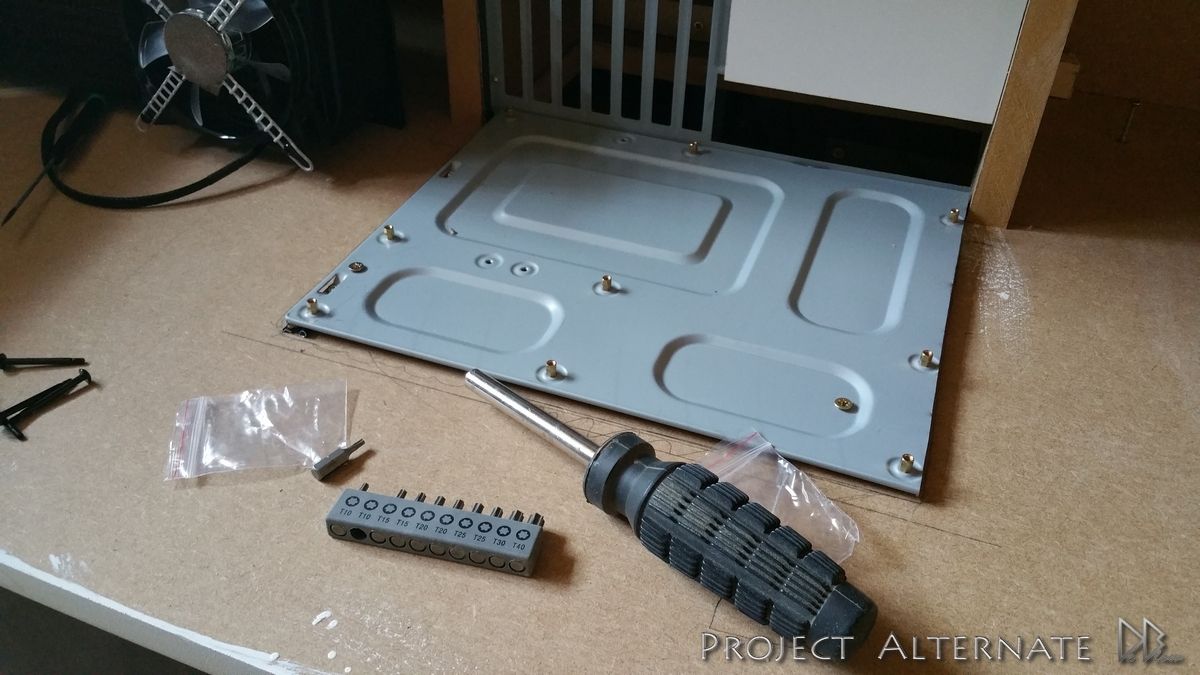
Cutting up a cheap old case for the parts, MB tray & front drive bays.
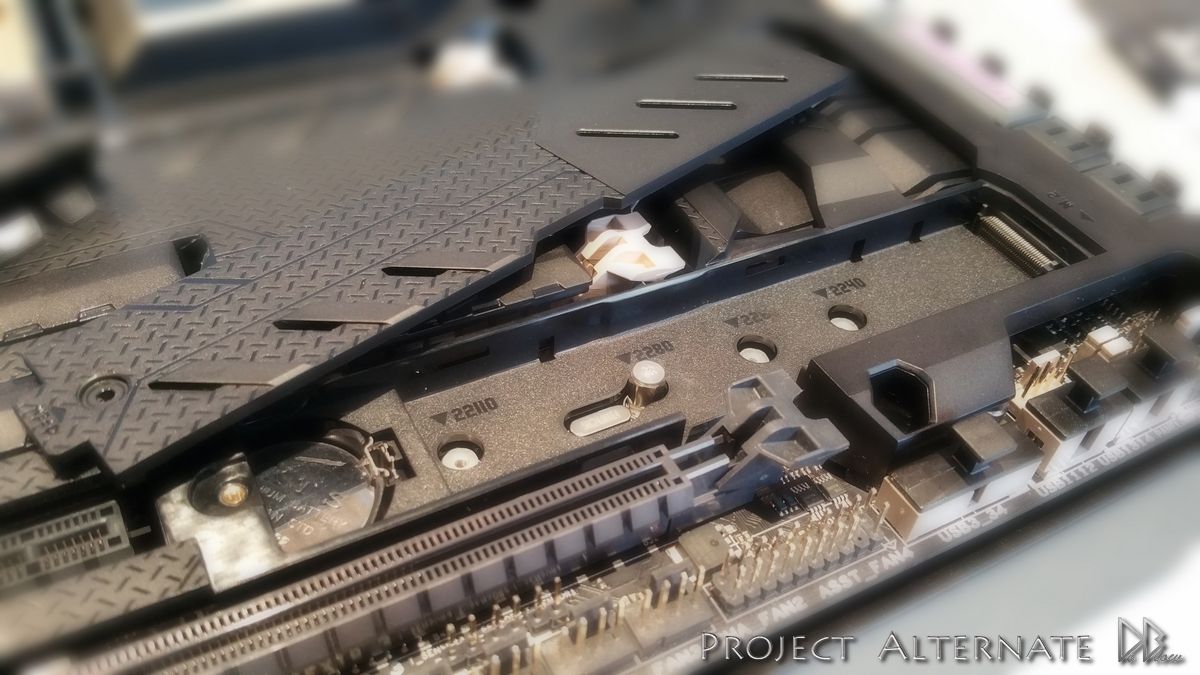
MB in place, will MOD more at later date.
For now I just want to make sure everything has a place.
MB back plate is just temp & will also be changed later in the build.
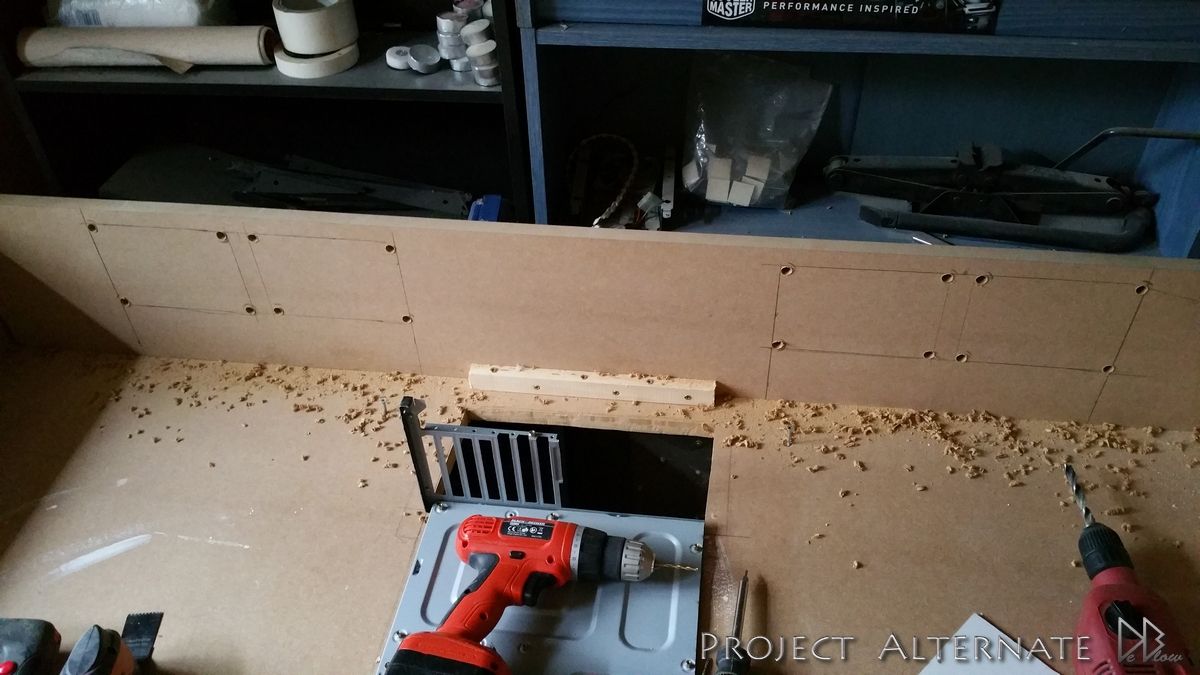
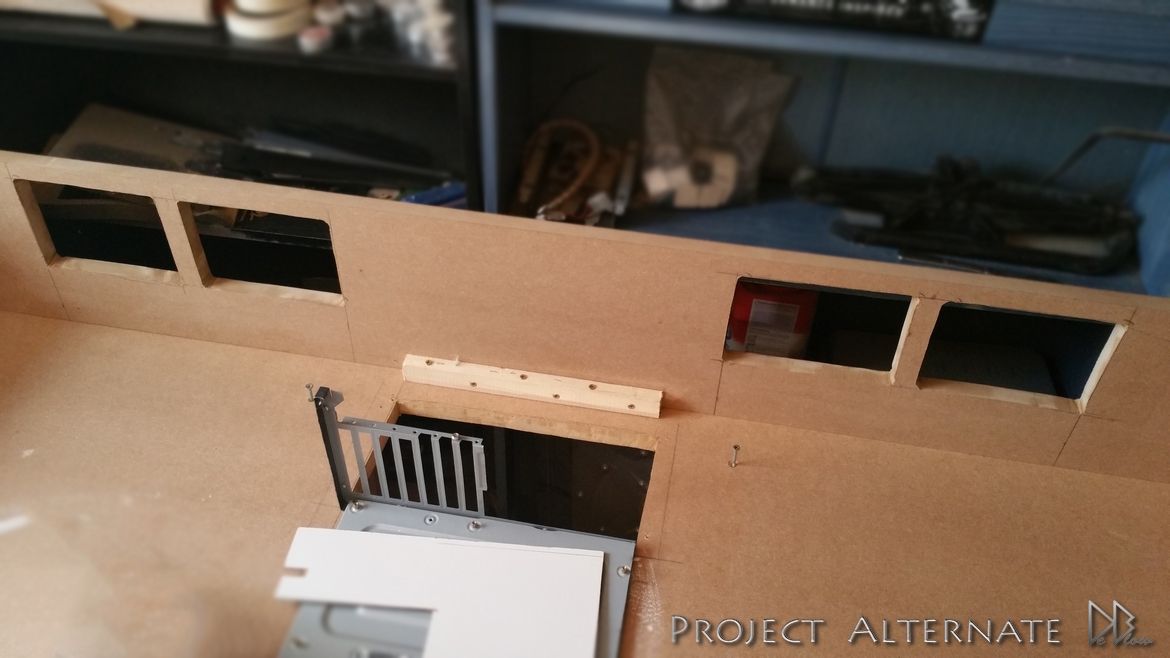
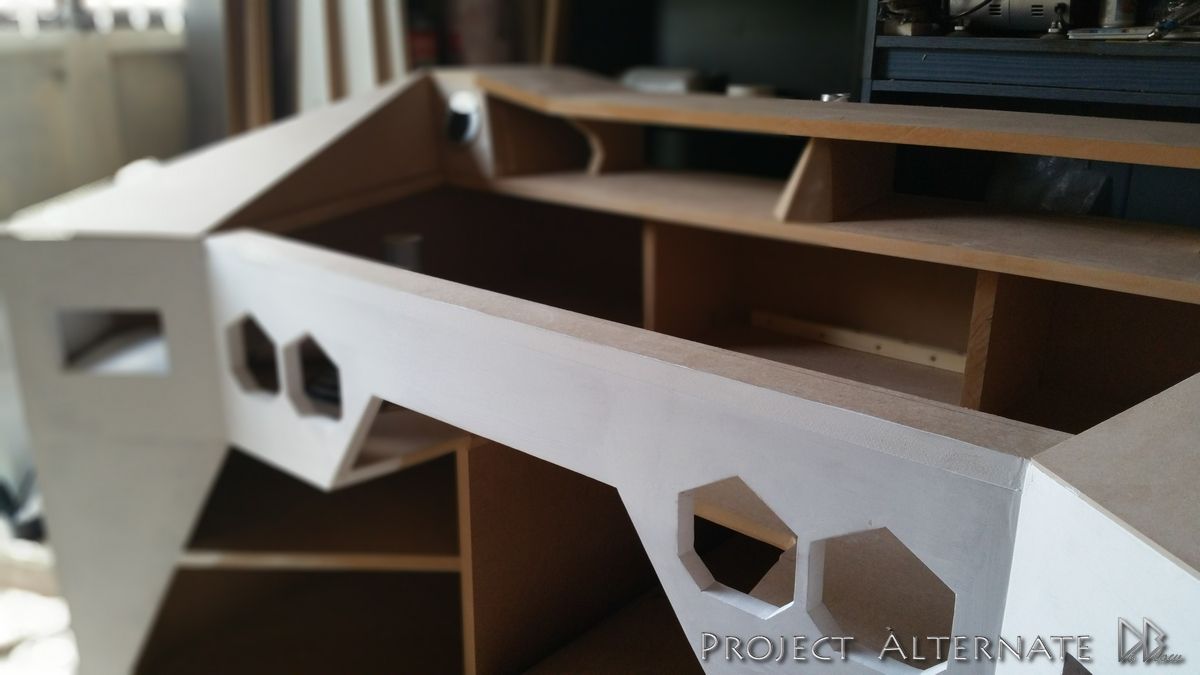
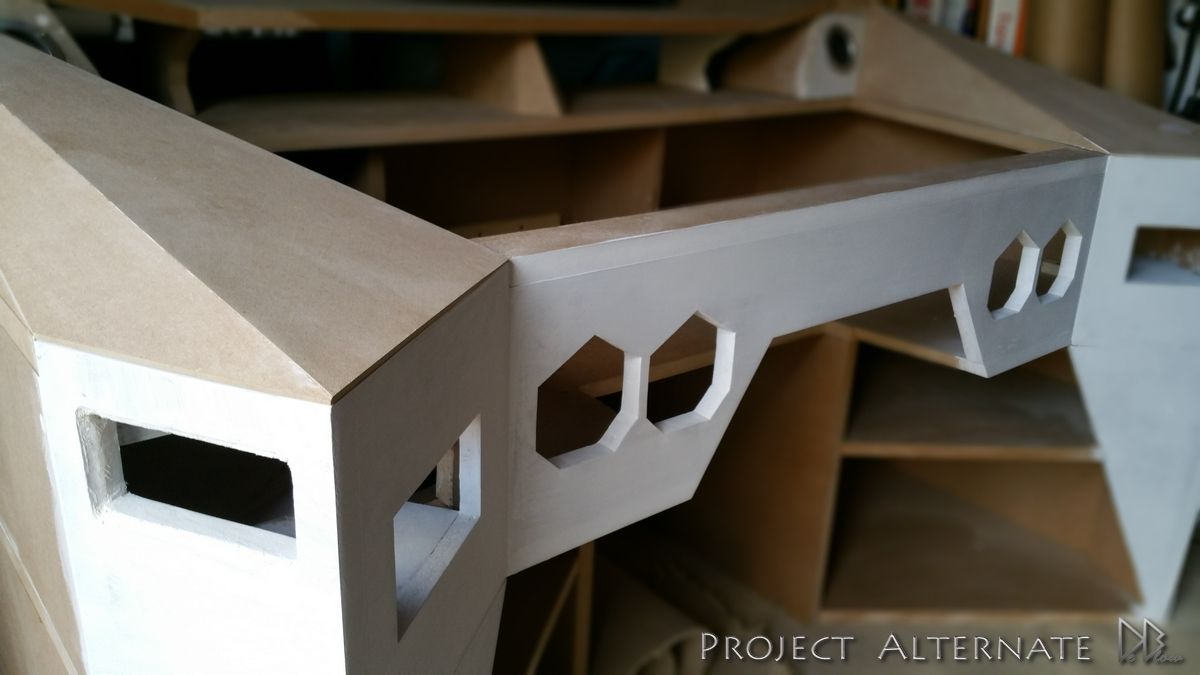
Cutting 4 holes for the RADs exhaust.
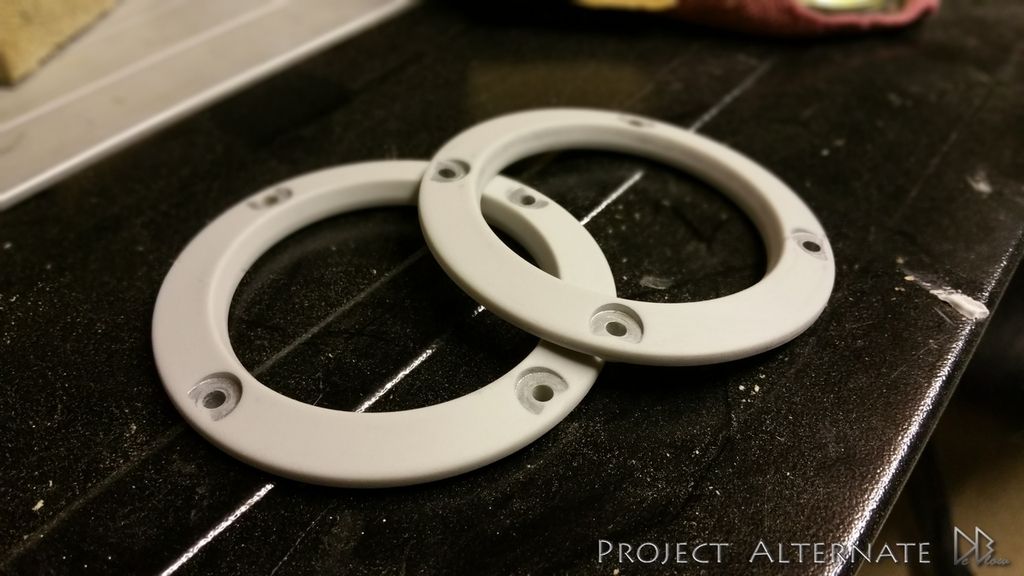
I will be using 2X Phobya RAD mounts to fasten the RADs to the underneath of the desktop.
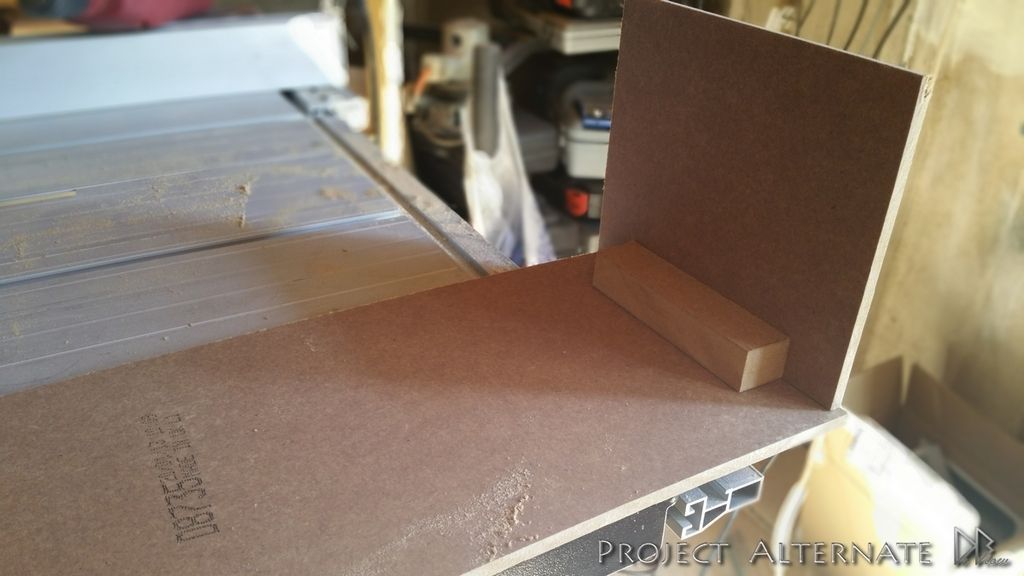
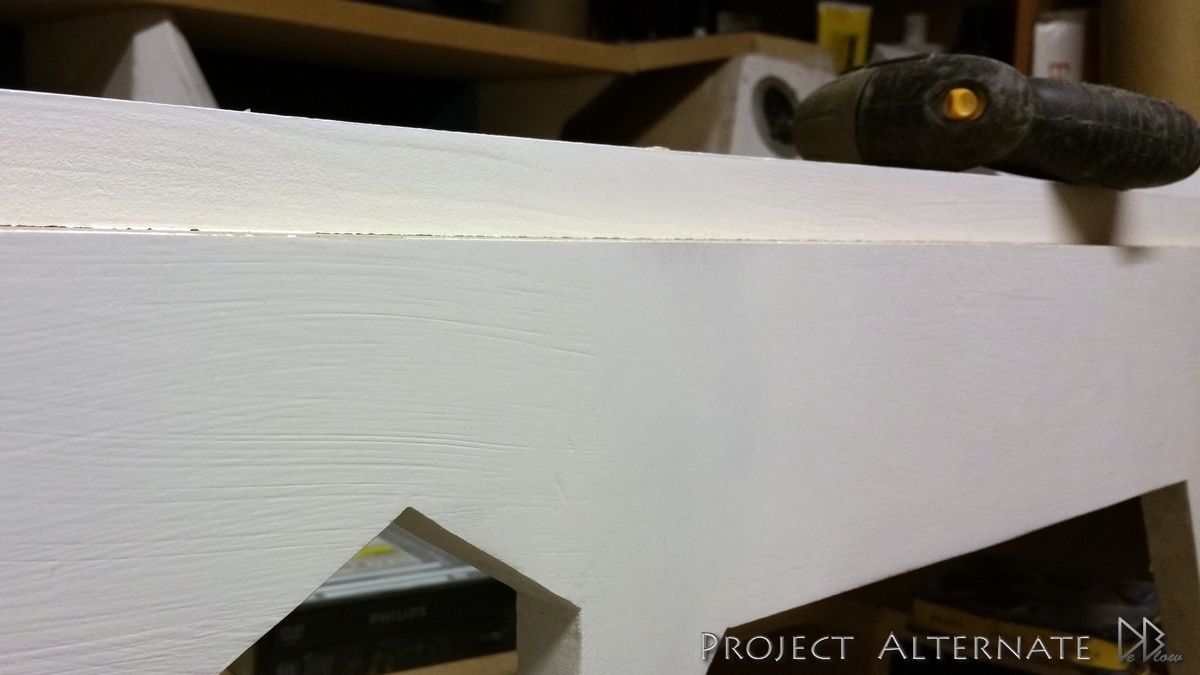
As Im wanting the RADs further away from the back I added some barriers for the hot air, raised as high as possible.
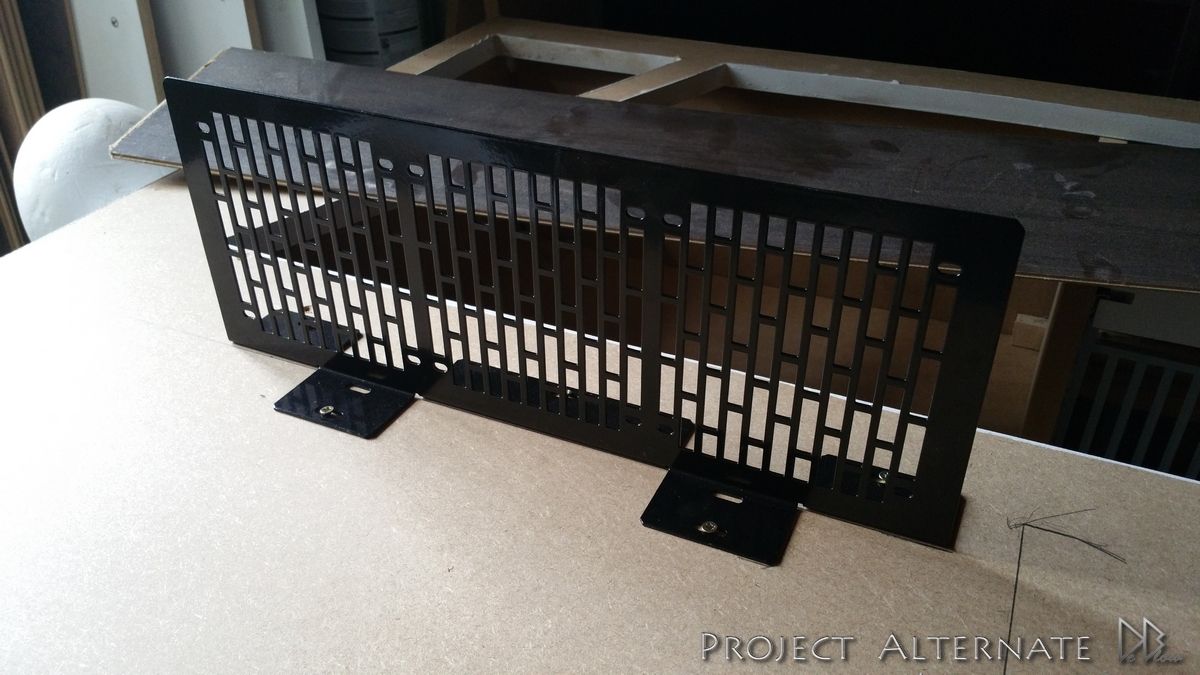
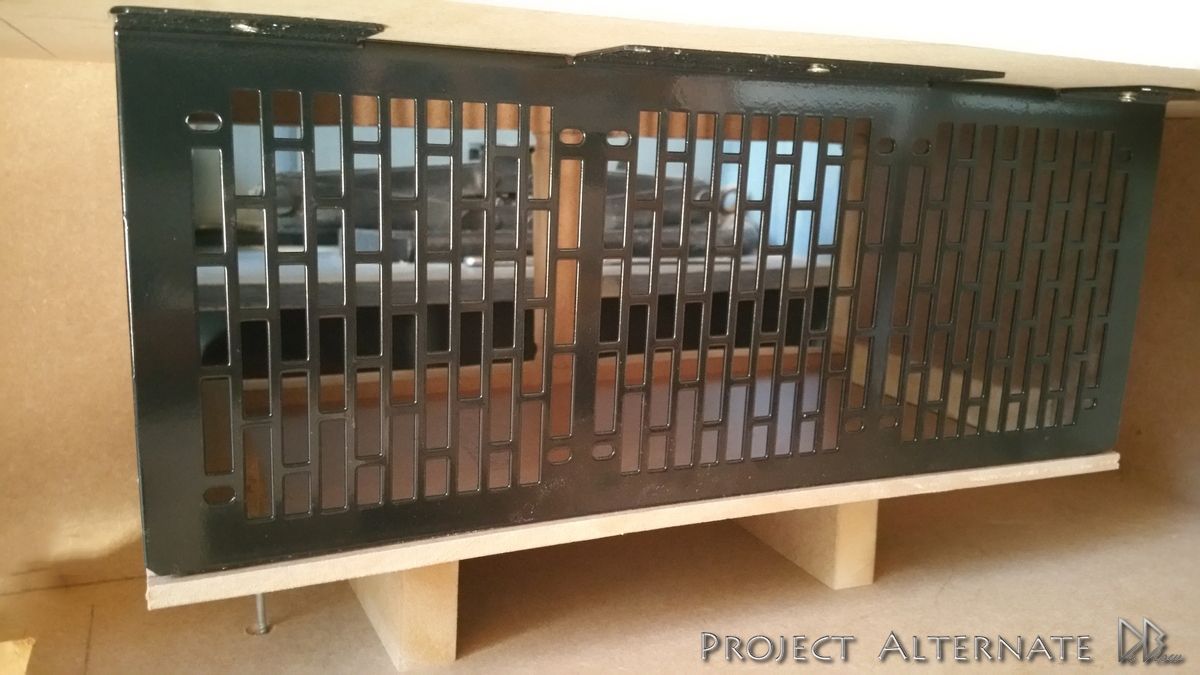
The RADs are attached to the desktop but the exhausts are attached to the back of the desk, I made the fittings as tight as possible
but to eliminate any small gaps that hot air could escape though Iv added some padding that's been coated to help keep the softness but also create a thin skin.


")


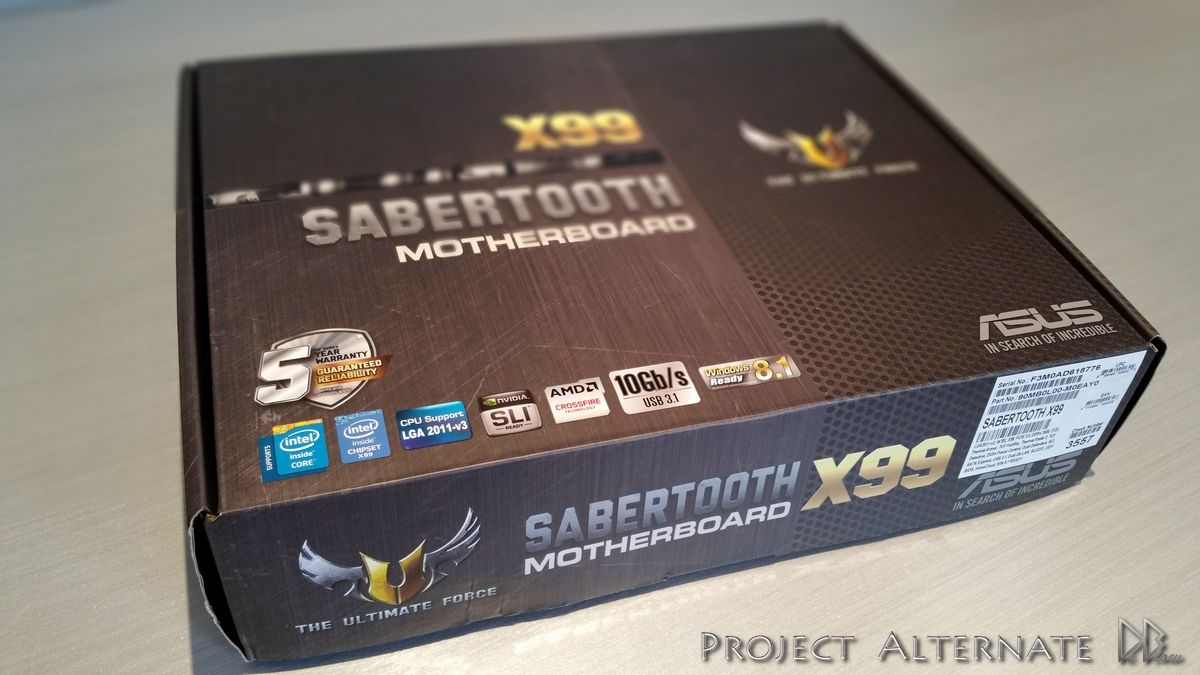
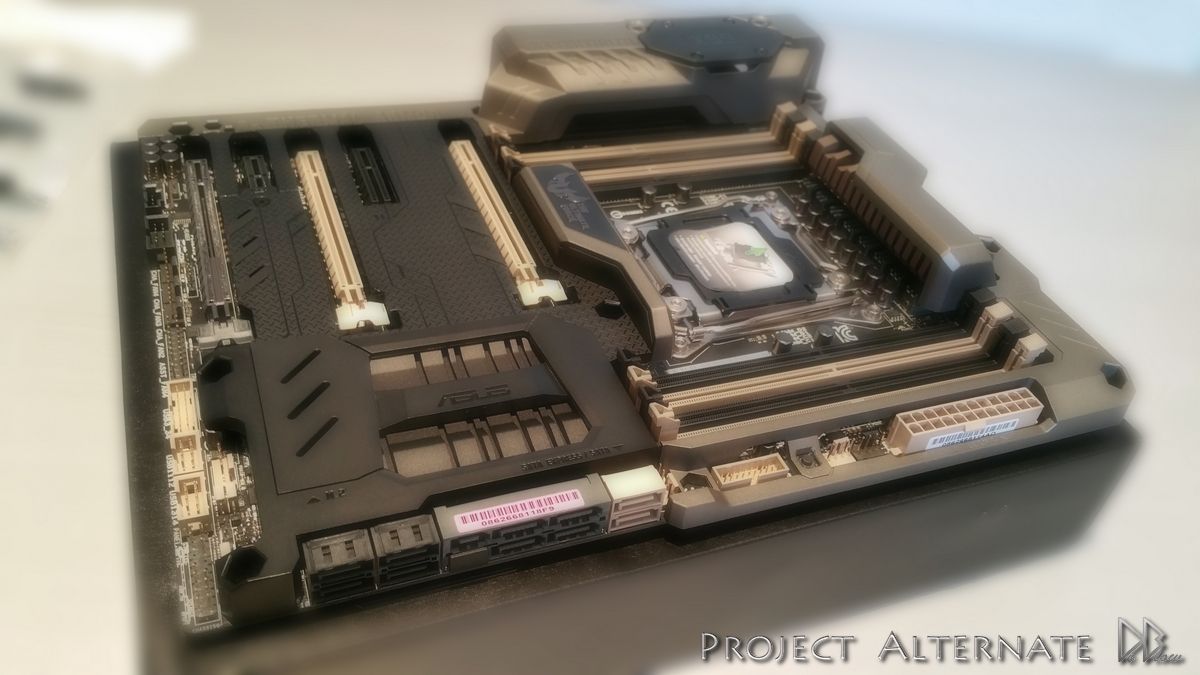
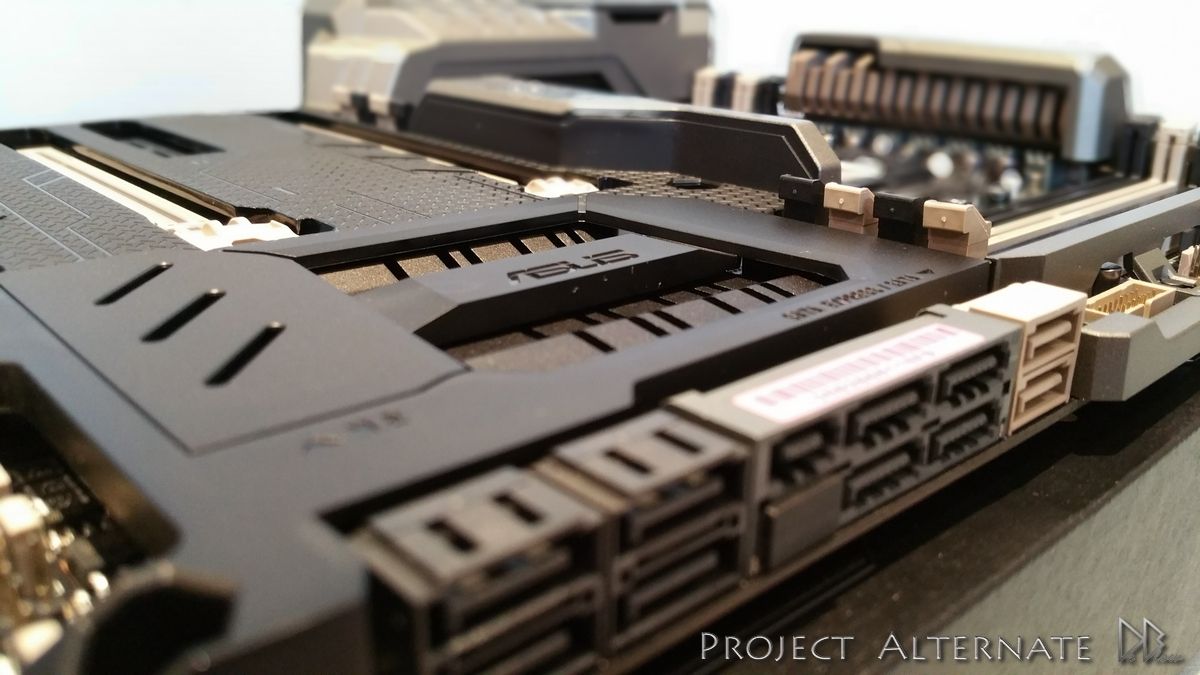
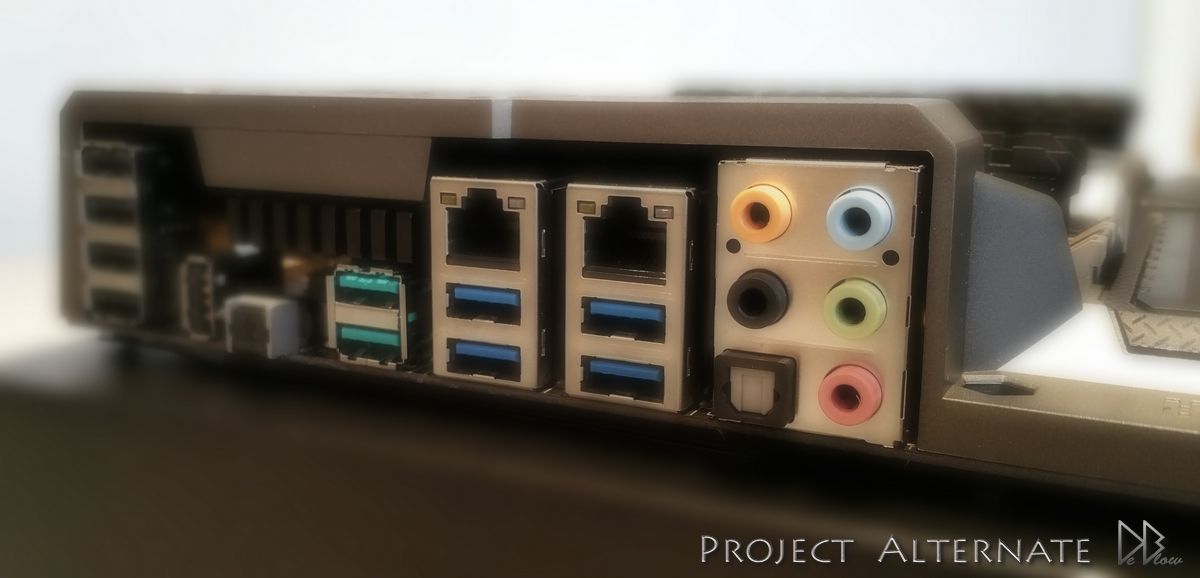
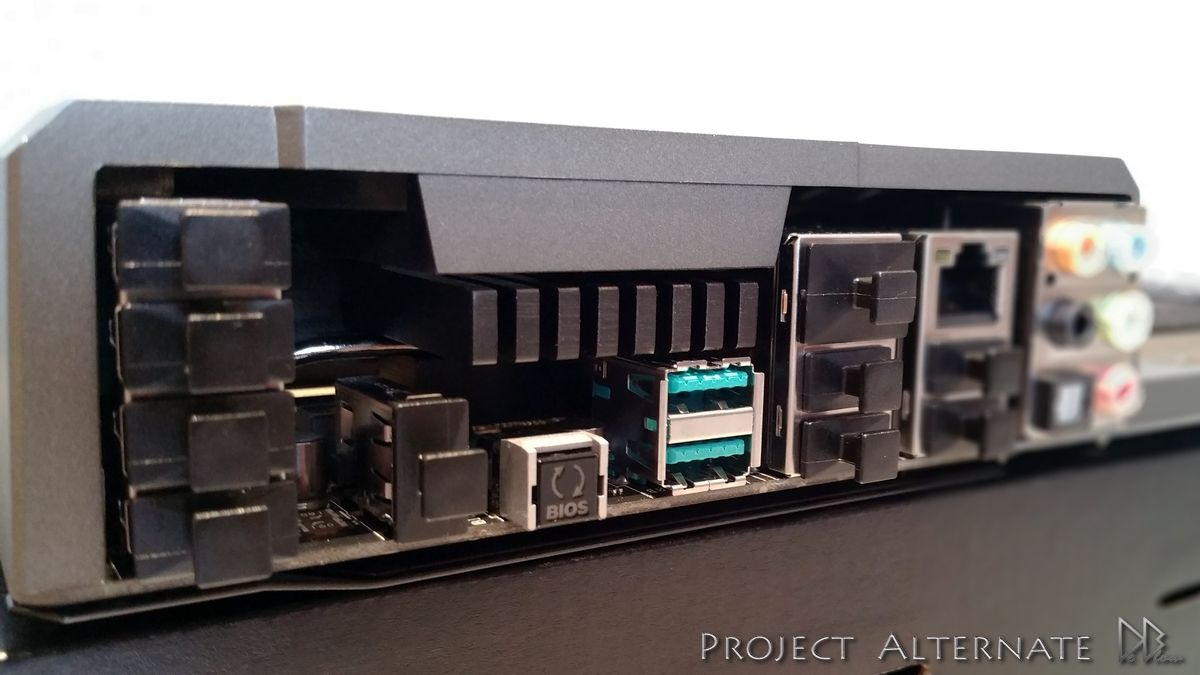
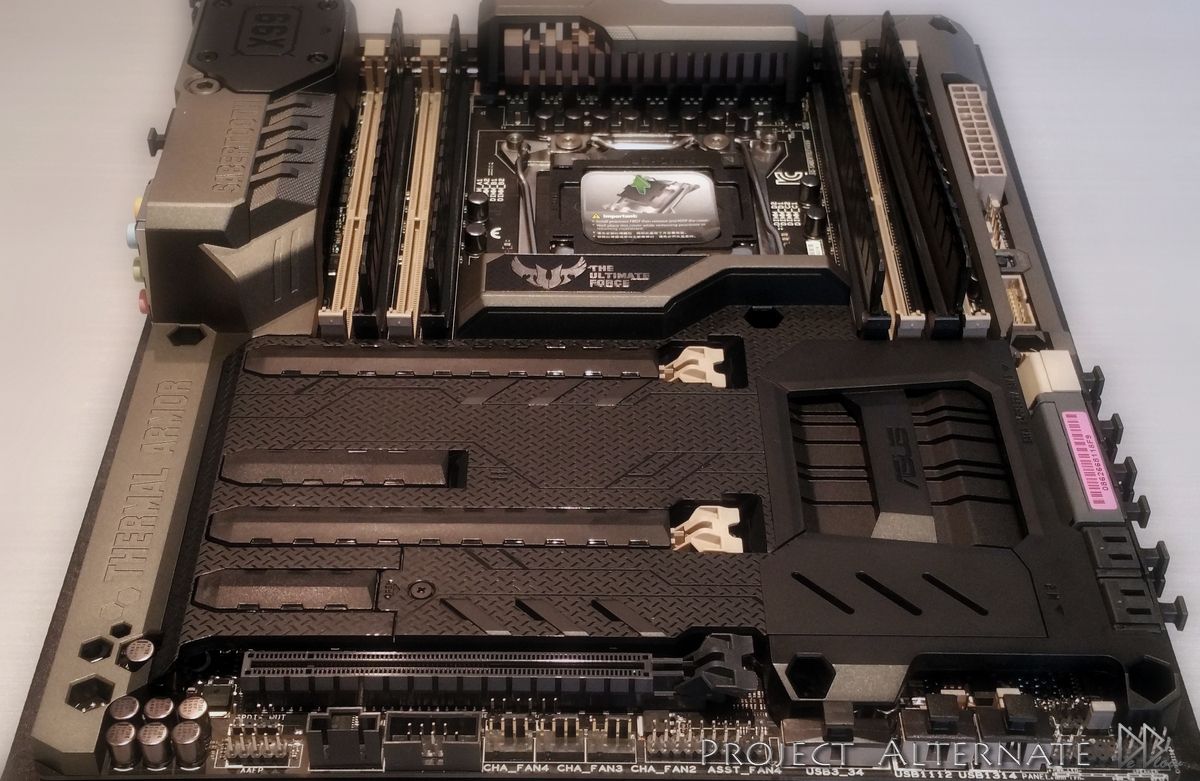
 , I see you like the sabertooth's too