OMG!! Amazing. I'm looking forward to see your second build
Cheers Sammy
")
OMG!! Amazing. I'm looking forward to see your second build
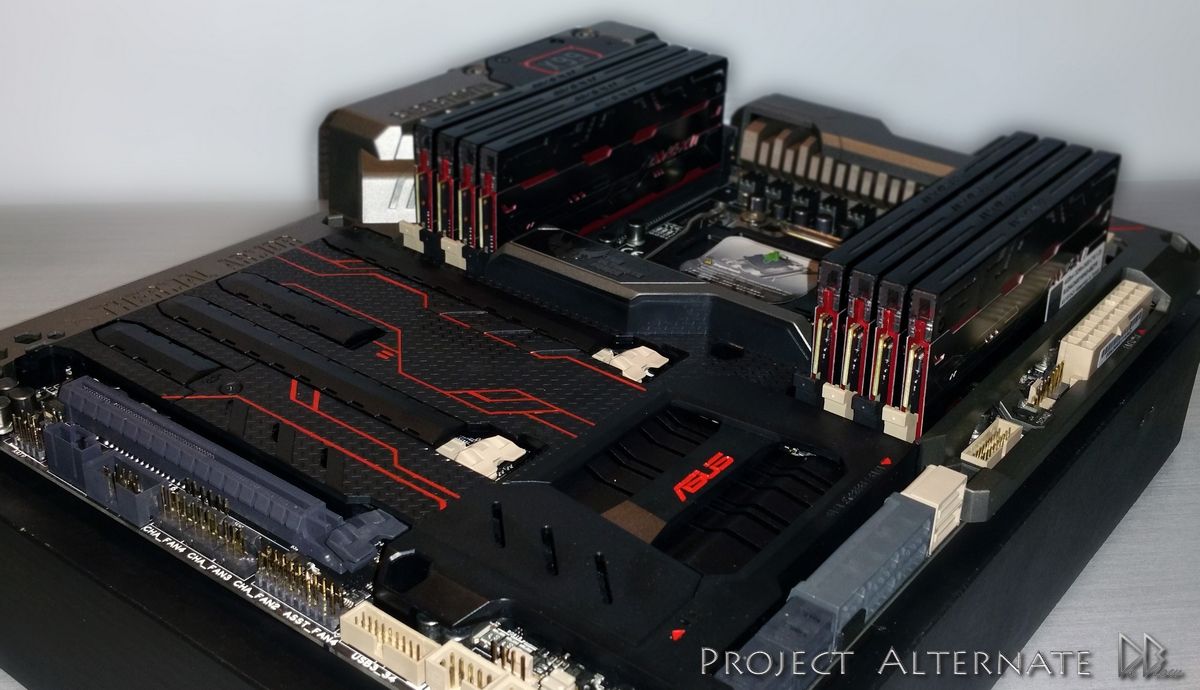
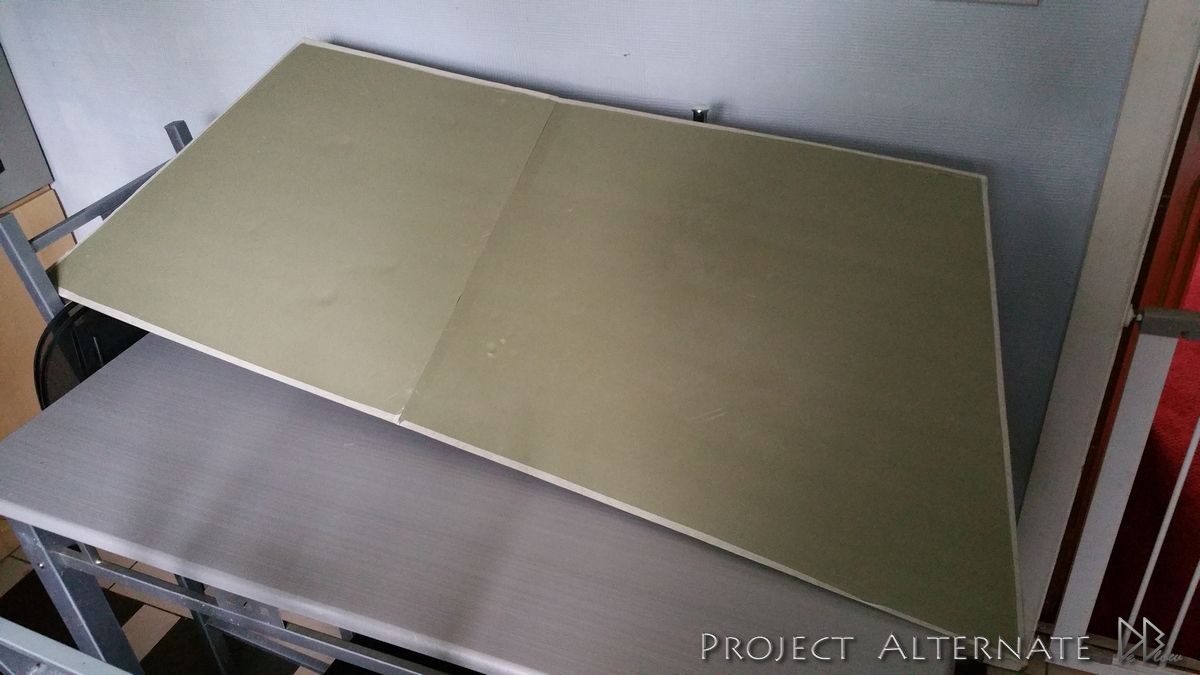
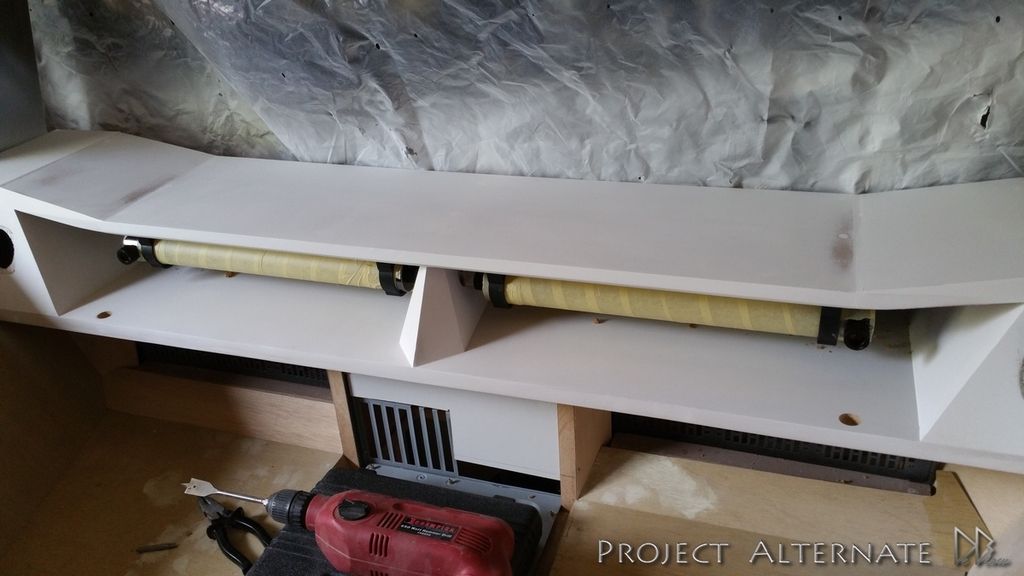
Wow now it's really starting to look like something.
Friggin HOOJ though. My lady would use my guts for garters if I dared make a desk that big
")
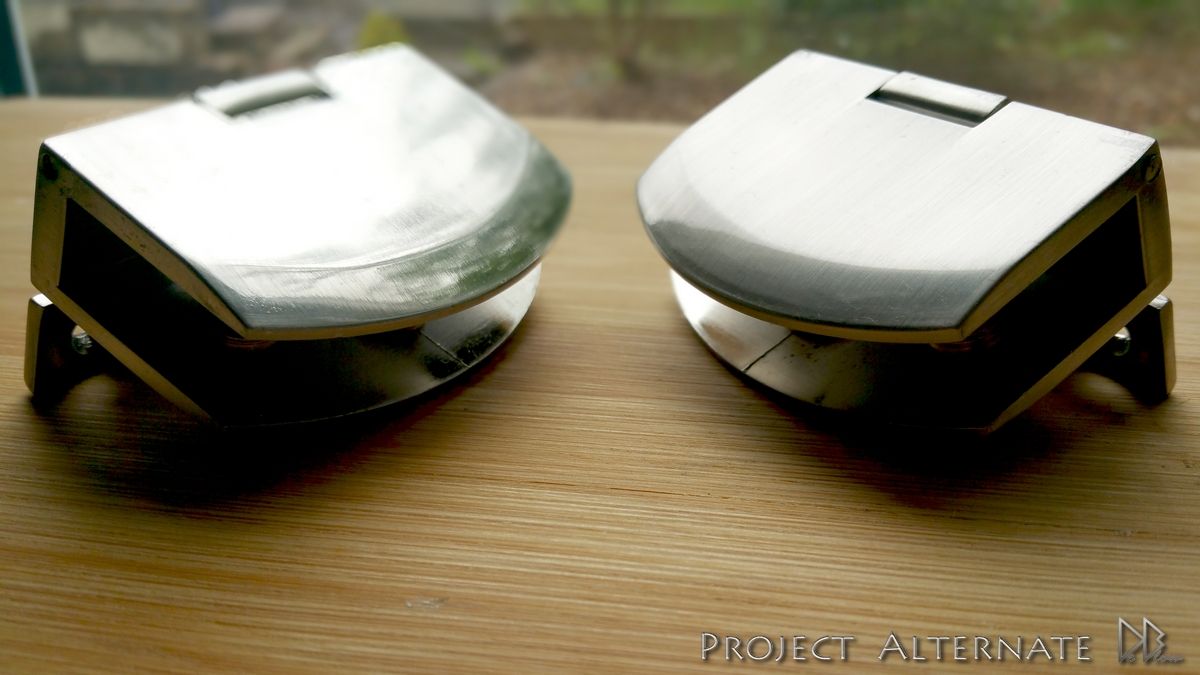
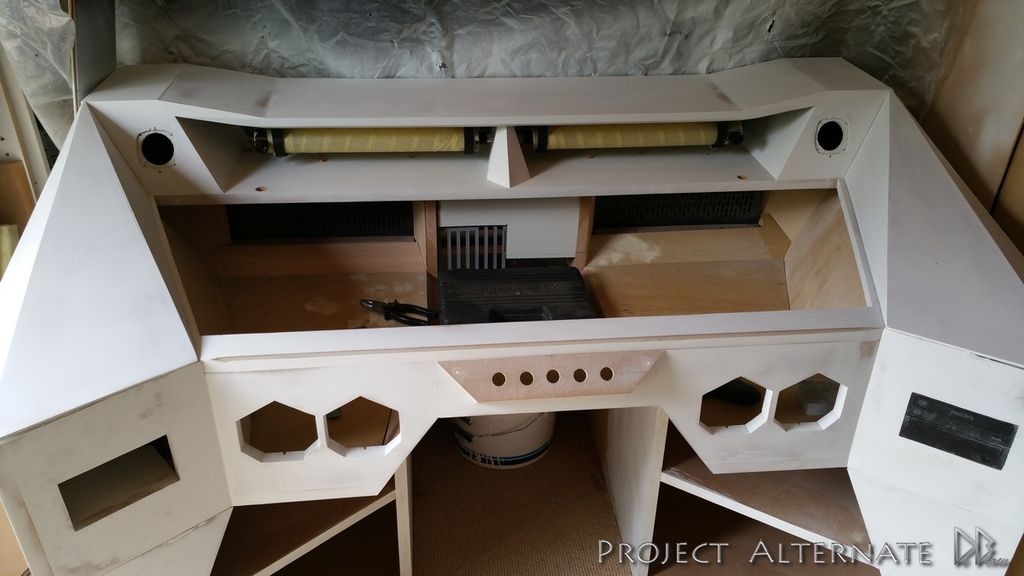
#2 would be my vote.
Amazing work so far mate! I will be sure to check back for updates!
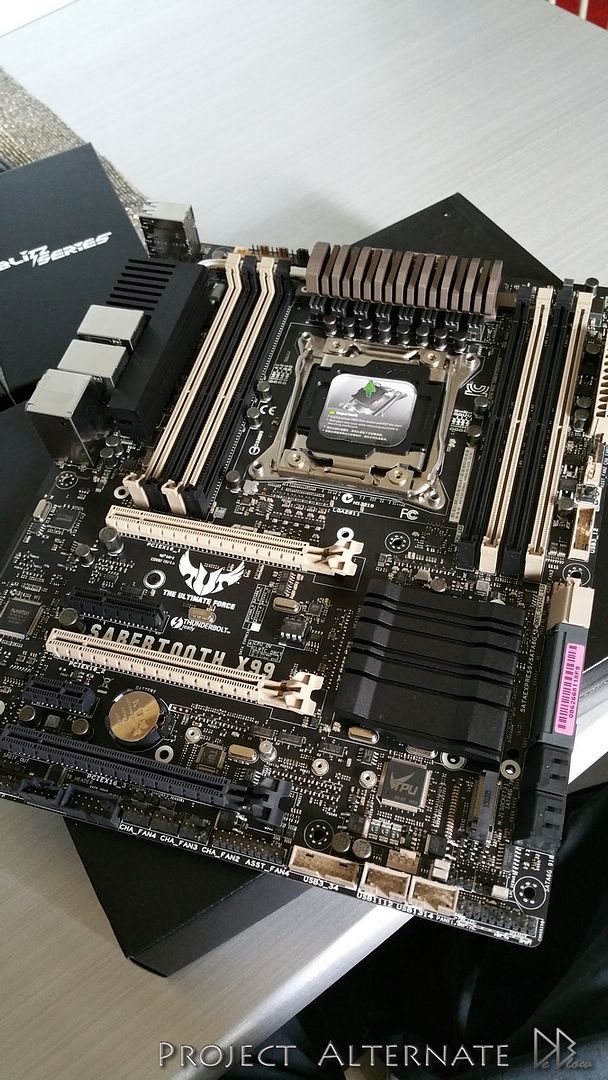
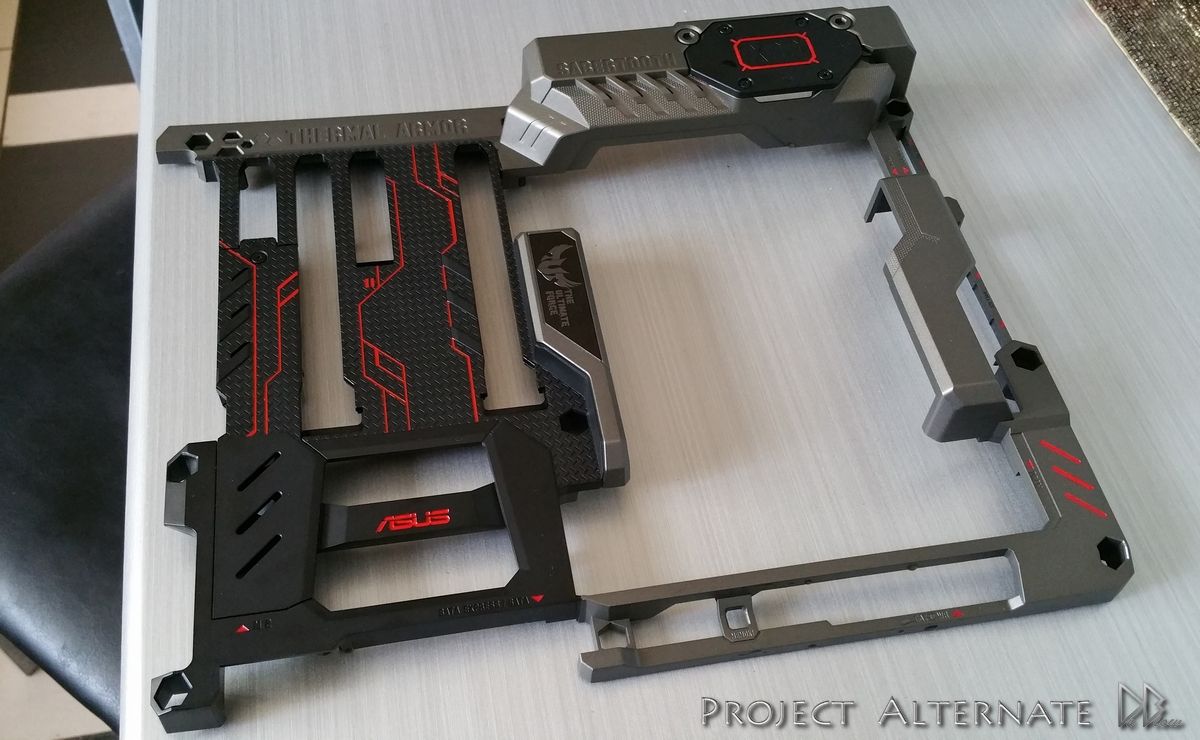
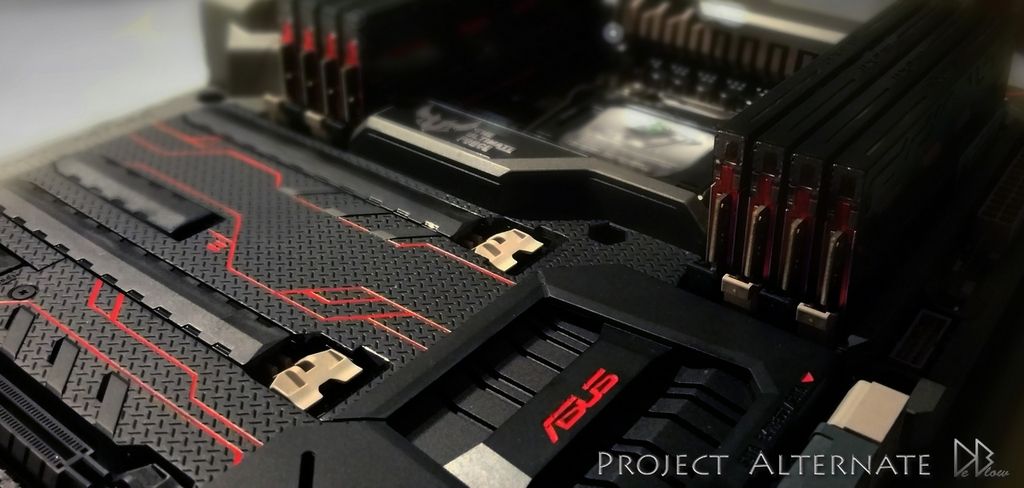
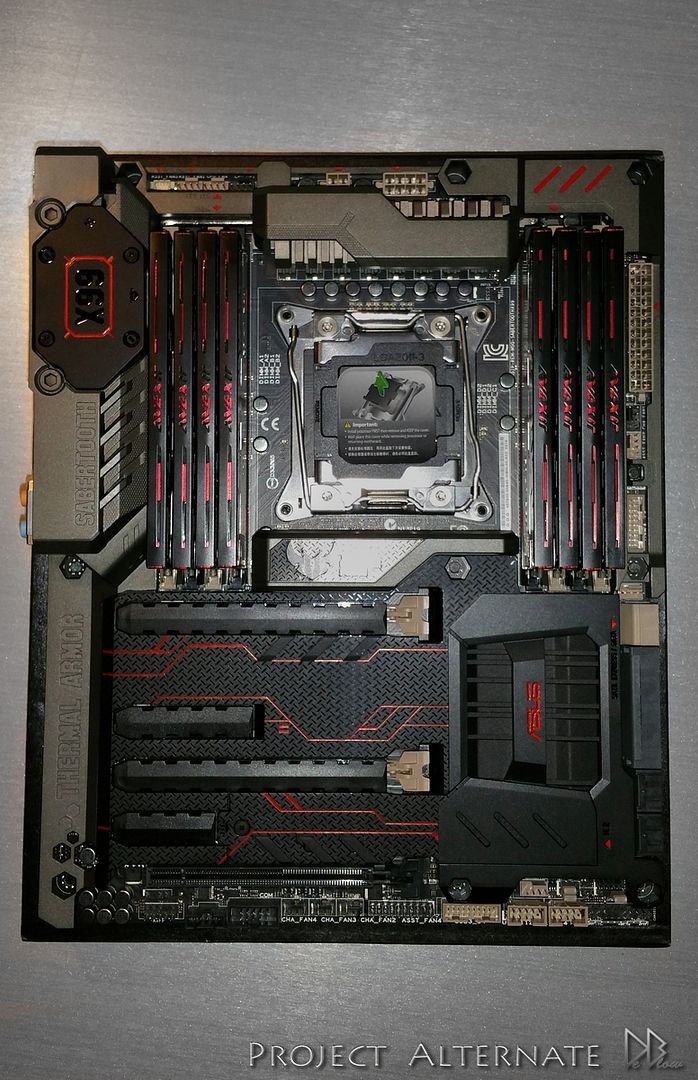
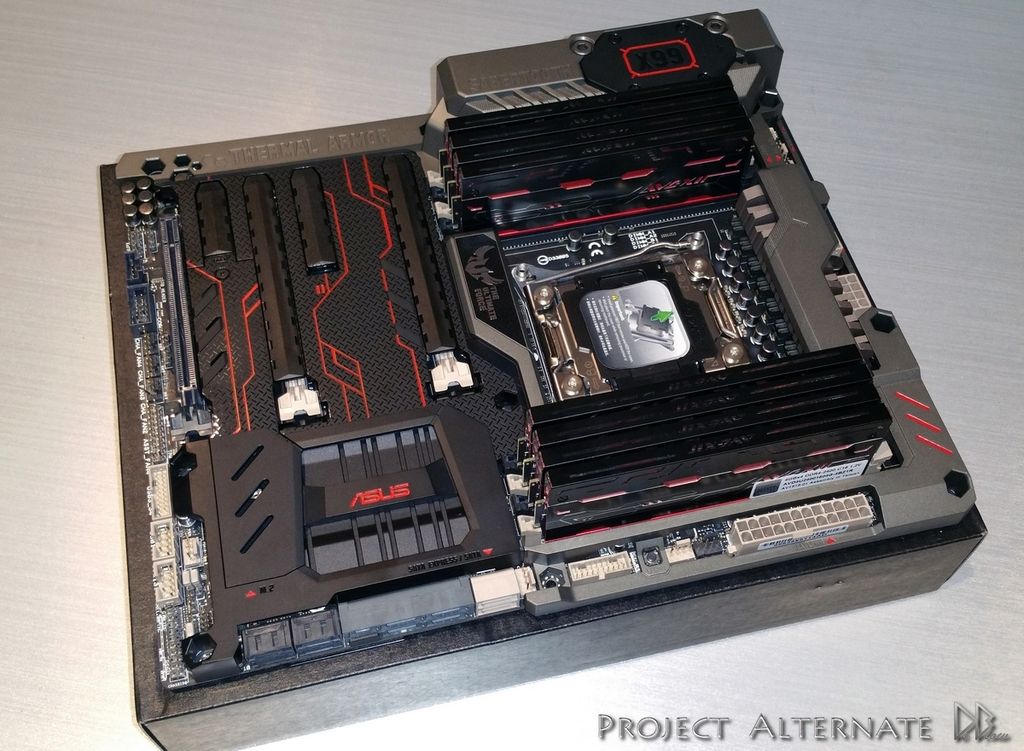
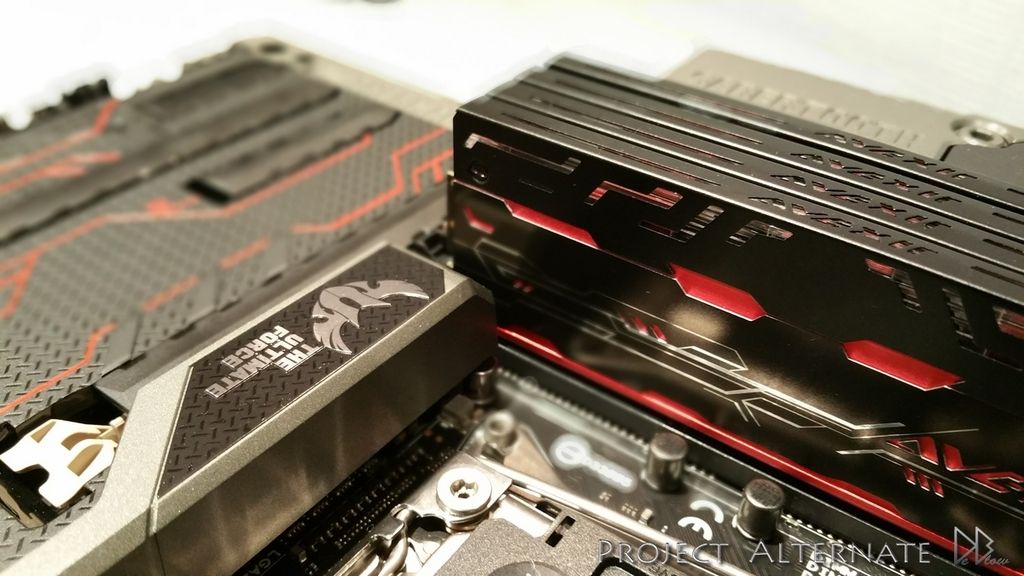
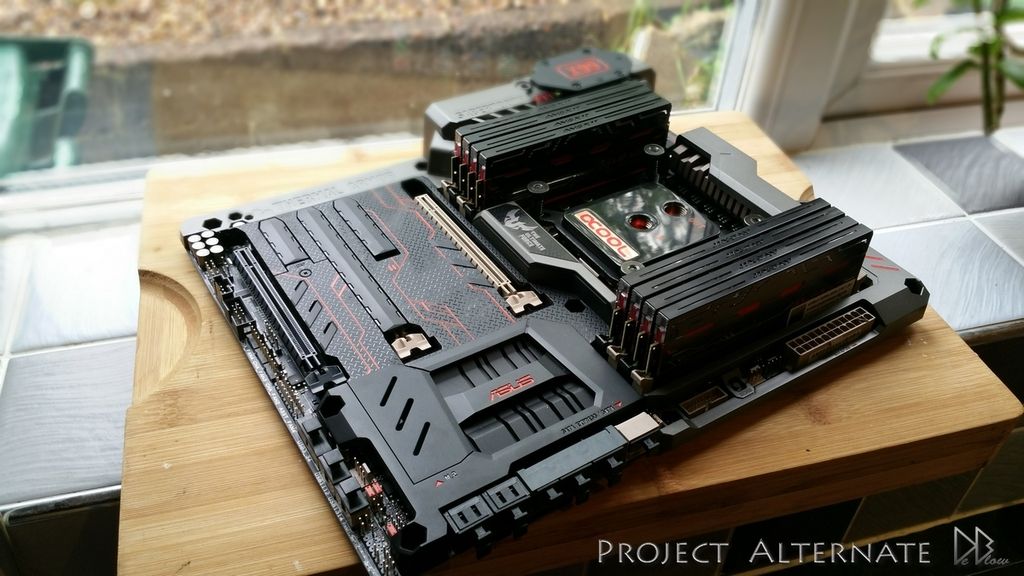
Some serious skills getting put to use for this build , amazing ! Nice job on the mobo paint job too
Love the paint job on the mobo, looks awesome!


this is looking impressive mate!! can't wait to see the finished product (I bet you're even more impatient than we are)

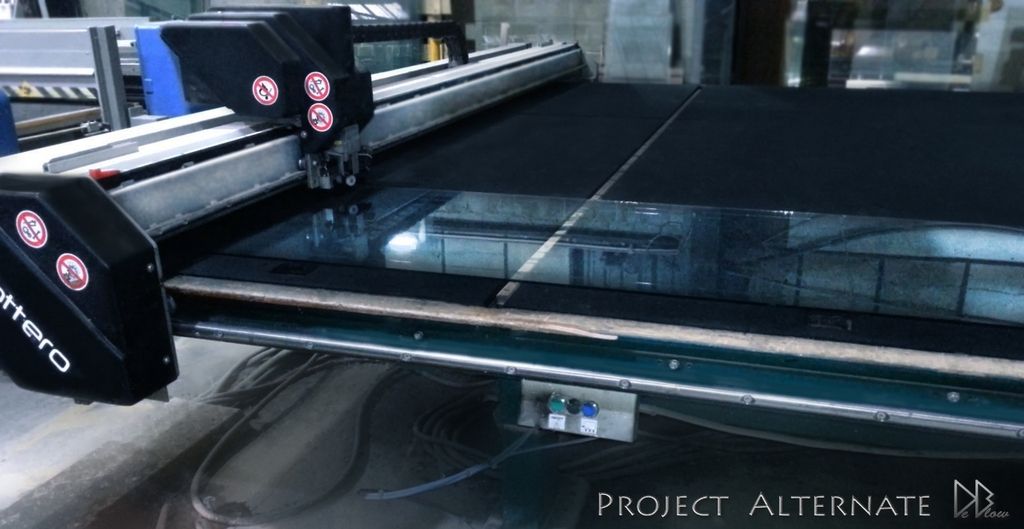
What sort of price is custom cut glass if you don't mind me asking?
Looking forward to this being finished